Home>Furniture & Design>Office Furniture>How To Assemble An Office Chair

Office Furniture
How To Assemble An Office Chair
Modified: October 18, 2024
Learn how to assemble an office chair with our step-by-step guide. Get expert tips for setting up your new office furniture for maximum comfort and productivity. Ideal for office furniture, furniture, and design enthusiasts.
(Many of the links in this article redirect to a specific reviewed product. Your purchase of these products through affiliate links helps to generate commission for Storables.com, at no extra cost. Learn more)
Introduction
Assembling an office chair may seem like a daunting task, especially for those who are not accustomed to DIY projects. However, with the right tools, a clear set of instructions, and a bit of patience, putting together an office chair can be a manageable and even rewarding experience.
A well-assembled office chair is not only essential for comfort and productivity in the workplace but also contributes to maintaining good posture and preventing back strain. Whether you've just purchased a new office chair or need to reassemble one after a move, this comprehensive guide will walk you through the step-by-step process of assembling an office chair, ensuring that you can enjoy a comfortable and ergonomic seating solution in no time.
From unboxing the components to adjusting the chair to your preferred settings, each step is crucial in creating a sturdy, functional, and comfortable office chair. So, roll up your sleeves, gather your tools, and let's dive into the process of assembling an office chair from start to finish.
Key Takeaways:
- Assembling an office chair is a manageable and rewarding DIY project that contributes to comfort, productivity, and well-being in the workplace. With patience and attention to detail, you can create a sturdy and comfortable seating solution tailored to your needs.
- The step-by-step process of assembling an office chair, from unboxing and organizing the components to adjusting the chair to your preferred settings, ensures that you can create a personalized and supportive workspace that promotes productivity and comfort.
Read more: How To Assemble Dining Chairs
Step 1: Unboxing and Organizing
Before diving into the assembly process, it’s essential to carefully unbox and organize all the components of your office chair. Start by locating a spacious and well-lit area where you can lay out the contents of the box without any obstructions. As you unpack, take note of the various parts and hardware included, ensuring that nothing is missing or damaged.
Once you have all the components laid out, take a moment to review the assembly instructions provided by the manufacturer. Familiarizing yourself with the parts and the step-by-step guidelines will help streamline the assembly process and minimize the chances of errors.
Next, organize the parts and hardware according to the assembly steps outlined in the manual. Grouping similar components together, such as screws, bolts, and washers, can prevent confusion and make it easier to locate the necessary hardware as you progress through the assembly process.
It’s also a good idea to inspect the components for any defects or imperfections. Check for any signs of damage or irregularities in the materials, ensuring that all parts are in optimal condition before proceeding with the assembly.
By taking the time to unbox and organize the components systematically, you’ll set the stage for a smooth and efficient assembly process, laying a solid foundation for the construction of your office chair.
Step 2: Assembling the Base
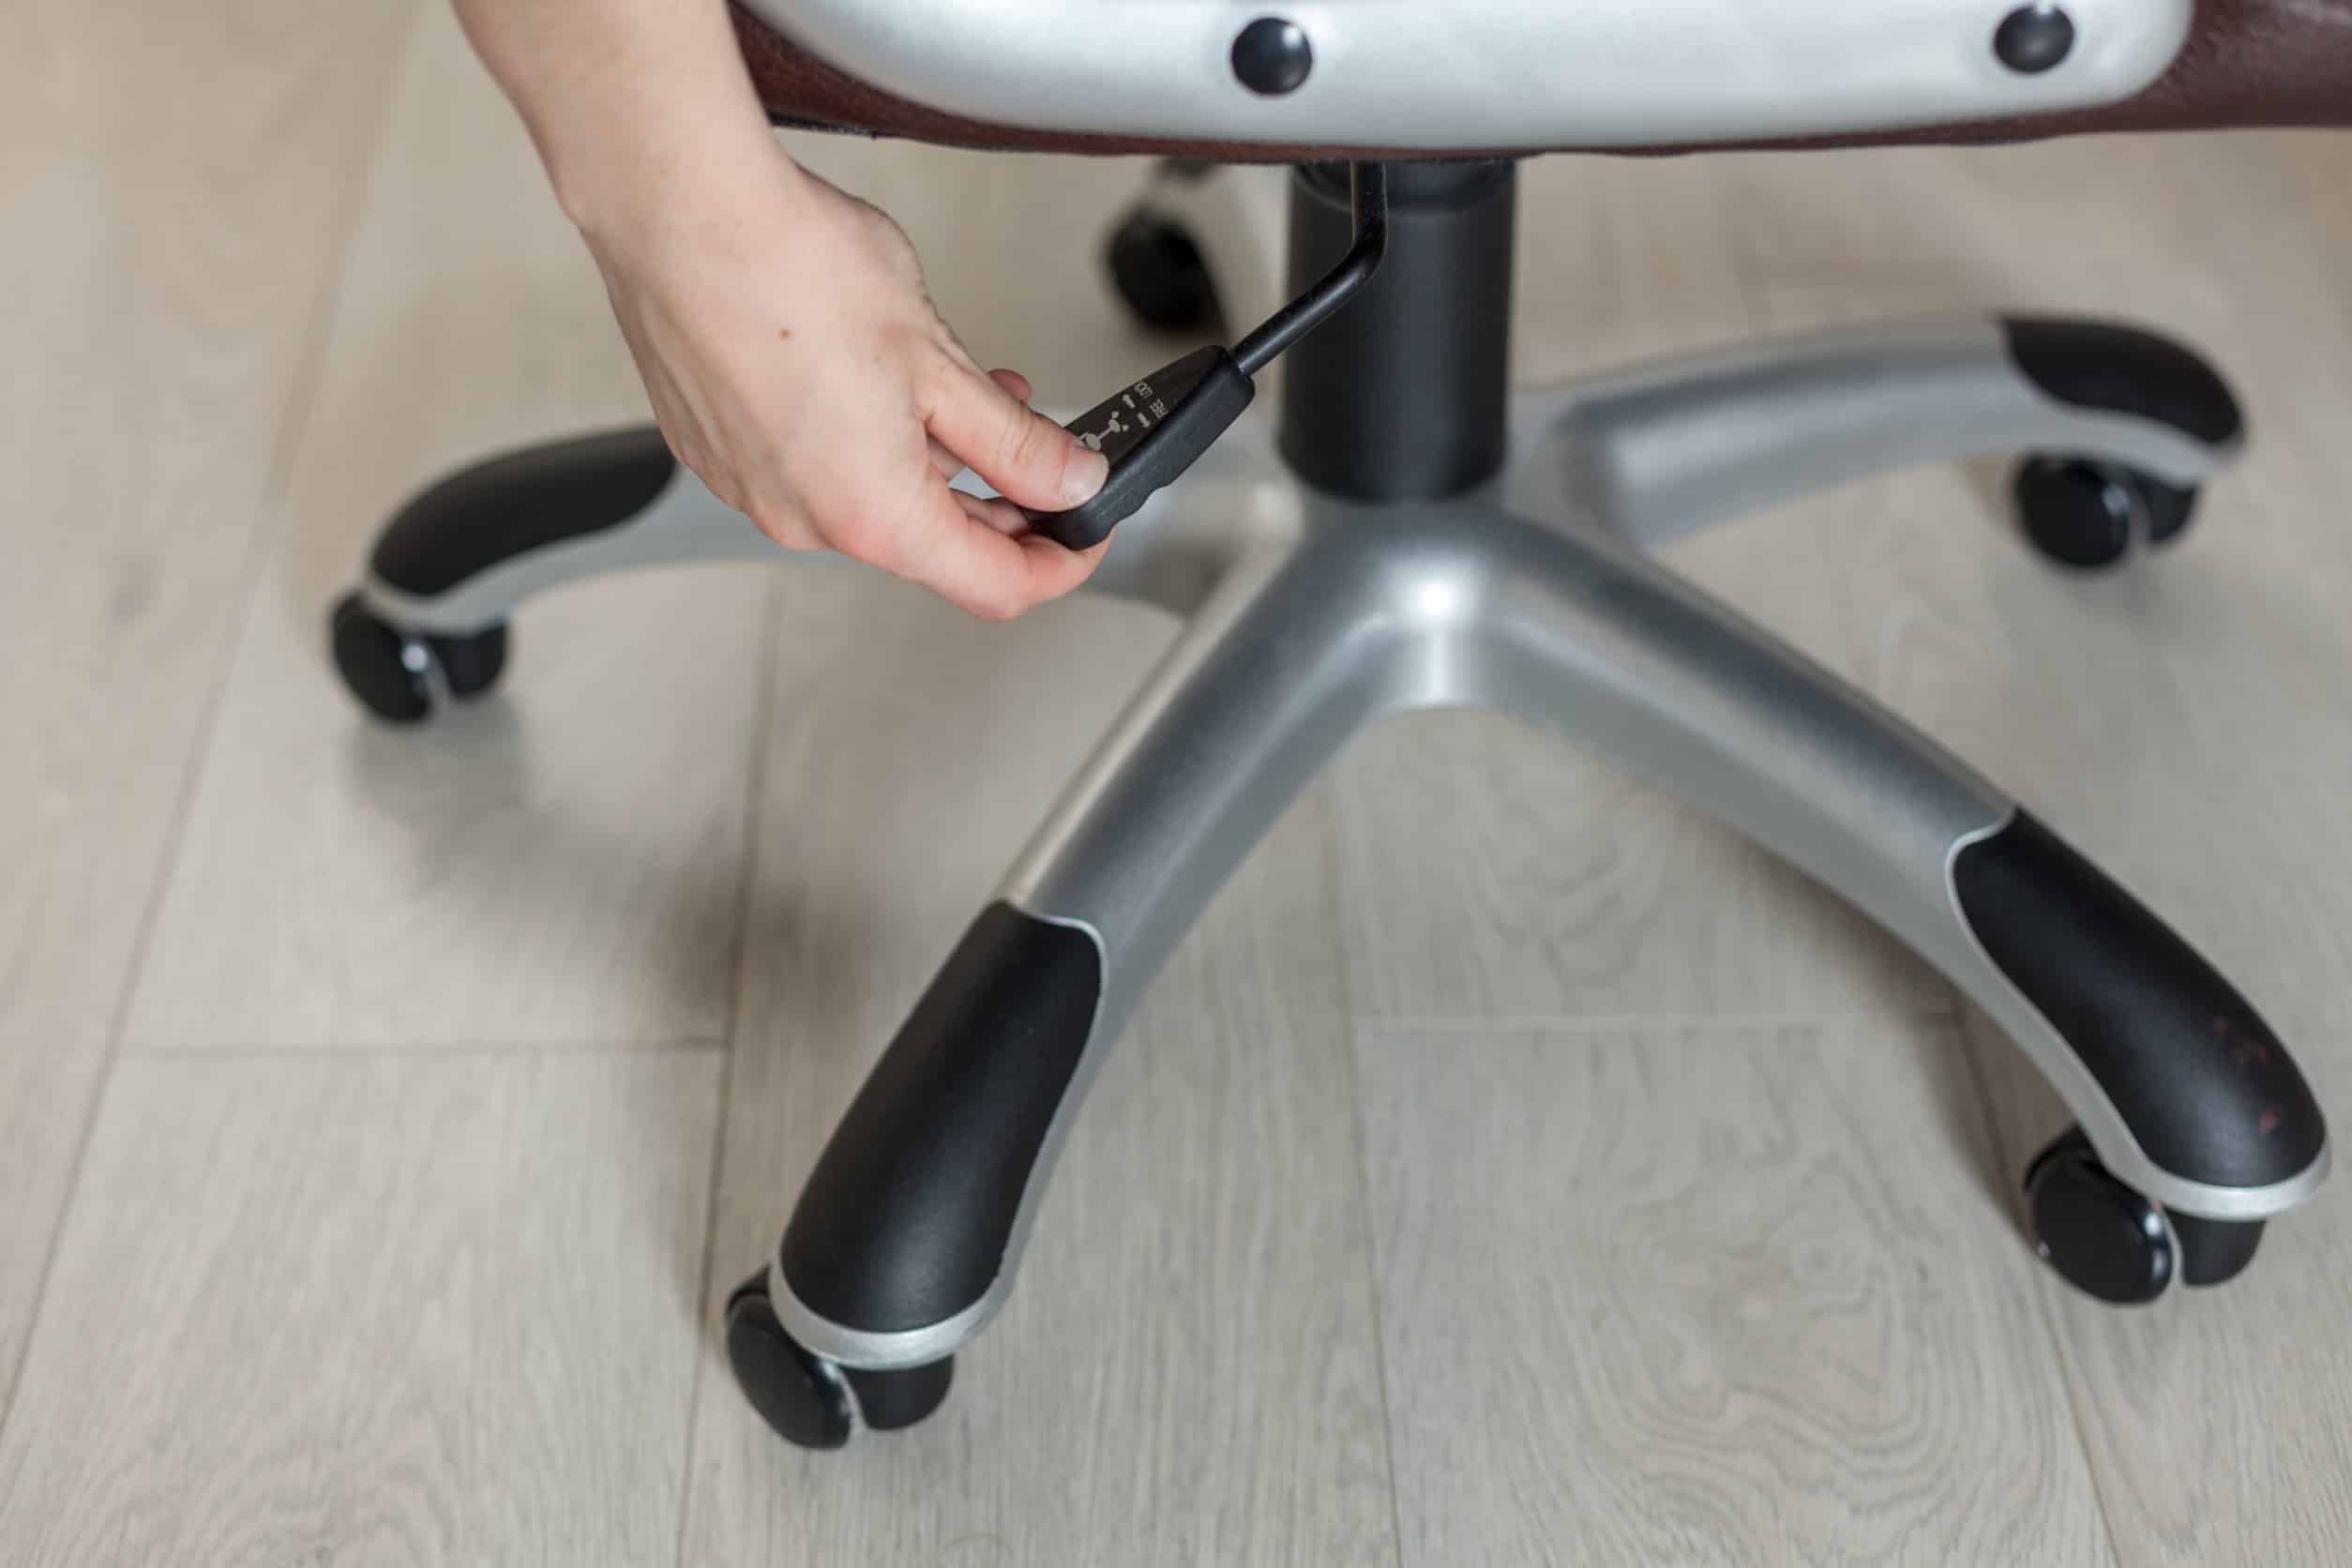
Now that you have all the components organized, it’s time to begin the assembly process by constructing the base of the office chair. The base typically consists of the wheel casters, the gas lift cylinder, and the five-star base.
Start by attaching the wheel casters to the designated slots on the underside of the five-star base. Depending on the design, the casters may simply snap into place or require a firm push to ensure a secure fit. Once all the casters are attached, flip the base over to prepare for the next step.
Next, insert the gas lift cylinder into the center cavity of the five-star base. The cylinder should fit snugly into the opening, and you may need to apply some downward pressure to ensure it is fully seated. Once in position, you can secure the cylinder by attaching the retaining clip or cover provided with the chair.
With the wheel casters and gas lift cylinder in place, carefully inspect the base to ensure that all components are securely attached and aligned. It’s crucial to verify that the casters are firmly seated and that the gas lift cylinder is properly inserted to guarantee stability and functionality.
By meticulously assembling the base of the office chair, you’re laying the groundwork for a stable and maneuverable seating solution. With this step completed, you’re ready to move on to the next phase of the assembly process, bringing you one step closer to enjoying a fully functional office chair.
Step 3: Attaching the Seat and Backrest
With the base assembled, it’s time to move on to attaching the seat and backrest to create the core structure of the office chair. This step typically involves securing the seat plate to the gas lift cylinder and attaching the backrest to the seat assembly.
Begin by aligning the holes on the underside of the seat plate with the top of the gas lift cylinder. Once aligned, gently lower the seat onto the cylinder, ensuring that it fits securely. Depending on the chair’s design, you may need to use the provided hardware, such as screws or bolts, to fasten the seat plate to the cylinder. Tighten the fasteners according to the manufacturer’s specifications, taking care not to over-tighten them.
Next, position the backrest so that it aligns with the mounting points on the seat assembly. Depending on the chair model, the backrest may attach using screws, bolts, or a pre-installed mounting mechanism. Carefully secure the backrest to the seat, ensuring that it is level and firmly attached to provide reliable back support.
Once the seat and backrest are securely connected, take a moment to test the stability and adjustability of the assembly. Gently rock the chair back and forth to ensure that the seat and backrest are securely fastened and that there are no loose connections. Additionally, check the range of motion and adjustability of the chair to ensure that it meets your ergonomic needs.
By successfully attaching the seat and backrest, you’ve reached a pivotal stage in the assembly process, bringing the chair closer to its fully functional state. With the core structure in place, you’re ready to proceed to the next step, further refining the ergonomic features of the office chair.
When assembling an office chair, make sure to carefully follow the instructions provided in the manual. Take your time and double-check each step to ensure the chair is assembled correctly and safely.
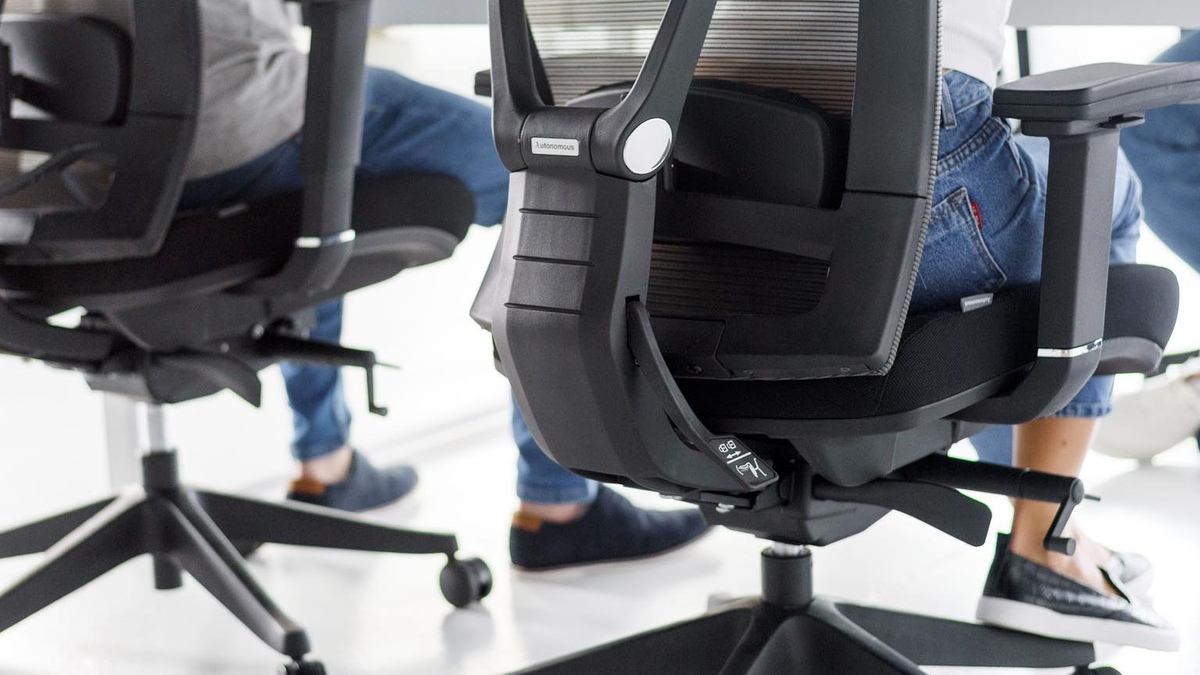
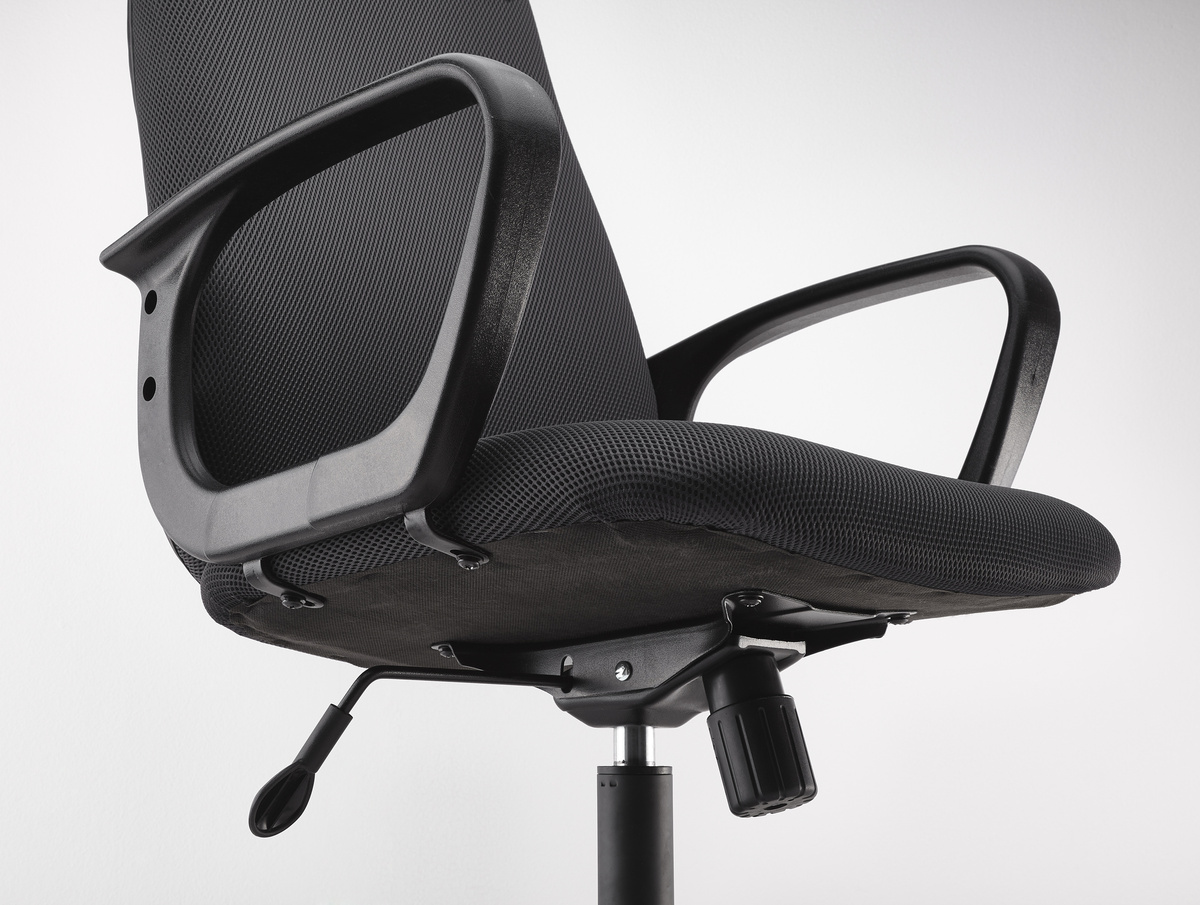
Step 4: Attaching the Armrests
Attaching the armrests is a crucial step in completing the ergonomic design of the office chair, providing additional support and comfort for extended periods of use. Depending on the chair model, the armrests may come pre-assembled or require attachment to the seat and backrest assembly.
If the armrests are not pre-installed, begin by identifying the left and right armrests based on the markings or the design of the components. Position the armrests alongside the seat and backrest assembly, aligning the mounting points on the armrests with the designated attachment points on the chair.
Using the provided hardware, such as screws or bolts, secure the armrests to the chair, ensuring that they are level and securely fastened. Take care not to overtighten the fasteners, as this may affect the stability and adjustability of the armrests.
Once the armrests are attached, take a moment to test their functionality and adjustability. Depending on the chair model, the armrests may feature height and width adjustments, allowing you to customize their position to suit your preferences and ergonomic needs.
After attaching the armrests, evaluate the overall stability and comfort of the chair. Gently apply pressure to the armrests to ensure that they are securely attached and can support the weight of the user without wobbling or shifting.
By successfully attaching the armrests, you’ve enhanced the functionality and ergonomic support of the office chair, bringing it one step closer to providing a comfortable and supportive seating experience. With the armrests in place, the chair is nearing completion, ready for the final adjustments to optimize its performance.
Read more: What Is A Task Chair Vs. Office Chair
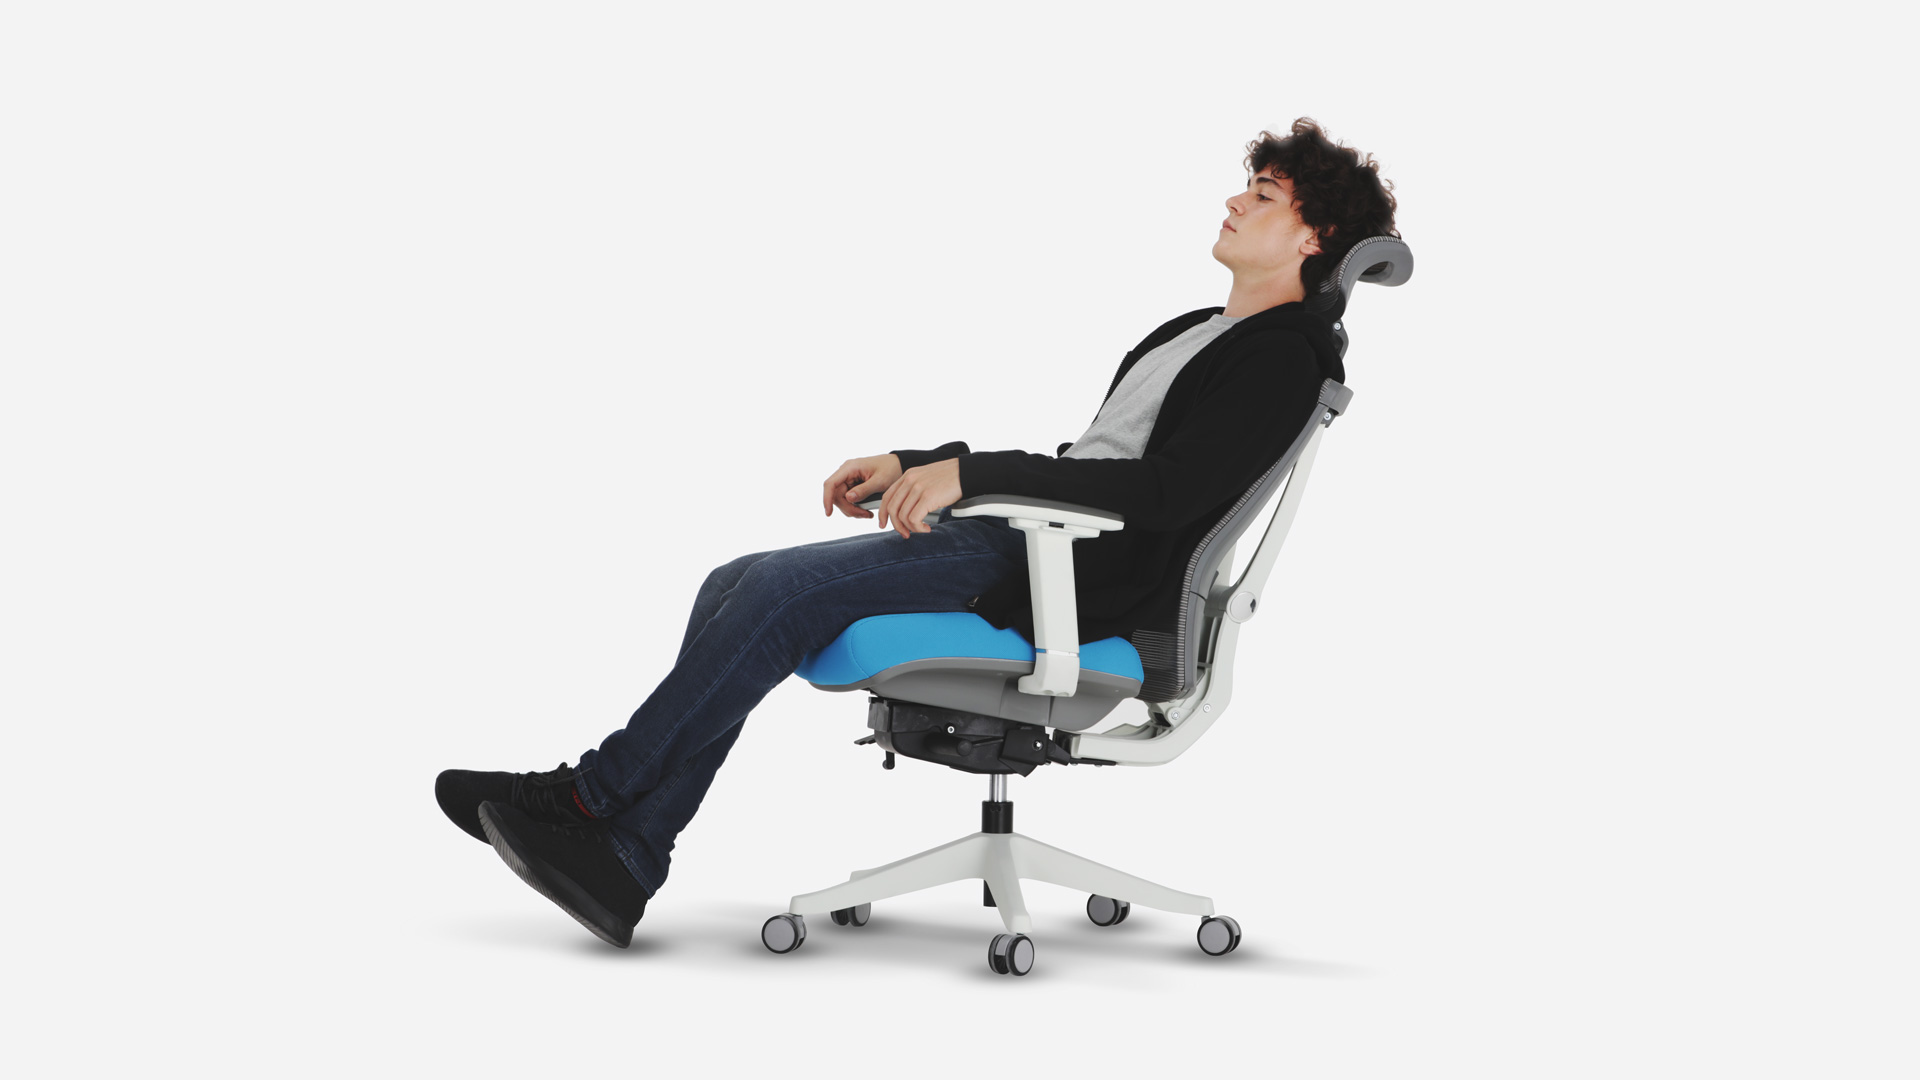
Step 5: Adjusting the Chair
Once the main components of the office chair are assembled, it’s time to focus on adjusting its various features to ensure optimal comfort and functionality. Proper adjustment is key to creating a personalized seating experience that promotes good posture and minimizes the risk of discomfort or strain during extended use.
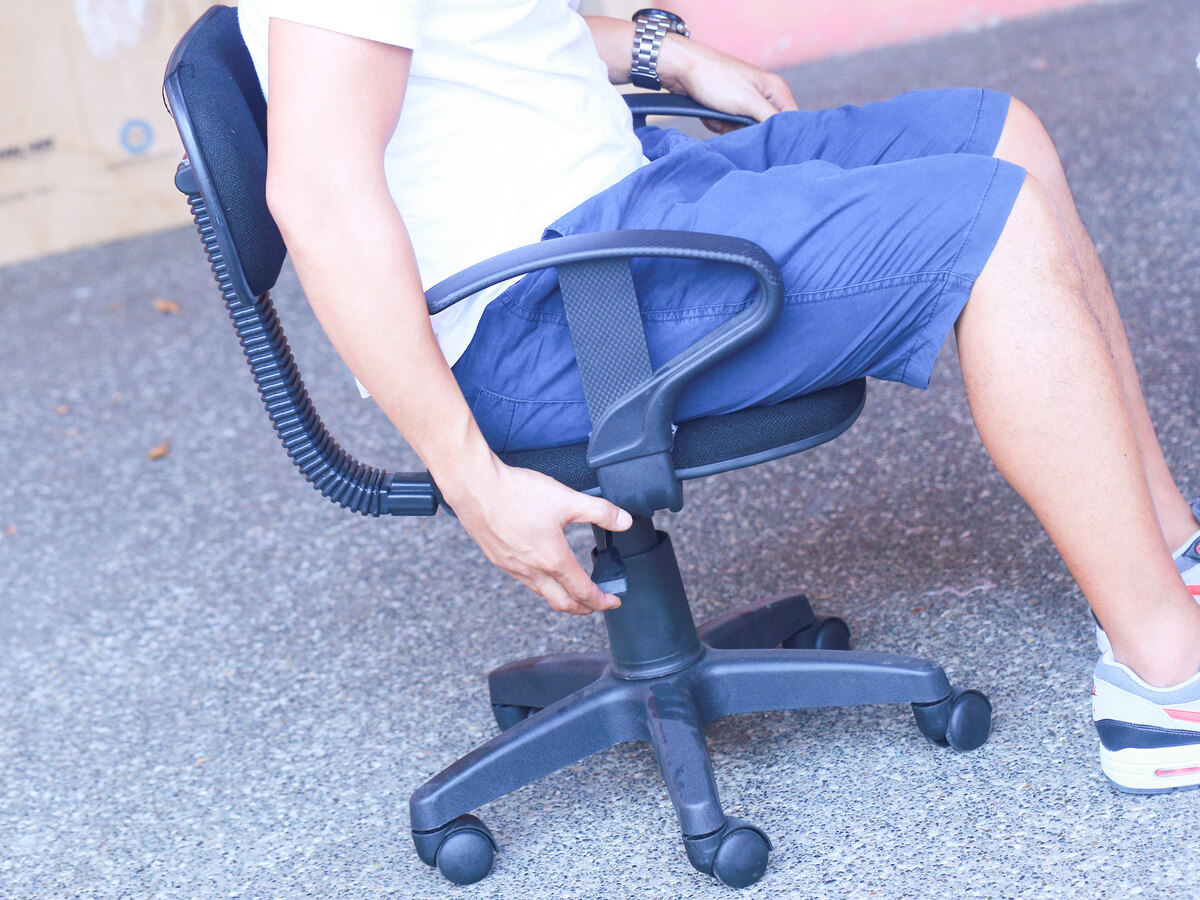
Begin by adjusting the seat height to achieve a position where your feet rest flat on the floor and your thighs are parallel to the ground. Most office chairs feature a pneumatic or gas lift mechanism that allows for easy height adjustment. While seated, activate the height adjustment lever and raise or lower the seat until you achieve the desired position.
Next, adjust the backrest to provide adequate lumbar support. Many office chairs offer the ability to adjust the backrest height and angle to accommodate different body shapes and support the natural curve of the spine. Experiment with the backrest adjustments to find a position that promotes a comfortable and supportive posture.
If your chair features adjustable armrests, customize their position to support your arms and shoulders comfortably. Depending on the design, you may be able to adjust the height, width, and pivot of the armrests to align with your natural arm position and reduce strain on your shoulders and wrists.
Finally, test the swivel and tilt functions of the chair to ensure smooth and effortless movement. Most office chairs are equipped with a swivel base and a tilt mechanism that allows you to recline while maintaining proper support. Familiarize yourself with these functions and adjust them to your liking for enhanced comfort and versatility.
By carefully adjusting the chair to fit your body and work style, you’re maximizing its ergonomic benefits and creating a personalized seating solution tailored to your needs. With the chair fine-tuned to your preferences, you’re ready to enjoy a comfortable and supportive workspace, promoting productivity and well-being.
Conclusion
Assembling an office chair is a fulfilling endeavor that culminates in the creation of a functional and ergonomic seating solution tailored to your needs. By following the step-by-step process outlined in this guide, you’ve transformed a set of components into a reliable and comfortable chair that enhances your workspace.
From unboxing and organizing the components to adjusting the chair to your preferred settings, each step in the assembly process plays a crucial role in creating a sturdy, functional, and comfortable office chair. Taking the time to carefully assemble and adjust the chair ensures that it provides the support and comfort necessary for prolonged use, contributing to your overall well-being and productivity.
With the chair fully assembled and adjusted to your liking, take a moment to appreciate the craftsmanship and attention to detail that goes into creating a reliable and versatile seating solution. Whether you’re working from home, tackling important tasks in the office, or engaging in creative endeavors, your well-assembled office chair will be there to support you every step of the way.
As you settle into your newly assembled office chair, revel in the comfort and support it provides, knowing that you’ve successfully navigated the assembly process and created a valuable asset for your workspace. Embrace the ergonomic design, adjustability, and stability of your chair, and let it inspire you to approach your work with confidence and comfort.
Remember, the process of assembling an office chair is not just about putting together components—it’s about creating a personalized space that prioritizes your well-being and productivity. With your newfound knowledge and hands-on experience, you can tackle future assembly projects with ease, knowing that you have the skills to transform individual parts into a cohesive and functional whole.
So, as you settle into your well-assembled office chair, take pride in your accomplishment, and let it serve as a reminder of your ability to create a comfortable and supportive environment that empowers you to excel in your endeavors.
Frequently Asked Questions about How To Assemble An Office Chair
Was this page helpful?
At Storables.com, we guarantee accurate and reliable information. Our content, validated by Expert Board Contributors, is crafted following stringent Editorial Policies. We're committed to providing you with well-researched, expert-backed insights for all your informational needs.


0 thoughts on “How To Assemble An Office Chair”