Home>Furniture & Design>Office Furniture>How To Fix An Office Chair

Office Furniture
How To Fix An Office Chair
Modified: March 2, 2024
Learn how to fix your office chair with our easy step-by-step guide. Save money and extend the life of your office furniture with our expert tips. Discover solutions for common office chair problems.
(Many of the links in this article redirect to a specific reviewed product. Your purchase of these products through affiliate links helps to generate commission for Storables.com, at no extra cost. Learn more)
Introduction
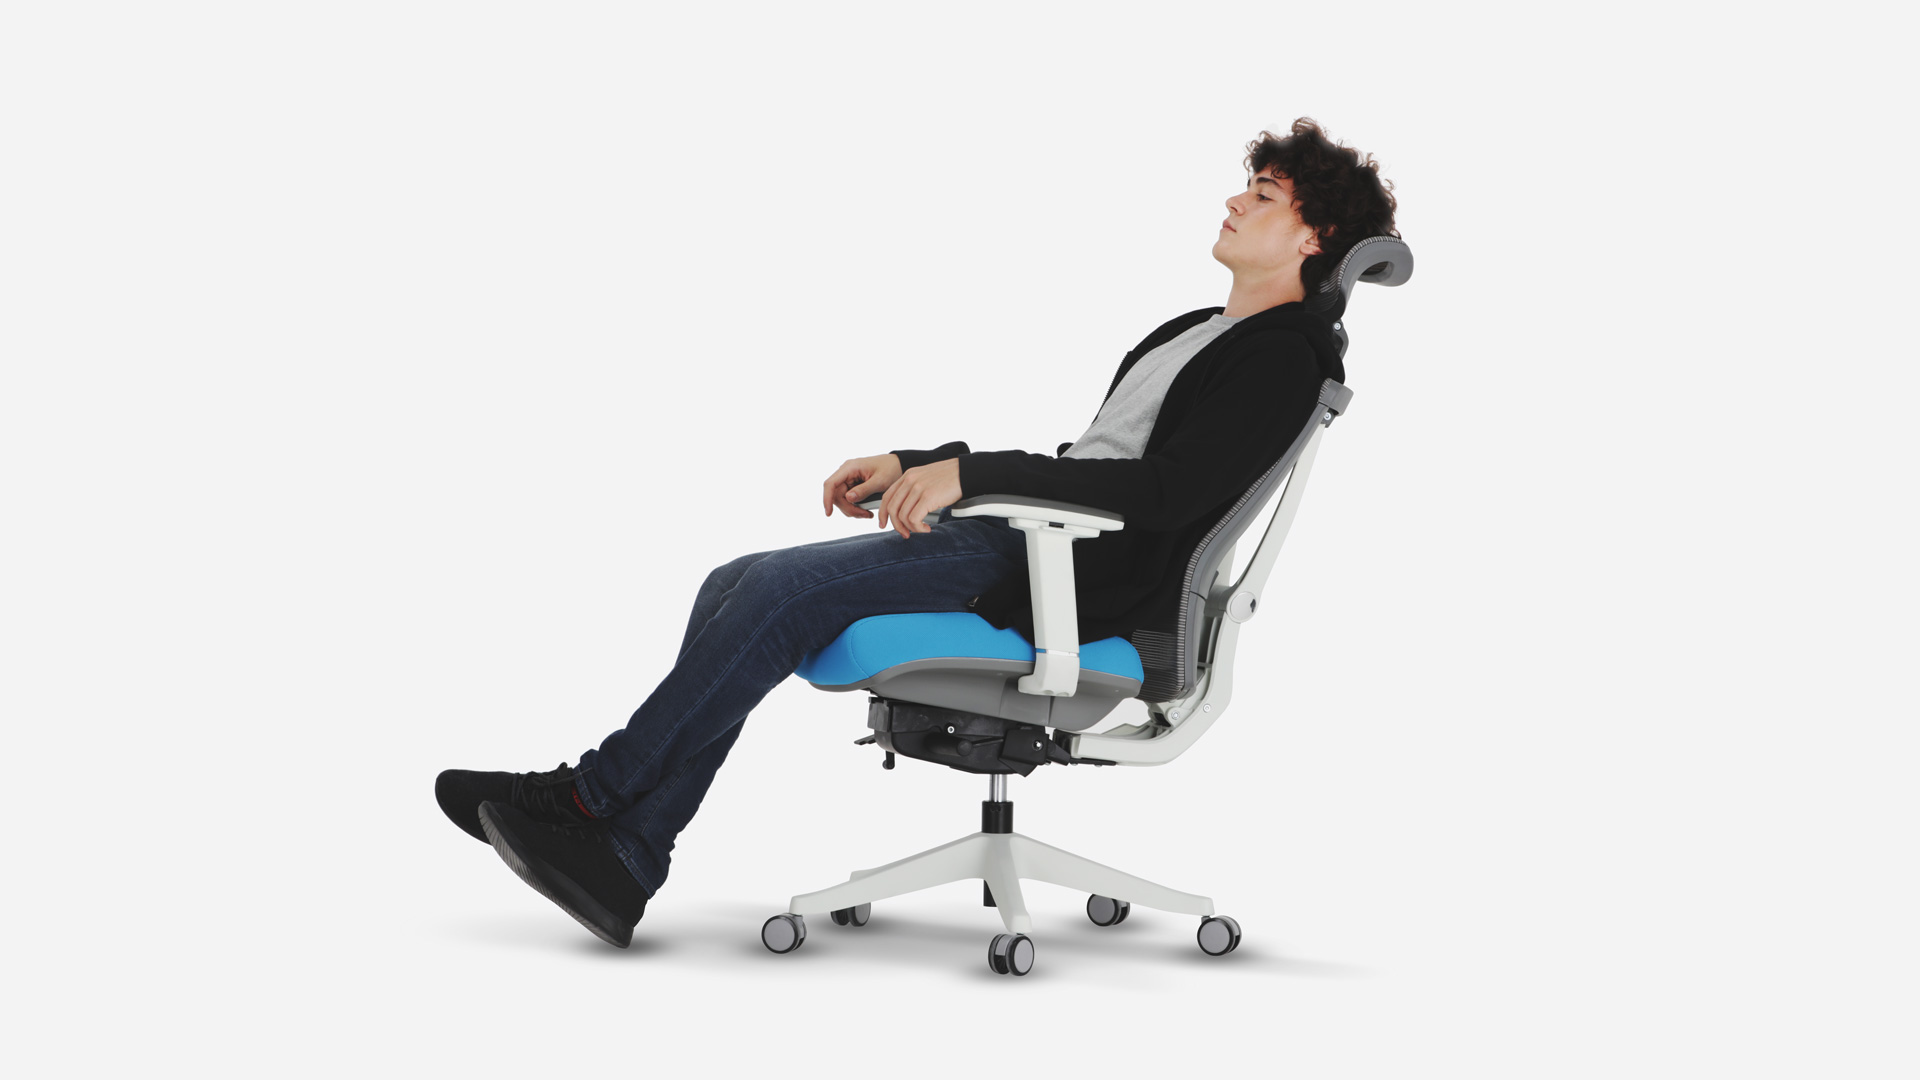
Welcome to the ultimate guide on how to fix an office chair! If you spend long hours at your desk, you understand the importance of having a comfortable and functional office chair. However, over time, these chairs can develop various issues such as wobbliness, sinking, or malfunctioning parts. The good news is that many of these problems can be resolved with some simple tools and a bit of know-how.
In this comprehensive guide, we will walk you through the step-by-step process of identifying and fixing common office chair issues. Whether your chair wobbles every time you lean back, sinks lower and lower as the day goes on, or simply doesn't feel quite right, we've got you covered. From assessing the problem to making necessary repairs and adjustments, you'll learn everything you need to know to restore your office chair to its former glory.
So, if you're ready to bid farewell to that annoying wobble or the frustration of a sinking seat, grab your toolkit and let's get started. With a little effort and the right guidance, you'll soon be enjoying the comfort and support of a fully functional office chair once again. Let's dive in and get those chairs back in top shape!
Key Takeaways:
- Say goodbye to wobbly chairs! Tighten screws, clean casters, and stabilize the base to restore stability. Enjoy a comfortable and distraction-free workspace.
- Don’t let a sinking chair bring you down! Replace the gas lift cylinder and adjust armrests and seat height for ergonomic comfort. Keep your chair in top shape with regular maintenance.
Read more: How To Fix A Wobbly Office Chair
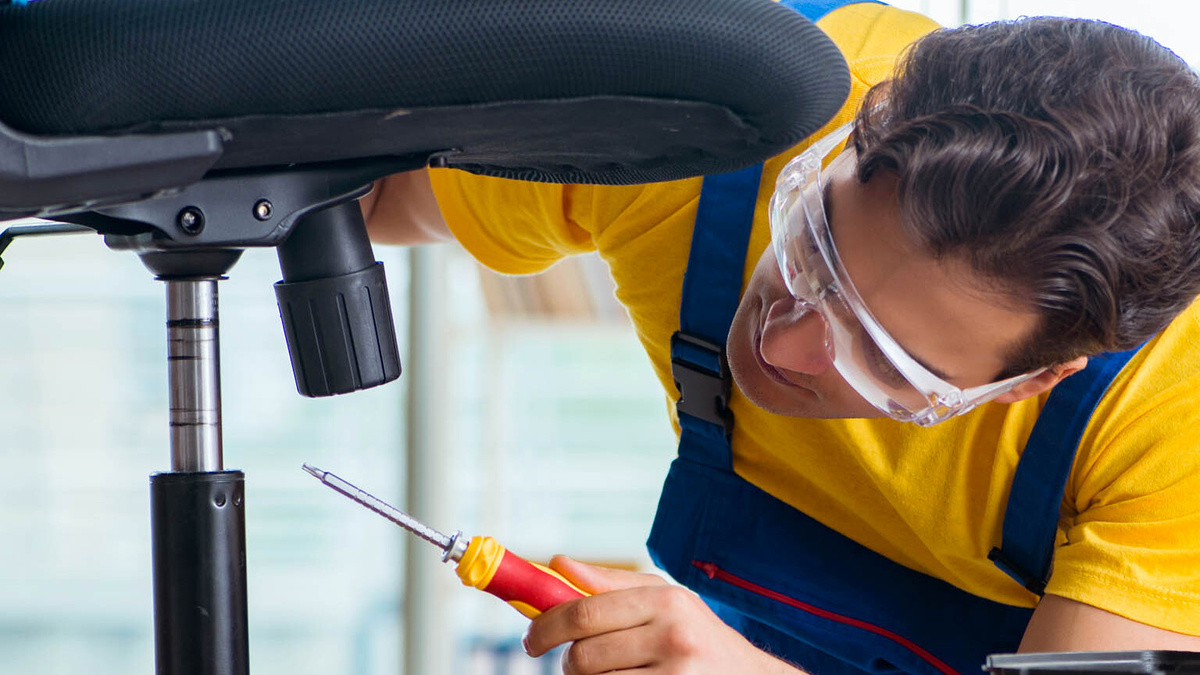
Step 1: Assess the Problem
Before diving into the repair process, it’s crucial to thoroughly assess the issues plaguing your office chair. Start by sitting in the chair and taking note of any wobbling, sinking, or discomfort. Pay attention to any strange noises or resistance when adjusting the height or swiveling the chair. By identifying the specific problems, you’ll be better equipped to tackle the necessary repairs.
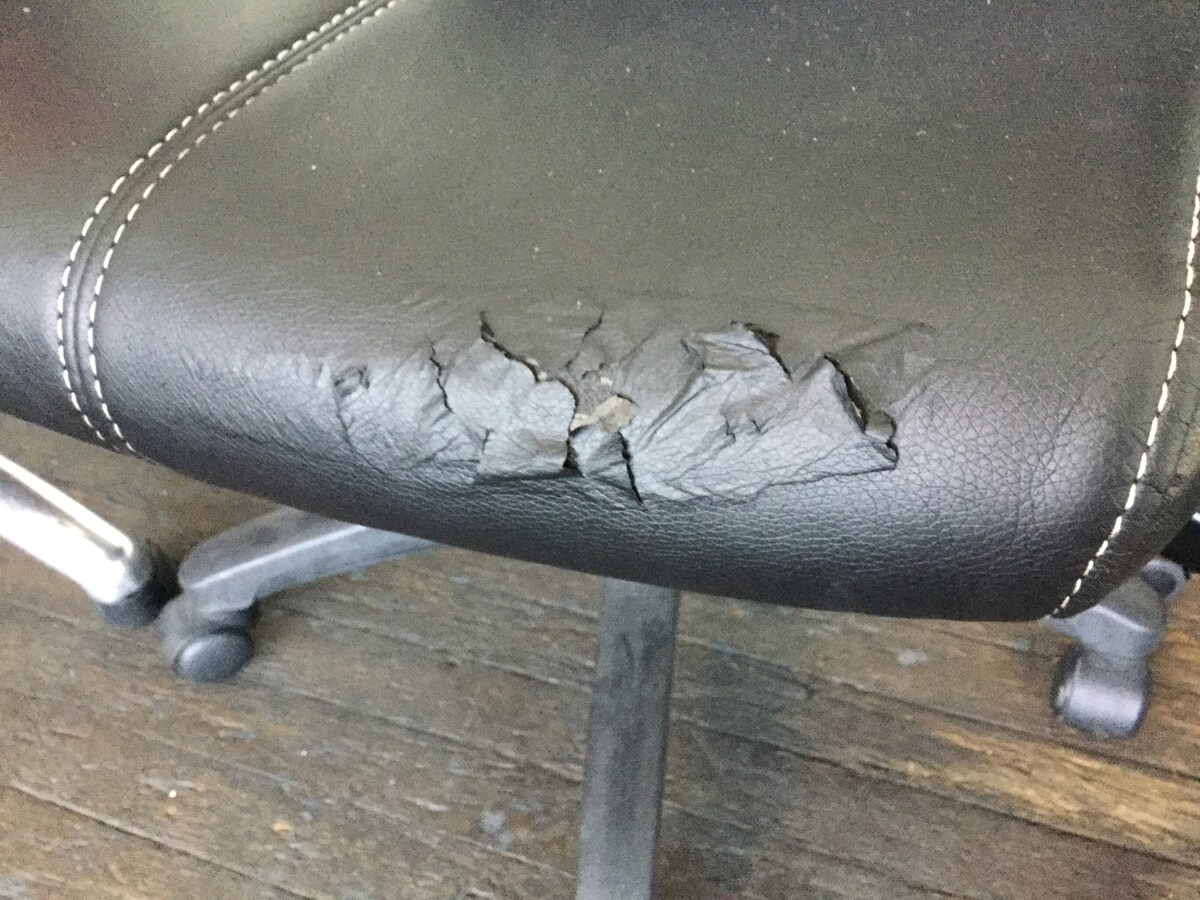
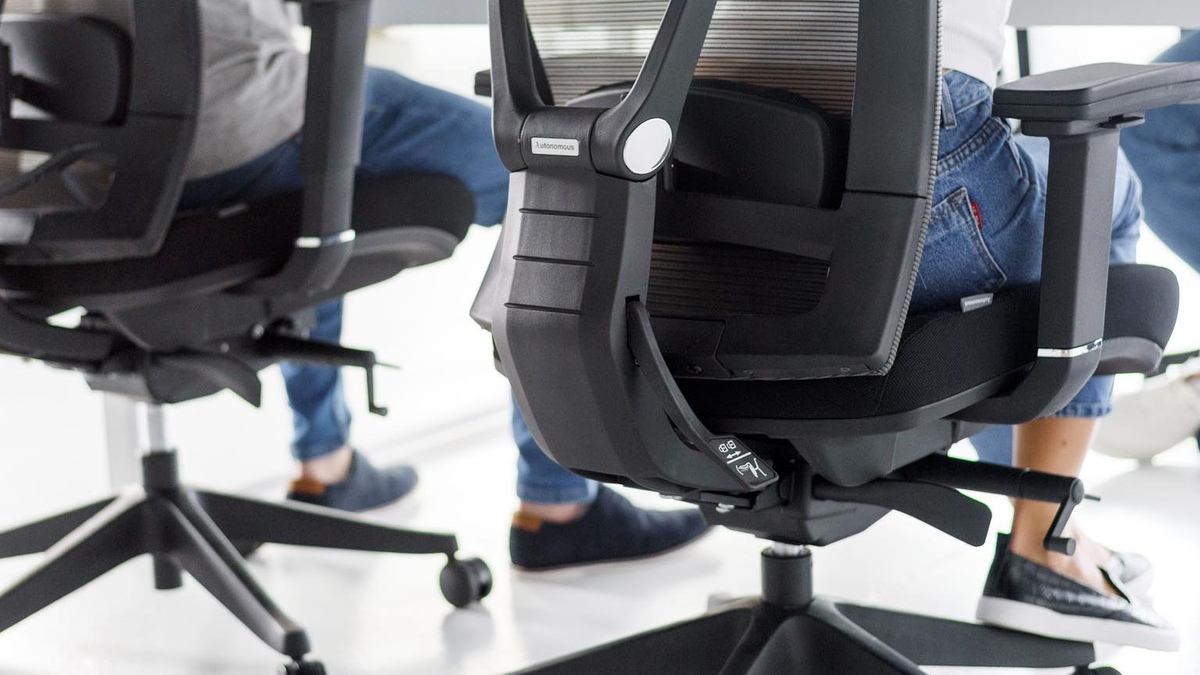
Next, carefully examine the chair’s components, including the base, seat, backrest, armrests, and casters. Look for visible signs of wear and tear, loose or missing screws, damaged upholstery, or misaligned parts. If your chair features a gas lift mechanism for height adjustment, check for leaks or irregularities that may be causing it to sink unexpectedly.
Additionally, consider the chair’s overall age and usage. Older chairs may require more extensive repairs or replacement parts, while newer models might benefit from simple adjustments. Understanding the chair’s history and any previous issues can provide valuable insight into the root cause of the current problems.
Finally, take note of your own preferences and ergonomic needs. If the chair feels uncomfortable or fails to provide adequate support, these subjective factors should also be considered during the assessment. By taking a comprehensive approach to problem assessment, you’ll be well-prepared to move on to the next steps and address each issue effectively.
Step 2: Gather Necessary Tools
Before embarking on the repair journey, it’s essential to gather the right tools to ensure a smooth and efficient process. Here’s a list of commonly used tools for fixing office chairs:
- Adjustable wrench
- Phillips and flat-head screwdrivers
- Needle-nose pliers
- Allen wrench set
- Lubricant (such as silicone spray or WD-40)
- Replacement parts (if needed, such as casters, gas lift cylinder, or screws)
- Protective gloves
- Clean cloth for wiping down components
Having these tools on hand will allow you to address a wide range of issues, from tightening loose screws to replacing worn-out components. It’s important to ensure that the tools are in good condition and suitable for the specific tasks at hand.
Additionally, consider the workspace where the repairs will take place. A clear, well-lit area with ample space to maneuver the chair and access its various parts is ideal. If the chair needs to be flipped over or disassembled, make sure you have enough room to work comfortably and safely.
By gathering the necessary tools and preparing the workspace, you’ll be ready to tackle the repair process with confidence and efficiency. With everything in place, you can focus on restoring your office chair to its optimal condition and reclaiming the comfort and functionality you deserve.
Step 3: Fixing a Wobbly Chair
A wobbly office chair can be a constant source of frustration, causing discomfort and distraction during work hours. Fortunately, addressing this issue is often straightforward and can significantly improve your seating experience. Here’s a step-by-step guide to fixing a wobbly chair:
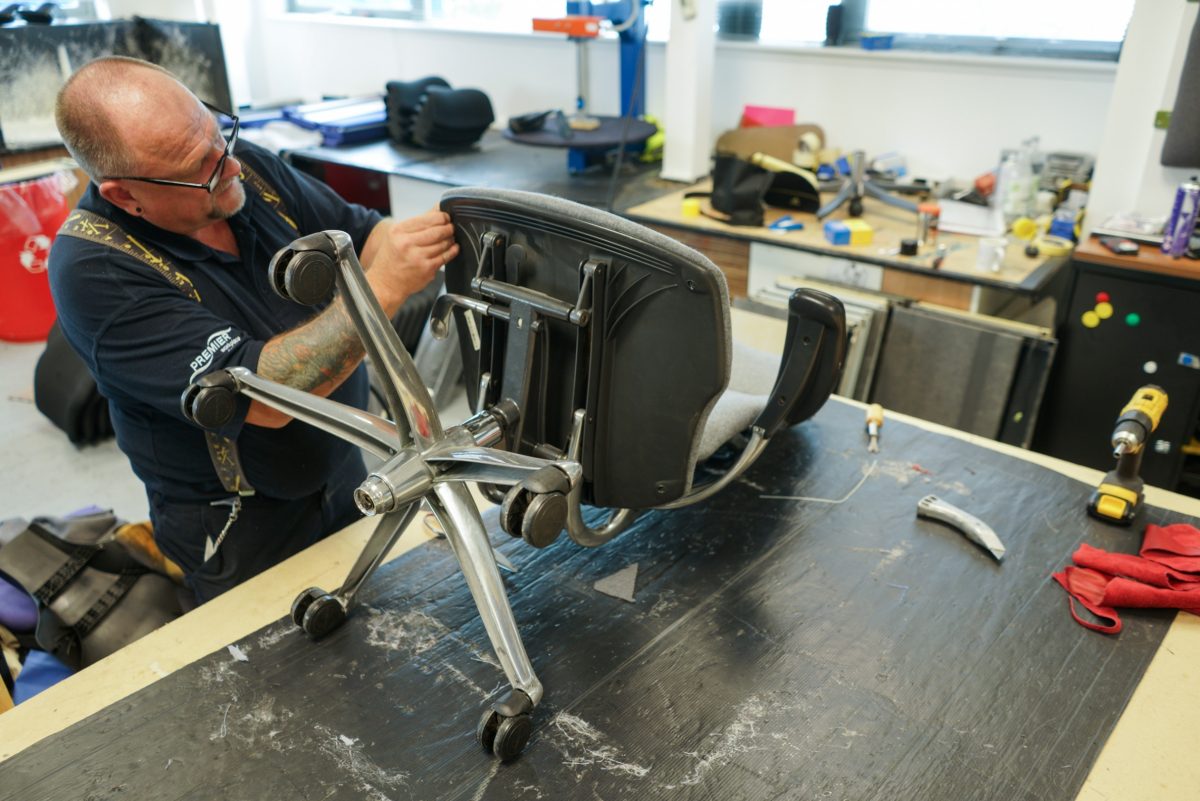
- Inspect the Base: Start by flipping the chair over and examining the base. Look for loose or missing screws, cracks in the base, or any other visible damage that may be causing instability.
- Tighten Screws: Using an adjustable wrench or screwdriver, carefully tighten any loose screws or bolts connecting the base to the seat. Pay close attention to the attachment points and ensure a snug fit without over-tightening.
- Check Casters: Inspect the casters (wheels) for debris, hair, or damage that could affect their smooth rotation. Clean the casters and their housing to remove any obstructions, and consider applying a small amount of lubricant to improve their mobility.
- Stabilize the Base: If the chair continues to wobble after tightening screws and cleaning the casters, consider using shims or adhesive pads to stabilize the base on uneven flooring surfaces. These simple additions can make a noticeable difference in the chair’s stability.
- Test and Adjust: Once you’ve addressed each potential cause of the wobbliness, carefully test the chair by sitting in it and gently rocking back and forth. If the wobbling has subsided, congratulations – you’ve successfully fixed a common and bothersome issue!
By following these steps, you can eliminate the annoyance of a wobbly chair and restore a sense of stability and reliability to your workspace. With a solid and secure seating arrangement, you’ll be able to focus on your tasks with enhanced comfort and peace of mind.
Step 4: Repairing a Sinking Chair
Dealing with a sinking office chair can be a frustrating experience, as it compromises proper posture and comfort. If you find yourself gradually lowering to an uncomfortable position throughout the day, it’s time to address this common issue. Follow these steps to repair a sinking chair and restore its height adjustability:
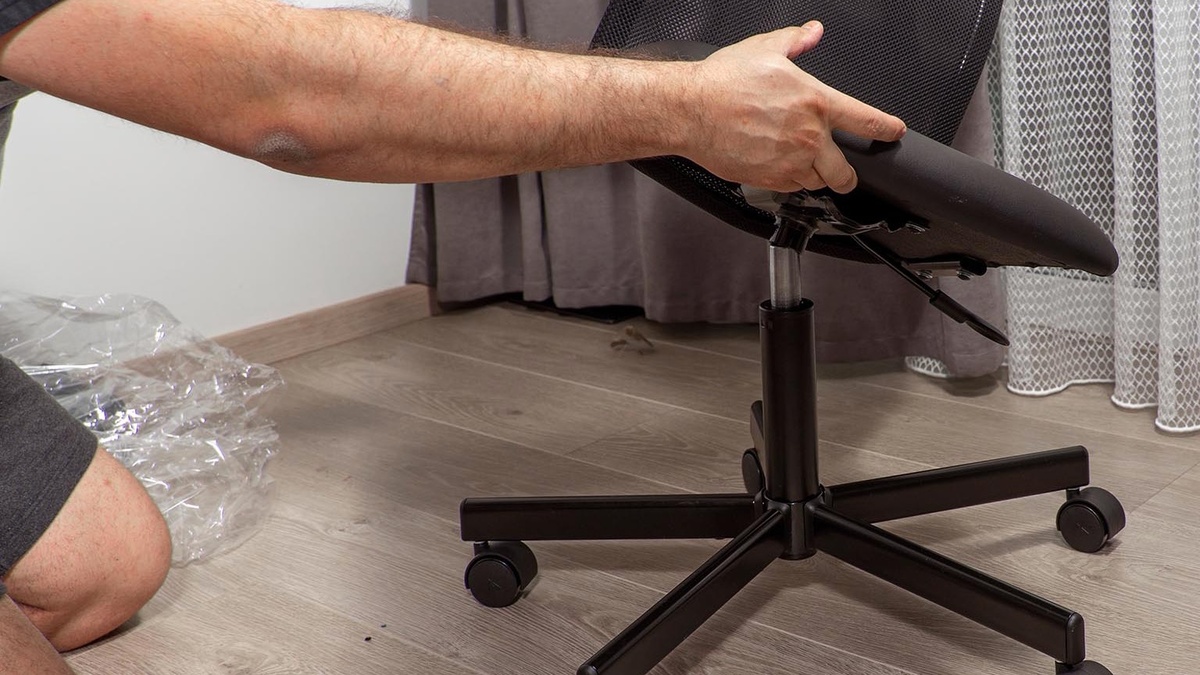
- Assess the Gas Lift Cylinder: The gas lift cylinder is often the culprit behind a sinking chair. Check for visible signs of damage, such as leaks or dents, and ensure that it is securely attached to the seat and base.
- Replace the Gas Lift Cylinder: If the gas lift cylinder is damaged or malfunctioning, it may need to be replaced. Measure the length of the existing cylinder and obtain a suitable replacement from a reputable office chair parts supplier.
- Remove the Old Cylinder: Carefully detach the gas lift cylinder from the chair by following the manufacturer’s instructions. This typically involves removing a retaining clip or cover and separating the cylinder from the seat and base.
- Install the New Cylinder: Insert the replacement gas lift cylinder into the designated mounting points, ensuring a secure and stable fit. Follow the manufacturer’s guidelines for proper installation, and test the chair’s height adjustment to confirm that the sinking issue has been resolved.
- Test and Adjust: Sit in the chair and test the height adjustment mechanism to verify that the sinking problem has been successfully addressed. Make any necessary adjustments to the cylinder or other components to achieve the desired seat height.
By following these steps, you can effectively repair a sinking office chair and regain control over its height adjustment functionality. With a stable and properly positioned seat, you’ll be able to maintain an ergonomic posture and work comfortably throughout the day.
Check the chair’s hydraulic lift for leaks or damage. If it’s not working, replace it with a new one to fix the chair’s height adjustment.
Read more: How To Fix Office Chair Tilt
Step 5: Adjusting Armrests and Seat Height
Proper adjustment of armrests and seat height is essential for maintaining ergonomic comfort and reducing strain during extended periods of sitting. Whether you’re experiencing discomfort or simply seeking a more personalized seating configuration, follow these steps to optimize the armrests and seat height of your office chair:
Adjusting Armrests:
- Identify Adjustment Mechanism: Determine the type of armrest adjustment mechanism on your chair, which may include height, width, and pivot adjustments. Refer to the chair's manual or manufacturer's guidelines for specific details.
- Position Armrests: Sit in the chair and adjust the armrests to a height that allows your shoulders to remain relaxed and your elbows to rest comfortably at a 90-degree angle. This positioning promotes proper arm and wrist alignment while typing or performing tasks.
- Customize Width and Pivot: If your chair allows for width and pivot adjustments, tailor the armrests to accommodate your natural arm position and movements. This customization can enhance support and reduce strain during various activities.
Adjusting Seat Height:
- Leverage Height Adjustment: Locate the seat height adjustment lever or mechanism, typically positioned beneath the seat or on one side of the chair. Engage the lever and raise or lower the seat to achieve the desired height.
- Optimize Leg Position: Adjust the seat height so that your feet rest flat on the floor and your thighs are parallel to the ground, promoting proper circulation and posture. Avoid dangling feet or excessive pressure on the underside of your thighs.
- Test and Refine: Sit in the chair and assess the comfort and support provided by the adjusted armrests and seat height. Make any necessary refinements to ensure that your body remains properly aligned and supported during work or relaxation.
By carefully adjusting the armrests and seat height to suit your unique physique and preferences, you can enhance your overall seating experience and minimize the risk of discomfort or strain. With personalized ergonomic settings, you’ll be well-equipped to tackle tasks with improved comfort and focus.
Step 6: Lubricating Wheels and Swivels
Smooth and effortless movement is a hallmark of a well-functioning office chair. Over time, however, the wheels (casters) and swivel mechanism can become prone to friction and resistance, hindering mobility and comfort. To ensure that your chair glides and swivels with ease, follow these steps to lubricate the wheels and swivels:
- Inspect the Wheels: Examine the casters for debris, hair, or accumulated dirt that may impede their rotation. Clean the wheels and their housing using a damp cloth to remove any obstructions and buildup.
- Apply Lubricant: Using a silicone-based spray or a specialized chair wheel lubricant, apply a small amount of lubricant to the wheel axles and bearings. Be mindful not to over-apply, as excess lubricant can attract dirt and create a mess.
- Swivel Mechanism Maintenance: If the chair’s swivel mechanism feels stiff or creaky, consider applying a light, all-purpose lubricant to the pivot points and rotating components. This can restore smooth swiveling and minimize friction.
- Test Mobility: After lubricating the wheels and swivels, roll the chair back and forth to assess the improvement in mobility and smoothness. Confirm that the swivel action feels effortless and free of resistance.
By regularly lubricating the wheels and swivels of your office chair, you can preserve its maneuverability and ensure a seamless transition between workstations or tasks. A well-lubricated chair promotes ease of movement and contributes to a more dynamic and adaptable workspace.
Read more: How To Fix A Wheel On An Office Chair
Step 7: Final Checks and Maintenance Tips
As you near the completion of the office chair repair process, it’s essential to perform final checks and implement maintenance practices to prolong the chair’s functionality and comfort. Follow these steps to ensure that your chair is in optimal condition and equipped for long-term performance:
- Comprehensive Inspection: Conduct a thorough assessment of the chair, paying attention to all repaired components and adjustments. Test the stability, mobility, and ergonomic features to confirm that each issue has been successfully addressed.
- Tighten and Secure: Double-check all screws, bolts, and fasteners to ensure they are securely tightened. Address any remaining wobbliness or instability by identifying and resolving loose connections.
- Reassess Comfort and Support: Sit in the chair and evaluate its overall comfort and support. Make any final adjustments to the armrests, seat height, or backrest to achieve an ergonomic and personalized seating experience.
- Maintenance Tips: Implement routine maintenance practices, such as periodically cleaning the chair, inspecting for wear and tear, and lubricating moving parts. Regular maintenance can prevent future issues and extend the lifespan of your office chair.
By performing these final checks and embracing proactive maintenance habits, you can ensure that your office chair remains a reliable and comfortable asset in your workspace. With attention to detail and a commitment to ongoing care, you’ll enjoy the benefits of a well-maintained and supportive seating solution for years to come.
Frequently Asked Questions about How To Fix An Office Chair
Was this page helpful?
At Storables.com, we guarantee accurate and reliable information. Our content, validated by Expert Board Contributors, is crafted following stringent Editorial Policies. We're committed to providing you with well-researched, expert-backed insights for all your informational needs.

0 thoughts on “How To Fix An Office Chair”