Home>Furniture & Design>Outdoor Furniture>How To Build An Outdoor Gas Fire Pit
Outdoor Furniture
How To Build An Outdoor Gas Fire Pit
Modified: February 3, 2024
Learn how to build an outdoor gas fire pit to enhance your outdoor-furniture-furniture-and-design. Create a cozy and inviting atmosphere for your outdoor space. Step-by-step guide for DIY enthusiasts.
(Many of the links in this article redirect to a specific reviewed product. Your purchase of these products through affiliate links helps to generate commission for Storables.com, at no extra cost. Learn more)
Introduction
Creating an inviting outdoor space that beckons friends and family to gather and share memorable moments is a cherished aspiration for many homeowners. An outdoor gas fire pit can serve as the focal point of such a space, providing warmth, ambiance, and a cozy atmosphere for socializing. Whether it's for roasting marshmallows, enjoying a quiet evening under the stars, or simply adding a touch of elegance to your backyard, building an outdoor gas fire pit can be a rewarding and relatively straightforward project.
In this comprehensive guide, we will walk you through the step-by-step process of constructing your own outdoor gas fire pit. From gathering the necessary materials and tools to testing the finished product, we will cover every essential detail to ensure a successful and safe project. By the end of this journey, you will have the knowledge and confidence to create a stunning outdoor feature that will be the envy of your neighborhood.
So, roll up your sleeves, unleash your creativity, and get ready to embark on a fulfilling DIY adventure. Let's dive into the exciting world of outdoor design and craftsmanship, where the warmth of a crackling fire becomes the heart of your outdoor oasis.
Key Takeaways:
- Building an outdoor gas fire pit is a rewarding DIY project that requires careful planning, precise execution, and attention to safety. From gathering materials to testing functionality, it’s a fulfilling journey of creativity and craftsmanship.
- An outdoor gas fire pit serves as a captivating focal point for gatherings, relaxation, and enjoyment of the great outdoors. It offers endless possibilities for creating cherished memories and enhancing outdoor lifestyle with its comforting warmth and mesmerizing ambiance.
Read more: How To Build An Outdoor Gas Fire Pit
Step 1: Gather Materials and Tools
Before diving into the construction process, it’s essential to gather all the necessary materials and tools. Here’s a comprehensive list to guide you through this initial step:
Materials:
- Concrete blocks or fire pit kit
- Fire pit burner kit
- Lava rocks or fire glass
- Gas line and fittings
- High-temperature mortar
- Non-combustible decorative stones or bricks
- Steel or aluminum ring (if not included in the burner kit)
- Black pipe and fittings (if not using a pre-assembled gas line)
- Gas shutoff valve
- Teflon tape or pipe joint compound
- Fire pit cover
- Protective gloves and goggles
Tools:
- Shovel
- Level
- Tape measure
- Masonry trowel
- Rubber mallet
- Adjustable wrench
- Gas leak detector solution or spray
- Drill with masonry bit
- Wire brush
- Bucket and hose (for mixing mortar)
Once you have all the required materials and tools, you’re ready to move on to the next step: choosing the perfect location for your outdoor gas fire pit.
Step 2: Choose a Location
When selecting the ideal spot for your outdoor gas fire pit, several factors should be taken into consideration. The chosen location should not only complement your outdoor living space but also adhere to safety guidelines and local regulations. Here are some key points to keep in mind:
Read more: How To Build An Outdoor Fire Pit
Clearance and Safety:
Ensure that the chosen area is clear of overhanging branches, structures, and any other potential fire hazards. Leave ample space around the fire pit to accommodate seating and movement without feeling cramped.
Ground Stability:
Opt for a level and stable ground surface to serve as the foundation for your fire pit. Avoid areas prone to standing water or poor drainage, as this can impact the fire pit’s integrity and longevity.
Wind Considerations:
Take note of the prevailing wind direction in your outdoor space. Position the fire pit in a way that minimizes the impact of strong winds, ensuring that the flames remain steady and smoke is directed away from seating areas.
Aesthetic Appeal:
The location of the fire pit should contribute to the overall visual appeal of your outdoor area. Consider sightlines from key vantage points, such as the patio, deck, or outdoor seating areas, to ensure that the fire pit becomes a captivating focal point.
Once you’ve identified the perfect location that satisfies these criteria, you’re ready to move on to the next step: preparing the site for the construction of your outdoor gas fire pit.
Read more: How To Build A Gas Fire Pit Burner
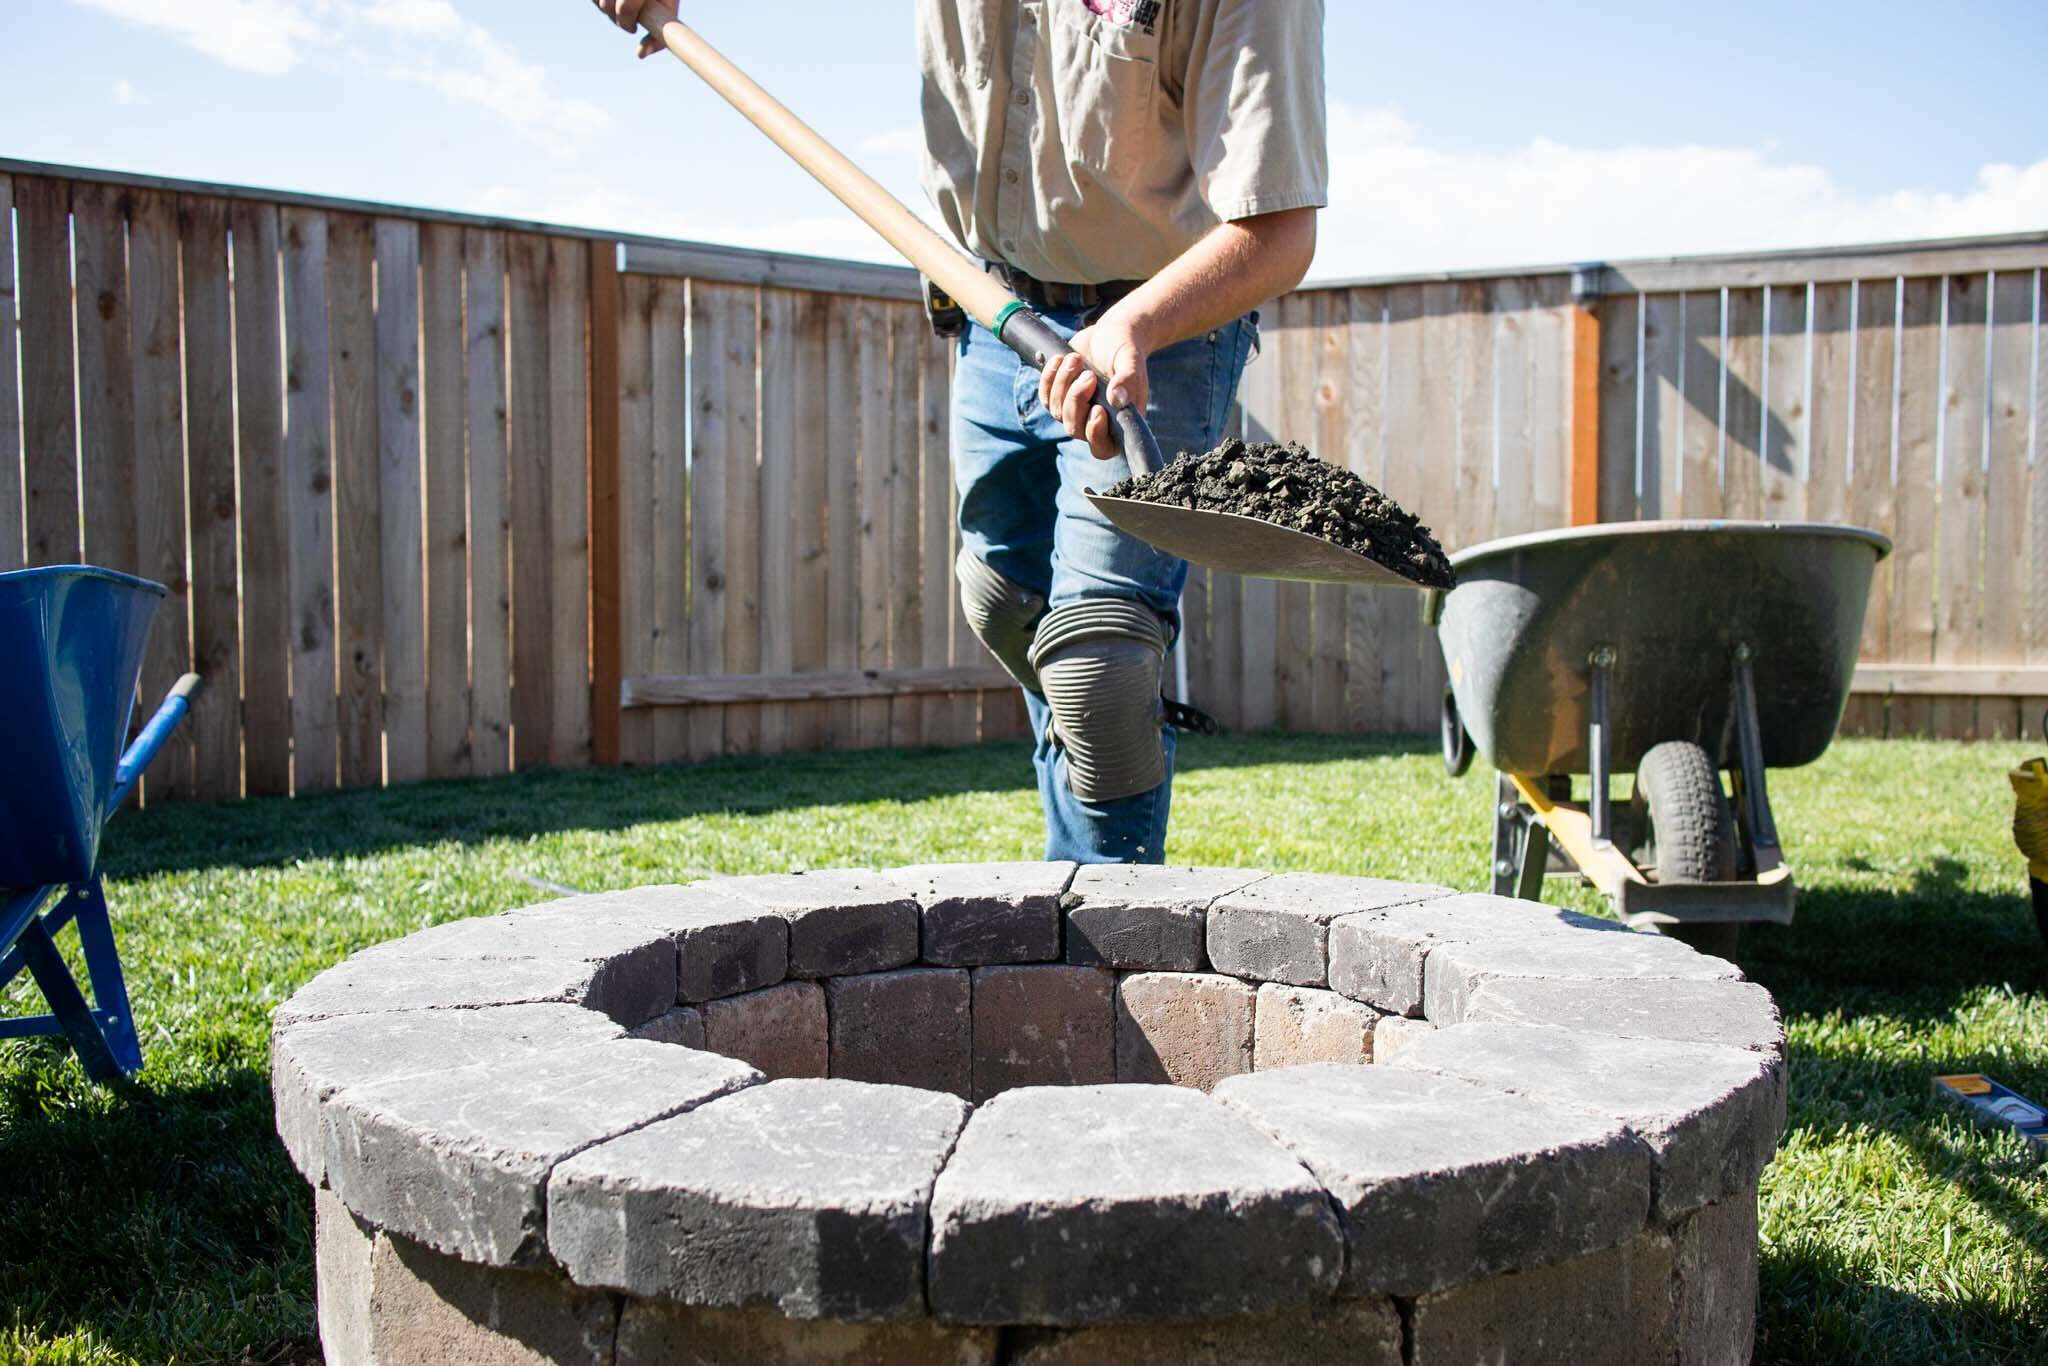
Step 3: Prepare the Site
Preparing the site for your outdoor gas fire pit is a crucial step that sets the foundation for a safe and enduring installation. Follow these essential guidelines to ensure a smooth and successful site preparation process:
Mark the Perimeter:
Use spray paint or stakes and string to mark the perimeter of the fire pit. This will provide a clear visual guide for excavation and construction, helping you maintain the desired dimensions and shape.
Excavation:
Use a shovel to excavate the marked area to a depth that accommodates the base materials and the first course of the fire pit structure. Aim for a level and uniform depth to ensure stability and consistency in the construction process.
Base Material:
Add a layer of gravel or paver base to the excavated area, ensuring proper compaction to create a solid and level base for the fire pit. This step is essential for promoting drainage and preventing the shifting of the fire pit over time.
Read more: How To Build An Outdoor Fire Pit
Assemble the First Course:
If you’re using concrete blocks or stones, carefully assemble the first course in the excavated area. Use a level to ensure that the blocks are evenly positioned and adjust them as needed to maintain a consistent height and alignment.
Verify Levelness:
Throughout the construction of the fire pit, regularly check for levelness and adjust the positioning of the blocks or stones as necessary. A stable and level foundation is key to the structural integrity and visual appeal of the finished fire pit.
By meticulously preparing the site according to these guidelines, you’ll lay the groundwork for a durable and visually striking outdoor gas fire pit. With the site prepared, you’re ready to move on to the exciting phase of assembling the fire pit structure.
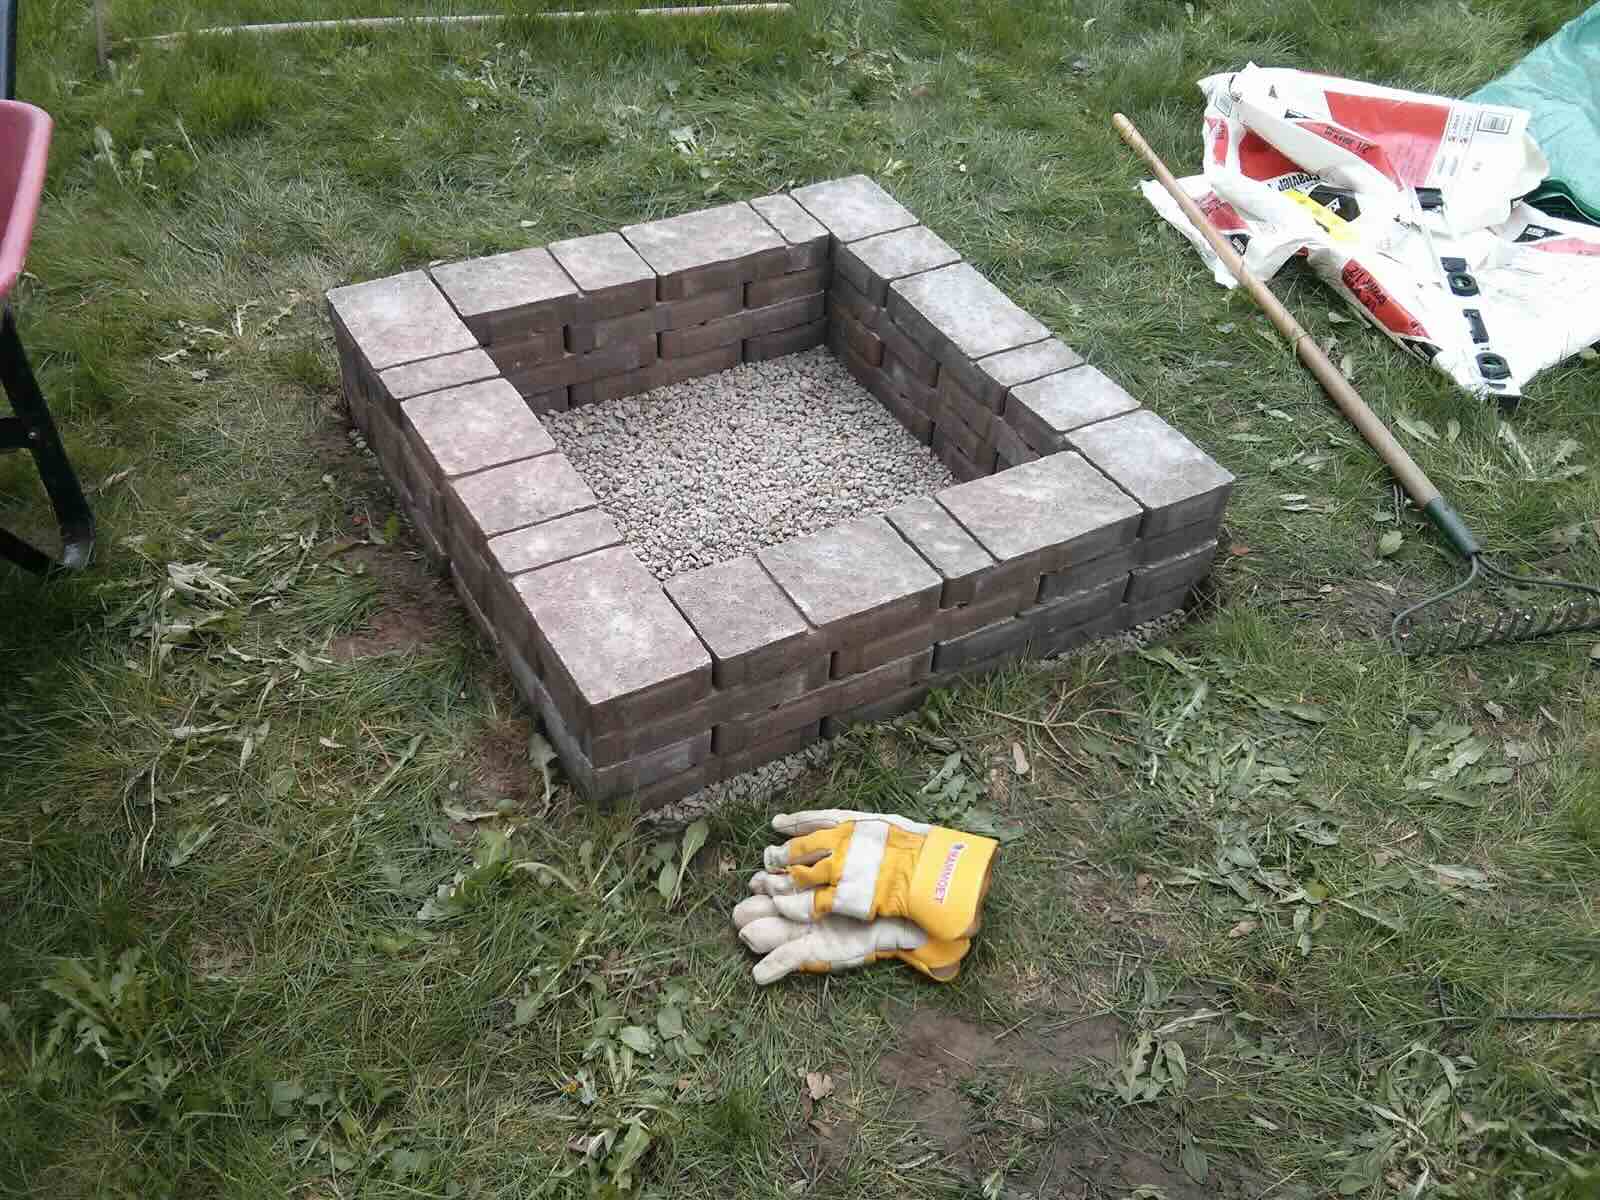
Step 4: Assemble the Fire Pit
Assembling the fire pit structure is where your vision starts to take shape, transforming raw materials into a stunning centerpiece for your outdoor space. Whether you’re using a fire pit kit or individual components, the assembly process follows similar fundamental steps:
Arrange the Blocks or Stones:
If you’re using individual blocks or stones, carefully arrange them according to your desired design. For fire pit kits, follow the manufacturer’s instructions for the specific arrangement of the components.
Read more: How To Build An Outdoor Fire Pit On A Patio
Apply High-Temperature Mortar:
As you assemble the blocks or stones, use high-temperature mortar to secure the components together. Apply the mortar according to the manufacturer’s recommendations, ensuring proper adhesion and stability.
Build in Layers:
As you progress upward, continue to stack the blocks or stones in layers, taking care to maintain the desired height and shape of the fire pit. Use a level to confirm the alignment and adjust the components as needed.
Insert the Fire Pit Burner:
If you’re using a fire pit burner kit, carefully insert the burner into the center of the fire pit structure, following the provided instructions. Ensure that the burner is securely positioned and aligned for optimal performance.
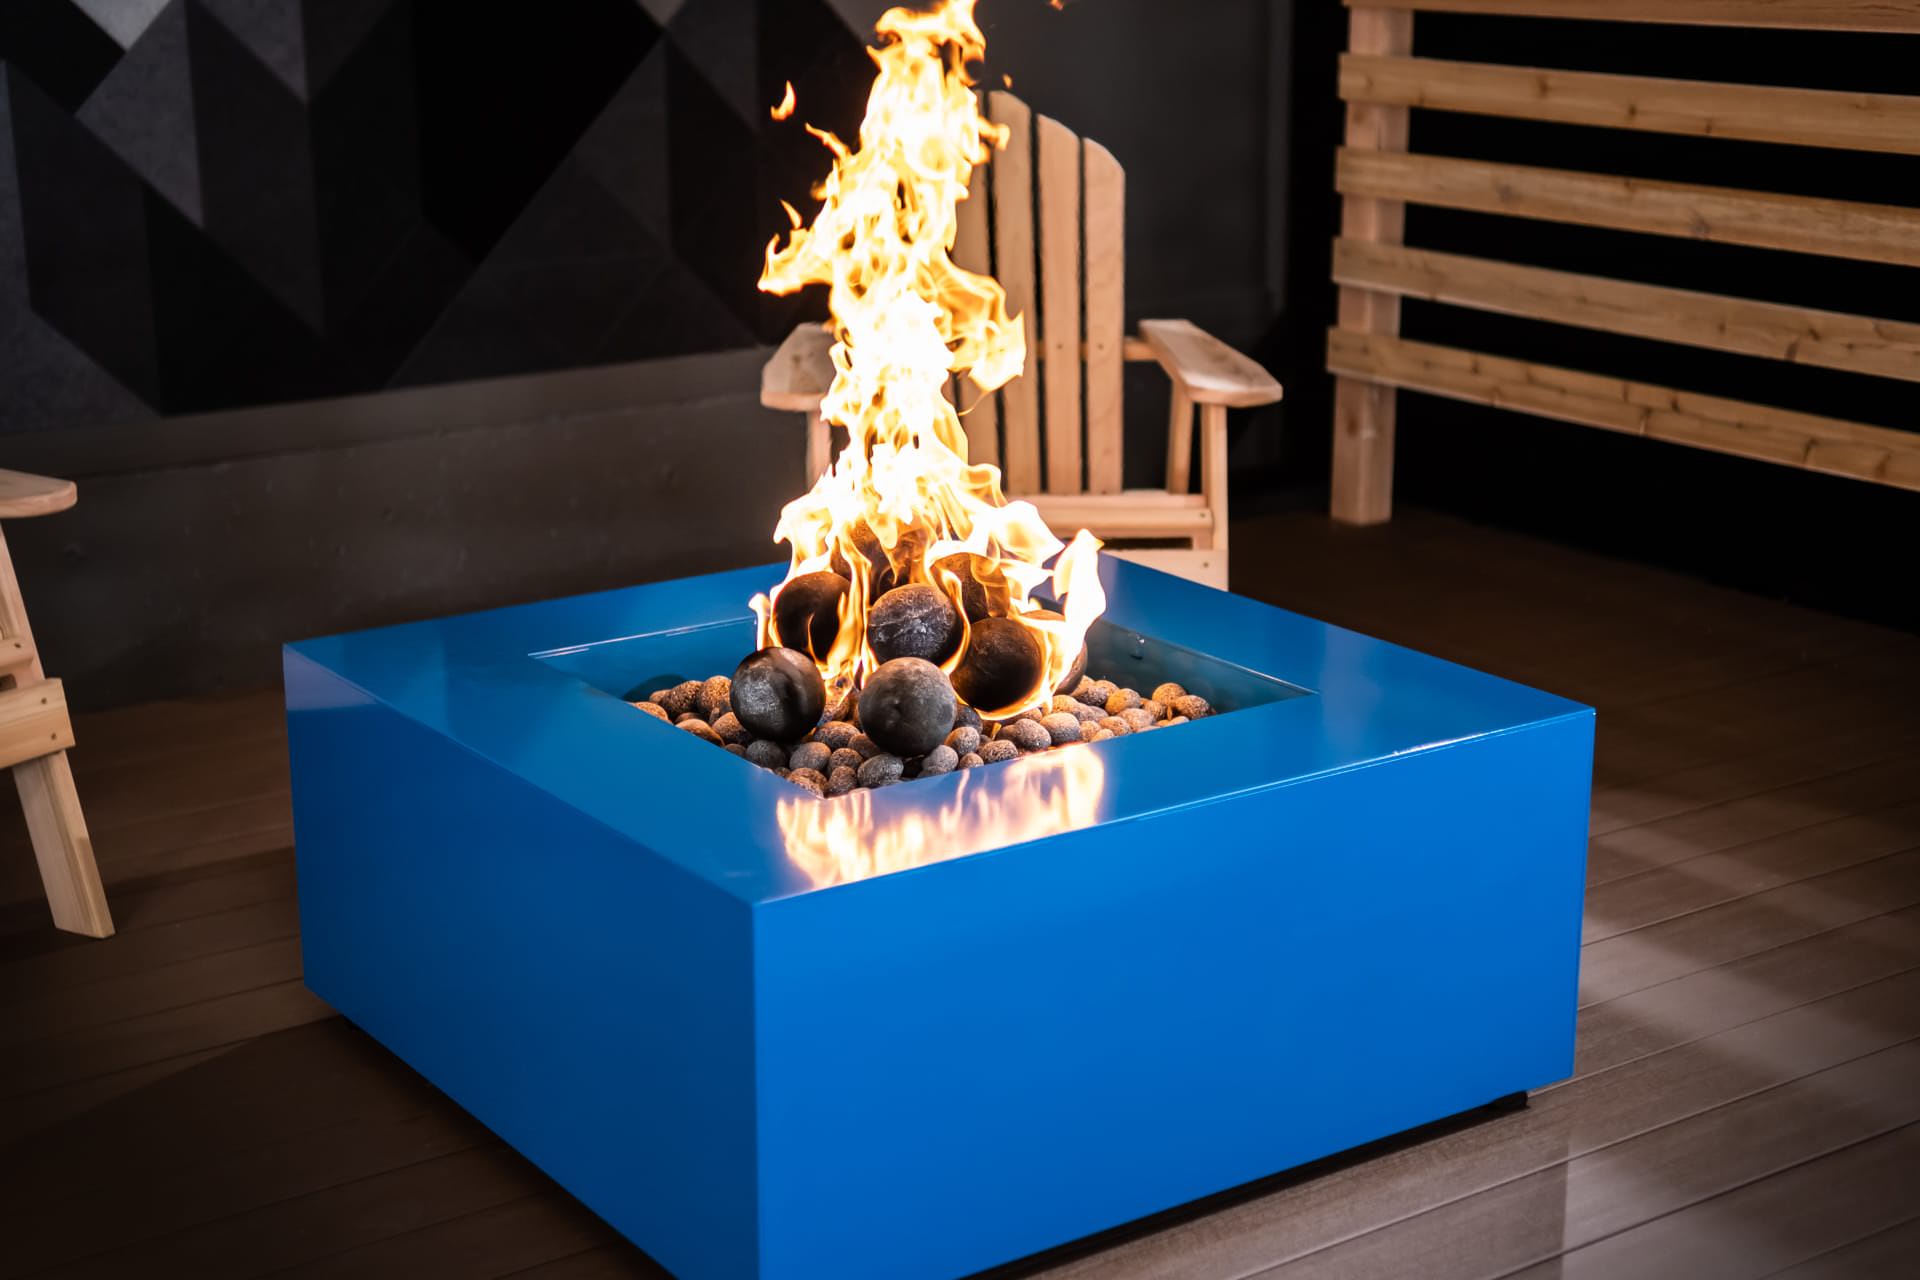
Add Decorative Elements:
Enhance the visual appeal of your fire pit by adding lava rocks, fire glass, or other decorative elements around the burner. These elements not only contribute to the aesthetics but also aid in the even distribution of flames.
Read more: What Size Gas Line For Outdoor Fire Pit
Finalize the Structure:
Once the fire pit is assembled and the decorative elements are in place, step back and assess the overall structure. Make any necessary adjustments to ensure that the fire pit is visually appealing, stable, and ready for the next phase of the installation process.
With the fire pit structure assembled, you’re one step closer to enjoying the warmth and allure of your outdoor gas fire pit. The next phase involves connecting the gas line to bring your creation to life.
Step 5: Connect the Gas Line
Connecting the gas line is a critical step in bringing your outdoor gas fire pit to life. This process requires precision, attention to detail, and adherence to safety protocols to ensure the proper functioning of the fire pit. Follow these essential steps to connect the gas line:
Locate the Gas Source:
Identify the nearest gas source on your property, typically a natural gas line or a propane tank. Ensure that the gas source is equipped with a shutoff valve for added safety and control.
Measure and Cut the Gas Line:
Using a measuring tape and a pipe cutter, carefully measure and cut the gas line to the appropriate length, allowing for a secure and accessible connection to the fire pit burner assembly.
Read more: How To Light A Gas Fire Pit
Install the Gas Line Fittings:
Attach the necessary fittings to the cut ends of the gas line, ensuring a tight and leak-free connection. Use Teflon tape or pipe joint compound to seal the threaded connections and prevent gas leaks.
Connect the Gas Line to the Burner:
Carefully connect the prepared gas line to the burner assembly, following the manufacturer’s instructions for the specific type of burner and fittings. Confirm that the connection is secure and free of any potential leaks.
Test for Gas Leaks:
Prior to fully activating the gas line, perform a thorough leak test using a gas leak detector solution or spray. Apply the solution to all connections and observe for any signs of gas leakage, addressing and resolving any issues immediately.
Activate the Gas Line:
Once the gas line is confirmed to be leak-free, gradually open the gas shutoff valve to introduce gas into the fire pit assembly. Verify that the burner ignites and produces a steady flame, adjusting as needed to achieve the desired flame height and appearance.
By diligently following these steps, you will successfully connect the gas line to your outdoor fire pit, ensuring a safe and reliable source of warmth and ambiance for your outdoor gatherings. With the gas line connected and the fire pit ready for operation, the final step involves testing the functionality of the completed installation.
Read more: How To Build A Fire Pit
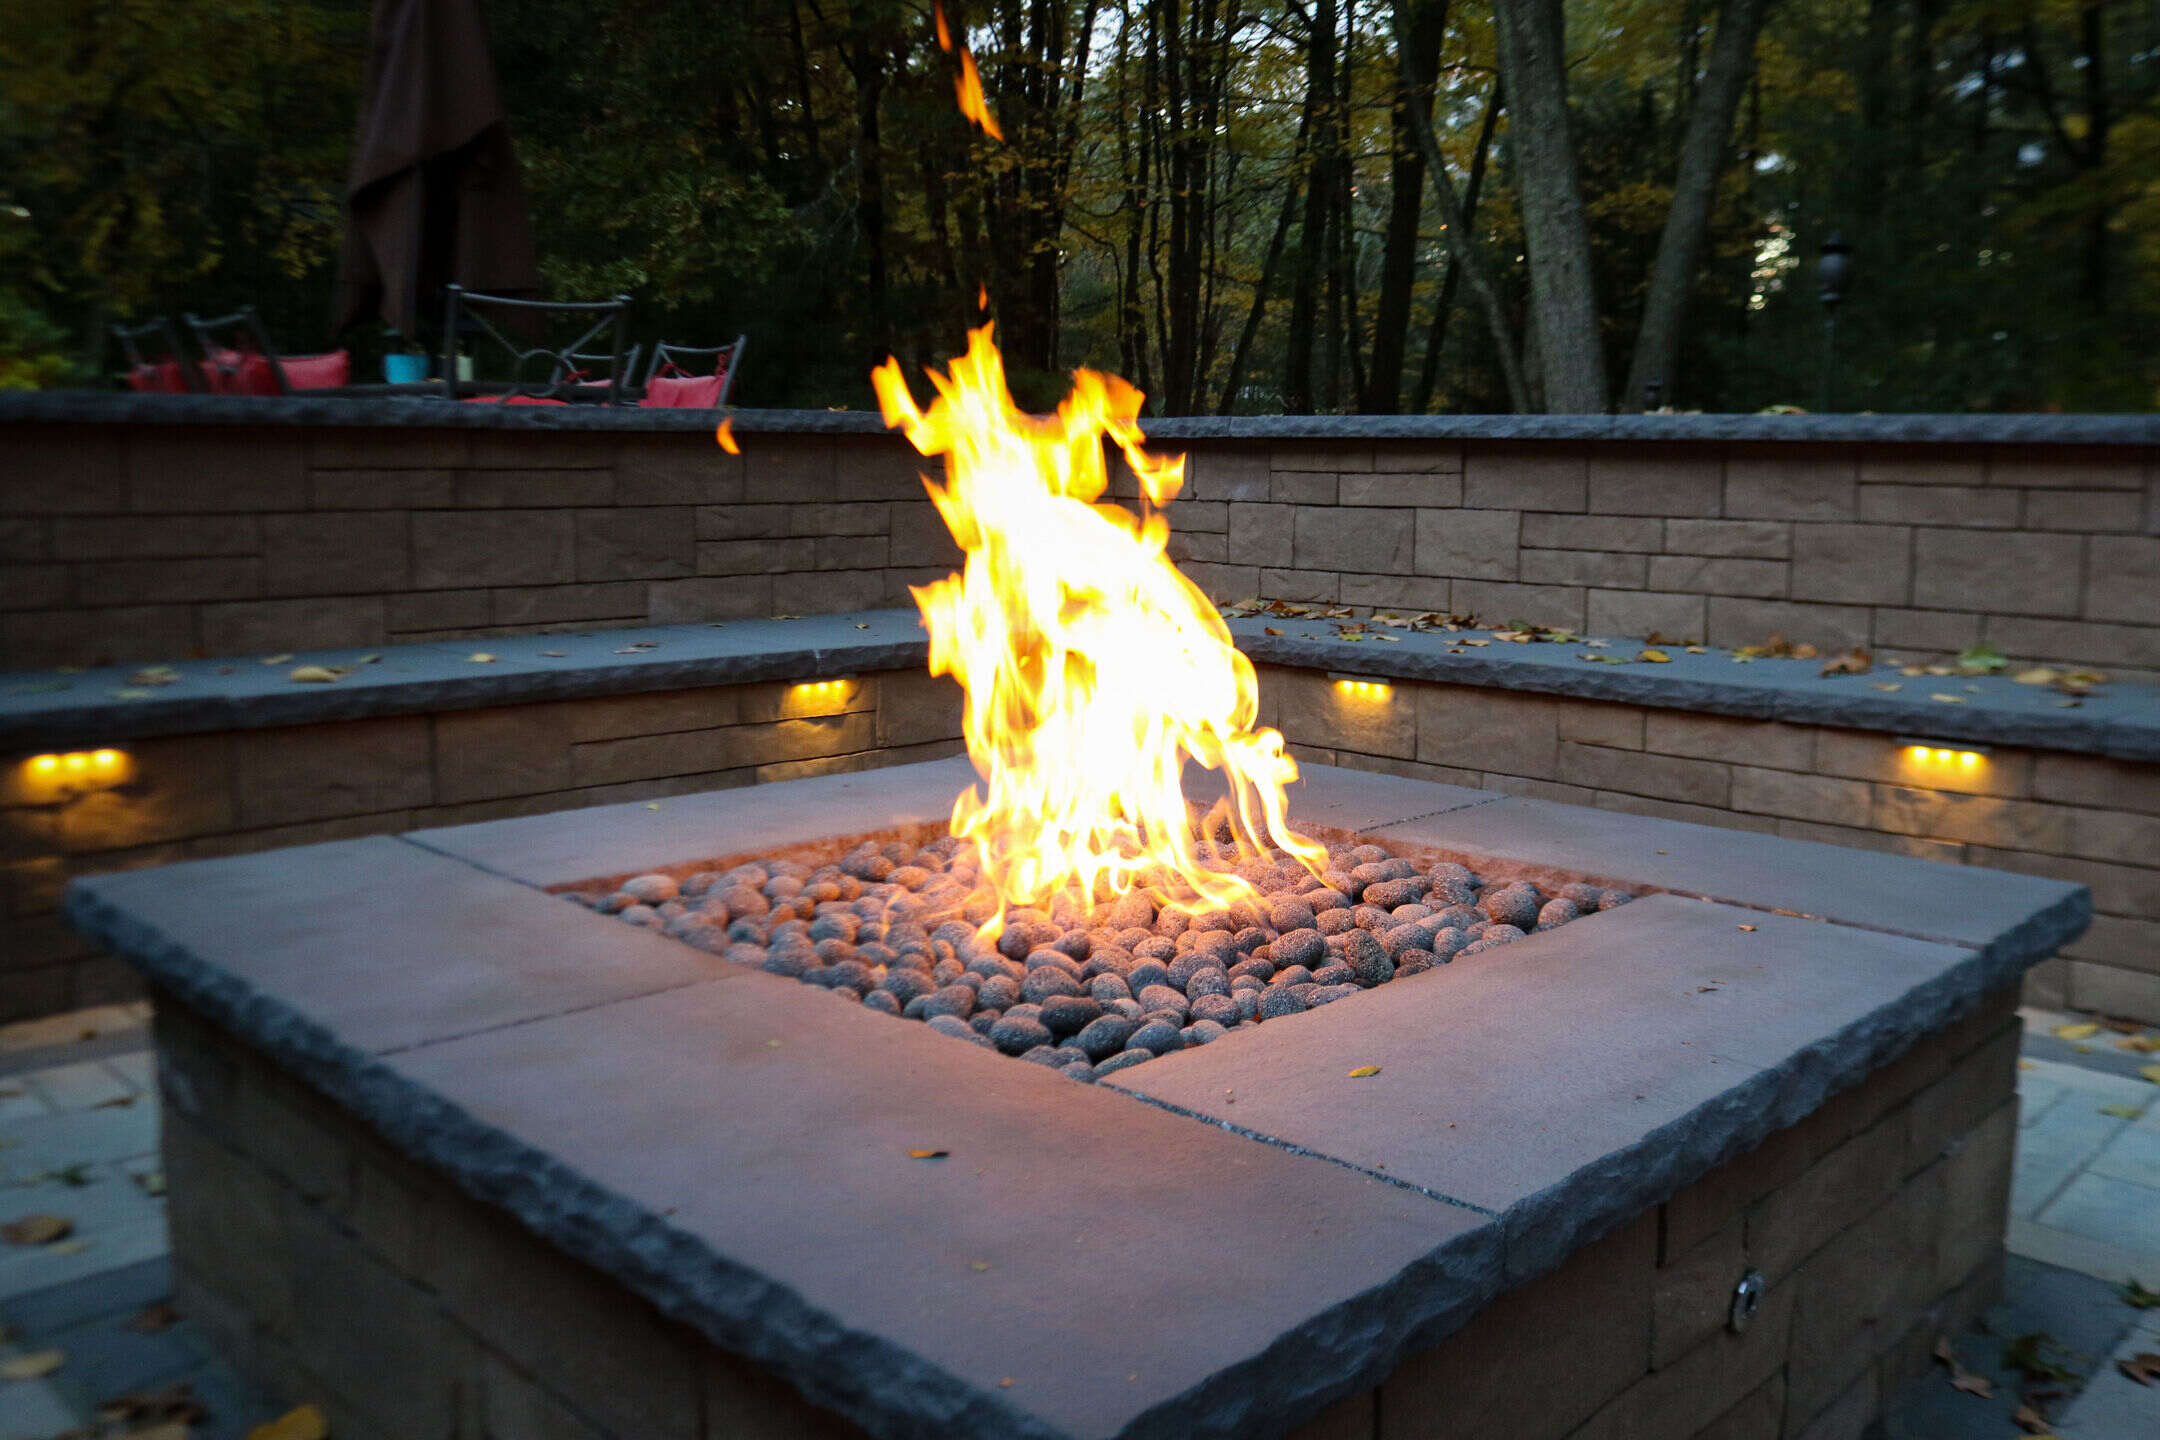
Step 6: Test the Fire Pit
Testing the fire pit is the pivotal moment when your hard work and meticulous planning culminate in the creation of a captivating outdoor feature. This step involves ensuring that the fire pit functions as intended, providing both visual allure and reliable warmth. Here’s a comprehensive guide to testing your outdoor gas fire pit:
Ignition Test:
Activate the fire pit burner and observe the ignition process. Ensure that the burner ignites smoothly and that the flames are distributed evenly across the burner assembly. Verify that the flame height is consistent and visually appealing.
Flame Adjustment:
If your fire pit burner allows for flame adjustment, carefully modify the flame height to achieve the desired ambiance and warmth. Take note of any adjustments needed to optimize the flame appearance and distribution.
Heat Distribution:
Assess the heat distribution around the fire pit to confirm that it provides the intended warmth for the surrounding area. Position yourself at various distances from the fire pit to gauge the heat dispersion and make adjustments if necessary.
Read more: How To Turn On A Gas Fire Pit
Smoke and Odor Check:
Observe the fire pit for any signs of excessive smoke or unusual odors. A well-functioning gas fire pit should produce minimal smoke and odors, providing a clean and enjoyable outdoor experience.
Safety Precautions:
Confirm that all safety features, such as the gas shutoff valve and emergency controls, are operational and easily accessible. Prioritize safety by reviewing the proper procedures for extinguishing the fire pit and addressing any potential issues.
Nighttime Ambiance:
Test the fire pit during the evening or nighttime to experience the full ambiance it creates. Assess the visual impact of the flames, the interplay of light and shadows, and the overall allure of the fire pit in a dimly lit outdoor setting.
By conducting a thorough and attentive test of your outdoor gas fire pit, you’ll ensure that it delivers both functionality and aesthetic appeal, enriching your outdoor living space with warmth and charm. With the fire pit successfully tested and operational, you can look forward to countless memorable moments around the mesmerizing glow of your creation.
Conclusion
Congratulations on successfully completing the journey of building your own outdoor gas fire pit. Through careful planning, precise execution, and a touch of creativity, you’ve transformed a vision into a captivating reality that will enrich your outdoor living experience for years to come.
As you bask in the warmth and ambiance of your newly constructed fire pit, take pride in the craftsmanship and attention to detail that went into every step of the process. From gathering the materials and tools to testing the functionality of the completed installation, you’ve embraced the art of outdoor design and brought your unique vision to life.
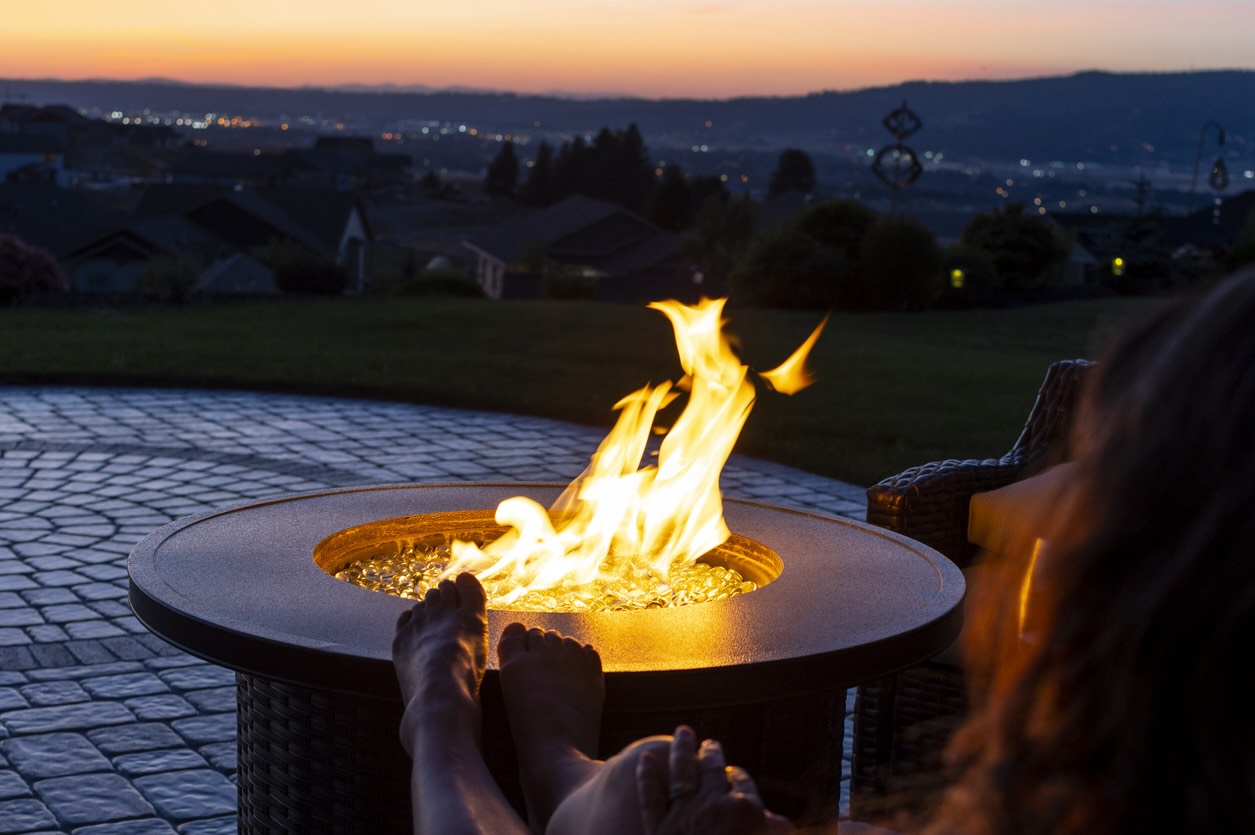
With your outdoor gas fire pit in place, you’ve created a welcoming focal point for gatherings, relaxation, and the simple enjoyment of the great outdoors. Whether it’s a lively evening with friends, a tranquil night under the stars, or a cozy moment of solitude, your fire pit stands ready to enhance these experiences with its captivating glow and comforting warmth.
Embrace the endless possibilities that your outdoor gas fire pit offers, from roasting marshmallows and sharing stories to simply unwinding in its mesmerizing ambiance. As the seasons change and the years unfold, your fire pit will remain a steadfast companion, enriching your outdoor lifestyle and creating cherished memories with loved ones.
So, as you revel in the allure of your outdoor gas fire pit, remember the journey that led to its creation—a journey marked by creativity, craftsmanship, and the joy of bringing a dream to fruition. Let the crackling flames and dancing shadows serve as a testament to your dedication and vision, igniting a sense of warmth and wonder in your outdoor sanctuary.
Now, go forth and savor the countless moments of joy, connection, and tranquility that await around the radiant glow of your outdoor gas fire pit. Your creation is a testament to the power of design, the warmth of craftsmanship, and the enduring magic of outdoor living.
Frequently Asked Questions about How To Build An Outdoor Gas Fire Pit
Was this page helpful?
At Storables.com, we guarantee accurate and reliable information. Our content, validated by Expert Board Contributors, is crafted following stringent Editorial Policies. We're committed to providing you with well-researched, expert-backed insights for all your informational needs.

0 thoughts on “How To Build An Outdoor Gas Fire Pit”