Home>Gardening & Outdoor>Outdoor Entertaining>How To Build A Rock Fire Pit
Outdoor Entertaining
How To Build A Rock Fire Pit
Modified: August 28, 2024
Learn how to create a stunning outdoor fire pit for your next gathering. Enhance your outdoor entertaining space with a custom rock fire pit.
(Many of the links in this article redirect to a specific reviewed product. Your purchase of these products through affiliate links helps to generate commission for Storables.com, at no extra cost. Learn more)
Introduction
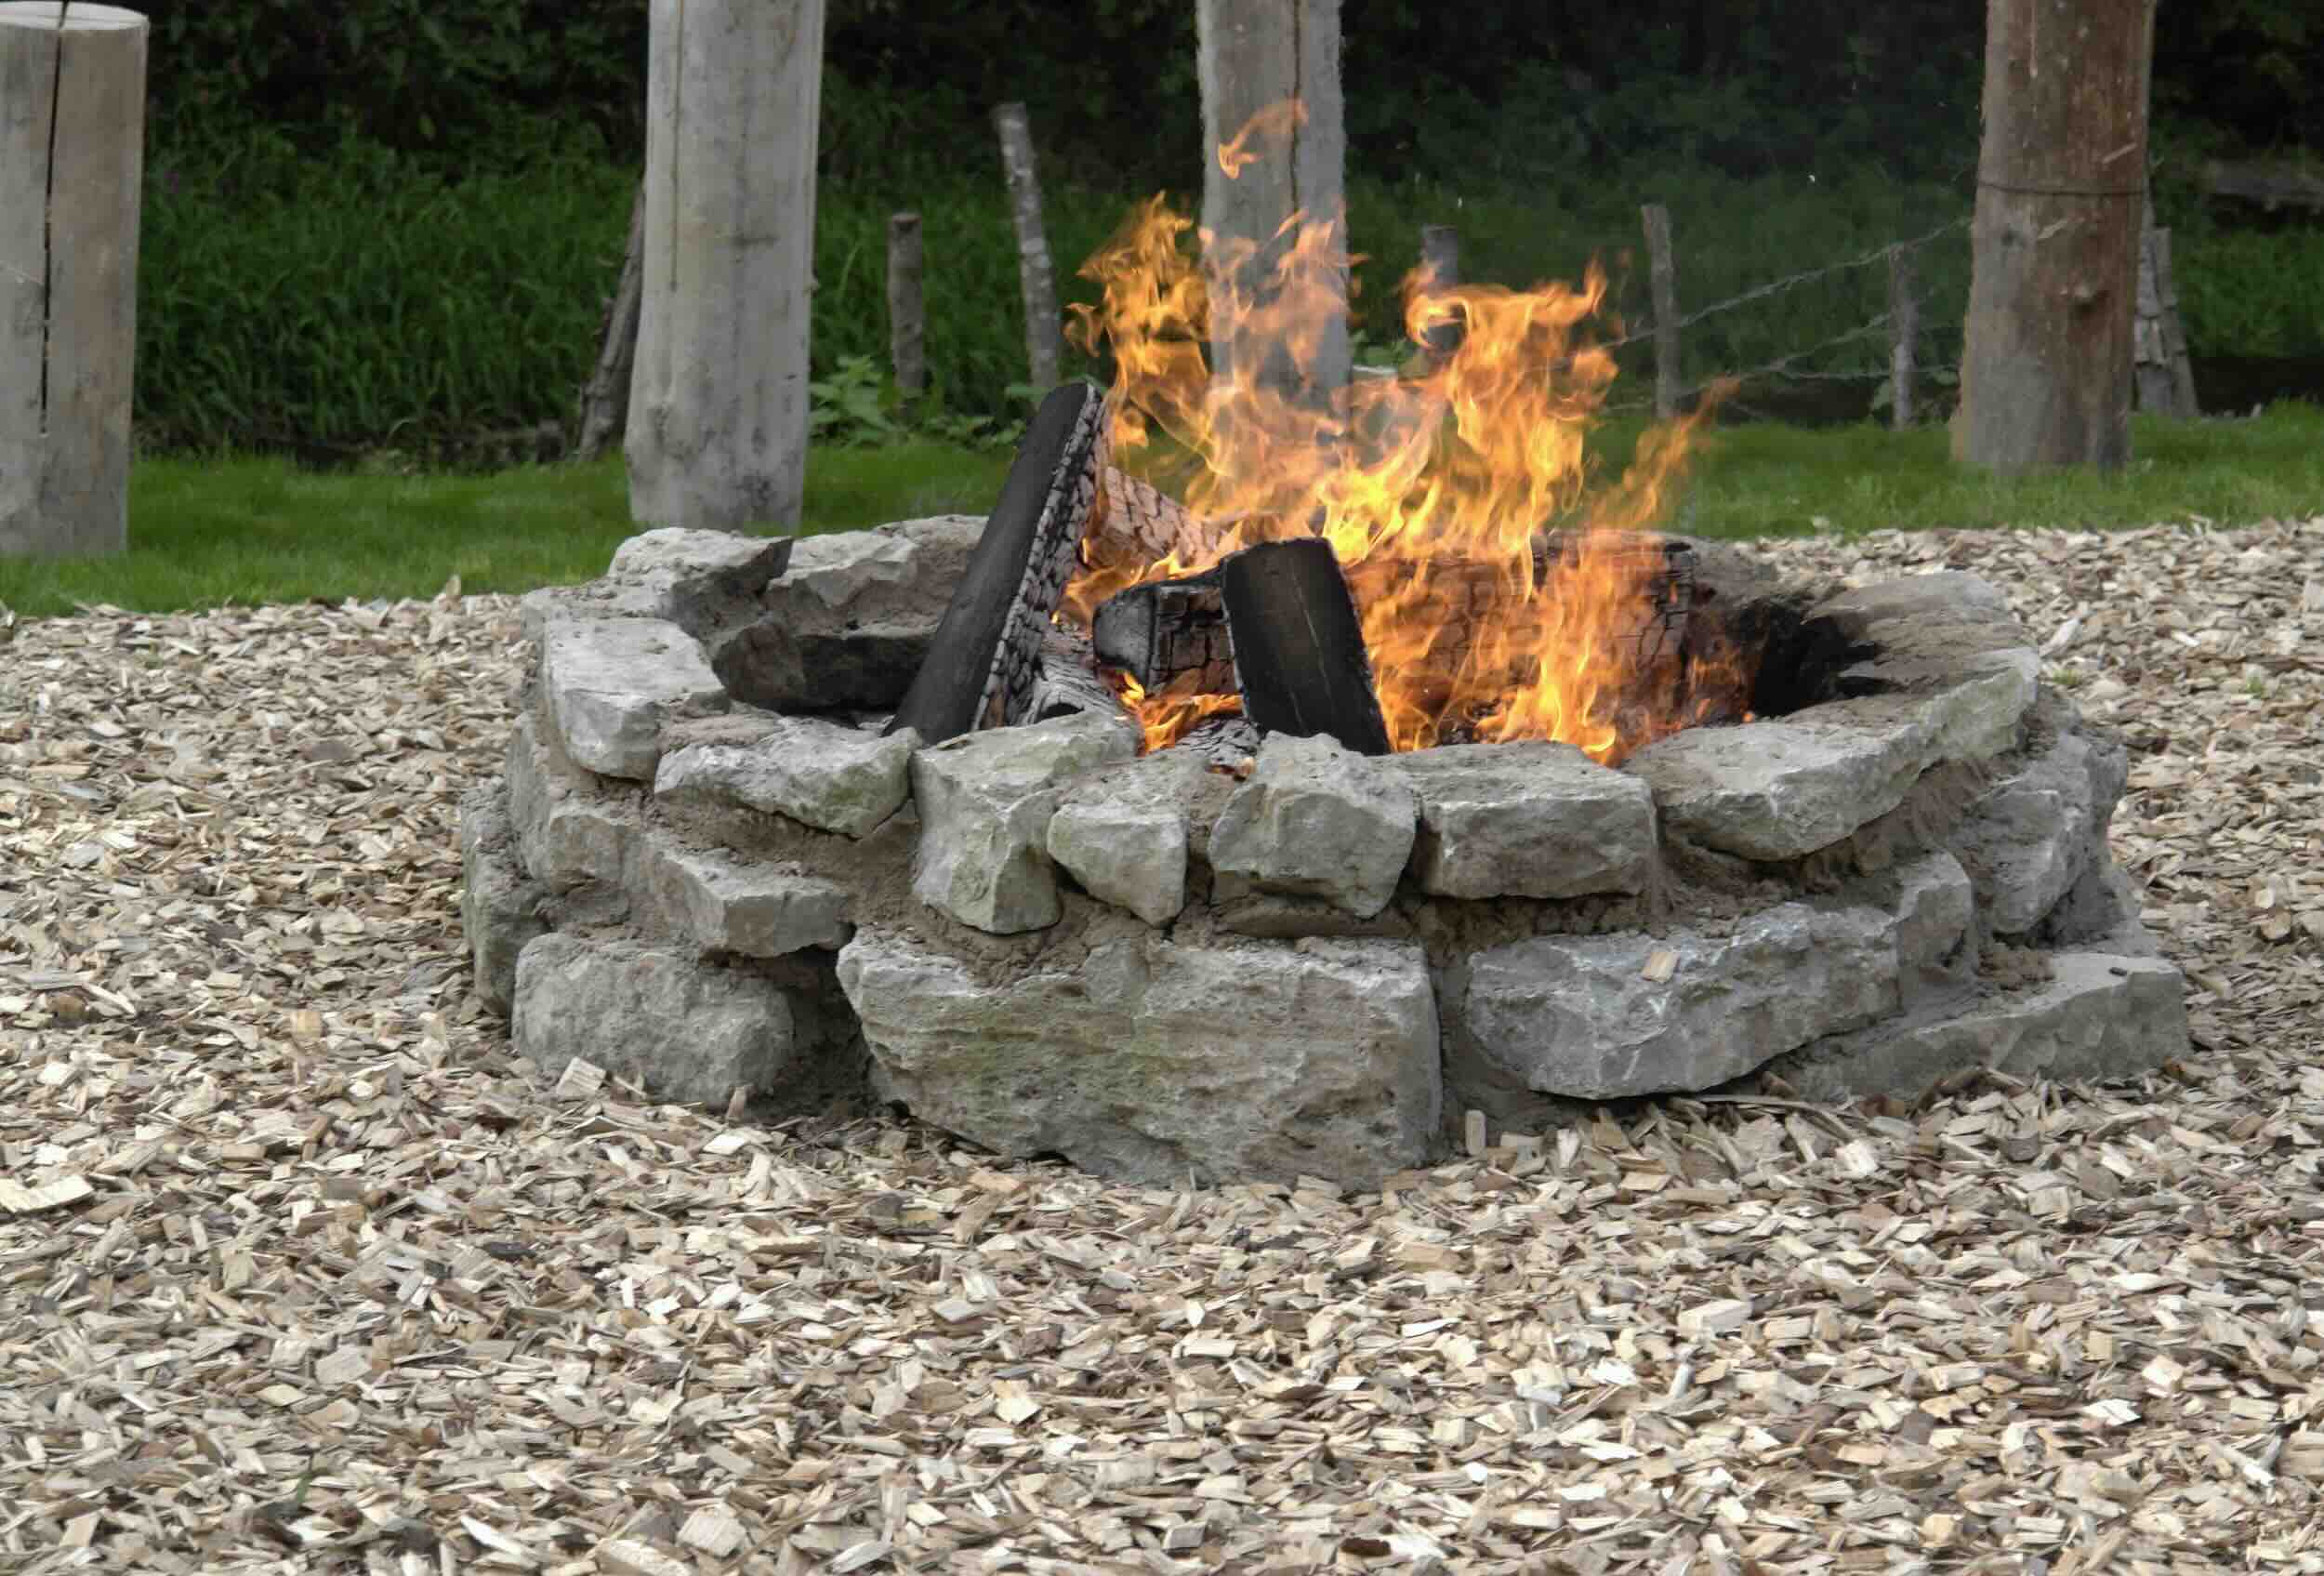
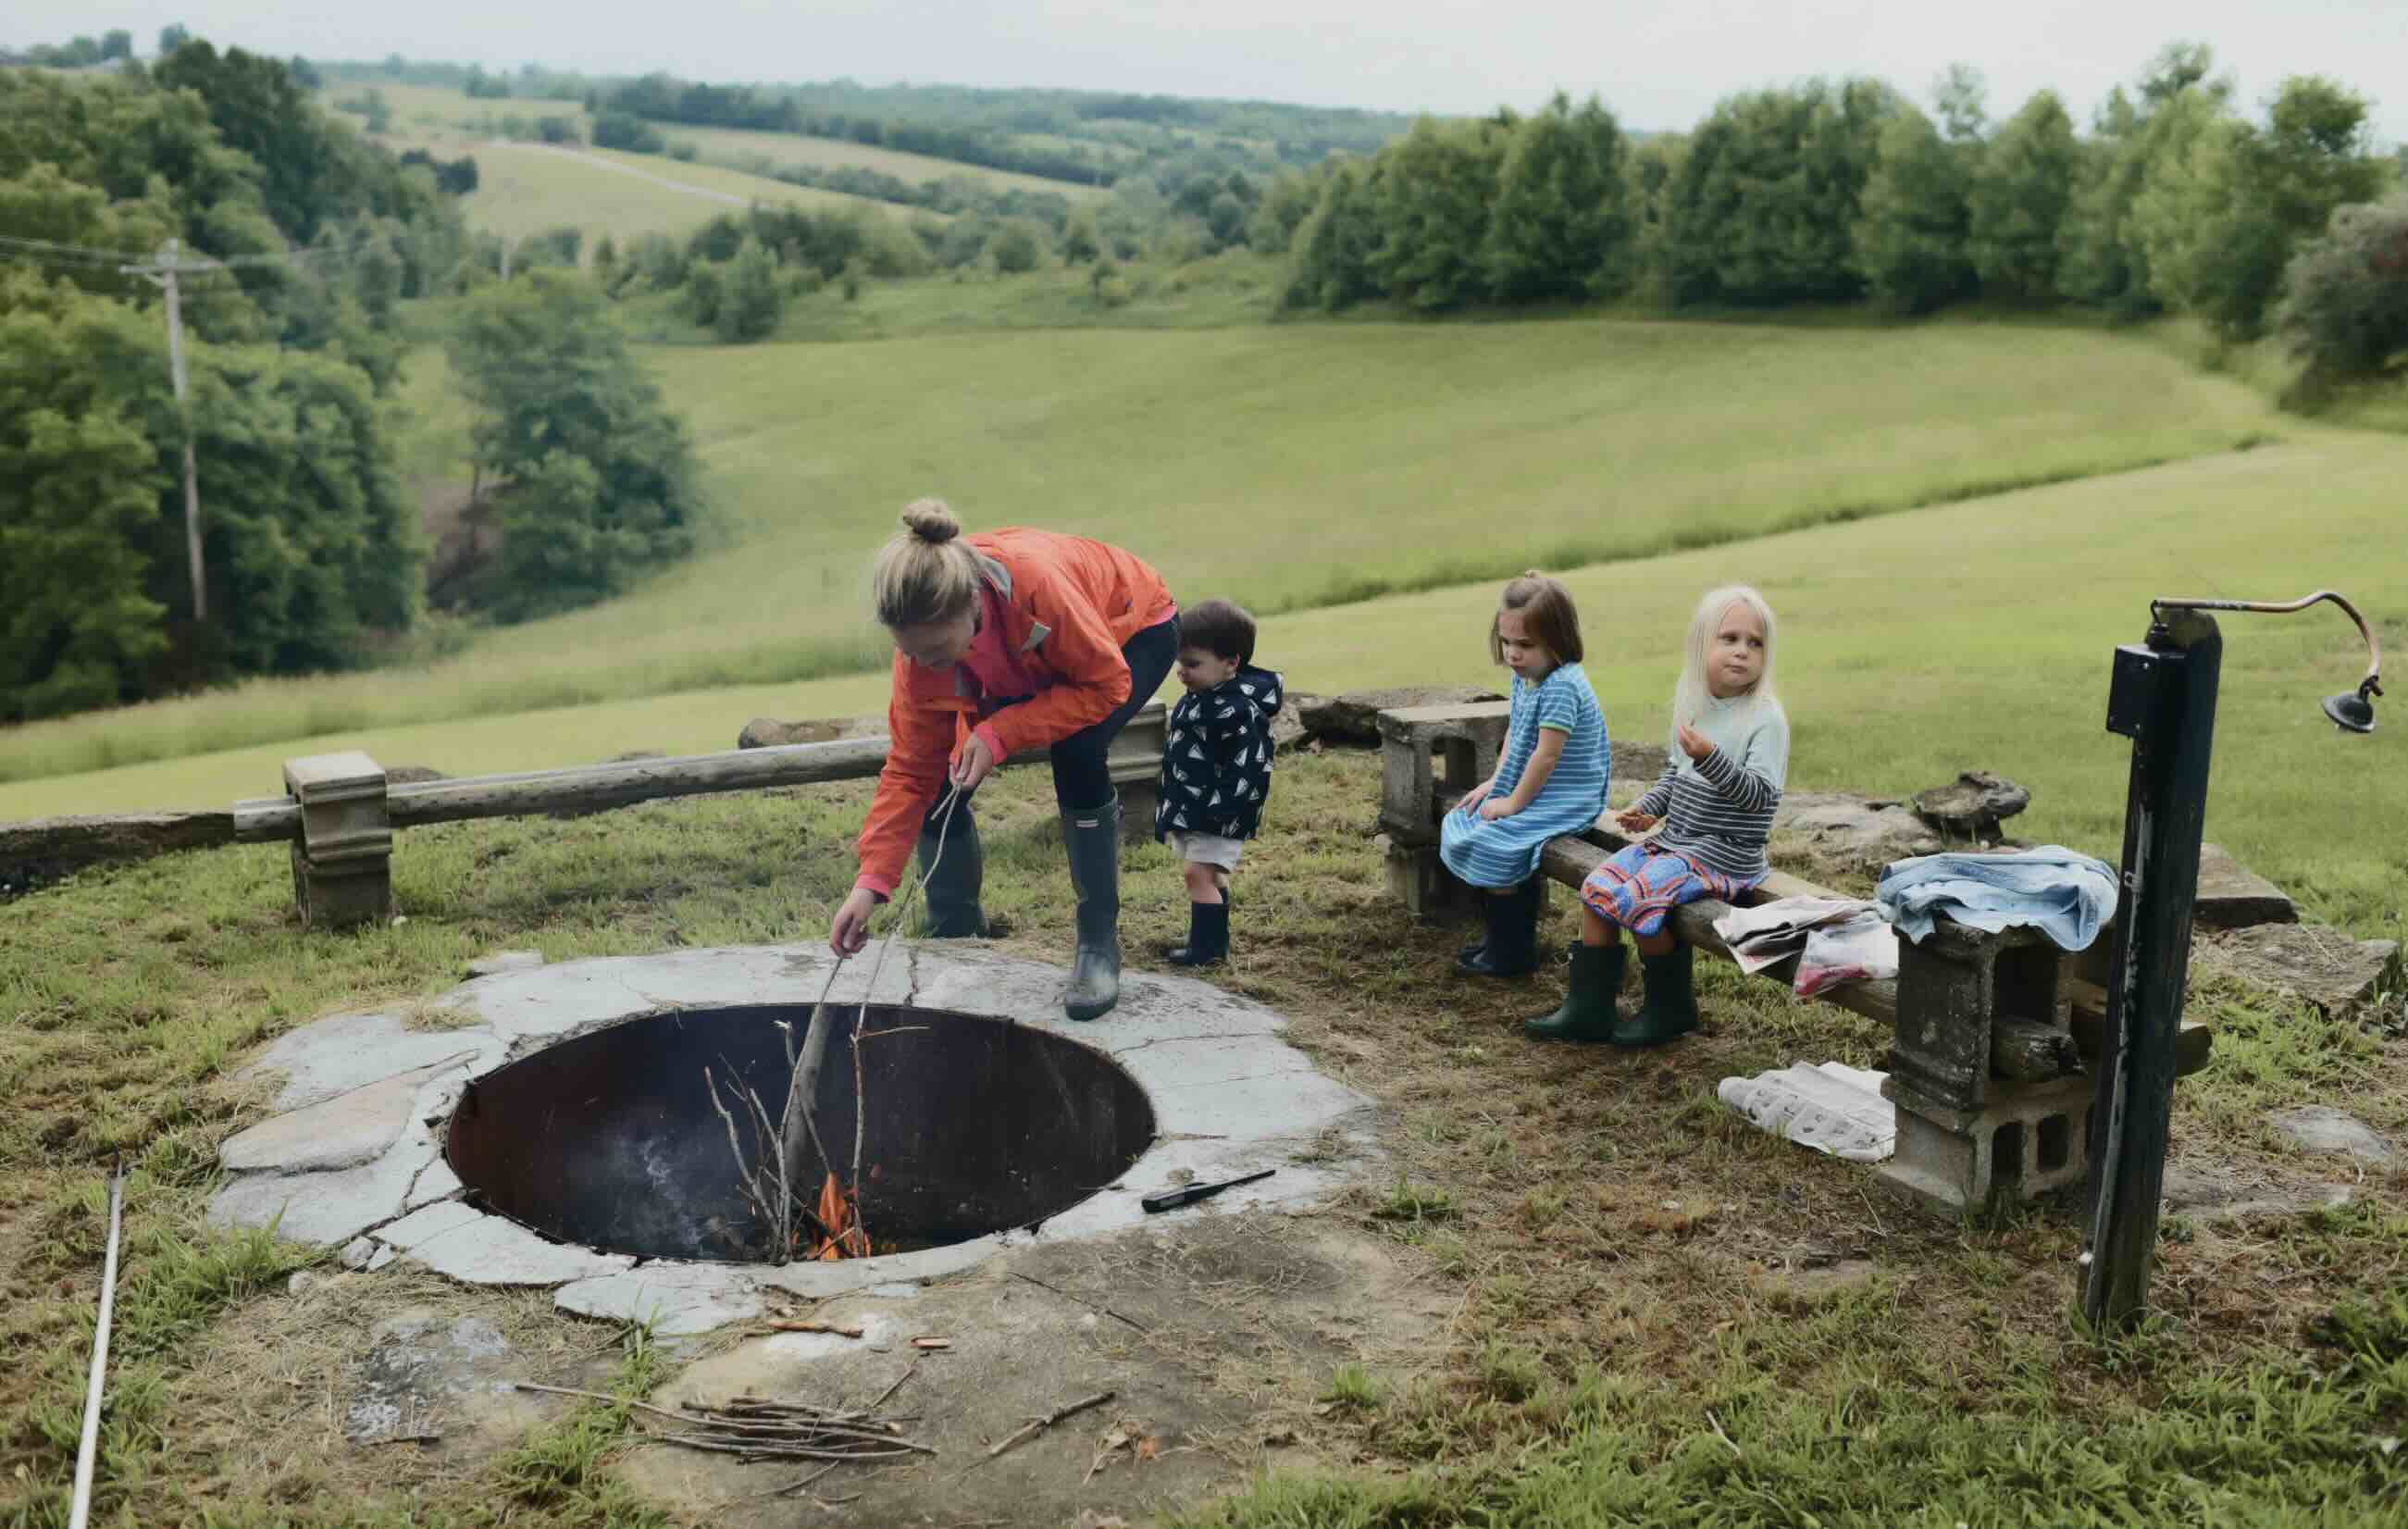
Creating a rock fire pit is a fantastic way to enhance your outdoor space and provide a cozy gathering spot for friends and family. Whether you're roasting marshmallows, enjoying a quiet evening under the stars, or simply adding a touch of rustic charm to your backyard, a rock fire pit can be a stunning focal point for outdoor entertaining.
In this comprehensive guide, we'll walk you through the step-by-step process of building a rock fire pit. From selecting the perfect location to adding the finishing touches, you'll learn everything you need to know to bring this inviting feature to life in your own backyard. So, roll up your sleeves, gather your materials, and get ready to embark on a rewarding DIY project that will transform your outdoor space into a welcoming oasis. Let's dive in and get started!
Key Takeaways:
- Building a rock fire pit requires careful planning, sturdy materials, and attention to detail. By following the step-by-step guide, you can create a cozy and safe gathering spot for outdoor entertaining.
- Adding finishing touches like seating, lighting, and safety measures enhances the functionality and ambiance of your fire pit. Embrace the warmth and create lasting memories with friends and family in your outdoor oasis.
Read more: How To Build An Outdoor Fire Pit
Step 1: Choose the Location
Before you start building your rock fire pit, it’s crucial to carefully select the ideal location. Consider the following factors to ensure a safe and enjoyable outdoor experience:
- Safety First: Choose a location that is at least 10 to 20 feet away from any structures, trees, or flammable materials. This distance will help prevent accidental fires and ensure that everyone can comfortably gather around the fire pit.
- Ventilation: Opt for an open area with good air circulation. Avoid placing the fire pit in a confined or enclosed space, as proper ventilation is essential for safe and efficient burning.
- Ground Surface: Select a flat, level spot for your fire pit. Avoid areas with overhanging branches or uneven terrain, as these can pose safety hazards and make it challenging to build a stable fire pit.
- Accessibility: Consider the proximity to seating areas, dining spaces, and other outdoor amenities. The location should be easily accessible and provide a comfortable vantage point for enjoying the warmth and ambiance of the fire.
Once you’ve identified a suitable location, mark the perimeter of the fire pit using stakes and string. This will help you visualize the space and determine if any adjustments are needed before moving on to the next step. With the perfect location in mind, you’re ready to gather the materials for your rock fire pit construction.
Step 2: Gather Materials
Building a rock fire pit requires a selection of materials that are not only durable and heat-resistant but also complement the natural aesthetics of your outdoor space. Here’s a list of essential materials to gather before you begin the construction process:
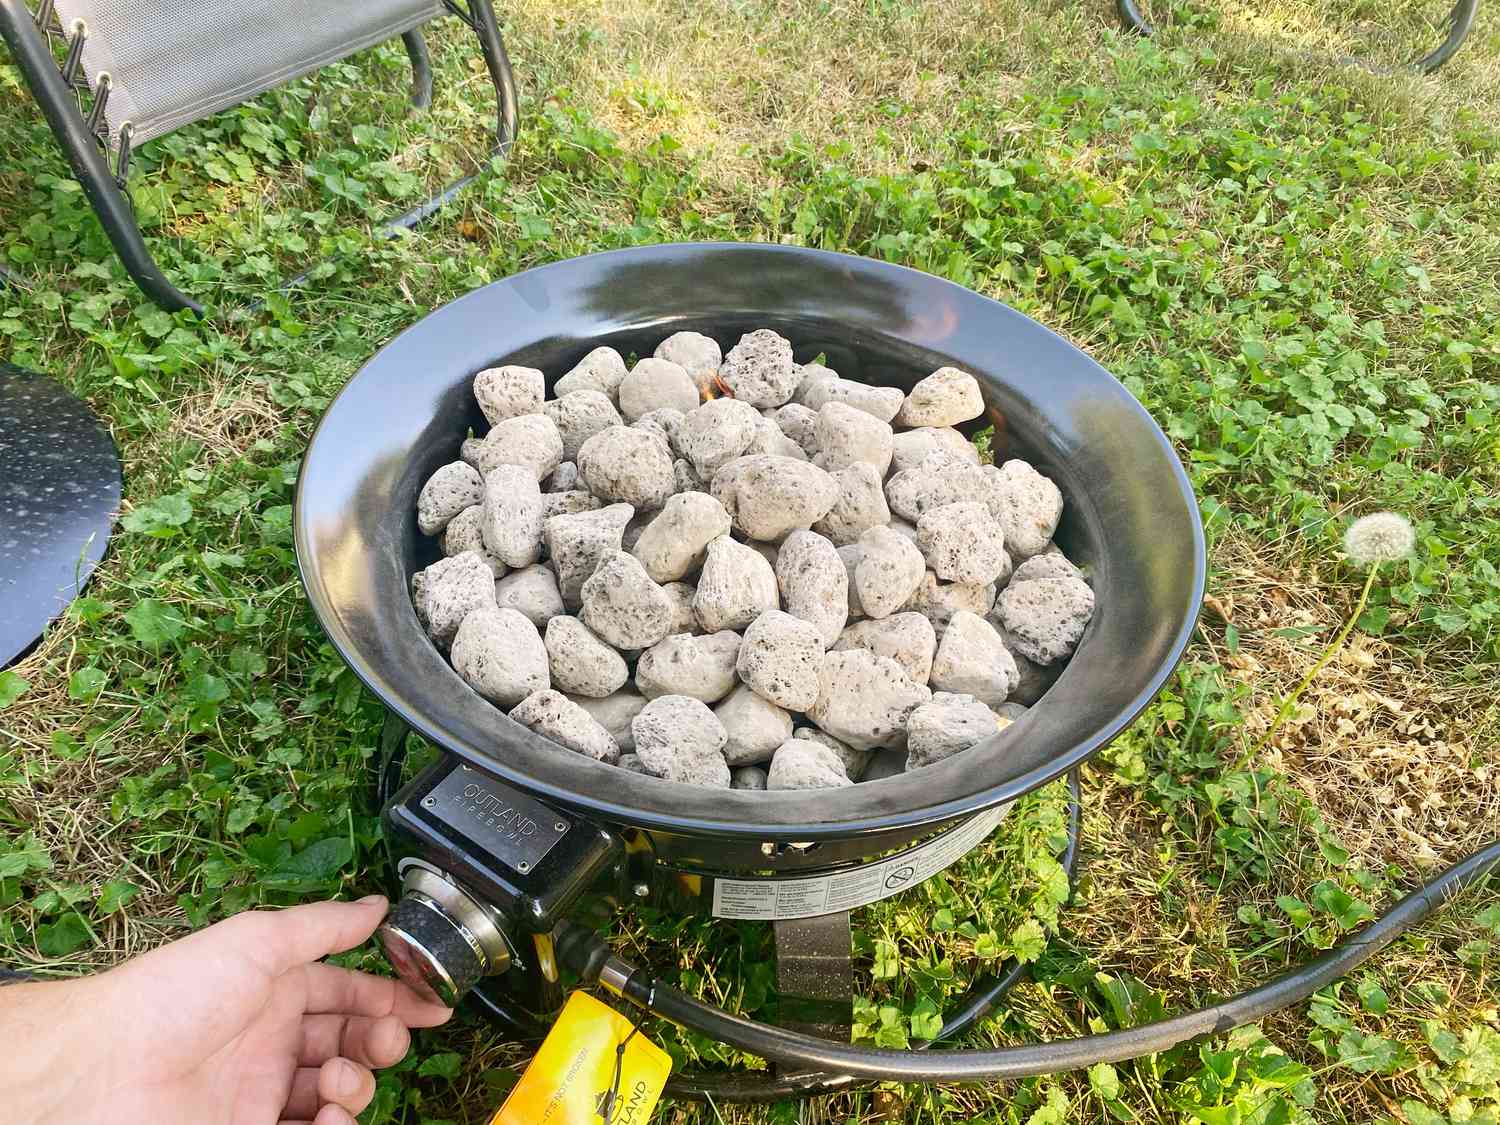
- Fire Pit Kit or Steel Ring: If you’re opting for a convenient DIY solution, consider purchasing a fire pit kit that includes a steel ring and necessary hardware. Alternatively, you can use a standalone steel ring as the foundation for your fire pit.
- Rocks or Stone Bricks: Select natural rocks or stone bricks that are suitable for high-temperature environments. These will form the walls of your fire pit, adding a rustic and earthy charm to the design.
- Gravel or Sand: A base layer of gravel or sand will provide stability and drainage for your fire pit. This foundational material is essential for creating a level surface and preventing shifting or settling over time.
- Masonry Adhesive: To ensure the structural integrity of your fire pit, invest in a reliable masonry adhesive that can withstand heat and outdoor conditions. This adhesive will bond the rocks or stone bricks together, forming a solid and secure structure.
- Shovel and Level: These basic tools are essential for preparing the construction area, leveling the ground, and achieving the desired dimensions for your fire pit.
- Protective Gear: Prioritize safety by equipping yourself with heat-resistant gloves, safety goggles, and a dust mask. These items will safeguard you during the construction process and minimize the risk of injuries.
By gathering these materials in advance, you’ll be well-prepared to commence the construction of your rock fire pit. With the necessary components at your disposal, you can proceed to the next step and prepare the area for the installation of your fire pit.
Step 3: Prepare the Area
Before diving into the construction of your rock fire pit, it’s essential to properly prepare the designated area to ensure a stable and long-lasting installation. Follow these steps to get the site ready for the construction process:
- Clear the Space: Begin by removing any debris, vegetation, or obstacles from the area where your fire pit will be located. Clearing the space will provide a clean canvas for building and prevent potential hazards during construction.
- Level the Ground: Utilize a shovel and a level to smooth out the ground and create a flat surface for the fire pit base. This step is crucial for establishing a stable foundation and ensuring that the fire pit sits evenly on the ground.
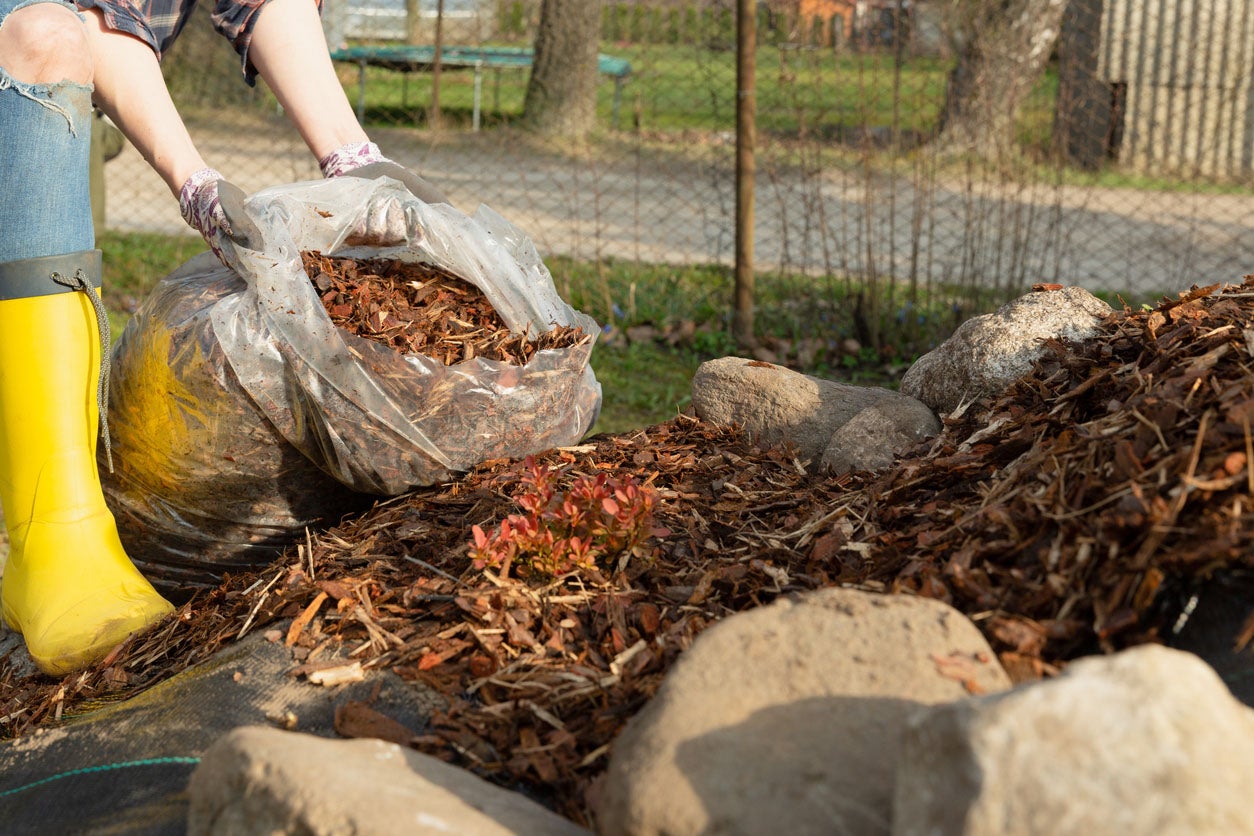
- Add Gravel or Sand: Once the ground is level, add a layer of gravel or sand to the prepared area. This material will promote proper drainage and prevent the accumulation of water, which could otherwise compromise the structural integrity of the fire pit over time.
- Mark the Perimeter: Use stakes and string to outline the perimeter of the fire pit, establishing the desired dimensions and shape. This visual guide will help you maintain accuracy and consistency as you construct the walls of the fire pit.
- Verify Safety Clearances: Double-check that the chosen location adheres to safety guidelines, maintaining the recommended distance from nearby structures, trees, and flammable materials. Ensuring proper clearances is essential for a safe and enjoyable fire pit experience.
With the area meticulously prepared, you’ll be ready to move on to the next stage of constructing your rock fire pit. By taking the time to lay a solid foundation, you’ll set the stage for a successful and enduring outdoor feature that will bring warmth and charm to your outdoor gatherings.
When building a rock fire pit, make sure to use heat-resistant rocks like granite or sandstone. Avoid using limestone or other soft rocks that can crack or explode when exposed to high heat.
Step 4: Build the Base
Constructing a sturdy and level base is a critical component of building a rock fire pit. Follow these steps to create a solid foundation that will support the structure and ensure the longevity of your outdoor feature:
- Place the Steel Ring or Fire Pit Kit: If you’re using a steel ring or a fire pit kit, position it at the center of the prepared area. Ensure that it sits securely on the gravel or sand base, with the outer edge marking the perimeter of the fire pit.
- Adjust the Level: Use a level to confirm that the steel ring or fire pit kit is positioned evenly and sits flat on the ground. Making necessary adjustments at this stage will prevent future complications and ensure a stable base for the fire pit.
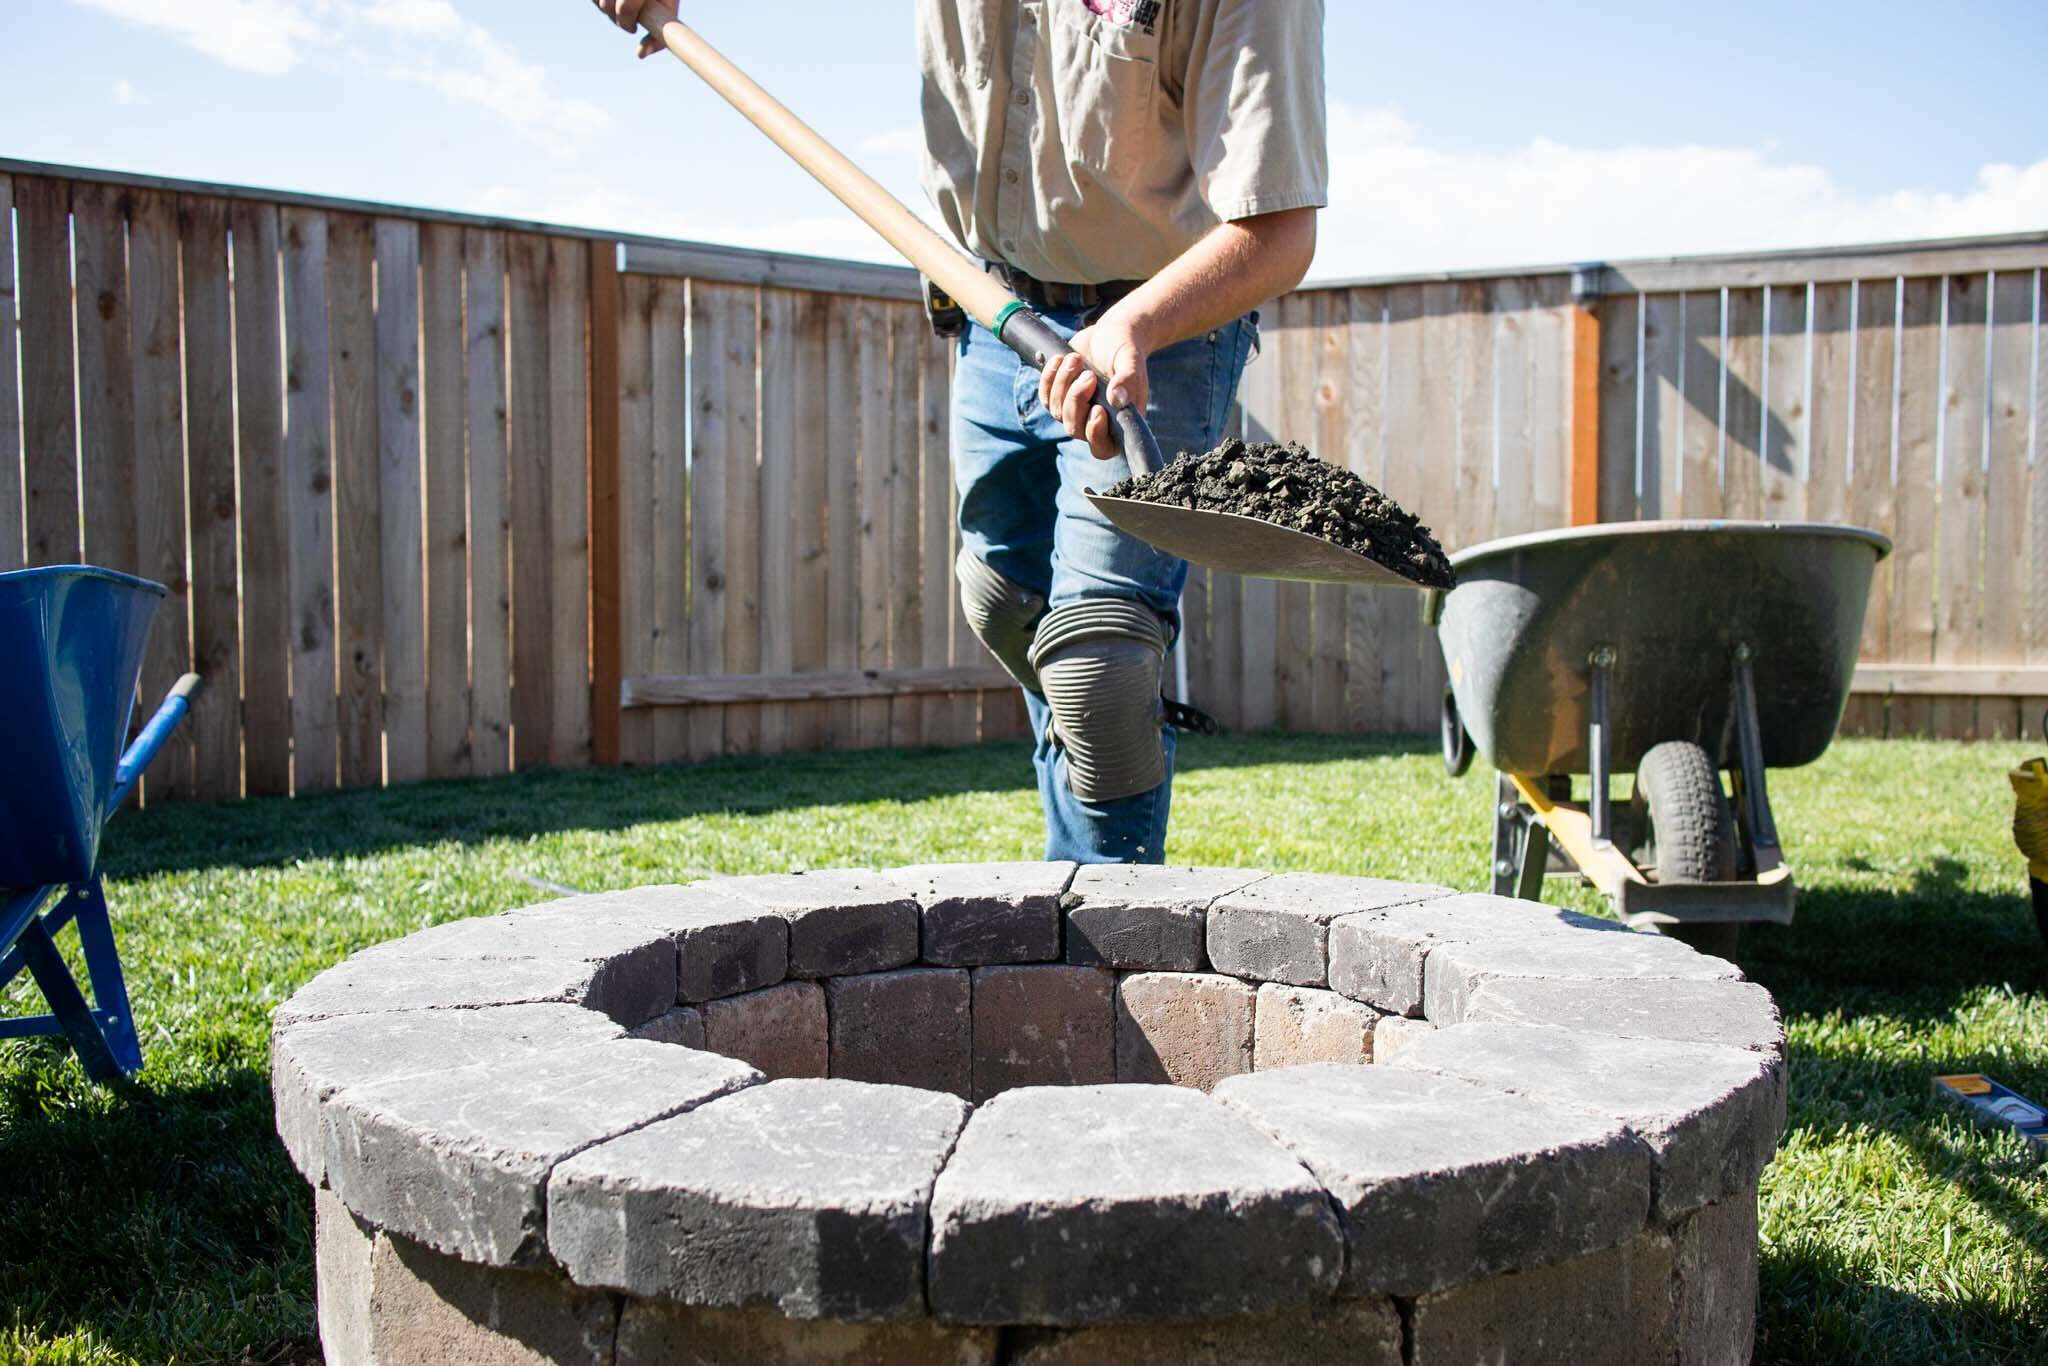
- Layer the Base Material: Surround the steel ring or fire pit kit with additional gravel or sand, filling the space between the perimeter and the outer edge of the base. This layer will provide further stability and support for the walls of the fire pit.
- Compact the Base: Use a tamper or a similar tool to compact the base material, ensuring that it is firmly packed and level. This step will prevent shifting and settling, creating a solid foundation for the subsequent construction phases.
By meticulously executing these steps, you’ll establish a secure and level base for your rock fire pit, setting the stage for the next phase of the construction process. With the foundation in place, you’re ready to move on to the exciting stage of building the walls of your fire pit with natural rocks or stone bricks.
Read more: How To Build A Good Fire In A Fire Pit
Step 5: Construct the Walls
Building the walls of your rock fire pit is where the project truly begins to take shape, both structurally and aesthetically. Follow these steps to create a visually appealing and durable enclosure for your fire pit:
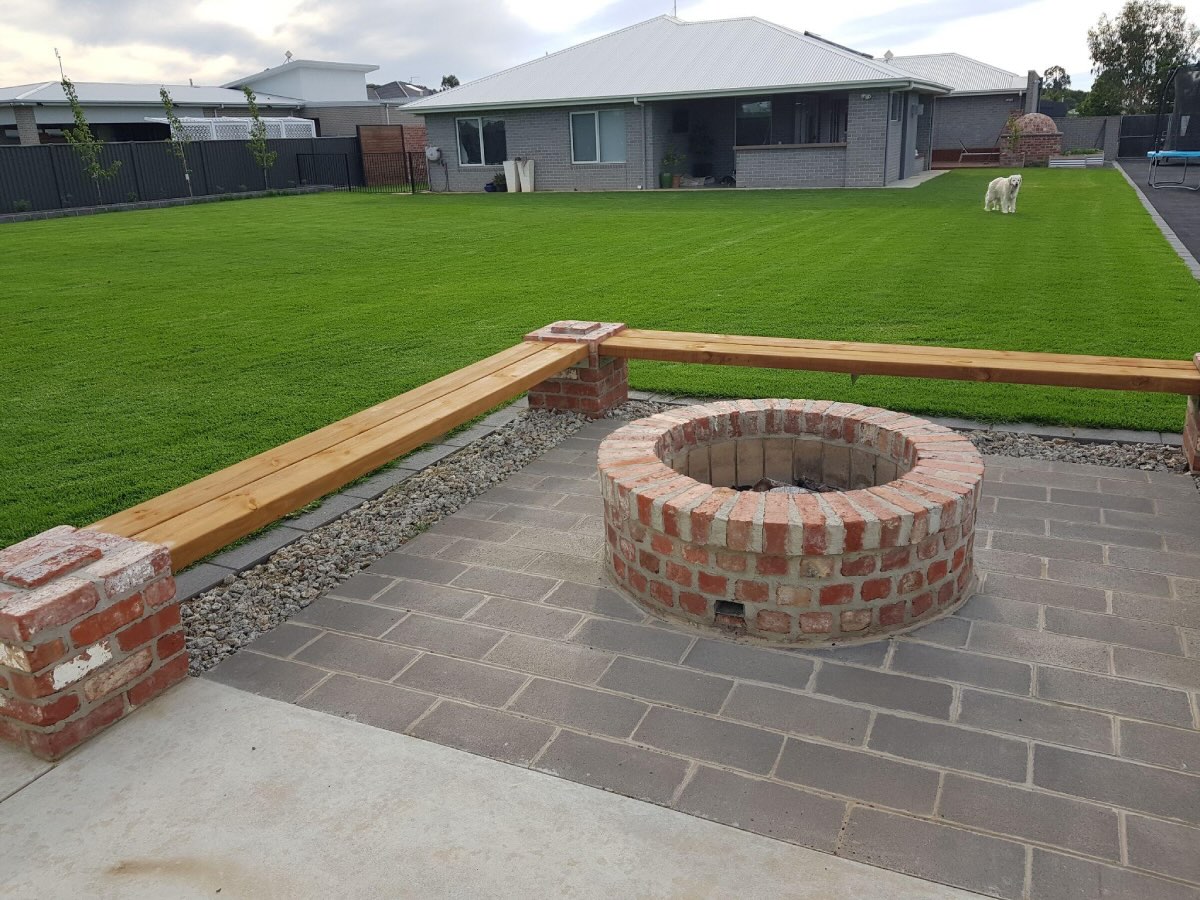
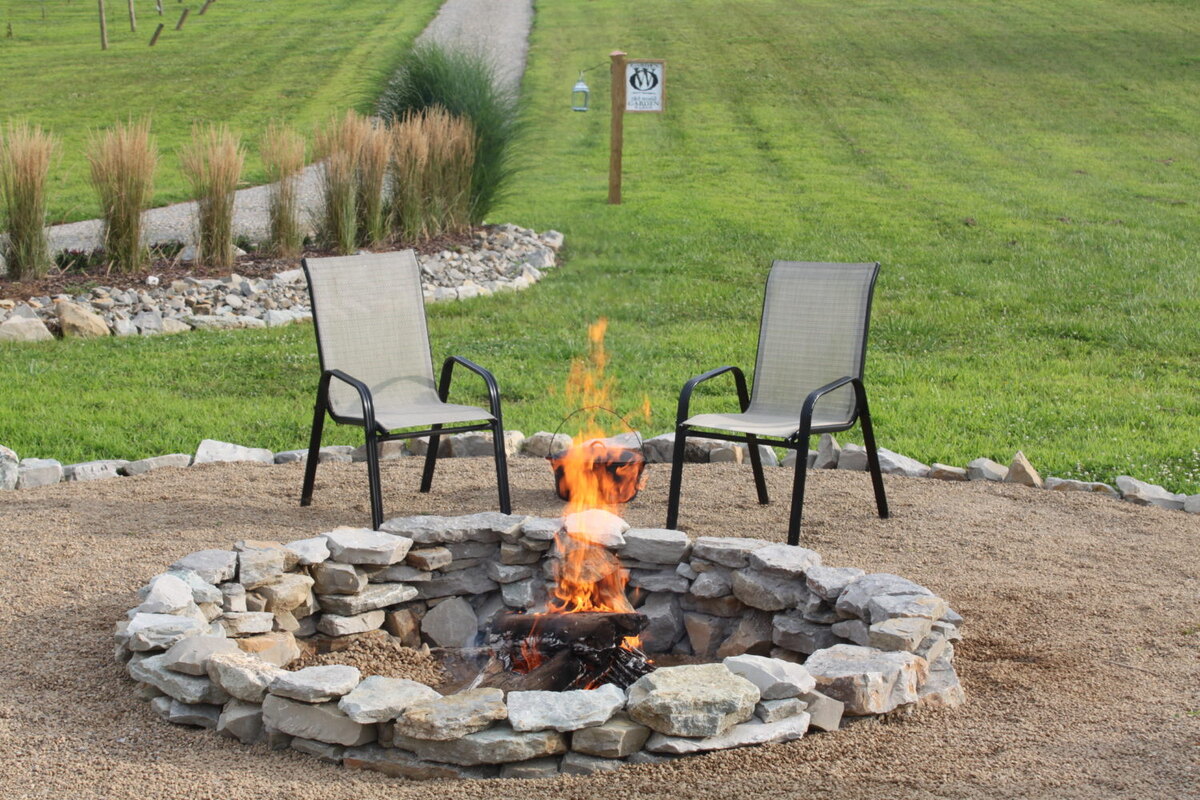
- Select and Arrange Rocks or Stone Bricks: Choose natural rocks or stone bricks of varying shapes and sizes to add visual interest and texture to the walls of your fire pit. Arrange the materials in a pattern that complements the overall design aesthetic and creates a secure barrier for the fire pit.
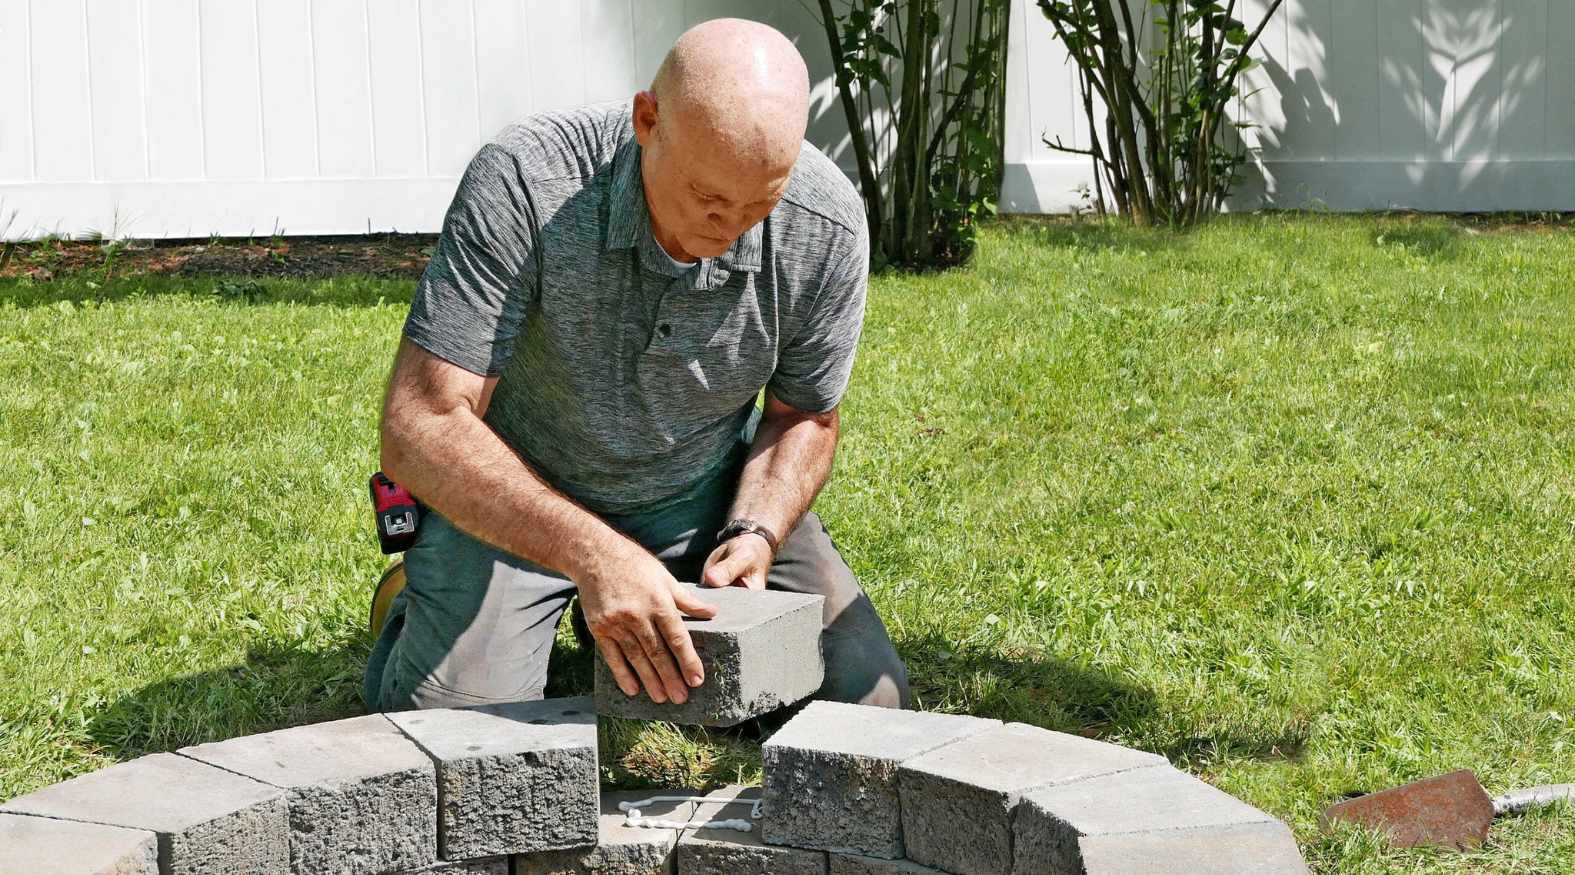
- Apply Masonry Adhesive: Using a trowel, apply a generous amount of masonry adhesive to the base of each rock or stone brick before placing it on the perimeter of the fire pit. This adhesive will bond the materials together, forming a solid and enduring wall structure.
- Layer the Walls: Gradually build up the walls of the fire pit by stacking the rocks or stone bricks in a staggered pattern. This technique will create a stable and visually appealing enclosure while allowing for proper ventilation and heat dispersion.
- Check for Stability: Periodically assess the stability and alignment of the wall materials as you build upward. Ensuring that each layer is securely bonded and level will contribute to the overall integrity and longevity of the fire pit.
- Create an Opening: Depending on your design preference, leave a designated opening in the wall structure to serve as the access point for adding firewood and igniting the fire. This opening can be strategically positioned to facilitate ease of use and visual appeal.
As you methodically construct the walls of your rock fire pit, you’ll witness the transformation of the project into a captivating outdoor feature. With the walls in place, you’re one step closer to enjoying memorable gatherings and cozy evenings around the warm glow of your custom-built fire pit.
Step 6: Add the Finishing Touches
As you near the completion of your rock fire pit construction, it’s time to add the final touches that will elevate its functionality and visual appeal. Consider the following steps to put the perfect finishing touches on your outdoor feature:
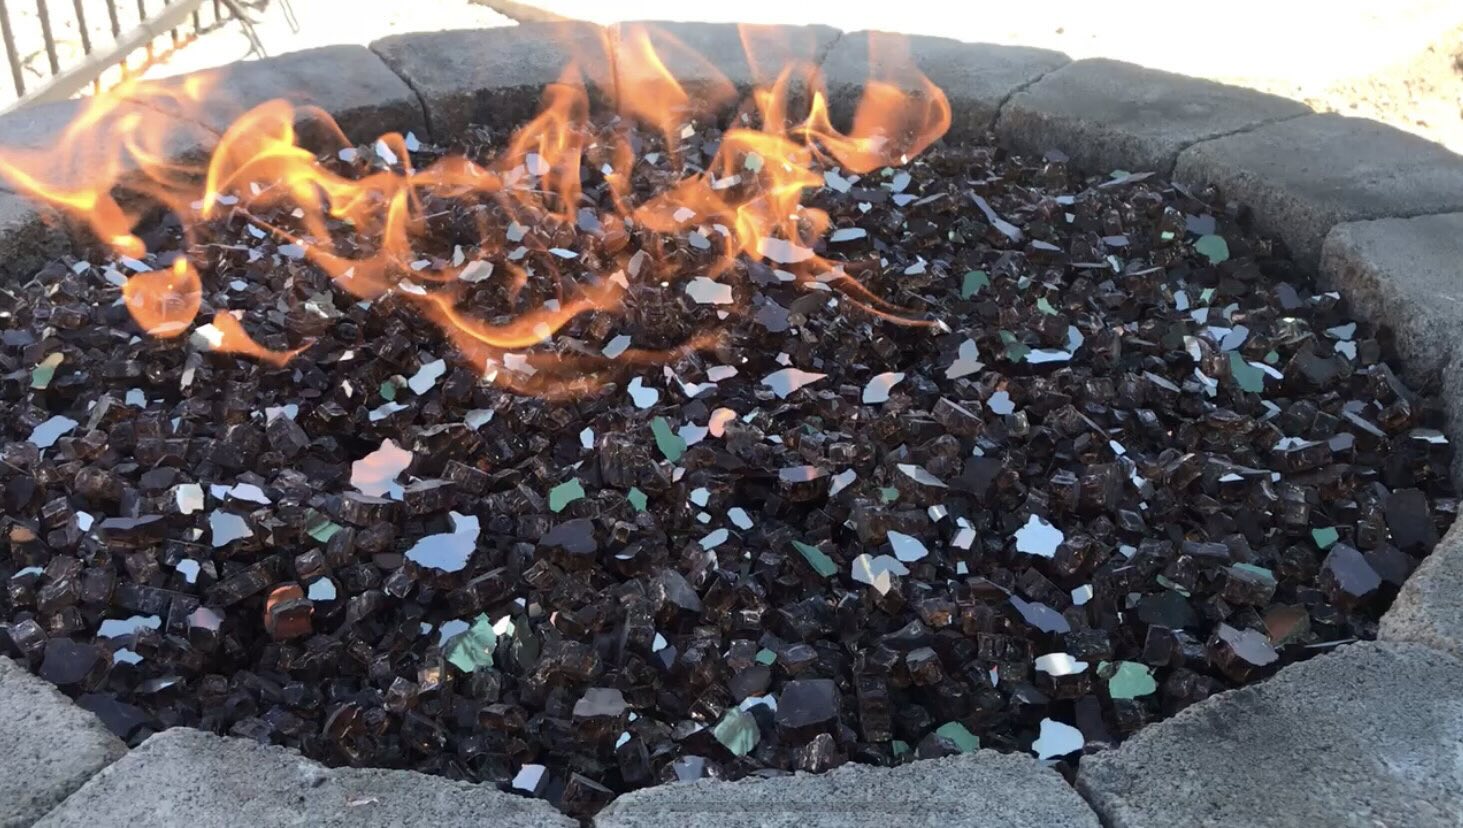
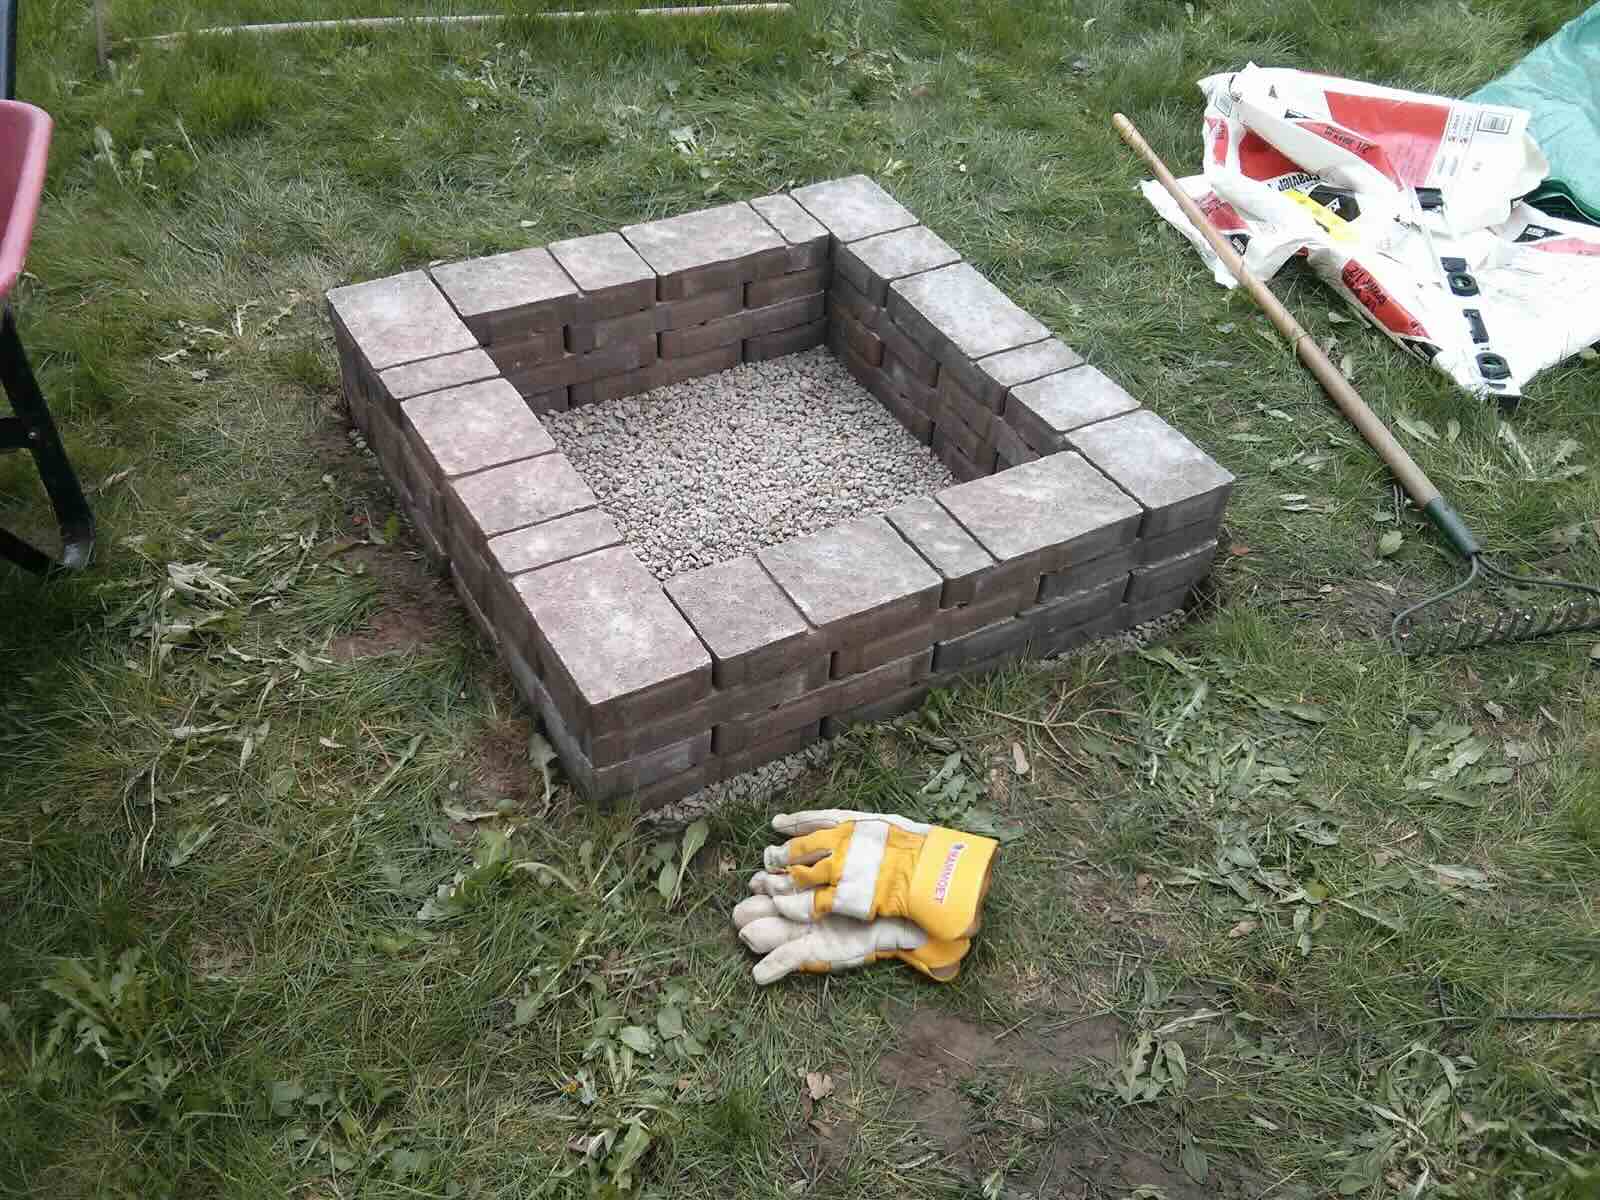
- Fill the Base: Pour a layer of sand or gravel into the fire pit’s interior, creating a level and heat-resistant surface for the firewood and embers. This layer will also aid in drainage and prevent the accumulation of water within the fire pit.
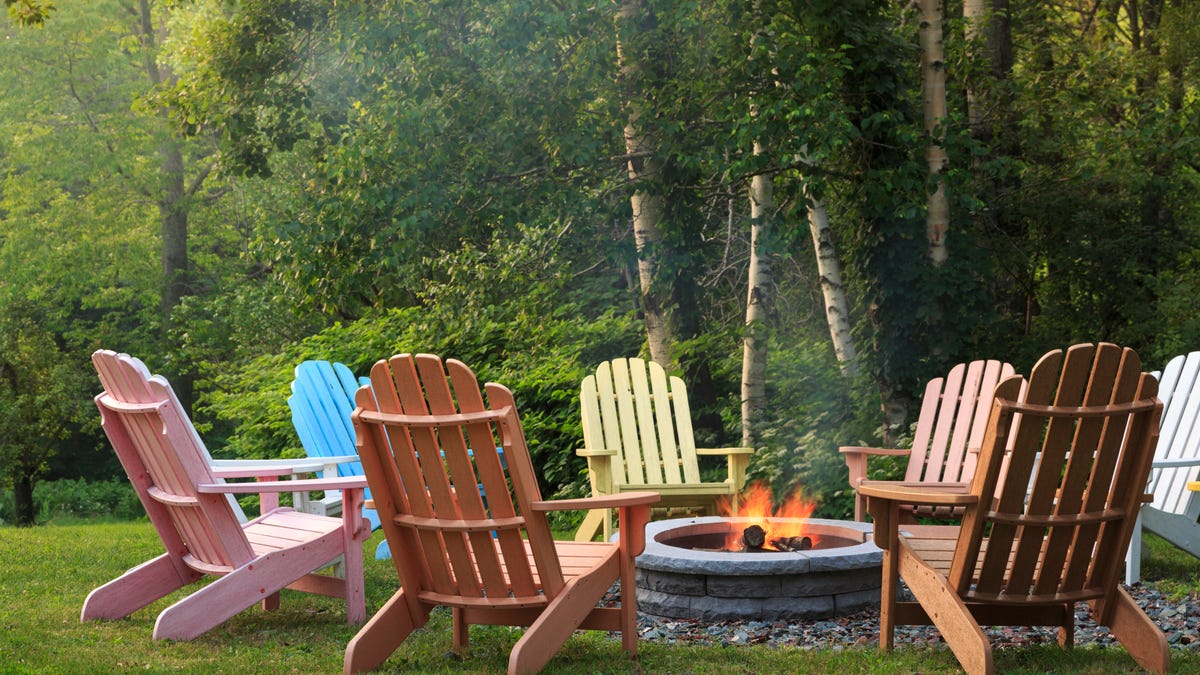
- Customize the Surrounding Area: Enhance the ambiance and comfort of the fire pit area by adding seating, lighting, and decorative elements. Whether it’s arranging cozy chairs, incorporating soft lighting, or introducing potted plants, these details will create an inviting and relaxing atmosphere.
- Consider a Grill or Cooking Surface: If you enjoy outdoor cooking, consider incorporating a grill or cooking surface into your fire pit design. This addition will expand the functionality of your fire pit, allowing you to prepare delicious meals while enjoying the warmth of the fire.
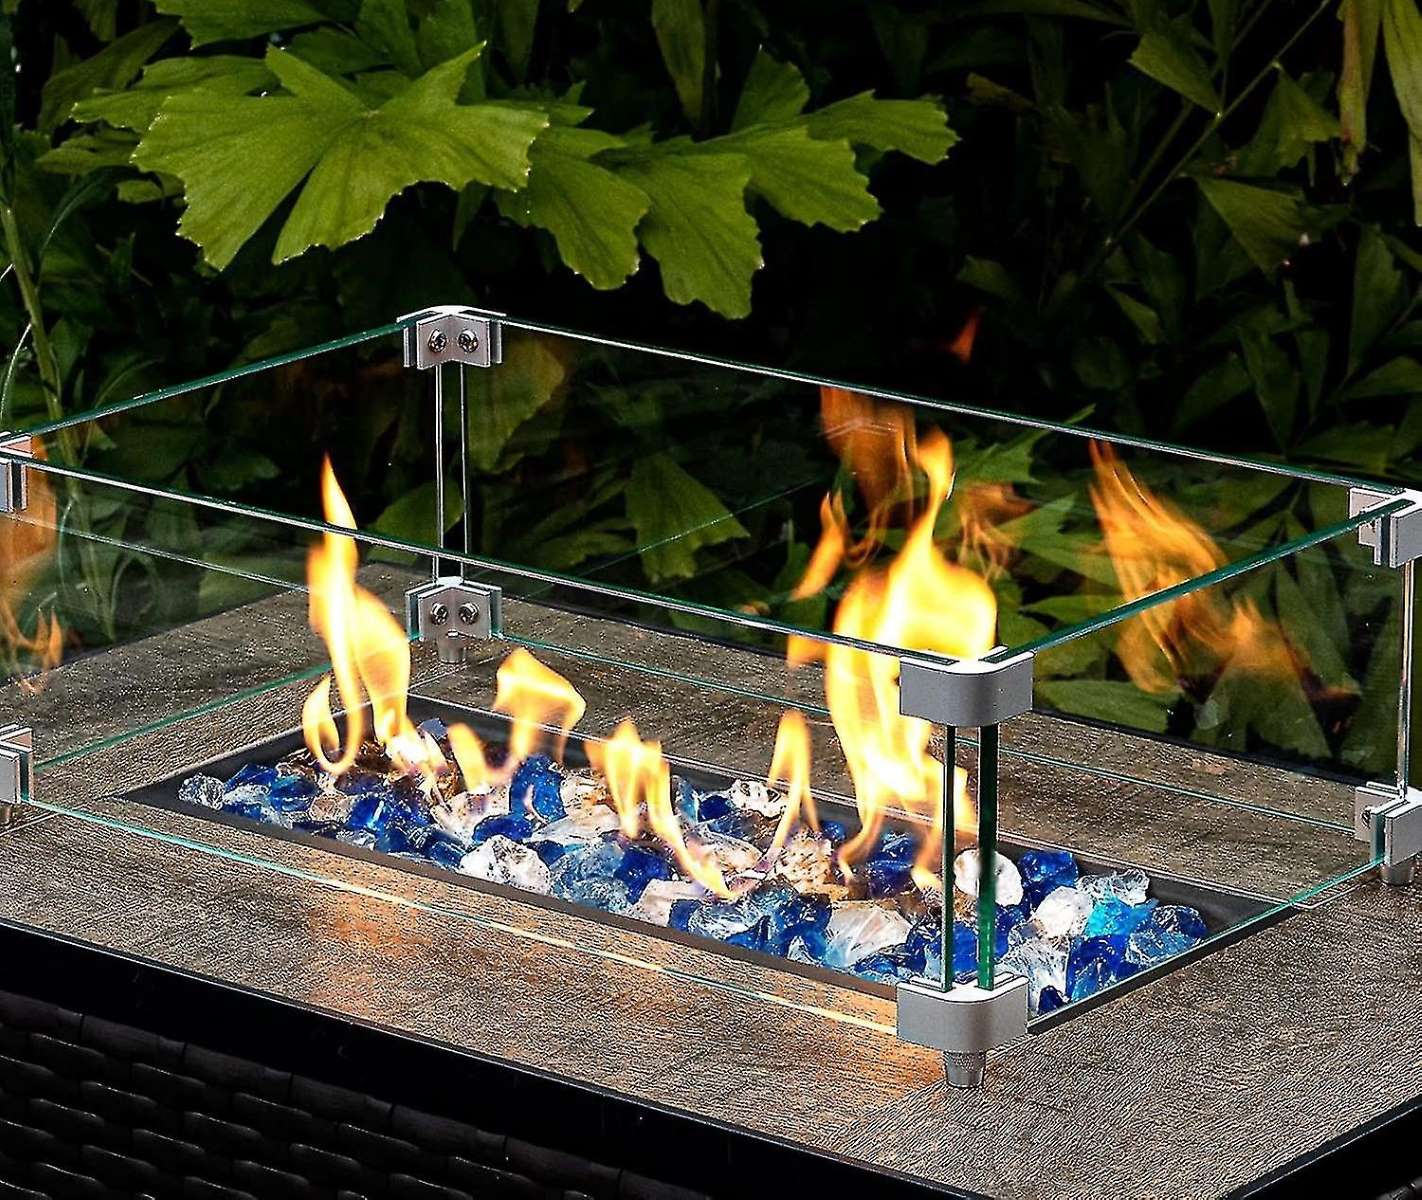
- Personalize with Decorative Elements: Infuse your personal style into the fire pit area by adding decorative elements such as fire pit covers, artistic metalwork, or custom signage. These touches will showcase your creativity and make the space uniquely yours.
- Implement Safety Measures: Prioritize safety by placing a fire extinguisher, a bucket of sand, or a water source nearby to address any unexpected flare-ups. Additionally, establish clear guidelines for fire pit usage to ensure a safe and enjoyable experience for everyone.
By attending to these final details, you’ll transform your rock fire pit into a captivating and functional focal point for outdoor gatherings and relaxation. With the finishing touches complete, you’re ready to bask in the warmth and ambiance of your beautifully crafted fire pit, creating lasting memories with friends and family in your outdoor oasis.
Conclusion
Congratulations on completing the construction of your rock fire pit! By following the step-by-step guide provided, you’ve transformed your outdoor space into a welcoming haven for gatherings, relaxation, and memorable experiences. As you admire the warm glow and rustic charm of your newly built fire pit, take a moment to appreciate the rewarding journey you’ve embarked on.
Building a rock fire pit is not just about creating a functional outdoor feature; it’s a testament to your creativity, craftsmanship, and dedication to enhancing your living environment. The flickering flames and inviting warmth of your fire pit will serve as a beacon, drawing friends and family together for cozy conversations, shared laughter, and cherished moments under the open sky.
As you enjoy the fruits of your labor, remember to prioritize safety and responsible fire pit usage. Educate yourself and others about fire safety practices, and always adhere to local regulations and guidelines. By doing so, you’ll ensure that your fire pit remains a source of joy and relaxation for years to come.
Now that your rock fire pit stands as a testament to your DIY prowess and creative vision, take the time to savor the tranquil evenings and lively gatherings it will inspire. Whether it’s roasting marshmallows, sharing stories, or simply unwinding in the glow of the fire, your fire pit will continue to kindle the flames of togetherness and create enduring memories.
With your outdoor space transformed into a captivating retreat, you’ve set the stage for countless moments of connection, warmth, and enjoyment. Embrace the magic of your rock fire pit and revel in the beauty of outdoor entertaining, knowing that you’ve created a space where cherished memories will be made for years to come.
Now that you've mastered building your rock fire pit, why not add more flair to your outdoor spaces? For those keen on sprucing up their decks, our guide on vibrant decor for outdoor gatherings will inspire you to transform any plain deck into a haven perfect for socializing. Love gardening? Check out our article on creative garden fence ideas, perfect for adding a touch of style and privacy to any landscaping project. Both guides offer practical tips and stylish solutions to elevate your outdoor living and gardening efforts.
Frequently Asked Questions about How To Build A Rock Fire Pit
Was this page helpful?
At Storables.com, we guarantee accurate and reliable information. Our content, validated by Expert Board Contributors, is crafted following stringent Editorial Policies. We're committed to providing you with well-researched, expert-backed insights for all your informational needs.


0 thoughts on “How To Build A Rock Fire Pit”