Home>Gardening & Outdoor>Outdoor Entertaining>How To Build An Outdoor Gas Fire Pit
Outdoor Entertaining
How To Build An Outdoor Gas Fire Pit
Modified: February 28, 2024
Discover how to create a stunning outdoor gas fire pit for your next outdoor entertaining adventure. Learn the steps to design and build your own fire feature. Create a cozy and inviting atmosphere in your outdoor space.
(Many of the links in this article redirect to a specific reviewed product. Your purchase of these products through affiliate links helps to generate commission for Storables.com, at no extra cost. Learn more)
**
Introduction
**
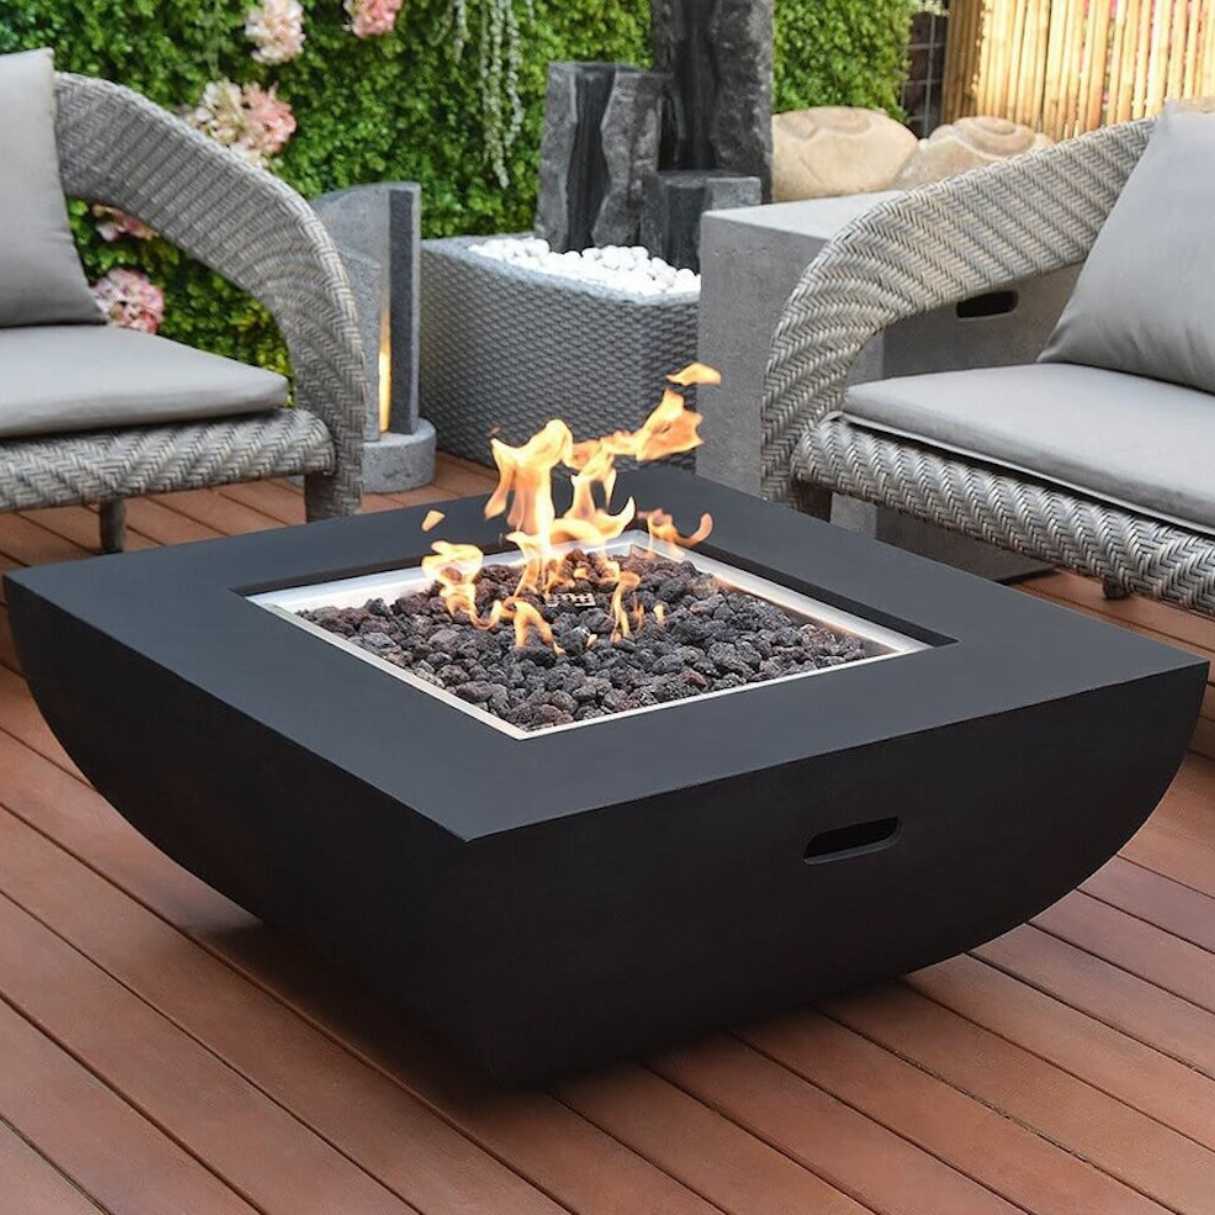
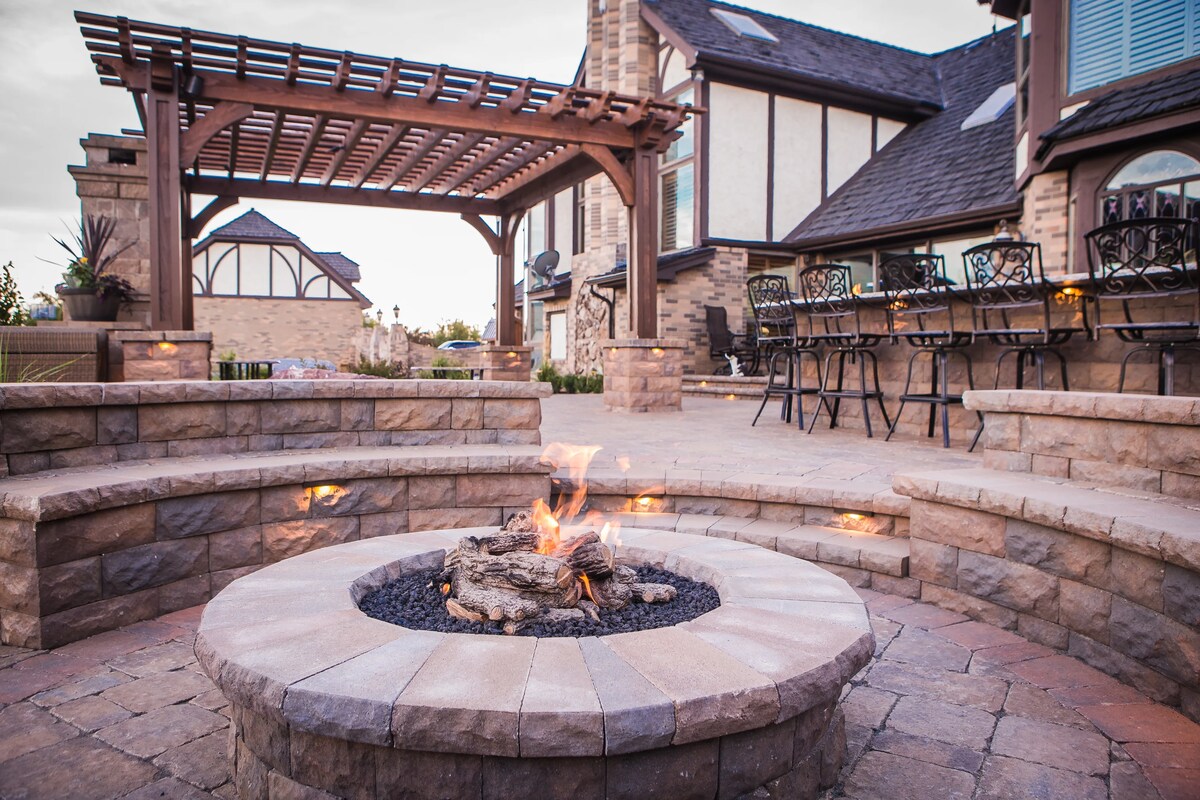
Are you dreaming of cozy evenings spent around a warm and inviting fire in your backyard? Building an outdoor gas fire pit can turn that dream into a reality, providing a focal point for gatherings and adding a touch of ambiance to your outdoor space. Whether you're a seasoned DIY enthusiast or a novice looking to embark on a new project, creating your own gas fire pit is a rewarding endeavor that can enhance your outdoor entertaining experience.
In this comprehensive guide, we'll walk you through the step-by-step process of building an outdoor gas fire pit. From choosing the perfect location to adding the finishing touches, you'll gain the knowledge and confidence to undertake this exciting project. So, roll up your sleeves, gather your tools, and get ready to transform your outdoor space into a welcoming oasis of warmth and relaxation. Let's dive in and explore the art of crafting a beautiful and functional outdoor gas fire pit.
Key Takeaways:
- Building an outdoor gas fire pit involves careful planning, from choosing the right location to installing the gas line. It creates a cozy gathering spot and enhances the visual appeal of your outdoor space.
- Adding finishing touches like seating, lighting, and landscaping elements transforms your fire pit into a captivating focal point. It provides warmth, ambiance, and a serene retreat for year-round enjoyment.
Read more: How To Build An Outdoor Gas Fire Pit
Step 1: Choose a Location
Before diving into the construction process, it’s crucial to carefully select the ideal location for your outdoor gas fire pit. Consider the layout of your outdoor space, the proximity to your home, and any local regulations or guidelines regarding fire pit placement. Here are some key factors to keep in mind when choosing a location:
- Safety First: Ensure that the chosen area is a safe distance away from any structures, trees, or overhanging branches. This will minimize the risk of accidental fires and provide ample space for seating and movement around the fire pit.
- Ventilation: Opt for an open area with good air circulation to allow smoke and fumes to disperse easily. Avoid placing the fire pit in a confined or enclosed space that could trap smoke and create discomfort for you and your guests.
- Aesthetic Appeal: Consider the visual impact of the fire pit within your outdoor landscape. Choose a location that complements the overall design of your backyard and creates a welcoming atmosphere for gatherings.
- Accessibility: Select a spot that is easily accessible from your patio or outdoor seating area. This will ensure convenience and encourage frequent use of the fire pit during social gatherings or quiet evenings outdoors.
By carefully evaluating these factors, you can pinpoint the perfect spot for your outdoor gas fire pit, setting the stage for a beautiful and functional addition to your outdoor living space.
Step 2: Gather Materials and Tools
Once you’ve chosen the location for your outdoor gas fire pit, it’s time to gather the necessary materials and tools to bring your vision to life. Here’s a comprehensive list of what you’ll need:
- Fire Pit Kit: Invest in a high-quality fire pit kit that includes a burner, ignition system, gas lines, and decorative elements. Opt for a kit that suits the size and style of your desired fire pit.
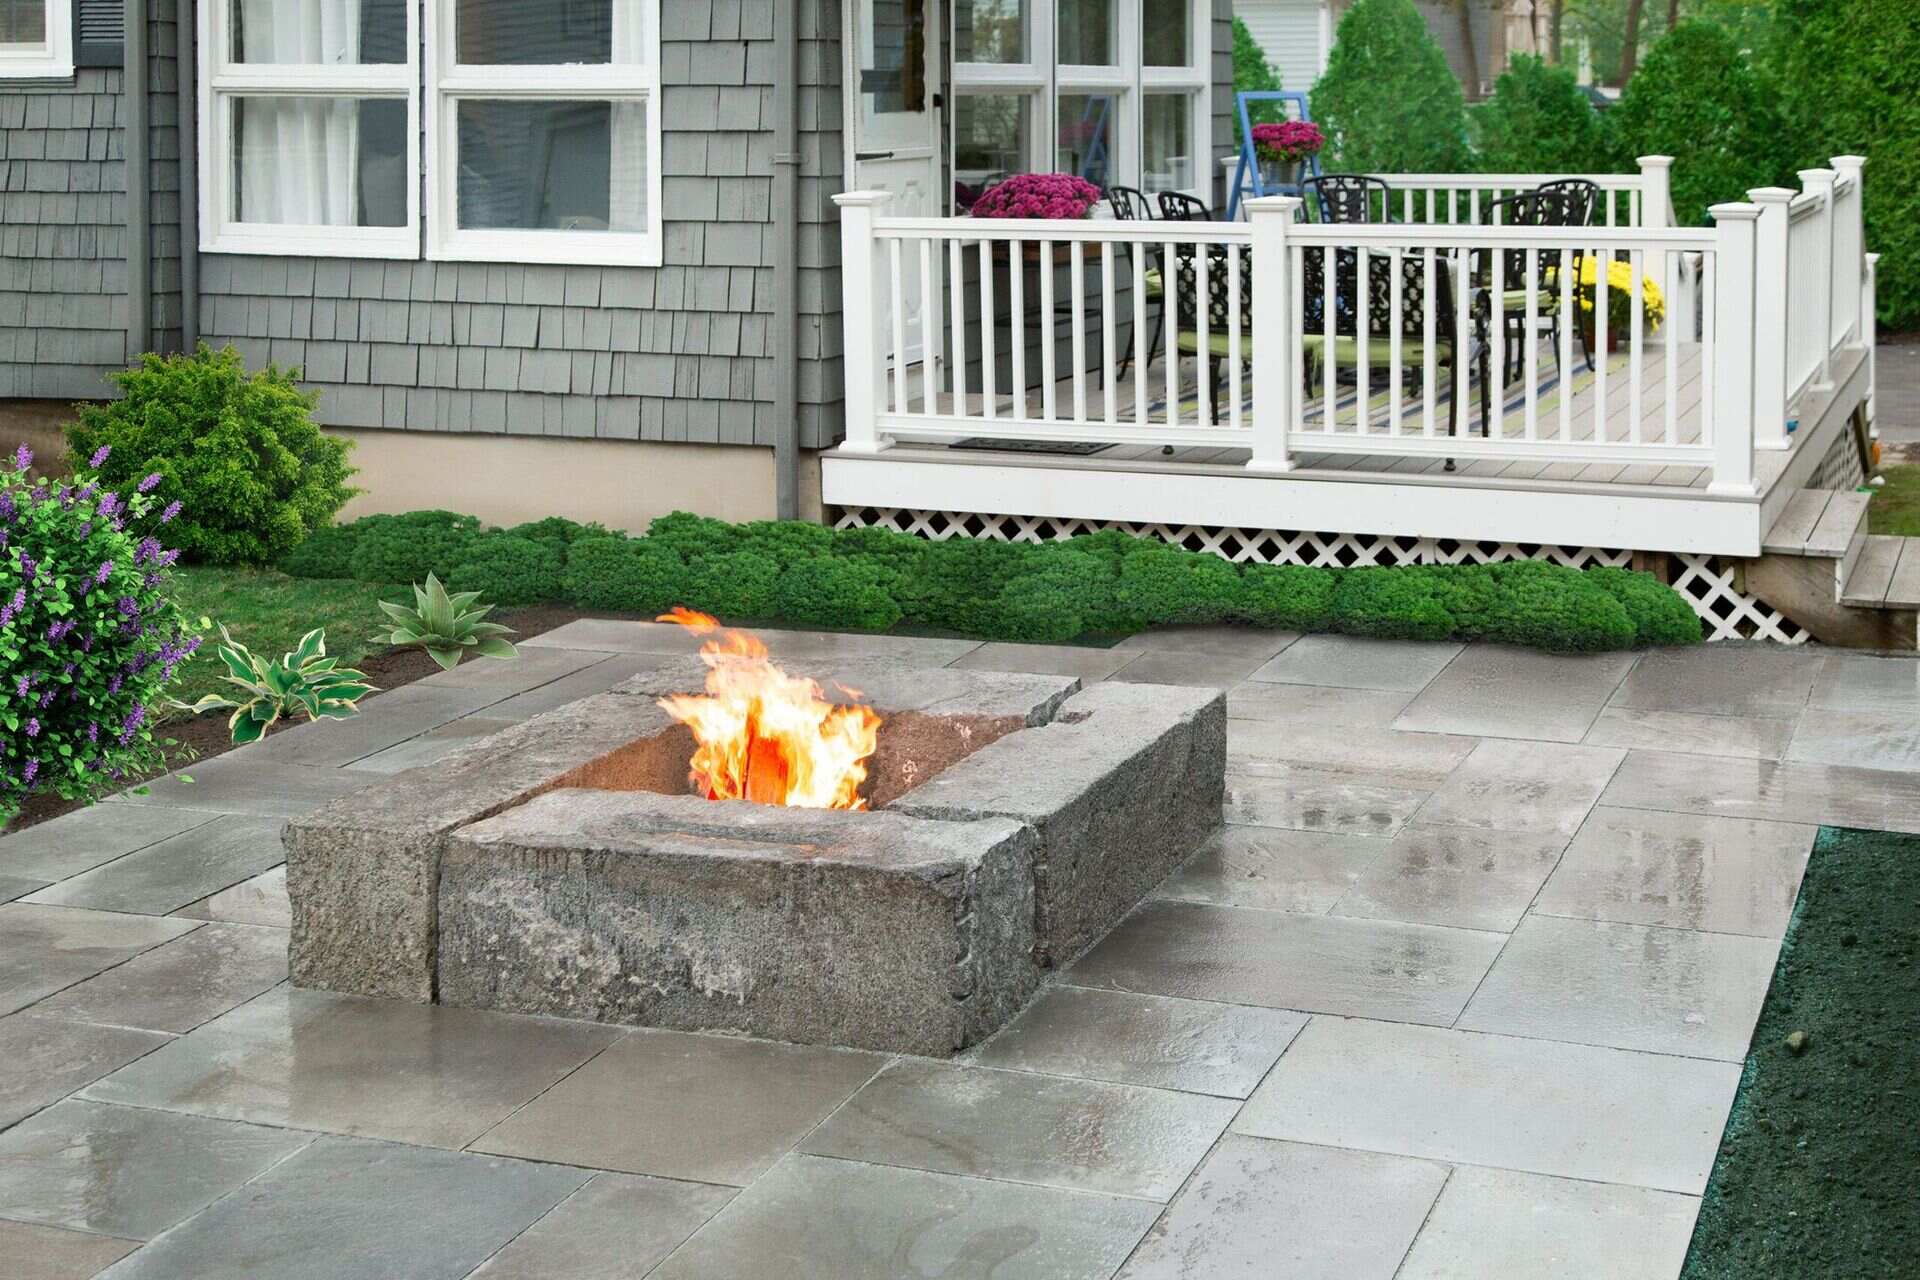
- Pavers or Bricks: Depending on your design preference, you’ll need pavers, bricks, or retaining wall blocks to construct the base and walls of the fire pit. Choose materials that are heat-resistant and durable.
- Sand and Gravel: These materials are essential for creating a stable and level base for your fire pit. They provide a solid foundation and aid in proper drainage.
- Gas Line Components: If you’re connecting your fire pit to a natural gas line, ensure you have the necessary pipes, fittings, and valves. For propane-fueled fire pits, you’ll need a propane tank and regulator.
- Safety Gear: Prioritize safety by having fire-resistant gloves, safety goggles, and a fire extinguisher on hand. These items are essential when working with fire and construction materials.
- Tools: Gather basic construction tools such as a shovel, level, tape measure, rubber mallet, and a trowel. You may also need a saw for cutting pavers or bricks to size.
- Decorative Stones or Glass: Consider adding decorative elements such as lava rocks, fire glass, or decorative stones to enhance the visual appeal of your fire pit and create a mesmerizing flame display.
By ensuring you have all the necessary materials and tools at the outset, you can streamline the construction process and avoid delays or interruptions. With everything in place, you’re ready to roll up your sleeves and start building your outdoor gas fire pit.
Step 3: Prepare the Area
Before laying the foundation for your outdoor gas fire pit, it’s essential to prepare the designated area to ensure a sturdy and long-lasting structure. Follow these steps to get the site ready for construction:
- Clear the Space: Remove any debris, vegetation, or obstacles from the chosen location. Clearing the area will provide a clean slate for building the fire pit and prevent potential hazards during construction.
- Mark the Perimeter: Use marking paint or stakes and string to outline the shape and size of the fire pit. This will help visualize the dimensions and ensure that the final structure fits seamlessly into the outdoor space.
- Excavation: Dig a shallow trench within the marked perimeter to accommodate the base materials. The depth of the trench will depend on the thickness of the base materials and the fire pit kit specifications.
- Add Base Materials: Fill the excavated area with a layer of gravel for drainage, followed by a layer of sand for leveling. Tamp down the materials firmly to create a stable and even base for the fire pit.
- Check for Level: Utilize a level to ensure that the prepared area is flat and even. Making adjustments at this stage will contribute to the stability and symmetry of the fire pit.
By meticulously preparing the area, you’ll establish a solid foundation for your outdoor gas fire pit, setting the stage for the next phase of construction. This careful groundwork will contribute to the longevity and structural integrity of your fire pit, ensuring years of enjoyment and relaxation in your outdoor haven.
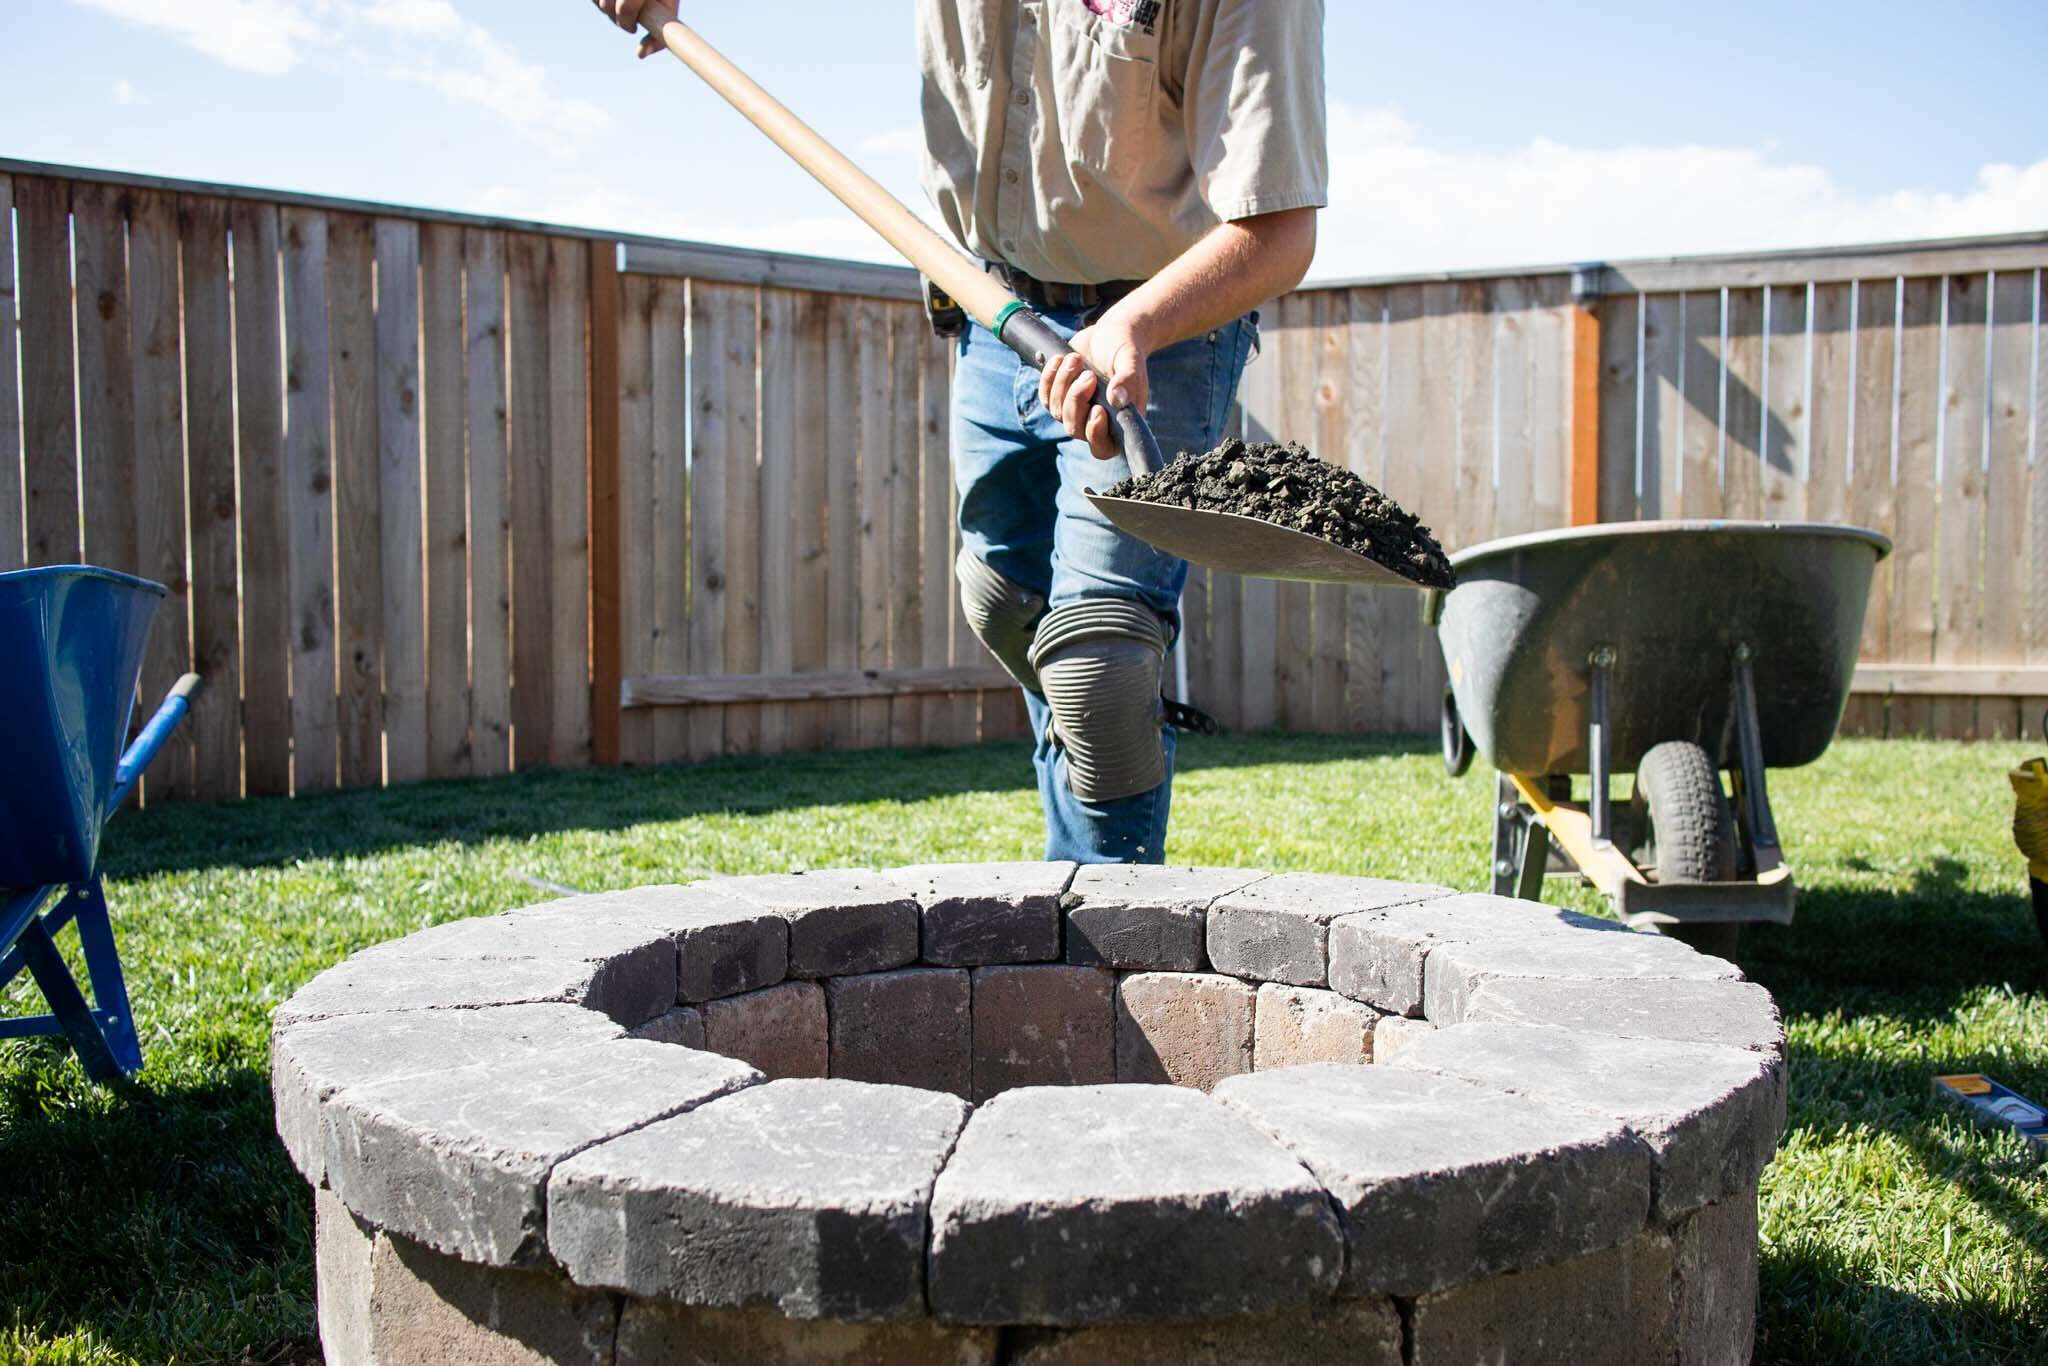
Step 4: Build the Base
With the area prepared, it’s time to construct the base of your outdoor gas fire pit. This foundational step sets the stage for the visual and functional aspects of the structure. Follow these essential guidelines to build a sturdy and visually appealing base:
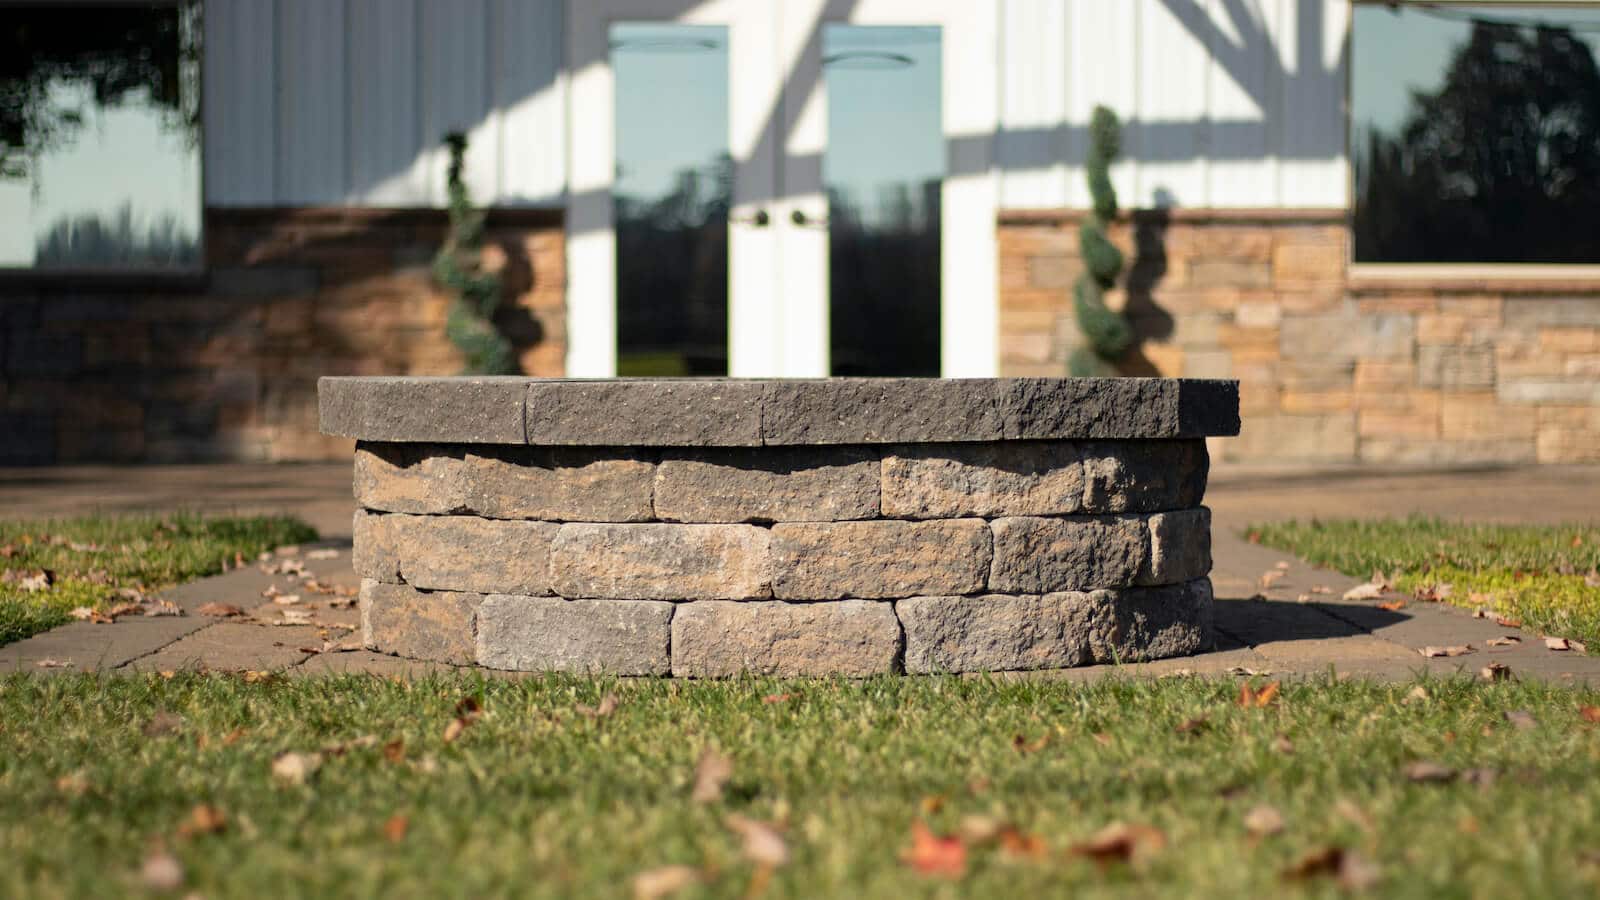
- Lay the First Course: Begin by arranging the first layer of pavers or bricks along the excavated trench. Ensure that the materials fit snugly together and form a cohesive circle or square, depending on your preferred fire pit shape.
- Check for Level: Use a level to verify that the first course is even and flat. Adjust the positioning of the pavers or bricks as needed to maintain a consistent level throughout the base.
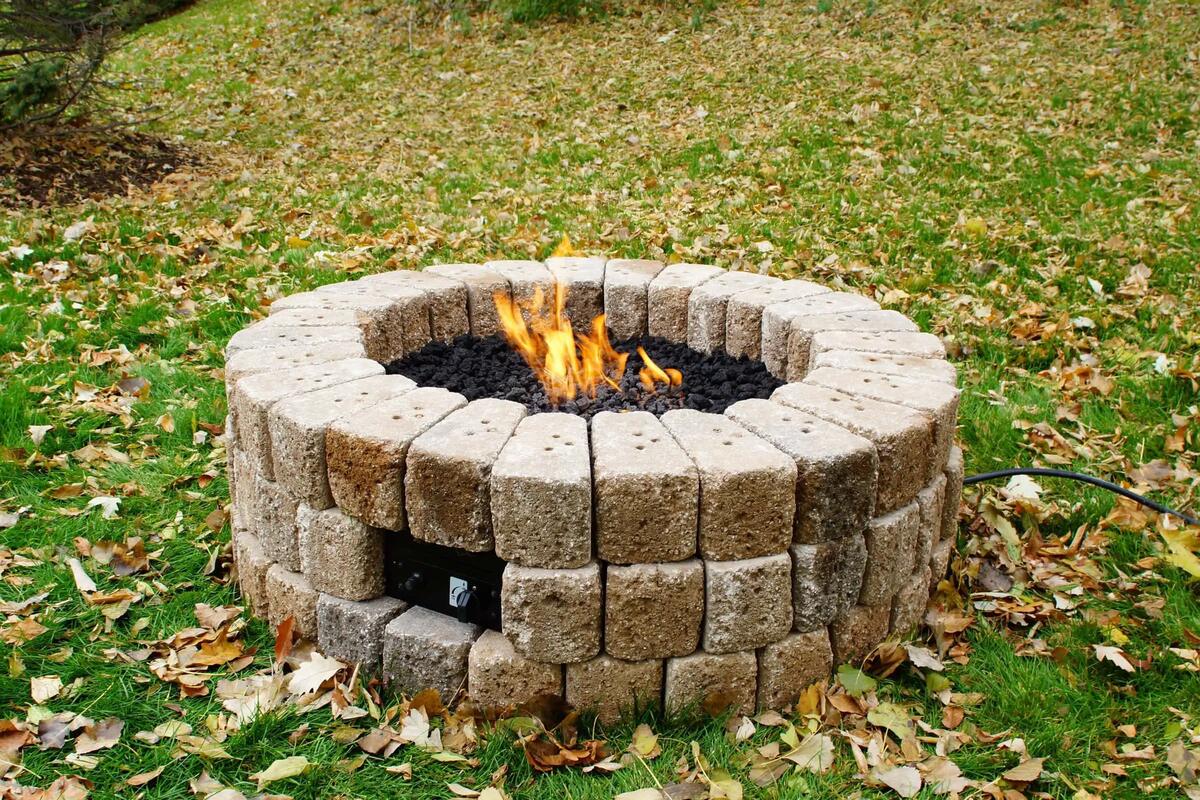
- Add Subsequent Courses: Continue stacking additional layers of pavers or bricks to achieve the desired height for the base. Stagger the joints between courses to enhance stability and create a visually appealing pattern.
- Secure the Base: Once the desired height is reached, use construction adhesive or masonry glue to secure the stacked pavers or bricks in place. This step reinforces the base and prevents shifting over time.
- Create a Fire Ring: If your fire pit kit includes a fire ring, carefully install it within the center of the base according to the manufacturer’s instructions. The fire ring serves as the housing for the burner and contributes to the safe and efficient operation of the gas fire pit.
By meticulously building the base, you’ll establish a solid and visually appealing foundation for your outdoor gas fire pit. This critical phase sets the stage for the subsequent installation of the gas components and the completion of your custom fire pit structure.
When building an outdoor gas fire pit, make sure to use a high-quality gas burner and fire pit insert to ensure safe and efficient operation.
Read more: How To Build An Outdoor Fire Pit
Step 5: Install the Gas Line
Installing the gas line is a pivotal phase in bringing your outdoor gas fire pit to life. Whether you’re connecting to a natural gas supply or utilizing propane, careful attention to detail and adherence to safety protocols are essential. Follow these crucial steps to ensure a seamless and secure gas line installation:
- Consult a Professional: If you’re connecting the fire pit to a natural gas line, it’s advisable to seek the expertise of a licensed professional to handle the gas line installation. They will ensure compliance with local building codes and safety standards.
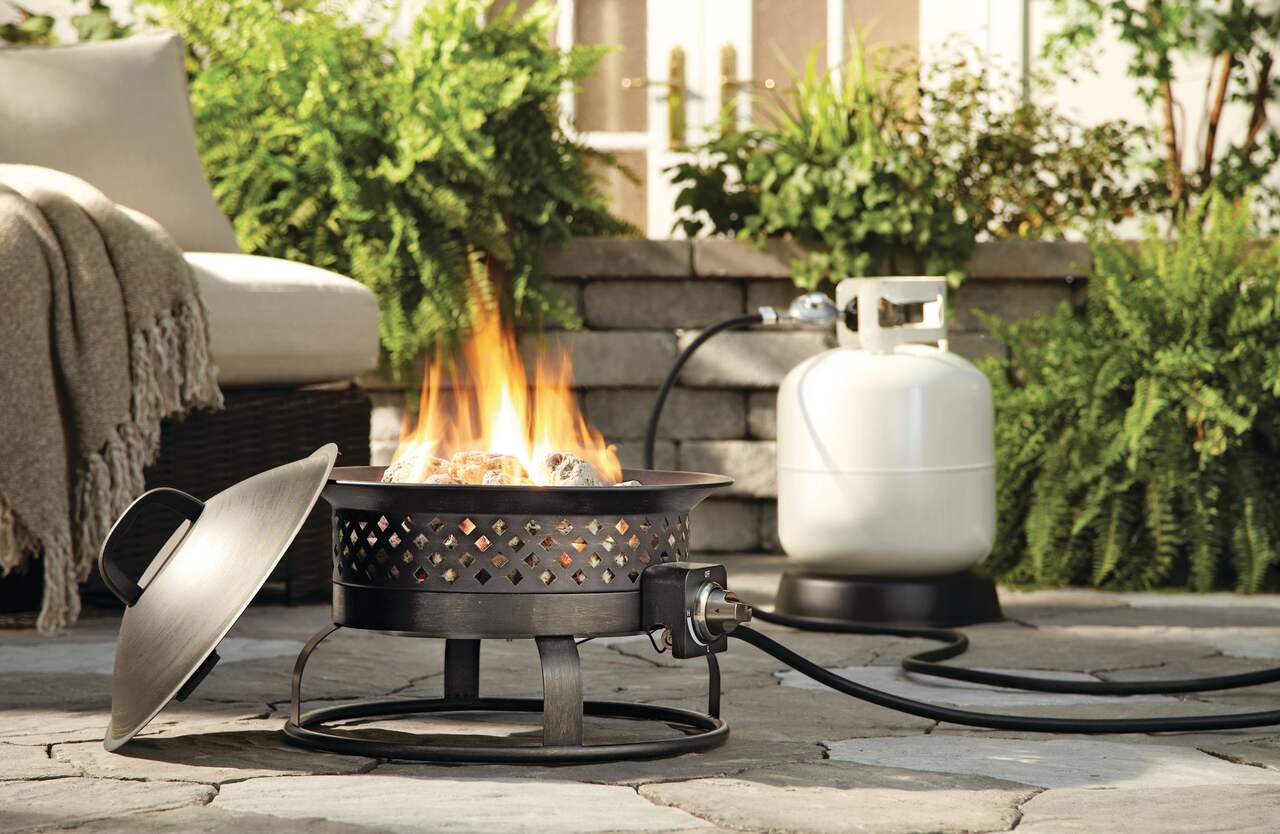
- Propane Tank Setup: If using propane, position the propane tank in a designated area and connect it to the fire pit using a high-quality gas line and regulator. Ensure that the tank is located at a safe distance from the fire pit and any ignition sources.
- Secure Connections: Whether working with natural gas or propane, carefully follow the manufacturer’s instructions to make secure connections between the gas line, burner, and ignition system. Utilize appropriate fittings and sealants to prevent gas leaks.
- Pressure Testing: After the gas line is installed, perform a pressure test to verify that there are no leaks in the system. This crucial step ensures the safety and reliability of the gas supply to the fire pit.
- Professional Inspection: If you’re uncertain about any aspect of the gas line installation, enlist the services of a qualified professional to inspect the system and confirm its safety and compliance with regulations.
By meticulously installing the gas line, you’ll ensure the safe and efficient operation of your outdoor gas fire pit, providing a reliable source of warmth and ambiance for your outdoor gatherings.
Step 6: Add the Fire Pit Ring
With the gas line in place, it’s time to add the fire pit ring, a crucial component that houses the burner and contributes to the mesmerizing flame display of your outdoor gas fire pit. Follow these essential steps to seamlessly incorporate the fire pit ring into your construction:
- Positioning the Ring: Carefully place the fire pit ring within the designated area at the center of the base. Ensure that it sits securely and aligns with the gas line connection point.
- Connect the Gas Line: If not already connected, carefully attach the gas line to the designated inlet on the fire pit ring, following the manufacturer’s instructions and using the appropriate fittings and sealants.
- Test the Ignition System: Before finalizing the installation, test the ignition system to ensure that it sparks and ignites the gas properly. This step verifies the functionality of the system and allows for adjustments if necessary.
- Secure the Ring: Once the position and connection of the fire pit ring are confirmed, secure it in place according to the manufacturer’s guidelines. This may involve anchoring the ring to the base or utilizing securing mechanisms provided with the fire pit kit.
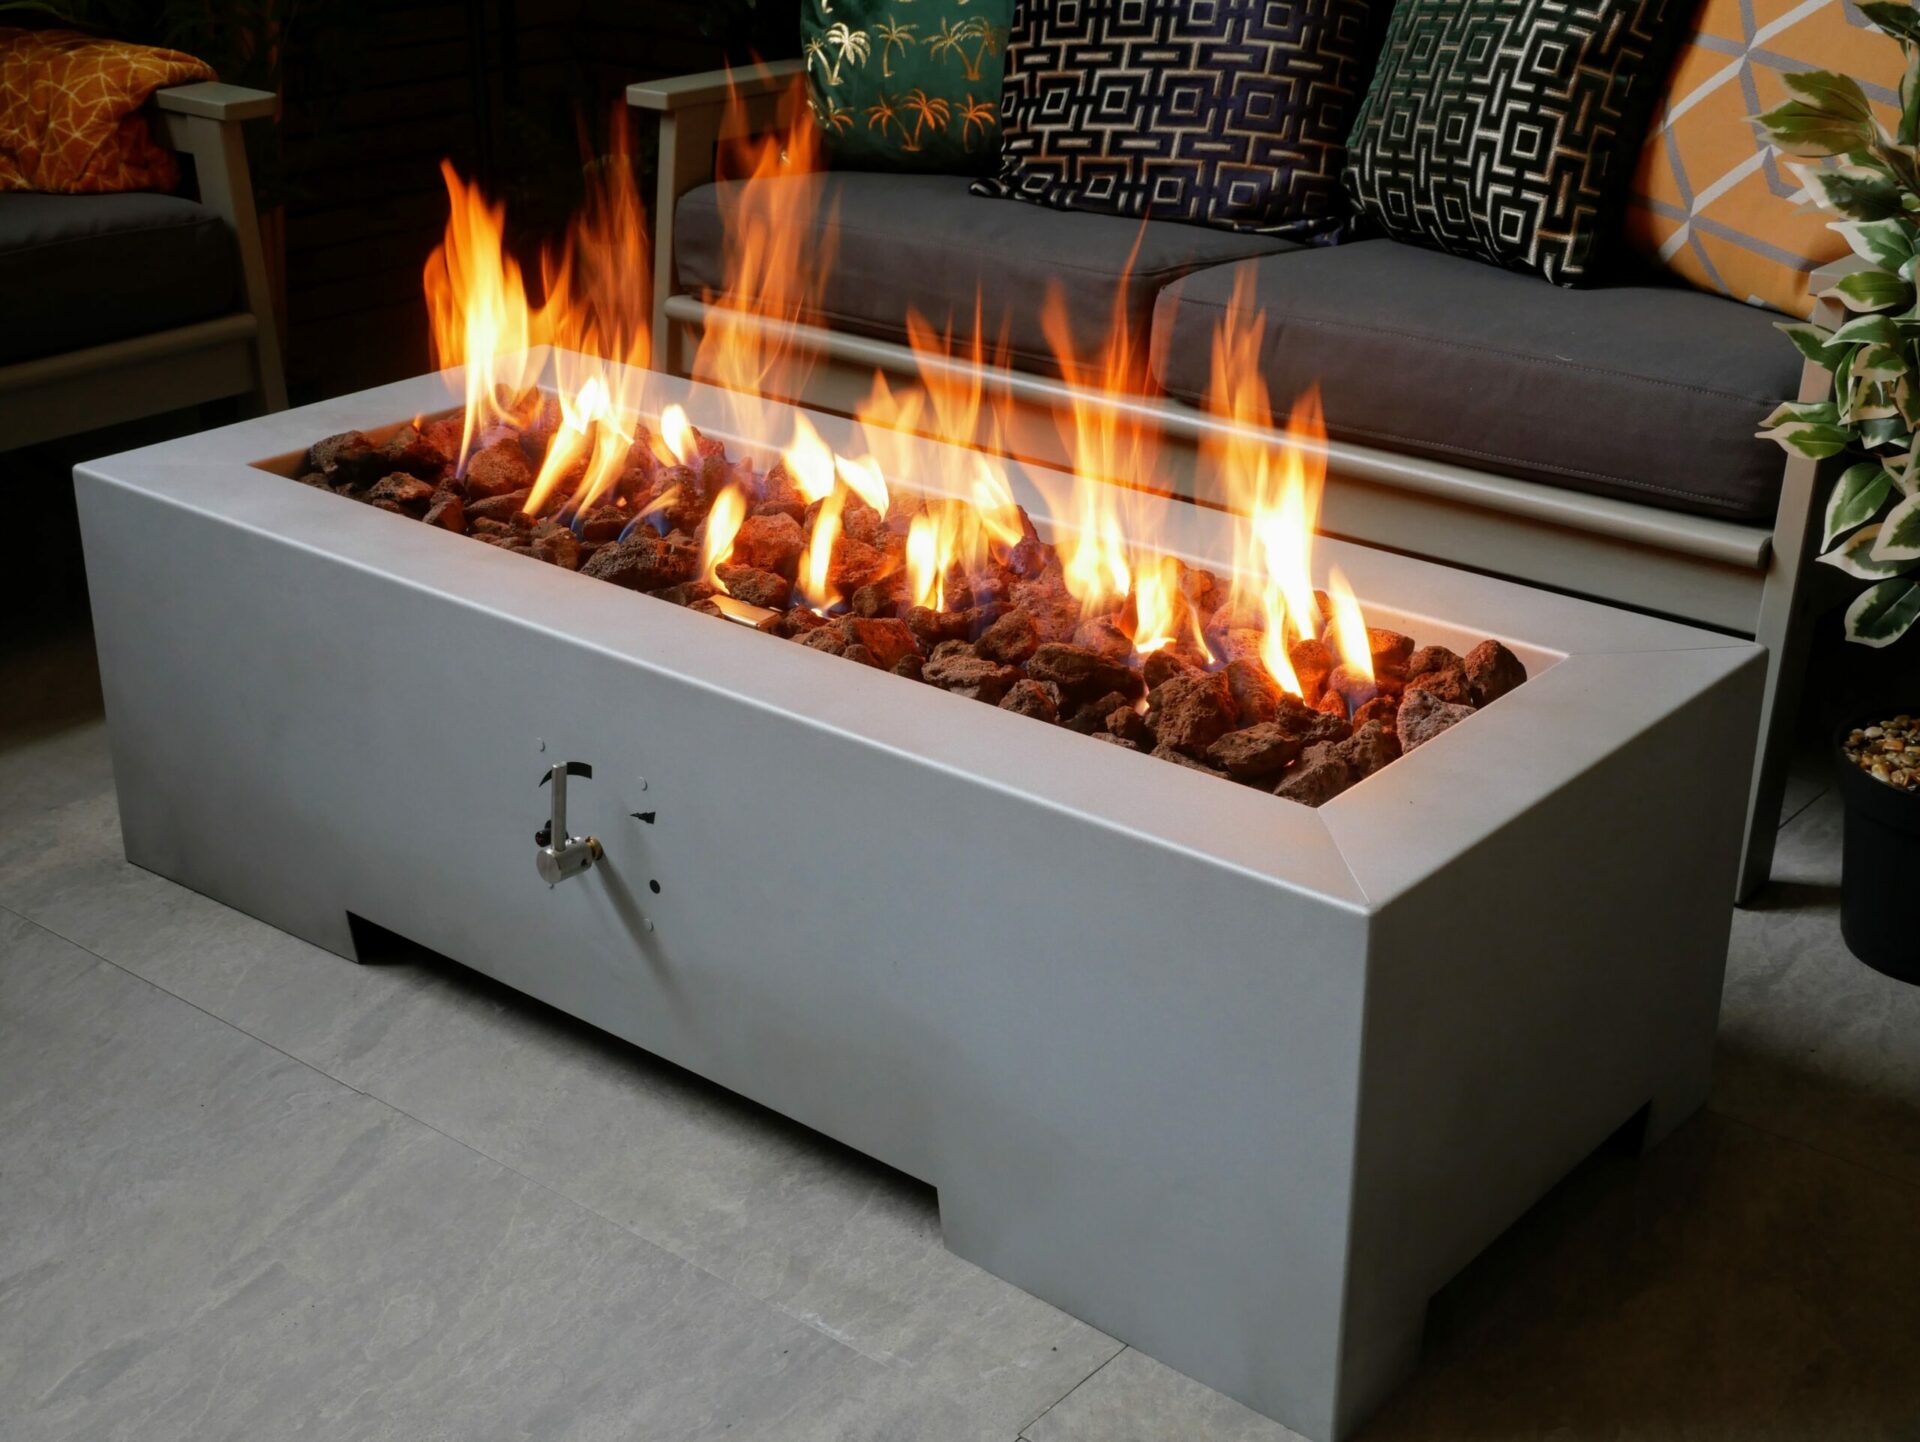
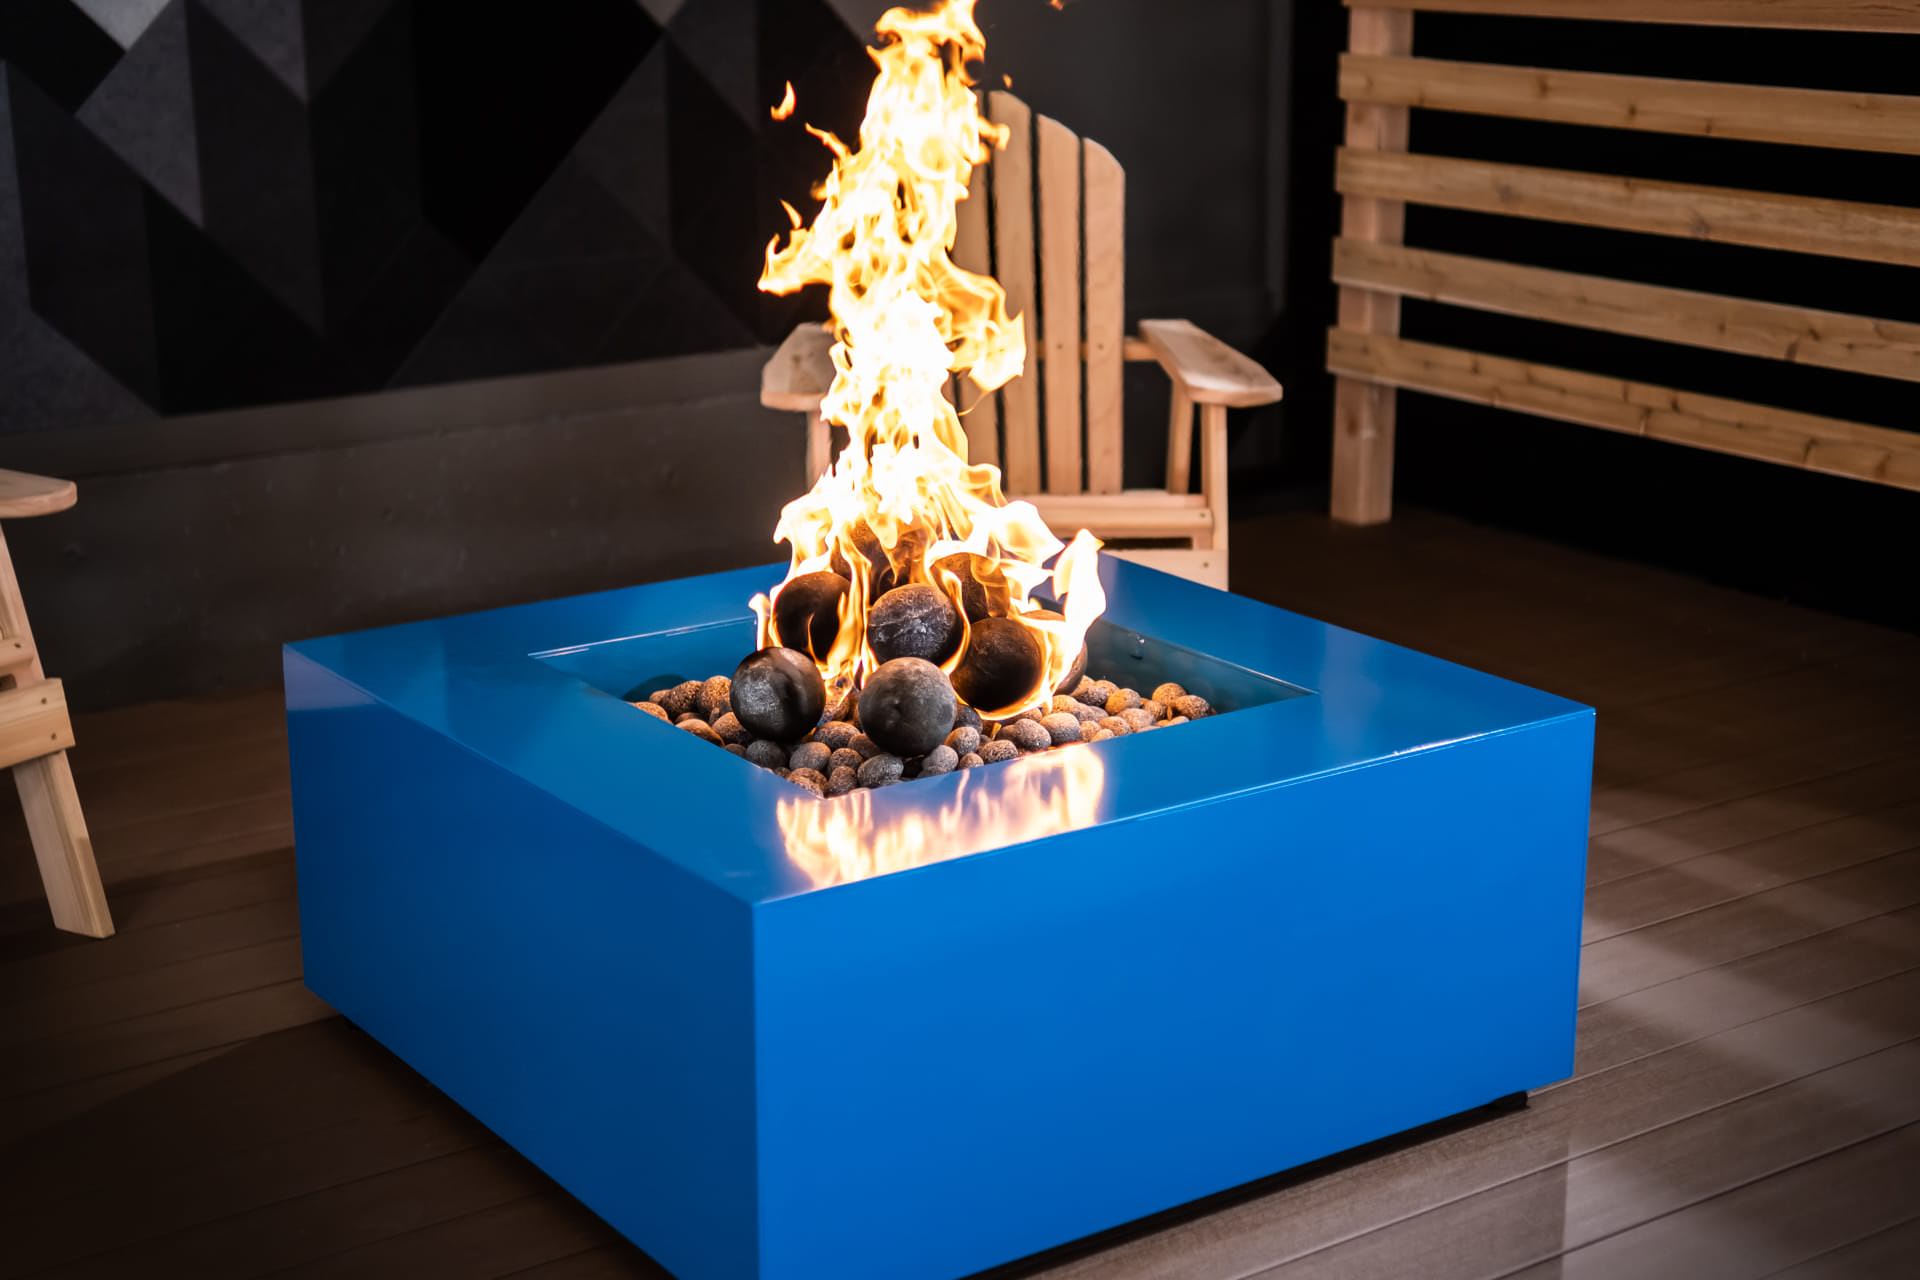
- Add Decorative Elements: Enhance the visual appeal of your fire pit by adding decorative elements such as lava rocks, fire glass, or ceramic logs within the fire pit ring. These elements not only elevate the aesthetic charm of the fire pit but also contribute to the dispersion of heat and the mesmerizing dance of flames.
By adding the fire pit ring with precision and attention to detail, you’ll complete a crucial stage in the construction of your outdoor gas fire pit, bringing you one step closer to enjoying the warmth and allure of your custom outdoor oasis.
Step 7: Finishing Touches
As you near the completion of your outdoor gas fire pit construction, it’s time to add the finishing touches that will elevate its visual appeal and functionality. These final steps will transform your fire pit into a captivating centerpiece for outdoor gatherings and relaxation:
- Seating Arrangements: Arrange comfortable outdoor seating around the fire pit to create a welcoming and intimate atmosphere. Consider options such as weather-resistant chairs, benches, or built-in stone seating to accommodate guests and create a cozy ambiance.
- Lighting Features: Enhance the ambiance of your outdoor space by incorporating subtle lighting around the fire pit area. Options include string lights, solar-powered lanterns, or strategically placed landscape lighting to add warmth and charm to the surroundings.
- Safety Measures: Prioritize safety by ensuring that a fire extinguisher is easily accessible near the fire pit. Additionally, consider installing a spark screen to contain embers and prevent accidental sparks from escaping the fire pit.
- Landscaping Elements: Integrate landscaping elements such as potted plants, shrubs, or decorative rocks around the fire pit to harmonize it with the natural beauty of your outdoor space. These elements add depth and character to the area, creating a serene and inviting environment.
- Personalized Touches: Infuse your personality into the space by adding personal touches such as outdoor cushions, throw blankets, or decorative accents that reflect your style and create a welcoming outdoor retreat.
By adding these finishing touches, you’ll transform your outdoor gas fire pit into a captivating and functional focal point, ready to host memorable gatherings and provide a tranquil sanctuary for relaxation. With the construction process complete and the final embellishments in place, it’s time to bask in the warmth and allure of your custom outdoor oasis.
Conclusion
Congratulations on successfully completing the construction of your outdoor gas fire pit! Through meticulous planning, precise execution, and attention to detail, you’ve transformed your outdoor space into a welcoming haven of warmth and relaxation. As you reflect on this rewarding journey, consider the myriad benefits that your custom fire pit brings to your outdoor lifestyle:
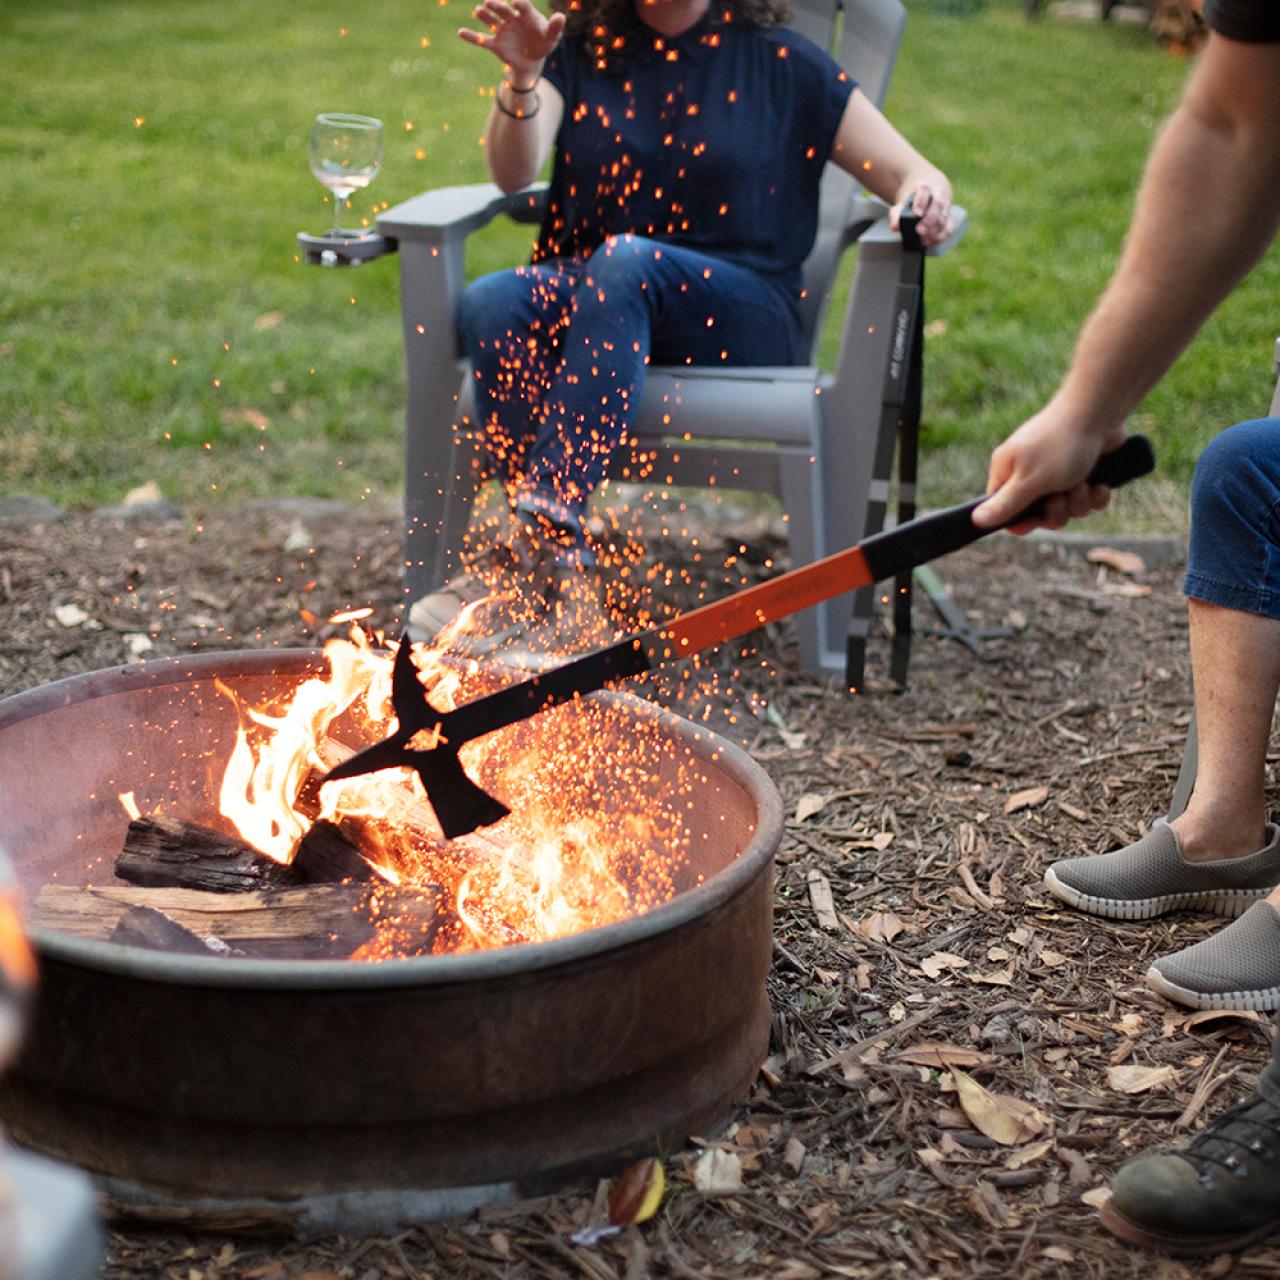
- Gathering Hub: Your outdoor gas fire pit serves as a natural gathering spot, inviting friends and family to come together and create lasting memories around its flickering flames.
- Ambiance and Comfort: The gentle warmth and mesmerizing glow of the fire pit create a cozy and inviting ambiance, extending the usability of your outdoor space into the cooler evenings.
- Aesthetic Enhancement: The addition of a well-crafted fire pit enhances the visual appeal of your backyard, elevating its charm and creating a focal point for outdoor entertaining.
- Year-Round Enjoyment: With the versatility of a gas fire pit, you can enjoy its comforts throughout the year, whether it’s for summer soirees, autumn gatherings, or quiet winter evenings under the stars.
- Personal Retreat: Your custom fire pit provides a serene retreat, offering a tranquil space for relaxation, contemplation, and unwinding after a long day.
As you revel in the warmth and allure of your outdoor gas fire pit, remember to prioritize safety and responsible usage. Regular maintenance and adherence to safety guidelines will ensure the longevity and enjoyment of your fire pit for years to come.
Embrace the versatility and charm of your outdoor gas fire pit as you create cherished moments, foster connections, and savor the simple joys of outdoor living. Whether it’s a lively gathering with loved ones or a quiet evening of stargazing, your custom fire pit stands as a testament to your creativity and dedication to enhancing your outdoor lifestyle.
With your outdoor space now transformed into a captivating oasis, may your fire pit become the heart of countless joyous occasions and tranquil retreats, enriching your life and the lives of those who gather around its radiant warmth.
Frequently Asked Questions about How To Build An Outdoor Gas Fire Pit
Was this page helpful?
At Storables.com, we guarantee accurate and reliable information. Our content, validated by Expert Board Contributors, is crafted following stringent Editorial Policies. We're committed to providing you with well-researched, expert-backed insights for all your informational needs.
0 thoughts on “How To Build An Outdoor Gas Fire Pit”