Home>Gardening & Outdoor>Outdoor Entertaining>How To Build A Gas Fire Pit Burner
Outdoor Entertaining
How To Build A Gas Fire Pit Burner
Modified: October 27, 2024
Learn how to build a gas fire pit burner for your outdoor entertaining area with our step-by-step guide. Create a cozy and inviting atmosphere for your guests.
(Many of the links in this article redirect to a specific reviewed product. Your purchase of these products through affiliate links helps to generate commission for Storables.com, at no extra cost. Learn more)
Introduction
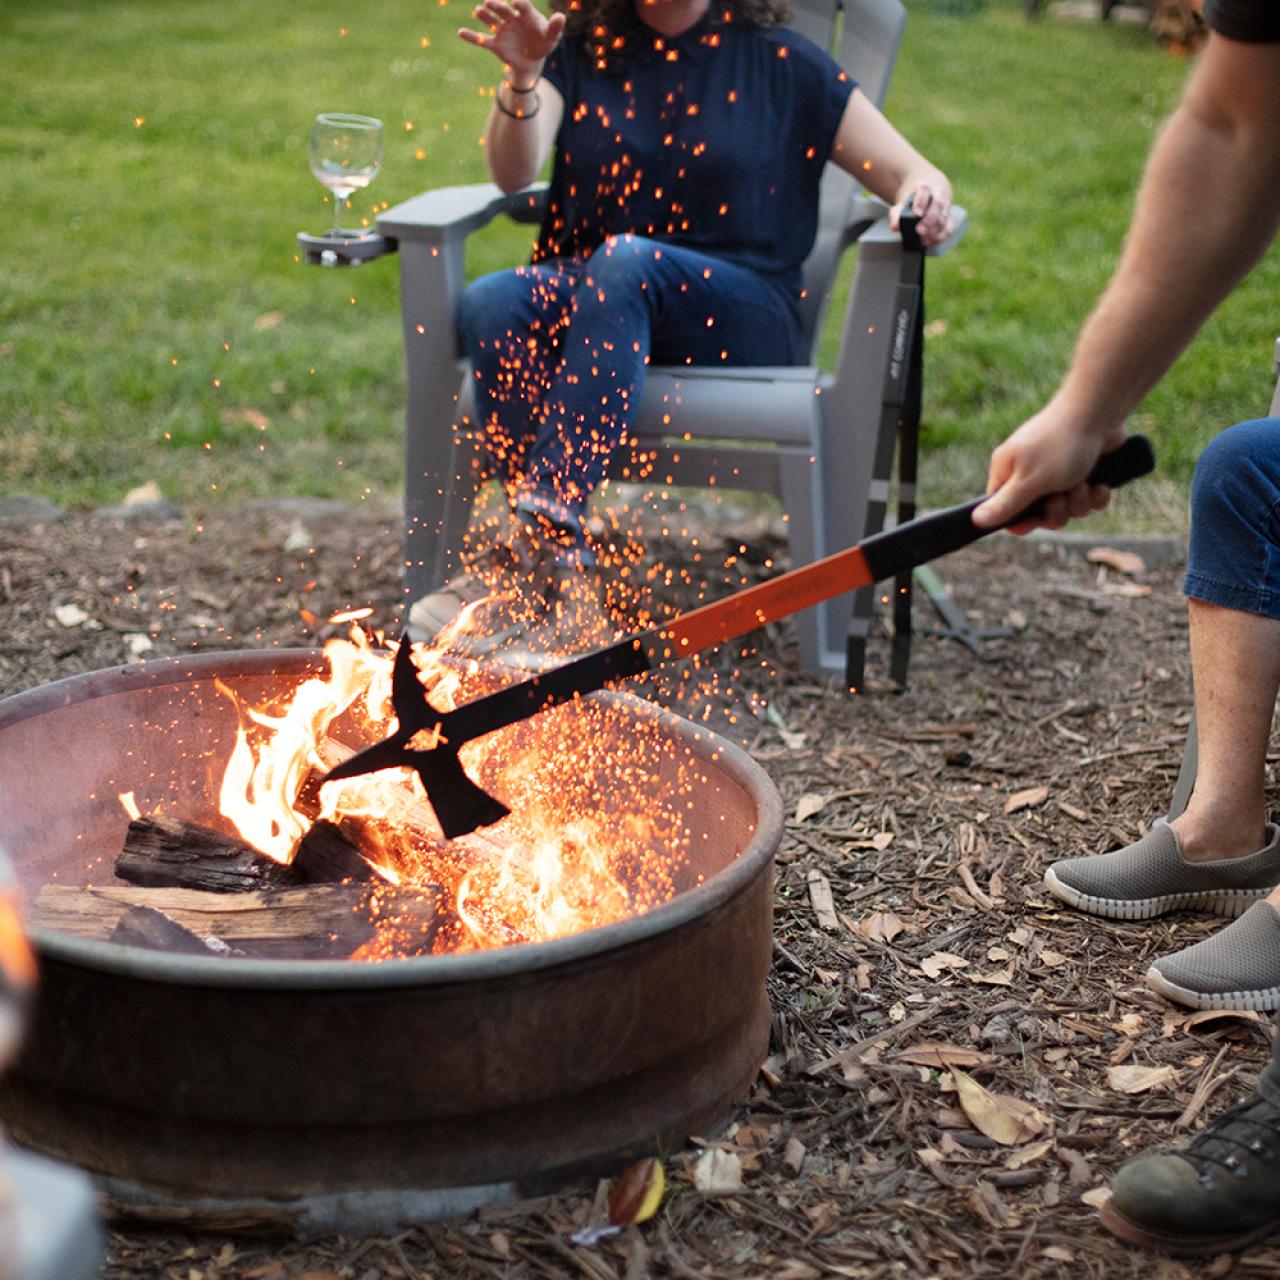
Welcome to the world of outdoor entertaining, where the warm glow of a gas fire pit can transform your backyard into a cozy and inviting gathering spot. Building your own gas fire pit burner is a rewarding and cost-effective way to elevate your outdoor space while adding a touch of ambiance and functionality. Whether you’re a seasoned DIY enthusiast or a novice looking for a fulfilling project, constructing a gas fire pit burner can be an enjoyable and gratifying experience.
In this comprehensive guide, we’ll walk you through the step-by-step process of building a gas fire pit burner. From gathering the necessary materials and tools to assembling and installing the burner, we’ll cover everything you need to know to bring warmth and charm to your outdoor living area. So, roll up your sleeves, unleash your creativity, and get ready to embark on a journey to create a stunning focal point for memorable gatherings under the stars.
Before we dive into the nitty-gritty of building a gas fire pit burner, it’s important to emphasize the significance of safety throughout this project. Working with gas and fire requires caution and adherence to proper guidelines. Always consult local building codes, obtain necessary permits, and follow manufacturer instructions for all components used in the construction of your gas fire pit burner. Additionally, consider enlisting the expertise of a licensed professional if you’re unsure about any aspect of the process.
Key Takeaways:
- Building a gas fire pit burner is a fun and rewarding DIY project that can elevate your outdoor space, but it’s crucial to prioritize safety and adhere to local regulations throughout the process.
- By meticulously measuring, cutting, assembling, and testing the burner, you can create a captivating outdoor focal point that promises warmth, charm, and enduring memories for gatherings under the stars.
Read more: How To Light A Gas Fire Pit
Step 1: Gather Materials and Tools
Before diving into the construction of your gas fire pit burner, it’s essential to gather all the necessary materials and tools. Here’s a comprehensive list to ensure you’re well-prepared for the project:
Materials:
- Round burner pan
- Gas burner ring
- Black iron pipe (for the burner)
- Flexible gas line
- Gas valve and key
- High-temperature resistant thread sealant
- Lava rocks or fire glass
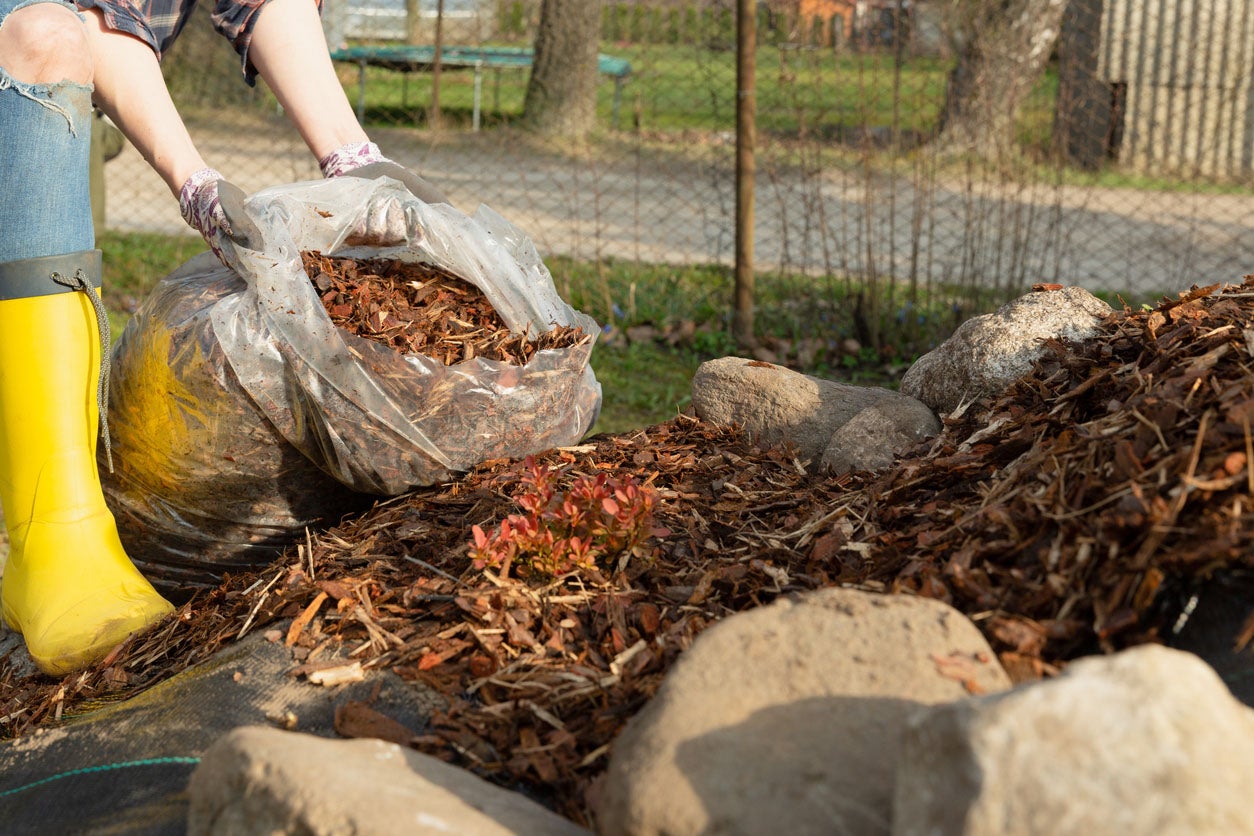
- Fire pit enclosure or construction materials
- Concrete mix (if constructing a concrete fire pit)
- Fire pit insert or burner kit (if not building the fire pit from scratch)
Tools:
- Measuring tape
- Marker or pencil
- Hacksaw or pipe cutter
- Adjustable wrench
- Pipe wrench
- Thread sealant tape
- Drill with a hole saw attachment (if installing a gas valve in the fire pit enclosure)
- Level
- Shovel (if digging a fire pit)
- Masonry tools (if building a stone or brick fire pit)
When selecting materials, ensure that they are suitable for outdoor use and compatible with the type of gas (propane or natural gas) you intend to use. It’s crucial to prioritize safety and durability when choosing components for your gas fire pit burner.
Once you’ve gathered all the necessary materials and tools, you’re ready to move on to the next step in the construction process. With everything at your disposal, you’re well-equipped to embark on the fulfilling journey of building your own gas fire pit burner.
Step 2: Measure and Cut the Pipe
With the materials and tools gathered, the next crucial step in building your gas fire pit burner is to measure and cut the black iron pipe to the appropriate length. The pipe will serve as the main component of the burner, responsible for distributing the gas and creating the flames that will illuminate your outdoor space.
Here’s a detailed guide to help you through this stage of the construction process:
Read more: How To Turn On A Gas Fire Pit
1. Measure the Pipe:
Using a measuring tape, determine the required length for the black iron pipe based on the dimensions of your burner pan and the desired size of the flame ring. It’s essential to measure accurately to ensure that the pipe fits snugly within the burner pan and aligns with the burner ring to facilitate optimal gas flow.
2. Mark and Cut the Pipe:
Once you’ve obtained the precise measurements, use a marker or pencil to mark the cutting points on the black iron pipe. Ensure that the marks are clear and easily visible to guide the cutting process. With the marked points in place, use a hacksaw or pipe cutter to carefully cut the pipe to the specified length. Exercise caution and maintain a steady hand to achieve clean and accurate cuts.
3. Smooth the Edges:
After cutting the pipe, it’s important to smooth the edges to remove any burrs or rough surfaces that may impede the flow of gas or cause potential safety hazards. A metal file or sandpaper can be used to gently smooth the cut ends of the pipe, ensuring that they are free from sharp edges and imperfections.
By meticulously measuring and cutting the black iron pipe, you’re one step closer to bringing your gas fire pit burner to life. This pivotal stage sets the foundation for the assembly of the burner and paves the way for the mesmerizing flames that will grace your outdoor entertainment space.
With the pipe prepared, it’s time to move on to the next phase of constructing the gas fire pit burner, where we’ll delve into the assembly process to harness the power of fire for enchanting outdoor gatherings.
Step 3: Assemble the Burner
Assembling the burner is a pivotal stage in the construction of your gas fire pit, where the carefully crafted components come together to form the heart of your outdoor oasis. This step involves integrating the black iron pipe, burner ring, and other essential elements to create a functional and visually captivating centerpiece. Here’s a detailed guide to help you through this crucial phase of the project:
Read more: How To Build An Outdoor Fire Pit
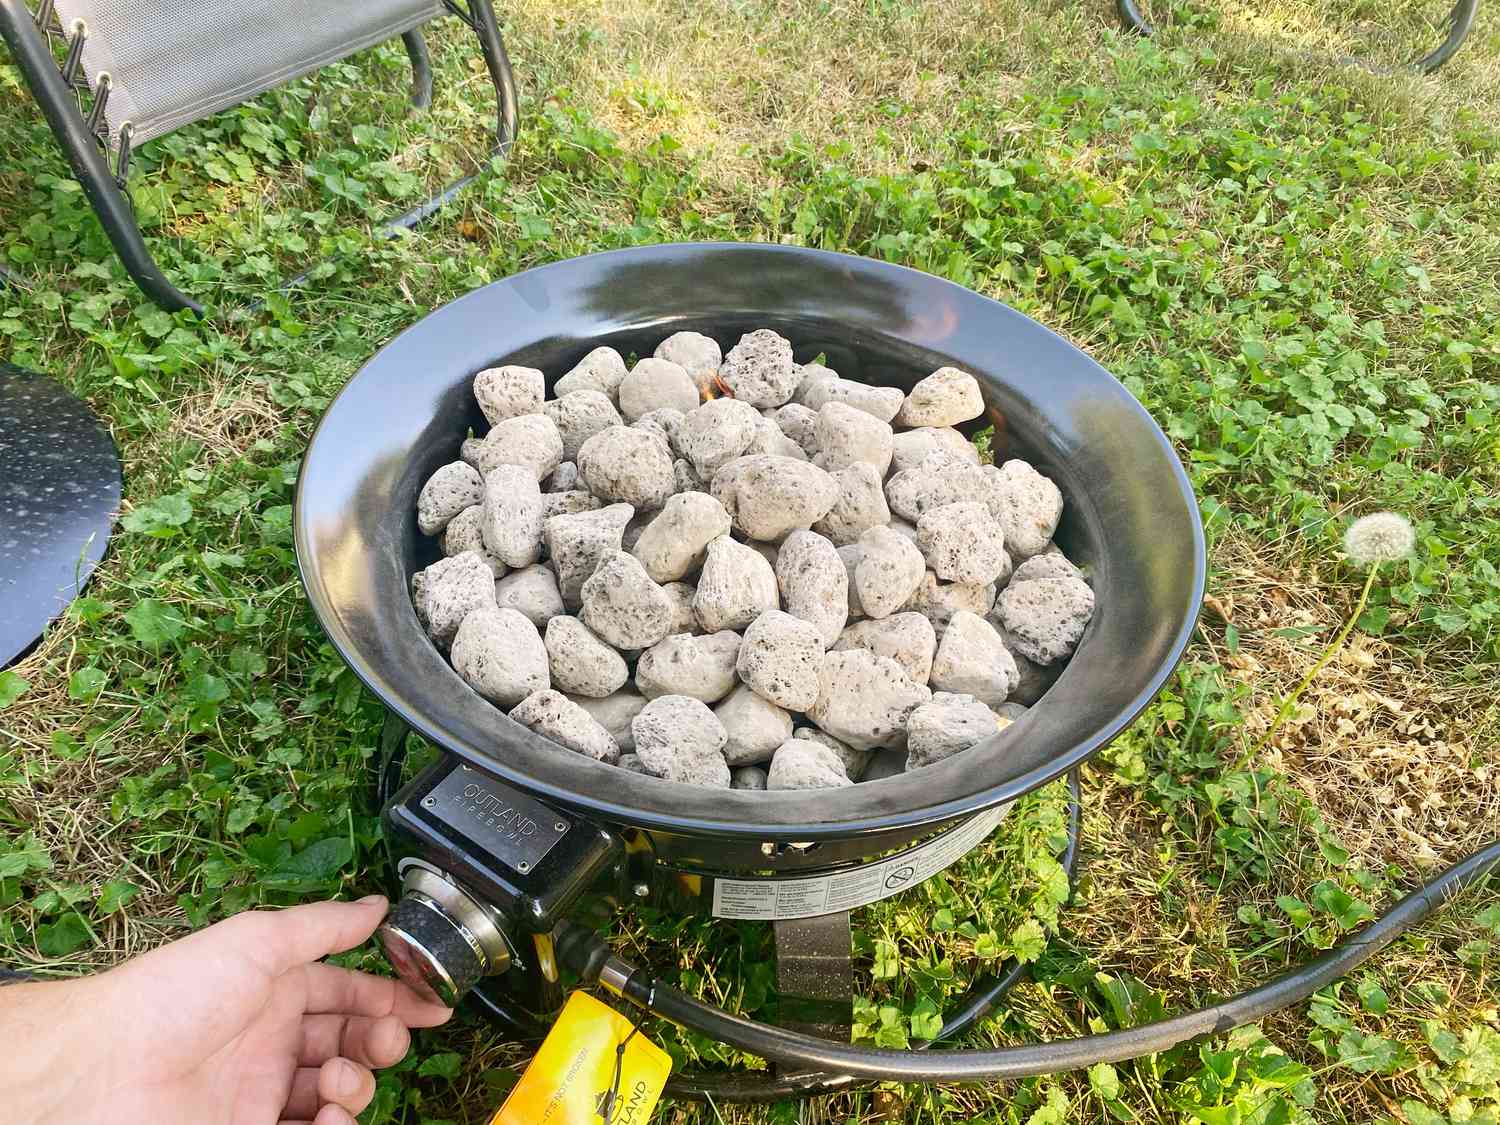
1. Position the Burner Ring:
Begin by placing the burner ring within the round burner pan, ensuring that it rests securely and centrally. The burner ring serves as the foundation for the flames and plays a key role in distributing the gas for an even and mesmerizing display of fire.
2. Insert the Pipe:
With the burner ring in place, carefully position the cut black iron pipe within the burner pan, ensuring that it aligns with the burner ring and allows for unobstructed gas flow. The pipe should be positioned to facilitate the desired flame pattern and coverage within the fire pit.
3. Secure the Components:
Once the burner ring and pipe are properly positioned, secure them in place using appropriate fastening methods. Depending on the design of the burner pan and components, this may involve using screws, brackets, or other securing mechanisms to ensure that the assembly remains stable and aligned during operation.
4. Apply Thread Sealant:
Before finalizing the assembly, it’s crucial to apply high-temperature resistant thread sealant to the threaded connections of the black iron pipe and any other relevant components. This sealant helps prevent gas leaks and ensures the integrity of the connections, contributing to the safety and efficiency of the gas fire pit burner.
Read more: How To Install A Gas Fire Pit
5. Double-Check Alignment and Stability:
Prior to proceeding to the installation phase, double-check the alignment and stability of the assembled burner components. Verify that the burner ring and pipe are properly positioned and securely fastened within the burner pan, minimizing the risk of potential issues during operation.
With the burner expertly assembled, you’re now ready to transition to the next stage of the construction process, where we’ll explore the installation of the burner within the fire pit enclosure. This marks a significant step toward bringing the captivating allure of a gas fire pit to your outdoor space, setting the stage for unforgettable moments shared around the dancing flames.
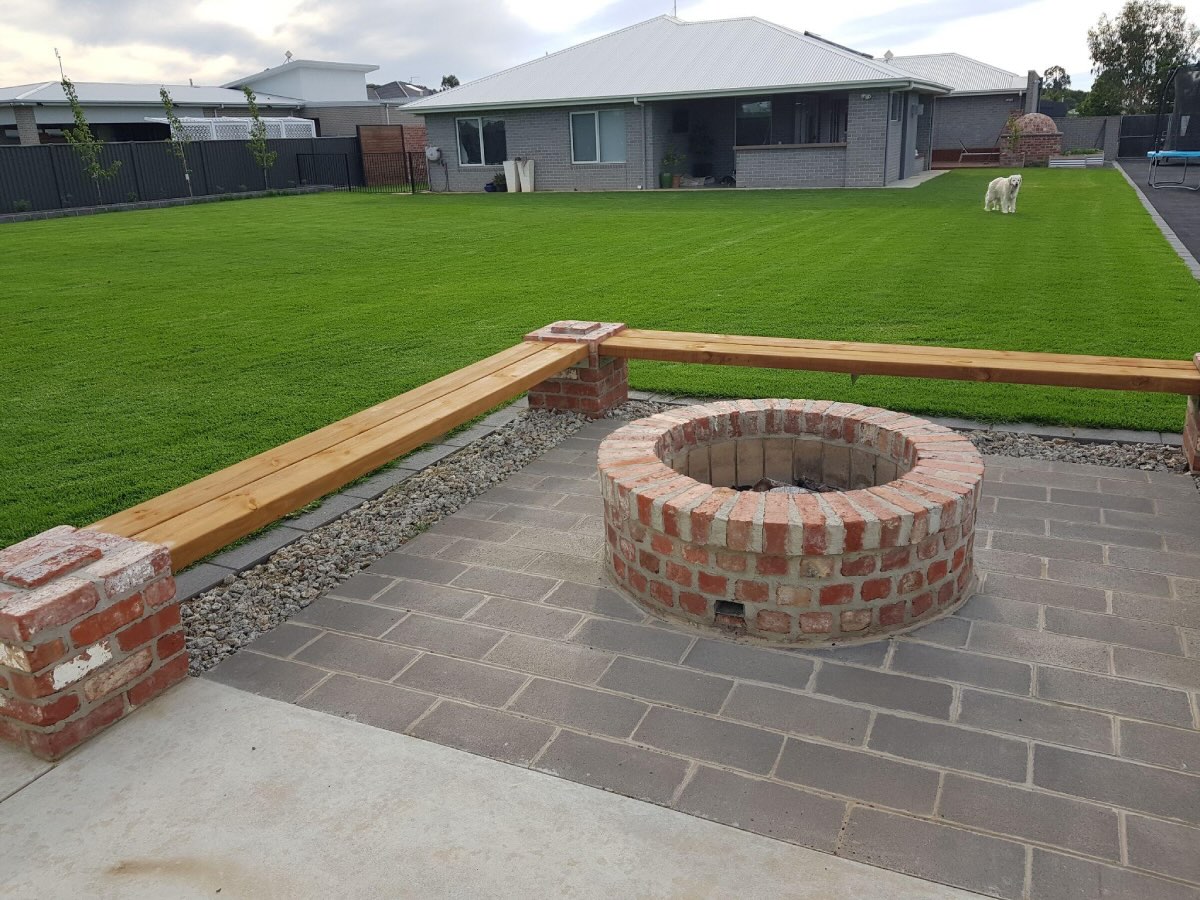
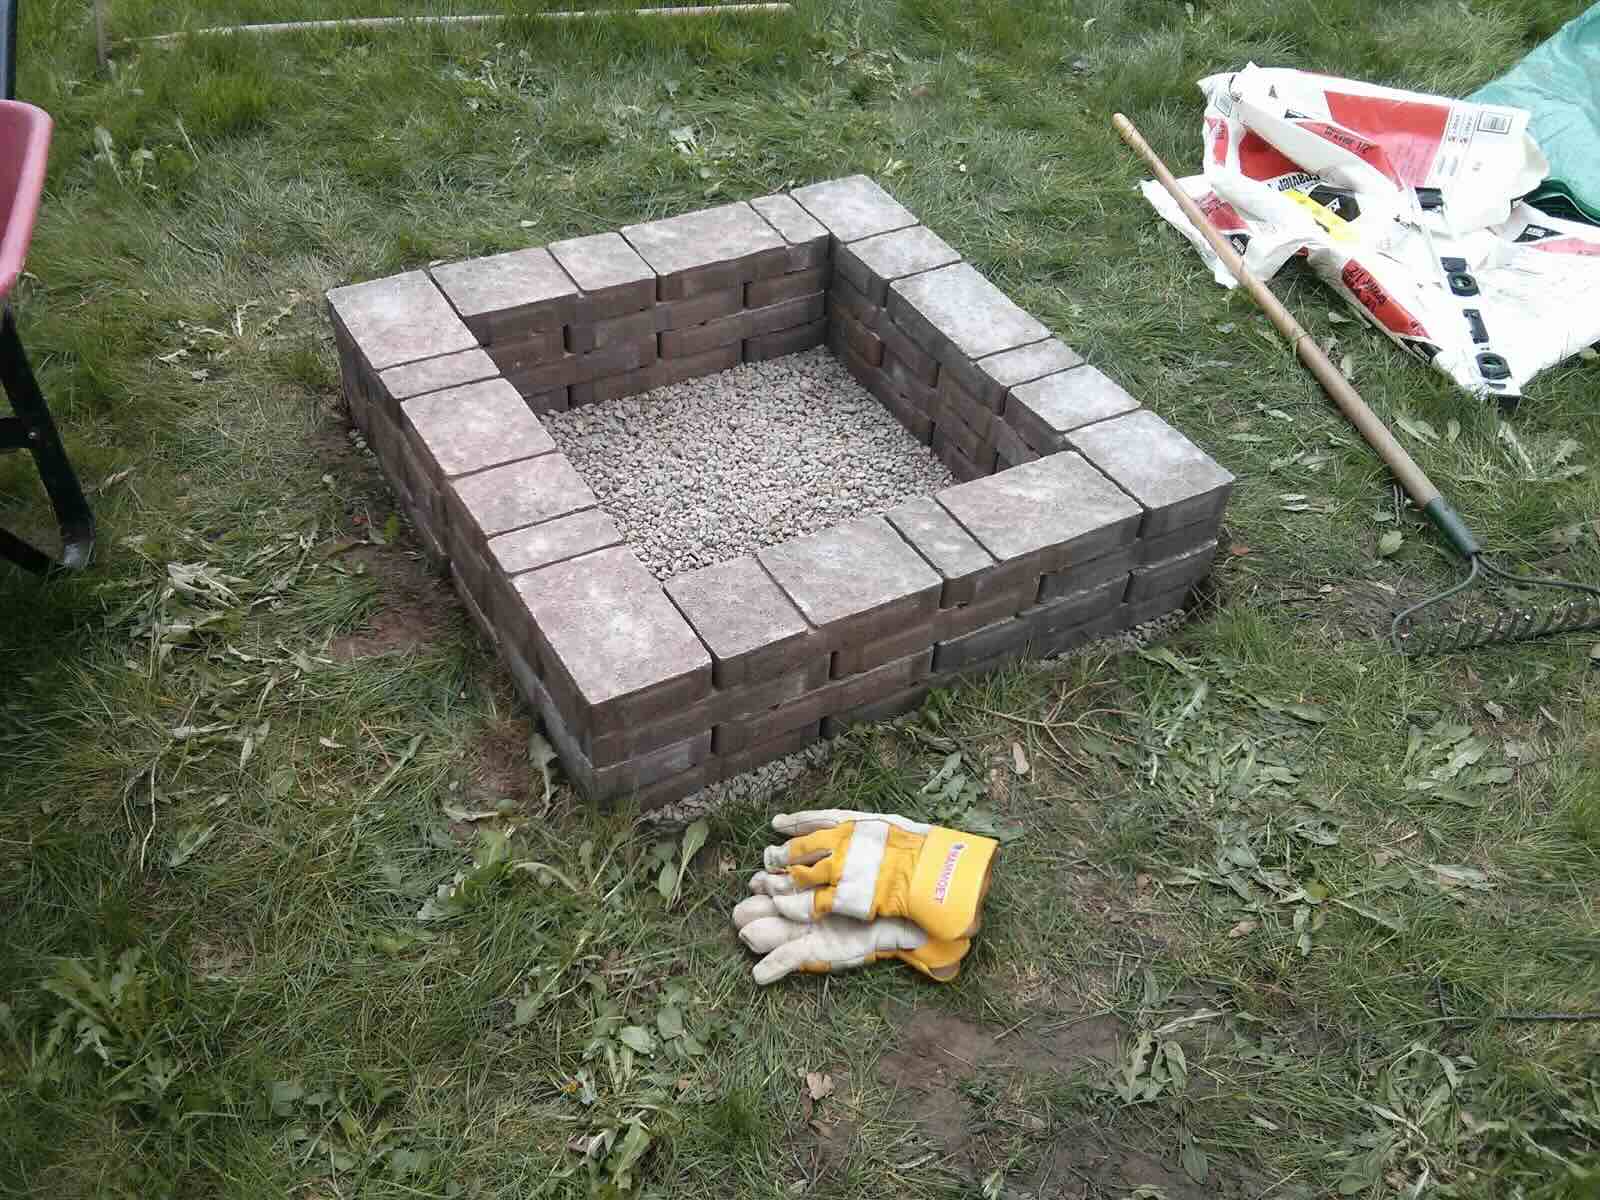
Step 4: Install the Burner in the Fire Pit
With the gas fire pit burner expertly assembled, the next crucial phase of the project involves installing the burner within the fire pit enclosure or construction, bringing you one step closer to creating a captivating focal point for outdoor gatherings. Whether you’re working with a pre-fabricated fire pit or building a custom enclosure, the installation process is essential to ensure the functionality and visual appeal of your gas fire pit. Here’s a comprehensive guide to help you through this pivotal stage:
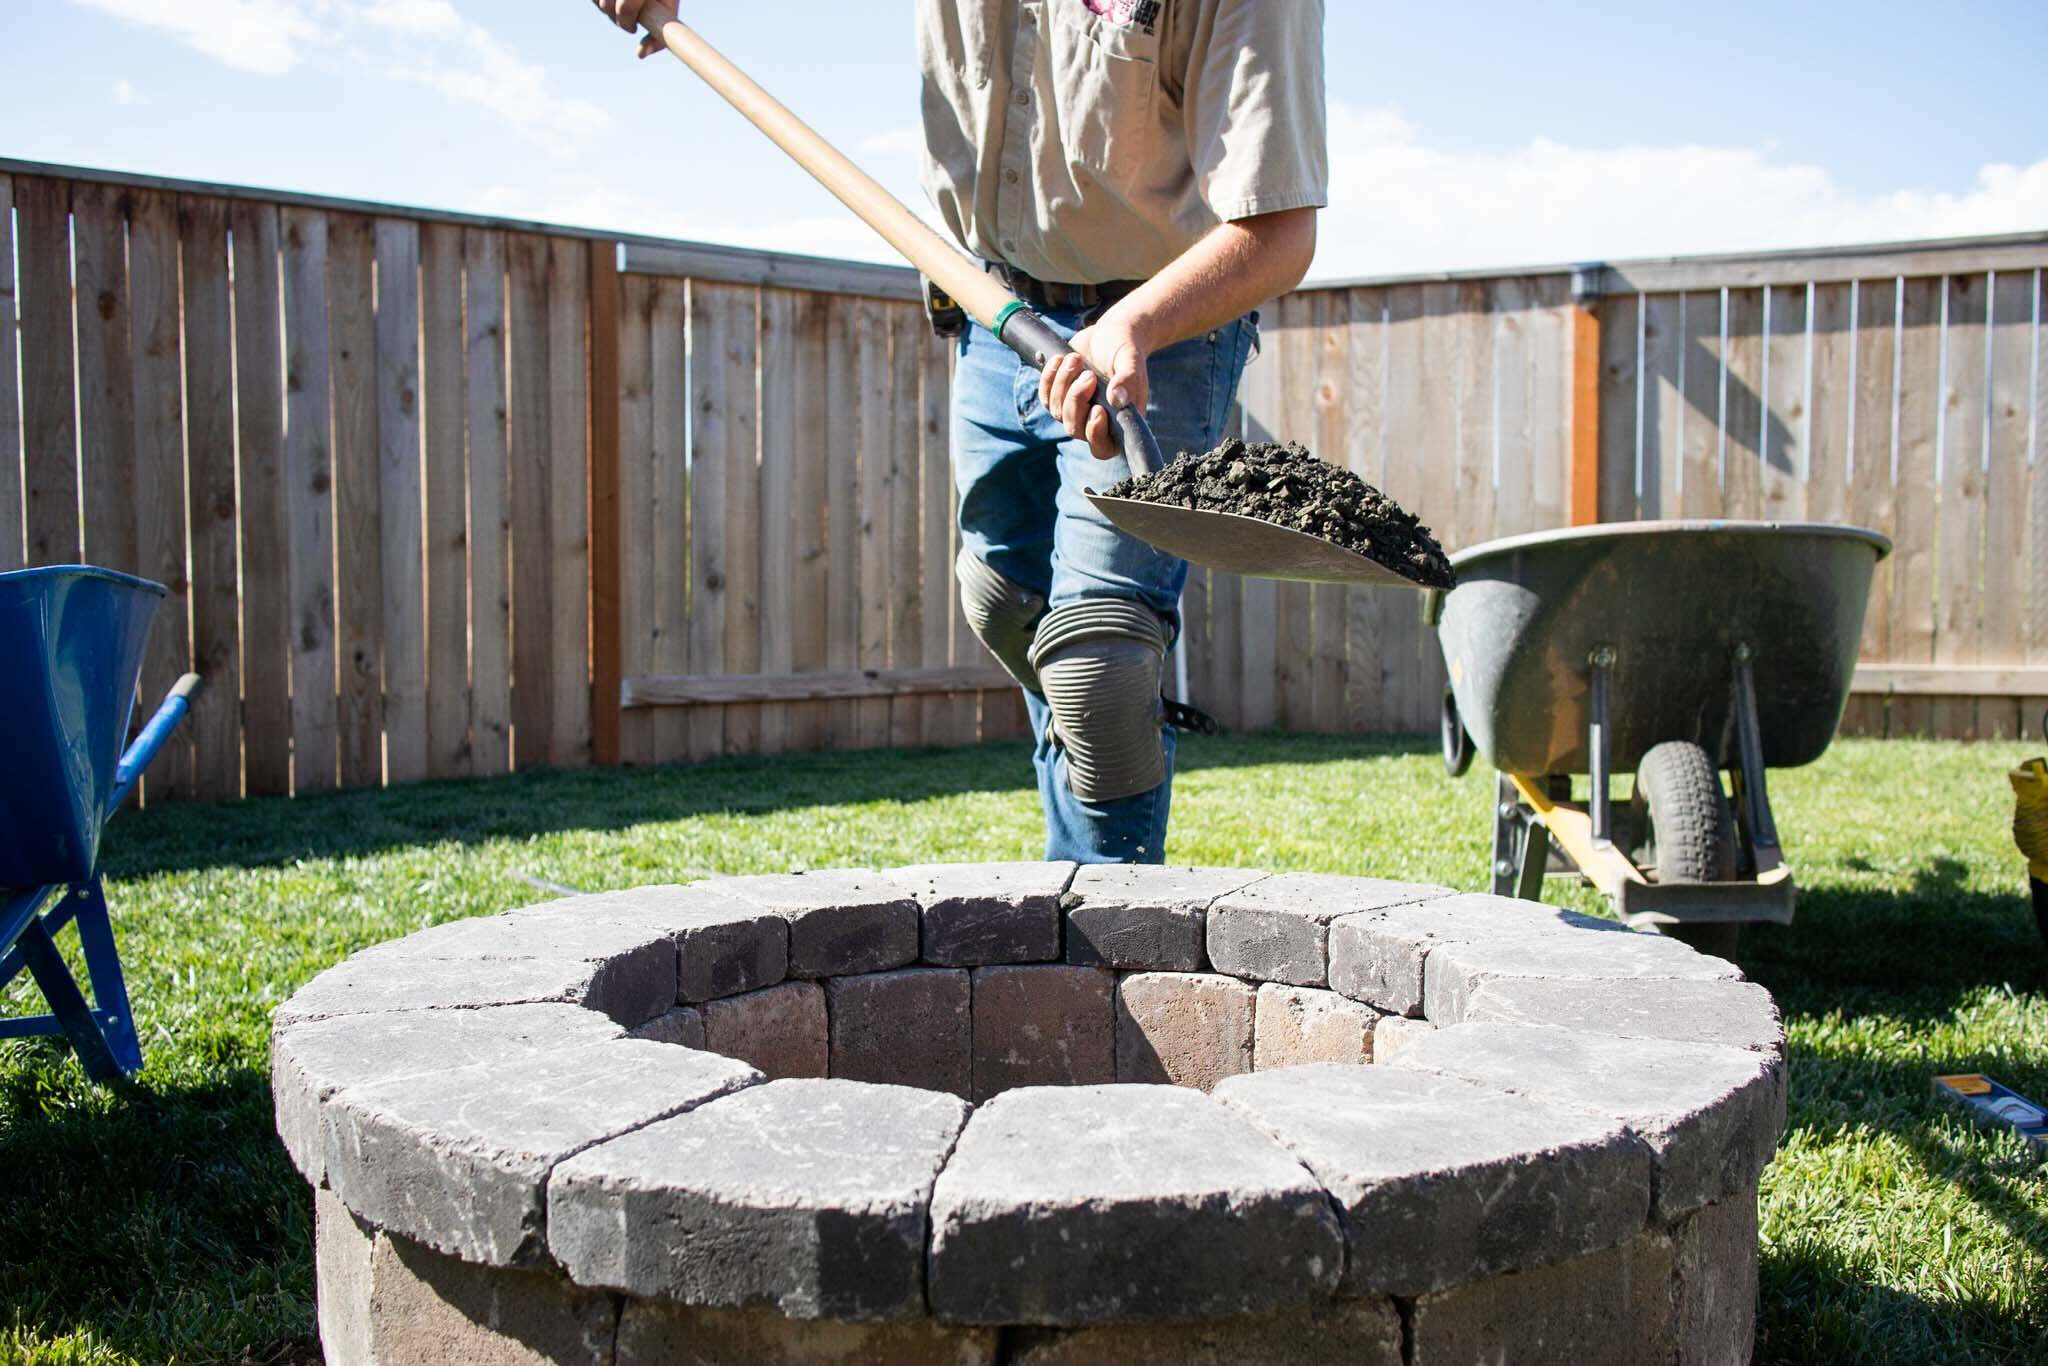
1. Prepare the Fire Pit Enclosure:
If you’re constructing a fire pit enclosure from scratch, ensure that the design and materials are suitable for accommodating the gas fire pit burner. For pre-fabricated fire pits, follow the manufacturer’s guidelines for preparing the enclosure to receive the burner assembly. This may involve clearing debris, creating a suitable base, and making any necessary modifications to accommodate the burner components.
2. Position the Burner Assembly:
Carefully place the assembled gas fire pit burner within the prepared fire pit enclosure, ensuring that it sits securely and centrally within the designated area. Pay close attention to the alignment and positioning of the burner assembly to facilitate optimal performance and visual impact once the fire pit is operational.
Read more: How To Build A Good Fire In A Fire Pit
3. Connect the Gas Line:
If you’re using a natural gas or propane supply for the fire pit, carefully connect the flexible gas line to the designated inlet on the burner assembly. Exercise caution and refer to the gas supplier’s guidelines for safe and compliant installation practices. Ensure that the gas line is securely connected and free from any leaks or damage.
4. Install the Gas Valve (If Applicable):
If your fire pit design incorporates a gas valve for controlling the flow of fuel to the burner, carefully install the valve in a convenient and accessible location within the fire pit enclosure. This may involve drilling a hole for the valve and securing it in place to facilitate easy operation and gas flow management.
5. Verify Stability and Clearances:
Prior to finalizing the installation, verify that the burner assembly is stable within the fire pit enclosure and that adequate clearances are maintained between the burner components and surrounding materials. This is crucial for safety and optimal performance, ensuring that the flames are contained within the designated area and that all components operate seamlessly.
With the gas fire pit burner successfully installed within the fire pit enclosure, you’re now poised to embark on the final phase of the construction process, where we’ll delve into testing the burner to unleash the mesmerizing allure of dancing flames. This marks a significant milestone in your journey to create an inviting and captivating outdoor entertainment space, where the warmth and charm of a gas fire pit await.
Step 5: Test the Gas Fire Pit Burner
As you near the completion of your gas fire pit construction project, it’s crucial to undertake thorough testing to ensure the functionality, safety, and visual appeal of the burner assembly. Testing the gas fire pit burner allows you to verify proper operation, assess flame characteristics, and address any potential issues before unveiling your outdoor oasis to friends and family. Here’s a comprehensive guide to help you through this vital stage of the project:
Read more: How To Make Gas Fire Pit Hotter
1. Verify Gas Connections:
Prior to igniting the burner, carefully verify that all gas connections are secure, free from leaks, and properly aligned. This includes inspecting the flexible gas line, gas valve (if installed), and connections to the burner assembly. Exercise caution and refer to gas safety guidelines to ensure compliance and safety during this phase.
2. Ignite the Burner:
Using the designated ignition method (such as a match or electronic igniter), carefully ignite the gas fire pit burner, observing the initial flame pattern and distribution. Take note of the ignition process and ensure that the flames ignite smoothly and evenly across the burner ring, indicating proper gas flow and combustion.
3. Assess Flame Characteristics:
Once the burner is ignited, assess the characteristics of the flames, including their height, color, and uniformity. Ideally, the flames should exhibit a vibrant and consistent appearance, emanating a warm and inviting glow that enhances the ambiance of your outdoor space. Pay attention to any irregularities or issues that may require adjustment or troubleshooting.
4. Monitor for Proper Operation:
During the testing phase, closely monitor the burner assembly for proper operation, including consistent flame performance and the absence of any unusual sounds or odors. This allows you to identify and address any potential issues related to gas flow, combustion, or component functionality, ensuring the safe and efficient operation of your gas fire pit burner.
Read more: How To Run A Gas Line To A Fire Pit
5. Make Adjustments as Needed:
If you encounter any issues or inconsistencies during testing, take the necessary steps to make adjustments and address the underlying causes. This may involve fine-tuning the gas flow, repositioning the burner assembly, or consulting with a qualified professional to resolve any technical challenges that may arise.
By meticulously testing the gas fire pit burner, you’re taking proactive measures to ensure the safety, functionality, and visual appeal of your outdoor fire feature. This phase sets the stage for the grand reveal of your meticulously crafted gas fire pit, where friends and family can gather to bask in the captivating glow of dancing flames and create cherished memories under the open sky.
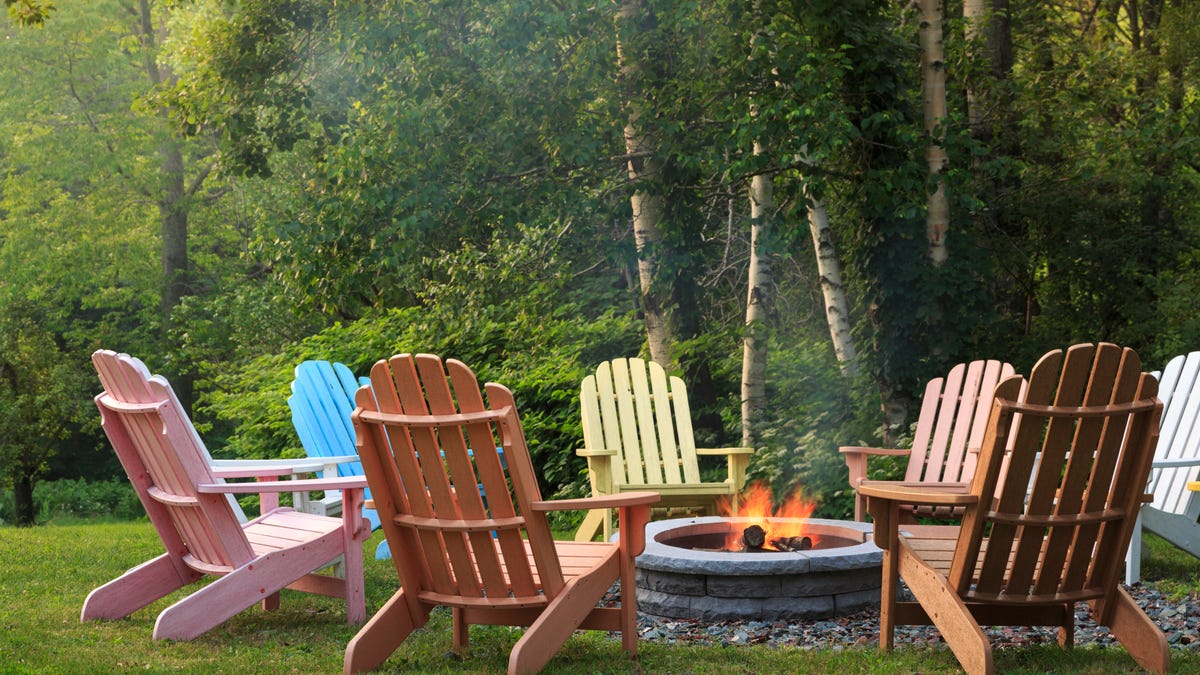
Conclusion
Congratulations on completing the journey to build your own gas fire pit burner, a labor of love that has transformed your outdoor space into a warm and inviting haven for relaxation and social gatherings. As you bask in the glow of your creation, it’s essential to reflect on the gratifying process and the captivating results that await you and your guests. Here’s a final overview to encapsulate the fulfillment of this project:
From the initial gathering of materials and tools to the meticulous assembly and installation of the gas fire pit burner, you’ve embarked on a fulfilling endeavor that seamlessly blends creativity, craftsmanship, and functionality. Each step of the construction process has been a testament to your dedication and passion for enhancing your outdoor living area with a mesmerizing focal point that evokes warmth and charm.
Throughout this journey, safety has been a paramount consideration, guiding your choices and practices to ensure that the gas fire pit burner operates with the utmost reliability and security. By adhering to best practices, consulting local regulations, and prioritizing safety measures, you’ve cultivated an environment where friends and family can gather with peace of mind, knowing that the captivating flames are complemented by a commitment to well-being.
As you prepare to unveil your gas fire pit to the world, the testing phase has allowed you to fine-tune the burner’s performance, ensuring that it ignites smoothly, produces enchanting flames, and operates with the precision of a well-crafted masterpiece. Your attention to detail and commitment to excellence have culminated in an outdoor entertainment feature that promises to create enduring memories and moments of shared joy.
With the gas fire pit burner now a focal point of your outdoor space, you’re poised to embark on a journey of unforgettable gatherings, where the allure of dancing flames and the camaraderie of loved ones converge under the open sky. Whether it’s a cozy evening for two or a lively gathering of friends, your gas fire pit stands ready to kindle the spirit of togetherness and create an ambiance that lingers in the hearts of all who gather around it.
As you savor the fruits of your labor, remember that the journey to build a gas fire pit burner is not just a project completed; it’s a testament to your ingenuity, craftsmanship, and the enduring allure of outdoor entertaining. May your gas fire pit continue to kindle warmth and create cherished moments for years to come, serving as a beacon of hospitality and comfort in your outdoor sanctuary.
Frequently Asked Questions about How To Build A Gas Fire Pit Burner
Was this page helpful?
At Storables.com, we guarantee accurate and reliable information. Our content, validated by Expert Board Contributors, is crafted following stringent Editorial Policies. We're committed to providing you with well-researched, expert-backed insights for all your informational needs.

0 thoughts on “How To Build A Gas Fire Pit Burner”