Home>Furniture>Outdoor Furniture>How To Build An Outdoor Fire Pit On A Patio
Outdoor Furniture
How To Build An Outdoor Fire Pit On A Patio
Modified: March 7, 2024
Discover how to build an outdoor fire pit on your patio and create a cozy ambiance for your outdoor furniture. Step-by-step guide for outdoor-furniture enthusiasts!
(Many of the links in this article redirect to a specific reviewed product. Your purchase of these products through affiliate links helps to generate commission for Storables.com, at no extra cost. Learn more)
Introduction
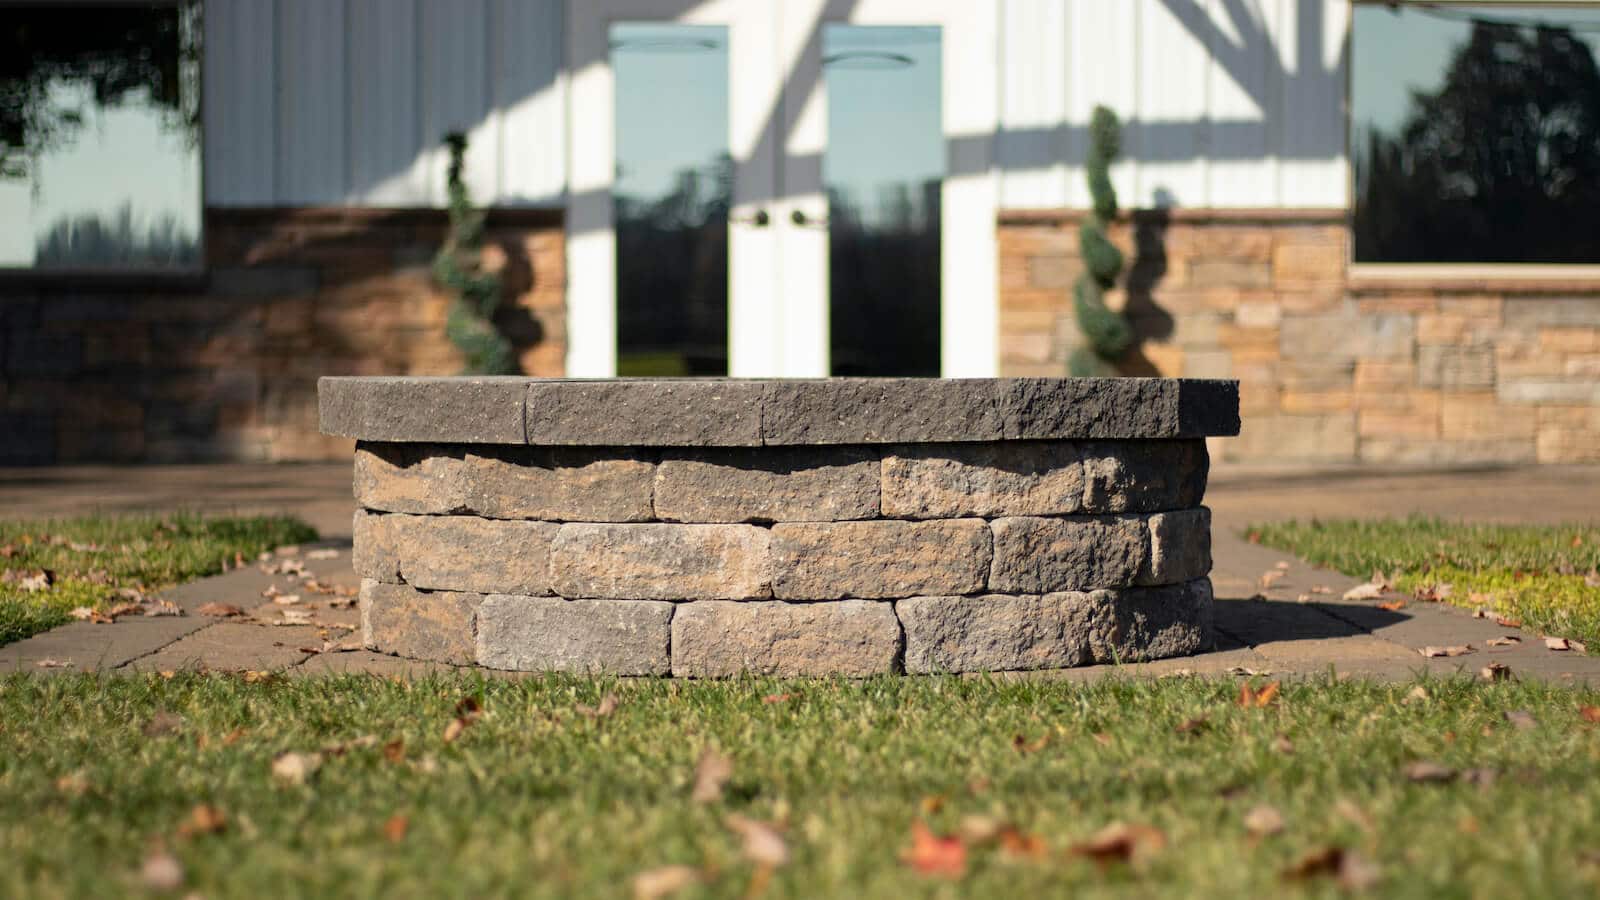
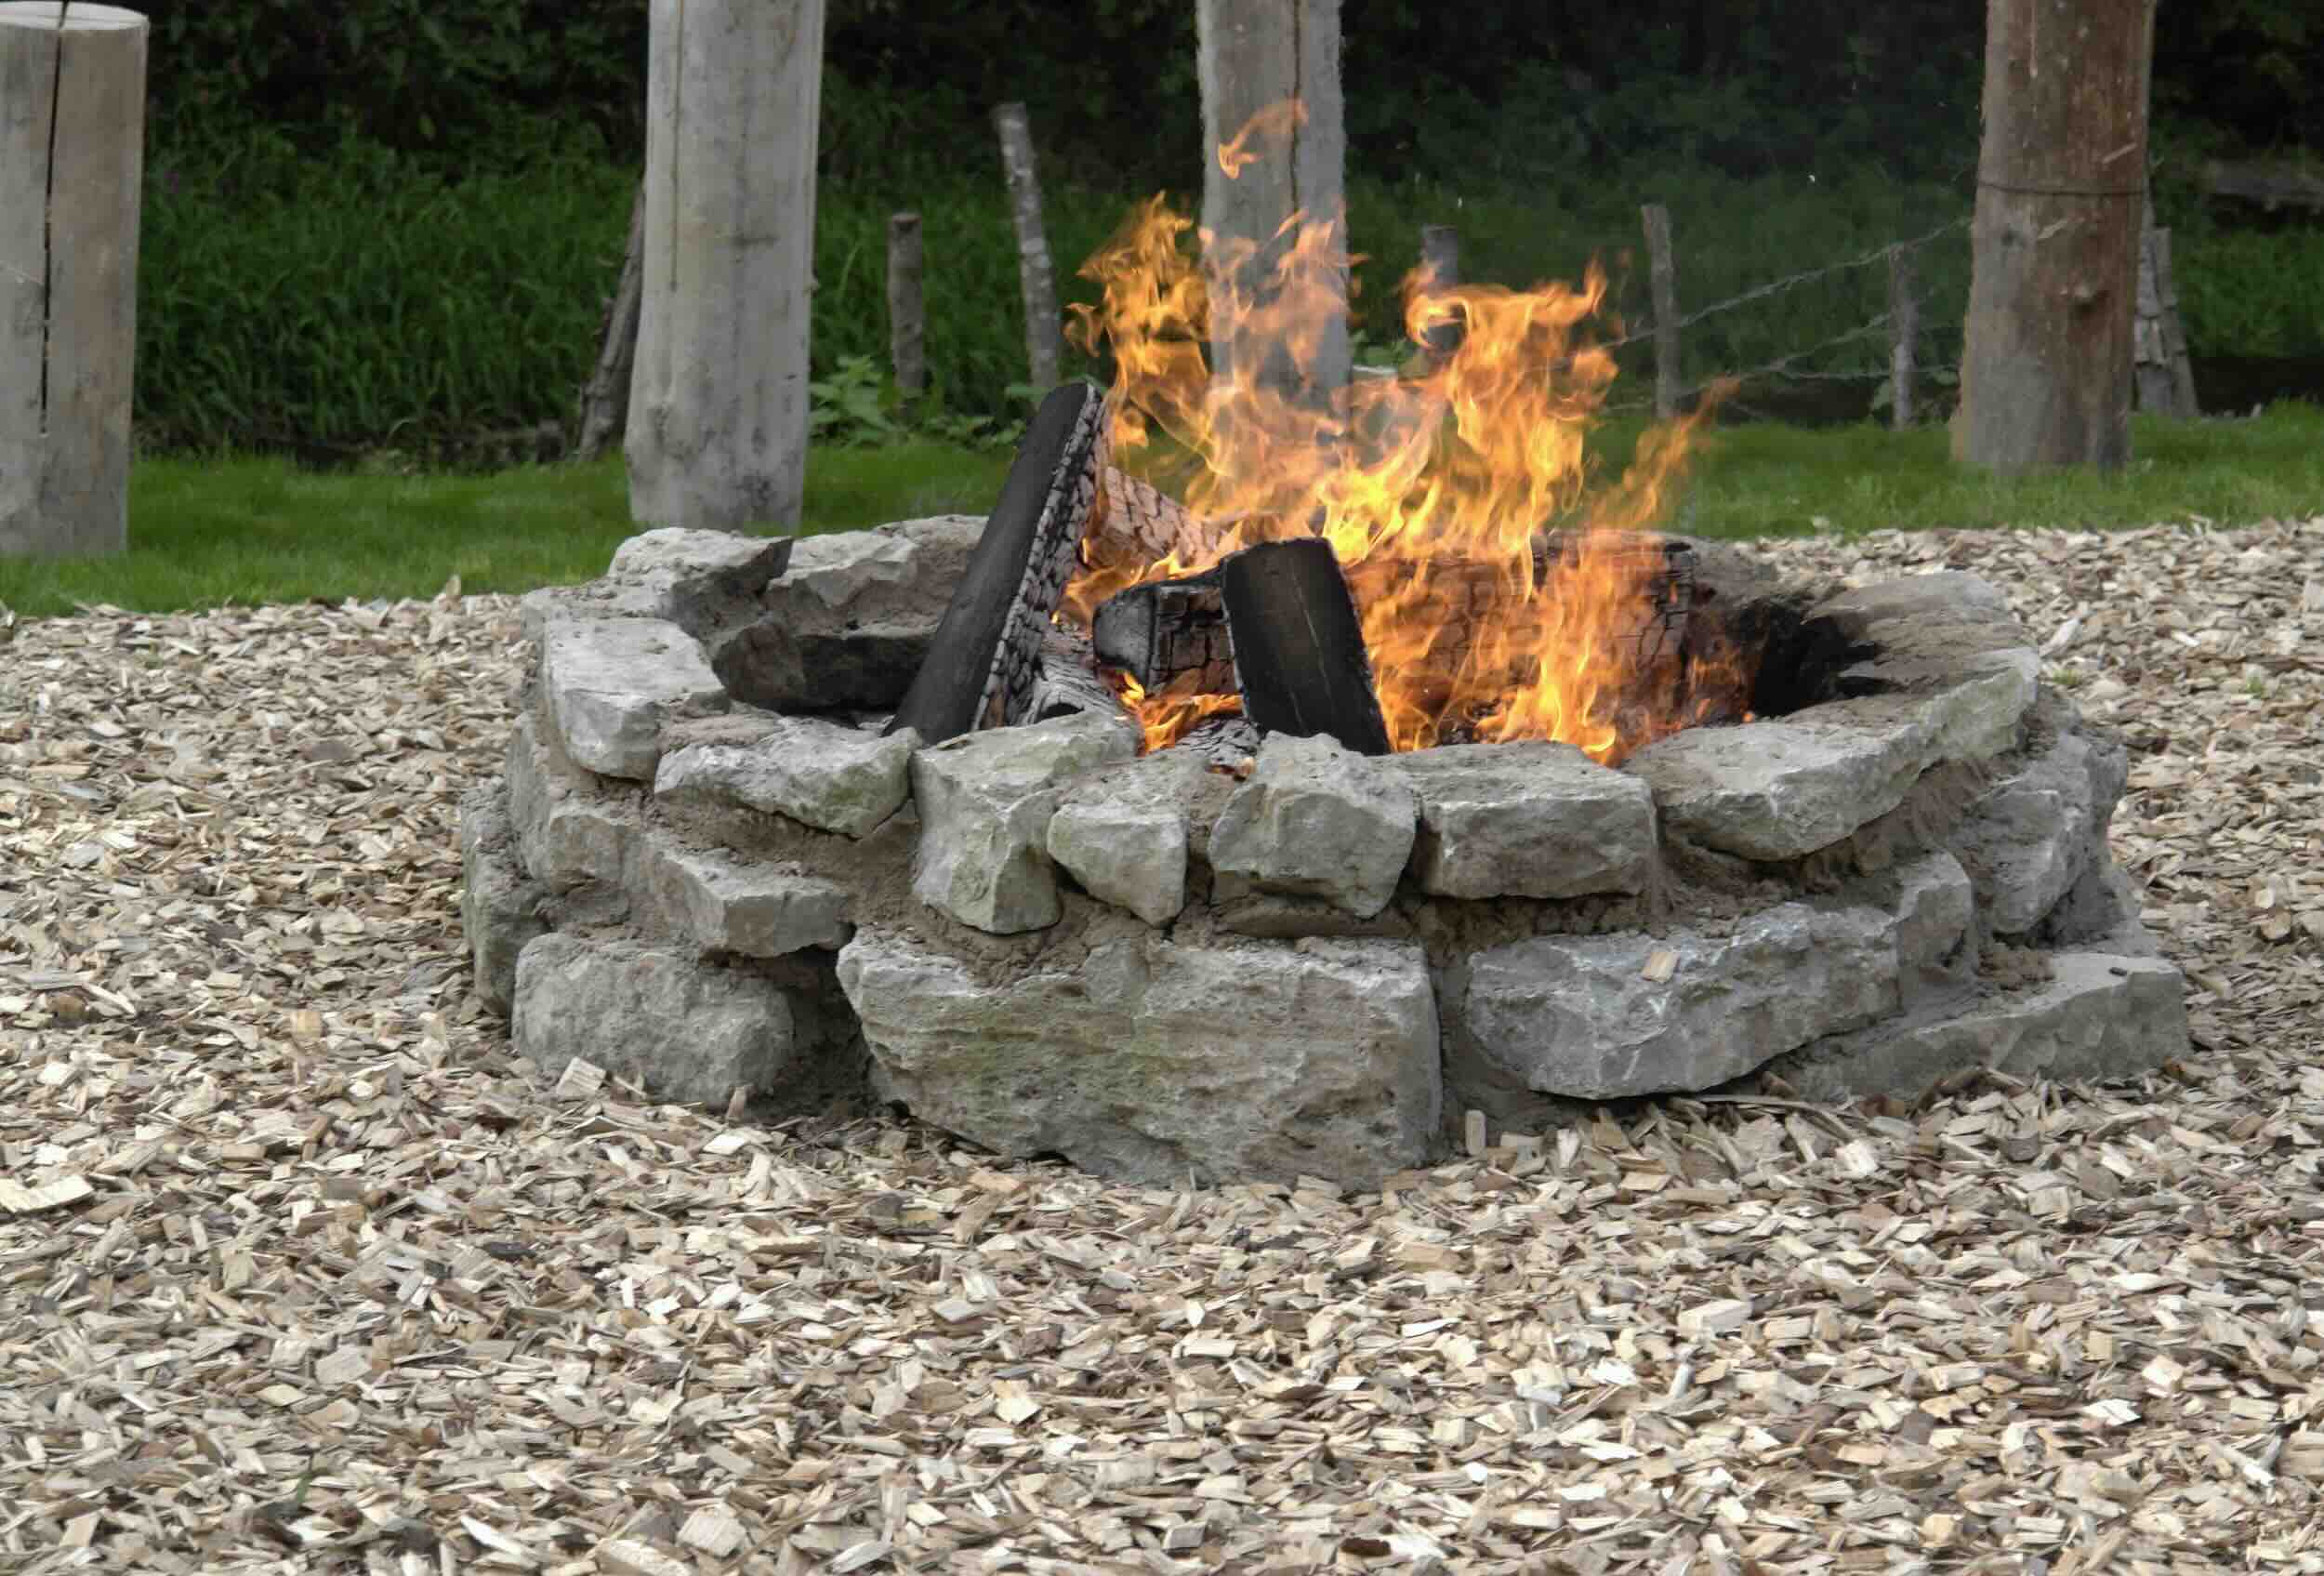
Welcome to the world of outdoor living! There’s nothing quite like sitting around a cozy fire pit on a patio, enjoying the warmth and ambiance with family and friends. Building an outdoor fire pit on your patio is not only a practical addition to your backyard, but it also adds a touch of style and elegance to your outdoor space.
Picture this – a cool evening, the stars shining above, and the crackling sound of a fire. Whether you’re hosting a summer barbecue, roasting marshmallows, or simply unwinding after a long day, an outdoor fire pit can transform your patio into a relaxing oasis.
While it may seem like a daunting task, building an outdoor fire pit doesn’t have to be complicated. With the right guidance and a few basic tools, you can create a beautiful and functional fire pit that will become the centerpiece of your patio. So, let’s get started on this exciting DIY project!
In this step-by-step guide, we’ll walk you through the process of building an outdoor fire pit on your patio. From selecting the perfect location to adding the finishing touches, we’ll cover everything you need to know to create your own backyard retreat. So, grab your gloves and let’s get started on this fiery adventure!
Key Takeaways:
- Building an outdoor fire pit on your patio is a fun DIY project that can create a cozy and inviting space for gatherings with family and friends. Remember to follow safety guidelines and local regulations for a safe and enjoyable experience.
- Selecting the right location, gathering materials, and following the step-by-step process can help you create a beautiful and functional fire pit. Once completed, you can enjoy memorable evenings around the warmth of your outdoor fire pit.
Read more: How To Build A Fire Pit Patio
Step 1: Selecting the Location
The first step in building an outdoor fire pit on your patio is selecting the perfect location. Consider the following factors when choosing the spot:
- Safety: Ensure that the location is a safe distance away from any structures, fences, or overhanging branches. This will minimize the risk of fire spreading and keep everyone safe.
- Accessibility: Choose a spot that is easily accessible and provides enough space for people to gather comfortably around the fire pit. You want to create a cozy ambiance without feeling cramped.
- Wind Direction: Take note of the prevailing wind direction in your area. It’s best to position the fire pit in a spot that is protected from strong winds to prevent the fire from constantly getting blown around.
- Views: Consider any scenic views or focal points in your backyard. You may want to position the fire pit in a way that allows you to enjoy these views while sitting around the fire.
Once you’ve identified the ideal location, mark it out by using stakes or spray paint. This will give you a clear visual of where the fire pit will be placed.
Keep in mind that different areas may have specific regulations or codes regarding fire pit placement. Before starting the project, check with your local authorities or homeowner’s association to ensure that you comply with any rules or restrictions.
Now that you have selected the perfect spot, you’re ready to move on to the next step: checking local regulations. Let’s make sure we’re following all the necessary guidelines to ensure a safe and legal outdoor fire pit!
Step 2: Checking Local Regulations
Before you proceed with building your outdoor fire pit on your patio, it’s essential to check the local regulations and guidelines regarding fire pits in your area. Different regions may have specific rules and restrictions in place that you need to be aware of.
Start by contacting your local municipality or city’s building department. They can provide you with information on the specific regulations for fire pits, including any permits that may be required.
Common regulations typically cover:
- Size and Placement: Some areas have specific requirements regarding the size and placement of fire pits. These regulations are in place to ensure that the fire pit is located a safe distance away from structures, property lines, and other potential fire hazards.
- Fire Safety: Local regulations may also include guidelines on fire safety measures, such as the use of spark arrestors, screens, or covers to prevent sparks and embers from escaping the fire pit.
- Burning Restrictions: Certain areas might have restrictions on the type of materials that can be burned in a fire pit. For example, there may be guidelines on burning yard waste, wood only, or natural gas/propane fire pits.
- Permits: Depending on where you live, you may need to obtain a permit before installing a fire pit. The building department can provide you with the necessary information on permits and any associated fees.
By familiarizing yourself with the local regulations, you can ensure that you build your fire pit in compliance with the laws and create a safe environment for you and your neighbors.
Once you have gathered all the necessary information and obtained any required permits, it’s time to move on to the exciting part – gathering the materials for your outdoor fire pit!
Step 3: Gathering the Materials
Now that you have selected the perfect location and checked the local regulations, it’s time to gather the materials you’ll need to build your outdoor fire pit on the patio. Here’s a list of the basic materials you’ll need:
- Fire Pit Kit: Look for a fire pit kit that includes a fire pit insert or bowl, as well as any necessary hardware. You can find these kits at local home improvement stores or online. Choose a size and style that suits your patio and personal preferences.
- Pavers or Bricks: You’ll need pavers or bricks to create the surround or perimeter of your fire pit. These will form the foundation and provide stability to the structure. Choose a material that compliments your patio or matches the existing hardscape.
- Gravel or Sand: To create a level base for the fire pit, you’ll need to gather gravel or sand. This will help with drainage and stability. The amount of material will depend on the size of your fire pit. Check the fire pit kit instructions for specific measurements.
- Shovel: A sturdy shovel is essential for digging the hole for the fire pit and moving the gravel or sand. Choose a shovel that is suitable for outdoor landscaping tasks.
- Tape Measure and Level: Accurate measurements and a level are crucial for ensuring that your fire pit is stable and sits evenly. Have these tools on hand to double-check your progress throughout the installation process.
- Patio Blocks or Retaining Wall Blocks (optional): If you want to create seating around your fire pit, consider using patio blocks or retaining wall blocks. These can be used to build a low wall or bench around the perimeter of your fire pit, adding both functionality and aesthetic appeal.
- Personal Protective Equipment (PPE): Safety should always come first when working on any DIY project. Make sure you have the necessary PPE, such as gloves and safety glasses, to protect yourself from any potential hazards.
Once you have gathered all the materials, it’s time to move on to the next step: preparing the patio. Let’s get our hands dirty and prepare the groundwork for our fire pit!
Step 4: Preparing the Patio
Before you start digging the hole for your fire pit, it’s important to prepare the patio area where the fire pit will be installed. This step ensures a stable and level foundation, helping to prevent any shifting or sinking over time. Here’s how to prepare your patio:
- Clean the Area: Remove any debris, furniture, or plants from the patio area where the fire pit will be located. This provides a clear and clean workspace.
- Measure and Mark: Use a tape measure to mark the dimensions of your fire pit on the patio. This will help you visualize the space and ensure that the area is large enough for the fire pit and any additional features you plan to add.
- Excavate the Area: Dig out the marked area to a depth of about six to eight inches. This will create space for the gravel or sand base and allow for proper drainage. Use a shovel to remove the soil and create a level surface.
- Compact the Soil: Use a tamper or a hand compactor to firmly compact the soil at the bottom of the excavated area. This will provide a solid base and help prevent any sinking or shifting of the fire pit over time.
- Add a Weed Barrier (optional): If desired, you can place a weed barrier fabric over the compacted soil before adding the gravel or sand. This will help suppress weed growth and keep the area around the fire pit clean.
Once you have completed these steps, you’re ready to move on to the next exciting phase – digging the hole for your outdoor fire pit. Time to put your muscles to work and create a cozy gathering spot for those chilly evenings!
When building an outdoor fire pit on a patio, make sure to choose a safe location away from any flammable materials. Use fire-resistant materials like bricks or stones, and always check local regulations and obtain any necessary permits before starting construction.
Read more: How To Build An Outdoor Fire Pit
Step 5: Digging the Fire Pit Hole
Now that you have prepared the patio, it’s time to dig the hole for your outdoor fire pit. This is where the main body of the fire pit will be placed. Follow these steps to dig the hole:
- Measure and Mark: Use a tape measure to determine the diameter of the fire pit bowl or insert. Mark this measurement on the ground with spray paint or stakes to indicate the outer edge of the fire pit.
- Start Digging: Using a shovel, begin digging a hole within the marked area. Dig to a depth that matches the height of the fire pit bowl or insert, plus a few inches for the gravel or sand base. Make sure the hole is deep enough to allow for proper airflow and combustion within the fire pit.
- Check for Levelness: Periodically check the levelness of the hole as you dig. Place a level across the bottom of the hole to ensure that it is even. Adjust the depth or remove excess soil as needed to achieve a level surface.
- Remove Debris: As you dig, periodically remove any roots, rocks, or other debris from the hole. These can interfere with the stability of the fire pit and prevent proper airflow.
Remember to keep the dimensions of the fire pit in mind as you dig the hole. It’s important to create a hole that is slightly larger than the fire pit bowl or insert to allow for easy installation and enough space for the surrounding materials.
Once you have finished digging the hole, you’re ready to move on to the next step – installing the fire pit insert. Get ready to see your fire pit take shape and bring warmth to your patio!
Step 6: Installing the Fire Pit Insert
Now that you have dug the hole for your outdoor fire pit, it’s time to install the fire pit insert. The insert is the centerpiece of the fire pit and where the actual fire will burn. Here’s how to install the fire pit insert:
- Prepare the Base: Before placing the fire pit insert in the hole, ensure that the base of the hole is level and free from any debris. Use a level to double-check the evenness of the base.
- Place the Insert: Carefully lower the fire pit insert into the hole, making sure it sits securely and evenly. Check the levelness of the insert and adjust as necessary.
- Secure the Insert (optional): Depending on the design of your fire pit insert, you may need to secure it in place. This can be done by following the manufacturer’s instructions provided with the fire pit kit.
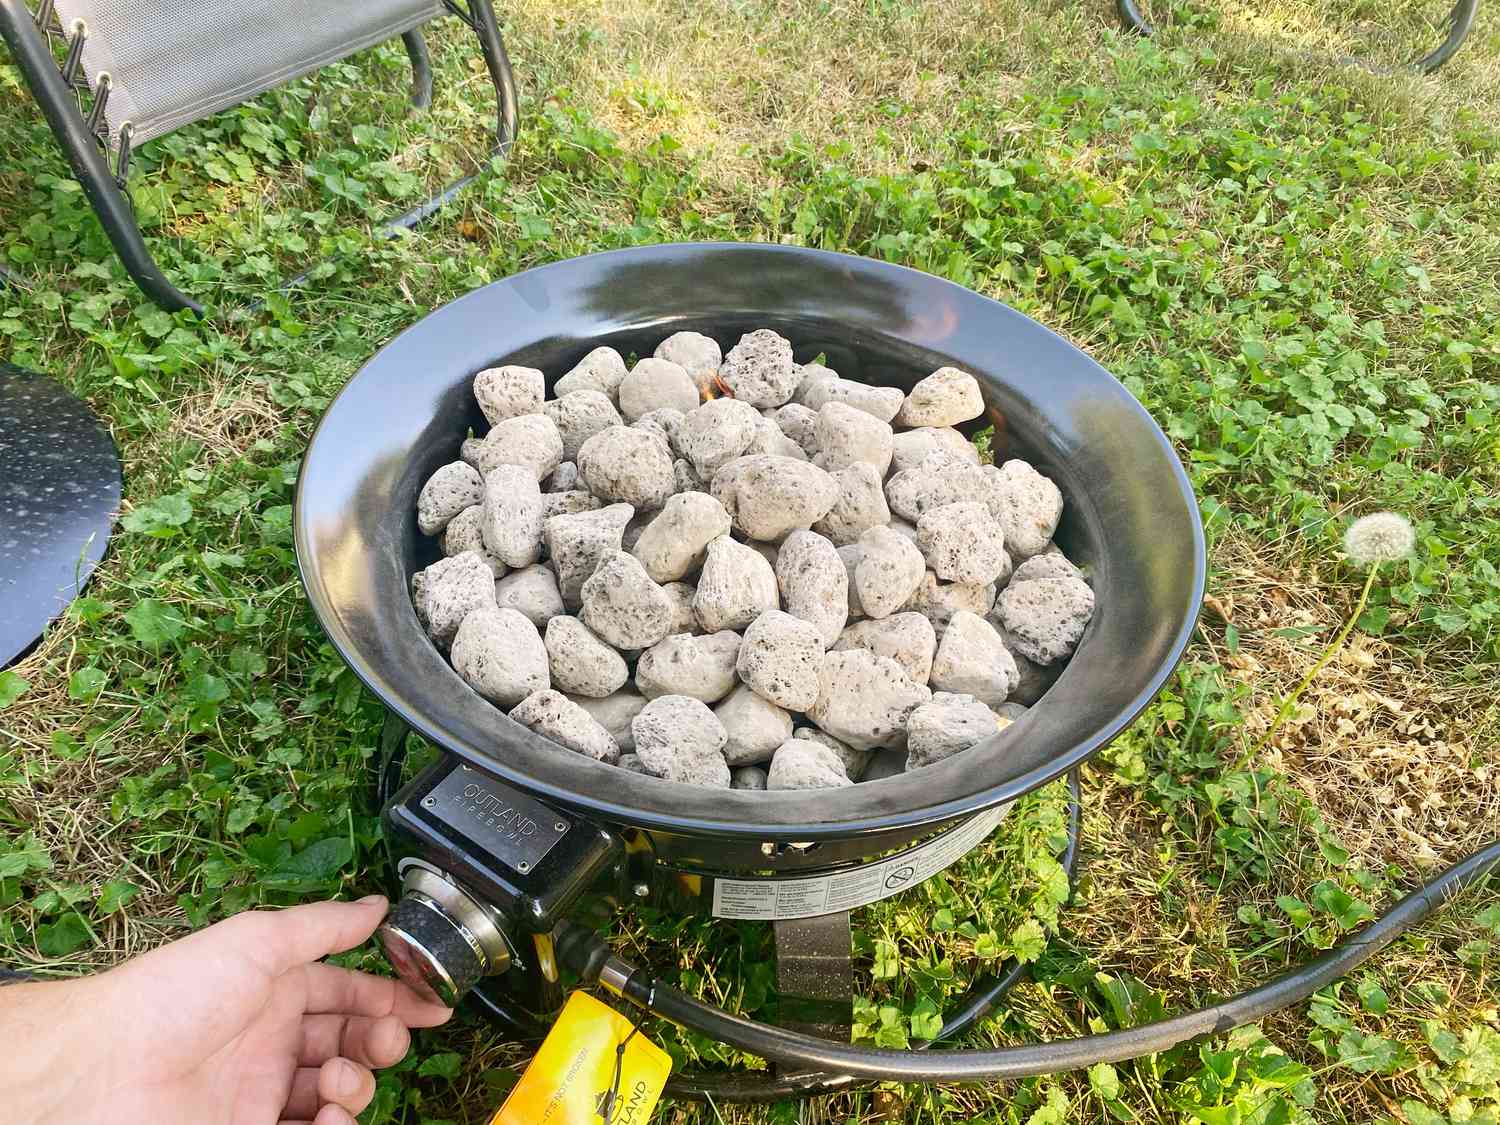
- Connect Gas Lines (if applicable): If you have a gas fire pit insert, follow the manufacturer’s instructions for connecting the gas lines. Ensure that all connections are properly sealed and secured.
- Add Fireproof Material (if applicable): Some fire pit inserts may require the addition of fireproof material, such as lava rocks or fire glass, to enhance the aesthetics and improve heat distribution. Consult the fire pit kit instructions for guidance on adding these materials.
Once you have installed the fire pit insert, take a moment to step back and admire your progress. The fire pit is starting to come together, and it’s almost time to enjoy its warmth and glow. But before that, we have a few more steps to complete to ensure a finished and polished look.
Next up is Step 7: filling in the surrounding area with the appropriate materials. Let’s continue with the project and create the perfect setting for cozy outdoor gatherings!
Step 7: Filling in the Surrounding Area
With the fire pit insert securely in place, it’s time to move on to Step 7: filling in the surrounding area with the appropriate materials. This step will not only provide stability to the fire pit but also add visual appeal to your patio. Follow these steps to complete this phase of the project:
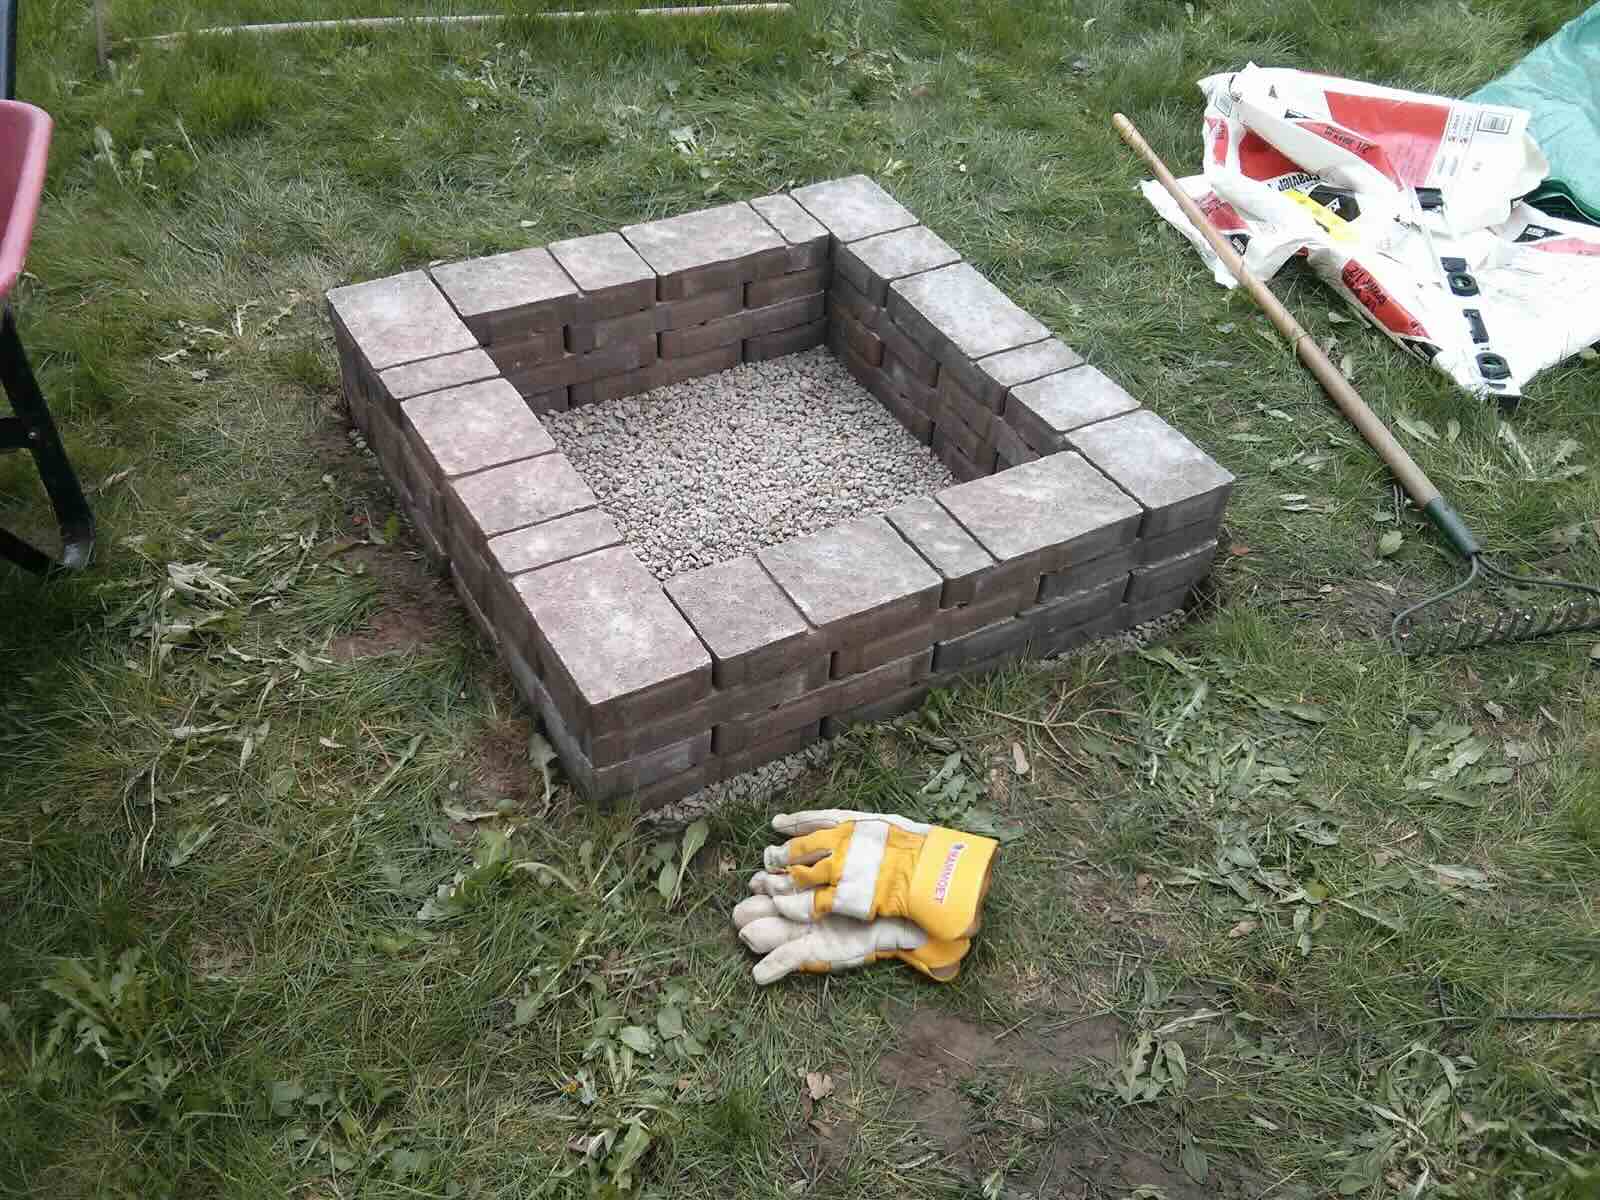
- Add Gravel or Sand: Start by filling in the area around the fire pit insert with gravel or sand. This serves as a base and helps with drainage. Pour the material evenly, ensuring that it reaches the desired height and levelness.
- Compact the Filling Material: Use a tamper or a hand compactor to firmly compact the gravel or sand around the fire pit insert. This will create a solid and stable surface for the surrounding materials.
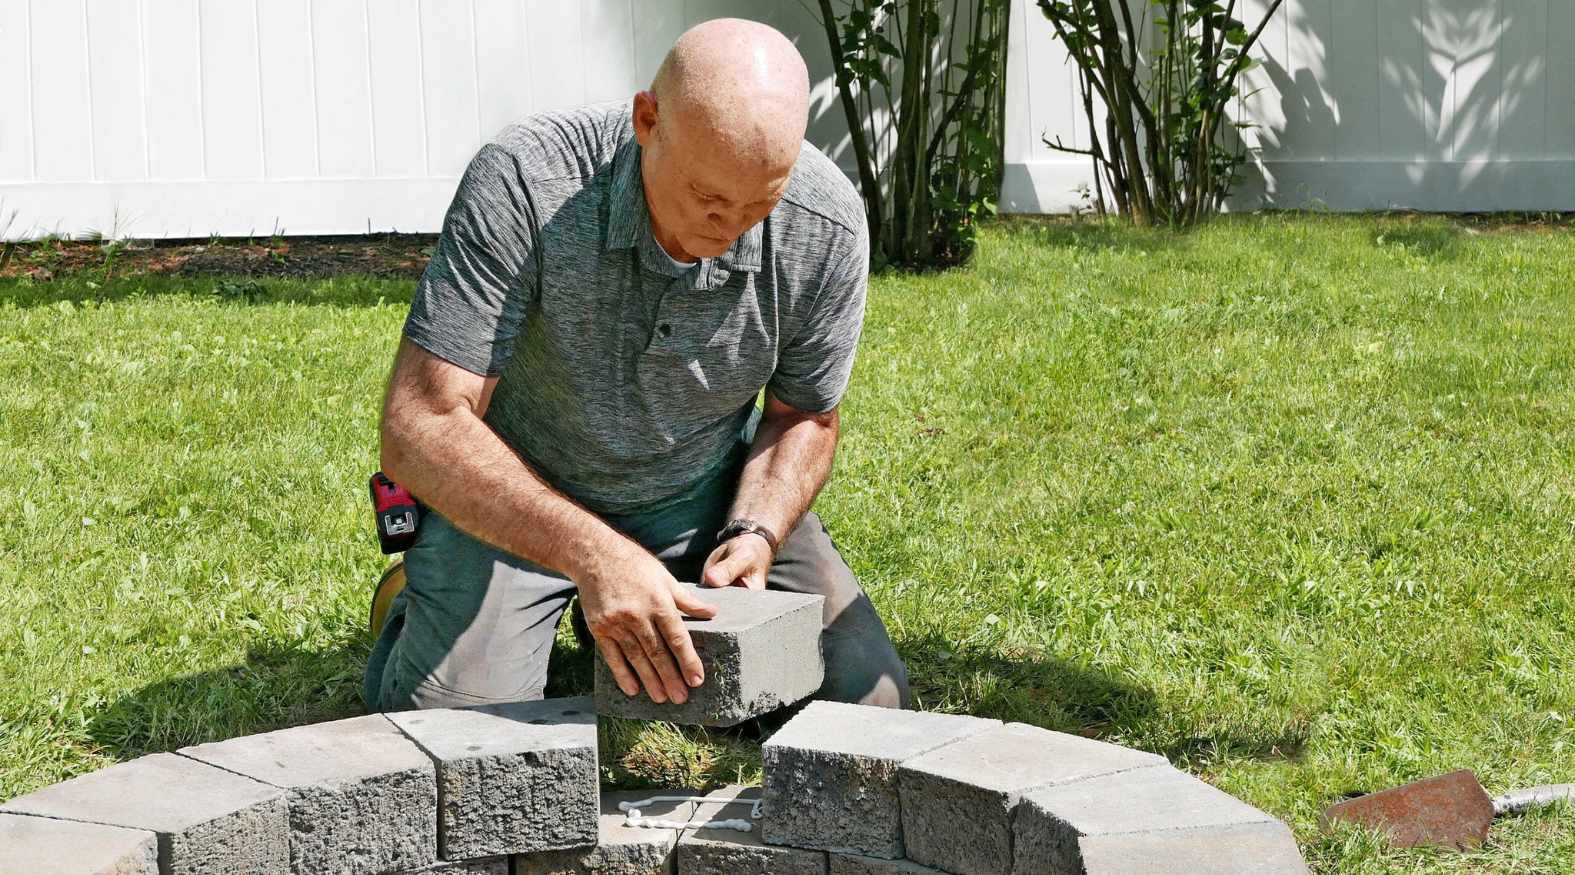
- Place Pavers or Bricks: Carefully position the pavers or bricks around the base of the fire pit insert, forming a decorative surround. Make sure to leave a small gap between each paver or brick for a finished look.
- Level the Pavers or Bricks: Use a level to check the evenness of the pavers or bricks. Adjust their positions as needed to ensure a flat and smooth surface. You can tap them lightly with a rubber mallet to level them out.
- Secure the Pavers or Bricks (optional): If desired, you can secure the pavers or bricks in place by using landscape adhesive or mortar. Follow the manufacturer’s instructions for proper application. This step will provide additional stability and durability.
- Fill the Gaps: Once the pavers or bricks are in place, fill the gaps between them with fine sand or polymeric sand. This will help lock the pavers or bricks together and prevent weed growth.
By filling in the surrounding area with the appropriate materials, you not only enhance the appearance of your fire pit but also create a functional and inviting space for outdoor gatherings. Take a step back and admire your handiwork – your patio is now equipped with a beautiful fire feature!
Next, we’ll move on to the final step – testing and adding the finishing touches to your outdoor fire pit. It won’t be long before you can light up the fire and enjoy cozy evenings under the stars!
Step 8: Testing and Finishing Touches
Congratulations! You are one step away from completing your outdoor fire pit on the patio. Step 8 involves testing the fire pit and adding the finishing touches to make it truly shine. Follow these final steps to bring your project to completion:
- Test the Fire Pit: Before lighting your fire pit, it’s essential to conduct a test to ensure everything is in proper working order. If you have a gas fire pit, check for any gas leaks by applying a mixture of soap and water to the connections. If you notice any bubbles forming, there may be a leak that needs to be addressed before using the fire pit.
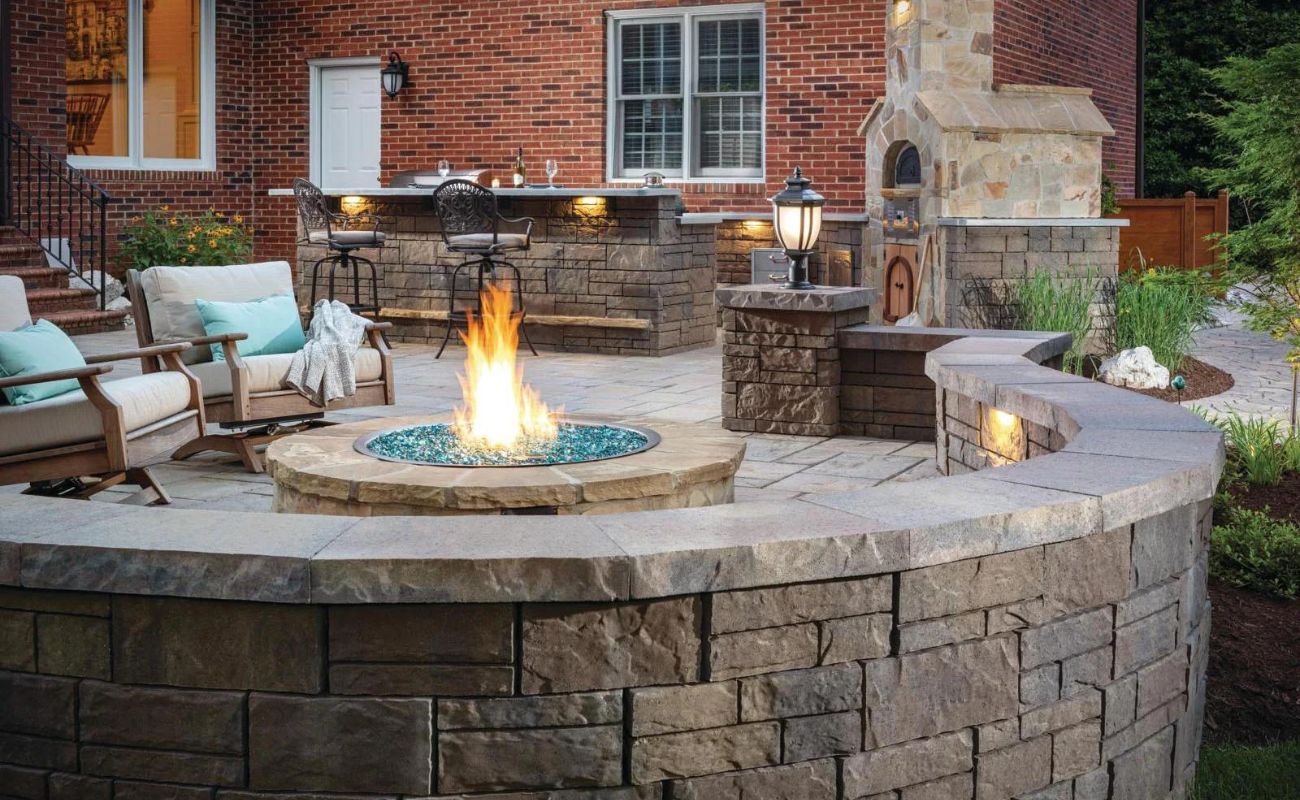
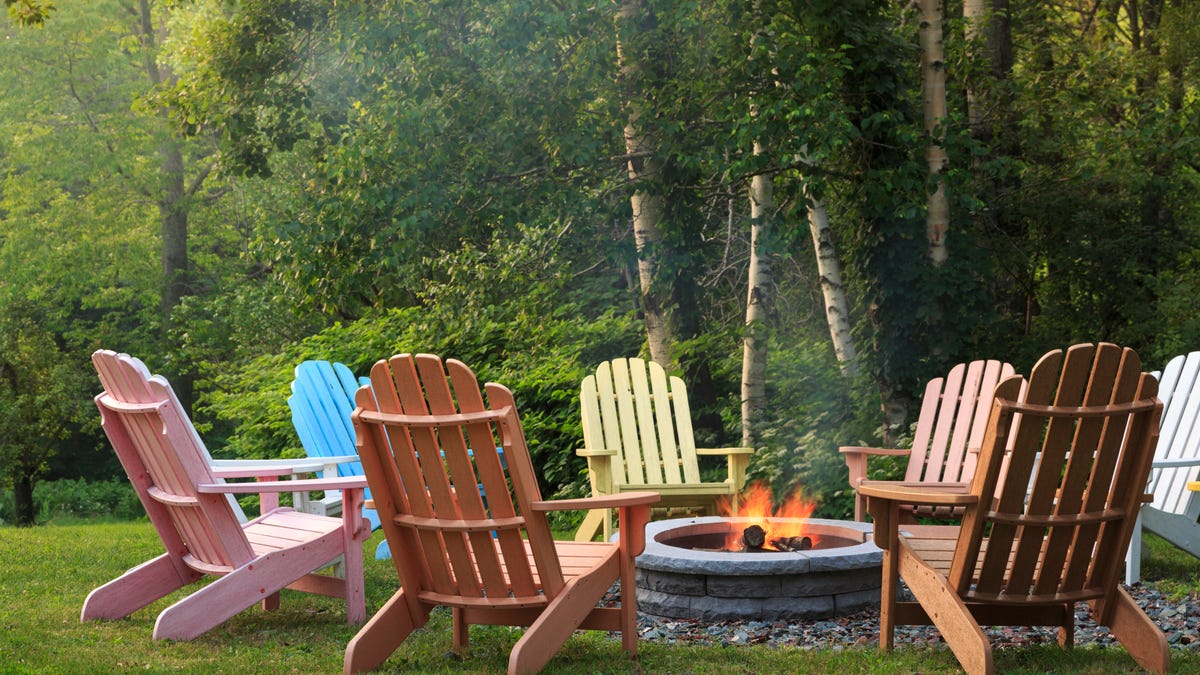
- Set Up Seating: Arrange seating options around your fire pit to create a cozy and comfortable space for gathering. This could include outdoor chairs, benches, or even built-in seating if you incorporated that into your design.
- Add Lighting: Enhance the ambiance of your patio and fire pit area by incorporating outdoor lighting. String lights, lanterns, or pathway lights can create a warm and inviting atmosphere after the sun sets.
- Accessorize: Consider adding decorative elements to complement your fire pit and patio. This could include items such as outdoor cushions, throw blankets, or accent pieces that tie in with the overall theme or style of your outdoor living space.
- Ensure Safety: Install a fire extinguisher nearby in case of emergencies, and make sure there is a clear pathway for easy access to and from the fire pit area. Also, be mindful of flammable materials in the vicinity and keep them at a safe distance from the fire.
With the final steps complete, it’s time to sit back, relax, and enjoy the warmth and beauty of your newly built outdoor fire pit on the patio. Invite friends and family over for memorable evenings filled with laughter and relaxation.
Remember to follow proper fire safety protocols at all times and adhere to any local regulations regarding fire pit usage. Regularly inspect and maintain your fire pit to ensure its longevity and safe operation.
Now, grab a marshmallow, find a cozy spot by the fire, and make wonderful memories around your outdoor fire pit!
Thank you for joining us on this DIY journey. We hope you found this step-by-step guide helpful in creating your own outdoor retreat. Happy fireside gatherings!
Read more: How To Build An Outdoor Fire Pit
Conclusion
Congratulations on successfully building your outdoor fire pit on the patio! You’ve transformed your outdoor space into a cozy and inviting retreat where you can gather with loved ones and create lasting memories.
Throughout this step-by-step guide, we’ve covered the important aspects of building an outdoor fire pit. From selecting the location and checking local regulations to gathering the necessary materials and installing the fire pit insert, you’ve followed each stage with care and attention to detail.
By understanding the safety considerations, complying with local regulations, and using quality materials, you’ve ensured that your fire pit not only provides a warm and welcoming atmosphere but also meets the necessary guidelines for a safe outdoor feature.
Remember to always exercise caution and follow proper fire safety protocols when using your fire pit. Regular maintenance and inspections will help to keep it in optimal condition, providing years of enjoyment for you and your guests.
Now, it’s time to sit back and relax around your beautiful fire pit. Light up the fire, toast some marshmallows, and immerse yourself in the mesmerizing glow and crackling sounds of your outdoor oasis.
We hope this guide has been helpful in guiding you through the process of building an outdoor fire pit on your patio. Enjoy the cozy evenings, create cherished memories, and embrace the joy of outdoor living.
Thank you for embarking on this DIY journey with us. Wishing you many unforgettable moments around your outdoor fire pit!
Frequently Asked Questions about How To Build An Outdoor Fire Pit On A Patio
Was this page helpful?
At Storables.com, we guarantee accurate and reliable information. Our content, validated by Expert Board Contributors, is crafted following stringent Editorial Policies. We're committed to providing you with well-researched, expert-backed insights for all your informational needs.


0 thoughts on “How To Build An Outdoor Fire Pit On A Patio”