Home>Garden Essentials>How To Seal A Water Fountain

Garden Essentials
How To Seal A Water Fountain
Modified: March 16, 2024
Learn how to seal a water fountain in your garden with our step-by-step guide. Protect your fountain from water damage and keep it looking great for years to come.
(Many of the links in this article redirect to a specific reviewed product. Your purchase of these products through affiliate links helps to generate commission for Storables.com, at no extra cost. Learn more)
Introduction
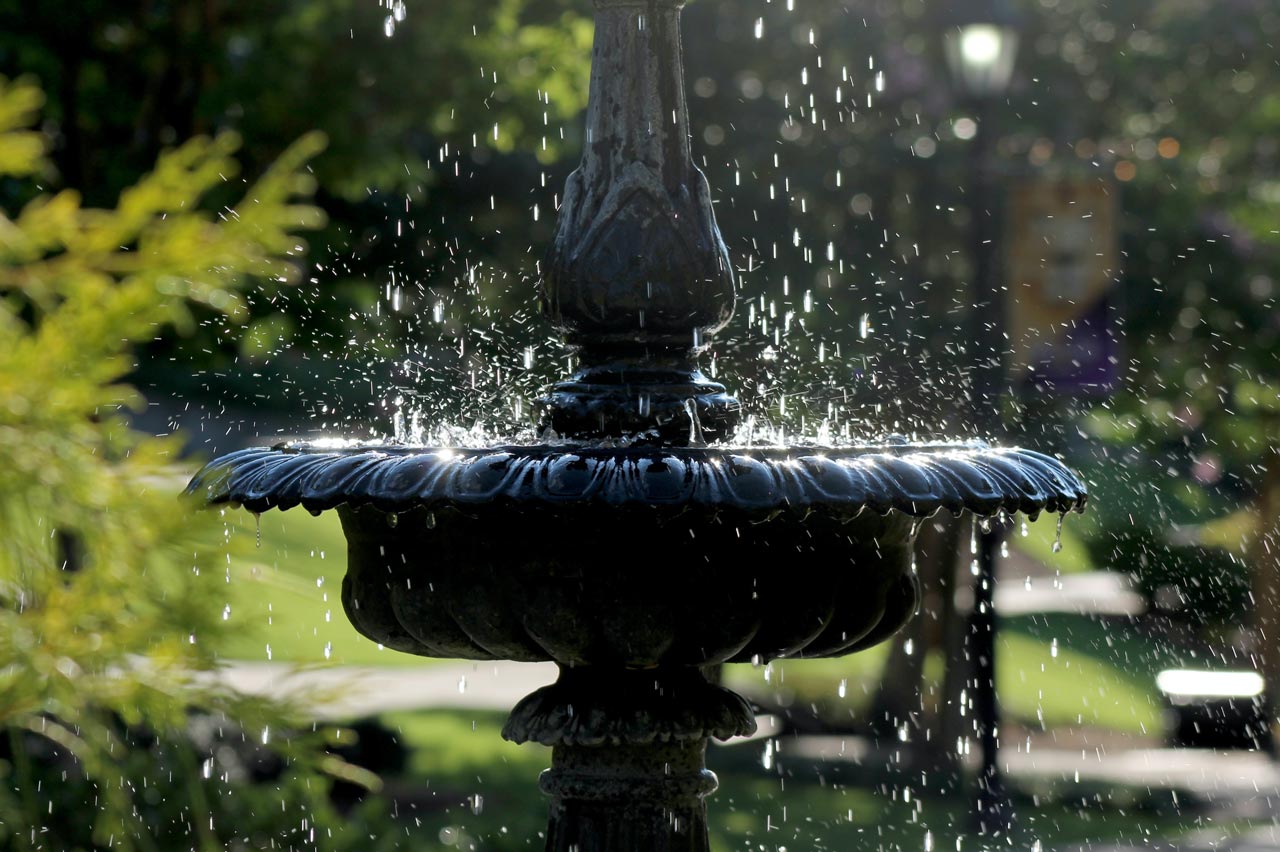
Welcome to the world of water fountains! These beautiful additions to your garden or outdoor space can create a tranquil environment and add a touch of elegance to your surroundings. However, as with any outdoor feature, it is crucial to properly maintain and protect your water fountain to ensure its longevity.
One essential step in maintaining a water fountain is sealing it. Sealing the fountain helps to protect it from the effects of weather, such as rain or sunlight, and prevents water leakage, which can damage the structure and lead to costly repairs. In this article, we will guide you through the process of sealing a water fountain, ensuring that it remains in pristine condition for years to come.
Before we dive into the details, it is important to note that the sealing process may vary depending on the type of water fountain you have. There are various types available, including concrete, stone, and fiberglass fountains. Each type requires specific techniques and materials for sealing. Make sure to identify the material of your fountain before proceeding with the sealing process.
Now, let’s get started on the journey of sealing your water fountain, step by step!
Key Takeaways:
- Protect your water fountain by sealing it to prevent water damage and maintain its beauty. Clean, choose the right sealant, apply carefully, and maintain regularly for a long-lasting, tranquil addition to your garden.
- Sealing your water fountain is essential for its longevity. Clean thoroughly, choose the right sealant, apply with care, and maintain regularly to enjoy the soothing beauty of your fountain for years to come.
Read more: What Is A Water Fountain
Step 1: Cleaning the Water Fountain
Before you begin the process of sealing your water fountain, it is crucial to clean it thoroughly to ensure that the sealant adheres properly. Over time, algae, dirt, and debris can accumulate in the fountain, which can hinder the effectiveness of the sealant.
Here’s how you can clean your water fountain:
- Start by unplugging the fountain and draining all the water from it. You can use a submersible pump or manually remove the water using a bucket.
- Remove any decorative items, such as stones or plants, from the fountain.
- Use a soft brush or sponge to scrub the interior and exterior of the fountain, including the basin, walls, and any intricate details. You can use a mild detergent or a specifically formulated fountain cleaner to remove any stubborn stains or buildup.
- Rinse the fountain thoroughly with clean water to remove any soap residue.
- Allow the fountain to dry completely before moving on to the next step. This is crucial as the presence of moisture can compromise the effectiveness of the sealant.
By thoroughly cleaning your water fountain, you not only prepare it for the sealing process but also ensure that you are working with a clean surface, enhancing the longevity of your sealant.
Step 2: Identifying the Type of Sealant Needed
Once you have cleaned your water fountain, the next step is to identify the type of sealant that is suitable for your specific fountain material. Choosing the right sealant is crucial as it will ensure proper adhesion and protection against the elements.
Here are some common types of sealants based on fountain materials:
- Concrete: If your water fountain is made of concrete, you’ll need a sealant that is specially formulated for concrete surfaces. Look for a high-quality concrete sealant that is water repellent and provides excellent durability.
- Stone: For stone fountains, such as granite or marble, you should opt for a sealant that is specifically designed for natural stone. These sealants will enhance the natural beauty of the stone while providing protection against stains and water damage.
- Fiberglass or Resin: If your water fountain is made of fiberglass or resin, choose a sealant that is designed for these materials. These sealants are typically formulated to withstand the flexibility and movement of fiberglass or resin fountains.
It’s important to read the label and specifications of the sealant to ensure that it is compatible with your water fountain material. Additionally, consider factors such as UV resistance, ease of application, and longevity when selecting a sealant.
If you’re unsure about the type of material your water fountain is made of or the appropriate sealant to use, consult the manufacturer’s instructions or seek advice from a knowledgeable professional or sales representative at a local garden center.
By choosing the right sealant for your specific fountain material, you can ensure effective protection and longevity for your water fountain.
Step 3: Gather Necessary Materials
Now that you have identified the type of sealant needed for your water fountain, it’s time to gather all the necessary materials. Having everything prepared beforehand will make the sealing process more efficient and ensure a smoother experience.
Here’s a list of the materials you will need:
- Sealant: Purchase the appropriate sealant based on your water fountain material, as determined in the previous step. Make sure to buy enough sealant to cover the entire fountain surface.
- Protective Gear: Wear gloves and safety goggles to protect your skin and eyes during the sealing process.
- Brush or Roller: Depending on the size and shape of your water fountain, choose a brush or roller that is suitable for applying the sealant. A foam brush or a small roller can work well for intricate designs, while a larger brush or roller is ideal for larger surface areas.
- Drop Cloth or Plastic Sheets: Cover the surrounding area with a drop cloth or plastic sheets to protect it from any spills or drips.
- Clean Cloth: Keep a clean, lint-free cloth on hand to wipe away any excess sealant or to clean up any mess.
- Stir Stick or Stirring Attachment: If the sealant requires stirring before use, have a stir stick or a stirring attachment for a power drill ready.
- Painter’s Tape: If there are any areas of the fountain that you wish to protect from the sealant, use painter’s tape to tape them off.
By gathering these materials in advance, you can ensure a smooth and organized sealing process, minimizing any potential frustrations or delays.
Step 4: Applying Sealant to the Fountain
With all the necessary materials at hand, it’s time to start applying the sealant to your water fountain. Follow these steps to ensure proper and effective application:
- Ensure that the surface of the fountain is clean and free of any debris or moisture.
- If required, stir the sealant according to the manufacturer’s instructions. This will help ensure that the sealant is well-mixed and ready for application.
- Starting from the top of the fountain, use a brush or roller to apply the sealant in thin, even coats. Work your way down, covering all the surfaces of the fountain, including the basin, walls, and any intricate details.
- Pay extra attention to any cracks, crevices, or joints in the fountain, as these areas are more prone to water leakage. Apply a generous amount of sealant to ensure proper coverage.
- Smooth out the sealant as you go to ensure an even and consistent application. Use long, smooth strokes or gentle tapping motions to eliminate any air bubbles or uneven areas.
- If you encounter any areas that are difficult to reach with a brush or roller, use a foam brush or a small paintbrush to carefully apply the sealant.
- Continue applying the sealant until the entire fountain is covered. Make sure to follow the manufacturer’s instructions regarding the recommended number of coats and drying time between each coat.
- Once you have finished applying the sealant, step back and inspect the fountain for any missed spots or uneven coverage. Touch up these areas as needed.
Remember to work quickly but carefully to avoid brush or roller marks and to ensure that the sealant is applied evenly. Take breaks if needed to avoid fatigue and maintain focus during the process.
By following these steps, you will successfully apply the sealant to your water fountain, providing it with the necessary protection against water damage and weathering.
To seal a water fountain, use a waterproof sealant like silicone or polyurethane. Clean the surface thoroughly before applying the sealant, and follow the manufacturer’s instructions for best results.
Read more: How To Install A Water Fountain
Step 5: Allowing the Sealant to Cure
After successfully applying the sealant to your water fountain, it’s important to allow it sufficient time to cure. Curing is the process by which the sealant forms a strong bond and reaches its maximum effectiveness in protecting the fountain.
Here are some important considerations during the curing process:
- Refer to the manufacturer’s instructions for the recommended curing time. This can vary depending on the type of sealant you used and the weather conditions in your area.
- Avoid exposing the fountain to direct sunlight, rain, or extreme temperatures during the curing process. These conditions can interfere with the proper bonding and drying of the sealant. If possible, move the fountain to a covered or shaded area during this time.
- Ensure proper ventilation in the curing area to facilitate the drying process. Good airflow will help the sealant cure more efficiently.
- Avoid touching or placing any objects on the sealed surface during the curing period. This can disrupt the drying process and potentially leave marks or indentations on the sealant.
- Monitor the fountain regularly during the curing process to check for any signs of damage or issues. If you notice any problems, such as cracking or uneven drying, address them promptly to ensure the best possible seal.
It’s important to exercise patience during the curing period and avoid using the fountain until the sealant has fully cured. Rushing this step can compromise the effectiveness of the sealant and may result in the need for re-application.
By allowing the sealant sufficient time to cure, you are ensuring the longevity and effectiveness of the sealing process, helping your water fountain stay protected and beautiful for years to come.
Step 6: Testing the Seal and Making Adjustments
Once the sealant has fully cured, it’s important to test the seal to ensure its effectiveness and make any necessary adjustments. This step will help identify any areas that may require further sealing or adjustments to maintain the integrity of the fountain.
Here’s how you can test the seal and make adjustments:
- Fill the fountain with water up to the normal operating level. Allow the fountain to run for a few hours to simulate normal usage.
- During this time, closely observe the fountain for any signs of water leakage or seepage. Pay attention to the areas where the sealant was applied.
- If you notice any water leakage or seepage, mark those areas for further inspection and repairs.
- Once you have identified the problem areas, use a dry cloth to thoroughly dry those spots.
- Apply a thin layer of sealant to the identified areas, ensuring complete coverage and seamless integration with the existing sealant.
- Allow the newly applied sealant to cure according to the manufacturer’s instructions.
- Repeat the testing process by refilling the fountain and running it to check for any additional leaks or seepage.
- If the fountain passes the test and there are no more signs of water leakage or seepage, your sealant is effective. If issues persist, repeat the adjustment process until the seal is watertight.
It is crucial to be thorough in the testing process to identify any weak points in the seal. By addressing them promptly, you can ensure the longevity of the sealant and prevent any potential damage to the fountain structure.
Regular maintenance and inspections will be essential to preserve the seal and make any necessary adjustments in the future as the fountain goes through natural wear and tear.
By testing the seal and making adjustments as needed, you can rest assured that your water fountain is effectively protected and ready to provide its tranquil beauty for many seasons to come.
Step 7: Regular Maintenance and Care for the Sealed Fountain
Once you have successfully sealed your water fountain, it’s important to establish a regular maintenance and care routine to ensure its longevity and continued beauty. Here are some tips to keep your sealed fountain in optimal condition:
- Clean the fountain regularly: Regularly remove debris, such as leaves and twigs, from the fountain to prevent clogging and maintain proper water flow. Use a soft brush or sponge to gently scrub the surface, and periodically clean the pump and filter to ensure optimal performance.
- Monitor the water level: Keep an eye on the water level in the fountain and refill it as needed. It’s important not to let the water level drop too low, as this can put additional strain on the seal and potentially lead to leakage.
- Inspect the sealant: Regularly inspect the sealant for any signs of damage, wear, or deterioration. Look for cracks, chips, or areas where the sealant may be peeling. If you notice any issues, promptly address them by reapplying sealant to maintain the waterproofing and protection of the fountain.
- Protect the fountain during extreme weather: In extreme weather conditions, such as heavy rain, storms, or freezing temperatures, it is advisable to temporarily cover or move the fountain to a sheltered area to prevent potential damage to the sealant and the fountain itself.
- Monitor water quality: Keep an eye on the quality of the water in the fountain. If you notice excessive algae growth or discoloration, consider using an algaecide or fountain cleaner to maintain clean and clear water.
- Address any issues promptly: If you notice any leaks, unusual noises, or mechanical issues with the fountain, address them promptly. Ignoring such issues can lead to further damage and compromise the effectiveness of the seal.
- Follow manufacturer’s instructions: Always refer to the manufacturer’s instructions and recommendations for proper maintenance and care of your specific fountain. They may provide additional guidance specific to your fountain model and material.
By incorporating these regular maintenance practices into your routine, you can ensure that your sealed water fountain remains in optimal condition, prolonging its lifespan and enhancing its beauty.
Remember, regular maintenance and care are essential to preserving the seal and preventing any potential issues that may arise over time. A well-maintained fountain will continue to bring joy and serenity to your outdoor space for years to come.
Conclusion
Sealing your water fountain is a crucial step in its maintenance and protection, ensuring its longevity and continued beauty. By following the steps outlined in this guide, you have learned how to properly clean the fountain, identify the appropriate sealant, gather the necessary materials, apply the sealant, allow it to cure, test the seal, and perform regular maintenance and care.
Remember that each water fountain is unique, and the sealing process may vary based on the material and design. It’s important to thoroughly research and understand the specific requirements of your fountain to ensure the best results.
Properly sealing your water fountain not only provides protection against water damage and weathering but also helps maintain its structural integrity and aesthetic appeal. A well-sealed fountain adds a touch of elegance and serenity to any outdoor space, creating a tranquil environment for you to enjoy.
Regular maintenance and care are essential to preserving the seal and addressing any issues promptly. By incorporating these practices into your routine, you can ensure that your water fountain remains in optimal condition for years to come.
Take the time to appreciate the beauty of your sealed water fountain and the sense of relaxation it brings to your garden or outdoor area. Embrace the soothing sounds of flowing water and the visual charm it adds to your space.
Now that you have the knowledge and insights to seal and maintain your water fountain effectively, it’s time to put these steps into action. Enjoy the serene ambiance and the lasting beauty of your sealed water fountain.
Frequently Asked Questions about How To Seal A Water Fountain
Was this page helpful?
At Storables.com, we guarantee accurate and reliable information. Our content, validated by Expert Board Contributors, is crafted following stringent Editorial Policies. We're committed to providing you with well-researched, expert-backed insights for all your informational needs.


0 thoughts on “How To Seal A Water Fountain”