Home>Furniture & Design>Outdoor Furniture>How To Replace Mesh On Outdoor Furniture
Outdoor Furniture
How To Replace Mesh On Outdoor Furniture
Published: January 12, 2024
Learn how to easily replace the mesh on your outdoor furniture with our expert tips. Refresh the look of your outdoor space with our step-by-step guide.
(Many of the links in this article redirect to a specific reviewed product. Your purchase of these products through affiliate links helps to generate commission for Storables.com, at no extra cost. Learn more)
Introduction
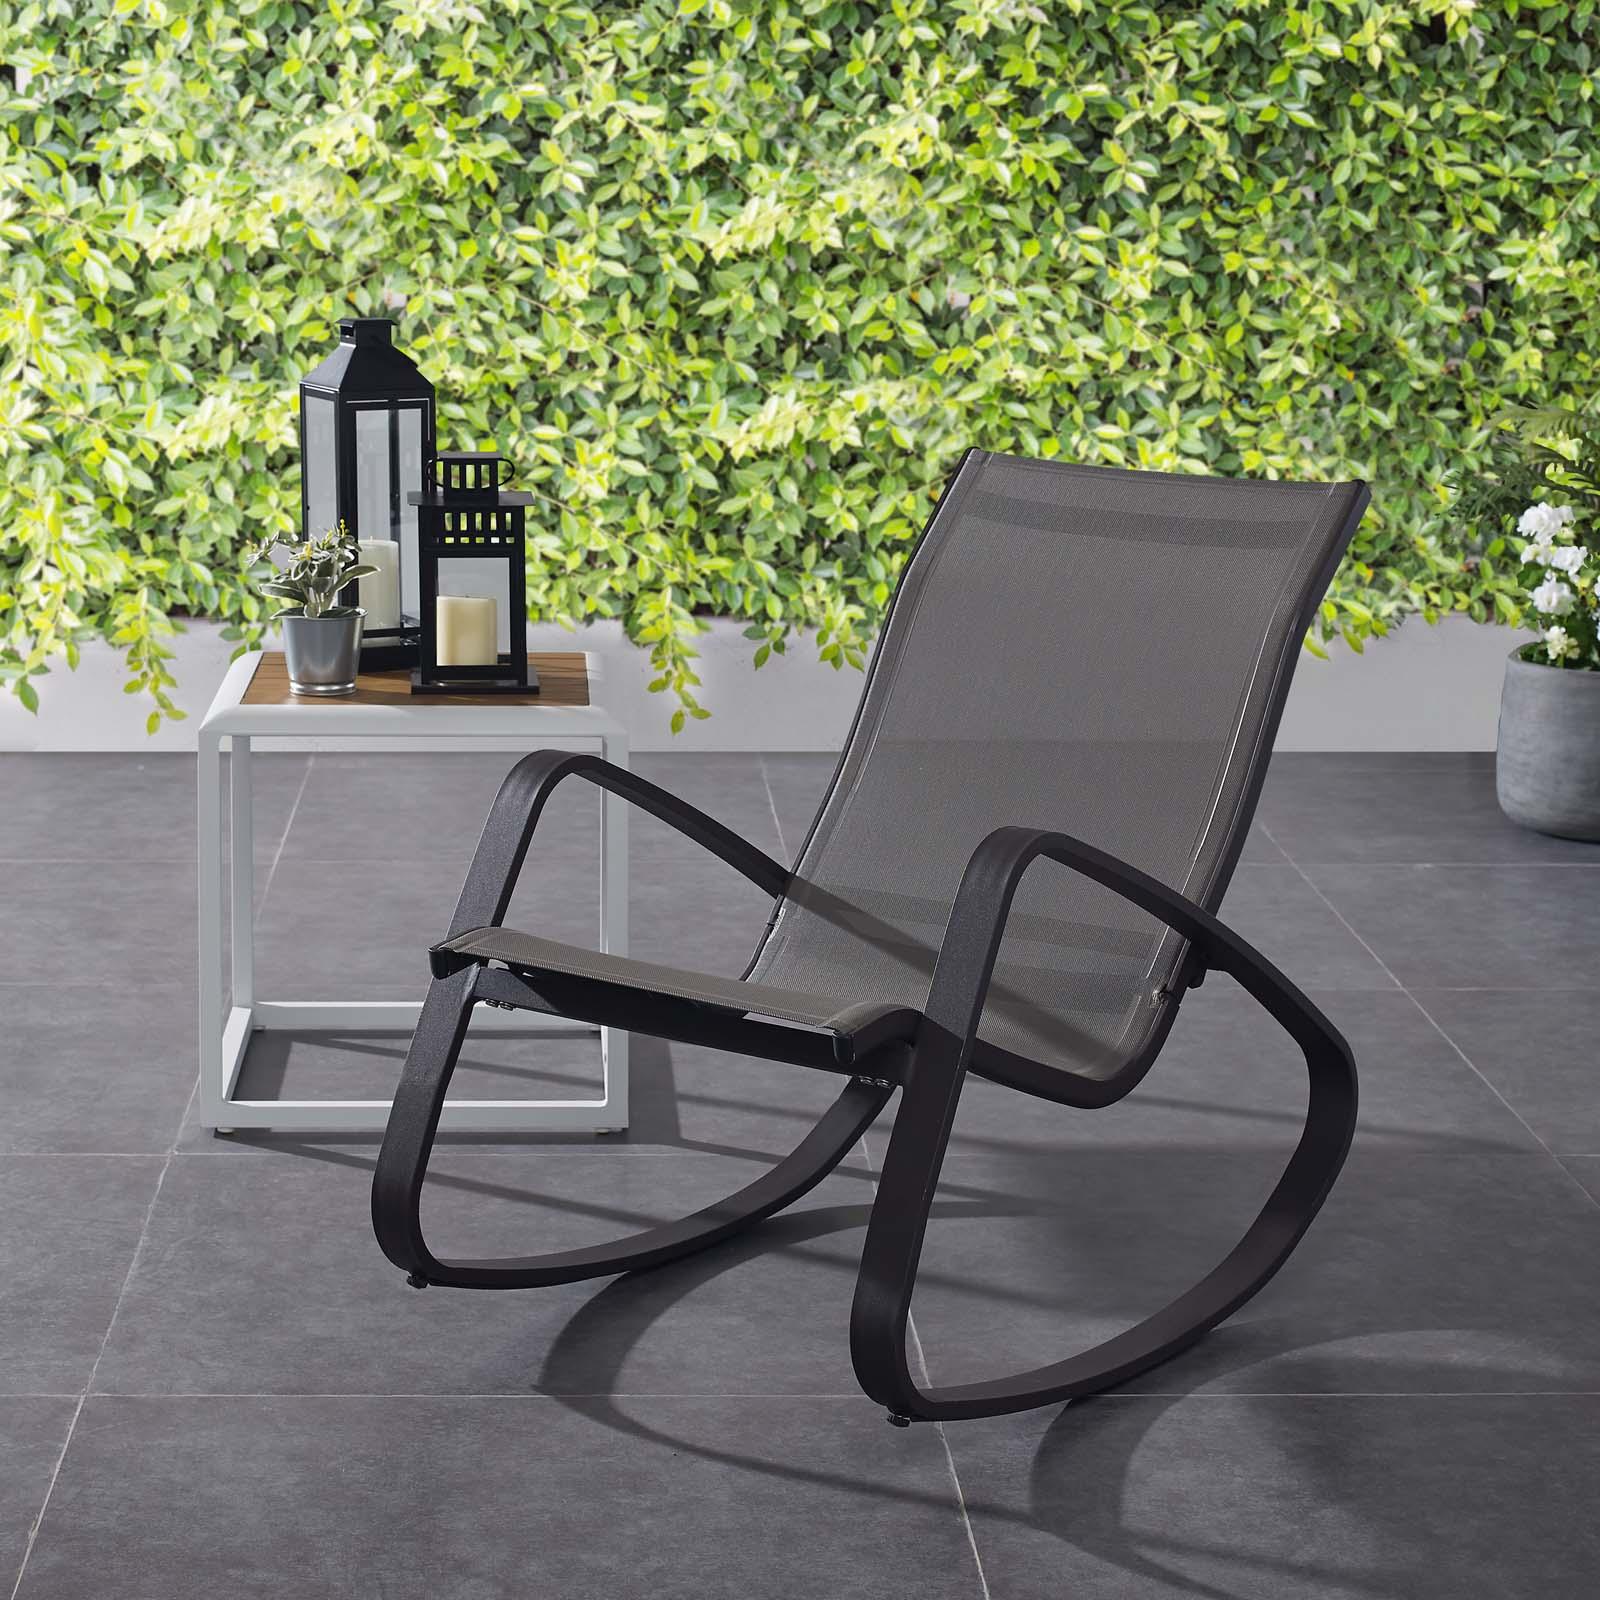
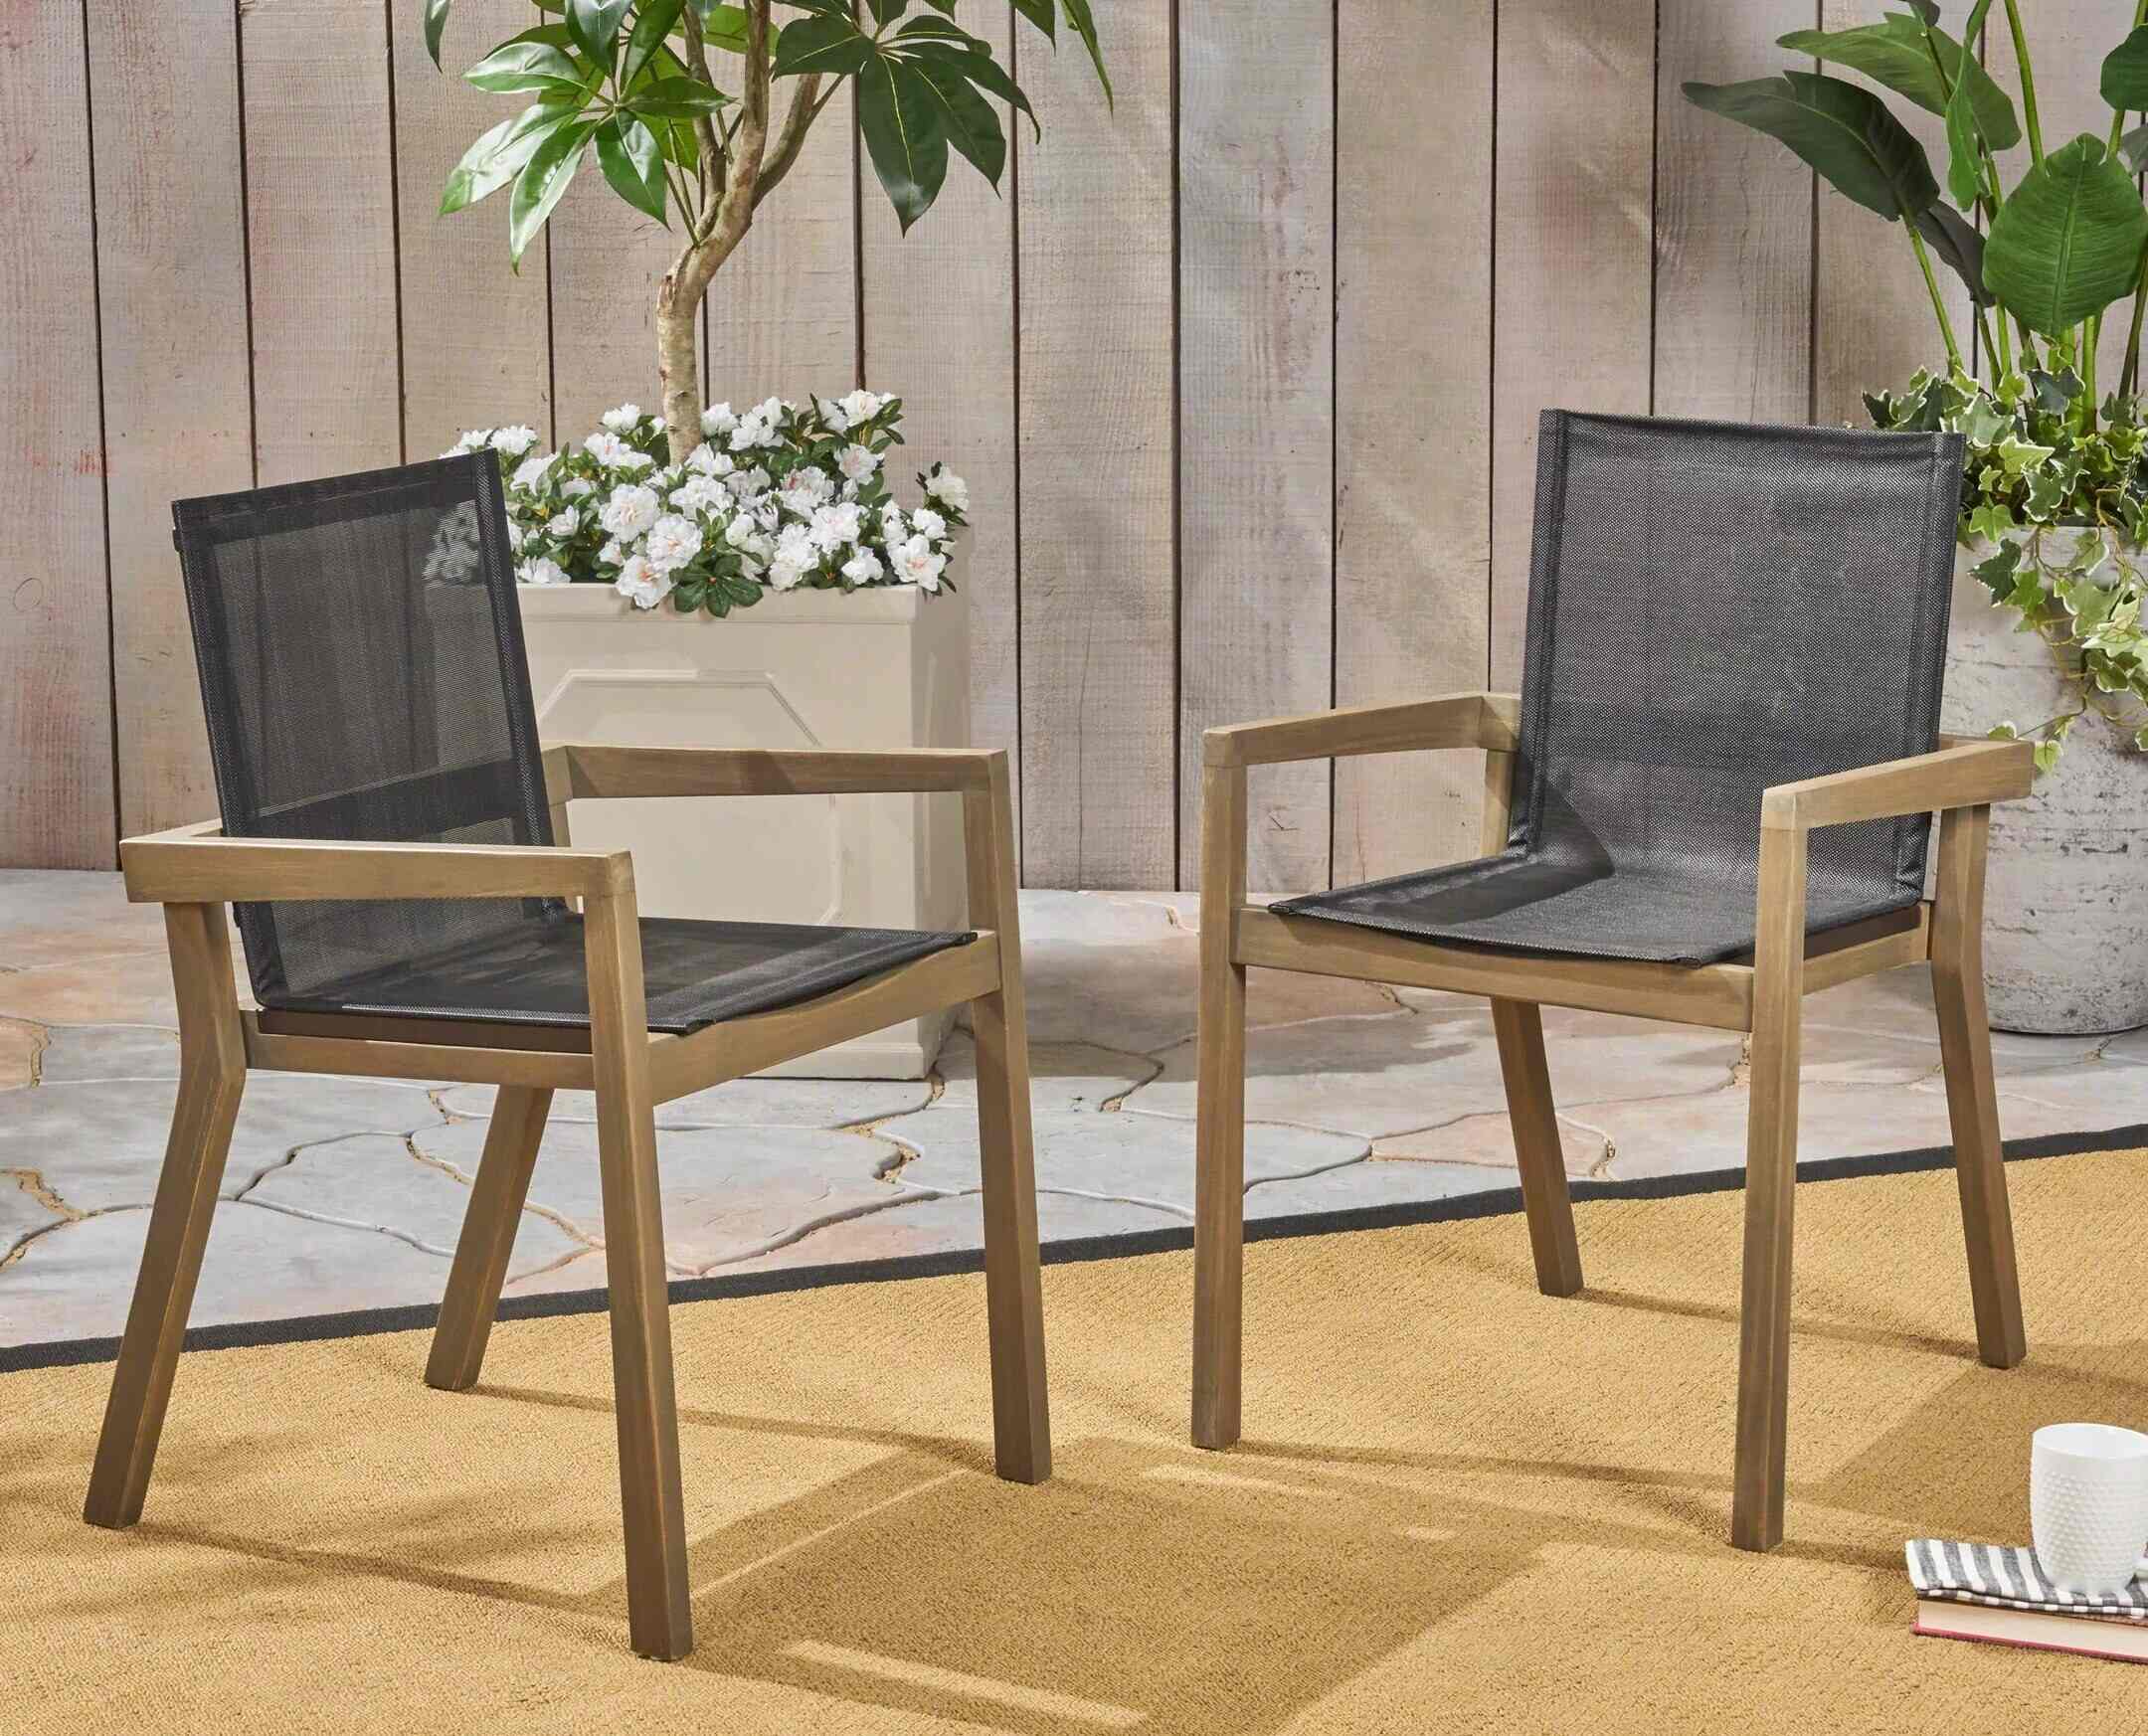
Outdoor furniture provides a perfect setting for relaxation, entertainment, and enjoying the beauty of nature. However, over time, the mesh on outdoor furniture may wear out, tear, or become weathered, diminishing both the comfort and aesthetic appeal of the pieces. Fortunately, replacing the mesh on outdoor furniture is a manageable and rewarding DIY project that can breathe new life into your beloved outdoor seating.
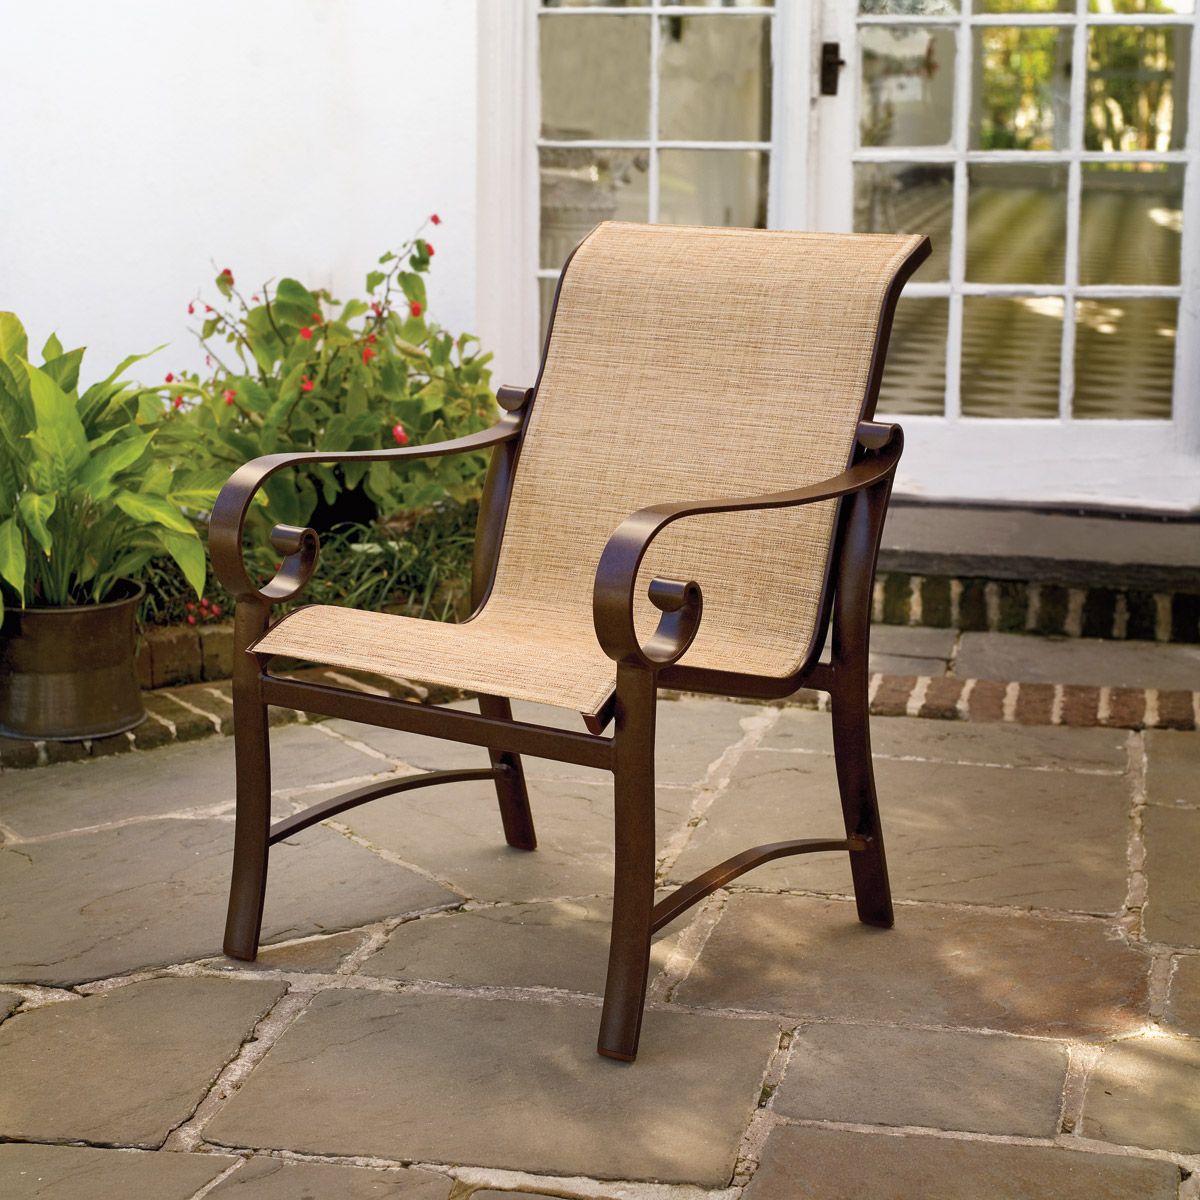
In this comprehensive guide, we will walk you through the process of replacing the mesh on your outdoor furniture. Whether you have a set of chairs, a chaise lounge, or a loveseat, this step-by-step tutorial will equip you with the knowledge and confidence to revitalize your outdoor furniture and extend its lifespan.
From gathering the essential tools and materials to seamlessly attaching the new mesh, each stage of the process will be detailed to ensure a successful and satisfying outcome. So, roll up your sleeves, gather your supplies, and let's restore the allure and comfort of your outdoor furniture together!
Key Takeaways:
- Revitalize your outdoor furniture by replacing worn-out mesh with a few essential tools and materials, restoring comfort and aesthetic appeal to your beloved seating.
- With patience and attention to detail, you can transform your outdoor furniture, extending its lifespan and creating a welcoming oasis for relaxation and cherished moments in nature.
Read more: How To Clean Mesh Outdoor Furniture
Tools and Materials Needed
Before embarking on the mesh replacement project, it’s essential to gather the necessary tools and materials. Having the right equipment at hand will streamline the process and ensure a professional-quality result. Here’s what you’ll need:
Tools:
- Scissors or utility knife
- Needle-nose pliers
- Screwdriver
- Staple gun
- Wire cutters
- Measuring tape
- Hammer
- Work gloves
Materials:
- Outdoor mesh fabric (make sure it is designed for outdoor use and is UV-resistant)
- Replacement spline (the flexible cord that holds the mesh in place)
- Staples (make sure they are compatible with your staple gun)
- Clean cloth
- Mild soap and water (for cleaning the frame)
Having these tools and materials readily available will ensure a smooth and efficient process as you work through each step of replacing the mesh on your outdoor furniture. With everything in hand, you’ll be well-prepared to tackle the project and breathe new life into your outdoor seating.
Removing the Old Mesh
Before you can install the new mesh, you’ll need to remove the old, worn-out material. This process requires careful attention to avoid damaging the furniture frame. Here’s a step-by-step guide to removing the old mesh:
- Assessment: Start by examining the condition of the existing mesh. Look for any staples, screws, or other fasteners that may be securing the mesh to the frame. Note the attachment points and any areas of damage that may require extra care during removal.
- Release Tension: If the mesh is held in place with a spline, use the screwdriver to gently pry up one end of the spline. Once you can grip it with the needle-nose pliers, carefully pull the spline out from the groove around the frame. This will release the tension and allow you to remove the old mesh.
- Detach the Mesh: Use the scissors or utility knife to cut the old mesh away from the frame. Take care to avoid cutting into the frame itself. If the mesh is secured with staples, carefully remove them using the staple remover or pliers.
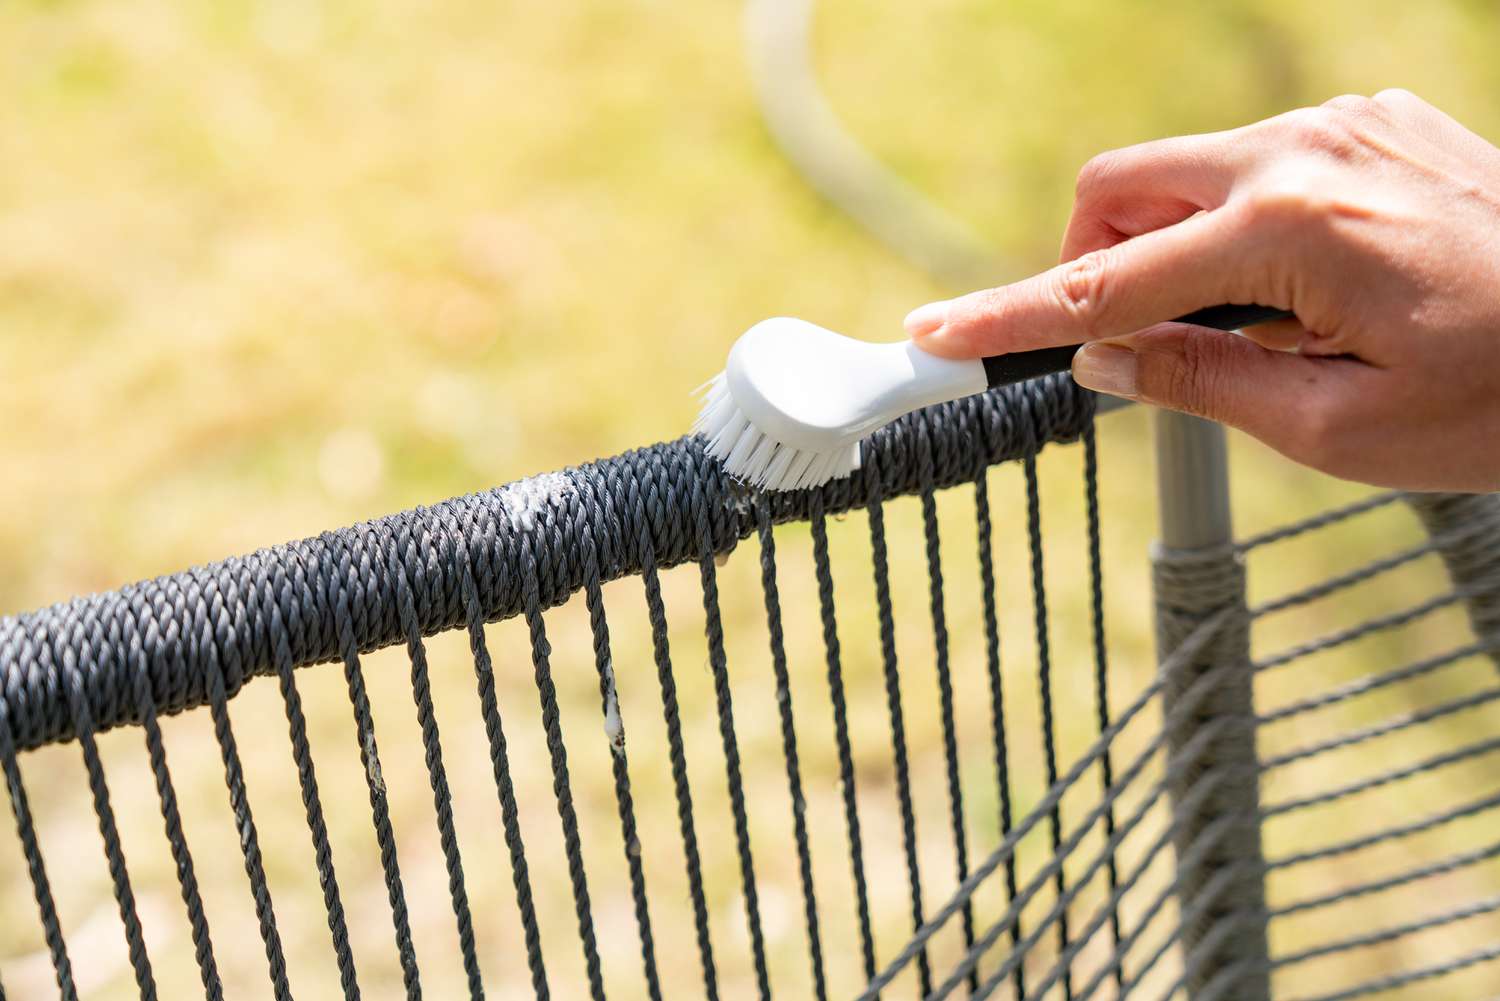
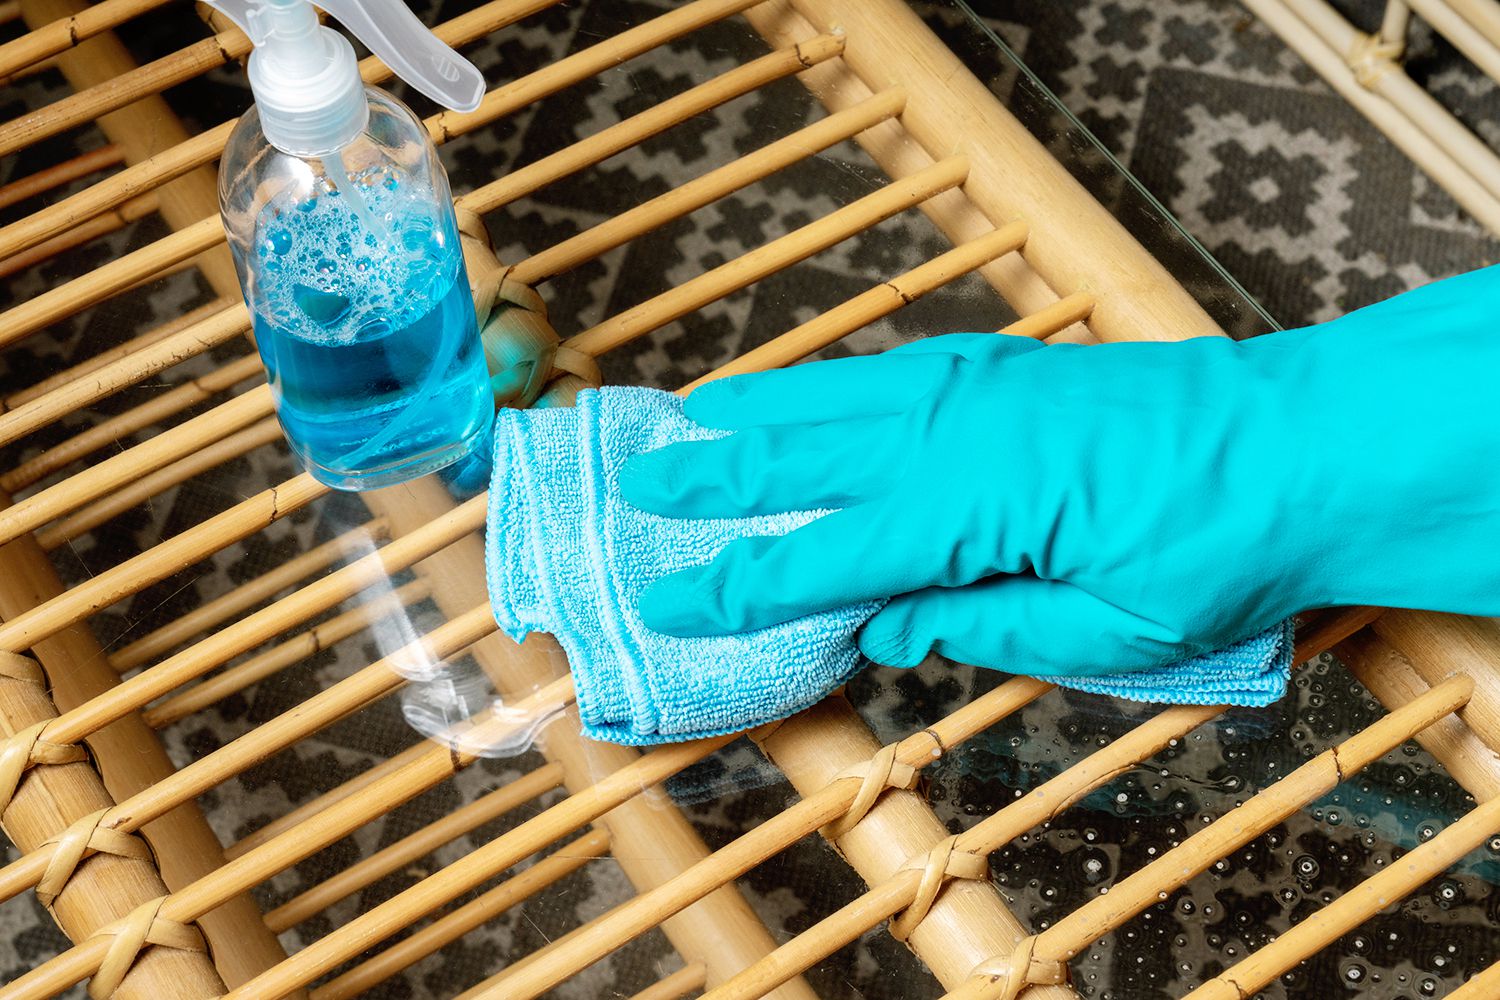
- Clean the Frame: With the old mesh removed, take the opportunity to clean the frame. Use a clean cloth and mild soap and water to remove any dirt, debris, or remnants of the old spline. Allow the frame to dry completely before proceeding to the next step.
By following these steps, you can safely and effectively remove the old mesh from your outdoor furniture, preparing the frame for the installation of the new mesh. With the old material out of the way, you’re one step closer to revitalizing your outdoor seating and restoring its charm and comfort.
Read more: How To Replace Outdoor Furniture Fabric
Preparing the Frame
With the old mesh removed, it’s time to prepare the frame for the installation of the new material. This stage is crucial for ensuring a secure and professional-looking result. Follow these steps to prepare the frame for the new mesh:
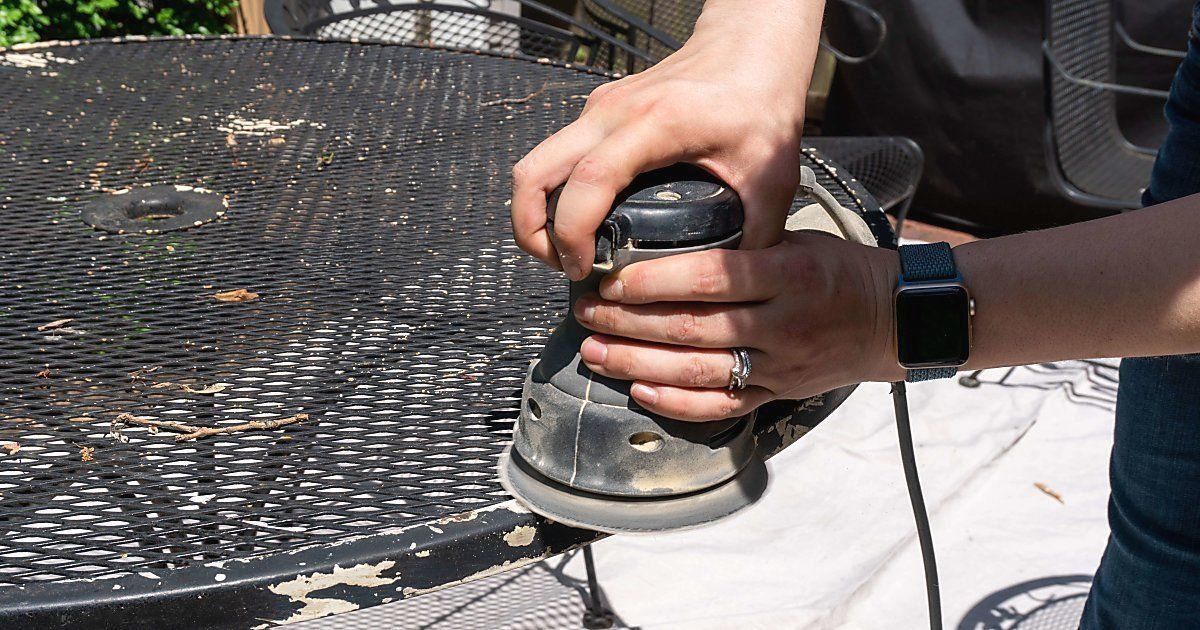
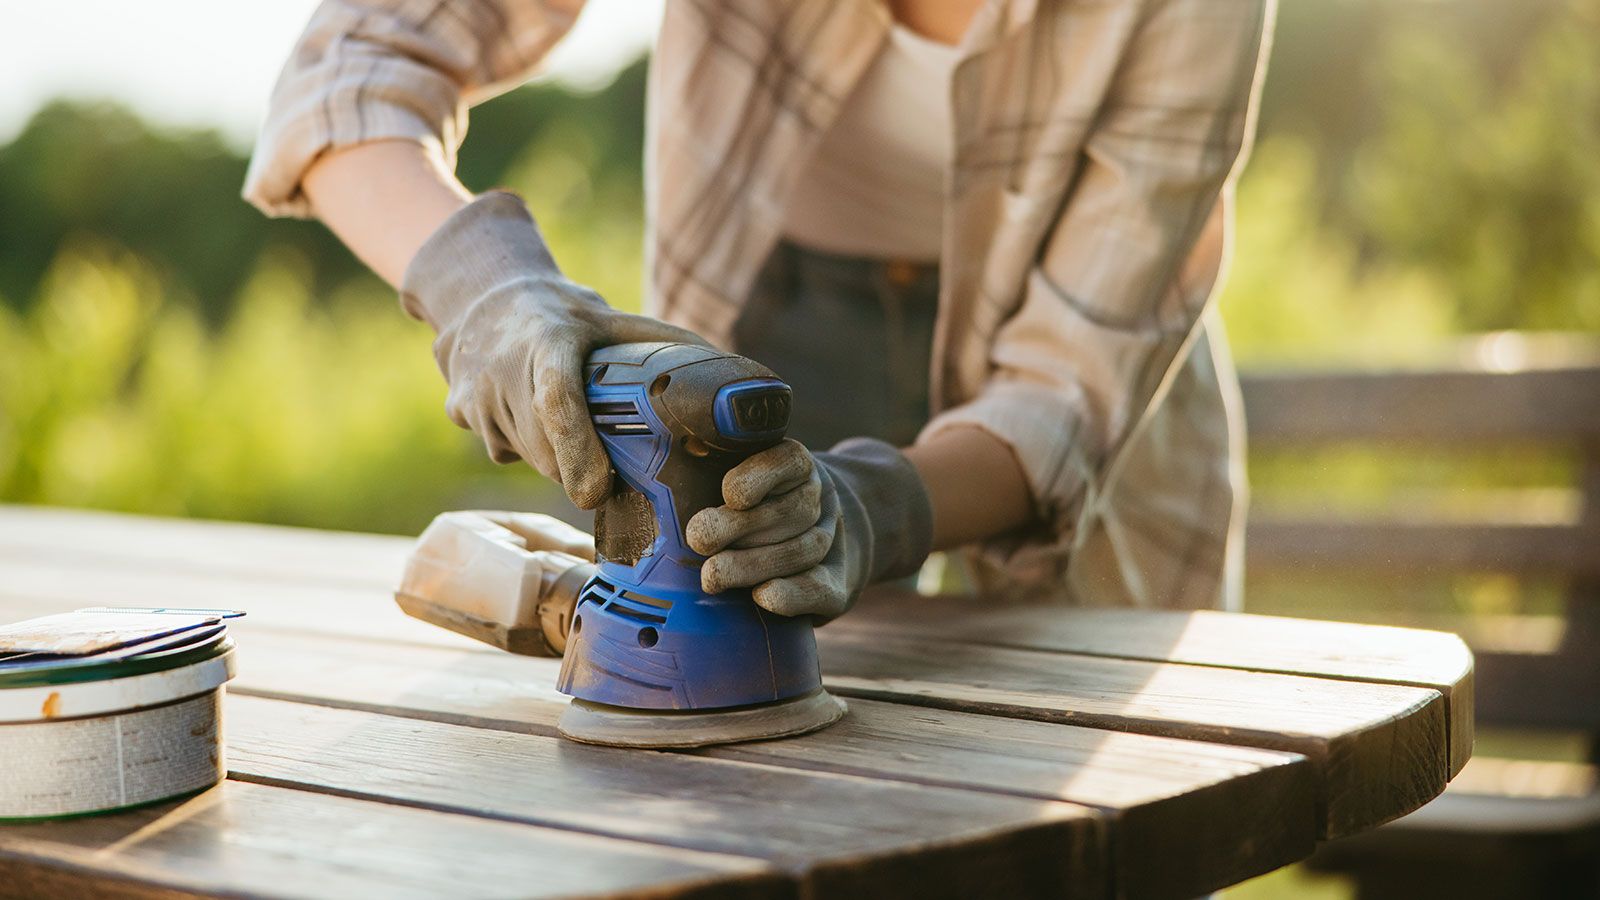
- Inspect the Frame: Carefully examine the frame for any signs of damage, rust, or wear. If any issues are found, address them before proceeding with the mesh replacement. Sand down any rough spots and apply a rust-resistant primer if necessary.
- Measure and Cut the New Mesh: Lay the outdoor mesh fabric over the frame, ensuring there is ample material to cover the entire seating area. Use the measuring tape to determine the dimensions needed, allowing for a few extra inches on each side to ensure a snug fit.
- Secure the Mesh: Once the mesh is cut to size, position it over the frame. Starting at one edge, use the spline to press the mesh into the groove around the frame. This will hold the mesh in place as you work your way around the entire perimeter.
- Tension the Mesh: As you secure the mesh with the spline, ensure that it is taut and free of wrinkles. This will provide a comfortable and visually appealing seating surface once the project is complete.
By meticulously preparing the frame, you’ll create a solid foundation for the new mesh, ensuring a secure and professional-looking result. Taking the time to address any frame issues and properly position the new mesh will set the stage for a successful and long-lasting restoration of your outdoor furniture.
Attaching the New Mesh
With the frame prepared, it’s time to attach the new mesh, breathing fresh life into your outdoor furniture. This step requires attention to detail and precision to ensure a smooth and professional-looking finish. Follow these steps to attach the new mesh to the frame:
- Position the Mesh: Lay the cut piece of outdoor mesh fabric over the frame, ensuring that it aligns with the edges and contours of the seating area. Smooth out any wrinkles or folds to create a clean and even surface.
- Secure the Mesh: Starting at one edge, use the staple gun to secure the mesh to the frame. Place the staples at regular intervals along the entire perimeter, ensuring that the mesh remains taut and secure. Be mindful of the tension, adjusting as needed to maintain a smooth and comfortable seating surface.
- Trim Excess Mesh: Once the mesh is securely attached, use the scissors or utility knife to trim any excess material, leaving a neat and tidy edge along the frame.
- Install the Spline: With the mesh in place, use the spline to press the material into the groove around the frame. This will provide a secure and finished look while holding the mesh firmly in position.
By following these steps, you’ll effectively attach the new mesh to the frame, transforming your outdoor furniture and restoring its comfort and allure. Attention to detail and a methodical approach will yield a professional-quality result, ensuring that your outdoor seating is ready to provide many more years of enjoyment.
When replacing the mesh on outdoor furniture, make sure to measure the dimensions of the existing mesh before purchasing a replacement. This will ensure that the new mesh fits properly and looks seamless.
Finishing Touches
As the new mesh is securely attached to the frame, it’s time to add the finishing touches that will elevate the visual appeal and durability of your outdoor furniture. These final steps will ensure that your revitalized seating is not only comfortable but also visually appealing and ready to withstand the elements. Here’s how to complete the finishing touches:
- Trim and Tidy: Inspect the edges of the mesh and trim any excess material to create a clean and polished look. This step will ensure that the seating surface is smooth and free of any loose or frayed edges.
- Inspect and Reinforce: Double-check the attachment of the mesh, ensuring that it is securely fastened to the frame. If necessary, add additional staples or adjust the tension to achieve a uniform and snug fit.
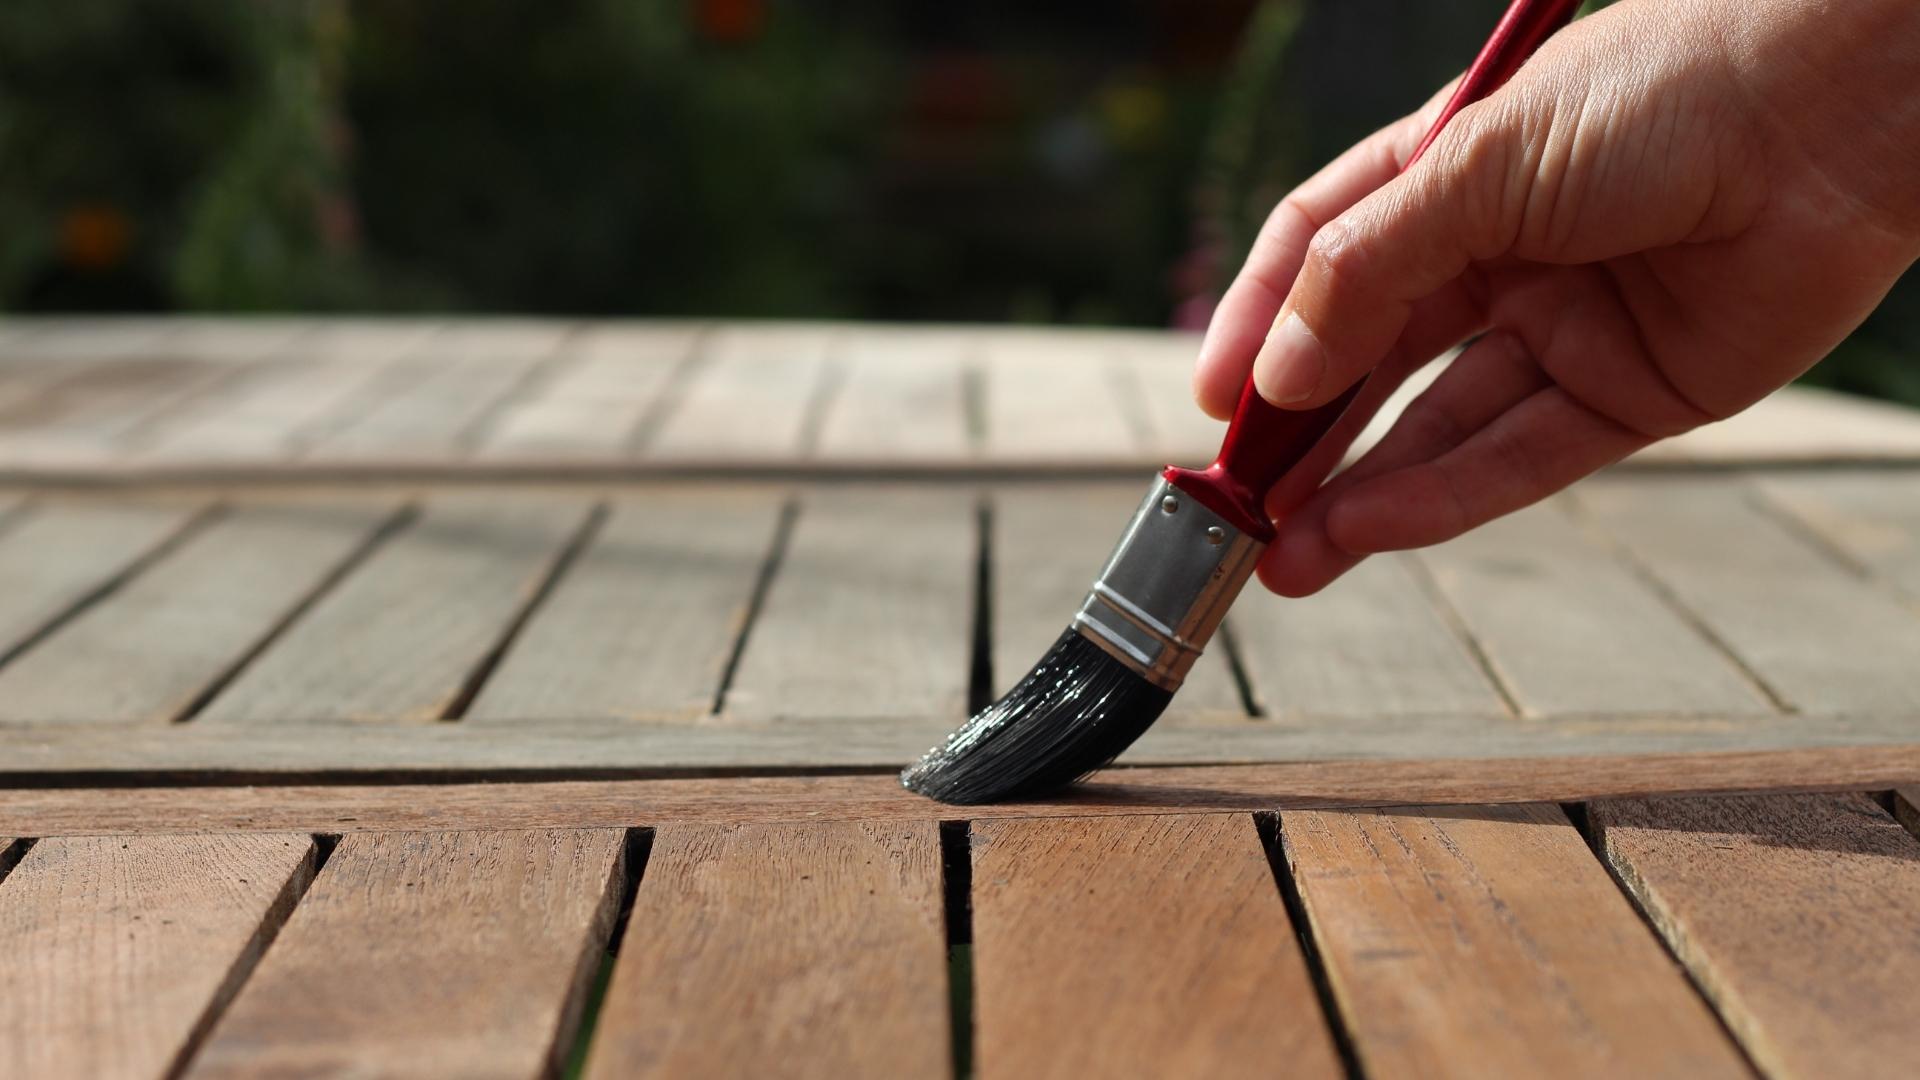
- Apply Protective Treatment: Consider applying a protective treatment to the new mesh, especially if it is UV-resistant fabric. This will help safeguard the material from the sun’s rays and other outdoor elements, extending its lifespan and preserving its appearance.
- Reassemble and Enjoy: If the furniture pieces were disassembled for the mesh replacement, reassemble them according to the manufacturer’s instructions. Once reassembled, place the revitalized outdoor furniture in its desired location and enjoy the comfort and beauty of your renewed seating.
By attending to these finishing touches, you’ll ensure that your outdoor furniture not only looks fantastic but is also well-protected and ready to withstand the rigors of outdoor use. With these final steps completed, you can take pride in the rejuvenation of your outdoor seating and look forward to many more seasons of relaxation and enjoyment.
Conclusion
Embarking on the journey of replacing the mesh on your outdoor furniture has not only rejuvenated the appearance and comfort of your seating but also empowered you with the satisfaction of a successful DIY project. By following the step-by-step guide provided in this article, you’ve taken a proactive approach to extending the lifespan of your outdoor furniture and enhancing your outdoor living space.
Throughout the process, you’ve demonstrated patience, attention to detail, and a willingness to restore rather than replace, all of which are commendable qualities in the realm of furniture care and maintenance. Whether it’s a set of chairs, a chaise lounge, or a loveseat, the skills and knowledge gained from this project can be applied to future furniture restoration endeavors, further enriching your DIY capabilities.
As you bask in the comfort and beauty of your revitalized outdoor furniture, take a moment to appreciate the transformation you’ve achieved. The meticulous removal of the old mesh, the careful preparation of the frame, the precise attachment of the new material, and the thoughtful finishing touches have culminated in a remarkable renewal of your outdoor seating.
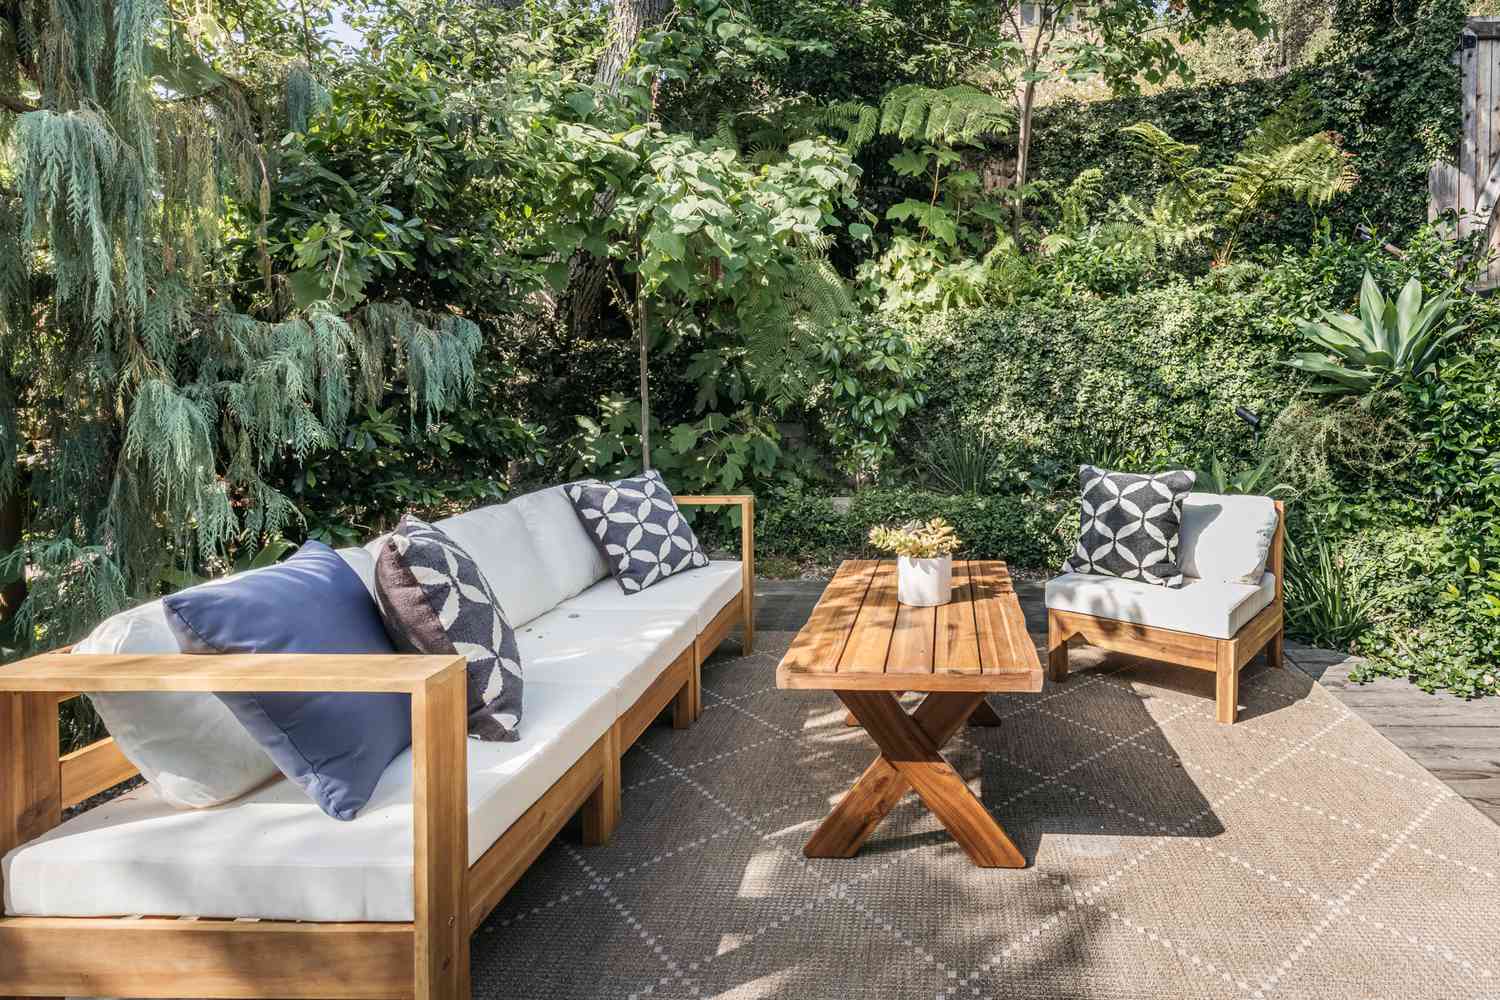
With the new mesh in place, your outdoor furniture is now poised to provide many more seasons of relaxation, gatherings, and cherished moments in the great outdoors. As you enjoy the fruits of your labor, take pride in the fact that you’ve not only revitalized your outdoor furniture but also cultivated a deeper connection with your outdoor living space through your dedicated efforts.
Congratulations on successfully replacing the mesh on your outdoor furniture. May your newly restored seating serve as a welcoming oasis for relaxation, conviviality, and the creation of lasting memories in the embrace of nature.
Frequently Asked Questions about How To Replace Mesh On Outdoor Furniture
Was this page helpful?
At Storables.com, we guarantee accurate and reliable information. Our content, validated by Expert Board Contributors, is crafted following stringent Editorial Policies. We're committed to providing you with well-researched, expert-backed insights for all your informational needs.
0 thoughts on “How To Replace Mesh On Outdoor Furniture”