Home>Furniture & Design>Outdoor Furniture>How To Connect Low Voltage Outdoor Lights
Outdoor Furniture
How To Connect Low Voltage Outdoor Lights
Published: January 22, 2024
Discover how to easily connect low voltage outdoor lights with our expert tips and advice. Upgrade your outdoor-furniture-furniture-and-design with stunning lighting solutions.
(Many of the links in this article redirect to a specific reviewed product. Your purchase of these products through affiliate links helps to generate commission for Storables.com, at no extra cost. Learn more)
Introduction
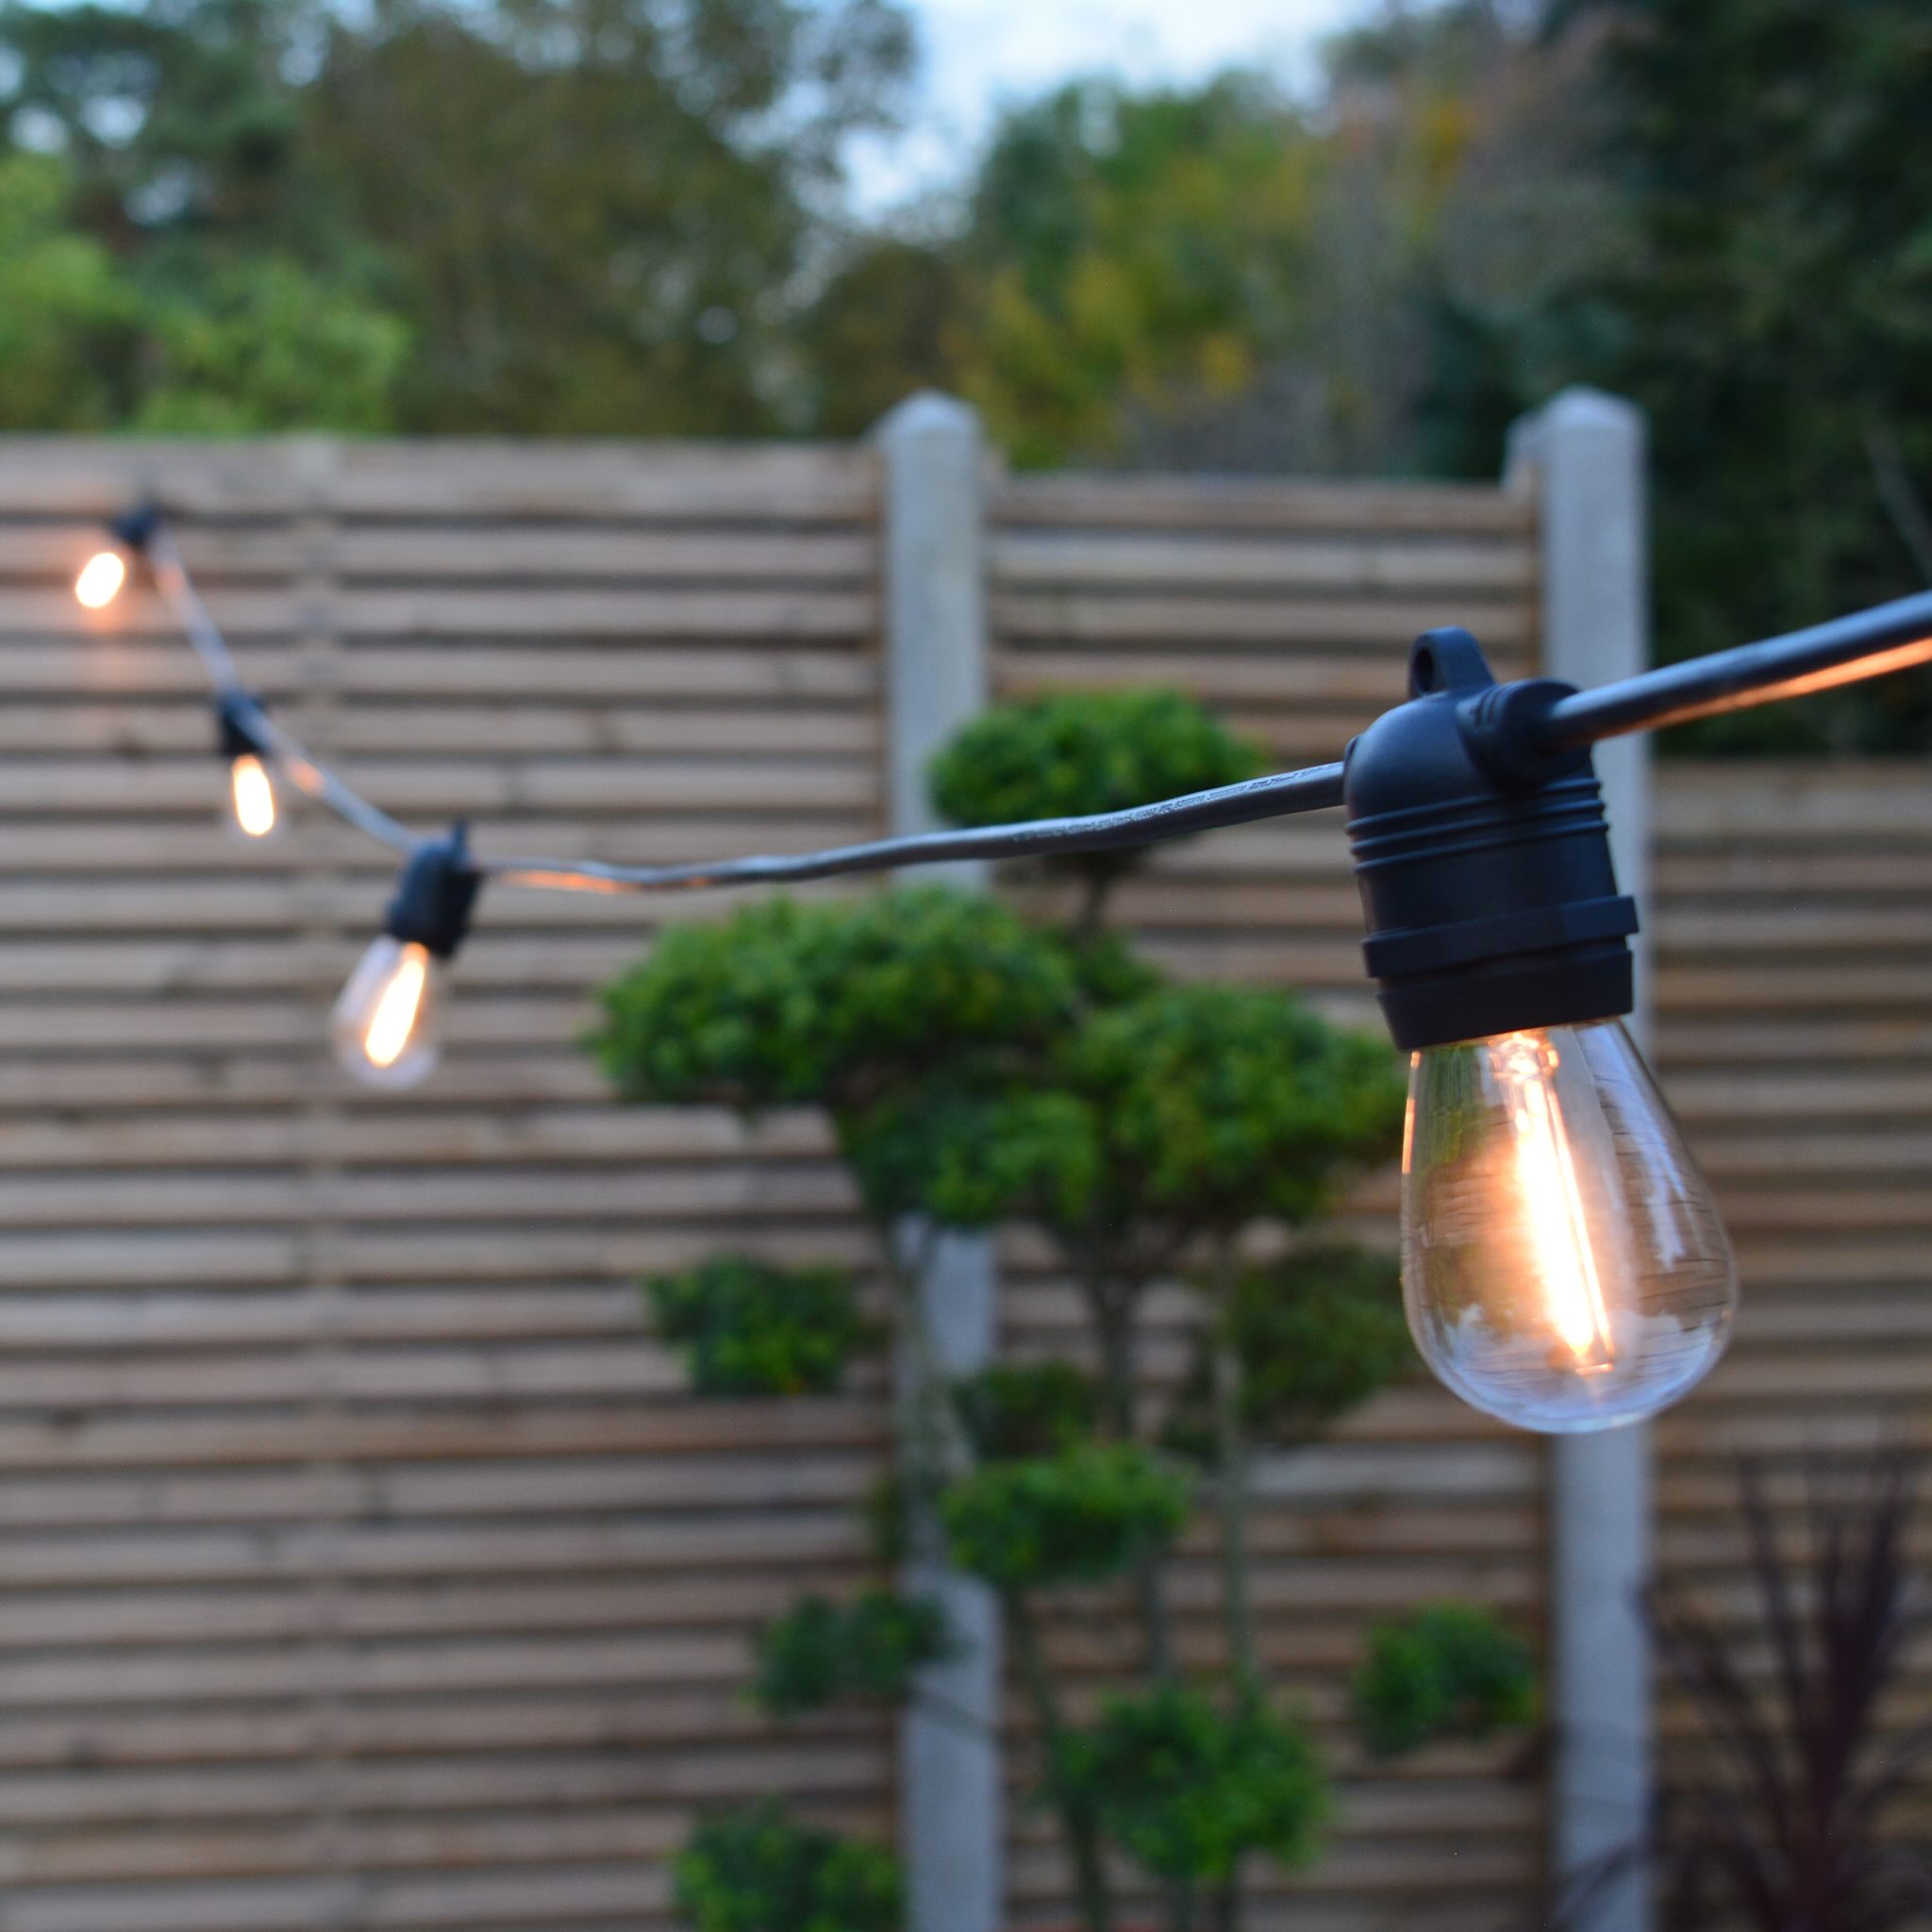
Welcome to the world of low voltage outdoor lighting! Whether you're looking to illuminate your garden, patio, or walkway, installing low voltage outdoor lights can enhance the beauty and functionality of your outdoor space. Not only do these lights add a warm and inviting ambiance to your home, but they also offer added security and safety during the darker hours.
In this guide, we will take you through the step-by-step process of connecting low voltage outdoor lights. By the end of this journey, you'll be equipped with the knowledge and confidence to transform your outdoor area into a captivating and well-lit haven.
So, grab your tools and let's dive into the world of low voltage outdoor lighting!
Key Takeaways:
- Illuminate your outdoor space with low voltage lights for enhanced beauty, security, and functionality. Follow step-by-step instructions to seamlessly connect and transform your outdoor area into a captivating haven.
- From planning the layout to testing the system, each step contributes to the seamless integration of low voltage outdoor lighting. Embrace the art of illumination for visually captivating and environmentally conscious outdoor oasis.
Read more: How To Install Outdoor Low Voltage Lighting
Step 1: Gather Necessary Materials
Before embarking on your low voltage outdoor lighting project, it’s essential to gather all the necessary materials and tools. Here’s a comprehensive list of what you’ll need:
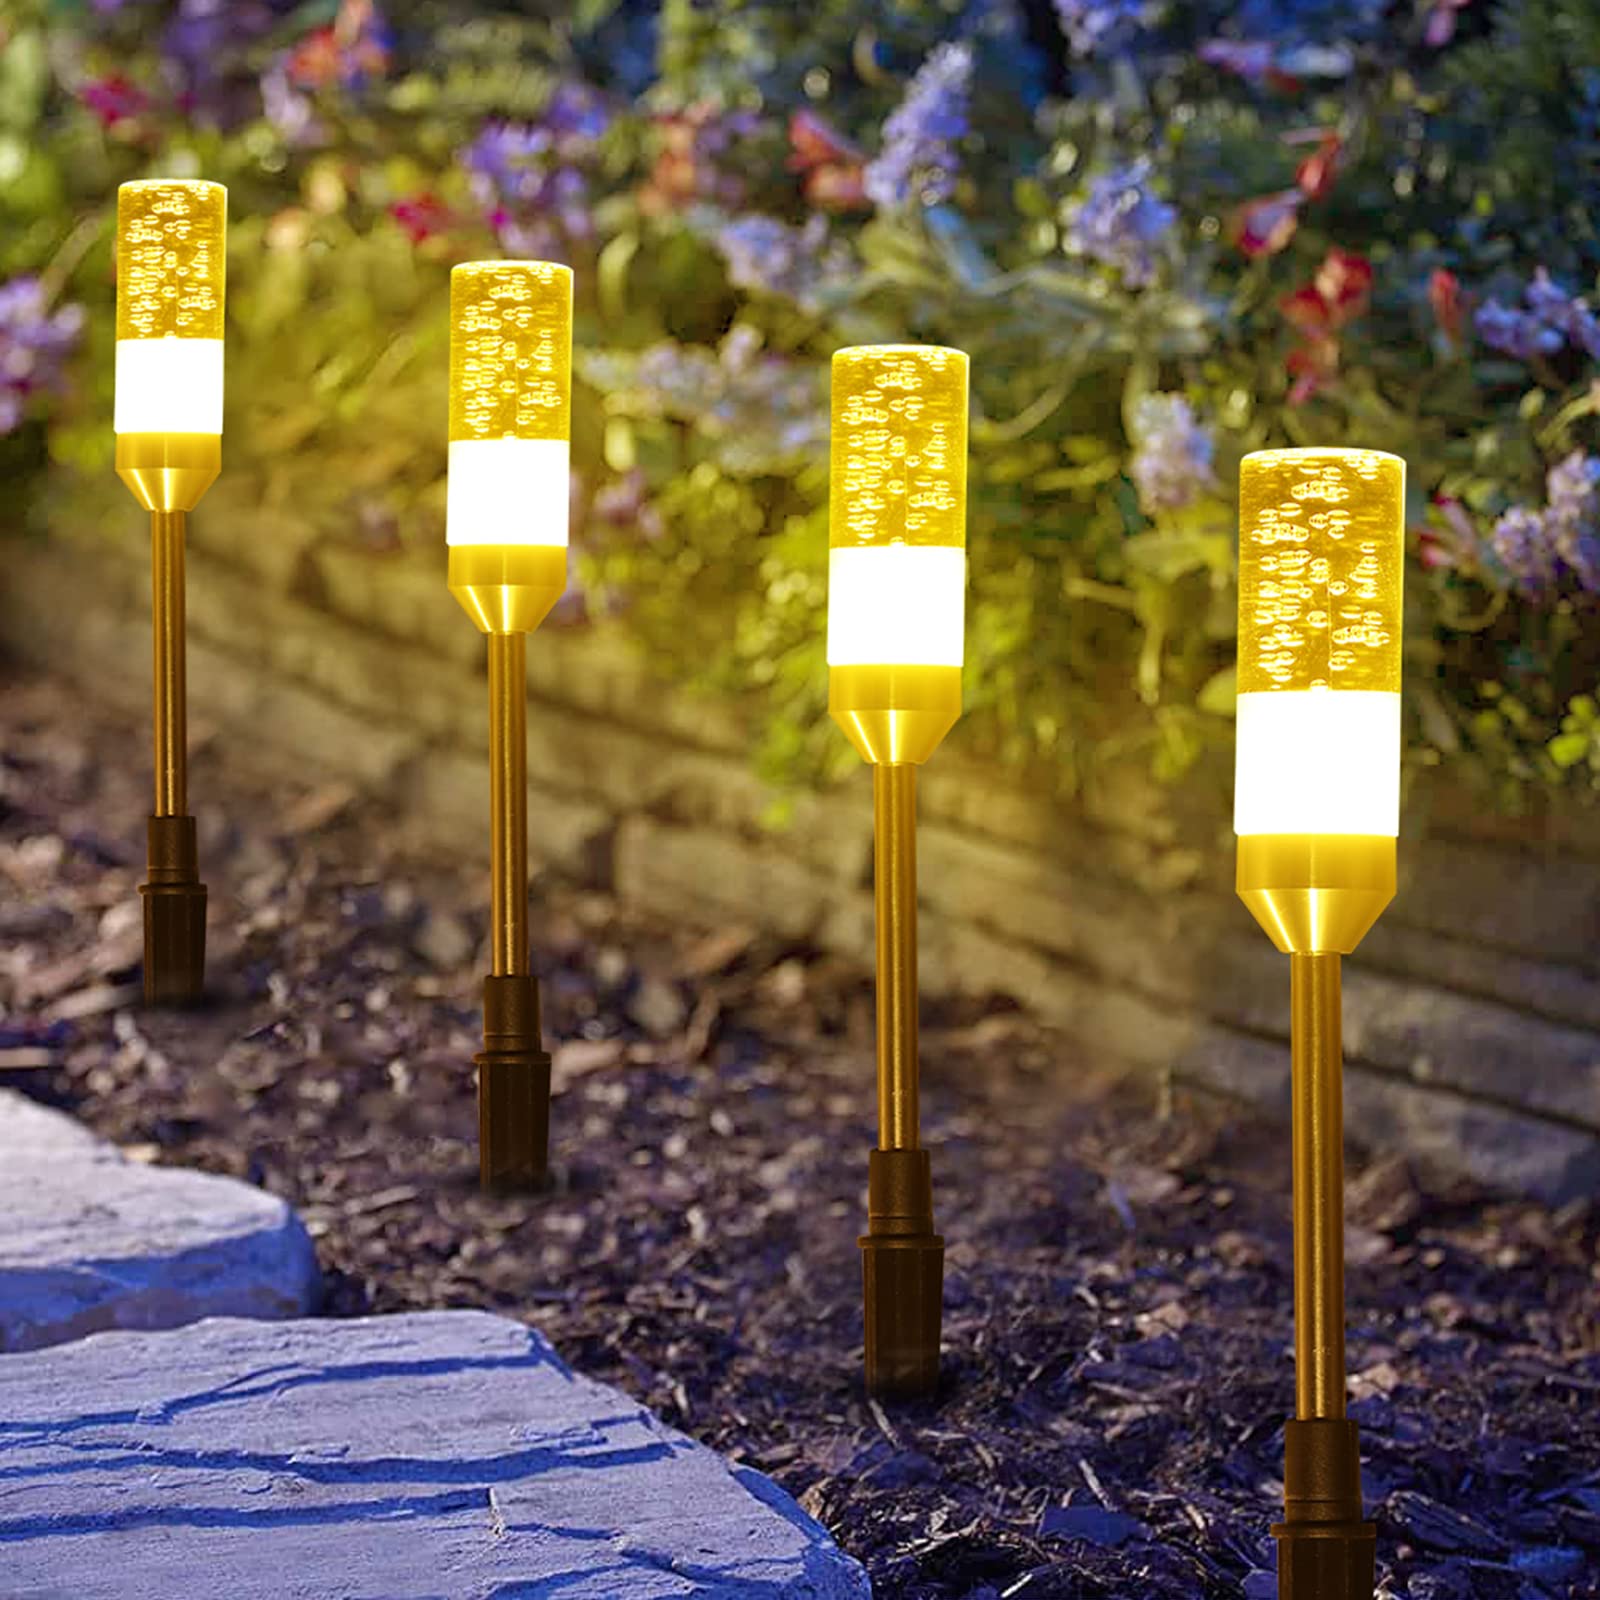
- Low voltage outdoor lights
- Transformer
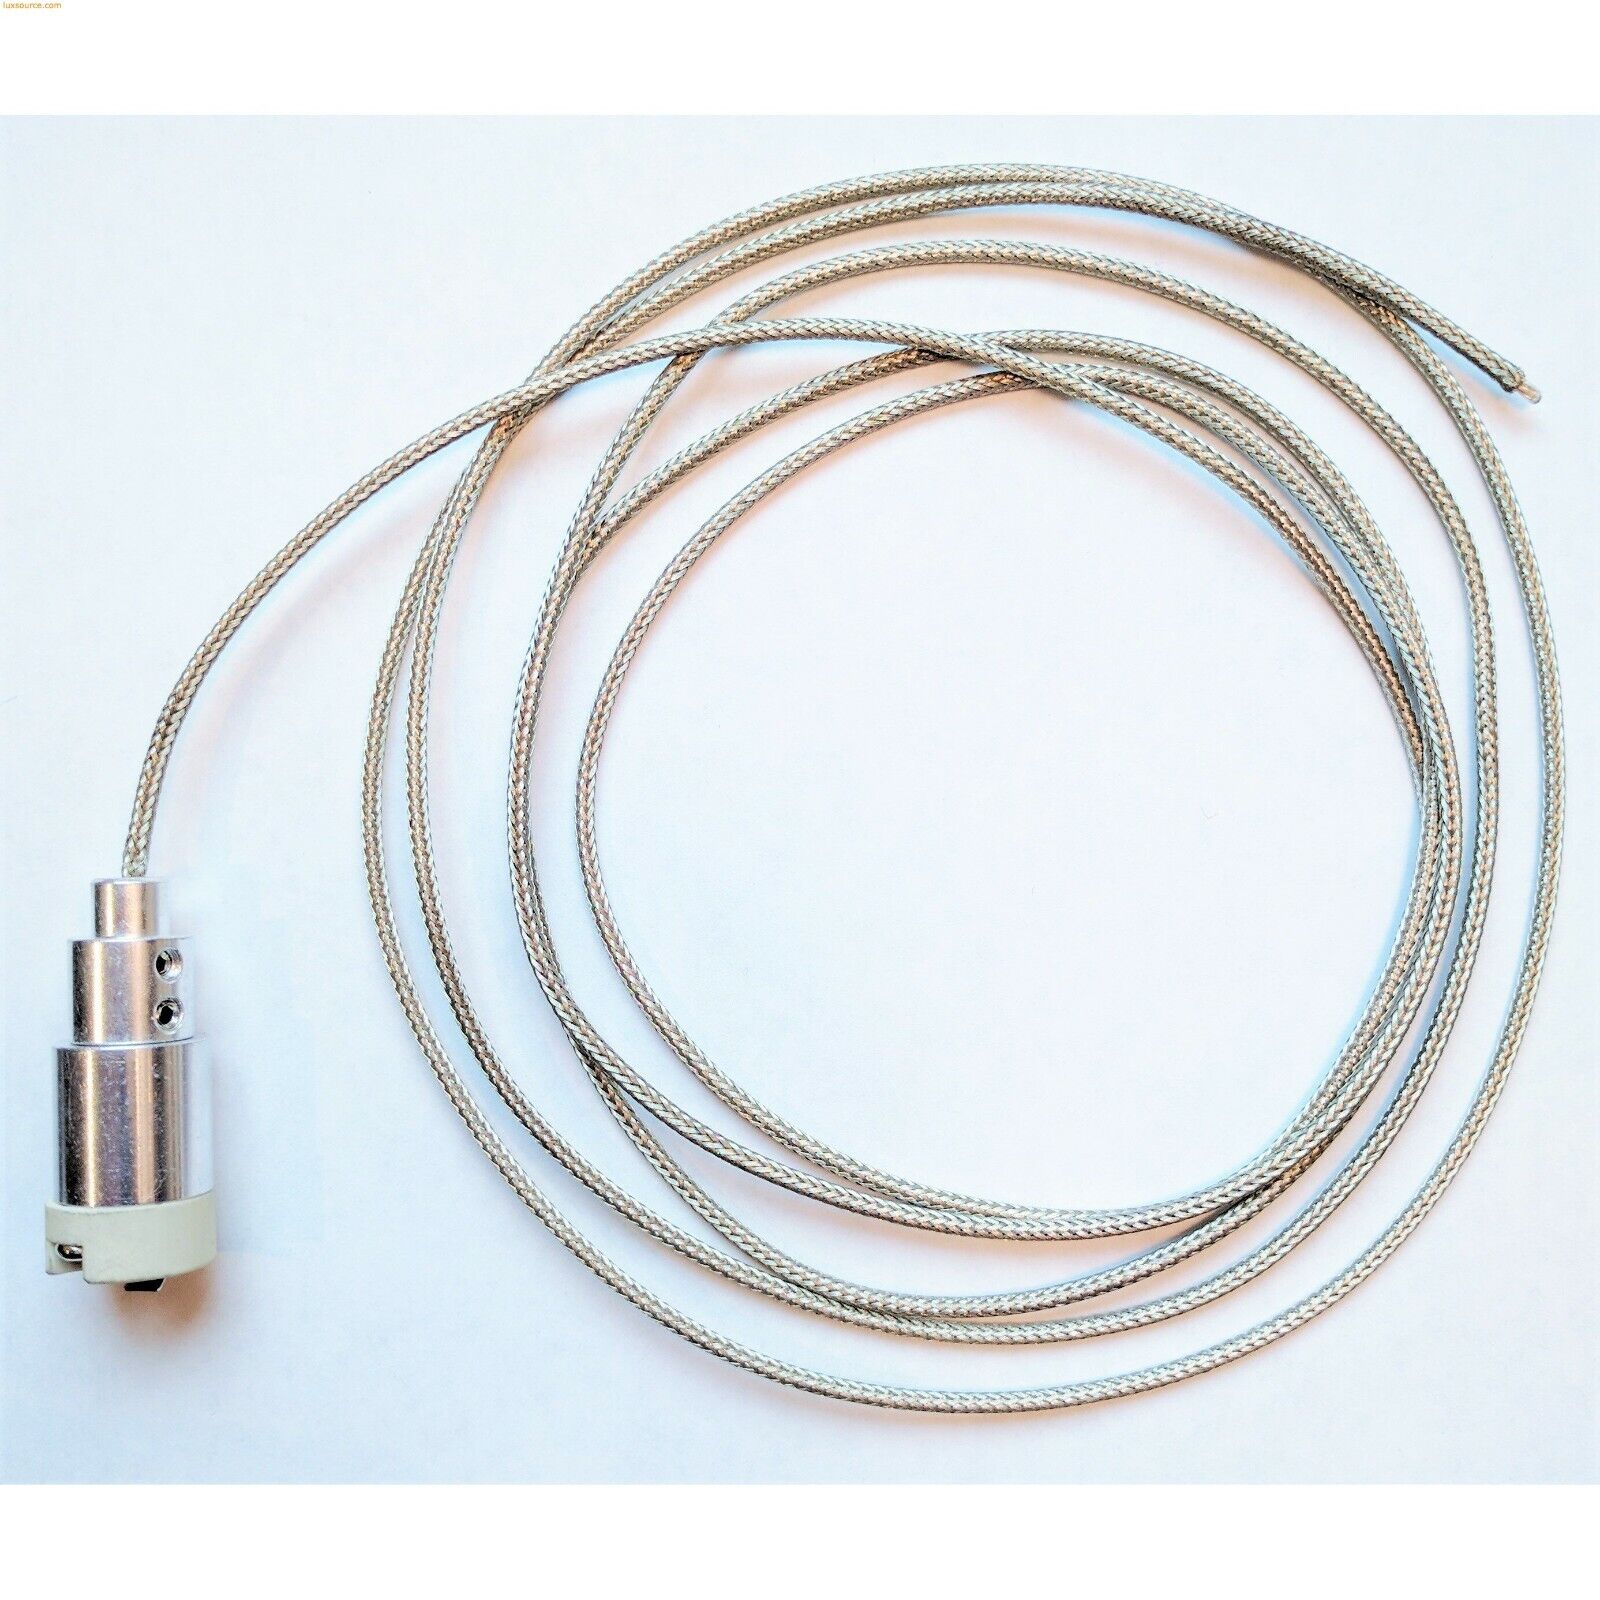
- Low voltage cable
- Wire connectors
- Shovel or trenching tool
- Electrical tape
- Wire cutter/stripper
- Voltage tester
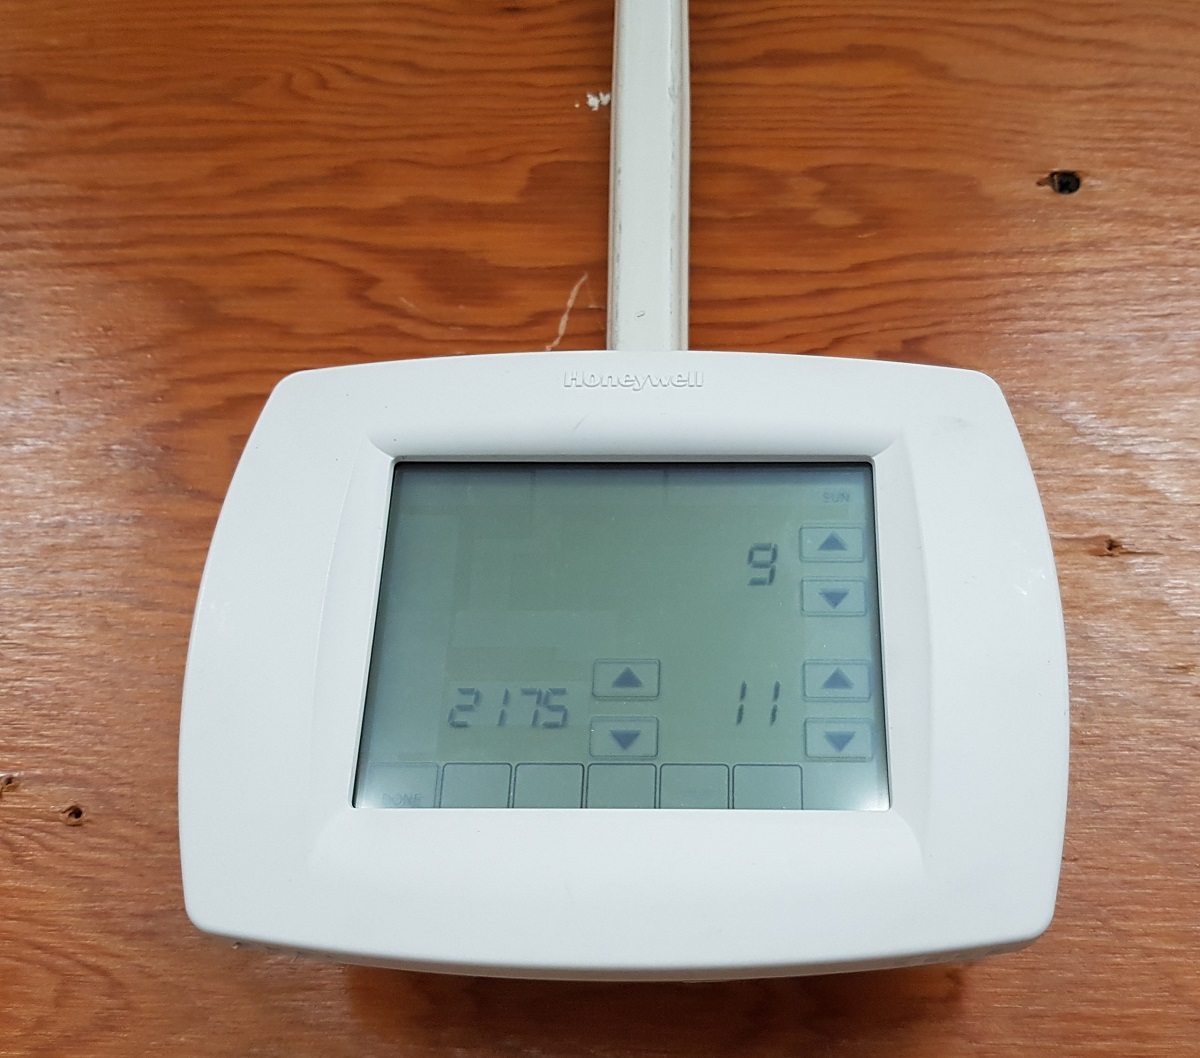
- Timer (optional)
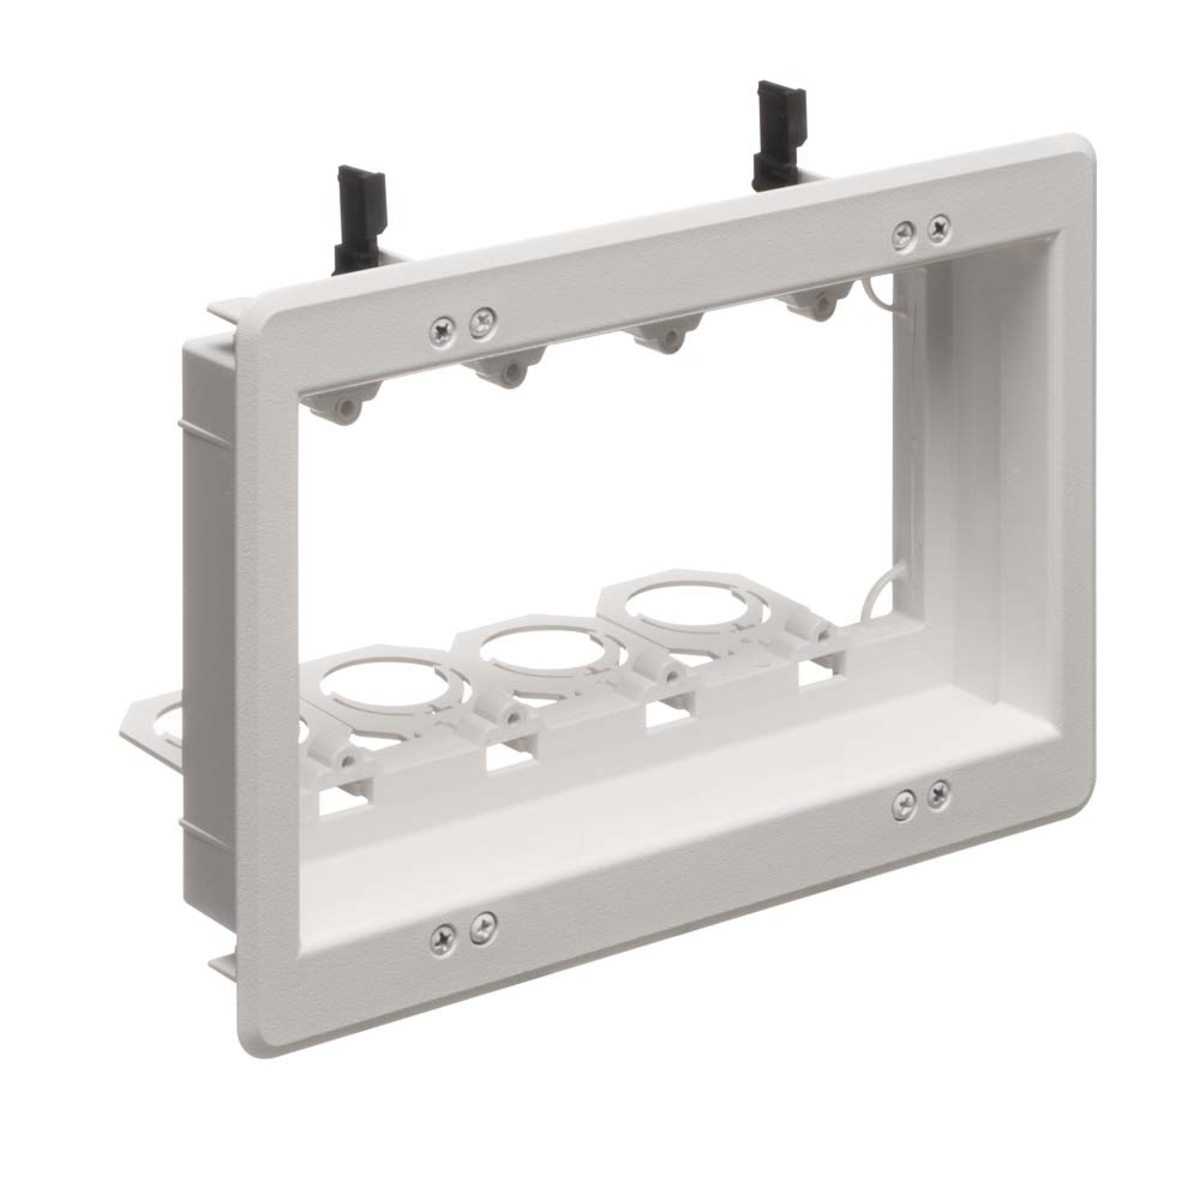
- Outdoor-rated junction box (if required)
- Gloves and safety goggles
It’s important to ensure that all the materials are suitable for outdoor use and are compatible with low voltage systems. Additionally, consider the design and layout of your outdoor space to determine the quantity and types of lights needed.
Once you have all the materials at hand, you’re ready to move on to the next step of planning the layout for your low voltage outdoor lights.
Step 2: Plan the Layout
Creating a well-thought-out plan for the layout of your low voltage outdoor lights is crucial for achieving the desired aesthetic and functionality. Here are some key considerations to keep in mind as you plan:
- Lighting Goals: Determine the specific areas you want to illuminate and the purpose of each lighting fixture. Whether it’s accentuating a focal point, providing pathway lighting, or enhancing security, understanding your lighting goals will guide the layout.
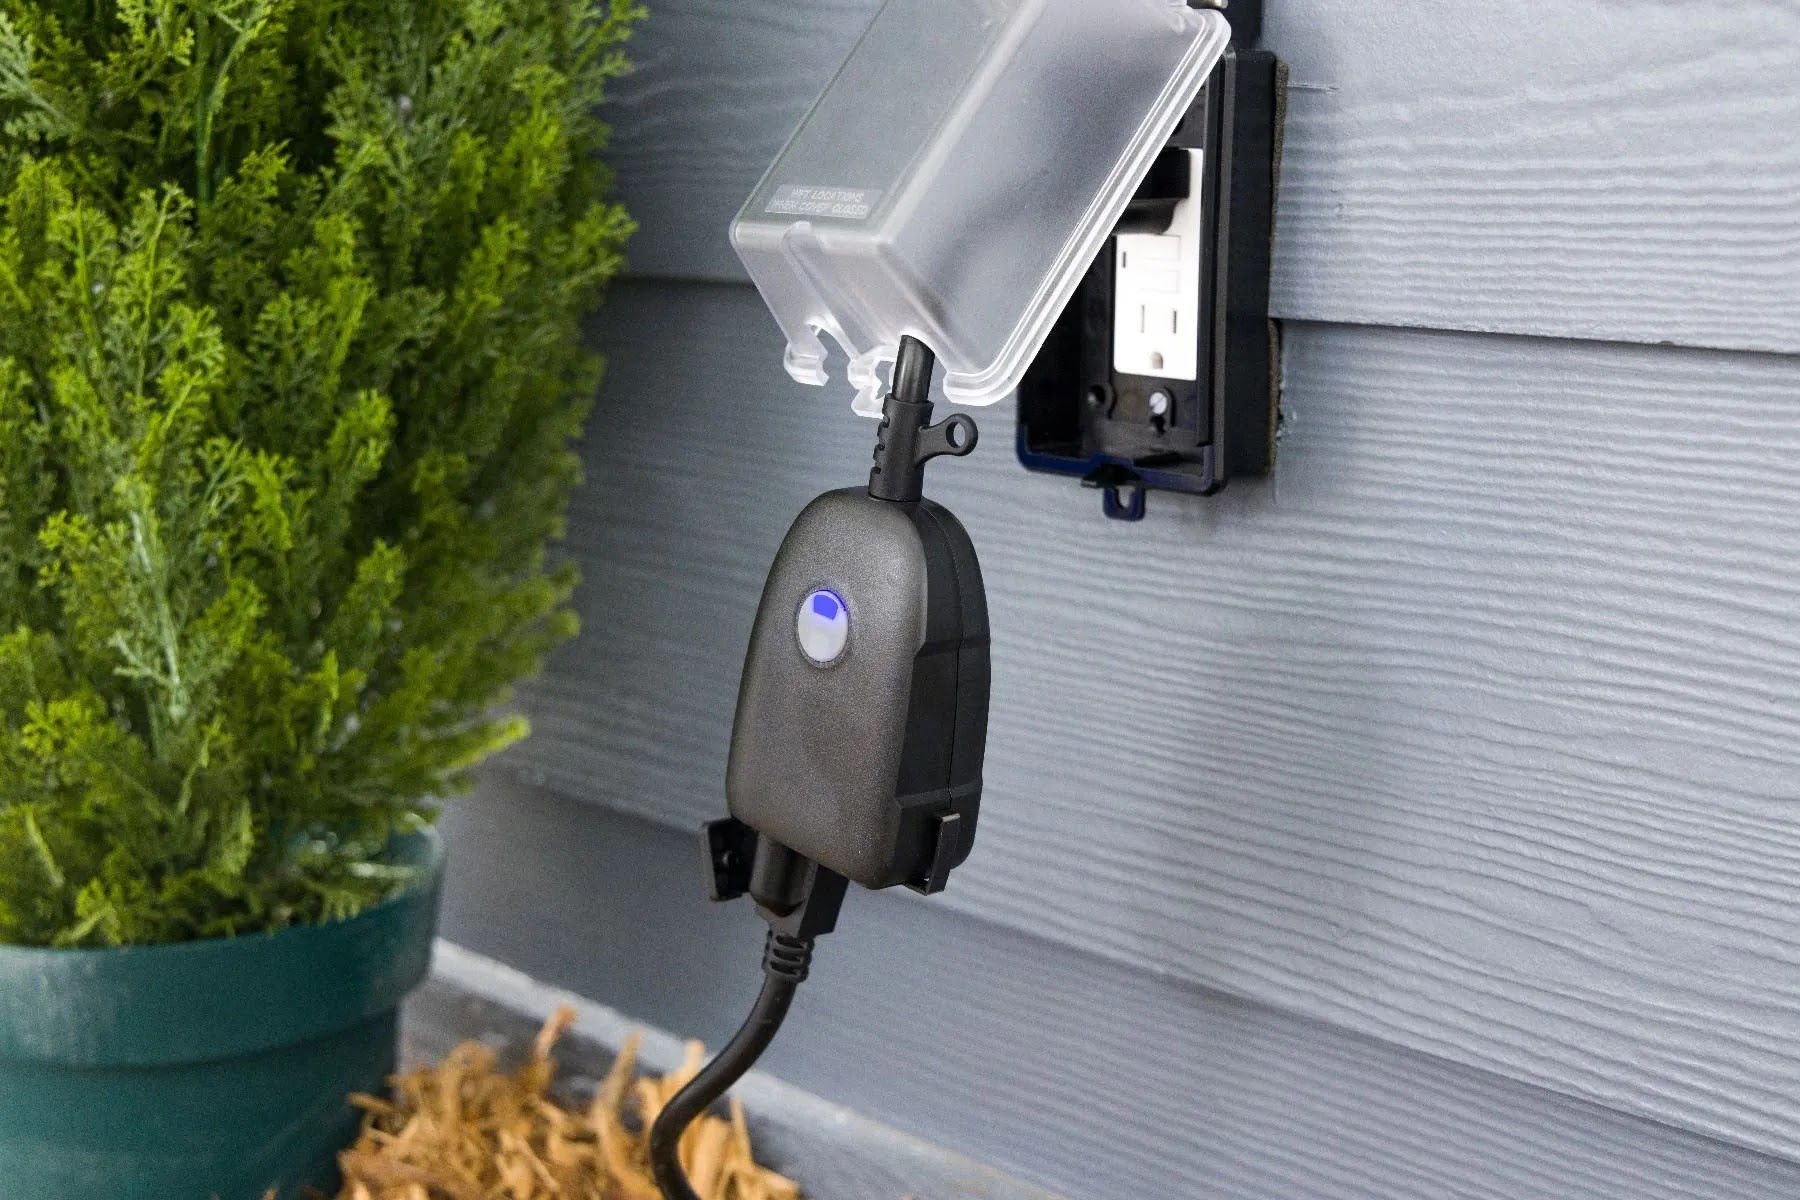
- Power Source: Identify the location of the power source and plan the placement of the transformer. The transformer should be positioned close to a power outlet and protected from direct exposure to the elements.
- Cable Routing: Plan the routing of the low voltage cable from the transformer to each lighting fixture. Consider concealing the cable along pathways, under foliage, or beneath hardscaping elements for a seamless and unobtrusive installation.
- Fixture Placement: Position the lighting fixtures in a way that maximizes their impact while ensuring adequate illumination. Take into account the beam spread and intensity of each light to achieve balanced and uniform lighting.
- Integration with Landscape: Integrate the lighting design with the existing landscape features, such as trees, shrubs, and architectural elements. This harmonious integration can create captivating visual effects and contribute to the overall ambiance of the outdoor space.
By carefully planning the layout, you can optimize the effectiveness and visual appeal of your low voltage outdoor lighting system. Once the layout is finalized, you can proceed to the next step of installing the transformer, bringing you one step closer to illuminating your outdoor oasis.
Step 3: Install the Transformer
The transformer serves as the heart of your low voltage outdoor lighting system, converting standard household voltage to the low voltage required for the lights. Proper installation of the transformer is essential for the safe and efficient operation of the entire lighting setup. Here’s a guide to installing the transformer:
- Choose the Mounting Location: Select a suitable location for the transformer, preferably near a power outlet and protected from direct exposure to the elements. Wall mounting or placing the transformer on a sturdy surface are common installation methods.
- Mounting the Transformer: If wall mounting, use appropriate hardware to securely affix the transformer to the chosen location. Ensure that the mounting is stable and level to prevent any movement or tilting.
- Connect the Power: Plug the transformer into the nearby power outlet. If the transformer is hardwired, follow the manufacturer’s instructions for safe and compliant electrical connections.
- Check Voltage Output: Use a voltage tester to verify that the transformer is supplying the correct low voltage output to the lighting system. This step is crucial for ensuring the safety and optimal performance of the lights.
- Weatherproofing: If the transformer is not already weatherproof, consider installing it within a weatherproof enclosure or using a transformer specifically designed for outdoor use. This protection is vital for safeguarding the transformer from moisture and other environmental factors.
Once the transformer is securely installed and operational, you’ve successfully laid the foundation for powering your low voltage outdoor lights. With the transformer in place, you can proceed to the next step of laying the cable, bringing you closer to the illuminating finale of your outdoor lighting project.
When connecting low voltage outdoor lights, make sure to use waterproof wire connectors to prevent corrosion and ensure a secure connection.
Step 4: Lay the Cable
Laying the low voltage cable is a pivotal step in the installation of your outdoor lighting system. The proper routing and securing of the cable not only ensure the efficient operation of the lights but also contribute to the overall aesthetics of your outdoor space. Here’s a detailed guide to laying the cable:
- Plan the Route: Map out the path for the low voltage cable, considering the locations of the lighting fixtures and the transformer. Opt for routes that minimize cable exposure and blend seamlessly with the landscape.
- Prepare the Trench: Using a shovel or trenching tool, create a shallow trench along the planned route for the cable. The trench should be deep enough to accommodate the cable and protect it from accidental damage.
- Lay the Cable: Carefully place the low voltage cable in the trench, ensuring that it runs from the transformer to each lighting fixture. Avoid any sharp bends or kinks in the cable that could impede the flow of electricity.
- Secure the Cable: Use cable clips or stakes to secure the cable along the trench and prevent it from shifting or being exposed. Additionally, consider concealing the cable under mulch, gravel, or within landscaping features for a polished look.
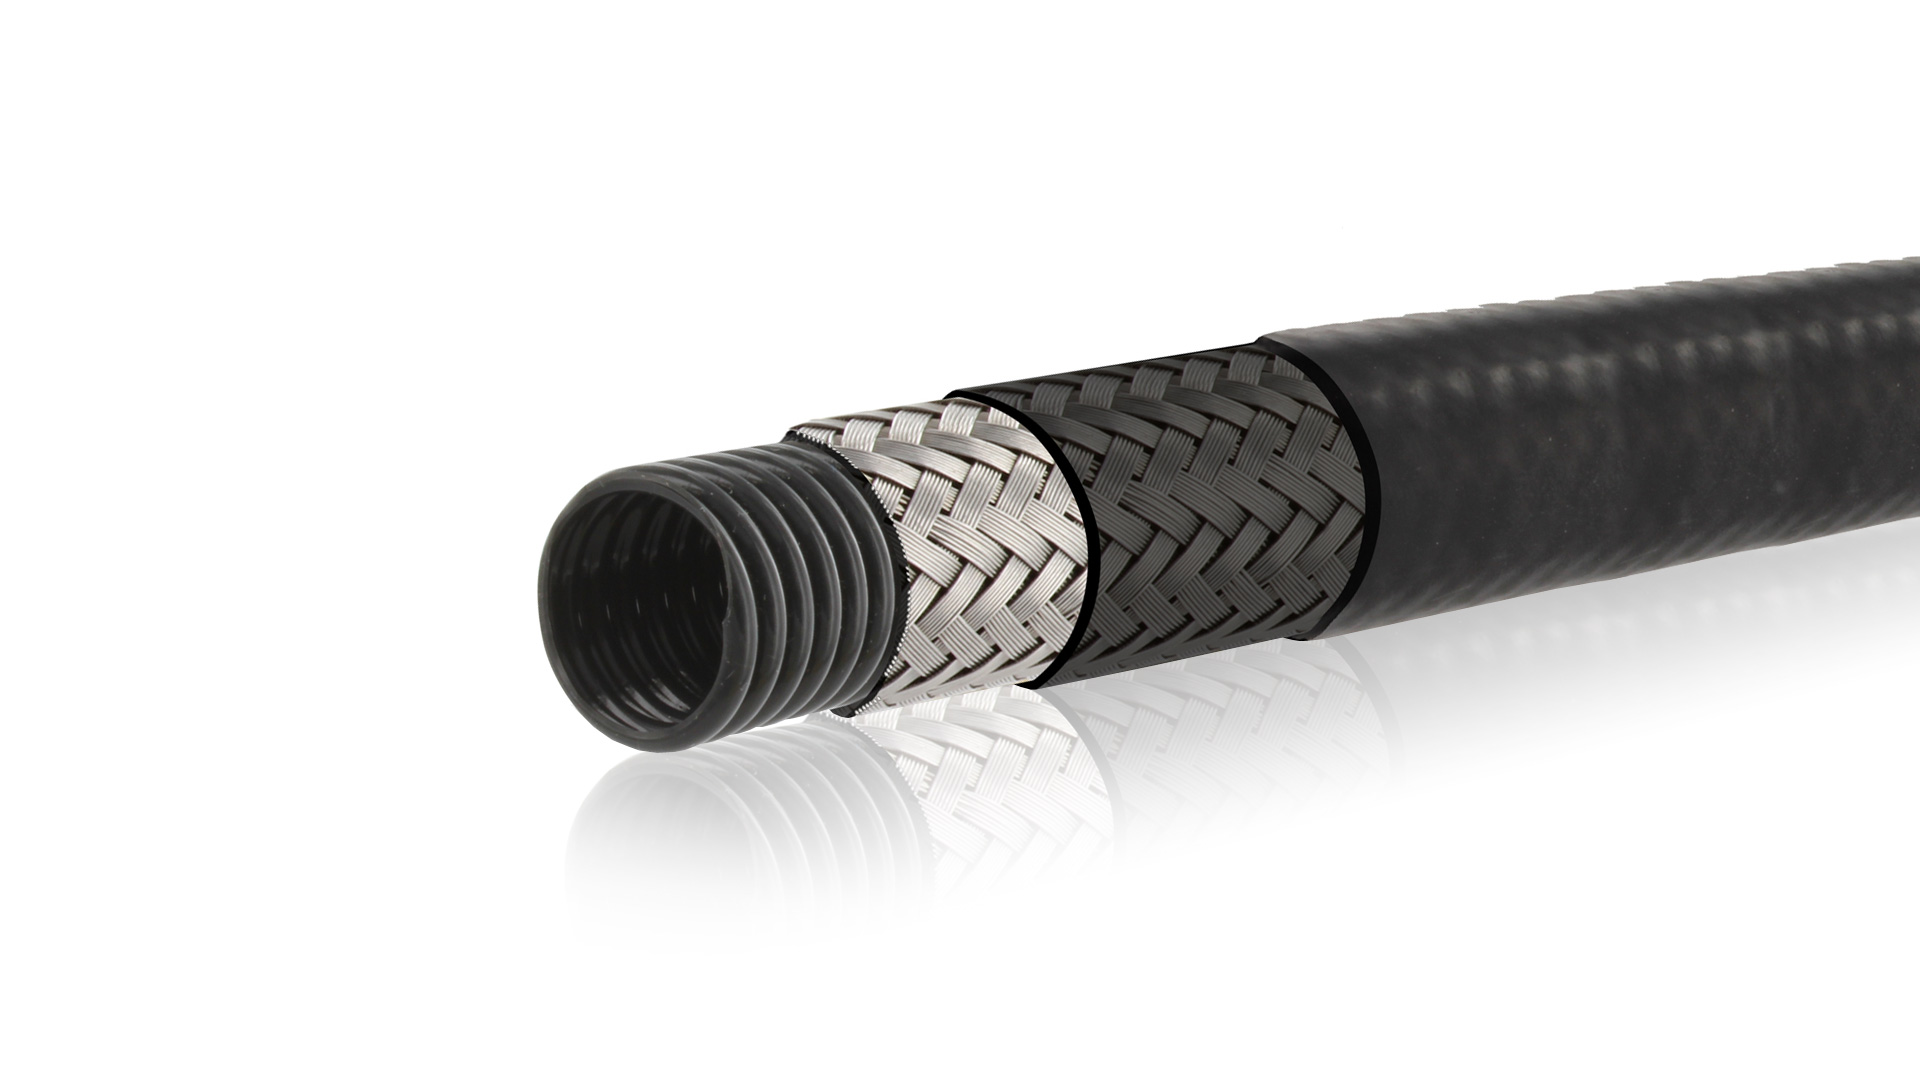
- Protective Measures: If the cable passes through areas with foot traffic or landscaping equipment, consider installing protective conduits or burying the cable deeper to prevent accidental damage.
- Connect to Fixtures: As you approach each lighting fixture, leave a sufficient length of cable to allow for easy connection. Ensure that the cable is positioned to reach the intended mounting location of each fixture.
By meticulously laying the low voltage cable, you’re setting the stage for a seamlessly integrated and visually appealing outdoor lighting system. With the cable in place, you’re ready to move on to the next step of connecting the lights, bringing your outdoor oasis one step closer to being illuminated in all its splendor.
Read more: How To Set Up Low Voltage Outdoor Lighting
Step 5: Connect the Lights
As you venture into the final phases of your low voltage outdoor lighting installation, the process of connecting the lights brings the transformative power of illumination one step closer. Here’s a comprehensive guide to seamlessly connecting the lights to your outdoor lighting system:
- Prepare the Fixtures: Unpack the low voltage outdoor lights and familiarize yourself with their components. Ensure that each fixture is equipped with the necessary mounting hardware and any included accessories.
- Strip the Cable: Using a wire cutter/stripper, carefully strip the insulation from the ends of the low voltage cable to expose the conductors. Exercise caution to avoid damaging the conductors during this process.
- Connect the Fixtures: For each lighting fixture, match the positive (+) and negative (-) conductors of the cable to the corresponding terminals on the fixture. Securely fasten the connections using wire connectors, following the manufacturer’s instructions for the specific type of connectors used.
- Weatherproofing: Apply electrical tape or waterproof wire connectors to the connections to protect them from moisture and environmental elements. This step is crucial for ensuring the longevity and reliability of the connections.
- Mount the Fixtures: Position the lighting fixtures in their designated locations, ensuring that they are securely mounted and aligned according to your planned layout. Make any necessary adjustments to achieve the desired lighting effect.
- Test the System: With the connections secured and the fixtures in place, conduct a preliminary test of the lighting system. Ensure that all fixtures illuminate as expected and that the overall lighting effect aligns with your initial vision.
By skillfully connecting the lights, you’re infusing life and radiance into your outdoor space, elevating its allure and functionality. With the lights seamlessly integrated into the system, you’re now poised to embark on the final step of testing the system, bringing your outdoor oasis to its full luminous potential.
Step 6: Test the System
As you near the culmination of your low voltage outdoor lighting installation, the pivotal step of testing the system ensures that all components harmoniously converge to illuminate your outdoor haven. Here’s a comprehensive guide to testing the system and fine-tuning the lighting effects:
- Power Up the System: Activate the low voltage outdoor lighting system by turning on the transformer. Verify that power is flowing to the lighting fixtures and that the system is operational.
- Assess Illumination: Take a stroll through your outdoor space and evaluate the illumination provided by each fixture. Ensure that the lighting effect aligns with your initial vision and that key areas are adequately illuminated.
- Adjustment and Alignment: Make any necessary adjustments to the positioning and alignment of the lighting fixtures to optimize their impact. Fine-tune the direction and spread of the light to achieve a balanced and captivating illumination of your outdoor environment.
- Timer Configuration (Optional): If your low voltage outdoor lighting system includes a timer, configure the timing settings according to your preferences. This feature allows you to automate the operation of the lights, enhancing convenience and energy efficiency.
- Inspect Cable and Connections: Conduct a thorough inspection of the low voltage cable and the connections at each lighting fixture. Ensure that the cable is securely fastened and concealed, and that the connections are weatherproof and free from any signs of damage or degradation.
- Final Walkthrough: Take a final walkthrough of your outdoor space during the evening hours to experience the full impact of the lighting system. Confirm that the lighting design accentuates the desired features, provides adequate visibility, and contributes to the ambiance of the space.
By meticulously testing the system, you’re refining the culmination of your outdoor lighting masterpiece, ensuring that it seamlessly integrates with your outdoor environment. With the system tested and optimized, you can revel in the captivating allure and practical benefits of your newly illuminated outdoor oasis.
Conclusion
Congratulations on successfully navigating the intricacies of connecting low voltage outdoor lights! By embarking on this illuminating journey, you’ve not only enhanced the visual appeal of your outdoor space but also elevated its functionality and ambiance. As you bask in the radiance of your newly installed lighting system, it’s essential to reflect on the transformative process and the captivating results.
From gathering the necessary materials to meticulously testing the system, each step has contributed to the seamless integration of low voltage outdoor lighting into your outdoor environment. The careful planning of the layout, precise installation of the transformer, and strategic placement of the lighting fixtures have collectively shaped an outdoor oasis that beckons with warmth and allure.
As the gentle glow of the lights accentuates architectural features, guides pathways, and creates enchanting focal points, you’ve not only illuminated your outdoor space but also woven a tapestry of ambiance and security. The harmonious interplay of light and shadow now invites you and your guests to immerse yourselves in the captivating allure of your outdoor sanctuary.
Furthermore, the energy-efficient nature of low voltage lighting ensures that your outdoor oasis is not only visually captivating but also environmentally conscious. By embracing the art of low voltage outdoor lighting, you’ve seamlessly merged aesthetics with sustainability, creating an outdoor haven that resonates with both beauty and responsibility.
As day transitions to night, your outdoor space now undergoes a metamorphosis, emerging as a captivating realm of illumination and tranquility. Whether you’re hosting gatherings, savoring quiet moments, or simply admiring the nocturnal beauty from indoors, your low voltage outdoor lighting system stands as a testament to the transformative power of light.
So, as you revel in the enchanting radiance of your outdoor oasis, remember that the art of connecting low voltage outdoor lights not only illuminates your surroundings but also illuminates the path to creating unforgettable moments and cherished memories in the embrace of your beautifully lit outdoor haven.
Frequently Asked Questions about How To Connect Low Voltage Outdoor Lights
Was this page helpful?
At Storables.com, we guarantee accurate and reliable information. Our content, validated by Expert Board Contributors, is crafted following stringent Editorial Policies. We're committed to providing you with well-researched, expert-backed insights for all your informational needs.

0 thoughts on “How To Connect Low Voltage Outdoor Lights”