Home>Home Security and Surveillance>How To Connect A Ring Outdoor Camera
Home Security and Surveillance
How To Connect A Ring Outdoor Camera
Modified: October 27, 2024
Learn how to connect a Ring outdoor camera to your home security and surveillance system for enhanced protection and peace of mind.
(Many of the links in this article redirect to a specific reviewed product. Your purchase of these products through affiliate links helps to generate commission for Storables.com, at no extra cost. Learn more)
Introduction
Welcome to the world of home security and surveillance! With advancements in technology, protecting your home and loved ones has become easier and more convenient than ever before. One such innovation is the Ring outdoor camera, a powerful tool that can provide you with peace of mind and help you keep an eye on your property at all times.
In this article, we will guide you through the process of connecting your Ring outdoor camera to ensure it is properly set up and ready to go. Whether you’re a tech-savvy individual or a beginner, our step-by-step instructions will help you get started in no time.
Before we dive into the installation process, it’s important to note that the Ring outdoor camera requires a few key components to function properly. You will need a smartphone or tablet, a stable Wi-Fi connection, and access to an electrical outlet near the desired installation location. It’s also a good idea to have a ladder or step stool available for mounting the camera.
Once you’ve checked off these requirements, it’s time to move on to the installation process. Don’t worry, we’ll walk you through each step, ensuring that you have a clear understanding of what needs to be done.
So, without further ado, let’s get started and connect your Ring outdoor camera! Follow our instructions, and soon you’ll be able to enjoy the added security and peace of mind that comes with having a surveillance system at your fingertips.
Key Takeaways:
- Setting up a Ring outdoor camera is easy! Just follow the step-by-step guide to connect, install, and test the camera for added home security and peace of mind.
- With the Ring app, you can control your camera remotely, view live feeds, and receive motion notifications, all from your smartphone. Enjoy enhanced home surveillance!
Read more: How To Mount A Ring Outdoor Camera
Step 1: Check the Requirements
Before diving into the installation process, the first step is to ensure that you have all the necessary requirements for setting up your Ring outdoor camera. Here’s what you need to check:
- Smartphone or Tablet: Ensure that you have a smartphone or tablet that is compatible with the Ring app. The Ring app is available for both iOS and Android devices, so make sure your device meets the necessary specifications.
- Stable Wi-Fi Connection: The Ring outdoor camera requires a stable Wi-Fi connection to function properly. Make sure that your home’s Wi-Fi network is working and that you have the necessary login credentials to connect your camera.
- Electrical Outlet: Locate an electrical outlet near the desired installation location of your Ring outdoor camera. This will ensure that you can easily power the camera without the need for additional electrical wiring.
- Mounting Location: Decide on the ideal location for mounting your camera. Consider factors such as the coverage area, visibility, and accessibility. Ensure that the mounting location provides a clear view of the surrounding area and any potential entry points.
- Ladder or Step Stool: To install the camera at the desired height, you may need a ladder or step stool. This will make it easier for you to mount the camera securely and adjust its position if needed.
By ensuring that you have these requirements in place, you’ll be well-prepared to proceed with the installation process of your Ring outdoor camera. It’s always better to double-check and have everything ready to avoid any unnecessary delays or complications.
Once you’ve confirmed that you have all the necessary requirements, you’re ready to move on to the next step: installing the Ring app on your smartphone or tablet.
Step 2: Install the Ring App
Now that you have confirmed the requirements, it’s time to install the Ring app on your smartphone or tablet. The Ring app is your gateway to accessing and controlling your Ring outdoor camera. Follow these steps to get the app up and running:
- Search and Download: Open the app store on your smartphone or tablet and search for the “Ring” app. Once you find it, download and install the app on your device. The app is available for both iOS and Android platforms.
- Launch the App: After the installation is complete, locate the Ring app on your device and tap on it to launch it. You will be greeted with a welcome screen.
- Create an Account: To use the Ring app and connect your camera, you will need to create a Ring account. Tap on the “Create Account” option and follow the on-screen instructions to set up your account.
- Log In: Once your account is created, you can log in using your credentials. This will give you access to all the features and functionalities of the Ring app.
Installing the Ring app is a crucial step as it allows you to control and monitor your Ring outdoor camera from anywhere at any time. The app acts as a hub, giving you the ability to receive real-time notifications, view recorded footage, and adjust camera settings.
Ensure that you have a stable internet connection during the installation process to ensure a smooth experience. Once the app is successfully installed and you have created an account, you’re ready to move on to the next step: setting up your Ring account.
Step 3: Create a Ring Account
Creating a Ring account is an essential step in setting up your Ring outdoor camera. Your Ring account provides you with access to all the features and functionalities of the Ring app, allowing you to fully utilize your camera and enhance your home security. Follow these steps to create your Ring account:
- Launch the Ring App: Open the Ring app on your smartphone or tablet. If you haven’t already done so, download the app from the app store and install it on your device.
- Tap on “Create Account”: On the welcome screen of the Ring app, tap on the “Create Account” option. This will take you to the account creation page.
- Enter Your Email: Provide a valid email address that you have access to. This will be used for account verification and communication purposes.
- Create a Password: Choose a strong, unique password for your Ring account. Make sure it is a combination of letters, numbers, and special characters for enhanced security.
- Agree to Terms and Conditions: Read and accept the terms and conditions of the Ring service. Make sure you understand the privacy policies and any other legal agreements associated with using the Ring app and camera.
- Verify Your Email: After providing your email address, you will receive a verification email from Ring. Open the email and follow the instructions to verify your account. This step is crucial for account activation.
- Set Up Two-Factor Authentication (Optional): For added security, consider setting up two-factor authentication for your Ring account. This will require an additional verification code when logging in to your account.
- Complete Account Setup: Once you’ve verified your email and optionally set up two-factor authentication, your Ring account setup is complete. You can now log in to your account using your email address and password.
Creating a Ring account is quick and easy. It provides you with personalized access to your Ring outdoor camera and enables added features such as cloud storage, camera settings, and notifications. Once your account is set up, you’re ready to move on to the next step: connecting your camera to power.
Step 4: Connect the Camera to Power
Now that you have your Ring account set up, it’s time to connect your Ring outdoor camera to power. This step is essential to ensure that your camera has a stable power source and can function properly. Follow these steps to connect your camera to power:
- Locate an Electrical Outlet: Identify an electrical outlet near the installation location of your camera. Ensure that the outlet is easily accessible and can provide power to the camera without the need for additional wiring or extensions.
- Plug in the Camera: Take the power adapter that came with your Ring outdoor camera and plug it into the electrical outlet. Then, connect the other end of the power adapter into the power port on the camera. Ensure that the connection is secure.
- Power On the Camera: Once the camera is connected to power, it should automatically power on. Look for any LED indicators on the camera that indicate power status. This may vary depending on the specific model of your Ring outdoor camera.
- Confirm Power Status: Open the Ring app on your smartphone or tablet and navigate to the camera settings. Check the power status of the camera to confirm that it is properly connected and receiving power. This will ensure that the camera is ready for the next steps.
Ensuring that your Ring outdoor camera is connected to a stable power source is crucial for its continuous operation. By connecting the camera to power, you eliminate the need for frequent battery replacements and ensure that the camera is always ready to capture any activity within its range.
Once your camera is successfully connected to power, you’re ready to move on to the next step: connecting the camera to your Wi-Fi network. This will enable you to access and control the camera remotely through the Ring app. Stay tuned for the next step in the installation process!
When connecting a Ring outdoor camera, make sure to have a strong Wi-Fi signal near the installation location to ensure a reliable connection. Position the camera within the recommended distance from your Wi-Fi router for the best performance.
Read more: How To Install A Ring Camera Outdoor
Step 5: Connect the Camera to Wi-Fi
Now that your Ring outdoor camera is properly connected to power, the next step is to connect it to your Wi-Fi network. This will allow you to access and control your camera remotely through the Ring app. Follow these steps to connect your camera to Wi-Fi:
- Open the Ring App: Launch the Ring app on your smartphone or tablet. Ensure that you are logged in to your Ring account.
- Select Your Camera: From the app’s main dashboard, navigate to the Camera Settings section. Find your camera in the list of connected devices and select it.
- Enter Wi-Fi Network Details: In the camera settings, you will find an option to connect to your Wi-Fi network. Tap on this option and enter the SSID (network name) and password of your Wi-Fi network. Double-check the details to ensure they are accurate.
- Begin the Connection Process: Once you have entered the Wi-Fi network details, the camera will initiate the connection process. It may take a few moments for the camera to establish a connection with your Wi-Fi network.
- Confirm Successful Connection: After the camera connects to your Wi-Fi network, you will receive a notification or see an indicator in the app confirming the successful connection. Ensure that the camera is connected to your desired network for seamless operation.
Connecting your Ring outdoor camera to your Wi-Fi network is crucial for enabling remote access and control. It allows you to view the camera’s live feed, receive motion alerts, and customize various settings through the Ring app.
Once your camera is successfully connected to your Wi-Fi network, you are now ready to move on to the next step: pairing the camera with the Ring app. This step will ensure that the camera is fully integrated with the app and ready for use. Continue reading for the next step in the installation process!
Step 6: Pair the Camera with the Ring App
Now that your Ring outdoor camera is connected to both power and your Wi-Fi network, it’s time to pair it with the Ring app. Pairing your camera with the app is a crucial step that allows you to access and control your camera’s features and settings. Follow these steps to pair your camera with the Ring app:
- Open the Ring App: Launch the Ring app on your smartphone or tablet. Make sure you are logged in to your Ring account.
- Enter Camera Setup Mode: In the app, navigate to the Camera Settings section and look for the option to set up a new camera. Select this option to put your camera into setup mode. The exact steps to enter setup mode can vary depending on the specific model of your Ring outdoor camera.
- Follow On-Screen Prompts: Once your camera is in setup mode, the Ring app will provide you with on-screen prompts to assist you in the pairing process. Follow the instructions carefully and ensure that your smartphone or tablet is connected to the same Wi-Fi network as your camera.
- Scan the QR Code or Enter Code Manually: During the pairing process, you may be prompted to scan a QR code on your camera or enter a unique code manually. This code allows the app to identify and pair with your specific camera. Follow the instructions to complete this step.
- Wait for Pairing Confirmation: After scanning the QR code or entering the code, the app will attempt to pair with your camera. Wait for the app to verify the pairing and provide confirmation that the camera is successfully paired.
- Name Your Camera: Once the pairing is complete, you will have the option to name your camera for easier identification. Choose a name that is descriptive and meaningful to you.
Pairing your camera with the Ring app is a crucial step that ensures seamless communication between your camera and your smartphone or tablet. Once the pairing is successful, you will have full access to the camera’s features, settings, and live feed through the app.
With your camera successfully paired with the Ring app, you are now ready for the next step: mounting your outdoor camera. Mounting the camera in the appropriate location will maximize its coverage and effectiveness. Continue reading for the next step in the installation process!
Step 7: Mount the Camera
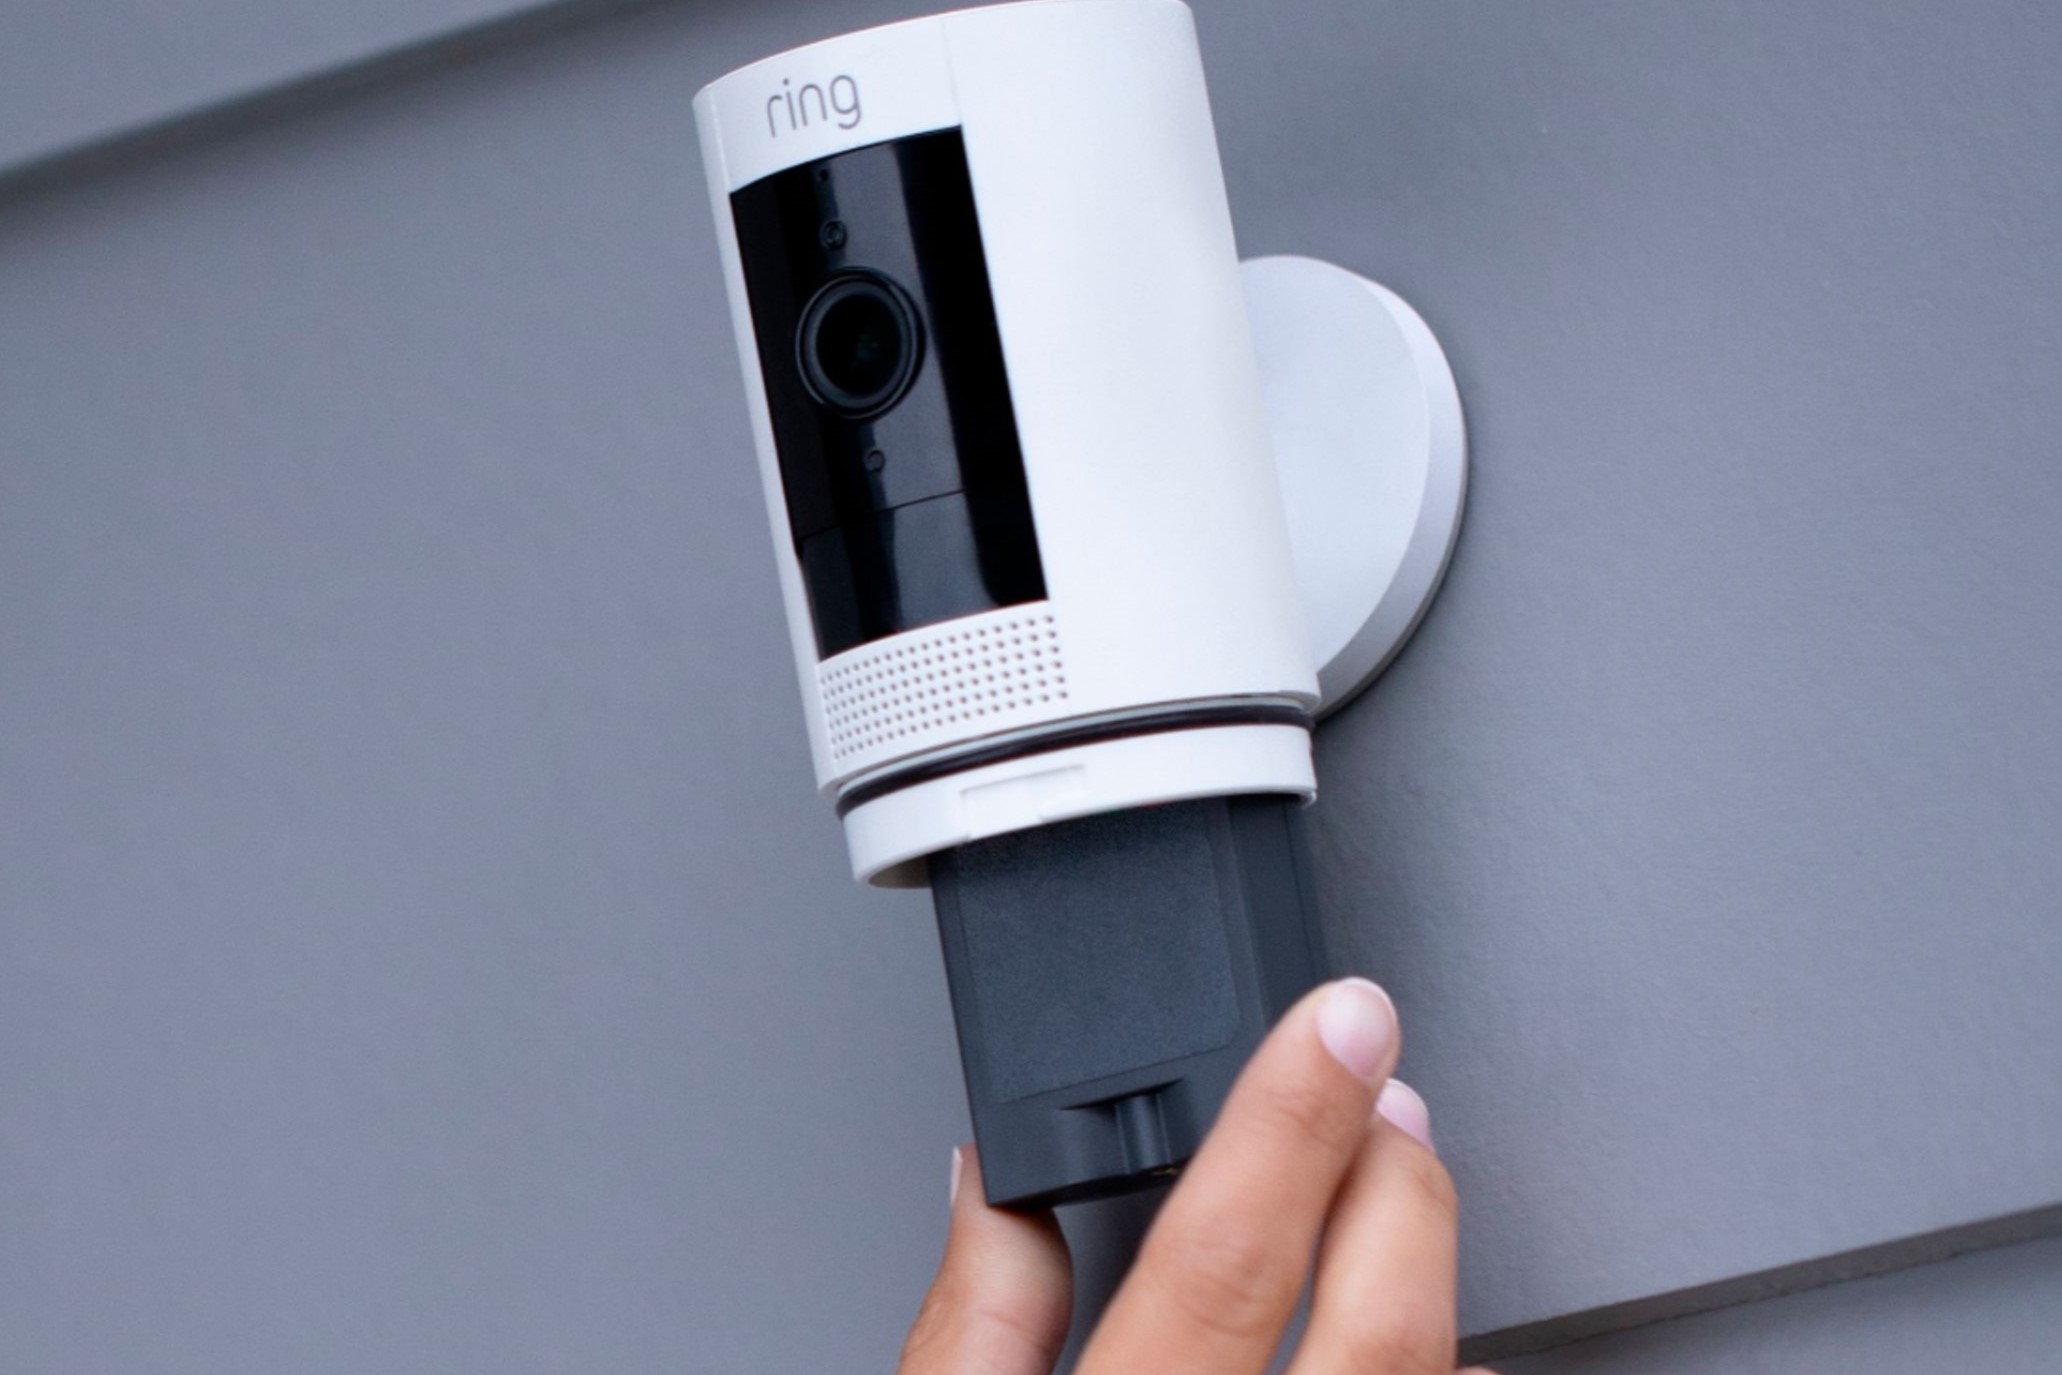
Now that your Ring outdoor camera is successfully paired with the Ring app, it’s time to mount it in its designated location. Mounting the camera properly is essential for maximizing its effectiveness and ensuring optimal coverage of the desired area. Follow these steps to mount your camera:
- Select the Mounting Location: Determine the ideal location for mounting your camera. Consider factors such as the coverage area, visibility, and accessibility. Look for a spot that provides a clear view of the area you want to monitor, ensuring that it covers any potential entry points.
- Prepare the Mounting Tools: Gather the necessary tools for mounting, including screws, brackets, and a screwdriver. Refer to the instructions provided with your Ring outdoor camera to ensure you have the correct tools and hardware.
- Position the Mounting Bracket: Attach the mounting bracket to the desired location using the provided screws and a screwdriver. Ensure that the bracket is secure and level to provide a stable base for the camera.
- Attach the Camera: Once the mounting bracket is in place, carefully attach the camera to the bracket. Follow the instructions provided with your specific model to ensure a proper and secure attachment.
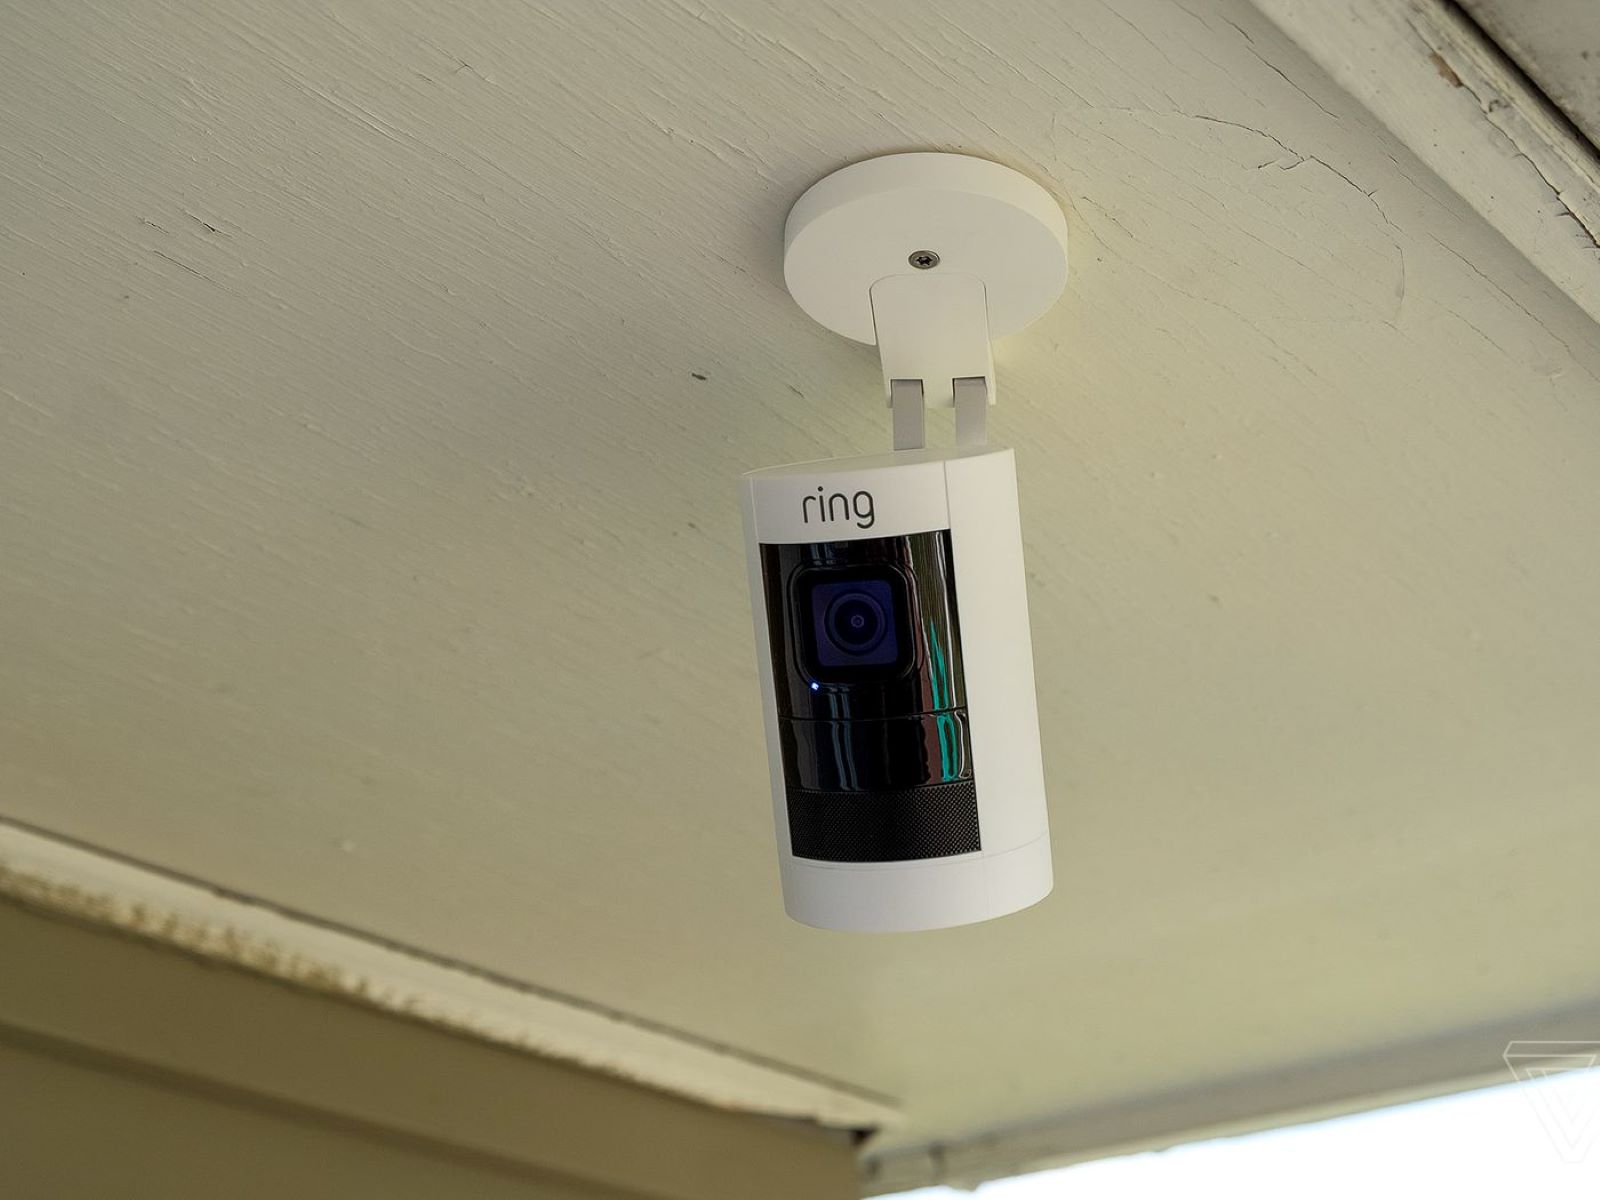
- Adjust the Camera Position: With the camera attached, adjust its position to ensure it is facing the desired area and capturing the necessary coverage. Most Ring outdoor cameras have adjustable angles and swivel options to help you achieve the desired viewing perspective.
- Tighten Screws and Check Stability: Once the camera is properly positioned, tighten any screws or bolts to secure it in place. Give the camera a gentle wiggle to ensure it is stable and securely mounted.
Mounting your Ring outdoor camera in the right location is crucial for effective surveillance and security. Take your time to carefully position and secure the camera, ensuring that it covers the desired area while maintaining stability. By following these steps, you’ll have your Ring outdoor camera mounted and ready to monitor your property.
With the camera successfully mounted, it’s time to move on to the final step: testing the camera’s functionality. Testing will help confirm that everything is in working order and that you can fully utilize the camera’s features. Let’s move on to the next step!
Step 8: Test the Camera’s Functionality
Now that your Ring outdoor camera is mounted and in its designated location, it’s time to test its functionality. Testing the camera will help ensure that everything is in working order and that you can fully utilize its features. Follow these steps to test your camera:
- Launch the Ring App: Open the Ring app on your smartphone or tablet. Make sure you are logged in to your Ring account.
- Access Camera Settings: Navigate to the camera settings section within the app. Locate your newly-installed camera from the list of connected devices.
- View Live Feed: Tap on your camera to access its live feed. The app should display the real-time video stream captured by your Ring outdoor camera. Ensure that this stream is clear and without any significant lag or distortion.
- Check Motion Detection: Test the motion detection capabilities of your camera by walking within its field of view. The camera should detect the motion and send you an alert/notification through the Ring app. Verify that you receive these notifications promptly.
- Review Recorded Footage: If your Ring outdoor camera comes with cloud storage or a removable memory card, review any recorded footage. Verify that the camera is capturing and storing the footage as expected.
- Adjust Settings: Explore the camera settings within the Ring app. Adjust settings such as motion sensitivity, motion zones, and recording duration to customize the camera’s behavior according to your preferences.
By testing the camera’s functionality, you can ensure that it is performing as expected and capturing the necessary surveillance footage. It also allows you to make any necessary adjustments to the camera’s settings to meet your specific needs.
If you encounter any issues during the testing process, refer to the manufacturer’s documentation or contact their customer support for assistance. They will be able to troubleshoot any problems and help you resolve them.
Congratulations! You have successfully set up and tested your Ring outdoor camera. With the camera fully functional, you can now enjoy the added security and peace of mind that it provides. Remember to regularly update the camera’s firmware and check for any software updates to ensure that it continues to perform optimally.
Thank you for following our step-by-step guide. We hope that this article has been helpful in connecting and setting up your Ring outdoor camera. Stay safe and enjoy the benefits of a secure home!
Read more: Which Ring Outdoor Camera Is Best
Conclusion
Home security and surveillance are of utmost importance in today’s world, and the Ring outdoor camera offers a convenient and effective solution. By following the step-by-step guide in this article, you have successfully connected, installed, and tested your Ring outdoor camera, bringing you peace of mind and added security to your home.
Throughout the installation process, we have covered essential steps such as checking the requirements, installing the Ring app, creating a Ring account, connecting the camera to power and Wi-Fi, pairing it with the app, mounting the camera, and finally, testing its functionality. Each step is crucial to ensure that your camera operates smoothly and provides you with the desired level of security.
With the Ring app, you have the power to access and control your camera remotely. You can view live feeds, receive motion notifications, and review recorded footage, all from the convenience of your smartphone or tablet. This allows you to monitor your property and loved ones even when you are not at home.
Remember to regularly check the manufacturer’s website and the Ring app for any firmware or software updates. Keeping your camera’s software up to date ensures that you have the latest security features and improvements.
We hope that this comprehensive guide has been helpful in setting up your Ring outdoor camera. By following these steps, you have taken a significant step towards enhancing the security of your home. Enjoy the peace of mind that comes with knowing that you can keep a watchful eye on your property at all times.
Thank you for choosing the Ring outdoor camera and for prioritizing the safety of your home and loved ones. Stay secure, stay vigilant, and best of luck in your home security journey!
Frequently Asked Questions about How To Connect A Ring Outdoor Camera
Was this page helpful?
At Storables.com, we guarantee accurate and reliable information. Our content, validated by Expert Board Contributors, is crafted following stringent Editorial Policies. We're committed to providing you with well-researched, expert-backed insights for all your informational needs.