Home>Furniture & Design>Outdoor Furniture>How To Install Outdoor Low Voltage Lighting
Outdoor Furniture
How To Install Outdoor Low Voltage Lighting
Published: February 12, 2024
Learn how to easily install outdoor low voltage lighting to enhance your outdoor furniture and design. Follow our step-by-step guide for a seamless installation process.
(Many of the links in this article redirect to a specific reviewed product. Your purchase of these products through affiliate links helps to generate commission for Storables.com, at no extra cost. Learn more)
Introduction
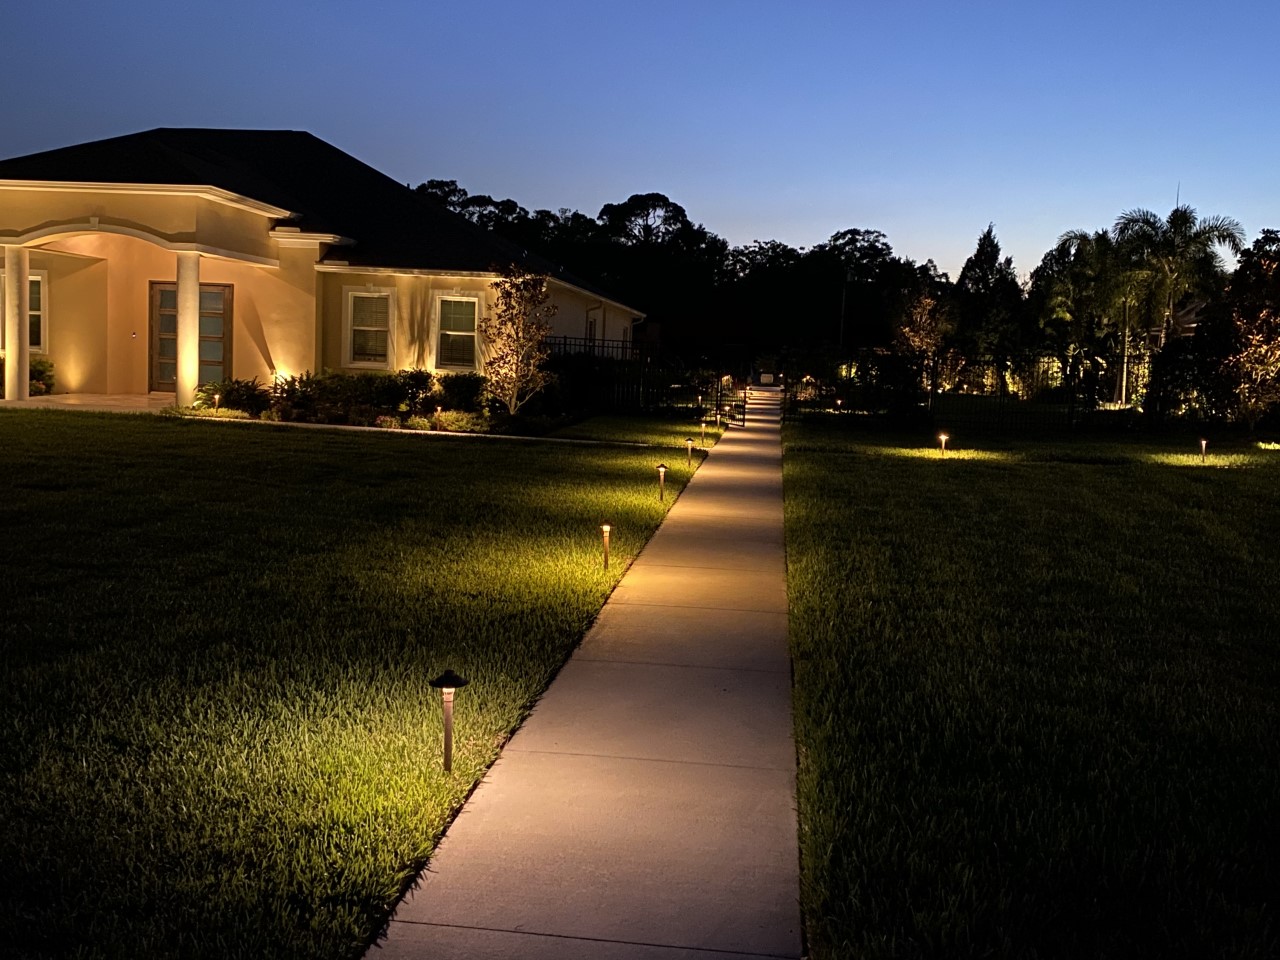
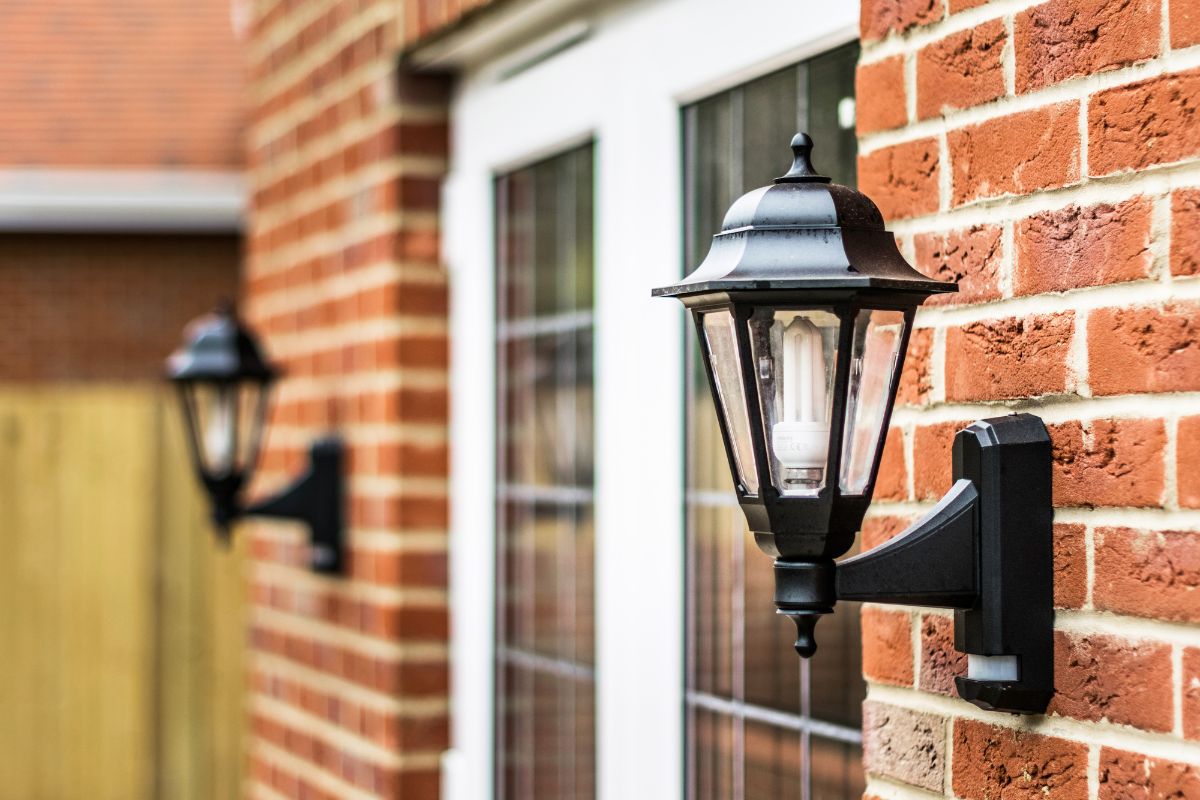
Welcome to the world of outdoor low voltage lighting! Whether you're looking to enhance the ambiance of your garden, illuminate a pathway, or highlight specific features of your outdoor space, low voltage lighting offers a versatile and energy-efficient solution. In this guide, we'll walk you through the step-by-step process of installing outdoor low voltage lighting, allowing you to transform your outdoor area into a captivating and inviting space.
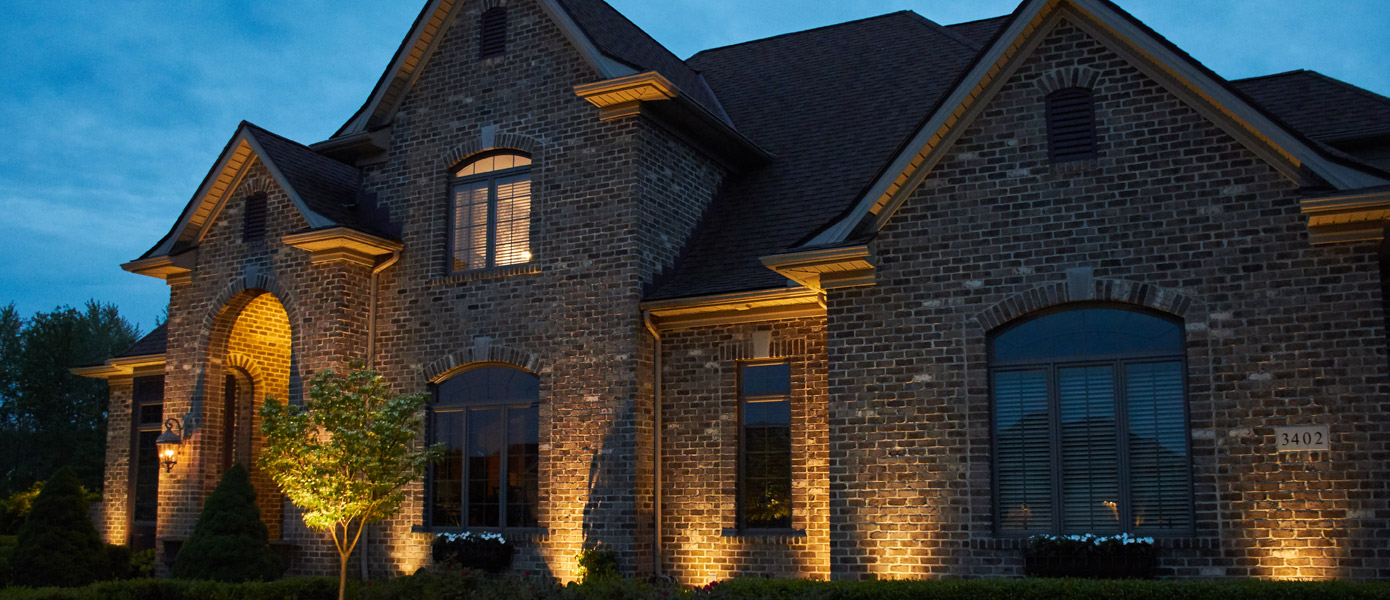
Outdoor lighting serves not only practical purposes but also adds aesthetic value to your property. It can create a warm and inviting atmosphere for evening gatherings, improve safety by illuminating pathways and potential hazards, and showcase the beauty of your landscaping and architectural features. Low voltage lighting, in particular, is a popular choice due to its ease of installation, energy efficiency, and versatility in design.
By following this comprehensive installation guide, you'll gain the knowledge and confidence to embark on this rewarding DIY project. From planning and design to the final testing phase, each step is crucial in ensuring a successful and visually stunning outdoor lighting setup. So, grab your tools and let's illuminate your outdoor space with the enchanting glow of low voltage lighting!
Key Takeaways:
- Transform your outdoor space with captivating low voltage lighting, enhancing aesthetics and creating a welcoming ambiance for gatherings and relaxation.
- Embrace the energy efficiency and customizable illumination of low voltage lighting, ensuring safe and reliable operation for years to come.
Read more: How To Set Up Low Voltage Outdoor Lighting
Step 1: Planning and Design
Before diving into the installation process, it’s essential to start with a well-thought-out plan and design for your outdoor low voltage lighting. This phase sets the foundation for a successful and visually appealing lighting setup. Here are the key considerations:
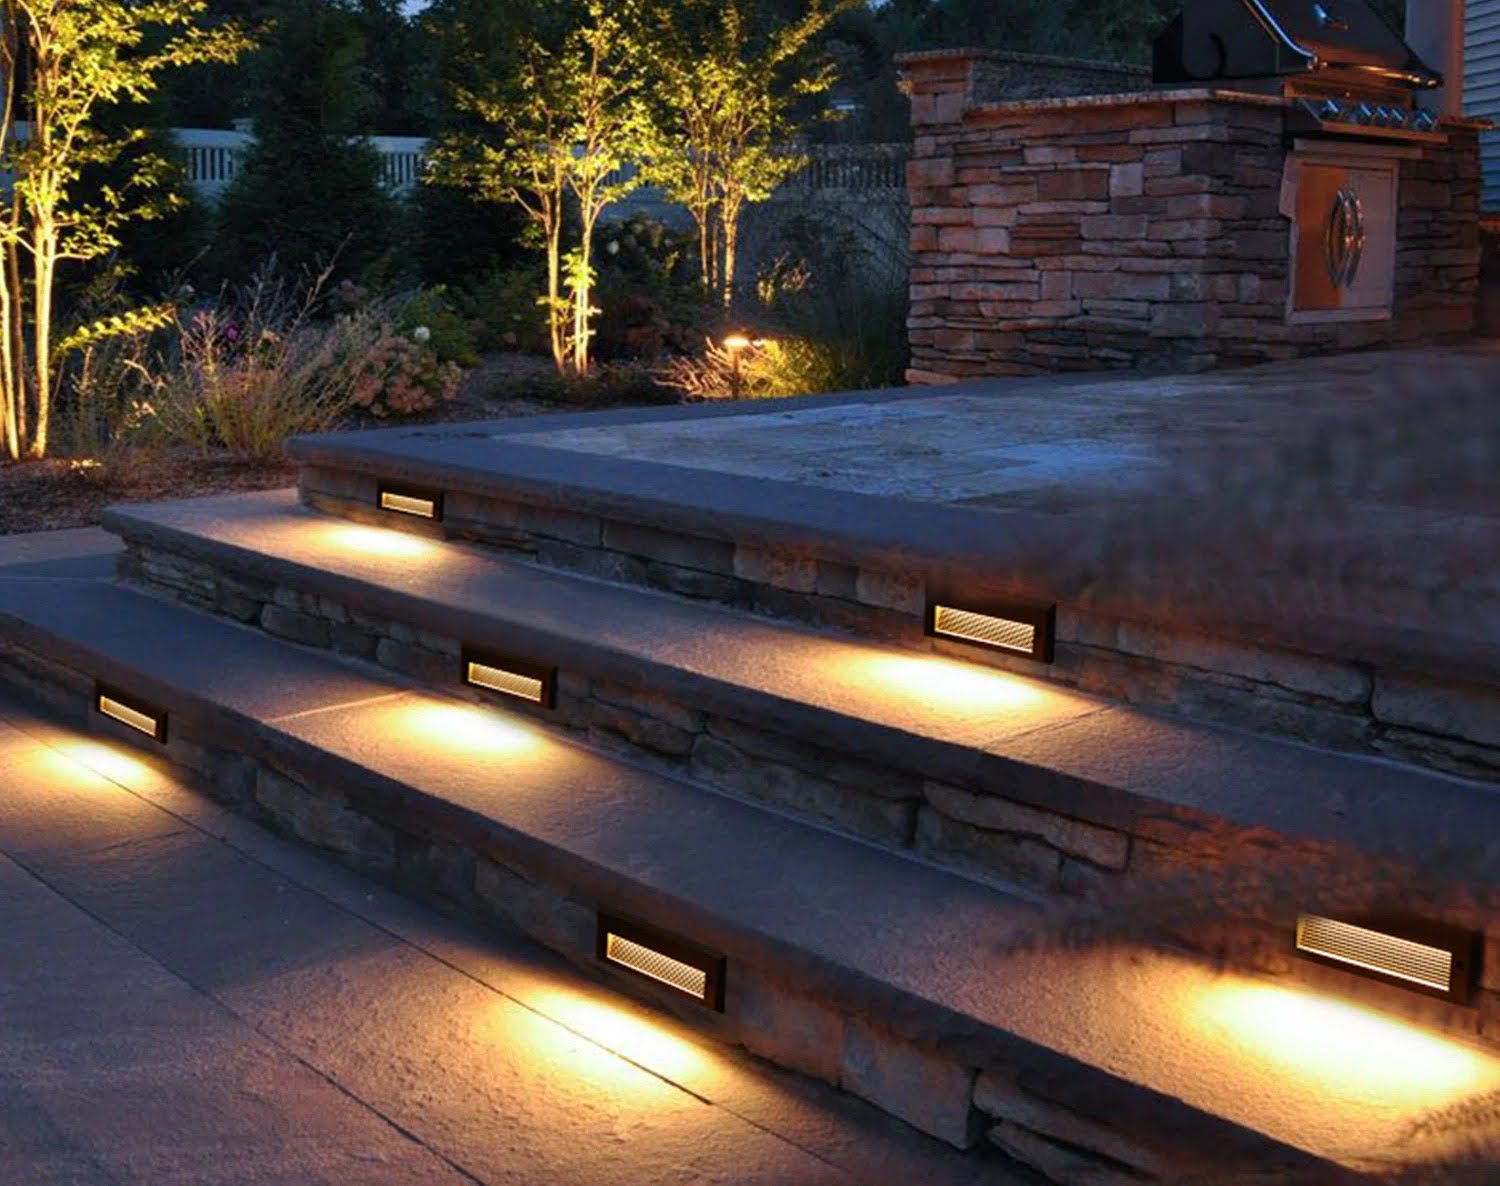
- Assess Your Outdoor Space: Begin by evaluating your outdoor area and identifying the key features you want to highlight. This could include trees, shrubs, architectural elements, pathways, or specific areas for entertaining.
- Create a Lighting Layout: Sketch out a rough layout of where you envision the lights being placed. Consider the desired effects, such as uplighting, downlighting, or spotlighting, to accentuate different elements within your landscape.
- Choose the Right Fixtures: Select low voltage lighting fixtures that complement the style of your outdoor space. Whether you prefer sleek and modern fixtures or more traditional designs, ensure they align with your overall aesthetic vision.
- Calculate Power Needs: Determine the power requirements for your lighting system based on the number of fixtures and their wattage. This will guide you in selecting an appropriate low voltage transformer.
- Consider Automation and Controls: Explore options for incorporating timers, dimmers, or smart lighting controls to customize the operation of your outdoor lighting and maximize energy efficiency.
By investing time in the planning and design phase, you’ll be able to create a cohesive and impactful lighting scheme that enhances the beauty of your outdoor environment while meeting your specific lighting objectives. Once you’ve finalized your plan, you’ll be ready to move on to the next steps of gathering materials and tools for the installation process.
Step 2: Gather Materials and Tools
With your lighting plan in hand, it’s time to gather the essential materials and tools needed to bring your outdoor low voltage lighting vision to life. Here’s a comprehensive list of what you’ll need:
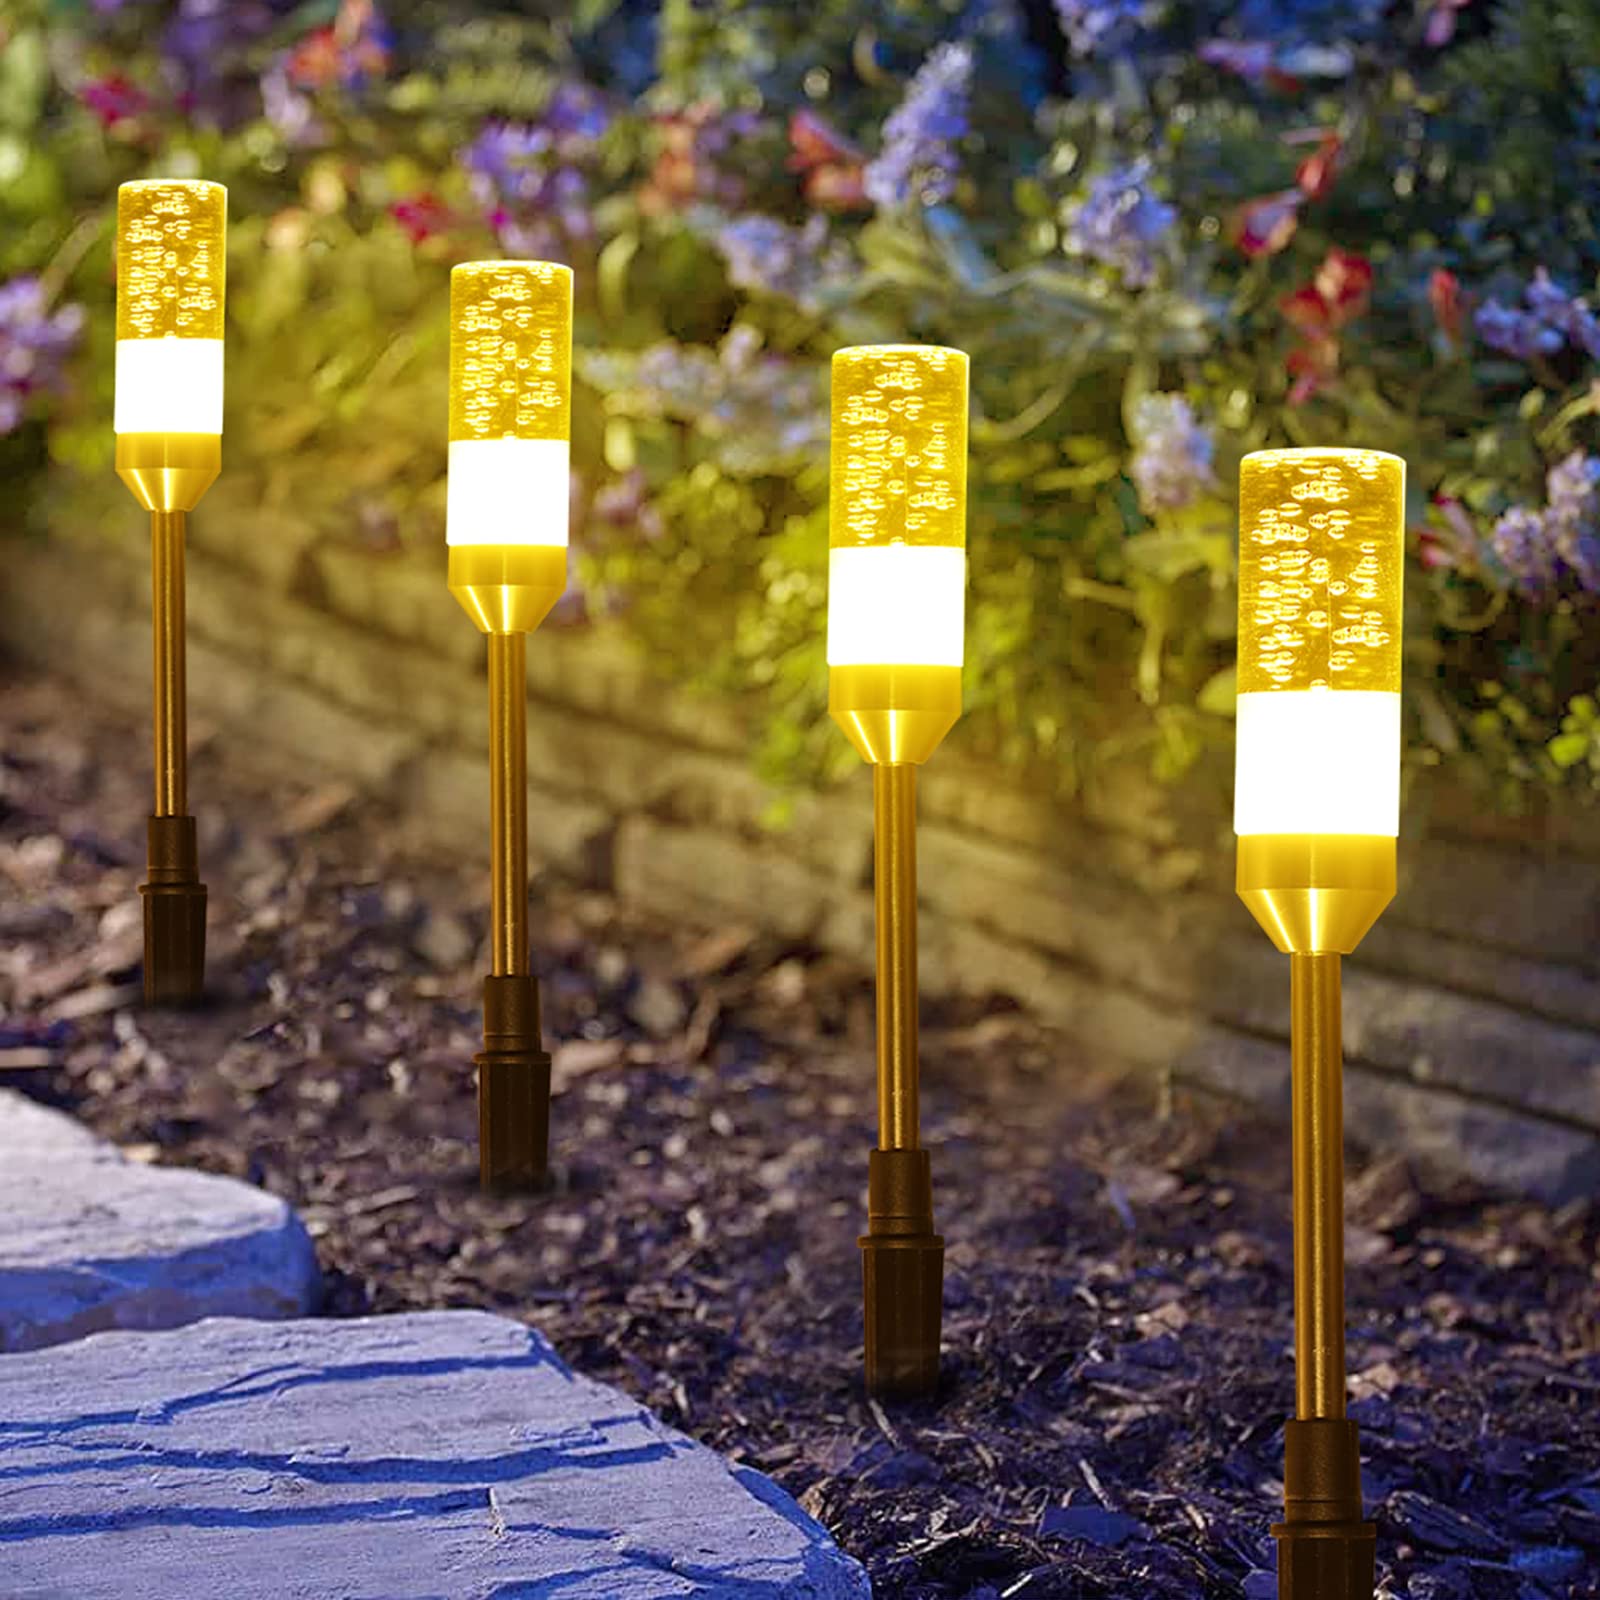
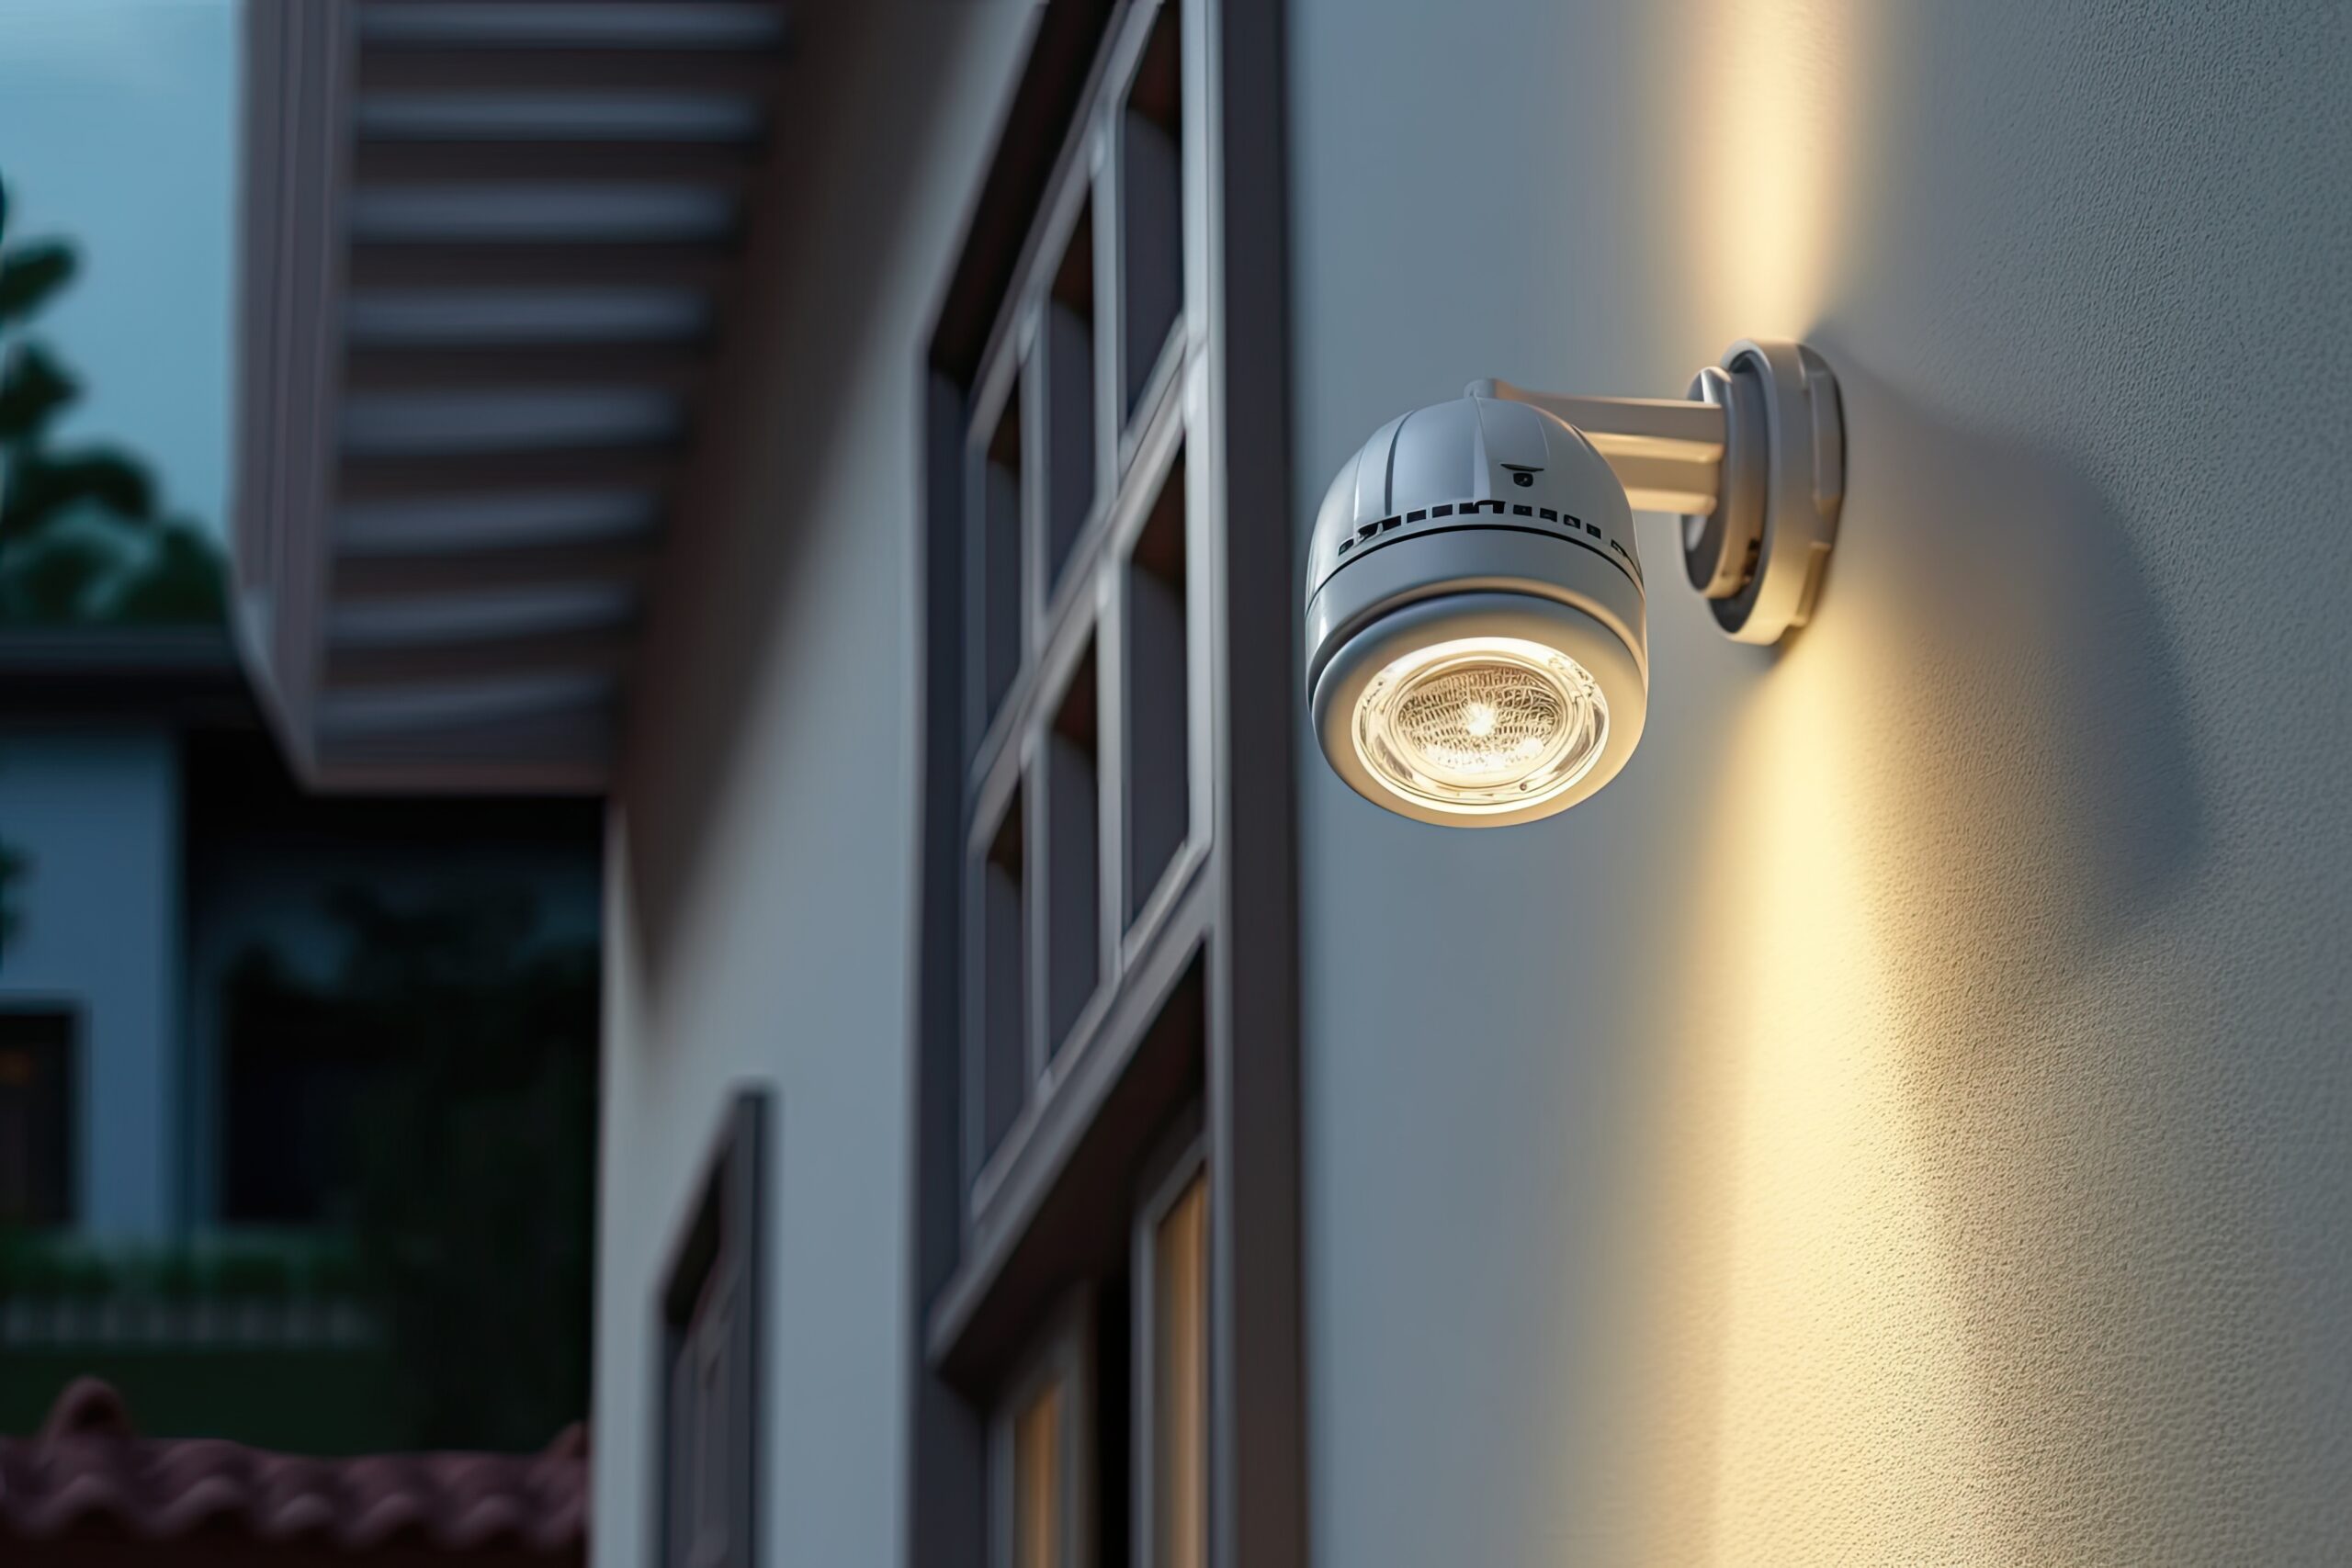
- Low Voltage Lighting Fixtures: Select fixtures based on your design plan, ensuring they are suitable for outdoor use and compatible with low voltage systems. Common options include path lights, spotlights, well lights, and deck lights.
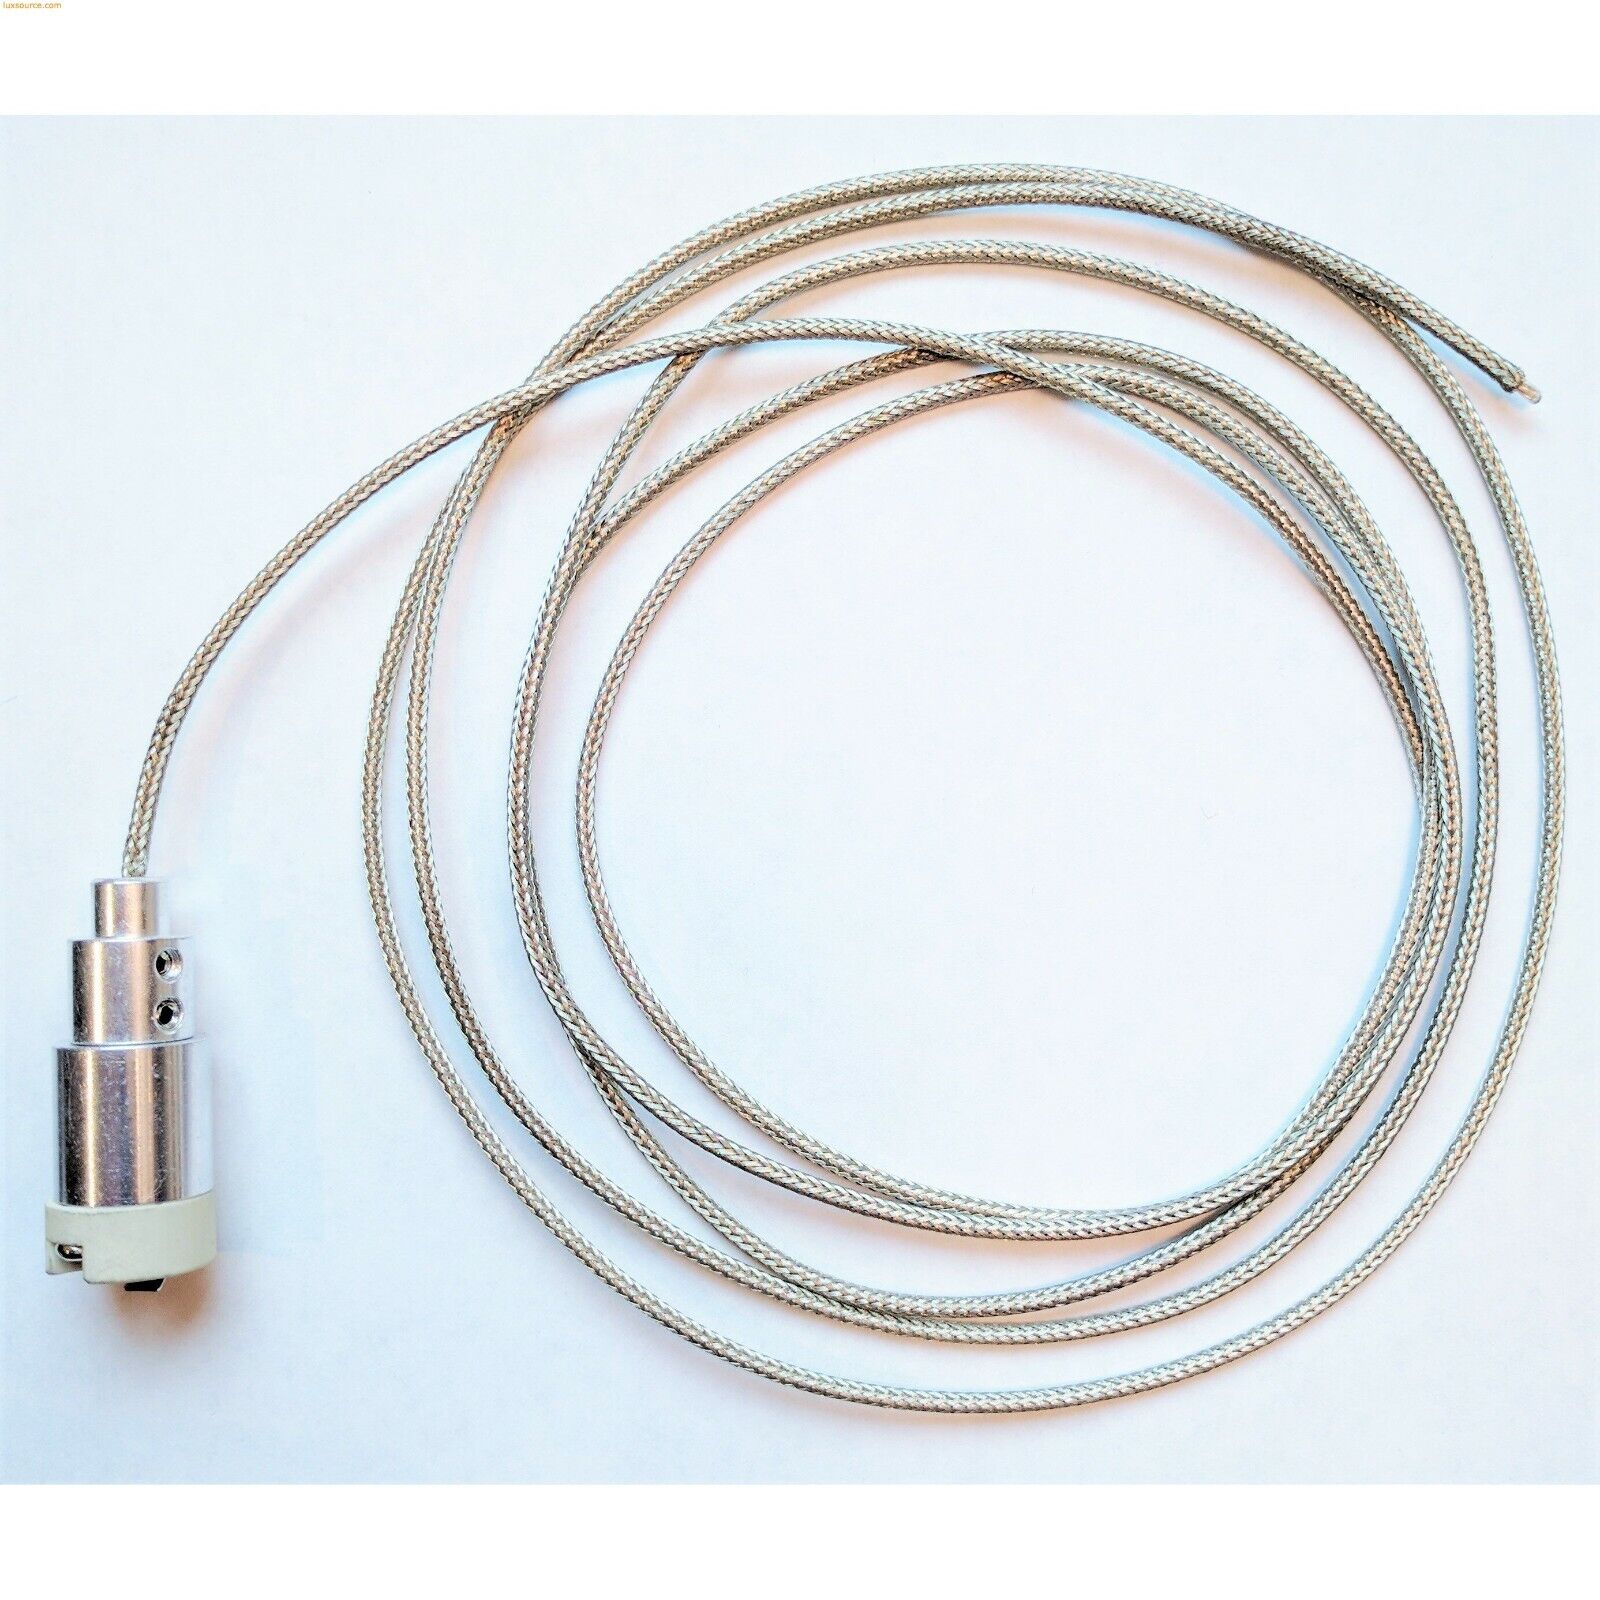
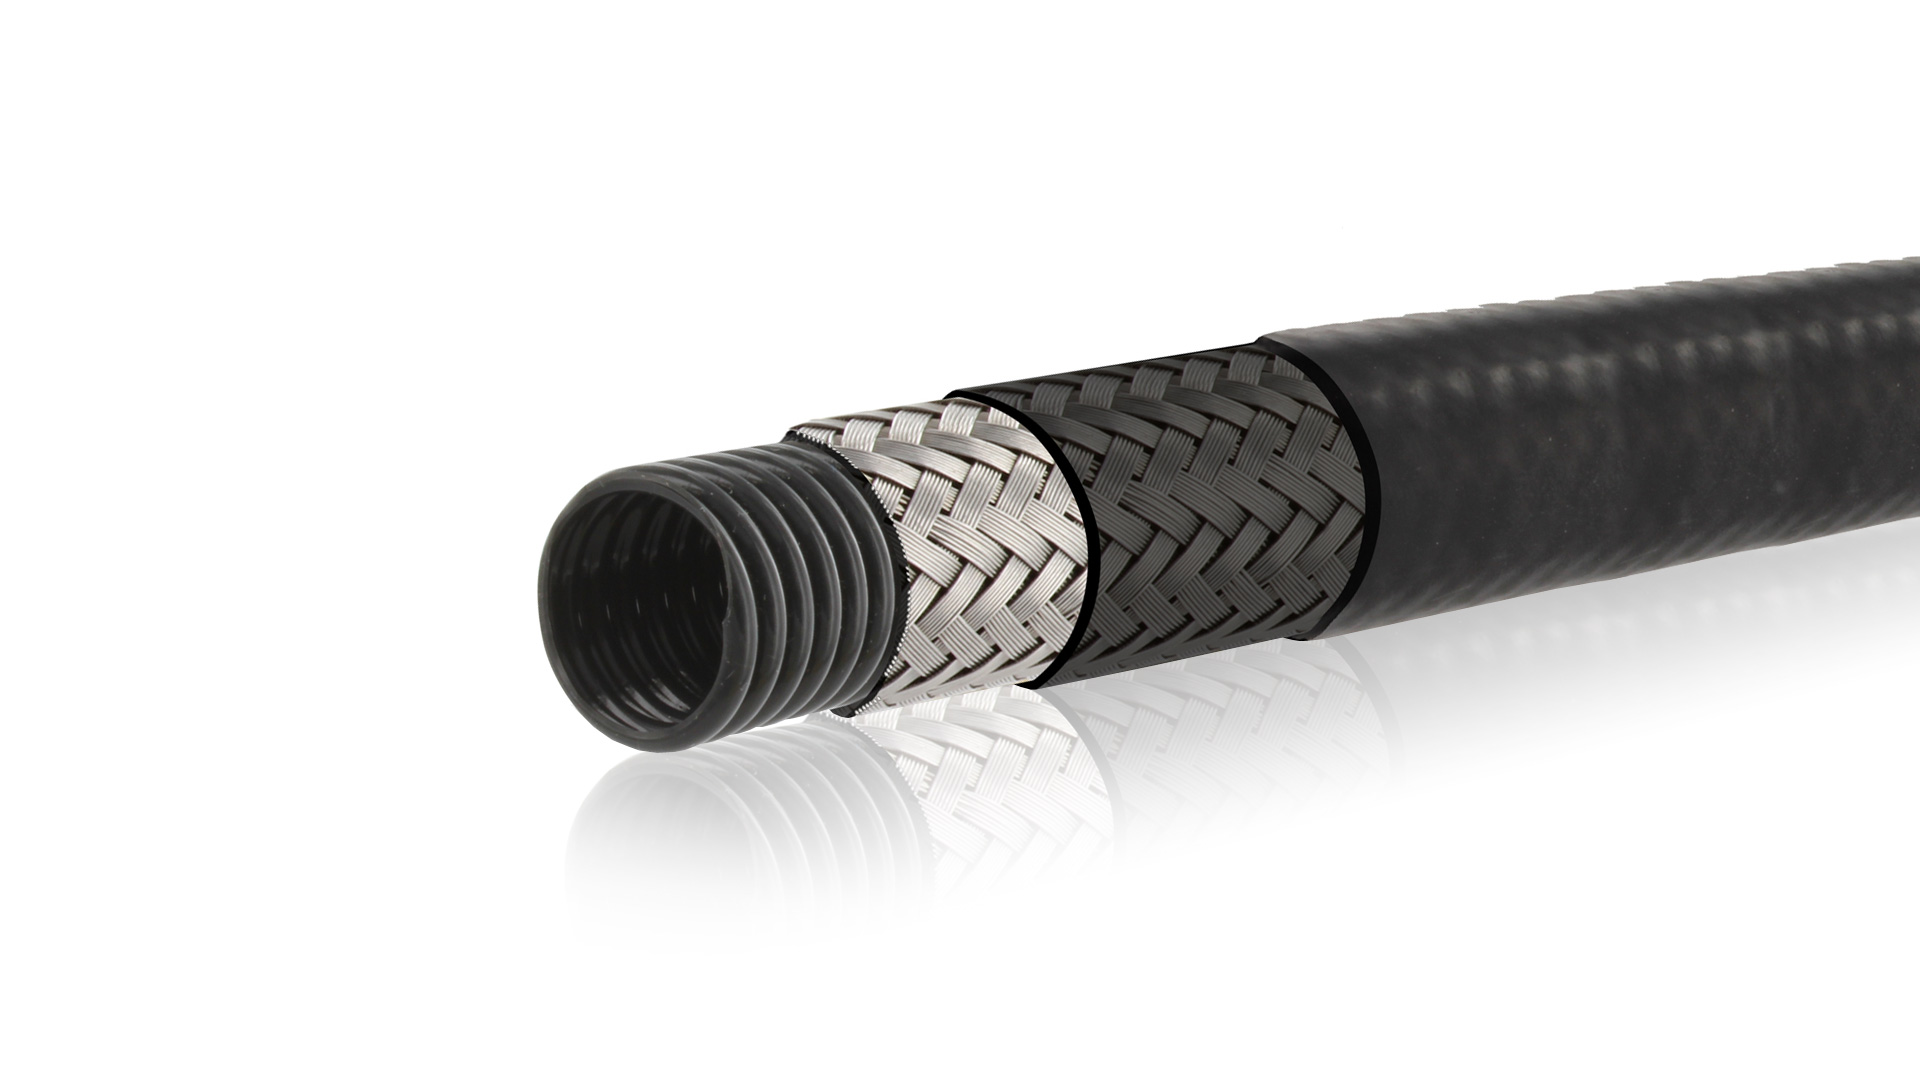
- Low Voltage Cable: Purchase UV-resistant, direct-burial low voltage cable in the appropriate length to connect your fixtures to the transformer. Consider the layout of your outdoor space to determine the total cable needed.
- Low Voltage Transformer: Choose a transformer with sufficient wattage to accommodate the total wattage of your lighting fixtures. Opt for a reliable, weather-resistant transformer designed for outdoor installation.
- Wire Connectors: Acquire waterproof wire connectors to ensure secure and weatherproof connections between the low voltage cable and the lighting fixtures.
- Stakes and Mounting Hardware: Depending on the type of fixtures you’ve chosen, gather the necessary stakes, mounting brackets, or hardware to securely install the lights in your outdoor environment.
- Tools: Prepare a set of basic tools including a shovel for burying the cable, wire cutters/strippers, a screwdriver, and a voltage tester to ensure safety during the installation process.
- Protective Gear: Prioritize safety by wearing gloves and safety glasses when handling tools and working with electrical components.
By ensuring you have all the required materials and tools on hand, you’ll streamline the installation process and minimize interruptions. With everything in place, you’re now ready to move on to the next step: installing the low voltage transformer to power your outdoor lighting system.
Step 3: Install the Transformer
As the heart of your outdoor low voltage lighting system, the transformer plays a crucial role in converting standard household voltage to the safe and efficient low voltage power required for your lighting fixtures. Follow these steps to ensure a proper and secure installation:
- Choose a Suitable Location: Select a location near a power source, preferably within 10-15 feet, and close to the area where your lighting fixtures will be installed. Ensure the chosen spot is well-ventilated and protected from direct exposure to the elements.
- Mount the Transformer: Depending on the model, you may need to mount the transformer to a wall, post, or other sturdy structure using the provided mounting brackets or hardware. Ensure the mounting location allows for easy access to the electrical connections and controls.
- Make Electrical Connections: Follow the manufacturer’s instructions to make the necessary electrical connections, including the input power supply and the low voltage output connections. Use wire connectors to secure the low voltage cable to the transformer’s output terminals.
- Ground the Transformer: If required, ensure the transformer is properly grounded according to local electrical codes and the manufacturer’s guidelines. This step is essential for safety and proper functioning of the transformer.
- Set Voltage and Timer Settings: Adjust the transformer’s voltage output and any built-in timer settings based on the wattage and desired operation schedule of your lighting system. Refer to the transformer’s manual for specific instructions on these adjustments.
- Test the Transformer: Before proceeding to lay out the low voltage cable and connect the lighting fixtures, test the transformer to verify that it is functioning correctly and supplying the intended voltage to the low voltage cable.
By carefully installing and configuring the transformer, you’ll establish a reliable power source for your outdoor lighting, setting the stage for the subsequent steps of laying out the cable and connecting the fixtures. With the transformer in place, you’re now ready to move forward with the installation process and bring your outdoor space to life with captivating low voltage lighting.
When installing outdoor low voltage lighting, always make sure to bury the cables at least 6 inches deep to protect them from damage and ensure safety.
Step 4: Lay Out the Cable
With the transformer securely installed, the next critical step in the installation of your outdoor low voltage lighting system is to lay out the low voltage cable, connecting the transformer to each lighting fixture. Proper cable layout is essential for ensuring a reliable and visually pleasing lighting setup. Follow these guidelines to effectively lay out the cable:
- Plan the Cable Route: Refer to your lighting design layout and determine the optimal route for the low voltage cable, taking into account the locations of the lighting fixtures and any potential obstacles or landscaping features.
- Bury the Cable: Use a shovel or trenching tool to create a shallow trench, typically 6-8 inches deep, along the planned cable route. Carefully bury the low voltage cable in the trench, ensuring it is positioned securely and protected from damage.
- Space the Cable Appropriately: Maintain consistent spacing between the cable and the lighting fixtures, ensuring that there is sufficient slack for connecting each fixture while avoiding excessive slack that could lead to tripping hazards or potential damage.
- Use Cable Clips or Stakes: Secure the cable along its route using cable clips or stakes designed for outdoor use. This helps prevent movement and displacement of the cable due to environmental factors or accidental disturbance.
- Protect Cable Connections: Where the cable connects to each lighting fixture, ensure the connections are made securely and protected from moisture and debris using waterproof wire connectors. This safeguards the integrity of the electrical connections.
By carefully laying out the low voltage cable, you’ll establish a reliable and visually unobtrusive network that powers your outdoor lighting fixtures. This phase sets the stage for the final steps of connecting the lights and testing the entire system. With the cable in place, you’re one step closer to enjoying the enchanting glow of your low voltage outdoor lighting.
Read more: How To Connect Low Voltage Outdoor Lights
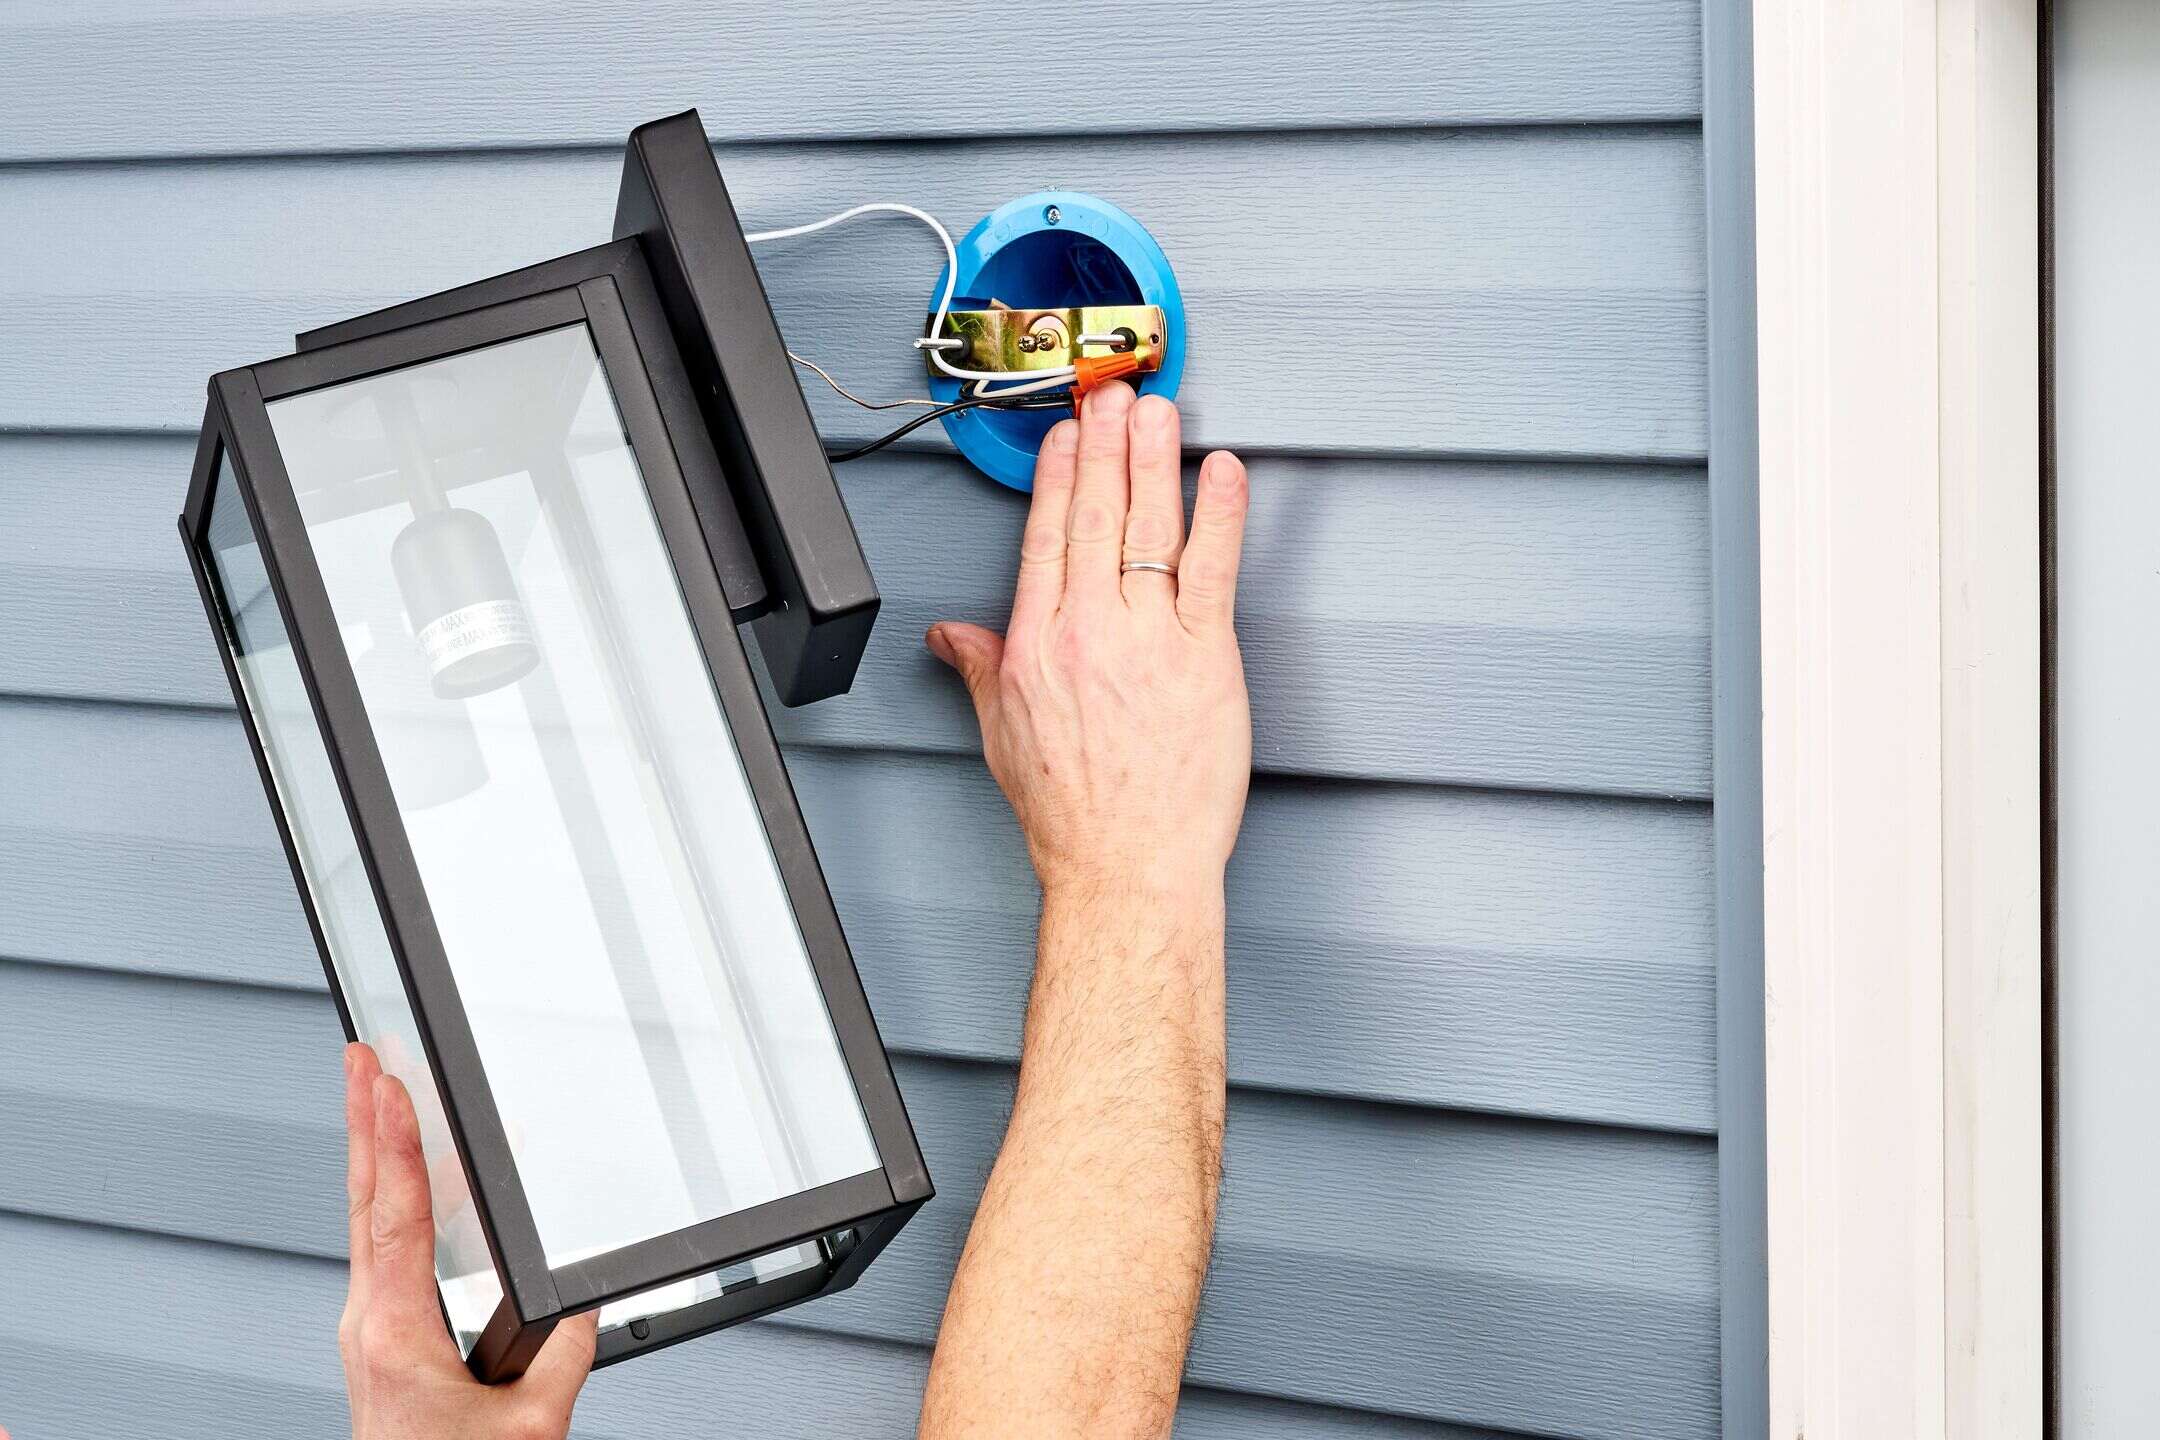
Step 5: Connect the Lights
With the low voltage cable neatly laid out, it’s time to connect the lighting fixtures to the cable, bringing your outdoor low voltage lighting system to life. Follow these steps to ensure a seamless and secure connection of the lights:
- Position the Fixtures: Place each lighting fixture in its designated location, ensuring they are aligned according to your initial lighting design layout. This step allows you to visualize the final lighting effects before making the electrical connections.
- Trim and Strip Cable Ends: Trim the low voltage cable to the appropriate length for each connection, leaving a small amount of excess for flexibility. Strip the insulation from the cable ends to expose the conductors, typically around 1/2 inch to 3/4 inch, using wire strippers.
- Make Secure Connections: Follow the manufacturer’s instructions for your specific lighting fixtures to make the electrical connections. Typically, this involves connecting the cable to the fixture’s lead wires and securing the connection with waterproof wire connectors.
- Test Each Fixture: After connecting each lighting fixture, perform a quick test to ensure it illuminates properly. This allows you to identify and address any connection issues or faulty fixtures before completing the entire installation.
- Adjust Fixture Angles: Fine-tune the positioning and angles of the fixtures to achieve the desired lighting effects, such as highlighting specific landscape features, creating gentle pathway illumination, or accentuating architectural elements.
By carefully connecting the lighting fixtures to the low voltage cable, you’ll bring your outdoor space to life with captivating illumination while ensuring the safety and reliability of the entire lighting system. With the lights connected and tested, you’re now ready to move on to the final step of testing the entire system and making any necessary adjustments to achieve the perfect outdoor lighting ambiance.
Step 6: Test the System
As you near the completion of your outdoor low voltage lighting installation, it’s crucial to thoroughly test the entire system to ensure proper functionality and performance. Follow these steps to conduct a comprehensive test of your lighting setup:
- Check Electrical Connections: Verify that all electrical connections, including those at the transformer and each lighting fixture, are secure and free from any exposed wiring. Address any loose connections or exposed conductors to ensure safety.
- Power On the System: Activate the low voltage transformer to supply power to the lighting system. Confirm that the transformer is functioning correctly and supplying the intended voltage to the low voltage cable.
- Observe Fixture Operation: Walk through your outdoor space and observe the operation of each lighting fixture. Ensure that all fixtures illuminate as expected and that the desired lighting effects, such as accentuating landscaping or providing pathway illumination, are achieved.
- Adjust and Fine-Tune: Make any necessary adjustments to the positioning, angles, or brightness of the lighting fixtures to achieve the desired overall lighting ambiance. Fine-tune the system to create a cohesive and visually appealing outdoor lighting display.
- Test Timer and Controls: If your low voltage lighting system includes timers or controls, test their functionality to ensure that the lighting operates according to your preferred schedule and settings.
- Address Any Issues: If you encounter any issues during the testing phase, such as flickering lights, inconsistent operation, or inadequate illumination, troubleshoot and address the root causes before finalizing the installation.
By conducting a thorough test of the entire system, you’ll ensure that your outdoor low voltage lighting setup delivers the intended visual impact, energy efficiency, and safety. Once you’ve confirmed the proper operation of the system and made any necessary adjustments, you can step back and admire the captivating transformation of your outdoor space through the enchanting glow of low voltage lighting.
Conclusion
Congratulations on successfully installing your outdoor low voltage lighting system! By following the comprehensive steps outlined in this guide, you’ve transformed your outdoor space into a captivating and inviting environment illuminated by the enchanting glow of low voltage lighting. As you conclude this installation journey, consider the following key takeaways:
- Enhanced Aesthetics: Your outdoor low voltage lighting not only provides practical illumination but also enhances the visual appeal of your landscaping, architectural features, and outdoor living areas, creating a welcoming ambiance for both residents and guests.
- Energy Efficiency: Low voltage lighting systems are inherently energy-efficient, allowing you to illuminate your outdoor space with minimal power consumption while minimizing your environmental impact and operating costs.
- Customized Illumination: With careful planning and design, you’ve tailored the lighting layout and effects to suit your specific preferences, whether it’s accentuating focal points, providing gentle pathway lighting, or creating a cozy outdoor atmosphere.
- Safe and Reliable Operation: Through meticulous installation, testing, and fine-tuning, you’ve ensured that your low voltage lighting system operates safely and reliably, providing consistent illumination for years to come.
As you bask in the captivating glow of your outdoor low voltage lighting, take a moment to appreciate the transformative impact it has on your outdoor living experience. Whether you’re hosting evening gatherings, enjoying peaceful moments in your garden, or simply admiring the beauty of your illuminated landscape, your carefully installed lighting system adds a touch of magic to every outdoor occasion.
Remember that outdoor spaces are dynamic, and you may choose to adjust or expand your low voltage lighting setup in the future. By mastering the installation process and understanding the principles of outdoor lighting design, you’re well-equipped to adapt and evolve your outdoor illumination to suit your changing preferences and landscaping features.
Embrace the beauty and functionality of your outdoor low voltage lighting system, and revel in the delightful ambiance it creates in your outdoor sanctuary. Whether it’s a tranquil retreat under the stars or a vibrant gathering with loved ones, your outdoor space now shines with the allure of carefully crafted low voltage lighting.
Frequently Asked Questions about How To Install Outdoor Low Voltage Lighting
Was this page helpful?
At Storables.com, we guarantee accurate and reliable information. Our content, validated by Expert Board Contributors, is crafted following stringent Editorial Policies. We're committed to providing you with well-researched, expert-backed insights for all your informational needs.


0 thoughts on “How To Install Outdoor Low Voltage Lighting”