Home>Furniture & Design>Outdoor Furniture>How To Set Up Low Voltage Outdoor Lighting
Outdoor Furniture
How To Set Up Low Voltage Outdoor Lighting
Modified: August 20, 2024
Learn how to set up low voltage outdoor lighting to enhance the ambiance of your outdoor furniture and design. Follow our step-by-step guide for a stunning outdoor space.
(Many of the links in this article redirect to a specific reviewed product. Your purchase of these products through affiliate links helps to generate commission for Storables.com, at no extra cost. Learn more)
Introduction
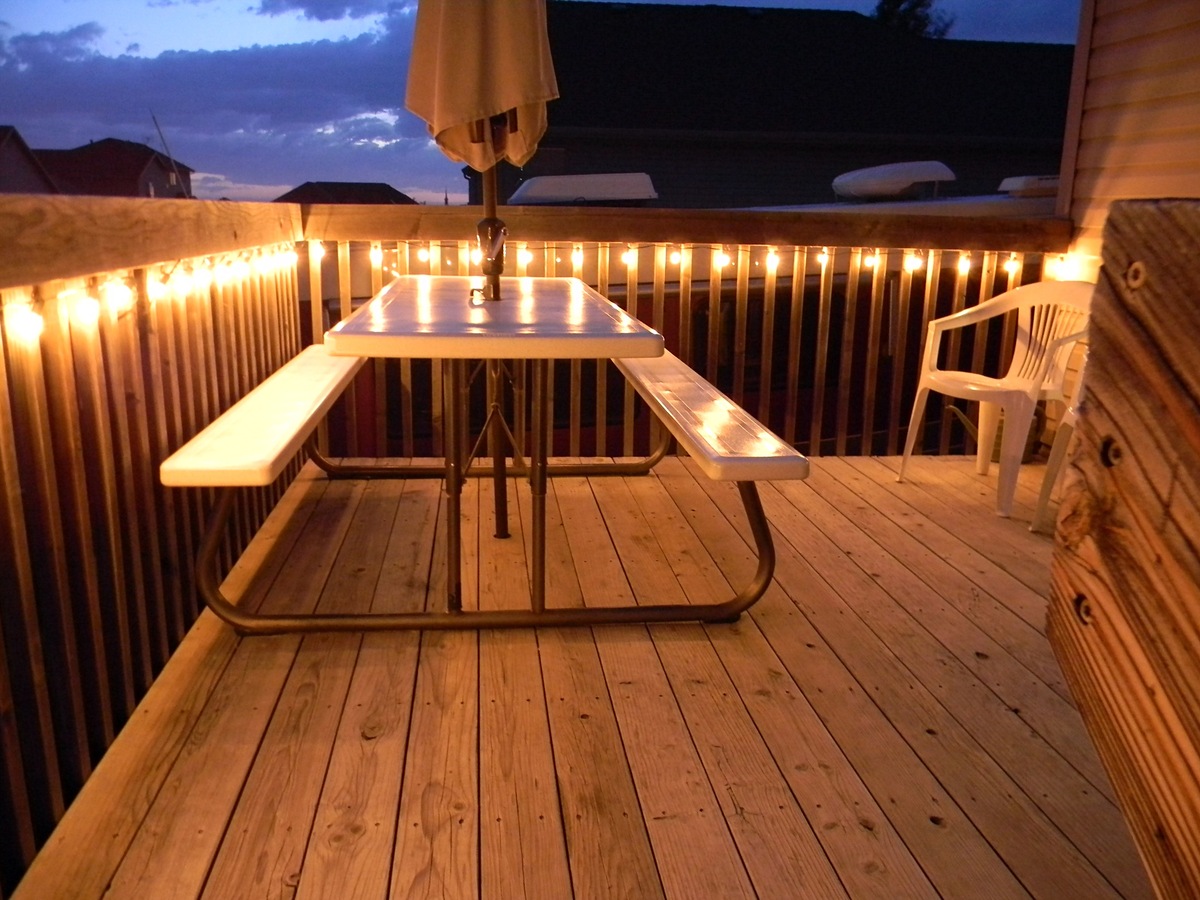
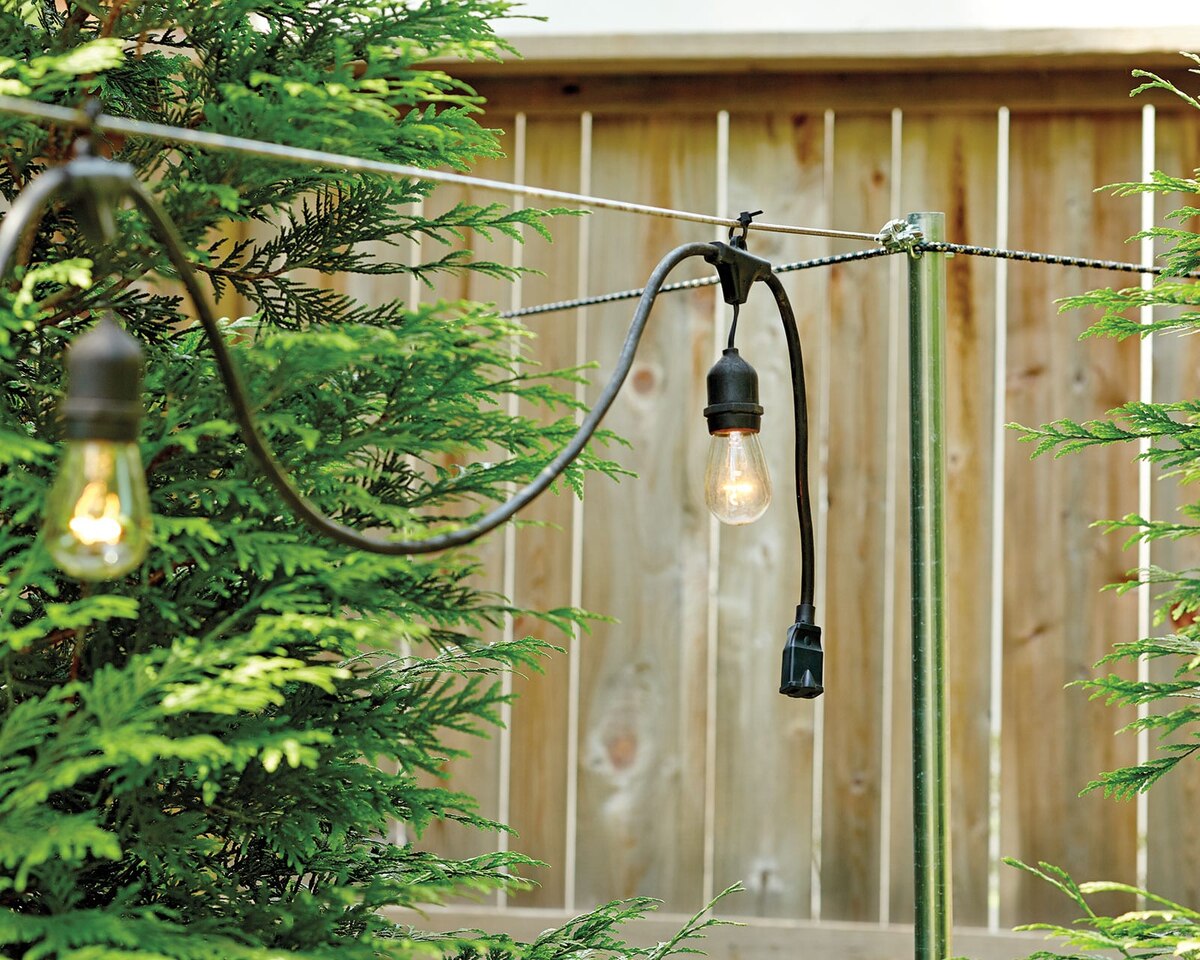
Welcome to the world of outdoor lighting! Whether you're looking to illuminate your garden, patio, or outdoor living space, low voltage outdoor lighting can transform your outdoor area into a captivating and inviting oasis. With the right setup, you can create a warm and welcoming ambiance, highlight architectural features, and improve the safety and security of your outdoor space.
When it comes to setting up low voltage outdoor lighting, there are several key aspects to consider, from planning and fixture selection to installation and maintenance. This comprehensive guide will walk you through the essential steps to help you create a stunning outdoor lighting display that enhances the beauty and functionality of your outdoor environment.
In the following sections, we'll delve into the intricacies of planning your outdoor lighting, choosing the right fixtures for your specific needs, installing the transformer, wiring the lights, adjusting and testing the system, and providing maintenance and troubleshooting tips to keep your outdoor lighting in top-notch condition.
So, let's embark on this illuminating journey and discover the art of setting up low voltage outdoor lighting to elevate your outdoor living experience. Whether you're a seasoned DIY enthusiast or a novice looking to enhance your outdoor space, this guide will equip you with the knowledge and confidence to create a captivating outdoor lighting scheme that will leave a lasting impression. Let's shed some light on your outdoor oasis!
Key Takeaways:
- Create a captivating outdoor oasis by planning, selecting, and installing low voltage outdoor lighting. Highlight features, enhance safety, and choose energy-efficient fixtures for a stunning and functional outdoor space.
- Maintain the allure of your outdoor lighting by cleaning fixtures, monitoring performance, and addressing potential issues. Regular care ensures a consistently enchanting ambiance and minimizes operational disruptions.
Read also: 9 Amazing Low Voltage Light Socket for 2025
Planning Your Outdoor Lighting
Before diving into the installation process, it’s crucial to start with a well-thought-out plan for your outdoor lighting. Consider the specific areas you want to illuminate and the ambiance you aim to create. Take a stroll around your outdoor space during the evening to identify key focal points, potential hazards, and areas where enhanced visibility is essential. Here are some essential aspects to consider when planning your outdoor lighting:
- Highlighting Features: Determine the architectural and landscaping features you want to accentuate, such as trees, shrubs, pathways, and water features. Highlighting these elements can add depth and character to your outdoor space.
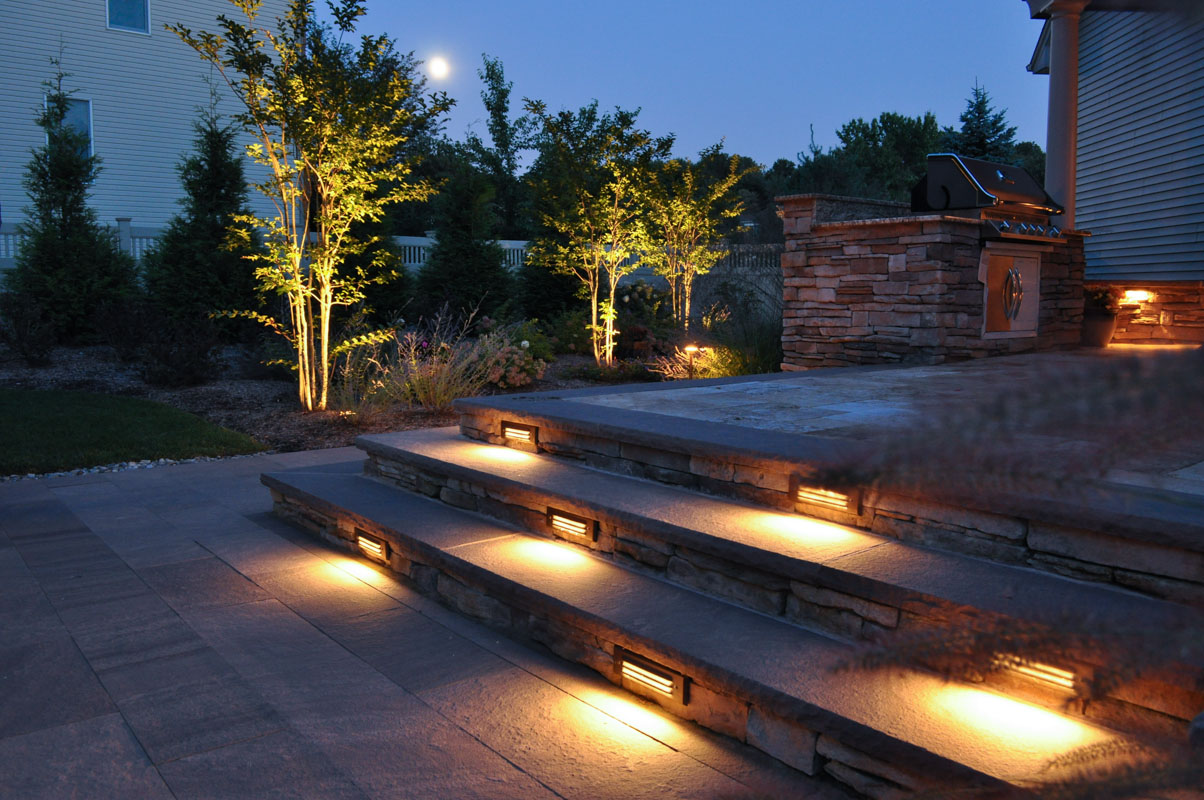
- Enhancing Safety: Identify potential hazards, such as steps, uneven surfaces, or changes in elevation, and plan lighting to ensure safe navigation after dark.
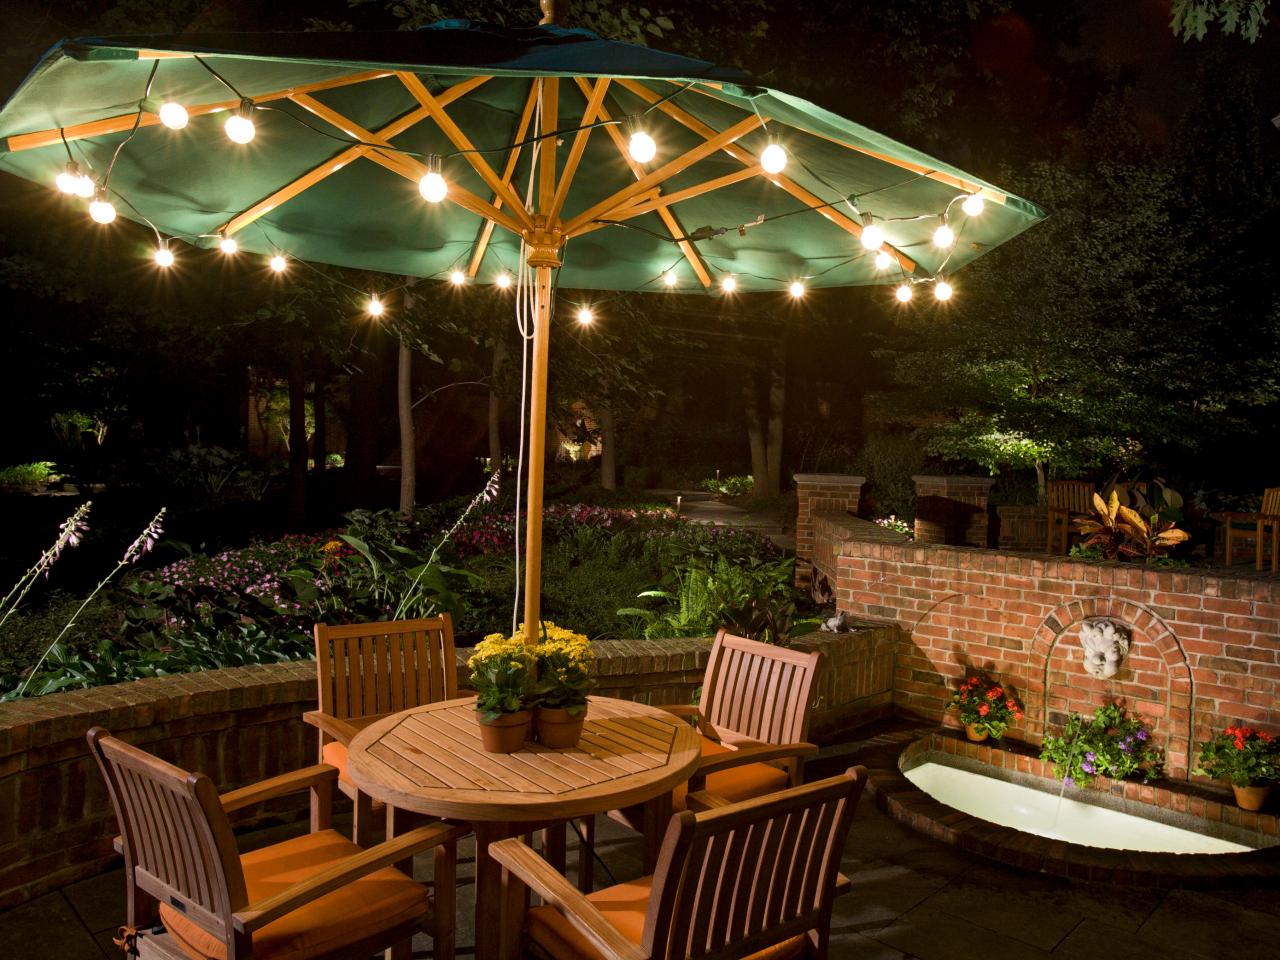
- Creating Ambiance: Consider the mood you want to evoke in different areas of your outdoor space. Soft, diffused lighting can create a cozy atmosphere for entertaining, while brighter lights may be preferable for task-oriented areas.
- Energy Efficiency: Explore energy-efficient options, such as LED fixtures and low voltage systems, to minimize energy consumption and operating costs.
- Regulatory Compliance: Familiarize yourself with local regulations and guidelines regarding outdoor lighting to ensure compliance with any restrictions or requirements.
By carefully considering these factors, you can develop a comprehensive plan that maximizes the aesthetic and functional benefits of your outdoor lighting. This thoughtful approach will guide your fixture selection and placement, ultimately contributing to a cohesive and visually appealing lighting design.
Remember, outdoor lighting is not just about functionality; it’s an opportunity to enhance the beauty of your outdoor space and extend its use into the evening hours. With a well-crafted plan in place, you’re ready to move on to the next step: choosing the right fixtures to bring your vision to life.
Choosing the Right Fixtures
When it comes to selecting fixtures for your outdoor lighting scheme, the options are as diverse as the landscapes they illuminate. From path lights and spotlights to well lights and deck lights, each type of fixture serves a specific purpose in enhancing the functionality and aesthetics of your outdoor space. Here are some key considerations to keep in mind when choosing the right fixtures:
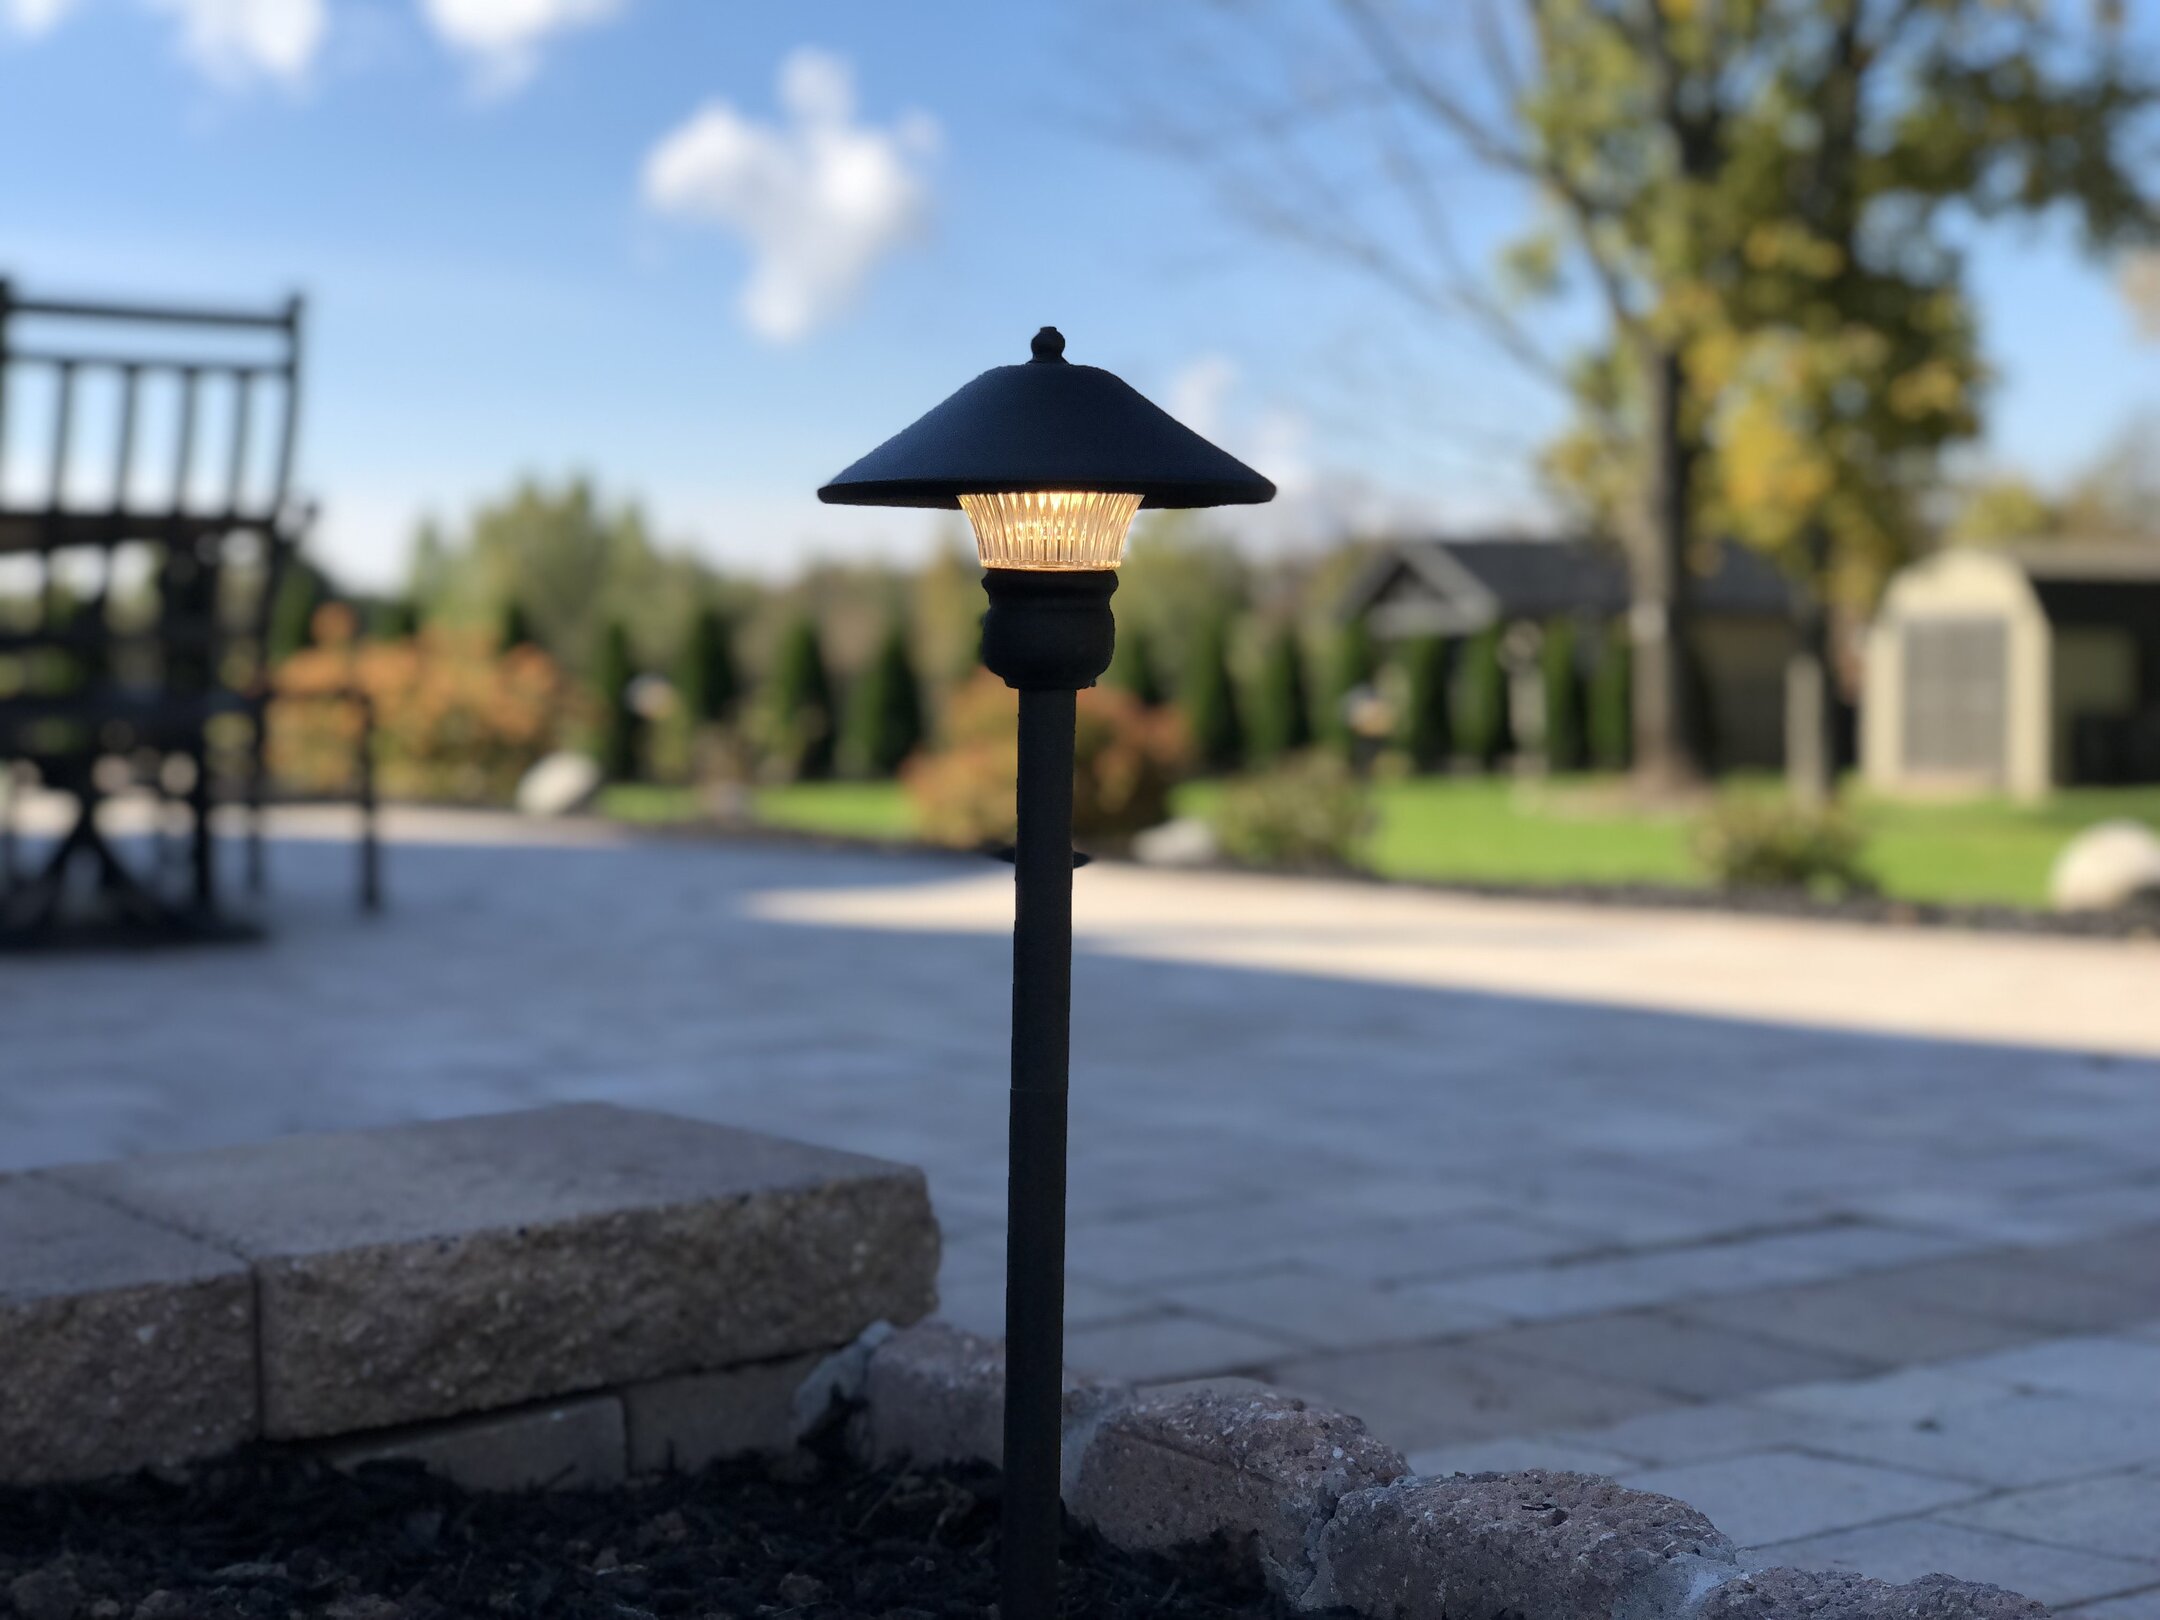
- Functionality: Assess the intended purpose of each lighting fixture. Path lights provide safe passage along walkways, while spotlights can accentuate focal points or architectural elements.
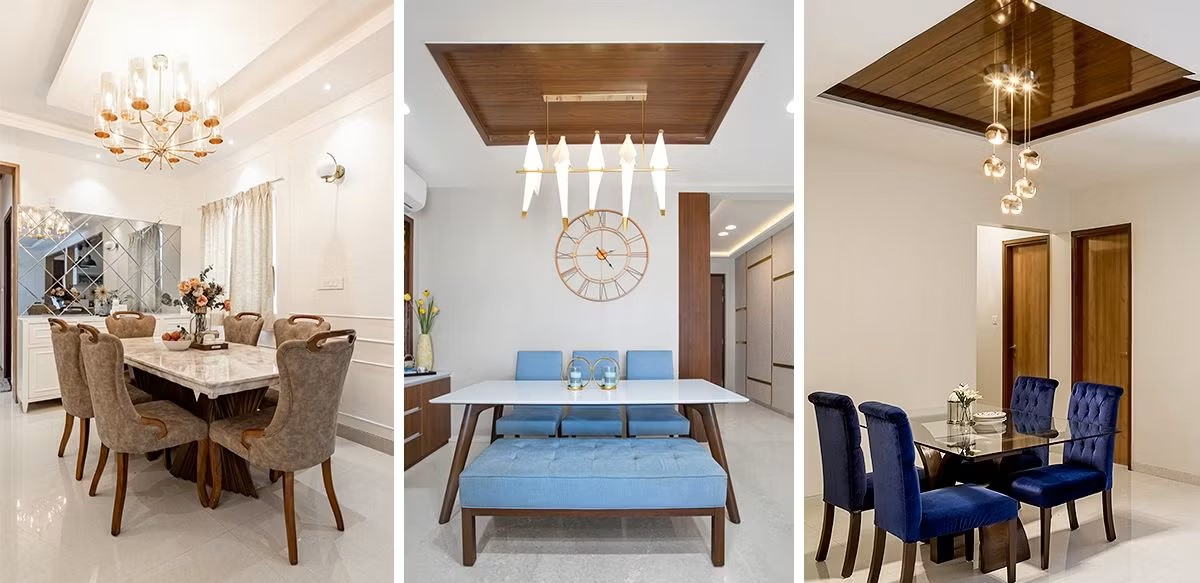
- Design Cohesion: Aim for a cohesive look by selecting fixtures that complement the style and architecture of your outdoor space. Whether your design leans towards modern, traditional, or rustic, there are fixtures to suit every aesthetic.
- Material Durability: Given their exposure to the elements, outdoor lighting fixtures should be constructed from durable, weather-resistant materials such as brass, copper, or corrosion-resistant composites.
- Lighting Effect: Consider the desired lighting effect for each area. Soft, diffused lighting can create a welcoming ambiance, while directional lighting can add drama and focus to specific features.
- Energy Efficiency: Opt for energy-efficient fixtures, such as LED lights, to minimize energy consumption and reduce long-term operating costs.
- Installation and Maintenance: Evaluate the ease of installation and maintenance requirements for each fixture. Choose fixtures that are user-friendly and designed for long-term reliability.
By carefully evaluating these factors, you can select fixtures that align with your design vision, functional requirements, and long-term sustainability goals. Additionally, consider the flexibility of the fixtures to accommodate any future changes or expansions to your outdoor lighting design.
Remember, outdoor lighting fixtures are not just utilitarian components; they are integral elements of your outdoor decor, contributing to the overall aesthetic and ambiance of your outdoor space. With the right fixtures chosen, you’re ready to move on to the next step: installing the transformer, the heart of your low voltage lighting system.
Installing the Transformer
At the core of any low voltage outdoor lighting system lies the transformer, which converts standard household electricity into a safe, low voltage current suitable for outdoor use. Proper installation of the transformer is essential for the safe and efficient operation of your outdoor lighting. Here’s a step-by-step guide to installing the transformer:
- Choose the Installation Location: Select a suitable outdoor location for the transformer, preferably near a power source and close to the lighting fixtures. Ensure the chosen location is well-ventilated and protected from direct exposure to water and other elements.
- Mounting the Transformer: Securely mount the transformer to a stable surface, such as a wall or post, using the appropriate hardware. Ensure that the mounting location allows for easy access to the transformer for maintenance and adjustments.
- Connect to Power Source: Follow the manufacturer’s instructions to connect the transformer to a standard 120-volt power outlet using the provided power cord. Exercise caution and, if necessary, consult a qualified electrician to ensure proper electrical connections.
- Verify Voltage Output: Confirm that the transformer’s output voltage matches the requirements of your low voltage lighting system. Most outdoor lighting systems operate at 12 volts, but it’s essential to verify this before proceeding with the installation.
- Test the Transformer: Once the transformer is installed and connected to the power source, perform a test to ensure that it’s functioning correctly. Check for any unusual sounds, overheating, or other potential issues that may indicate a faulty installation.
- Weatherproofing: Protect the transformer and electrical connections from the elements by using weatherproof enclosures or covers, especially if the installation location is exposed to rain, snow, or excessive moisture.
Proper installation of the transformer is critical to the overall performance and safety of your low voltage outdoor lighting system. By following these installation steps and adhering to the manufacturer’s guidelines, you can ensure that your transformer operates reliably and efficiently, providing the necessary power for your outdoor lighting fixtures.
With the transformer securely installed and operational, you’re now ready to proceed to the next crucial step: wiring the lights to bring your outdoor space to life after dark.
When setting up low voltage outdoor lighting, make sure to carefully plan the layout and placement of the lights to ensure even illumination and avoid overloading the transformer.
Wiring the Lights
Wiring the lights is a pivotal step in setting up your low voltage outdoor lighting system. Proper wiring ensures that power is efficiently distributed to each fixture, allowing for consistent illumination throughout your outdoor space. Here’s a comprehensive guide to wiring the lights for your outdoor lighting system:
- Layout Planning: Before proceeding with the wiring, finalize the layout of your lighting fixtures and determine the most efficient wiring routes to connect the fixtures to the transformer. Consider the distance between fixtures and factor in any obstacles or landscaping features that may influence the wiring layout.
- Use Outdoor-Rated Cable: Select high-quality, outdoor-rated low voltage cable designed specifically for outdoor lighting applications. This cable should be durable, UV-resistant, and capable of withstanding exposure to the elements.
- Burying the Cable: Dig a shallow trench to accommodate the low voltage cable, ensuring that it remains hidden and protected. The cable should be buried at a sufficient depth to prevent accidental damage from lawn maintenance activities or foot traffic.
- Connecting the Fixtures: Follow the manufacturer’s instructions to connect each lighting fixture to the main low voltage cable. Use waterproof wire connectors and ensure that all connections are secure and protected from moisture.
- Calculating Voltage Drop: Consider the total length of the wiring and the wattage of the connected fixtures to calculate voltage drop. Voltage drop can affect the performance of your lighting system, so it’s essential to adhere to recommended voltage drop limits and, if necessary, use voltage taps or thicker cable for longer runs.
- Testing the Connections: Before burying the cable, test the connections and ensure that each fixture receives power and illuminates as intended. This step is crucial for identifying and addressing any wiring issues before finalizing the installation.
By meticulously following these wiring guidelines and taking the necessary precautions, you can establish a robust and reliable electrical infrastructure for your outdoor lighting system. Proper wiring not only ensures consistent illumination but also minimizes the risk of potential electrical hazards and maintenance issues down the line.
With the lights successfully wired and ready for operation, the next step involves adjusting and testing the system to fine-tune the lighting effects and ensure optimal performance in your outdoor environment.
Adjusting and Testing the System
As you near the completion of your low voltage outdoor lighting installation, it’s time to focus on adjusting and testing the system to ensure that it meets your aesthetic and functional expectations. This phase allows you to fine-tune the lighting effects, address any potential issues, and verify the overall performance of your outdoor lighting setup. Here’s a detailed guide to adjusting and testing your outdoor lighting system:
- Positioning and Angling: Adjust the positioning and angling of each lighting fixture to achieve the desired illumination effects. Experiment with different angles and placements to highlight specific features and create a balanced, harmonious lighting scheme.
- Light Intensity: Evaluate the intensity of the light emitted by each fixture and make adjustments as needed. Dimmer controls or interchangeable lenses can help customize the brightness and spread of the light to suit different areas of your outdoor space.
- Beam Spread: Consider the beam spread of each fixture and its impact on the overall lighting coverage. Narrow beams can create focused accents, while wider beams provide broader illumination for pathways and open areas.
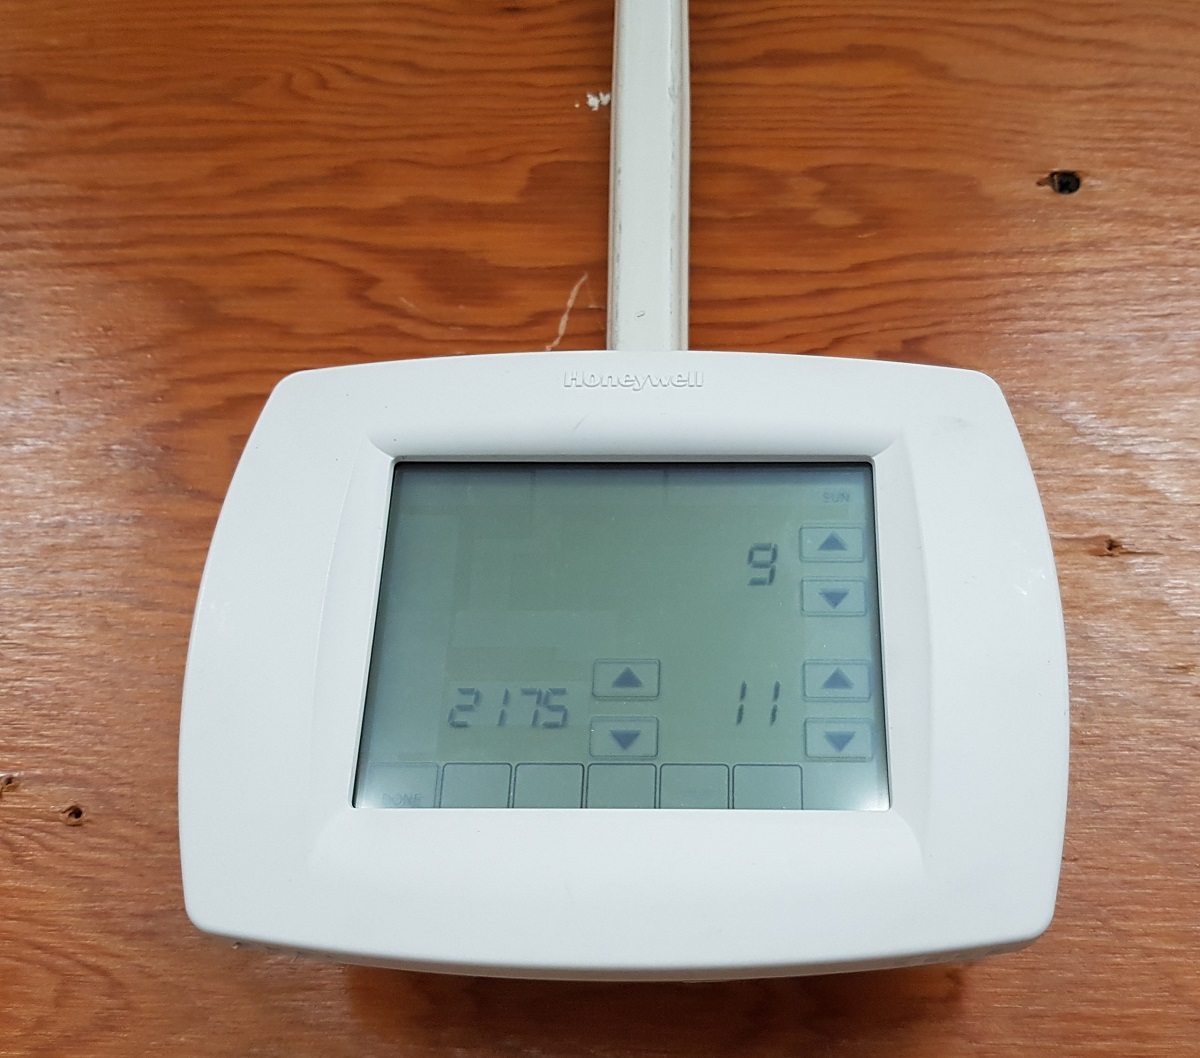
- Timer and Controls: If your lighting system includes timers or controls, program and test these features to ensure that the lights operate according to your preferred schedule and settings.
- Nighttime Testing: Conduct a comprehensive nighttime test to assess the overall lighting effects, identify any dark spots or areas of excessive brightness, and make necessary adjustments to achieve a balanced and visually appealing result.
- System Integration: If your outdoor lighting system includes multiple zones or types of fixtures, ensure that all components work seamlessly together to create a cohesive and harmonized lighting display.
By meticulously fine-tuning and testing your outdoor lighting system, you can optimize its performance, enhance the visual impact, and ensure that it aligns with your initial design vision. This phase allows for creative expression and customization, empowering you to create a captivating outdoor ambiance that reflects your unique style and preferences.
With the system adjusted and tested to perfection, the final step involves providing maintenance and troubleshooting tips to preserve the longevity and functionality of your outdoor lighting installation.
Maintenance and Troubleshooting Tips
After the successful installation and fine-tuning of your low voltage outdoor lighting system, it’s essential to implement a proactive maintenance regimen to preserve its functionality and visual appeal. Additionally, familiarizing yourself with troubleshooting techniques can help address any unexpected issues that may arise. Here are valuable maintenance and troubleshooting tips to keep your outdoor lighting system in optimal condition:
- Regular Cleaning: Periodically clean the fixtures, lenses, and surrounding areas to remove dirt, debris, and any obstructions that may affect the quality of illumination. Use a soft cloth, mild detergent, and water to gently wipe down the fixtures and maintain their pristine appearance.
- Inspect for Damage: Routinely inspect the fixtures, wiring, and connections for signs of wear, corrosion, or damage caused by environmental factors. Address any issues promptly to prevent further deterioration and ensure safe operation.
- Trim Vegetation: Trim back vegetation that may obstruct the light output or pose a risk to the fixtures. Overgrown foliage can diminish the effectiveness of your lighting system and create potential hazards if left unattended.
- Check Electrical Connections: Periodically check the electrical connections, including wire splices and connections to the transformer, to verify their integrity and secureness. Loose or corroded connections can lead to operational issues and safety concerns.
- Monitor Performance: Regularly observe the performance of the lighting system, noting any irregularities in illumination, timing, or functionality. Address any deviations from the norm promptly to maintain consistent and reliable operation.
- Seasonal Adjustments: Consider seasonal adjustments to accommodate changes in daylight hours, foliage density, and outdoor activities. Fine-tune the lighting effects and schedules to align with the evolving environmental conditions and your specific outdoor usage patterns.
- Troubleshooting Techniques: Familiarize yourself with common troubleshooting techniques, such as checking for loose connections, assessing voltage output, and isolating individual fixtures to identify potential issues. Refer to the manufacturer’s guidelines and seek professional assistance if needed.
By integrating these maintenance practices and troubleshooting strategies into your routine, you can uphold the longevity, performance, and visual impact of your outdoor lighting system. Regular care and vigilance contribute to a consistently enchanting outdoor ambiance and minimize the likelihood of unexpected operational disruptions.
With these maintenance and troubleshooting tips at your disposal, you’re equipped to preserve the allure and functionality of your low voltage outdoor lighting system, ensuring that it continues to illuminate and enhance your outdoor space for years to come.
Frequently Asked Questions about How To Set Up Low Voltage Outdoor Lighting
Was this page helpful?
At Storables.com, we guarantee accurate and reliable information. Our content, validated by Expert Board Contributors, is crafted following stringent Editorial Policies. We're committed to providing you with well-researched, expert-backed insights for all your informational needs.


0 thoughts on “How To Set Up Low Voltage Outdoor Lighting”