Home>Furniture & Design>Outdoor Furniture>How To Connect Outdoor Lights To Power

Outdoor Furniture
How To Connect Outdoor Lights To Power
Modified: January 14, 2024
Learn how to connect outdoor lights to power with our comprehensive guide. Get expert tips on outdoor furniture, design, and more. Discover everything you need for your outdoor space.
(Many of the links in this article redirect to a specific reviewed product. Your purchase of these products through affiliate links helps to generate commission for Storables.com, at no extra cost. Learn more)
Introduction
Welcome to the world of outdoor lighting! Adding outdoor lights to your home not only enhances its aesthetics but also boosts safety and security. Whether you're installing decorative string lights for a cozy ambiance or illuminating pathways for practical reasons, connecting outdoor lights to power is a crucial step in the installation process.
In this comprehensive guide, we'll walk you through the essential steps to seamlessly connect your outdoor lights to power. From gathering the necessary materials to testing the connection, we've got you covered. By the end of this tutorial, you'll feel confident in your ability to illuminate your outdoor space with style and functionality.
So, grab your toolbox and let's dive into the exciting world of outdoor lighting!
Key Takeaways:
- Illuminate your outdoor space with confidence by following these steps to connect outdoor lights to power. Safety, functionality, and ambiance await in your beautifully lit outdoor haven!
- Gather the right materials, choose the perfect power source, and test your connection to create captivating outdoor environments that reflect your unique style and preferences. Enjoy enchanting evenings in your beautifully lit outdoor sanctuary!
Step 1: Gather Necessary Materials
Before embarking on the journey of connecting your outdoor lights to power, it's essential to gather all the required materials. Having the right tools and components at your disposal will streamline the installation process and ensure a successful outcome.
Here's a list of materials you'll need:
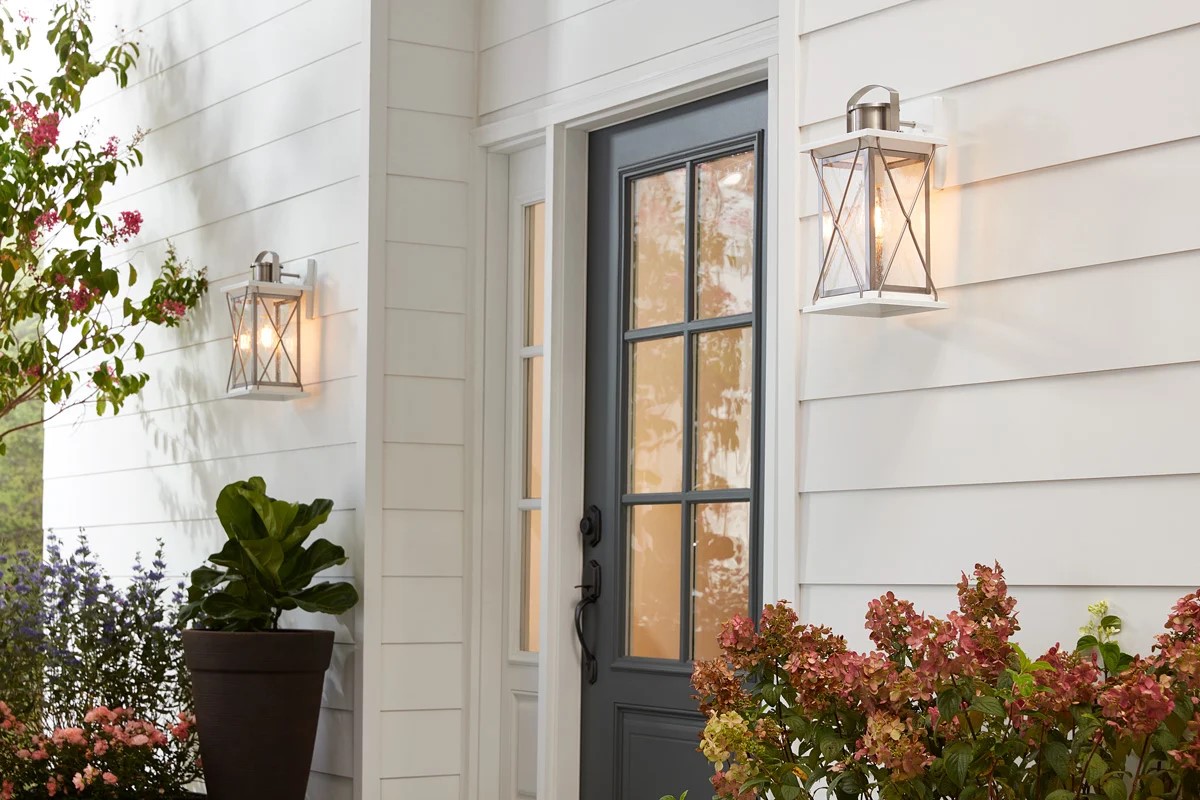
- Outdoor Lights: Select the type of lights that best suit your outdoor space, such as string lights, pathway lights, or wall-mounted fixtures.
- Power Source: This could include an outdoor electrical outlet, a junction box, or a low-voltage transformer, depending on the type of lighting you choose.
- Wiring: Ensure you have the appropriate outdoor-rated wiring, such as UF (underground feeder) cable or low-voltage cable, based on your specific lighting setup.
- Connectors and Fasteners: Depending on the type of lights and wiring, you may need waterproof wire connectors, cable staples, or zip ties to secure the wiring in place.
- Tools: A basic toolkit including wire cutters, wire strippers, a screwdriver, a voltage tester, and a hammer if you’re using staples.
- Protective Gear: Safety should always be a priority. Consider using gloves, safety goggles, and appropriate footwear, especially if you’re working with electrical components.
By ensuring you have all these materials on hand, you’ll be well-prepared to proceed with the installation process, making it a smooth and efficient experience.
Step 2: Choose the Right Power Source
When connecting outdoor lights to power, selecting the appropriate power source is crucial for ensuring the safety and functionality of your lighting setup. The choice of power source largely depends on the type of outdoor lights you’re installing and the layout of your outdoor space.
Here are the primary power sources to consider:
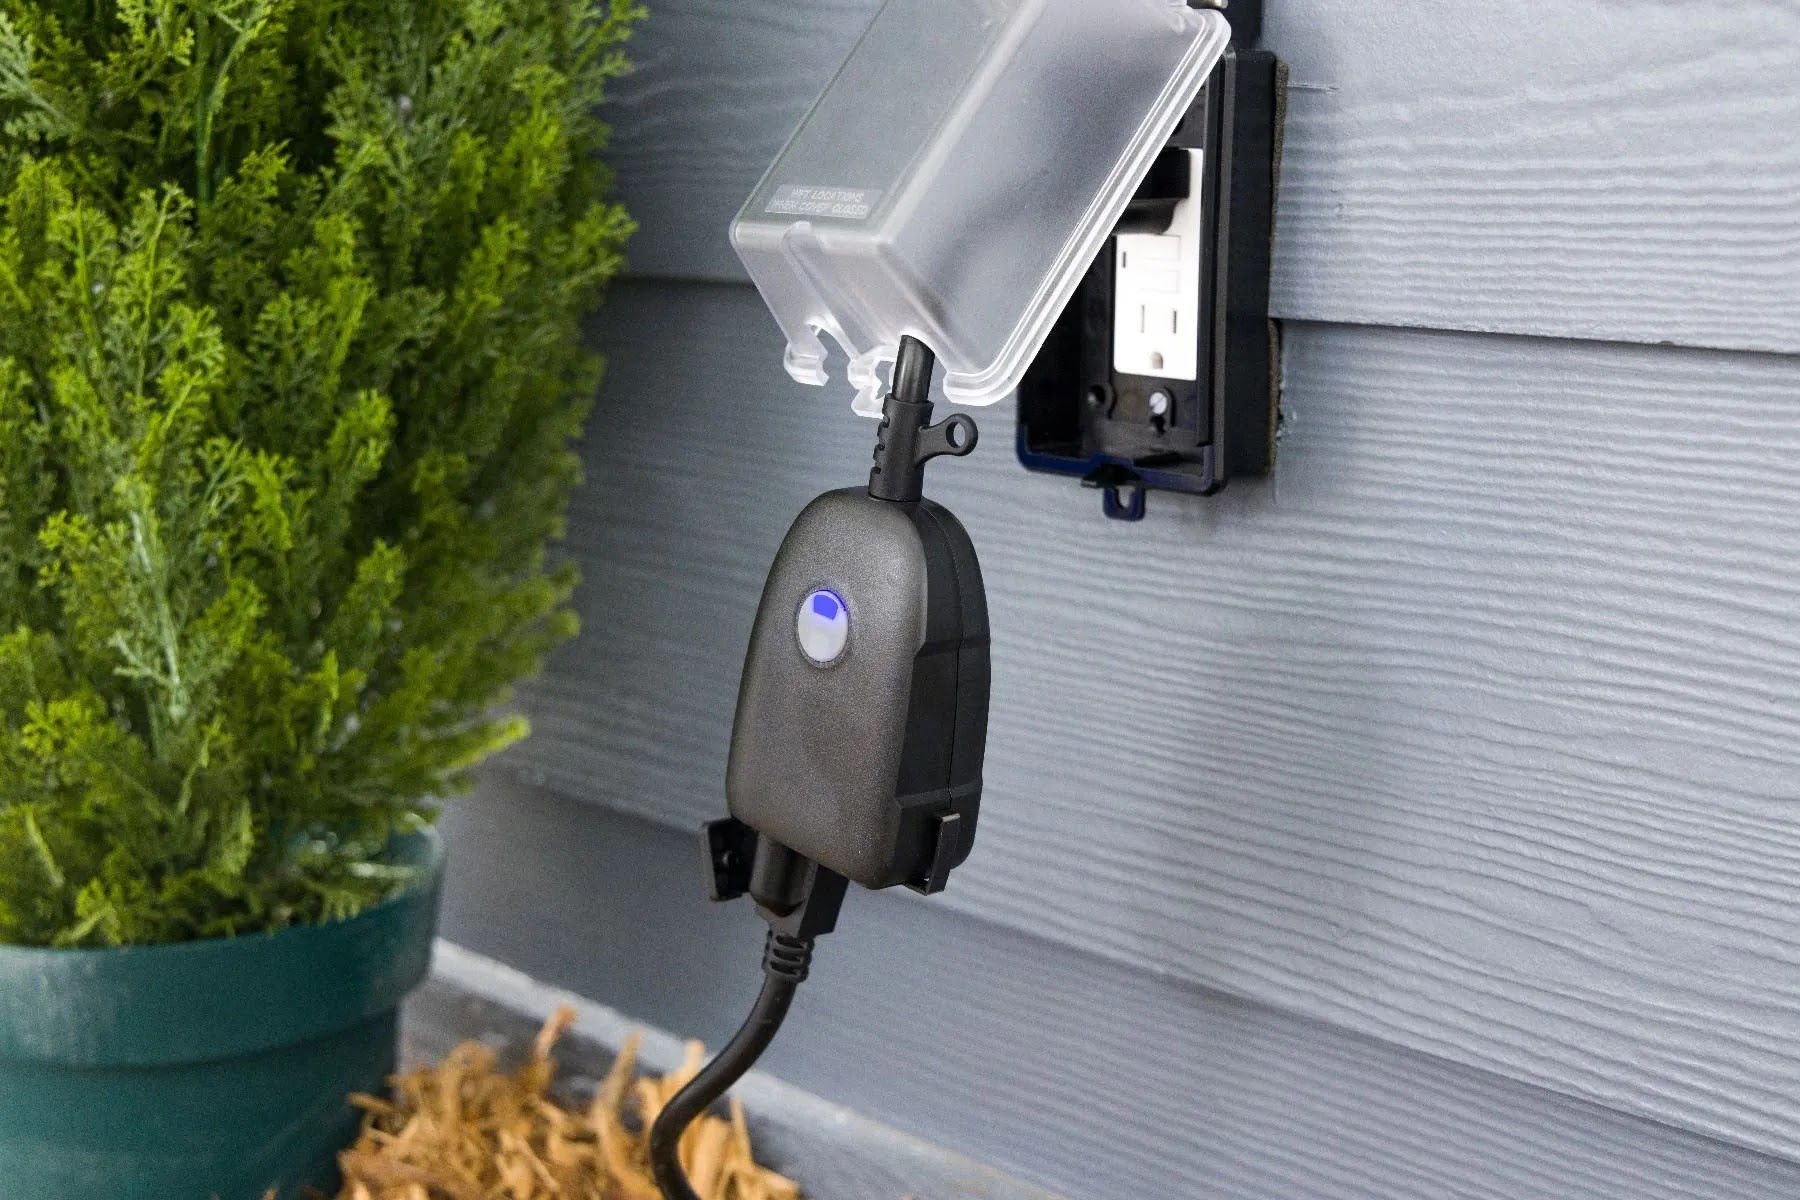
- Outdoor Electrical Outlet: If you’re installing traditional line-voltage lighting, such as wall-mounted fixtures or decorative string lights, an outdoor electrical outlet may be the most convenient power source. Ensure that the outlet is GFCI-protected and weather-resistant to withstand outdoor conditions.
- Junction Box: For more permanent and integrated lighting fixtures, a junction box can serve as the power source. This is especially common for wall-mounted or ceiling-mounted lights that require a direct electrical connection.
- Low-Voltage Transformer: If you’re opting for low-voltage landscape lighting, a low-voltage transformer is essential to step down the standard household voltage to a safer 12 volts, suitable for outdoor use. This type of power source allows for flexible and relatively simple installation of pathway lights, garden lights, and other low-voltage fixtures.
- Solar-Powered: For eco-friendly and energy-efficient outdoor lighting, solar-powered lights harness sunlight to charge built-in batteries, eliminating the need for a direct electrical connection. These are ideal for areas with ample sunlight exposure.
Before proceeding, carefully assess your outdoor space and the specific lighting requirements to determine the most suitable power source. Factors such as proximity to electrical outlets, desired lighting effects, and long-term maintenance should all be taken into consideration when making this decision.
By choosing the right power source, you’ll lay a solid foundation for a reliable and efficient outdoor lighting system that enhances the beauty and functionality of your outdoor living space.
Step 3: Determine the Wiring Layout
Planning the wiring layout for your outdoor lighting is a crucial step that directly impacts the functionality and aesthetics of the final installation. Whether you’re setting up a single lighting fixture or a comprehensive network of lights, a well-thought-out wiring layout ensures efficient power distribution and a visually appealing result.
Consider the following factors when determining the wiring layout:
- Lighting Locations: Identify the specific locations where you intend to install the lights. This could include pathways, garden beds, patio areas, or the perimeter of your outdoor space.
- Power Source Proximity: Assess the proximity of the chosen power source, whether it’s an electrical outlet, junction box, or low-voltage transformer, to the intended lighting locations. This will influence the routing of the wiring and the overall ease of installation.
- Wiring Method: Depending on the type of lighting and the distance from the power source, determine whether you’ll use direct burial UF cable for line-voltage lighting or low-voltage cable for a safer and more flexible installation. Plan the pathways for the wiring, considering factors such as concealment, protection from the elements, and compliance with local building codes.
- Control and Automation: If you’re incorporating advanced control features, such as timers, motion sensors, or smart home integration, plan the wiring layout to accommodate these components. This may involve additional wiring for control modules or communication cables.
- Future Expansion: Anticipate any future expansion of your outdoor lighting system and plan the wiring layout with scalability in mind. Leaving room for additional lights or features can save time and effort in the long run.
By carefully mapping out the wiring layout, you’ll streamline the installation process and minimize potential challenges or rework. Additionally, a well-executed wiring plan sets the stage for a professional-looking and seamlessly integrated outdoor lighting setup that enhances the allure of your outdoor living space.
When connecting outdoor lights to power, make sure to use weatherproof electrical connectors and outdoor-rated extension cords to prevent water damage and ensure safety.
Step 4: Connect the Lights to Power
Now that you’ve gathered the necessary materials, chosen the right power source, and determined the wiring layout, it’s time to connect your outdoor lights to power. This step involves the physical installation and electrical connections that bring your outdoor lighting to life.
Here’s a systematic approach to connecting the lights to power:
- Prepare the Wiring: If you’re using UF cable for line-voltage lighting, carefully strip the outer insulation to expose the individual conductors. For low-voltage lighting, ensure that the connections are made using the appropriate low-voltage cable connectors.
- Make Electrical Connections: Depending on the type of lights, follow the manufacturer’s instructions to make the electrical connections. This typically involves connecting the black (hot) wire, the white (neutral) wire, and the green or bare (ground) wire. Use waterproof wire connectors for outdoor applications to ensure a secure and weather-resistant connection.
- Secure the Wiring: Once the connections are made, secure the wiring in place using cable staples, zip ties, or other appropriate fasteners. Ensure that the wiring is neatly routed along the predetermined pathways, keeping it clear of potential damage or tripping hazards.
- Mount the Lights: Install the outdoor lights at their designated locations, following the manufacturer’s guidelines. This may involve mounting wall fixtures, positioning pathway lights, or suspending string lights as per your initial plan.
- Make Power Source Connections: If you’re using an outdoor electrical outlet or a junction box as the power source, carefully make the necessary connections, ensuring that the power is safely and securely delivered to the lighting fixtures.
- Test the Circuit: Before finalizing the installation, use a voltage tester to ensure that the circuit is properly energized and that the lights are receiving power as intended. This step is crucial for verifying the integrity of the connections and identifying any potential issues.
By methodically connecting the lights to power, you’ll bring your outdoor lighting vision to fruition, creating an inviting and functional ambiance in your outdoor living space.
Read more: How To Power Outdoor Speakers
Step 5: Test the Connection
Once the outdoor lights are connected to power, it’s essential to thoroughly test the connection to ensure that the entire lighting system functions as intended. Testing the connection not only validates the successful installation but also allows for any necessary adjustments or troubleshooting before finalizing the setup.
Here’s how to effectively test the connection of your outdoor lights:
- Turn on the Lights: Activate the power source to turn on the outdoor lights. This allows you to visually inspect each light fixture and confirm that they illuminate as expected. Take note of any flickering, dimming, or non-functioning lights, as these may indicate wiring issues or faulty connections.
- Check for Consistency: Walk around your outdoor space and observe the lighting from various angles. Ensure that the light output is consistent and uniform across all fixtures. In the case of multi-light setups, such as string lights or pathway lighting, assess the overall visual effect and make adjustments if necessary.
- Verify Control Features: If your lighting system incorporates control features such as timers, motion sensors, or smart home integration, verify that these functions operate as expected. Test the responsiveness of motion sensors and the accuracy of programmed schedules to ensure seamless control of the outdoor lights.
- Inspect for Safety: While the lights are illuminated, inspect the entire setup for any signs of overheating, exposed wiring, or other safety concerns. Ensure that all connections are secure, and the fixtures are properly mounted and positioned to prevent any hazards.
- Address Any Issues: If you encounter any issues during the testing phase, such as non-functioning lights or inconsistent performance, promptly troubleshoot and address the underlying causes. This may involve rechecking the wiring connections, adjusting the positioning of fixtures, or consulting with a professional if complex issues arise.
By diligently testing the connection of your outdoor lights, you’ll verify the functionality, safety, and overall impact of your newly installed lighting system. This final step sets the stage for enjoying the enhanced beauty, security, and ambiance that well-designed outdoor lighting brings to your outdoor living space.
Conclusion
Congratulations on successfully connecting your outdoor lights to power! By following the comprehensive steps outlined in this guide, you’ve taken a significant stride towards illuminating and enhancing your outdoor living space. Whether you’ve installed captivating string lights for entertaining guests or strategically positioned pathway lights for added safety, your outdoor lighting setup is poised to elevate your outdoor experience.
As you reflect on the journey of connecting your outdoor lights to power, it’s important to acknowledge the transformative impact of well-executed outdoor lighting. Beyond the technical aspects of installation, outdoor lighting has the power to create inviting atmospheres, accentuate architectural features, and extend the functionality of outdoor areas well into the evening hours.
Furthermore, the successful connection of your outdoor lights to power marks the beginning of a captivating outdoor experience, where evenings are illuminated with warmth and charm. Whether you’re hosting gatherings, enjoying quiet moments under the stars, or simply enhancing the visual appeal of your home, your outdoor lighting holds the potential to create lasting memories and enrich your lifestyle.
Remember, the journey doesn’t end with the installation. Regular maintenance, occasional adjustments, and the addition of new lighting features can further enhance the allure of your outdoor space. Embrace the creative possibilities that outdoor lighting offers, and let your imagination guide you in crafting captivating outdoor environments that reflect your unique style and preferences.
With your outdoor lights seamlessly connected to power, you’re now poised to bask in the captivating glow of your outdoor sanctuary, where every moment is illuminated with beauty and purpose.
Here’s to the enchanting evenings and unforgettable moments that await in your beautifully lit outdoor haven!
Frequently Asked Questions about How To Connect Outdoor Lights To Power
Was this page helpful?
At Storables.com, we guarantee accurate and reliable information. Our content, validated by Expert Board Contributors, is crafted following stringent Editorial Policies. We're committed to providing you with well-researched, expert-backed insights for all your informational needs.



0 thoughts on “How To Connect Outdoor Lights To Power”