Home>Home Security and Surveillance>How To Connect A Motion Detector To A Solar Light

Home Security and Surveillance
How To Connect A Motion Detector To A Solar Light
Modified: November 1, 2024
Learn how to easily connect a motion detector to a solar light for enhanced home security and surveillance. Step-by-step guide for DIY installation.
(Many of the links in this article redirect to a specific reviewed product. Your purchase of these products through affiliate links helps to generate commission for Storables.com, at no extra cost. Learn more)
Introduction
Welcome to our comprehensive guide on connecting a motion detector to a solar light. In today’s world, home security has become a top priority for many homeowners. With the advancements in technology, it is now easier than ever to enhance the security of your home by installing a motion detector that is powered by solar energy.
Motion detectors are devices that can sense movement within their range and trigger an action, such as turning on a light. They are commonly used in home security systems to detect any unauthorized activity and deter intruders. Solar lights, on the other hand, utilize the power of the sun to generate electricity and provide illumination without the need for traditional power sources.
By connecting a motion detector to a solar light, you can have a cost-effective and energy-efficient solution for outdoor lighting and security. Whether you want to illuminate your driveway, backyard, or other areas around your home, this guide will walk you through the process of connecting a motion detector to a solar light.
We will start by explaining the different types of motion detectors available in the market and how they work. Understanding the basics of motion detection will help you choose the right type of detector for your needs. Next, we will discuss the different types of solar lights available and the factors to consider when selecting one for your installation.
Once you have chosen the suitable motion detector and solar light, we will guide you through the steps of preparing the motion detector for installation. This includes checking for compatibility with your solar light, mounting the detector, and adjusting the settings to meet your desired specifications.
After preparing the motion detector, we will move on to the main task of connecting it to the solar light. We will explain how to locate the control box of the solar light, identify the wiring connections, and properly wire the motion detector to the light.
Finally, we will cover the important step of testing the motion detector to ensure it is functioning correctly, as well as troubleshooting common issues that may arise during the installation process.
So, if you’re ready to enhance the security and lighting efficiency of your home, let’s dive into the world of motion detectors and solar lights and learn how to connect them together!
Key Takeaways:
- Connecting a motion detector to a solar light enhances home security and lighting efficiency. Understanding motion detector types and choosing the right solar light are crucial for a successful installation.
- Properly preparing, connecting, testing, and troubleshooting the motion detector and solar light system ensures optimal functionality. Enjoy peace of mind with renewable solar energy for home security and lighting.
Understanding Motion Detectors
Motion detectors are electronic devices that are designed to detect movement and trigger a response. They are commonly used in home security systems to detect any unauthorized activity and alert homeowners. In this section, we will explore the different types of motion detectors available and how they work.
Types of Motion Detectors
There are several types of motion detectors available, each with its own advantages and applications. The most common types include:
- Passive Infrared (PIR) Motion Detectors: These are the most widely used motion detectors. They work by detecting changes in infrared radiation within their field of view. When a warm object, such as a person or animal, passes in front of the sensor, the detector detects the change in infrared radiation and triggers an action. PIR motion detectors are ideal for indoor and outdoor applications and are known for their accuracy and reliability.
- Microwave Motion Detectors: Microwave motion detectors use continuous microwave signals to detect motion. They emit microwave pulses and measure the reflections when the waves bounce off objects in their detection zone. When there is a change in the reflected signals, indicating the presence of a moving object, the detector triggers a response. Microwave motion detectors are highly sensitive and can detect motion through walls and other obstacles.
- Ultrasonic Motion Detectors: Ultrasonic motion detectors emit high-frequency sound waves and monitor the reflections of these sound waves. When there is a change in the reflected sound waves due to movement, the detector triggers an action. Ultrasonic motion detectors are effective in detecting both slow and fast-moving objects, making them suitable for areas with high-security requirements.
- Dual Technology Motion Detectors: Dual technology motion detectors combine two or more detection technologies, such as PIR and microwave or PIR and ultrasonic, to provide enhanced accuracy and reduce false alarms. Dual technology detectors require both technologies to be triggered simultaneously to avoid false alarms caused by pets or other non-threatening movements.
How Motion Detectors Work
The basic principle behind the operation of motion detectors is to detect changes in the environment caused by movement. Here is a step-by-step overview of how motion detectors work:
- Detection Zone: Motion detectors have a specific range or coverage area known as the detection zone. Any movement that occurs within this zone can be detected by the sensor.
- Sensor Activation: When a person, animal, or object enters the detection zone, the motion detector’s sensor is activated. The sensor can be a passive infrared sensor, a microwave transmitter/receiver, an ultrasonic transmitter/receiver, or a combination of these technologies.
- Sensor Signal: The activated sensor generates an electric signal or triggers a change in the detection mechanism based on the specific technology used.
- Signal Analysis: The motion detector analyzes the signal it received from the sensor to determine if it indicates motion or any other triggering condition.
- Action Triggered: If the motion detector detects motion within its detection zone, it triggers a response, such as turning on lights, sounding an alarm, or activating a security system.
It is important to note that motion detectors can be adjusted to control their sensitivity, range, and time delay before triggering a response. This allows you to customize the settings based on your specific needs and the environment in which the motion detector is installed.
Now that we have a better understanding of the types of motion detectors and how they work, we can move on to the next step of our guide, which is choosing the right solar light for your installation.
Choosing a Solar Light
When connecting a motion detector to a solar light, it is essential to choose the right type of solar light that suits your needs and provides efficient illumination. In this section, we will explore the different types of solar lights available and the factors to consider when making your selection.
Types of Solar Lights
There are various types of solar lights available in the market, each designed for specific purposes and applications. Some common types of solar lights include:
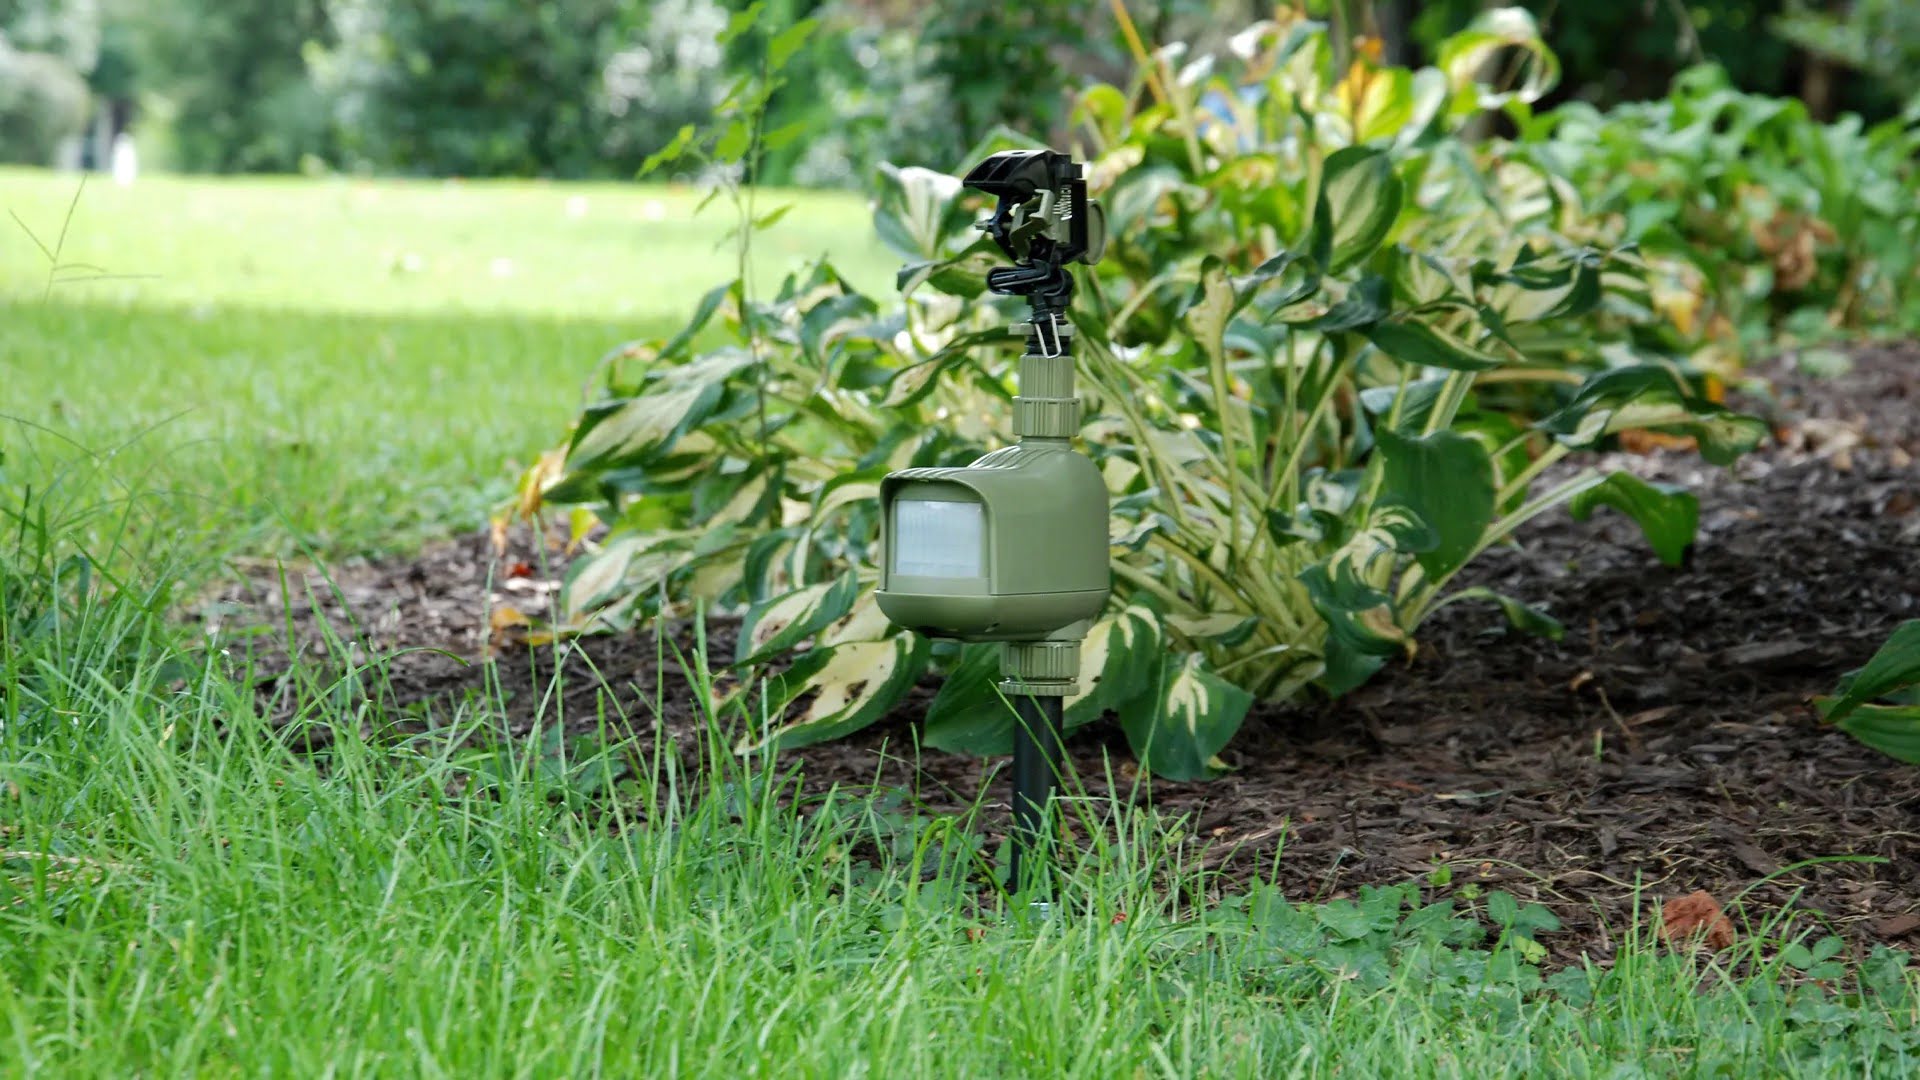
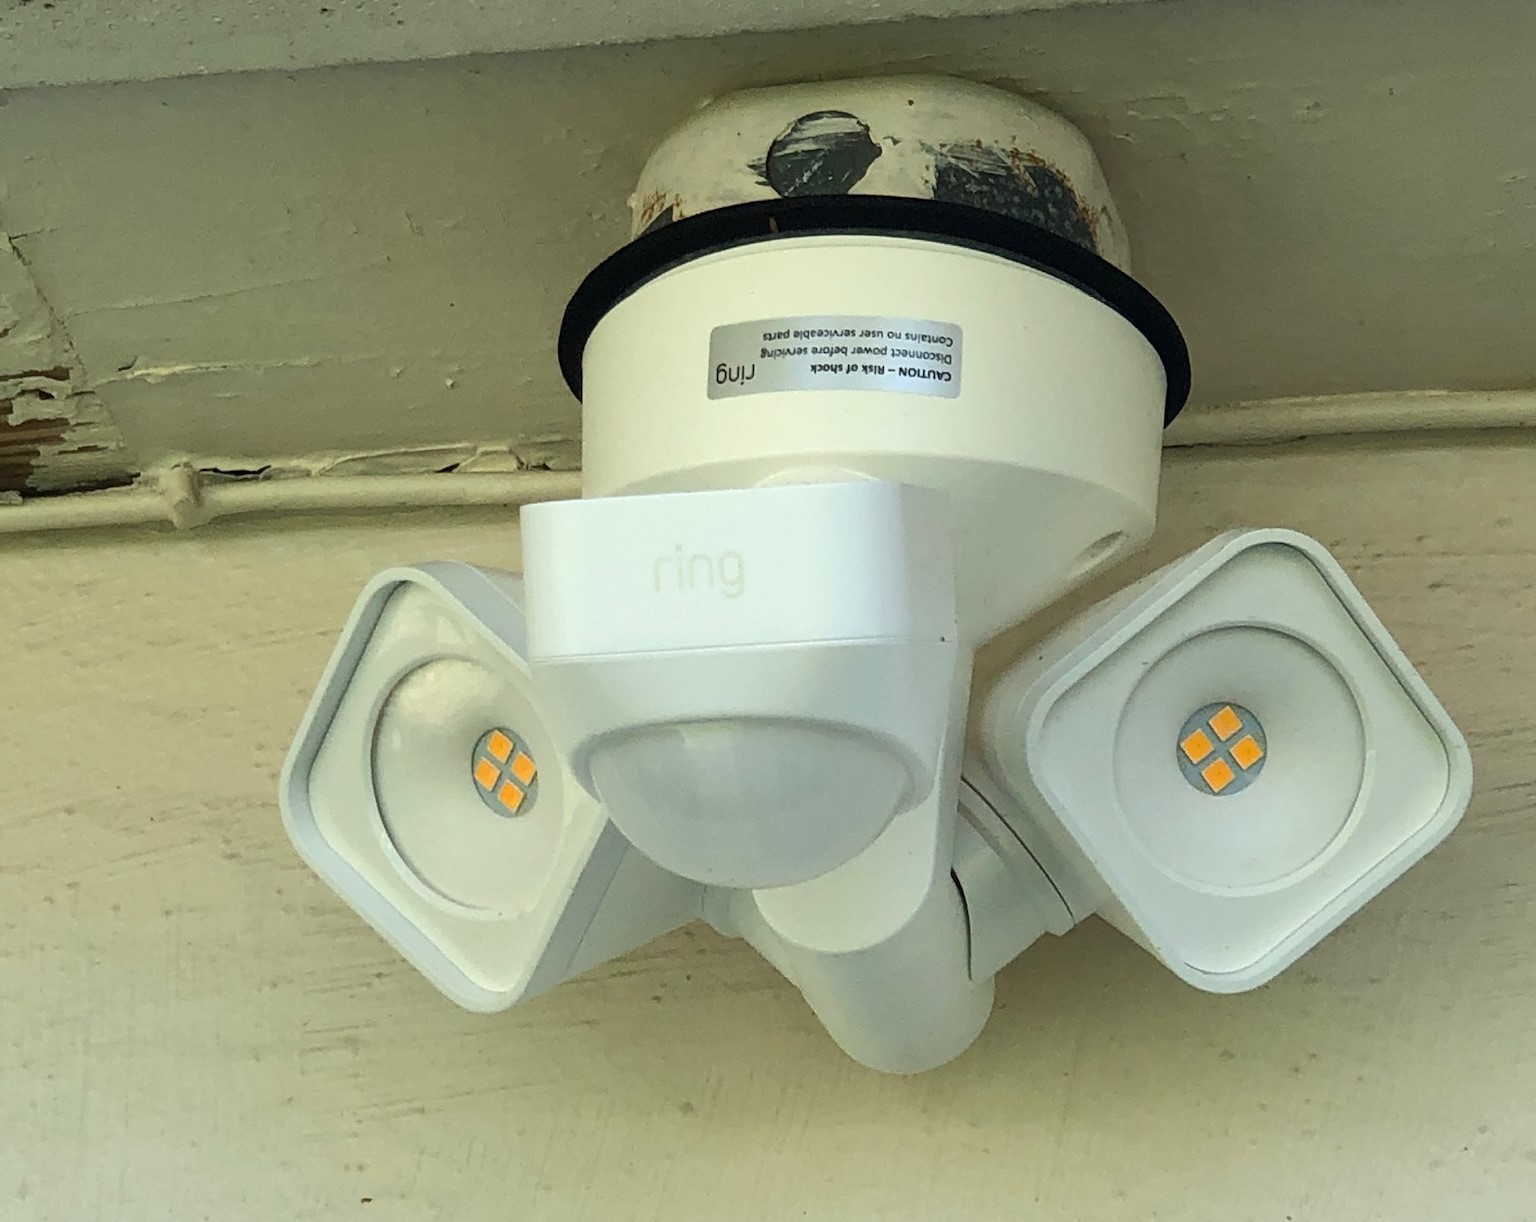
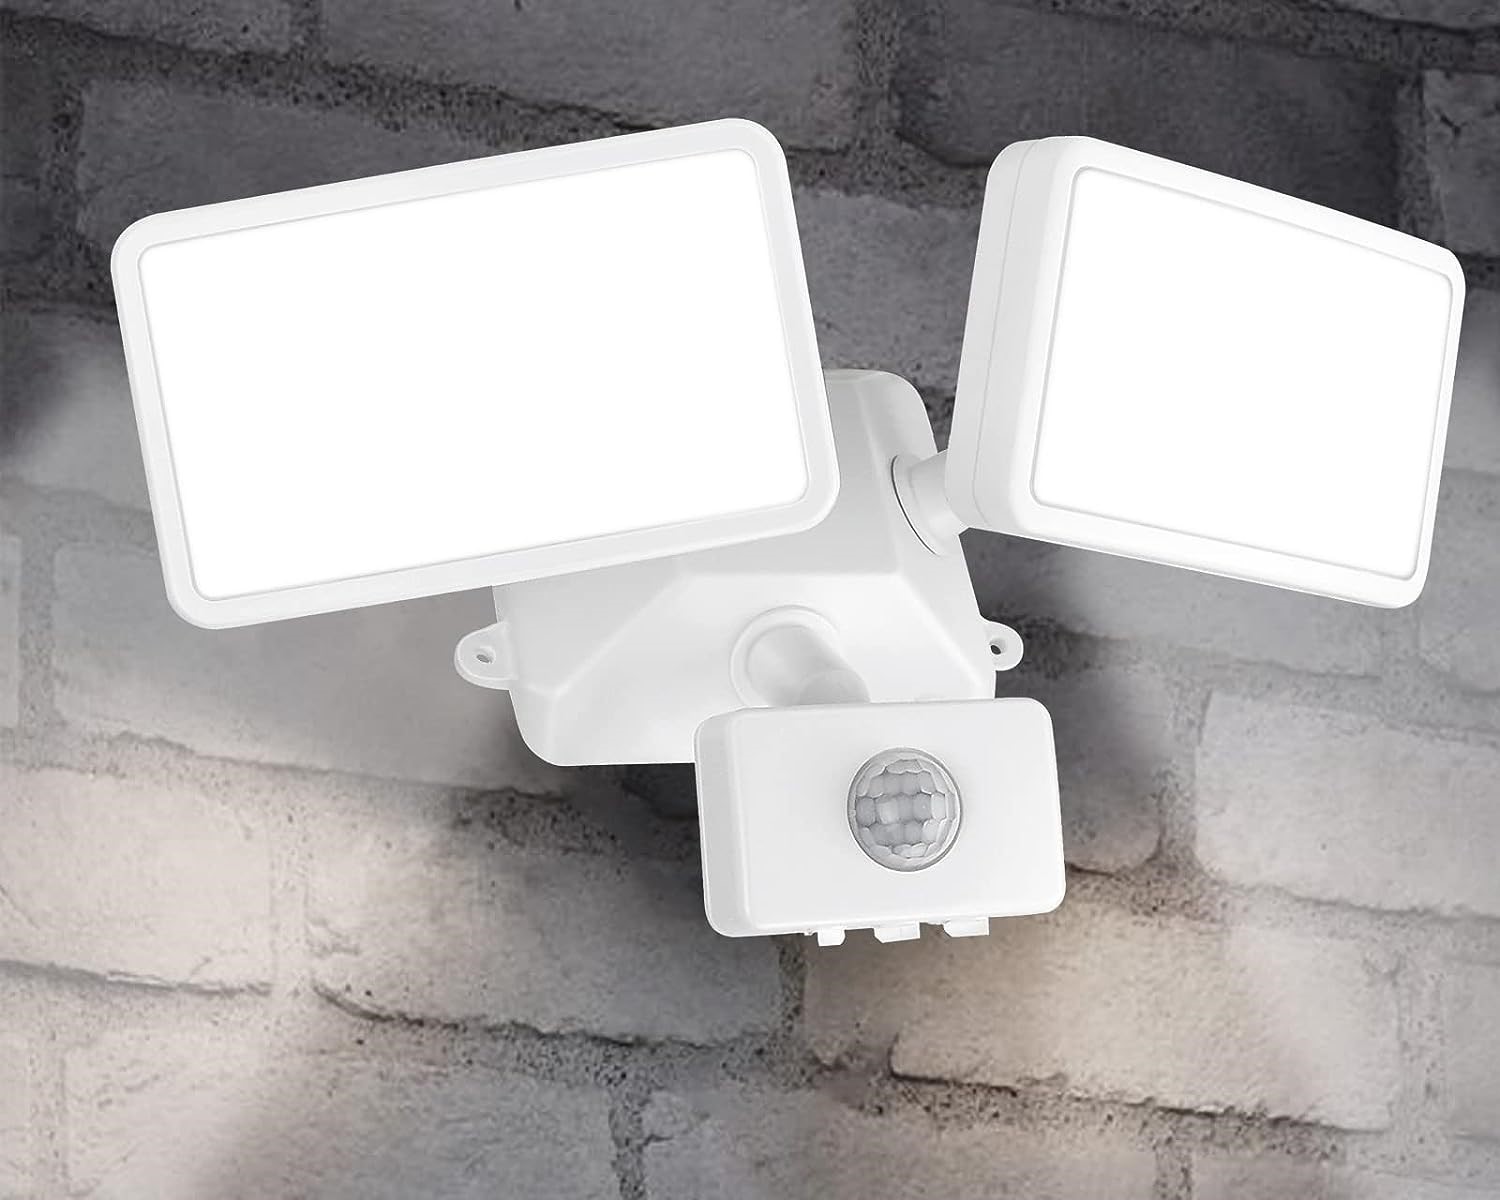
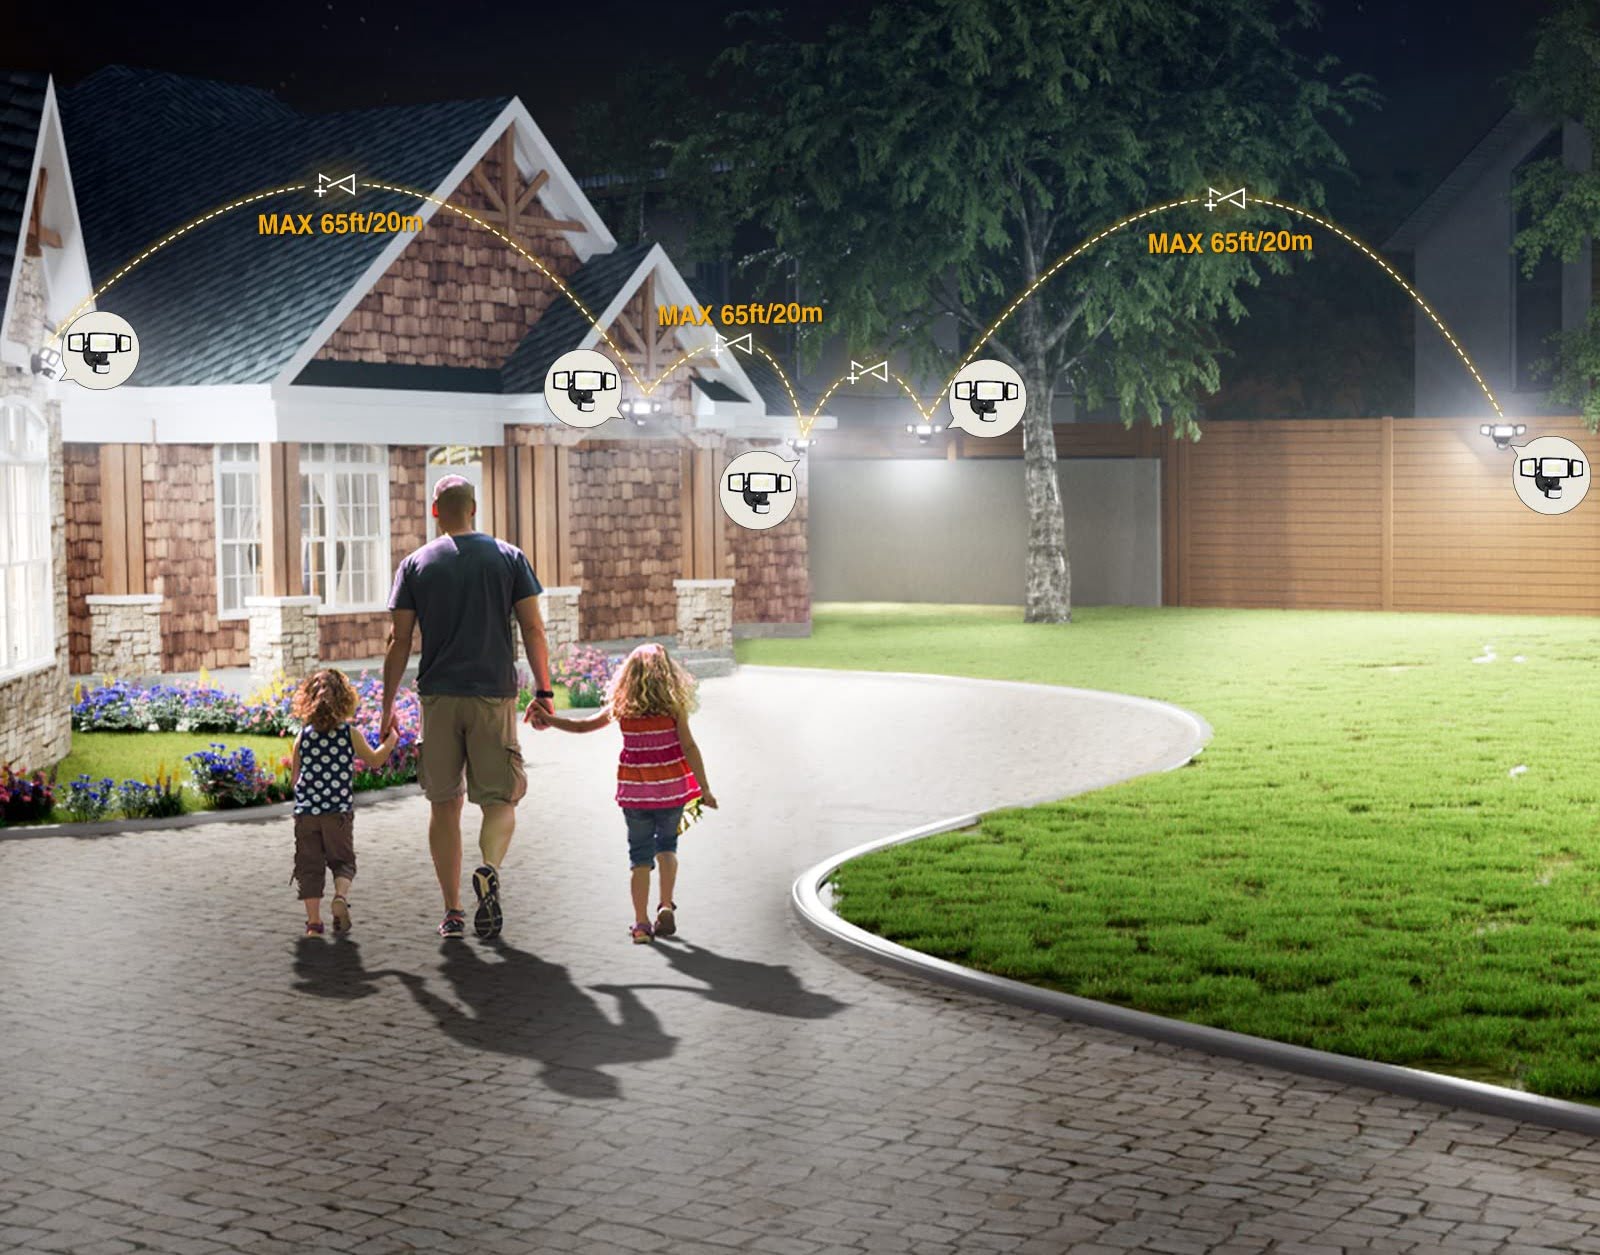
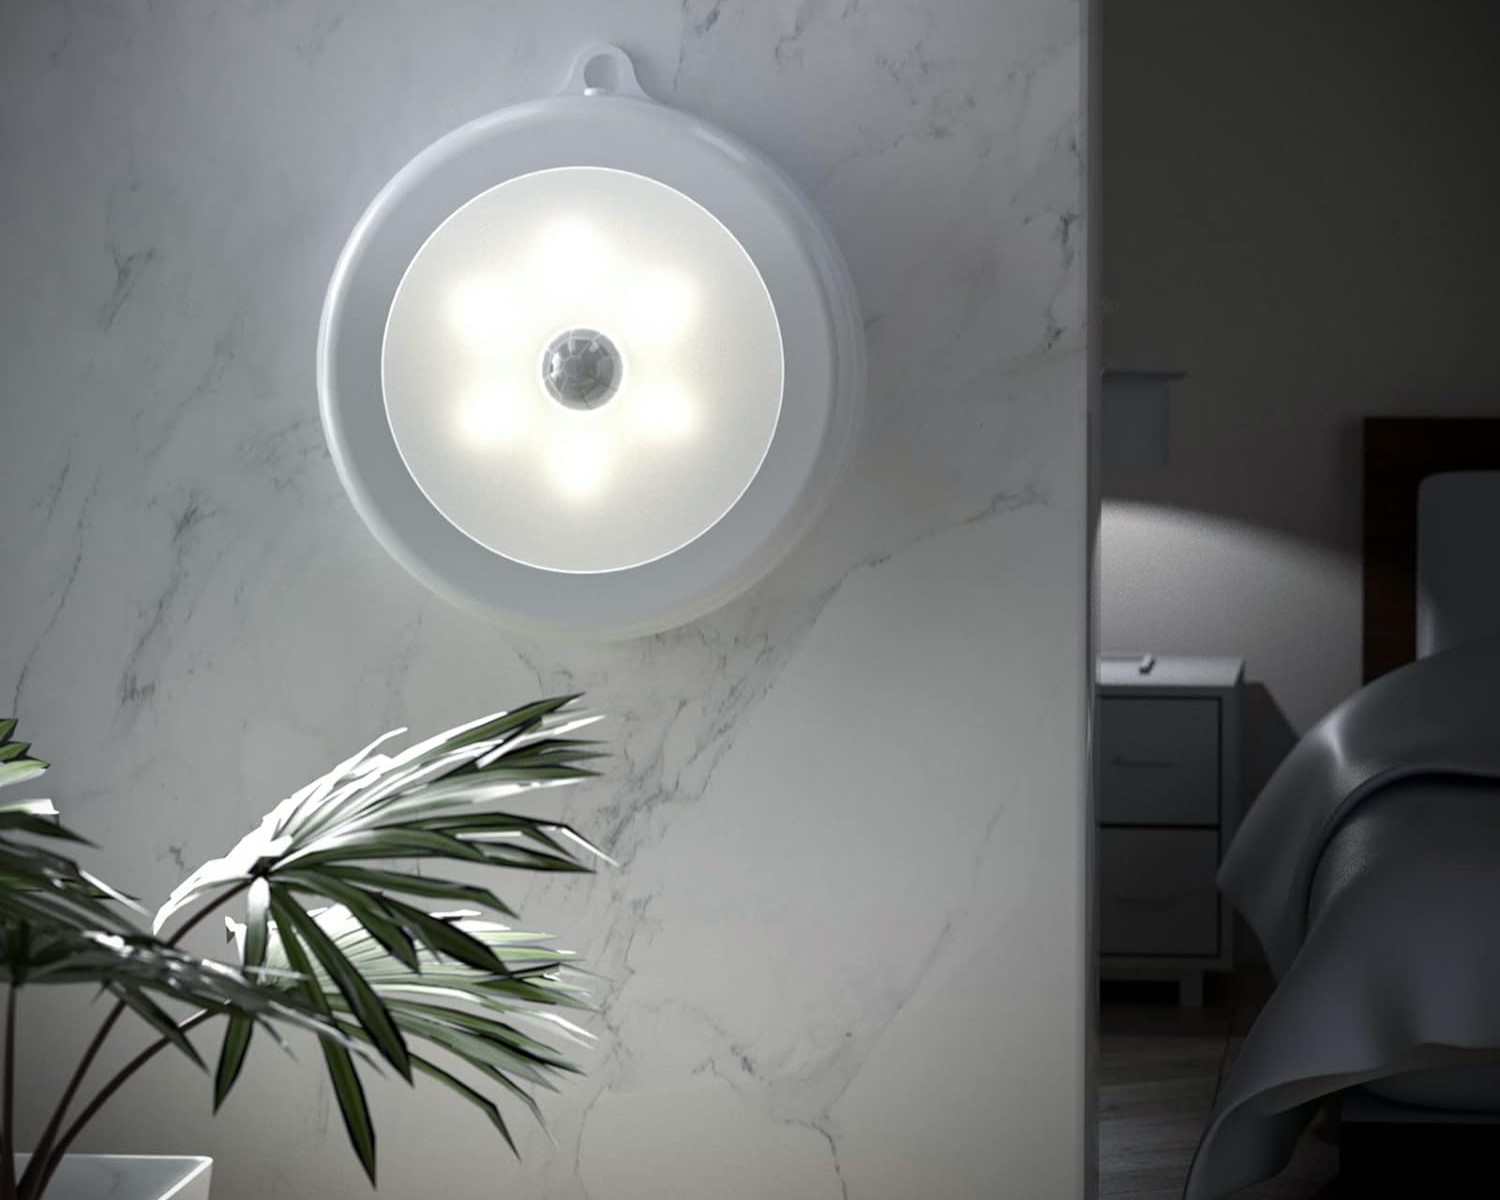
- Solar Security Lights: These lights are specifically designed for outdoor security purposes. They often have built-in motion sensors and bright LEDs to illuminate dark areas and act as a deterrent against potential intruders.
- Solar Path Lights: These lights are ideal for illuminating pathways, driveways, and garden areas. They are usually smaller and have a softer illumination compared to security lights. Solar path lights come in different designs and can enhance the aesthetics of your outdoor space.
- Solar Flood Lights: If you need to illuminate a larger area, such as a backyard or parking lot, solar flood lights are a suitable choice. These lights have a wide beam angle and higher lumen output to provide bright and uniform illumination over a larger distance.
- Solar Spotlights: Solar spotlights are designed to highlight specific features of your outdoor area, such as trees, statues, or architectural elements. They offer adjustable brightness and focus to direct the light precisely where you want it.
- Solar Deck Lights: These lights are specially designed to be mounted on decks, steps, or railings. They provide low-level illumination to improve safety and visibility in these areas.
Factors to Consider when Choosing a Solar Light
When selecting a solar light to connect with your motion detector, there are several factors to consider:
- Solar Panel Efficiency: The efficiency of the solar panel is crucial as it determines how effectively the light can convert sunlight into electricity. Look for solar lights with high-efficiency solar panels to ensure maximum charging and longer illumination times.
- Battery Capacity: The battery capacity determines how long the solar light can provide illumination after a full charge. Opt for solar lights with larger battery capacities, especially if you require extended lighting during the night.
- Light Output: Consider the brightness level and lumen output of the solar light. Depending on your needs, you may require a brighter light for security purposes or a softer light for ambiance.
- Weather Resistance: Outdoor solar lights should be built to withstand various weather conditions, including rain, snow, and extreme temperatures. Look for lights with durable and waterproof designs that can withstand the elements.
- Installation and Mounting Options: Consider how easily the solar light can be installed and mounted in your desired location. Some lights offer flexible mounting options, such as ground stakes, wall mounts, or pole mounts, providing versatility for installation.
- Additional Features: Some solar lights come with additional features like adjustable settings, remote control operation, and different lighting modes. These features can provide added convenience and customization options.
By considering these factors, you can choose a solar light that meets your specific requirements and complements the functionality of the motion detector.
Now that we have explored the different types of solar lights and the factors to consider when choosing one, we are ready to move on to the next step of our guide, which is preparing the motion detector for installation.
Preparing the Motion Detector
Before connecting a motion detector to a solar light, it is essential to properly prepare the motion detector for installation. This involves checking compatibility with your solar light, mounting the motion detector, and adjusting the settings to suit your preferences. In this section, we will guide you through each of these steps.
Checking Compatibility
First, ensure that the motion detector you have is compatible with your solar light. Check the specifications of both the motion detector and the solar light to confirm that they can work together. Look for compatibility in terms of power requirements, wiring compatibility, and communication protocols if applicable. If there are any compatibility issues, consider getting a motion detector or solar light that is specifically designed for compatibility with each other.
Mounting the Motion Detector
Next, determine the ideal location to mount the motion detector. Consider the area you want to monitor and ensure that the detector has an unobstructed view of that area. Common mounting locations include walls, pillars, or the eaves of a building. Depending on the type of motion detector you have, follow the manufacturer’s instructions for mounting. Use appropriate tools and hardware to securely attach the motion detector to the chosen location.
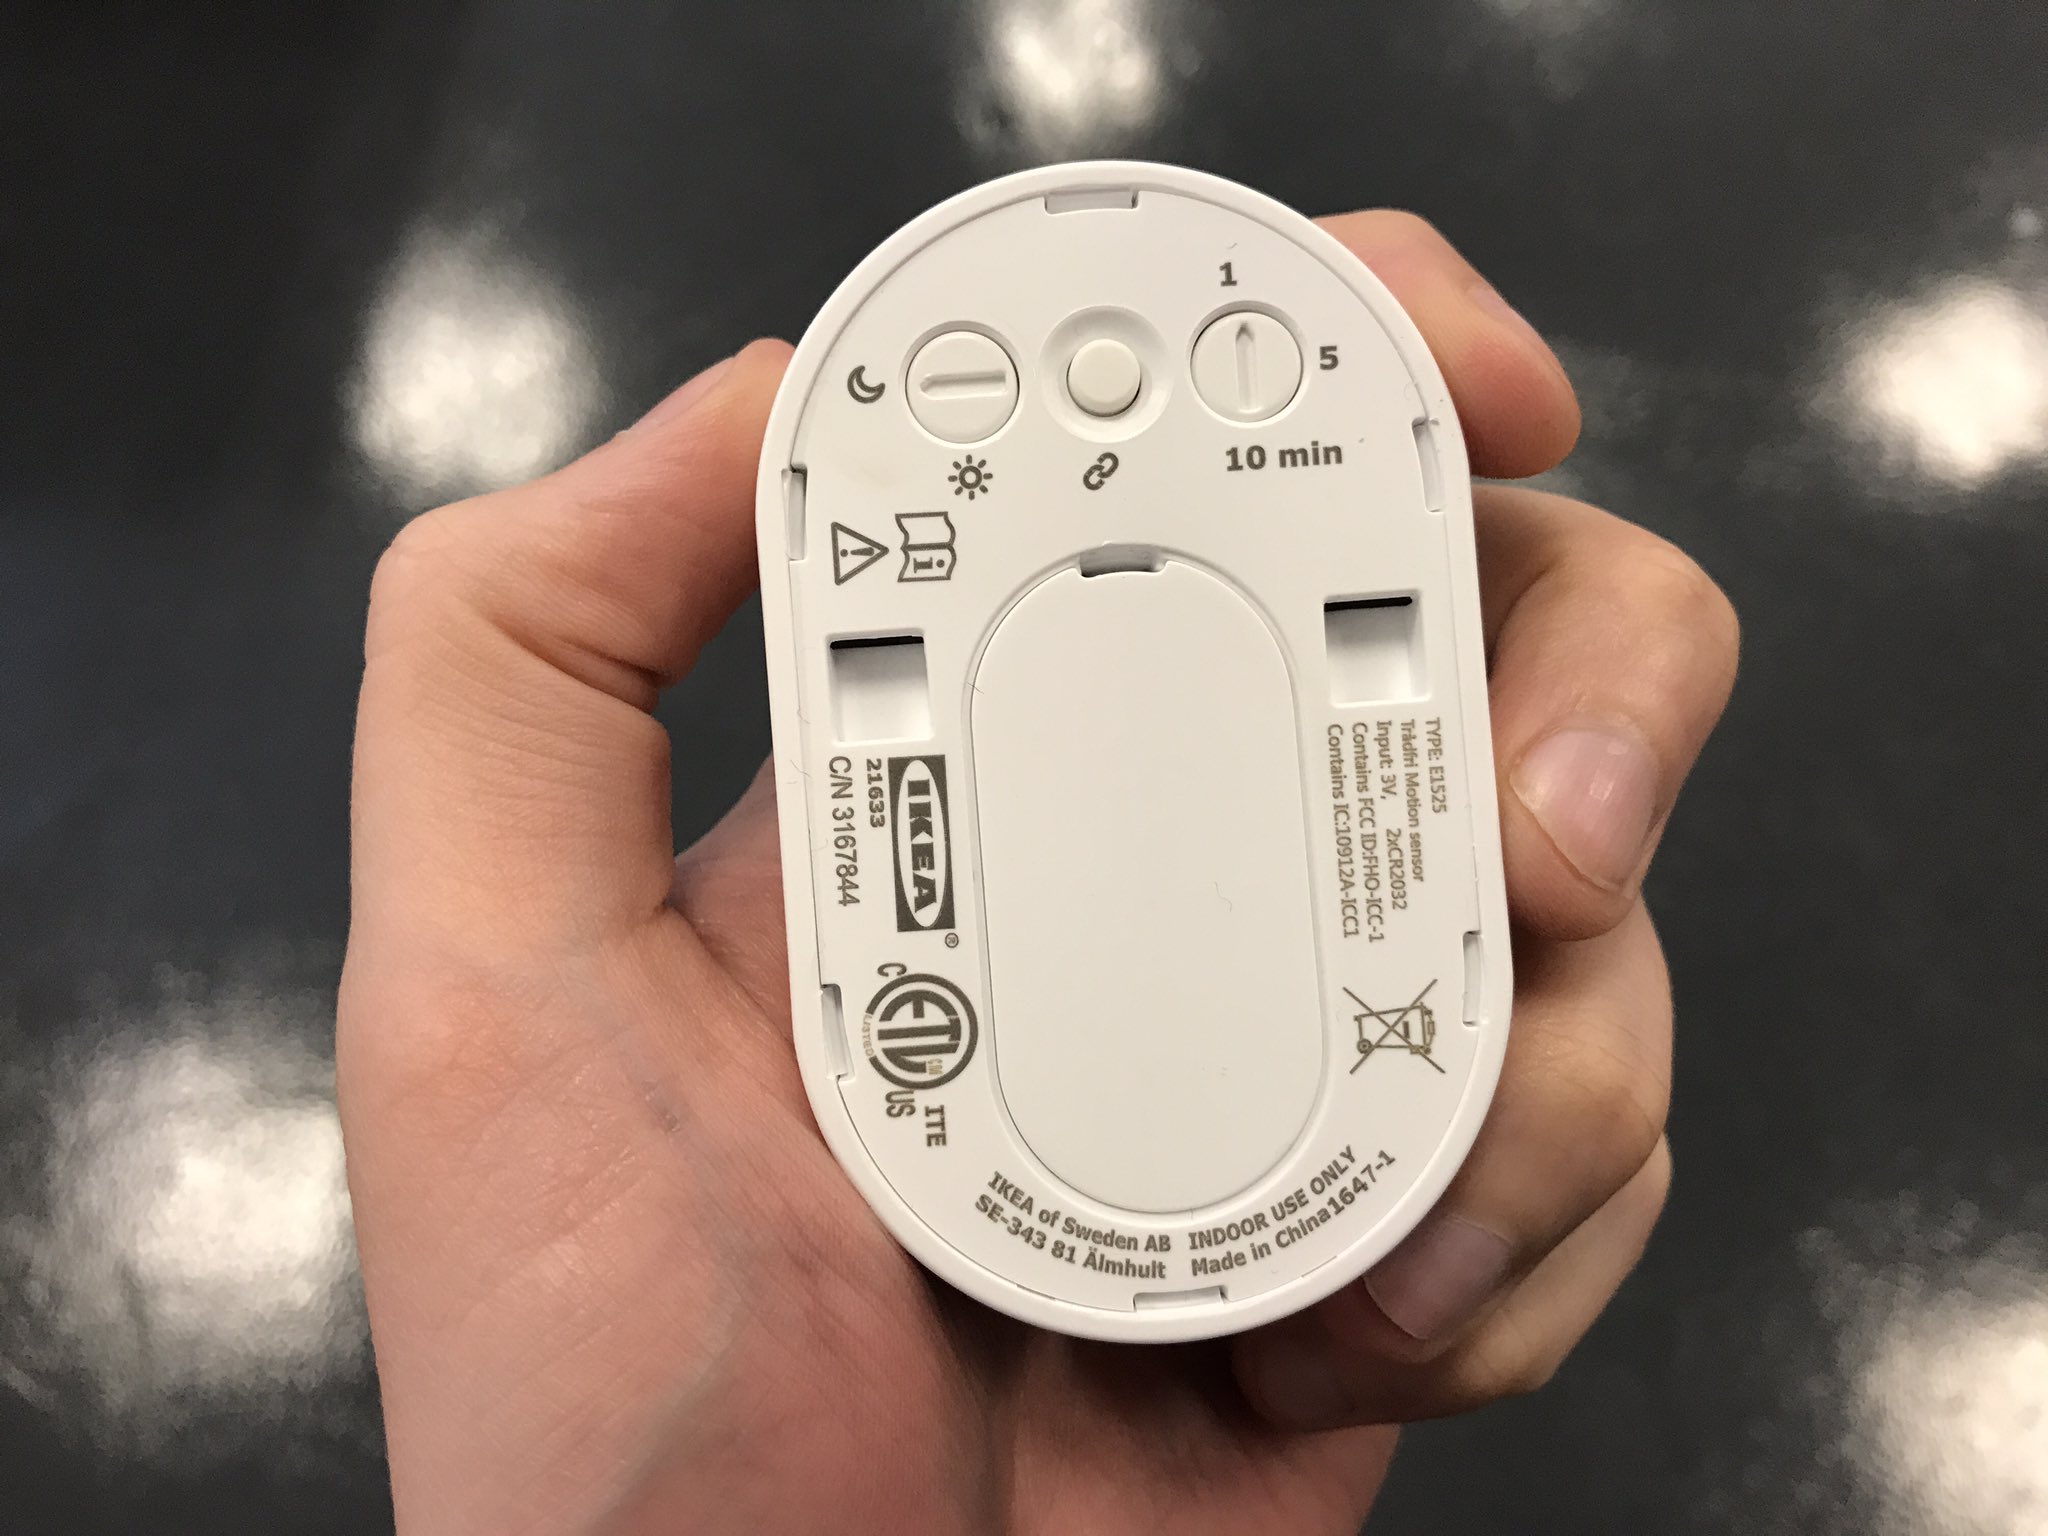
Adjusting Settings
Once the motion detector is mounted, adjust the settings to suit your preferences and the specific requirements of your outdoor space. Most motion detectors have adjustable settings for sensitivity, range, and duration of activation. Sensitivity determines how easily the detector will trigger a response based on the detected motion. Range determines the distance within which the detector is capable of sensing movement. Duration sets the length of time the lights or other connected devices will remain active once triggered. Adjust these settings according to your needs, keeping in mind factors such as the size of the area you want to monitor and any potential sources of false triggers, such as nearby trees or passing vehicles.
By following these steps, you will ensure that the motion detector is properly prepared for installation and optimized for its intended purpose. Now that the motion detector is ready, we can proceed to the next step, which is connecting the motion detector to the solar light.
Connecting the Motion Detector to the Solar Light
Once you have prepared the motion detector, it’s time to connect it to the solar light. This process involves locating the solar light’s control box, identifying the wiring connections, and properly wiring the motion detector. Let’s dive into the steps of this crucial process.
Locating the Solar Light’s Control Box
Start by locating the control box of your solar light. The control box is typically located on the backside of the light fixture or on a separate mounting plate. It contains the necessary wiring connections and control features of the solar light.
Read more: How To Replace A Motion Detector Light
Identifying the Wiring Connections
Once you have found the control box, identify the wiring connections. Look for terminals or markings that indicate the specific functions of each connection. Typically, you will find terminals labeled as follows:
- Battery: This terminal connects to the battery of the solar light, providing power for the light to operate during nighttime or low-light conditions.
- Solar Panel: This terminal connects to the solar panel of the light, allowing the panel to charge the battery with solar energy during daylight hours.
- Load: This terminal connects to the load or the device that the solar light controls, such as the LEDs or any other output.
- Ground: This terminal is used for grounding purposes, providing a safe path for electrical current in the event of a fault or surge.
Wiring the Motion Detector to the Solar Light
Now that you have identified the wiring connections, it’s time to wire the motion detector to the solar light. Follow these general steps:
- Connect the Battery terminal of the solar light to the corresponding terminal of the motion detector. This allows the motion detector to send a signal to the solar light to turn it on or off based on detected motion.
- Connect the Solar Panel terminal of the solar light to the corresponding terminal of the motion detector. This enables the motion detector to receive power from the solar panel during daylight hours.
- Connect the Load terminal of the solar light to the corresponding terminal of the motion detector. This establishes the connection between the solar light and the device it controls, such as the LEDs or any other output.
- Lastly, connect the Ground terminal of the solar light to the corresponding terminal of the motion detector. This ensures proper grounding and electrical safety.
When making these connections, ensure that you follow the specific wiring instructions provided by the manufacturer of both the motion detector and the solar light. It is crucial to make secure and proper wire connections using the appropriate tools and techniques.
By successfully wiring the motion detector to the solar light, you have established the connection that allows the motion detector to control the operation of the solar light based on detected motion. Now, let’s move on to the next step to ensure everything is functioning correctly by testing the motion detector.
Testing and Troubleshooting
Now that you have connected the motion detector to the solar light, it’s time to test the system and ensure that everything is functioning as intended. In this section, we will walk you through the process of testing the motion detector and provide troubleshooting tips for common issues that may arise.
Testing the Motion Detector
To test the motion detector, follow these steps:
- Ensure that the solar light’s battery is fully charged. If necessary, allow the solar panel to receive ample sunlight for a few hours to charge the battery.
- Set the motion detector’s sensitivity, range, and duration settings to your desired specifications.
- Wait until dusk or a low-light condition when the solar light should turn on automatically.
- Walk within the detection zone of the motion detector to simulate movement. Observe whether the solar light turns on promptly and remains illuminated for the duration set in the motion detector’s settings.
- Continue testing by moving at different distances and angles to ensure that the motion detector is detecting movement accurately and triggering the solar light accordingly.
- If the motion detector engages too frequently or fails to activate, adjust the sensitivity and range settings as necessary to achieve the desired response.
By testing the motion detector in various scenarios, you can ensure that it is functioning correctly, detecting motion accurately, and controlling the operation of the solar light effectively.
Read more: How To Reset Motion Detector Lights
Troubleshooting Common Issues
If you encounter any issues during the testing process or while using the motion detector and solar light system, here are some common troubleshooting tips:
- No Light Activation: Make sure the motion detector is within the appropriate range of the desired motion source. Adjust the sensitivity and range settings if necessary. Also, check the battery charge level of the solar light and ensure that the solar panel is receiving sufficient sunlight for charging.
- Frequent False Alarms: If the motion detector is triggering the solar light due to non-threatening movements, such as nearby trees or passing vehicles, try adjusting the sensitivity and range settings to reduce false alarms. Additionally, make sure there are no obstructions blocking the detection zone that could cause false triggers.
- Inconsistent Operation: Check the wiring connections between the motion detector and the solar light. Ensure that the wires are securely connected and that there are no loose or damaged connections. Also, confirm that the motion detector and solar light are compatible and designed to work together.
- Dim or Flickering Light: If the solar light’s illumination is inadequate or flickering, check the battery charge level and the solar panel’s positioning to ensure optimal charging. Clean the solar panel if it is dirty or obstructed by debris. If the issue persists, contact the manufacturer for further assistance.
By implementing these troubleshooting tips, you can address common issues that may arise with the motion detector and solar light system, ensuring optimal performance and functionality.
With the successful testing and troubleshooting of your motion detector and solar light system, you can now enjoy the enhanced security and illumination of your outdoor space. In the next section, we will conclude our guide and summarize the key points we have covered.
Conclusion
Connecting a motion detector to a solar light is a great way to enhance the security and lighting efficiency of your home. By following the steps outlined in this guide, you can successfully integrate these two components and create a cost-effective and energy-efficient solution for your outdoor lighting needs.
We began by understanding the different types of motion detectors available, including passive infrared (PIR), microwave, ultrasonic, and dual technology detectors. Each type has its advantages and applications, allowing you to choose the most suitable one for your specific requirements.
Next, we explored the various types of solar lights, such as security lights, path lights, flood lights, spotlights, and deck lights, and discussed important factors to consider when selecting the right solar light for your installation.
We then moved on to preparing the motion detector by checking compatibility, mounting it in an optimal location, and adjusting the settings to ensure accurate motion detection. Proper preparation is crucial to ensure the smooth functioning of the system.
After preparing the motion detector, we covered the process of connecting it to the solar light. We explained how to locate the solar light’s control box, identify the wiring connections, and wire the motion detector to the appropriate terminals. Following the provided instructions and making secure connections are essential for a successful installation.
Once the connection is established, we emphasized the importance of testing the motion detector to ensure its functionality. We provided steps to test the detector’s response to motion and troubleshoot common issues that may arise, such as no light activation, false alarms, inconsistent operation, and dim or flickering lights.
In conclusion, connecting a motion detector to a solar light offers an effective and efficient solution to enhance your home security and outdoor lighting. With the right combination of motion detector and solar light, you can have peace of mind knowing that your property is protected and well-lit using renewable solar energy.
Remember to follow the manufacturer’s instructions for both the motion detector and the solar light throughout the installation process. If you encounter any challenges or have specific concerns, don’t hesitate to reach out to the manufacturer or seek professional assistance.
We hope that this comprehensive guide has provided you with the necessary information to successfully connect a motion detector to a solar light. Enjoy the benefits of improved security and energy-efficient lighting for your home!
Frequently Asked Questions about How To Connect A Motion Detector To A Solar Light
Was this page helpful?
At Storables.com, we guarantee accurate and reliable information. Our content, validated by Expert Board Contributors, is crafted following stringent Editorial Policies. We're committed to providing you with well-researched, expert-backed insights for all your informational needs.