Home>Home Security and Surveillance>How To Connect A Motion Detector To A Porch Light
Home Security and Surveillance
How To Connect A Motion Detector To A Porch Light
Modified: August 27, 2024
Learn how to connect a motion detector to your porch light for enhanced home security and surveillance. Follow these easy steps to ensure your property is well protected.
(Many of the links in this article redirect to a specific reviewed product. Your purchase of these products through affiliate links helps to generate commission for Storables.com, at no extra cost. Learn more)
Introduction
Welcome to our comprehensive guide on how to connect a motion detector to a porch light. Adding a motion detector to your porch light not only enhances the security of your home but also provides convenience by automatically turning on the light when motion is detected. This feature is especially useful for illuminating your porch or entryway areas at night, deterring potential intruders, and providing added visibility for you and your guests.
In this article, we will walk you through the step-by-step process of connecting a motion detector to a porch light. You don’t have to be an electrician to accomplish this task, as long as you have some basic knowledge of electrical wiring and access to the necessary tools and materials.
Before we dive into the installation process, let’s first take a look at the tools and materials you’ll need:
Key Takeaways:
- Enhance your home security and convenience by connecting a motion detector to your porch light. Follow the step-by-step guide to install it safely and enjoy automatic lighting when motion is detected.
- Ensure safety by turning off the power before installation, and test the connection to make sure your motion detector and porch light are working correctly. Enjoy the added security and peace of mind!
Step 1: Gather the necessary tools and materials
Before you start installing the motion detector, make sure you have the following tools and materials on hand:
- Screwdriver
- Wire strippers
- Wire connectors
- Electrical tape
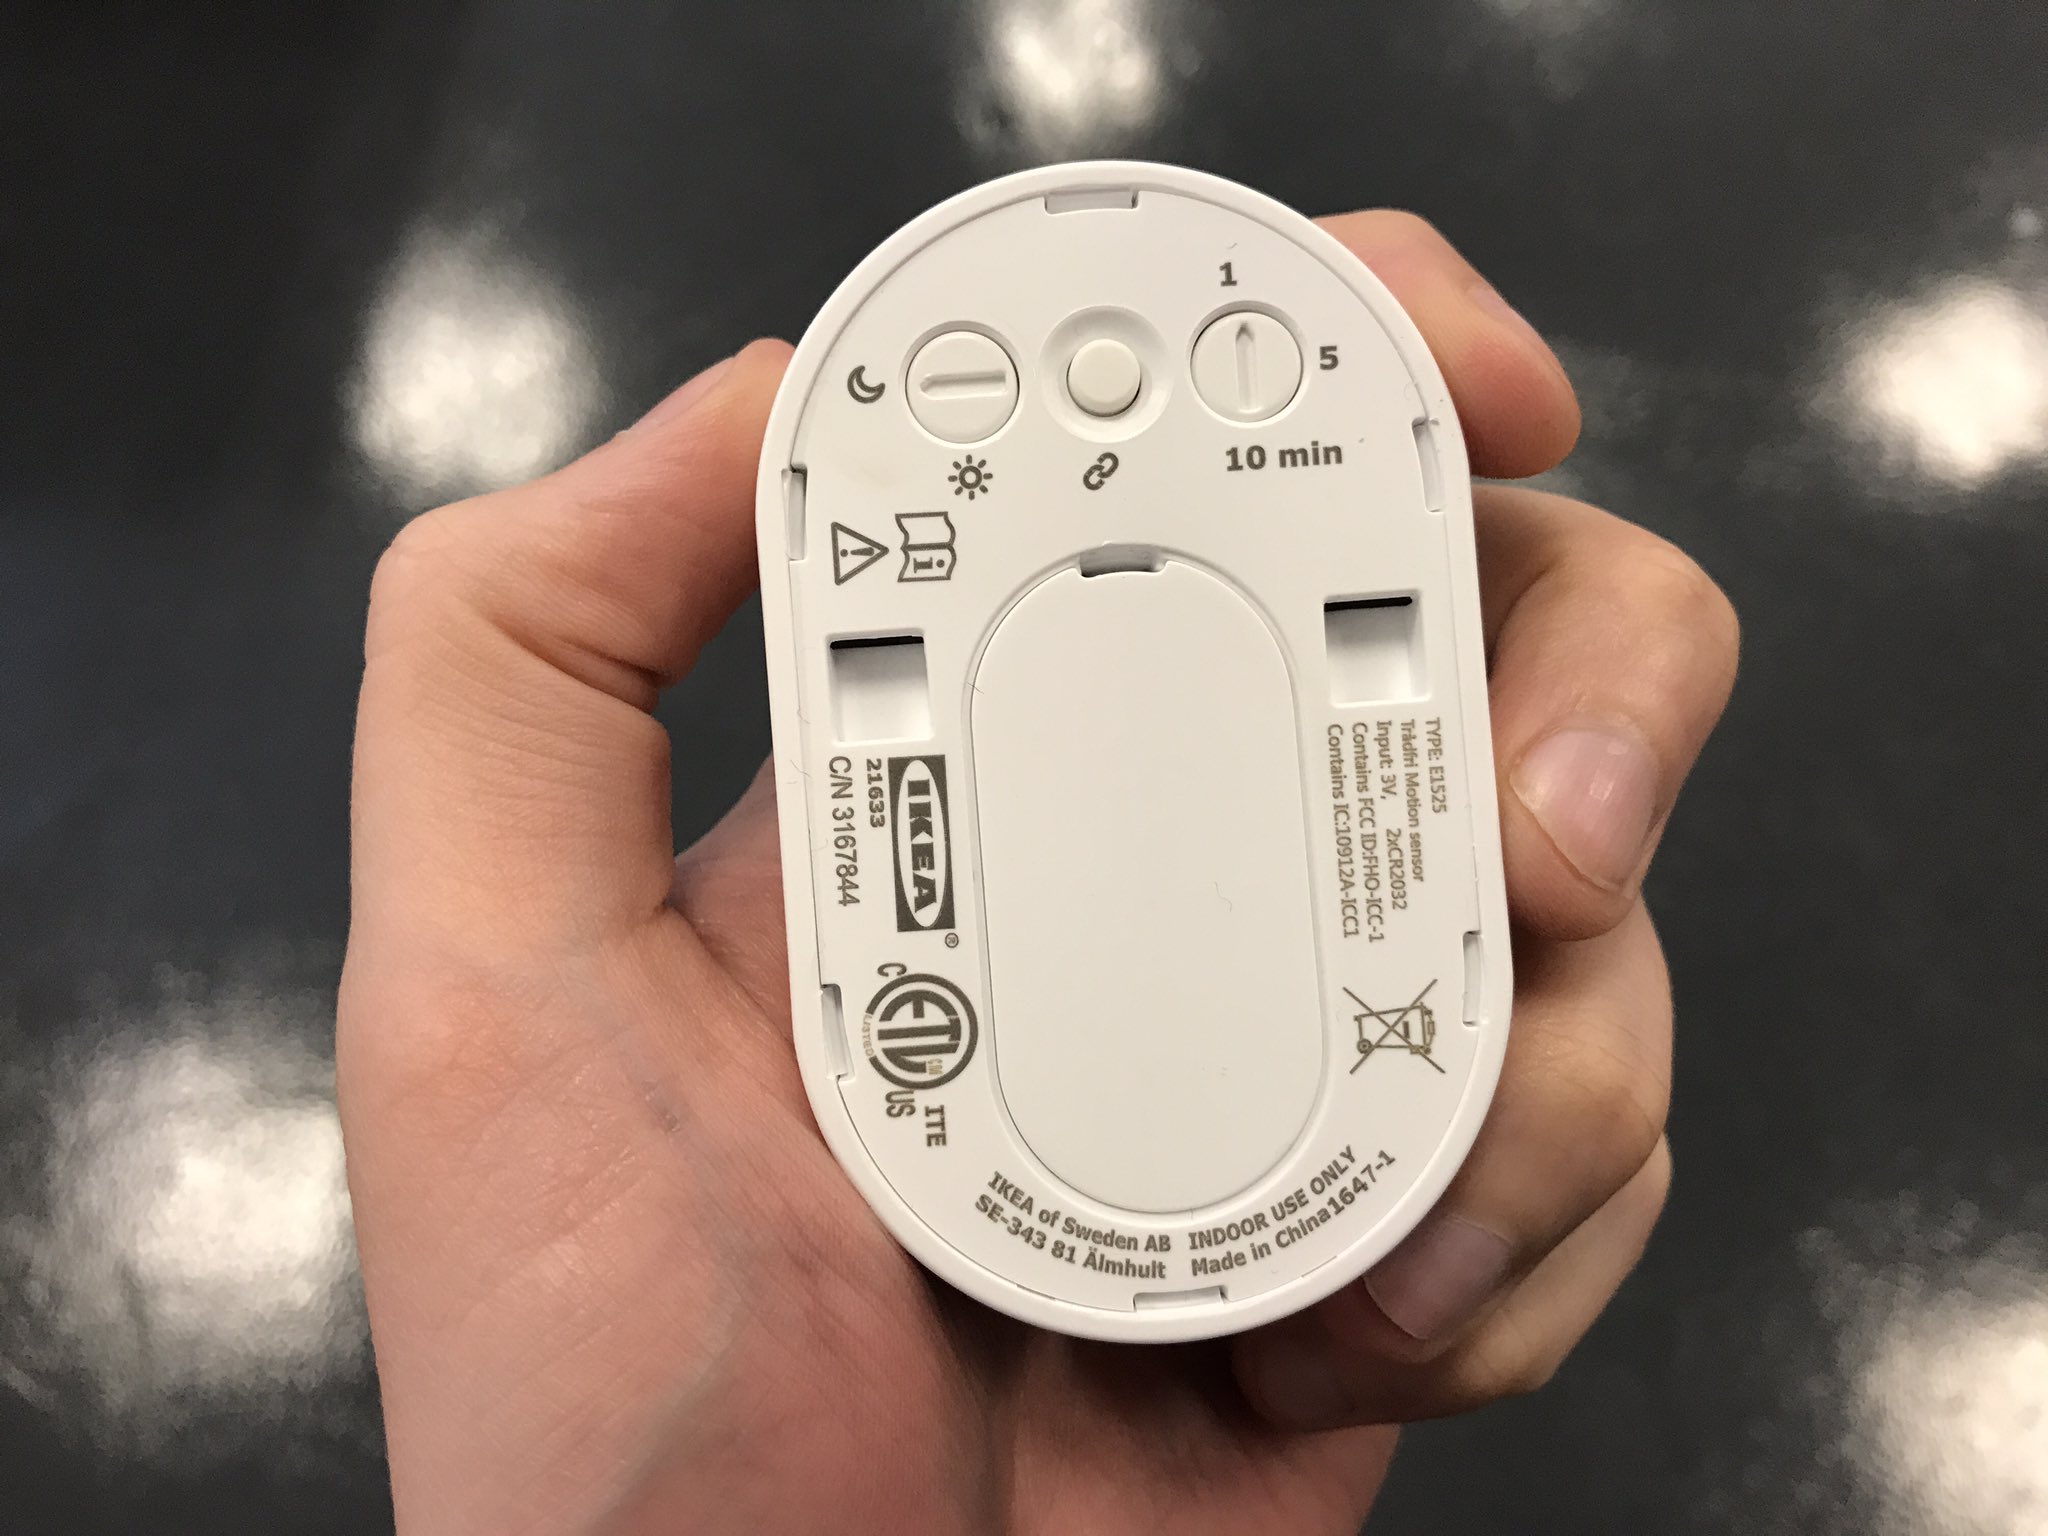
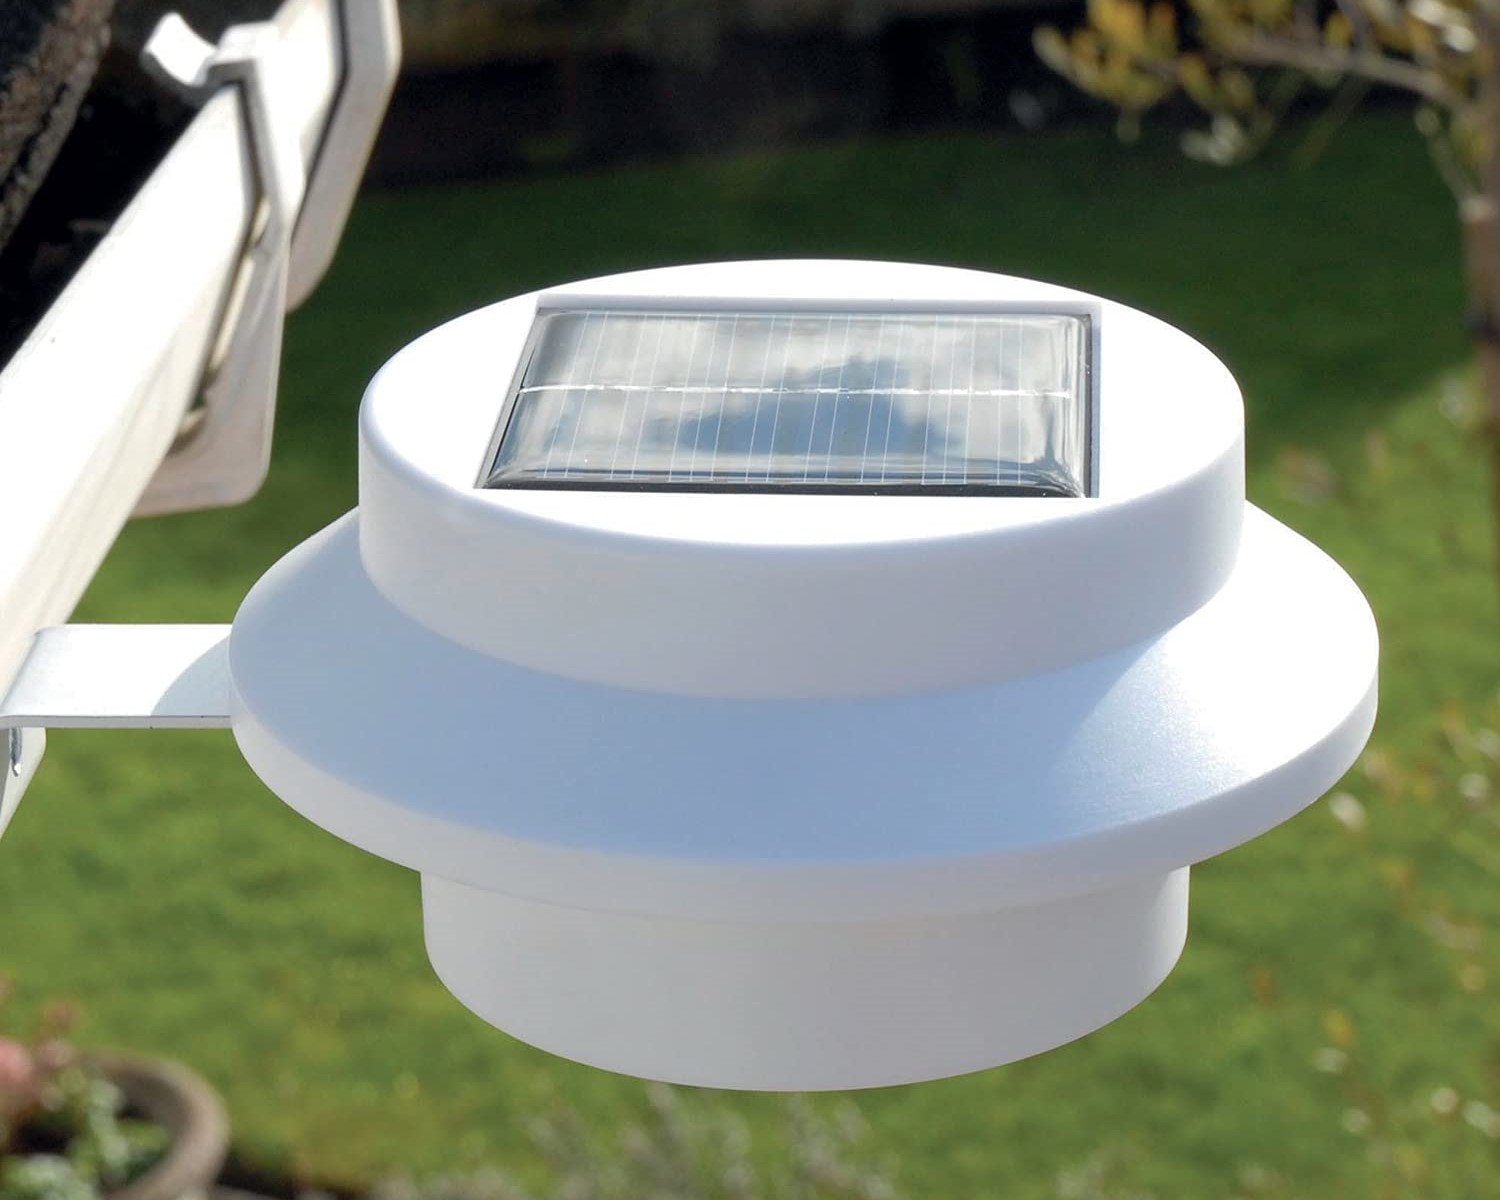
- Motion detector kit (including the motion sensor and accompanying hardware)
- Porcelain wire connectors
- Electrical tester
- Ladder or step stool (if necessary)
- Protective gloves and eyewear
- Circuit breaker switch or fuse puller
Having all the necessary tools and materials ready before you begin will ensure a smooth installation process and prevent any unnecessary trips to the hardware store.
Once you have gathered everything you need, proceed to the next step: turning off the power to the porch light.
Step 2: Turn off the power to the porch light
Before working on any electrical circuit, it is crucial to ensure your safety by turning off the power. This will prevent any accidents or electrical shocks during the installation process.
To turn off the power to the porch light, follow these steps:
- Locate the circuit breaker panel in your home. It is usually found in the basement, garage, or utility room.
- Open the circuit breaker panel and identify the breaker that controls the porch light. If you’re unsure which breaker it is, you can either consult the circuit diagram or use a circuit tester to identify the correct one.
- Once you’ve identified the correct breaker, switch it to the “off” position. You can also use a fuse puller to remove the fuse if your home uses a fuse box instead of a circuit breaker panel.
After turning off the power, double-check that the porch light is no longer functioning by flipping the light switch on and off. If the light remains off, you can proceed to the next step with peace of mind.
Remember, working on live electrical circuits is extremely dangerous, so always take the necessary precautions and never skip this crucial step.
With the power turned off, you are ready to move on to the next step, which involves removing the existing porch light fixture.
Step 3: Remove the existing porch light fixture
Now that you have ensured the power is turned off, it’s time to remove the existing porch light fixture. Follow these steps:
- Start by removing the screws or bolts that secure the porch light fixture to the mounting bracket. Use a screwdriver to carefully unscrew each fastener and set them aside.
- Gently pull the porch light fixture away from the mounting bracket, exposing the wiring behind it. Take note of how the wires are connected as you will need to replicate this when connecting the motion detector.
- Once you have detached the porch light fixture from the mounting bracket, locate the wire nuts joining the wires together. Carefully unscrew the wire nuts and separate the wires, ensuring they do not come into contact with each other or any metal surfaces.
- If necessary, remove any additional screws or mounting hardware that may be holding the mounting bracket in place. This will give you a clear space to work with when installing the motion detector.
Once you have successfully removed the existing porch light fixture, set it aside in a safe location. You will need it later when mounting the porch light fixture back in place.
Now, it’s time to proceed to the next step: installing the motion detector.
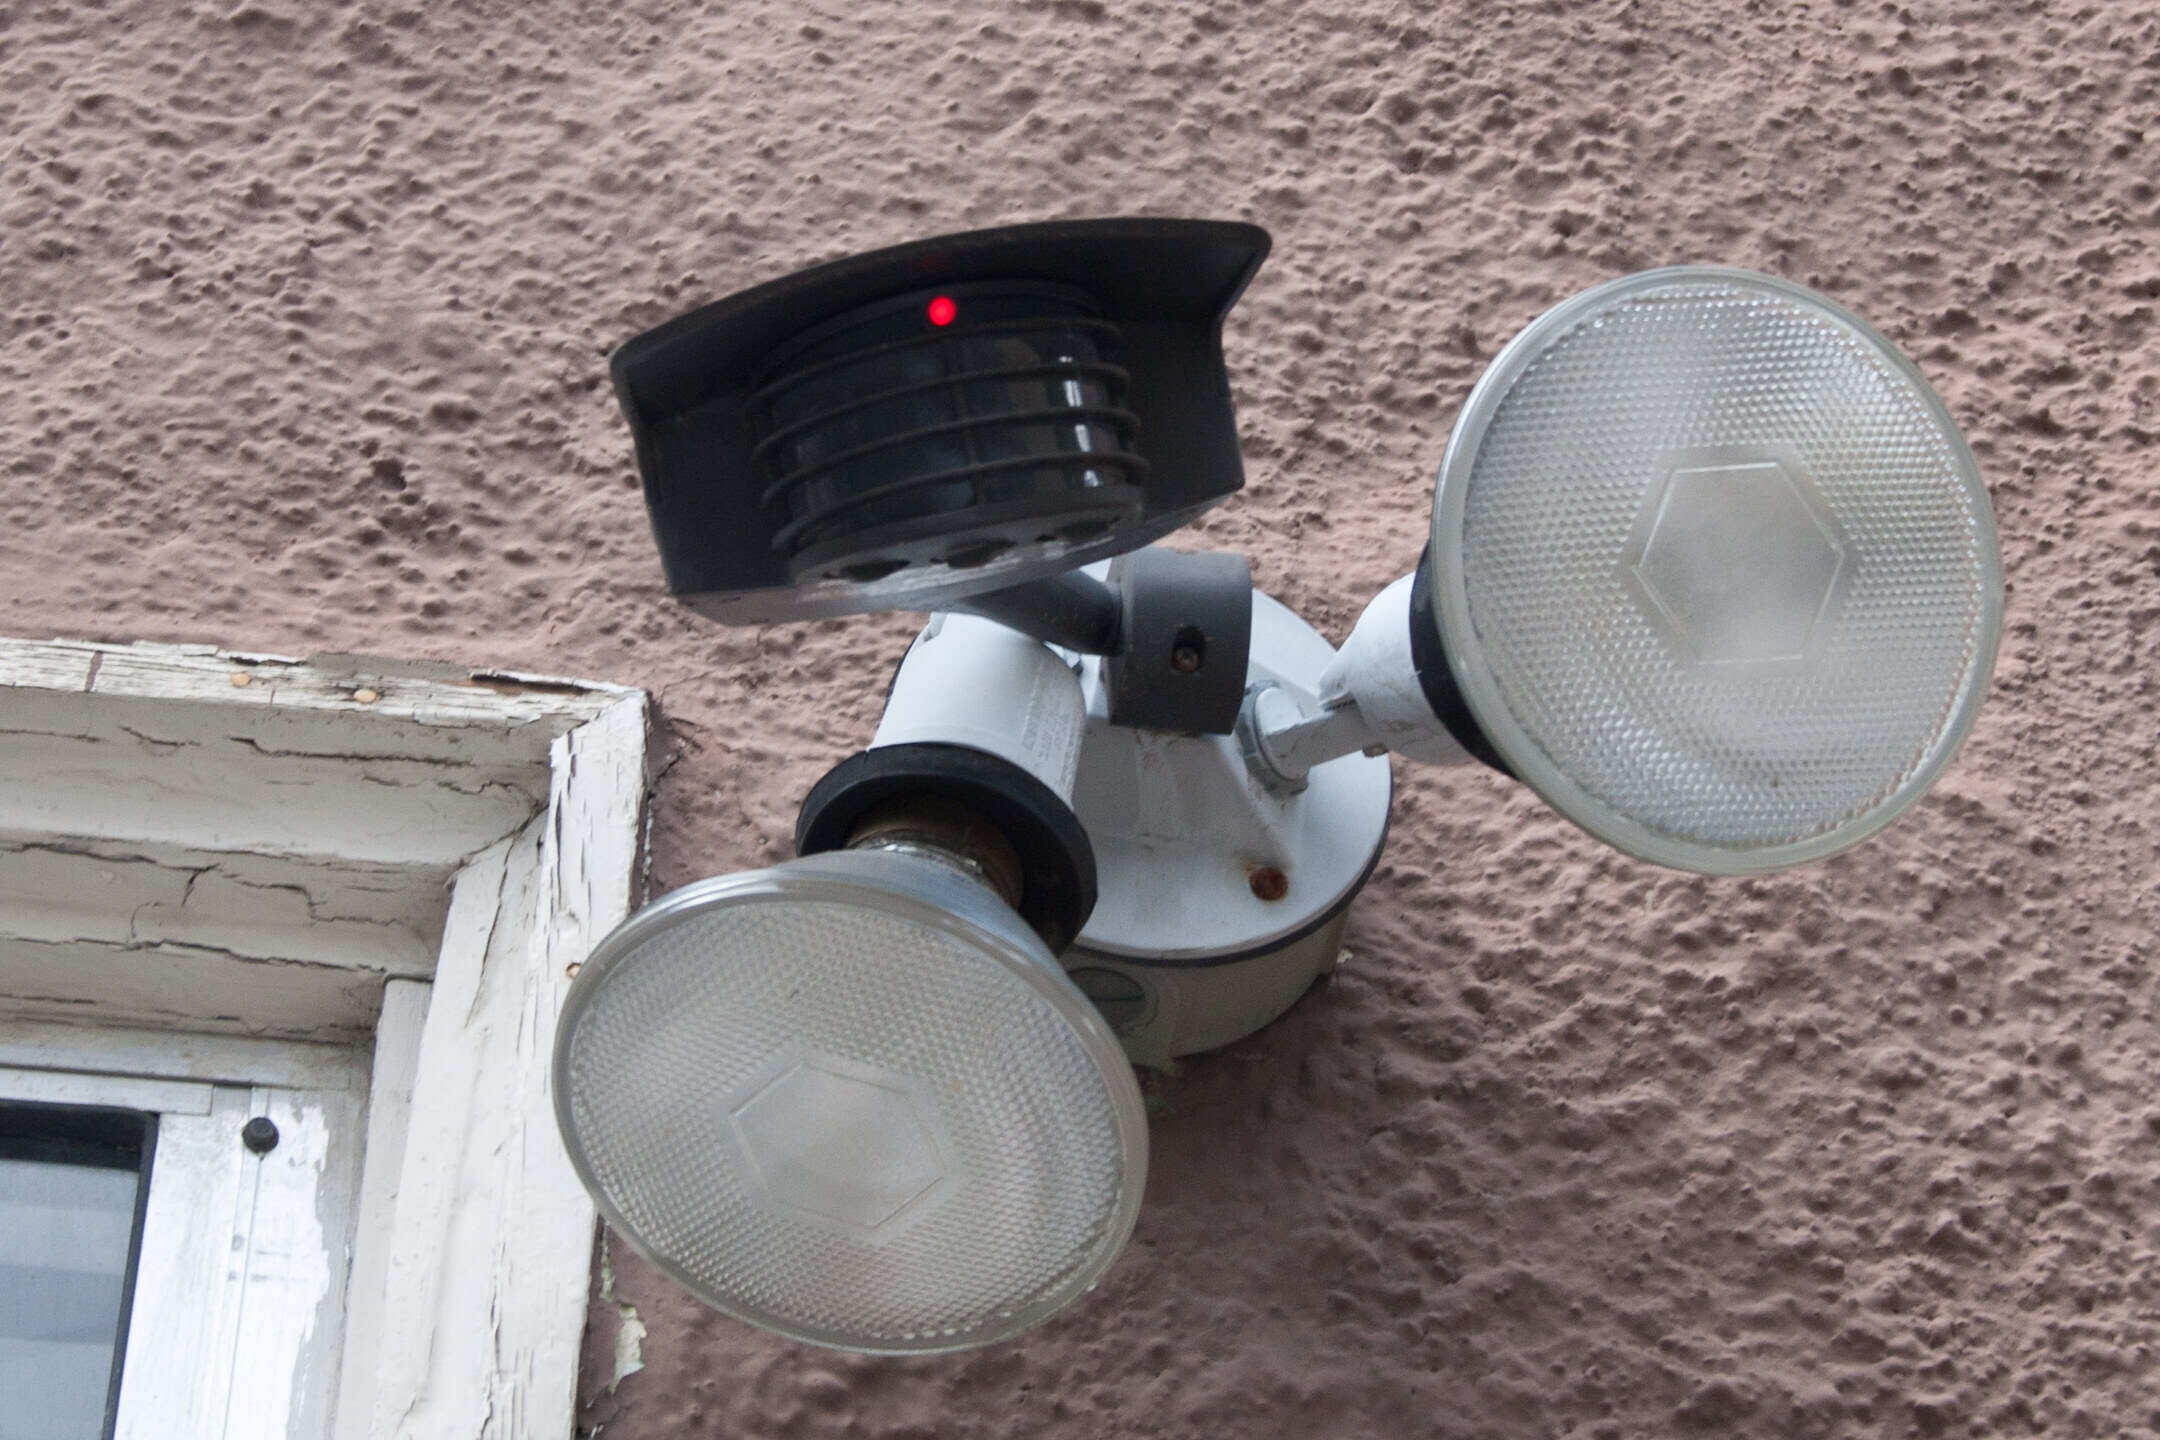
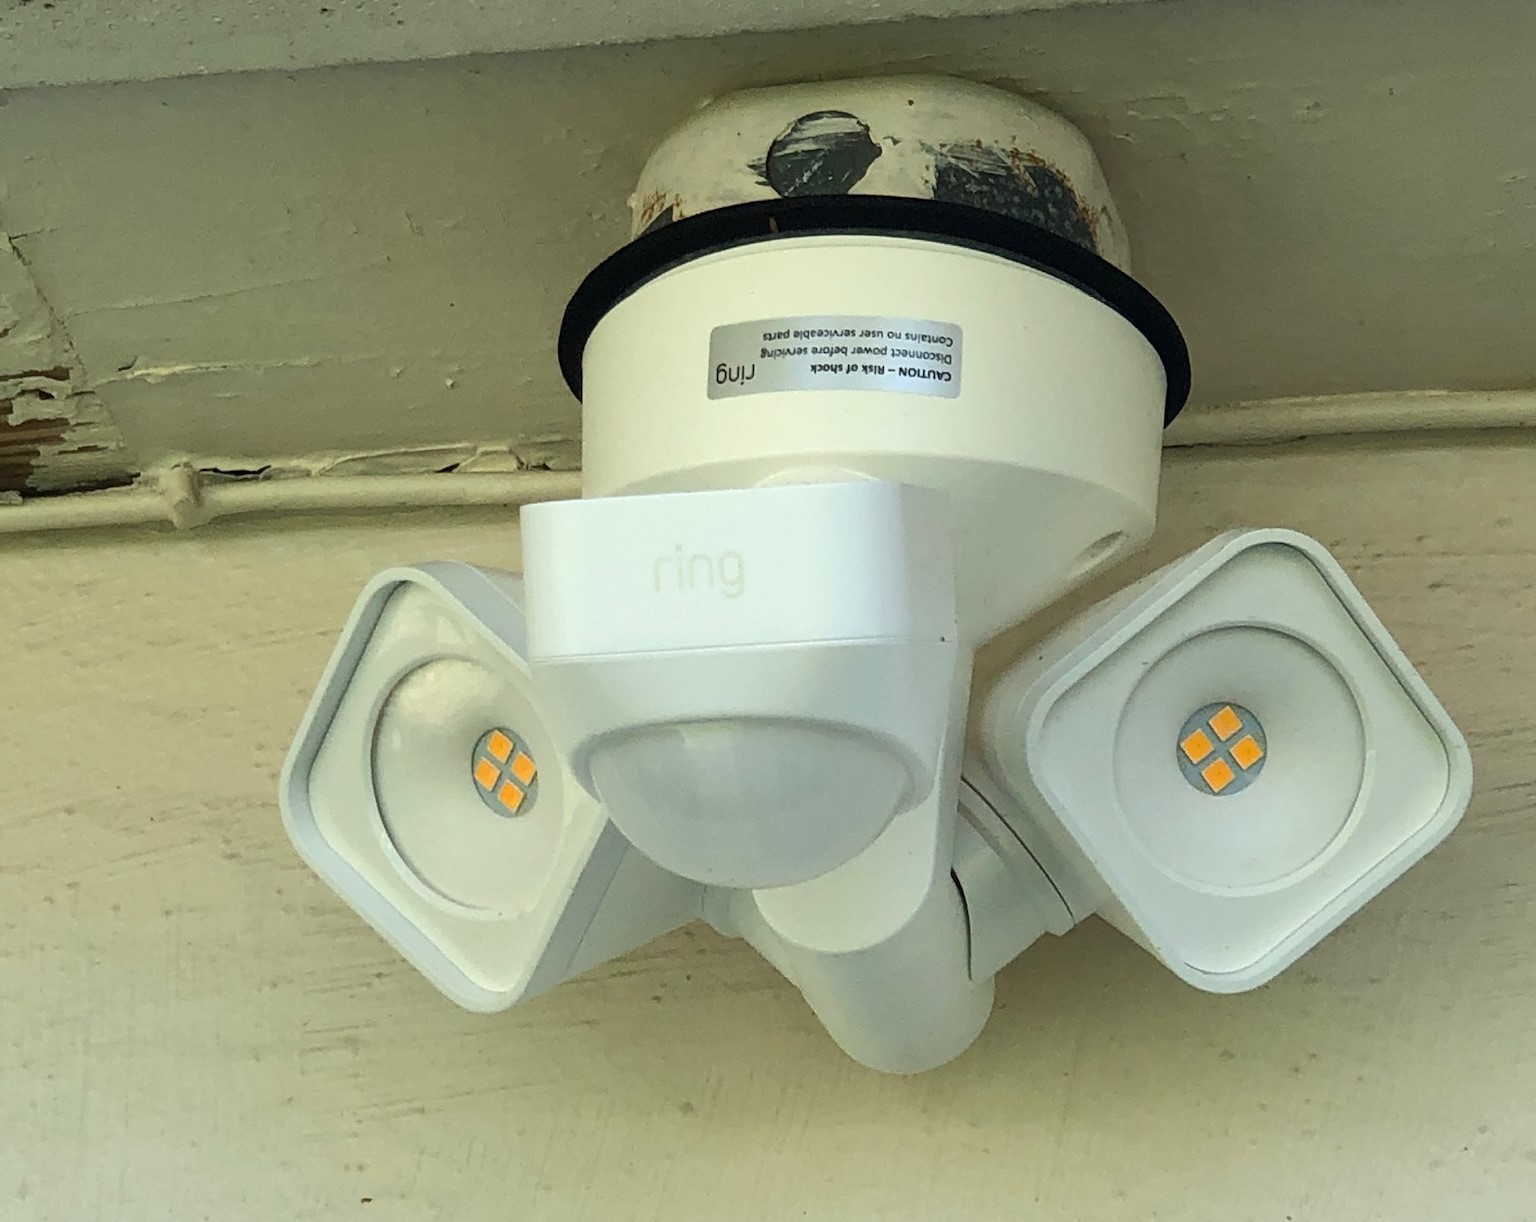
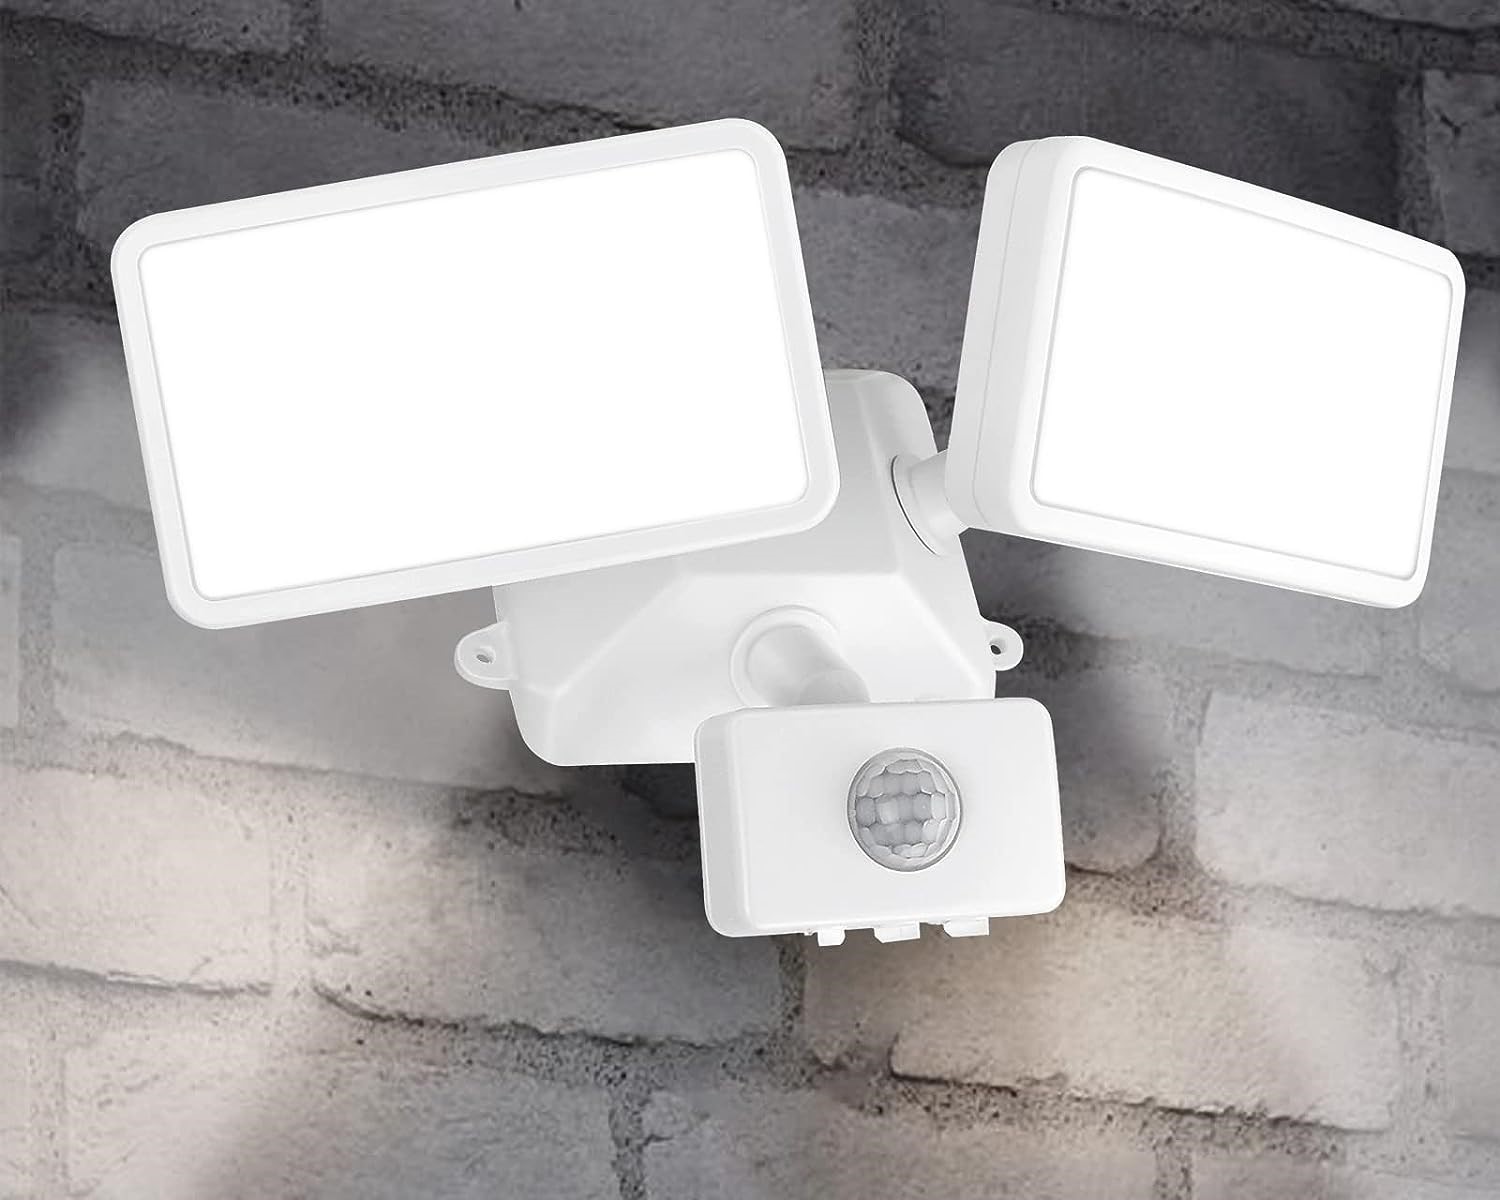
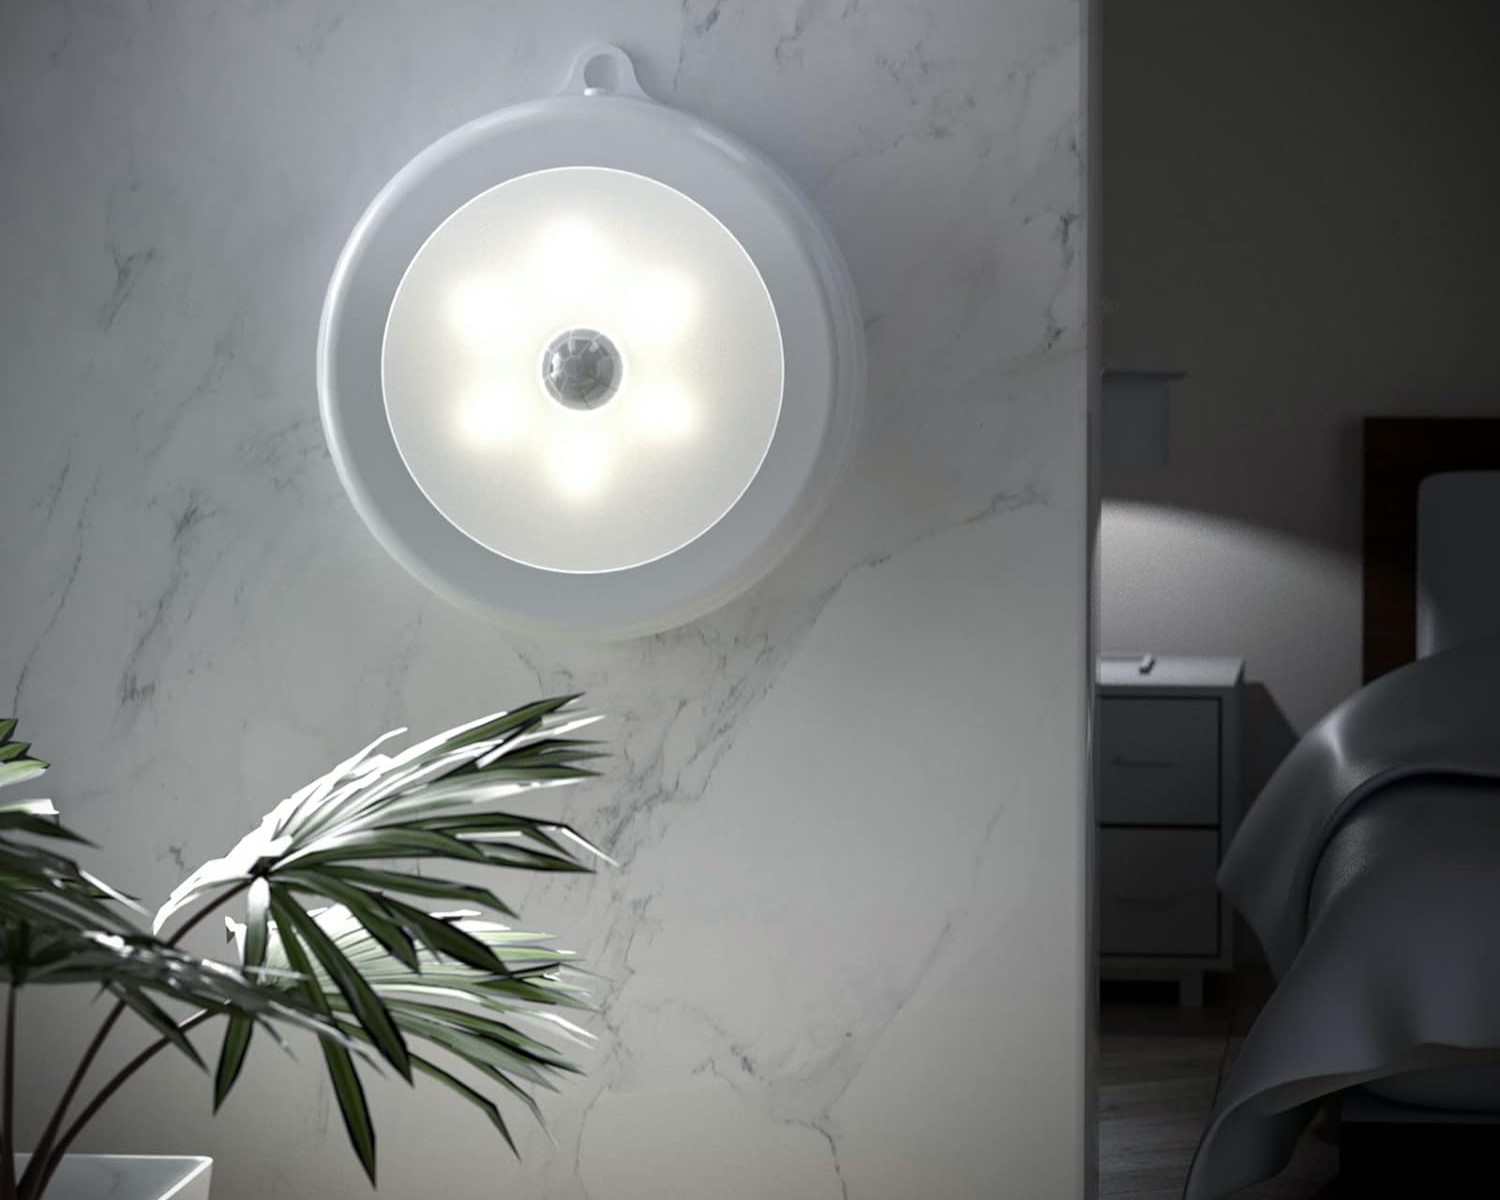
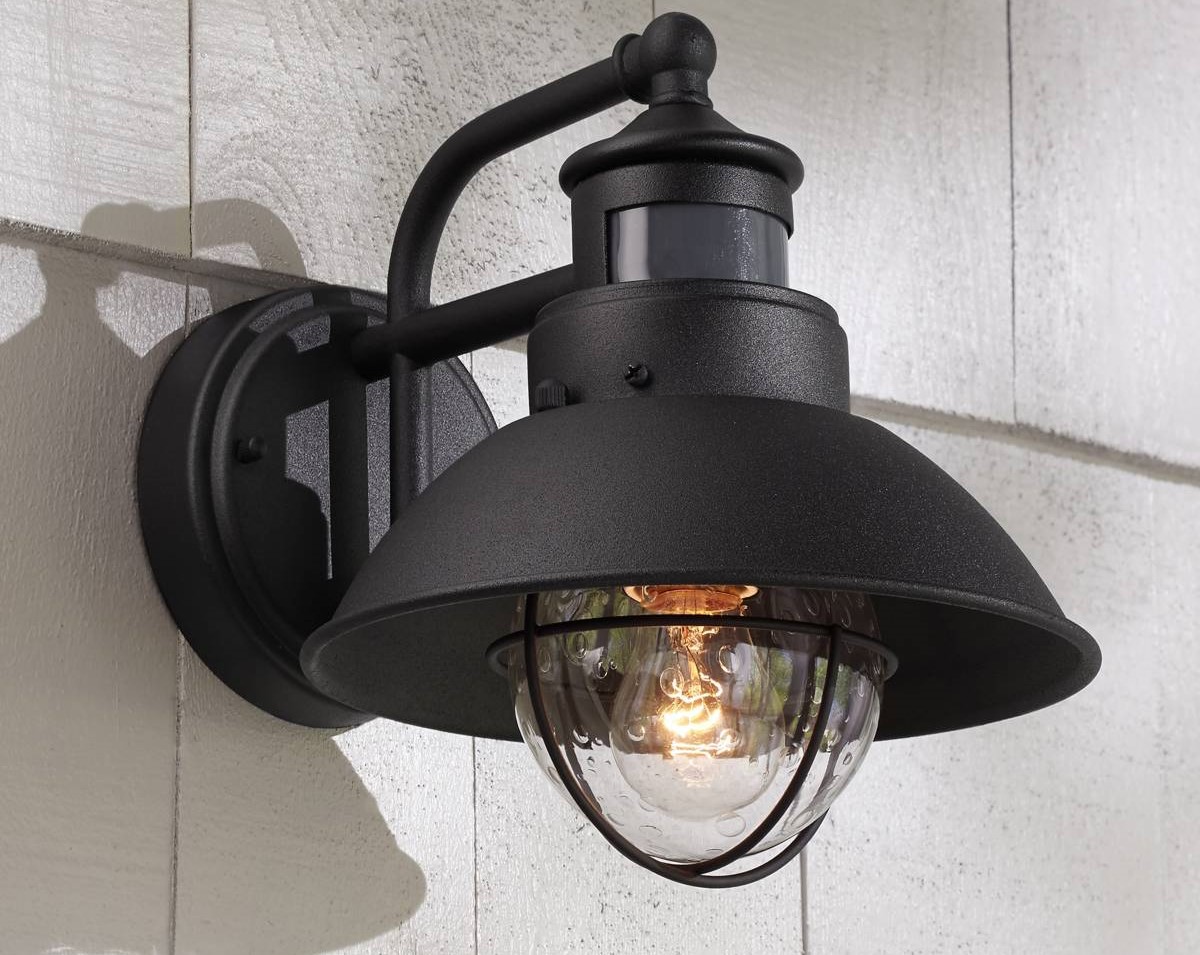
Step 4: Install the motion detector
With the existing porch light fixture removed, it’s time to install the motion detector. Follow these steps:
- Take the motion detector kit and carefully read the manufacturer’s instructions. Familiarize yourself with the different components of the motion detector and their installation requirements.
- Locate a suitable spot for mounting the motion detector. Ideally, this should be in a position where it can detect motion effectively and provide optimal coverage for your porch or entryway.
- Use the appropriate hardware (such as screws or brackets) provided with the motion detector to securely mount it. Ensure it is level and tightly fastened to avoid any movement or misalignment.
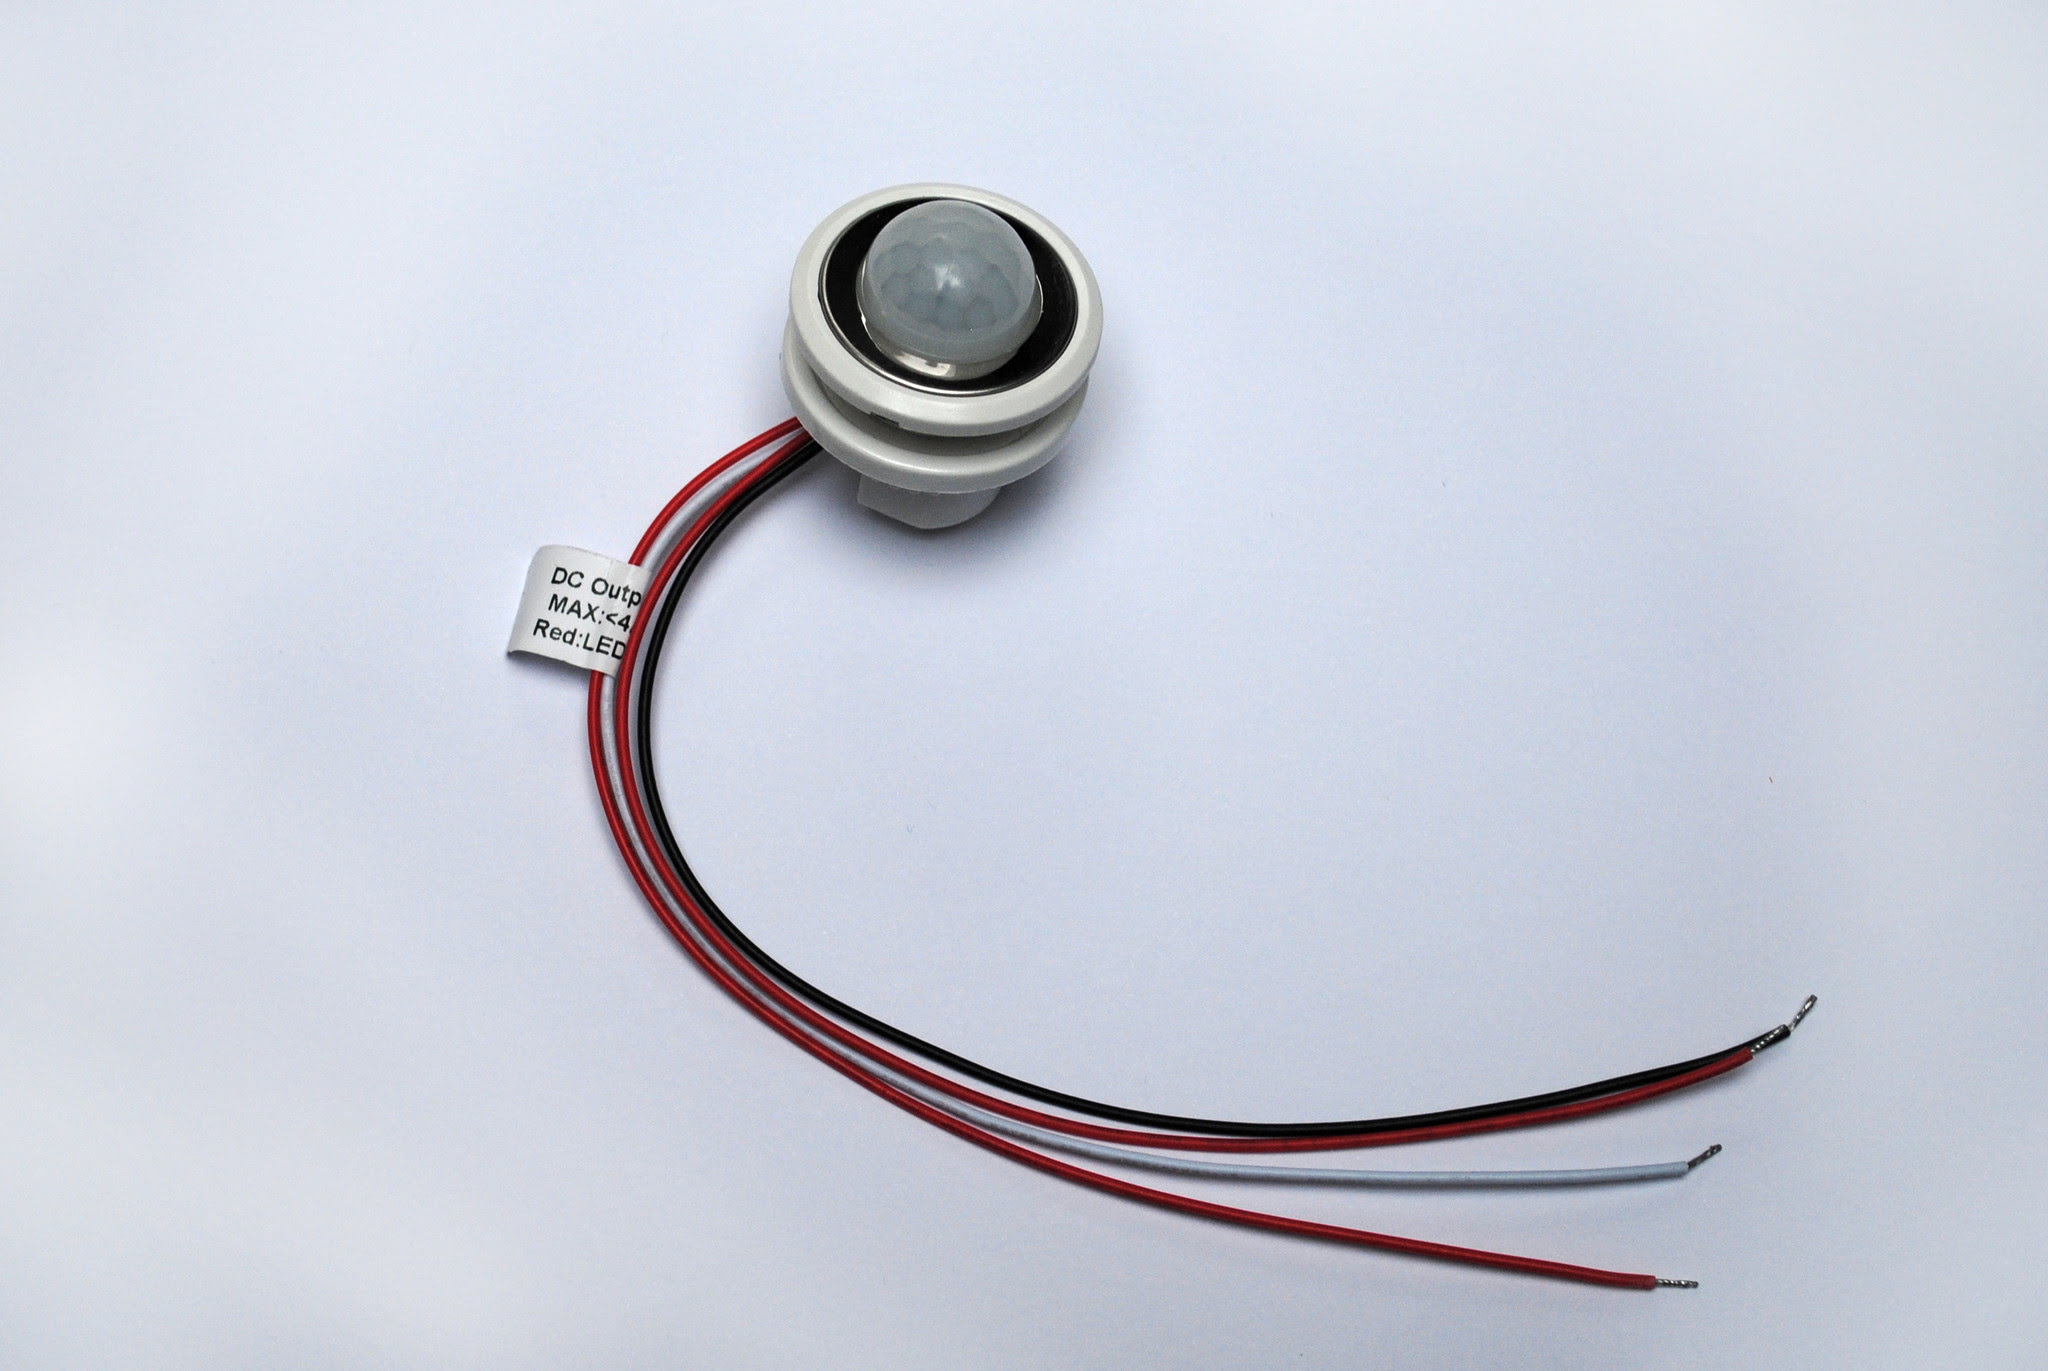
- Once the motion detector is securely mounted, inspect the wiring connections on the back of the device. Some motion detectors may have pre-wired leads, while others may require you to connect the wires manually.
- If the motion detector has pre-wired leads, simply match the corresponding wires to their respective colors. For example, connect the black wire to the black wire, the white wire to the white wire, and so on.
- If the motion detector requires manual wire connections, use wire strippers to remove a small section of insulation from the ends of the wires. Then, use wire connectors to join the corresponding wires together. Typically, the black wire connects to the black wire, the white wire connects to the white wire, and the green or copper wire connects to the grounding wire.
- Ensure that all wire connections are secure and tightly fastened. Use electrical tape to wrap around the wire connectors for added protection and to prevent any accidental disconnections.
Once you have installed the motion detector, you are now ready to proceed to the next step: connecting the motion detector to the porch light.
You can connect a motion detector to a porch light by following the manufacturer’s instructions. Typically, you will need to turn off the power, remove the existing light fixture, connect the motion detector, and then reinstall the light fixture.
Step 5: Connect the motion detector to the porch light
Now that the motion detector is properly installed, it’s time to connect it to the porch light. Follow these steps:
- Locate the wiring that was previously connected to the porch light fixture. These wires should be hanging out from the wall or ceiling.
- Take the wires from the motion detector, ensuring they are long enough to reach the porch light wiring. If necessary, trim the motion detector wires to an appropriate length.
- Use wire strippers to remove a small section of insulation from the ends of both sets of wires.
- Match the corresponding wires by color. For example, connect the black wire from the motion detector to the black wire from the porch light, the white wire to the white wire, and the grounding wire to the grounding wire.
- Twist the matching wires together tightly and secure them with wire connectors. Make sure the connections are secure and fully insulated.
- Once the connections are made, carefully tuck the wires into the electrical box, ensuring that there is enough room for the motion detector and porch light to fit back in place.
At this point, you have successfully connected the motion detector to the porch light. However, before proceeding further, it is crucial to test the connection to ensure it is working correctly.
Move on to the next step to learn how to test the motion detector and porch light connection.
Step 6: Test the motion detector and porch light connection
After connecting the motion detector to the porch light, it is essential to test the connection to ensure everything is functioning properly. Here’s how:
- Turn the power back on at the circuit breaker panel. Remember to do this only once you have completed all the wiring connections and have secured the electrical box.
- Stand a few feet away from the motion detector and wait for it to activate. Wave your hand or walk in the detection zone to trigger the motion sensor.
- If the connection is successful, the motion detector should detect motion and send a signal to the porch light, causing it to turn on. Conversely, when no motion is detected, the porch light should remain off.
- Observe the behavior of the motion detector and porch light. Ensure that the porch light turns on promptly when motion is detected and turns off after a predetermined period of inactivity.
- Make adjustments to the motion detector settings if needed. Some motion detectors have sensitivity and timer settings that can be adjusted according to your preferences.
If the motion detector and porch light connection is working as expected, congratulations! You have successfully installed a motion detector that is now linked to your porch light.
However, if the connection is not functioning correctly, double-check the wiring connections and ensure they are secure. Additionally, review the manufacturer’s instructions for troubleshooting steps specific to your motion detector model.
With a successful connection and a properly functioning motion detector, you are ready to proceed to the final step: mounting the porch light fixture back in place.
Step 7: Mount the porch light fixture back in place
Now that the motion detector and porch light connection has been tested and confirmed, it’s time to mount the porch light fixture back in place. Follow these steps:
- Take the porch light fixture that you previously removed and align it with the mounting bracket on the wall or ceiling. Ensure that the mounting holes on the fixture align with the holes on the bracket.
- Insert and tighten the screws or bolts to secure the porch light fixture in place. Use a screwdriver to ensure they are firmly tightened but be careful not to overtighten and damage the fixture or mounting bracket.
- Turn the porch light fixture slightly to ensure it is level and aligned properly.
- Once the fixture is securely mounted, double-check that the wiring is neatly tucked into the electrical box and that there are no exposed wires.
- If necessary, use porcelain wire connectors to secure the wire connections and provide additional insulation.
- Finally, switch on the power at the circuit breaker panel to restore electrical supply to the porch light.
- Test the porch light by turning it on and off using the light switch. Ensure that it operates as expected, both manually and when triggered by the motion detector. The porch light should turn on when motion is detected and turn off after a period of inactivity.
With the porch light fixture securely mounted and functioning correctly, the installation of your motion detector is now complete.
It’s important to periodically test and maintain your motion detector and porch light to ensure they remain in optimal working condition. Clean the motion sensor lens regularly to prevent dirt or debris from obstructing its operation, and replace any burnt-out bulbs promptly.
Congratulations! You have successfully connected a motion detector to your porch light, adding an extra layer of security and convenience to your home.
Remember to always exercise caution when working with electrical wiring and to adhere to safety guidelines. If you’re ever unsure about any step of the installation process, it’s best to consult a professional electrician for assistance.
Enjoy the benefits of your newly installed motion detector and porch light setup!
Conclusion
Adding a motion detector to your porch light is a smart and effective way to enhance the security and functionality of your home. By following the steps outlined in this guide, you can confidently connect the motion detector to your porch light, providing an automated lighting solution that turns on when motion is detected.
We started by gathering the necessary tools and materials, ensuring that you have everything you need for a successful installation. Next, we emphasized the importance of turning off the power to the porch light to ensure safety throughout the process. We then guided you through the steps of removing the existing porch light fixture and installing the motion detector. With the motion detector in place, we explained how to connect it to the porch light and provided instructions for testing the connection to ensure proper functionality.
Finally, we discussed the final step of mounting the porch light fixture back in place, completing the installation process. It’s important to periodically test and maintain your motion detector and porch light to ensure they continue to operate effectively.
Remember, if at any point you feel uncertain or uncomfortable working with electrical wiring, it’s best to consult a professional electrician for assistance. Your safety should always be a top priority.
Now that you have a motion detector connected to your porch light, you can enjoy the added security, convenience, and peace of mind it brings. Whether you’re coming home late at night or simply want to illuminate your porch area, your motion detector will automatically activate the porch light when it detects motion, providing a well-lit and secure environment.
We hope this comprehensive guide has been helpful in guiding you through the process of connecting a motion detector to your porch light. Enjoy the benefits of your new home security and lighting system!
Frequently Asked Questions about How To Connect A Motion Detector To A Porch Light
Was this page helpful?
At Storables.com, we guarantee accurate and reliable information. Our content, validated by Expert Board Contributors, is crafted following stringent Editorial Policies. We're committed to providing you with well-researched, expert-backed insights for all your informational needs.