Home>Furniture & Design>Outdoor Furniture>How To Finish Outdoor Wood Furniture
Outdoor Furniture
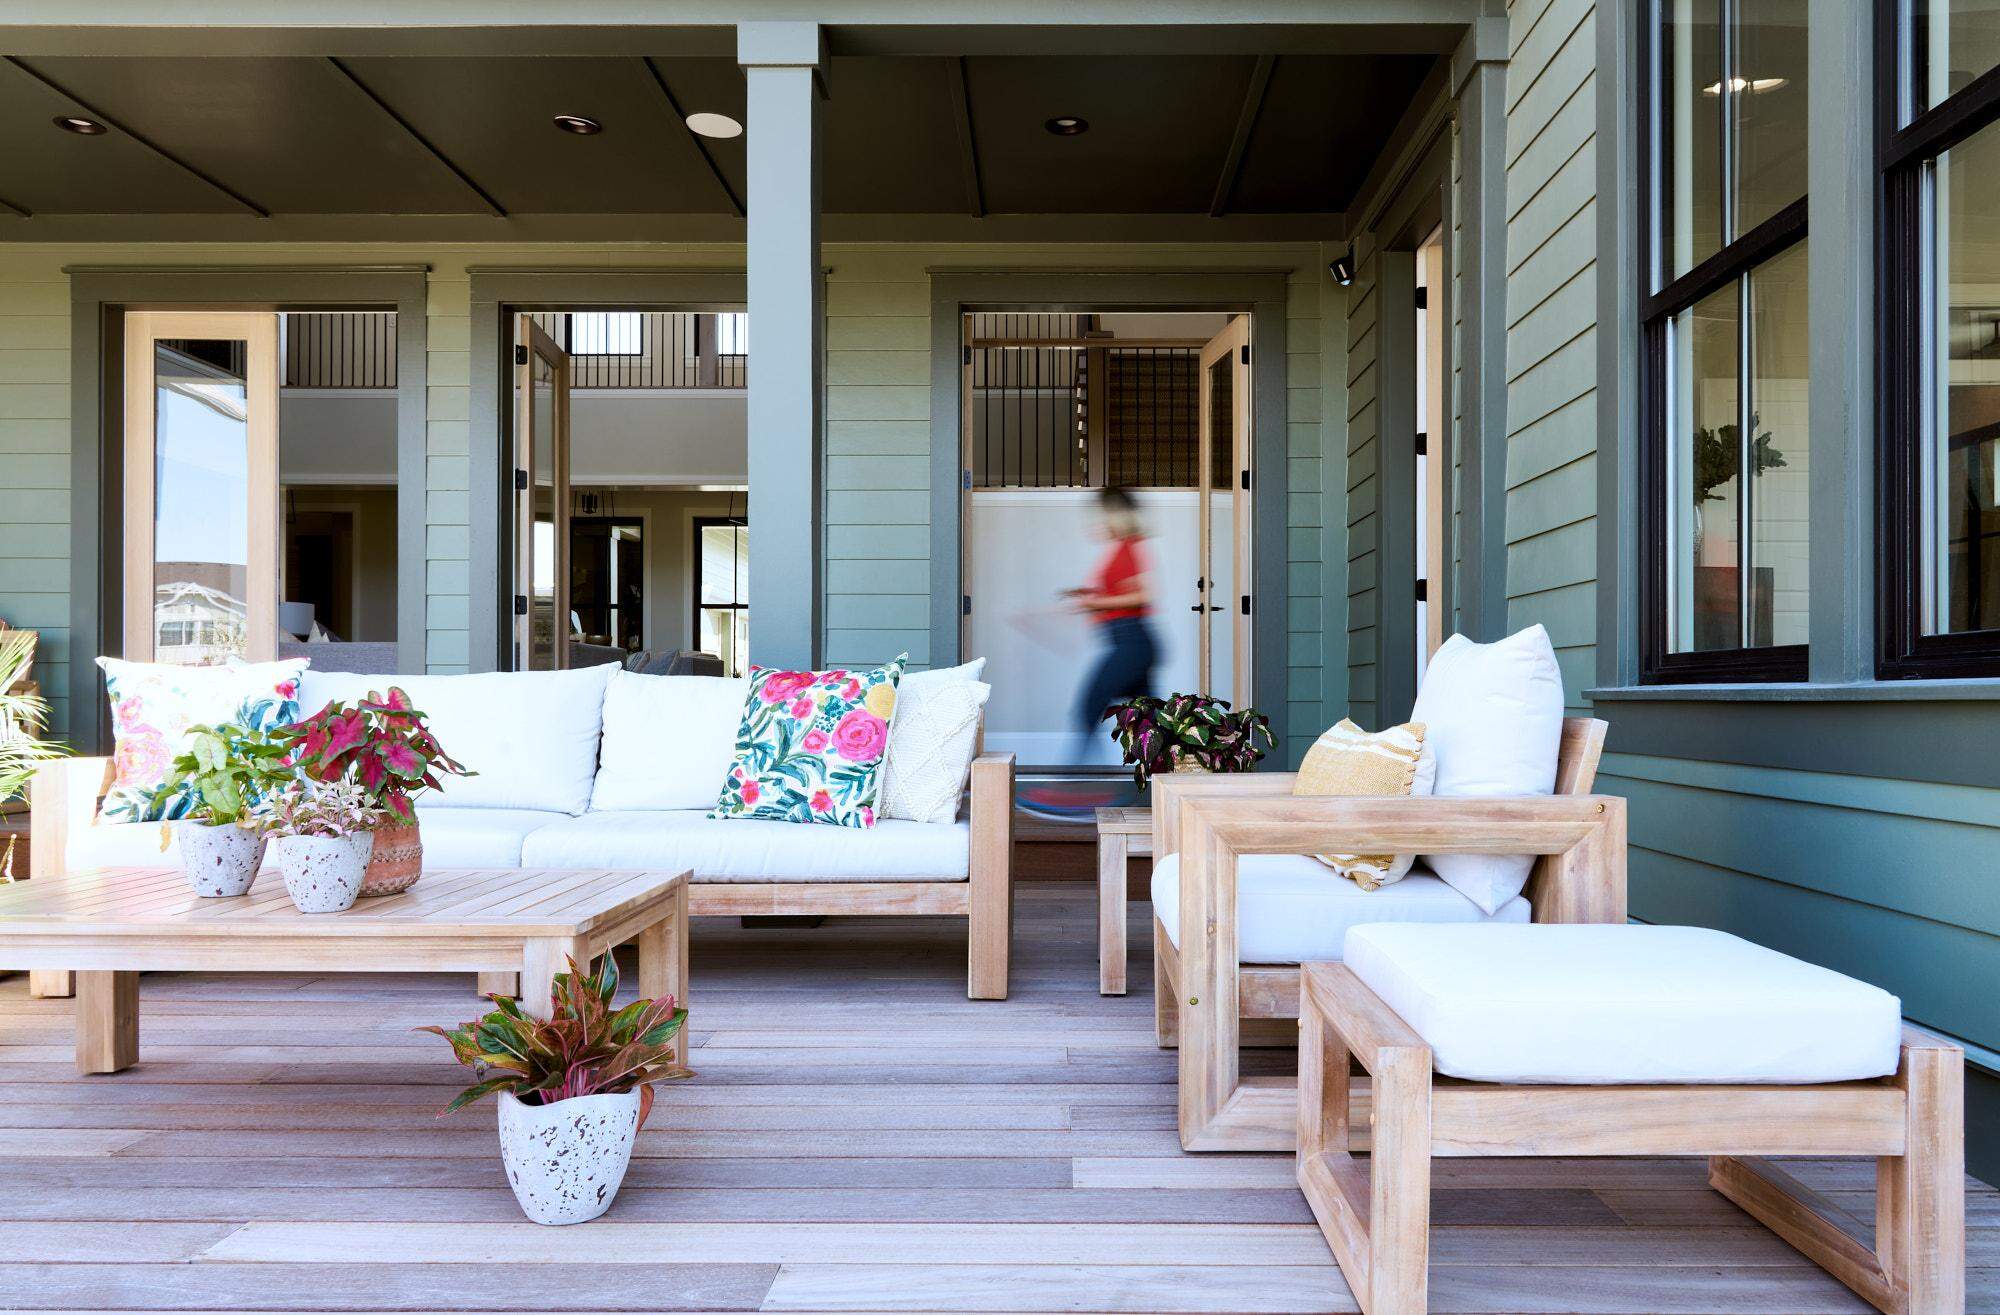
How To Finish Outdoor Wood Furniture
Published: January 15, 2024
Discover the best techniques for finishing outdoor wood furniture and enhancing its durability and aesthetics. Explore expert tips for preserving and beautifying your outdoor furniture with our comprehensive guide.
(Many of the links in this article redirect to a specific reviewed product. Your purchase of these products through affiliate links helps to generate commission for Storables.com, at no extra cost. Learn more)
Introduction
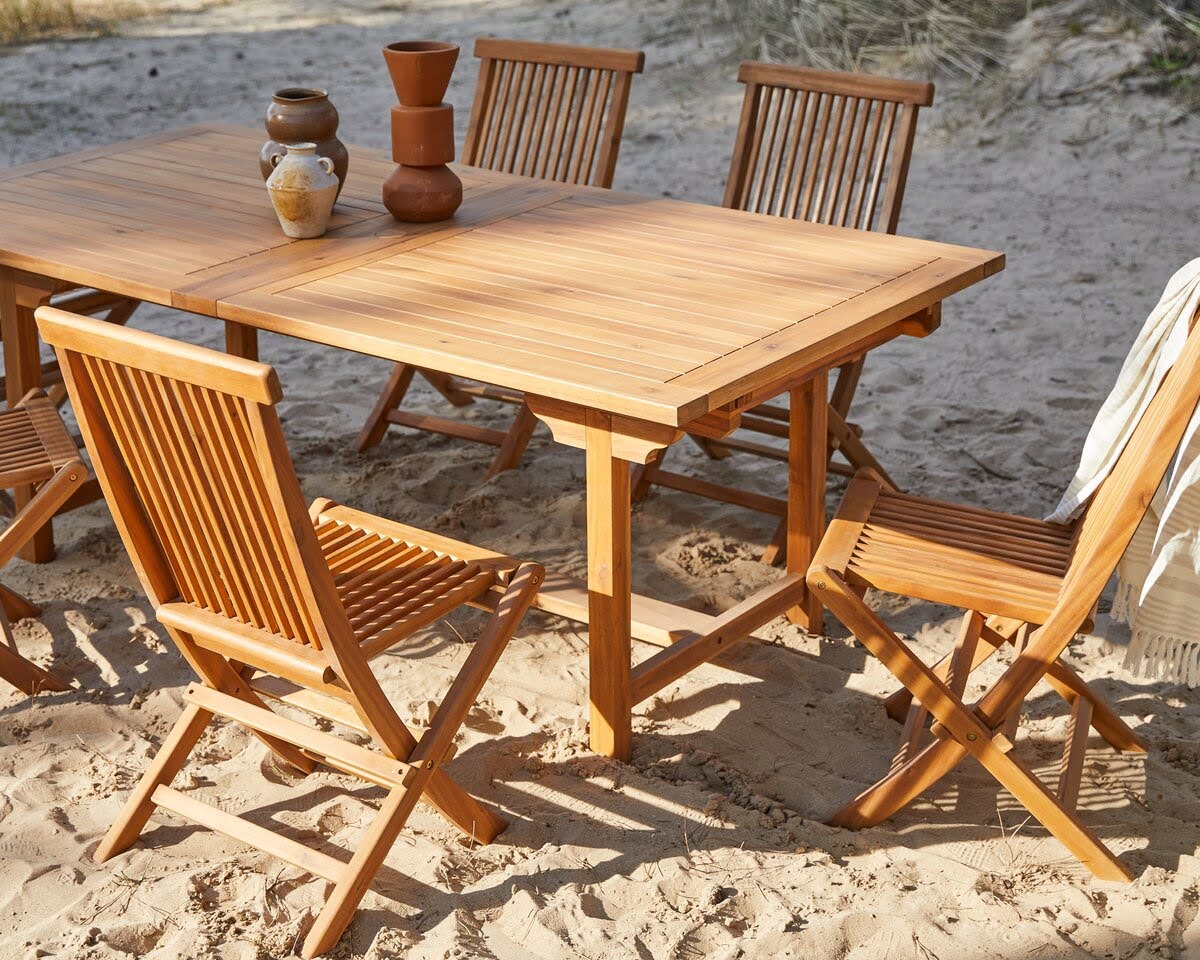
When it comes to outdoor furniture, wood is a popular choice due to its natural beauty and durability. However, exposure to the elements can take a toll on wooden outdoor furniture, causing it to lose its luster and structural integrity. To combat this, finishing the wood is essential to protect it from moisture, UV rays, and other outdoor hazards. Whether you have a classic Adirondack chair or a sturdy picnic table, knowing how to finish outdoor wood furniture will not only prolong its lifespan but also preserve its aesthetic appeal.
In this comprehensive guide, we will walk you through the step-by-step process of finishing outdoor wood furniture, from sanding and cleaning the wood to applying wood stain or paint and sealing the finished product. By following these techniques, you can breathe new life into your outdoor furniture and ensure that it remains a centerpiece of your outdoor space for years to come. So, roll up your sleeves, gather your supplies, and let's embark on this journey to revitalize your outdoor wood furniture!
Key Takeaways:
- Revitalize outdoor wood furniture by sanding, cleaning, applying wood stain or paint, and sealing. This process protects the wood, enhances its appearance, and ensures longevity in outdoor settings.
- Refinishing outdoor wood furniture is a rewarding journey that preserves its natural beauty and functionality. By following the step-by-step guide, you can breathe new life into your outdoor space with revitalized furniture.
Read more: How To Waterproof Outdoor Wood Furniture
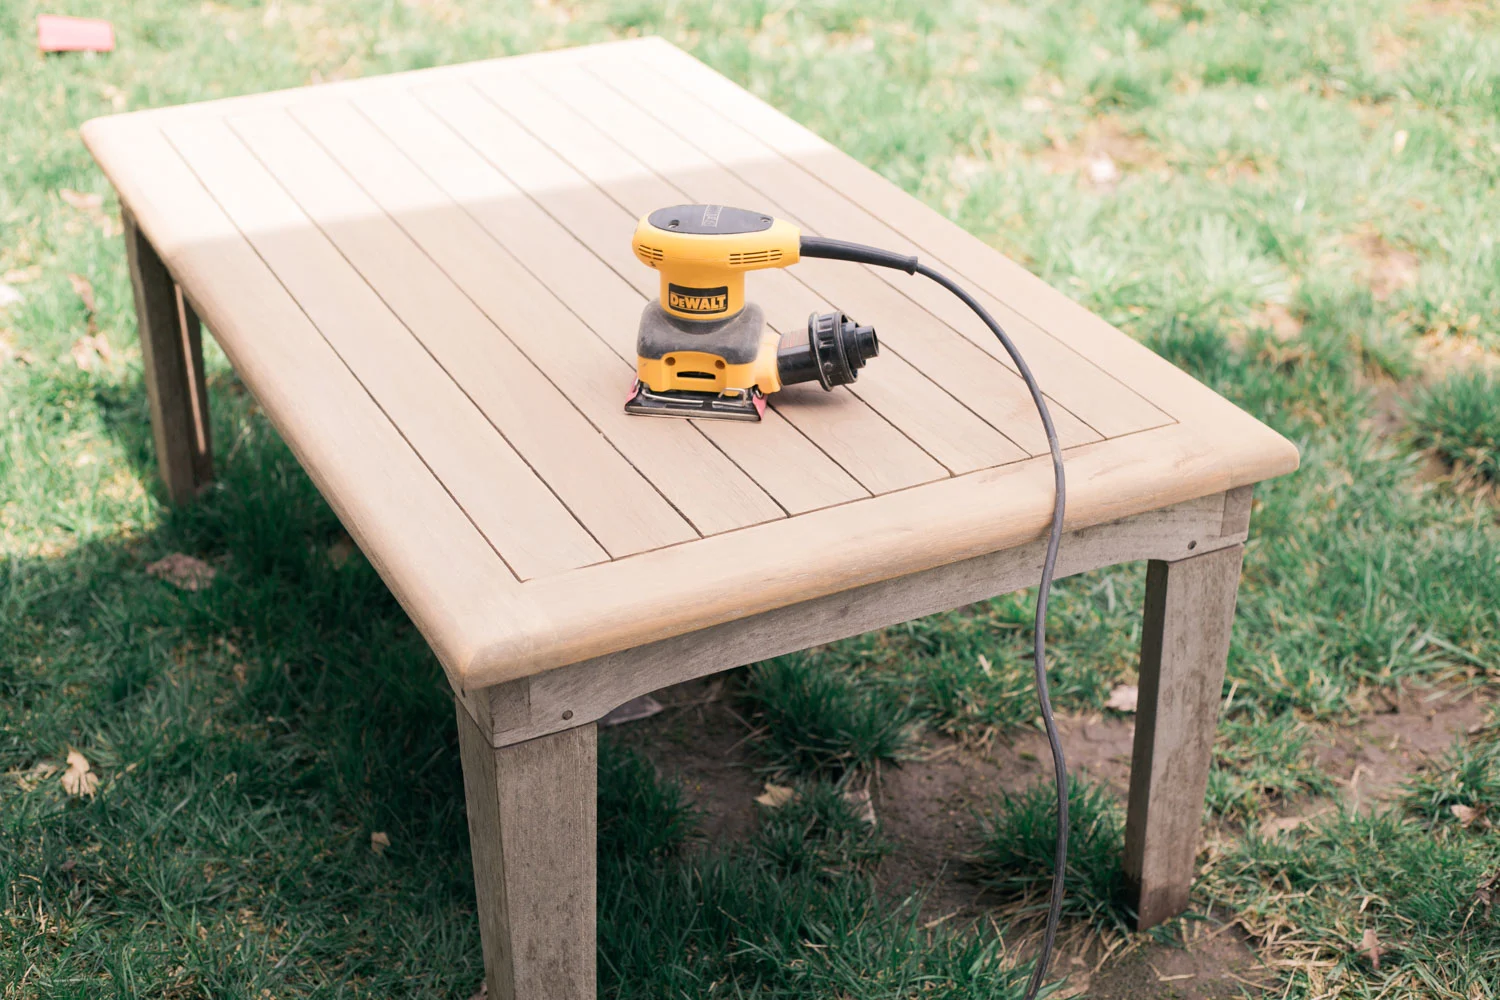
Step 1: Sanding the Furniture
Before you can begin the process of refinishing your outdoor wood furniture, it is crucial to prepare the surface by sanding. Over time, exposure to the elements can cause the wood to develop rough patches, splinters, and an overall weathered appearance. Sanding not only smoothens out these imperfections but also creates a clean canvas for the subsequent steps of the refinishing process.
Start by thoroughly inspecting the furniture for any rough spots, peeling paint, or stubborn stains. Utilize a medium-grit sandpaper (around 80-100 grit) to sand the entire surface, working in the direction of the wood grain. This will help to remove the existing finish, dirt, and any uneven areas. Once the initial sanding is complete, switch to a finer grit sandpaper (around 150-180 grit) to further smoothen the surface and eliminate any remaining blemishes.
After sanding, wipe down the furniture with a tack cloth to remove any dust and debris. This step is crucial to ensure that the surface is clean and ready for the subsequent stages of the refinishing process. By investing time and effort into thorough sanding, you are laying the foundation for a flawless and long-lasting finish that will rejuvenate your outdoor wood furniture.
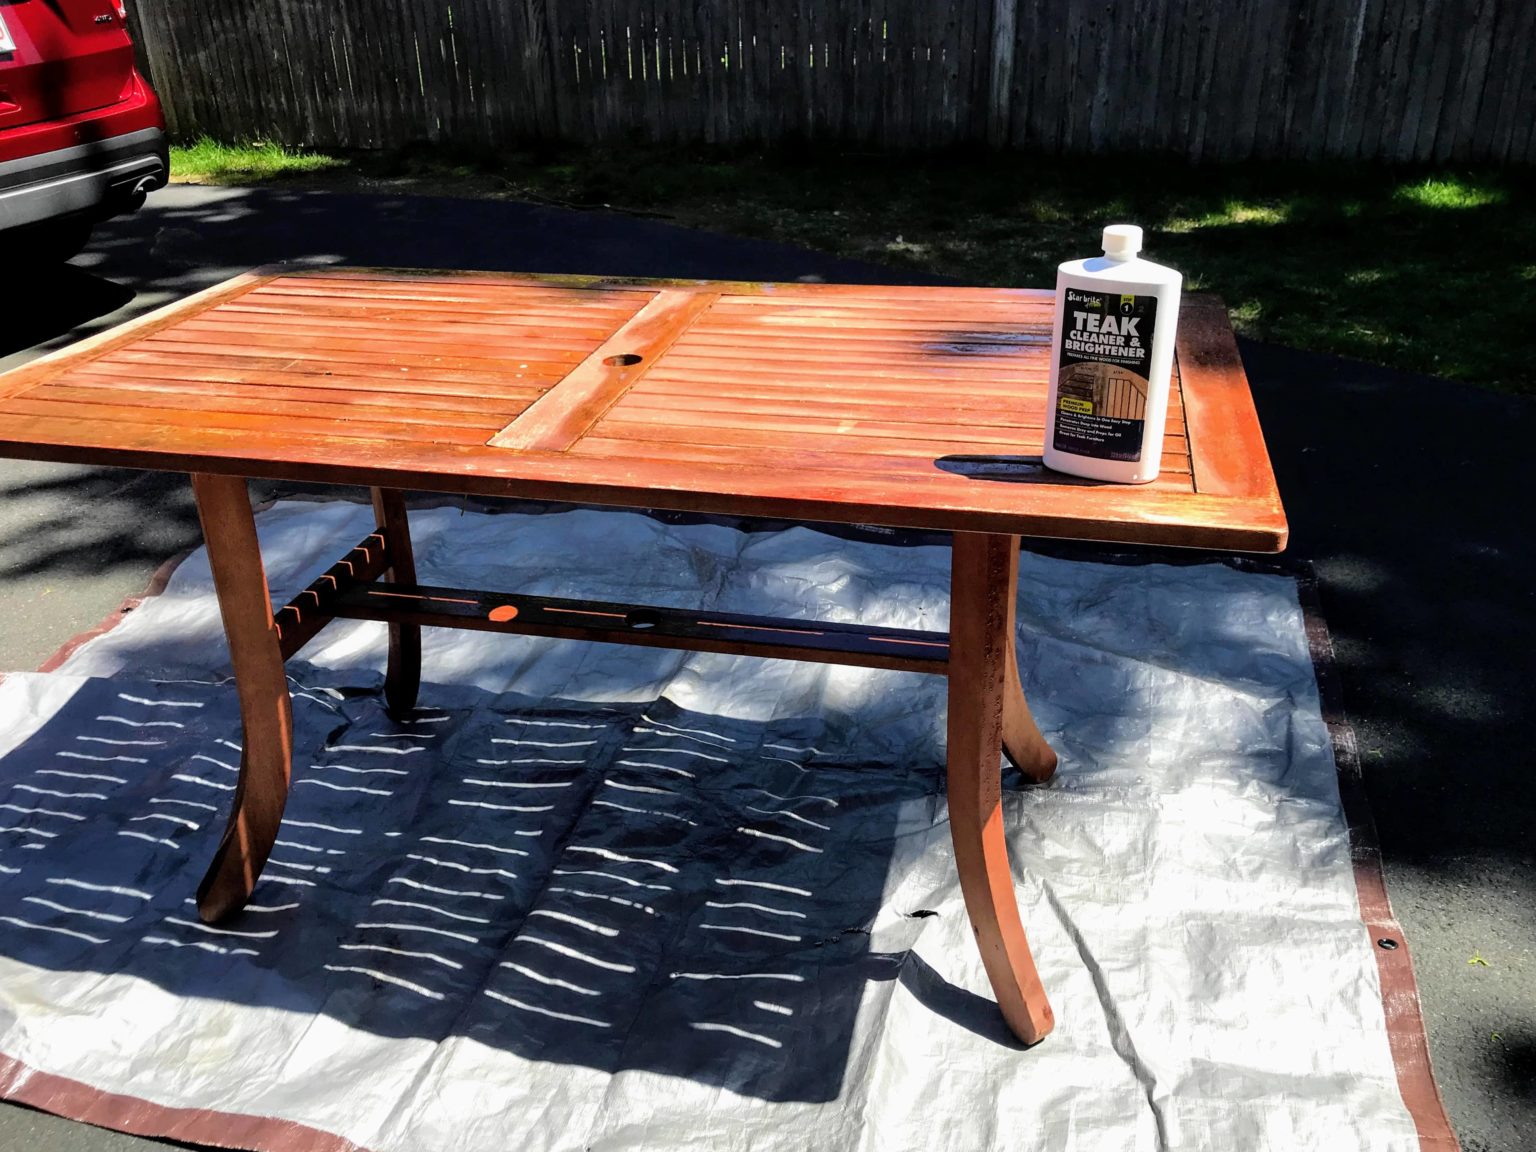
Step 2: Cleaning the Wood
Once the sanding process is complete, the next crucial step in refinishing outdoor wood furniture is thorough cleaning. Over time, outdoor furniture is exposed to various environmental elements such as dirt, pollen, bird droppings, and mold, all of which can accumulate on the surface and in crevices. Therefore, a comprehensive cleaning regimen is essential to ensure that the wood is free from any contaminants before proceeding with the finishing process.
Begin by using a gentle wood cleaner or a mixture of mild dish soap and water to scrub the entire surface of the furniture. For stubborn stains or areas with ingrained dirt, a soft-bristled brush can be employed to effectively dislodge the debris without damaging the wood. Pay close attention to intricate details and hard-to-reach areas, as these are often hotspots for accumulated grime.
After cleaning, thoroughly rinse the furniture with clean water to remove any soapy residue. Ensure that all cleaning agents are completely removed, as any lingering residue can interfere with the subsequent steps of the refinishing process. Once rinsed, allow the furniture to air dry completely before proceeding to the next stage. This step is crucial to prevent moisture from being trapped in the wood, which could compromise the adhesion and longevity of the finish.
By diligently cleaning the wood, you are not only preparing it for the application of stain or paint but also ensuring that the final finish will adhere properly and showcase the natural beauty of the wood. A clean and pristine surface sets the stage for a stunning transformation that will breathe new life into your outdoor wood furniture.
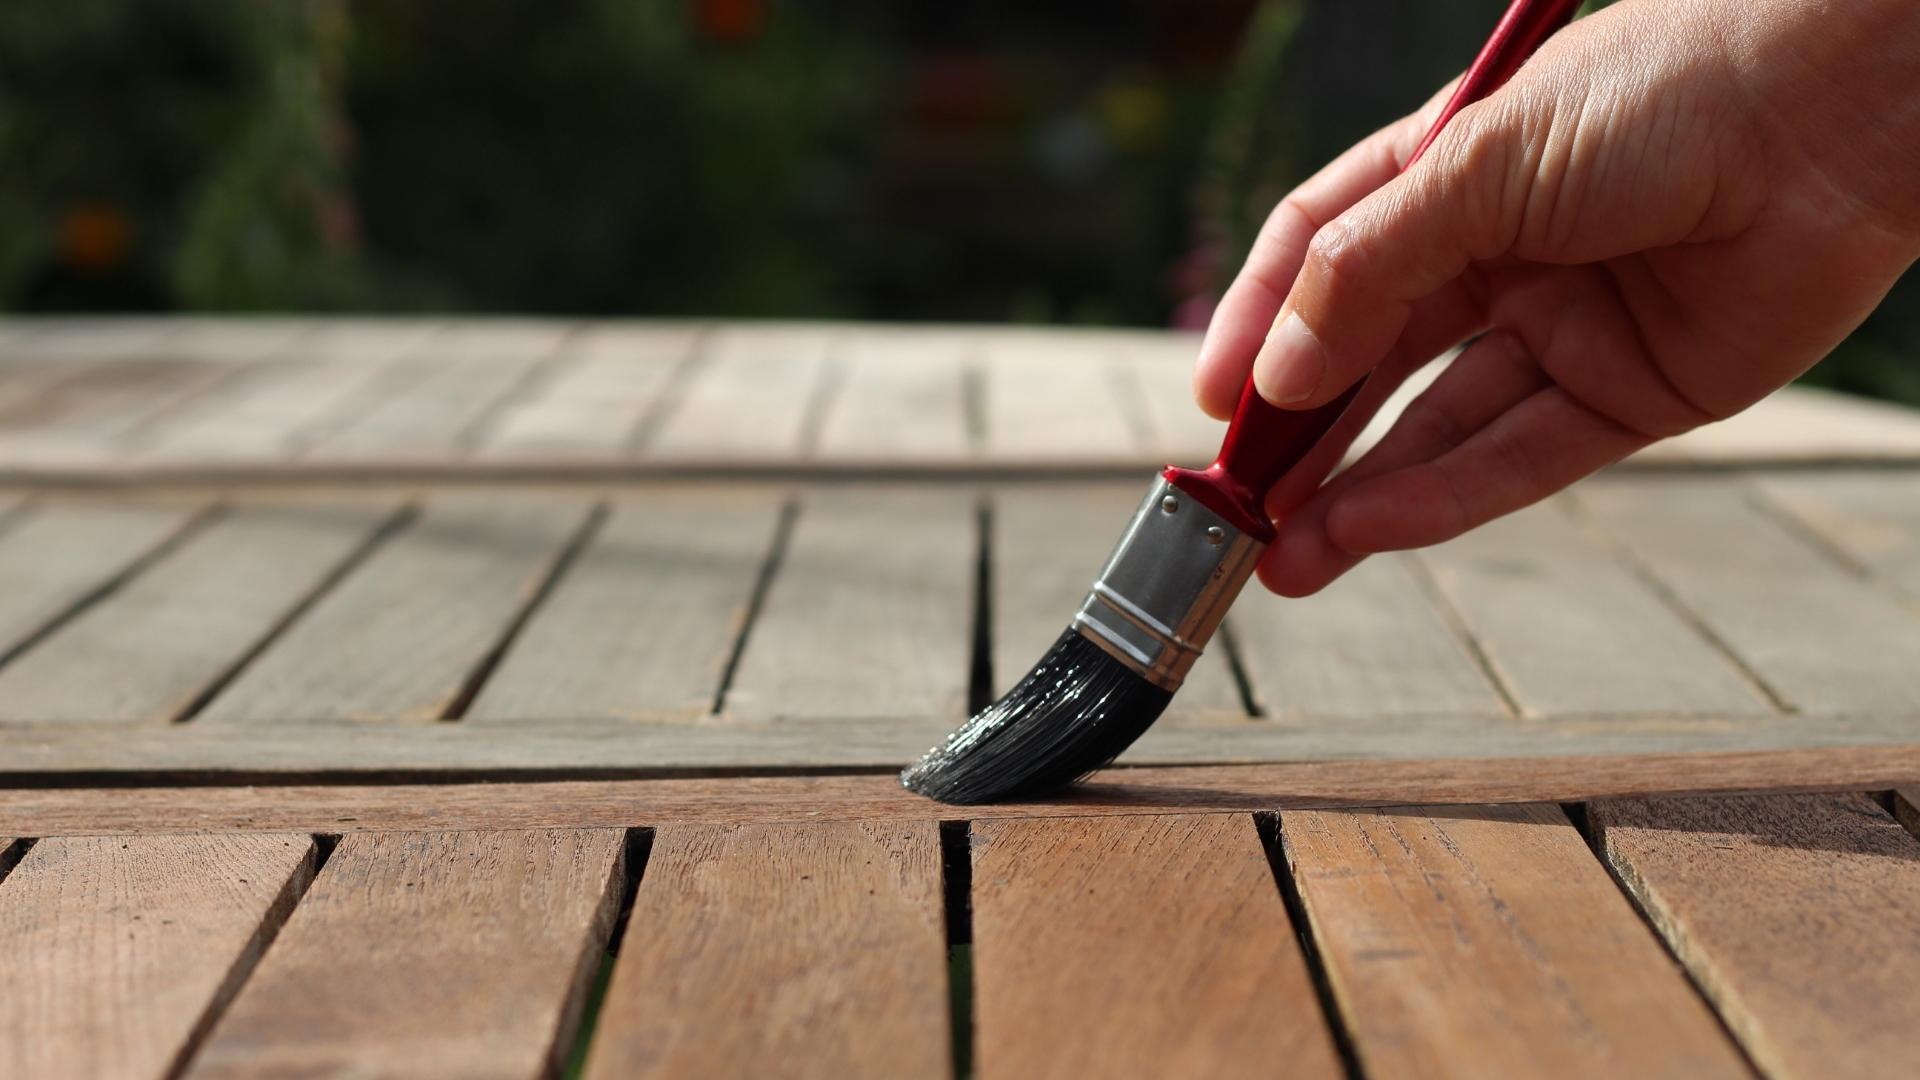
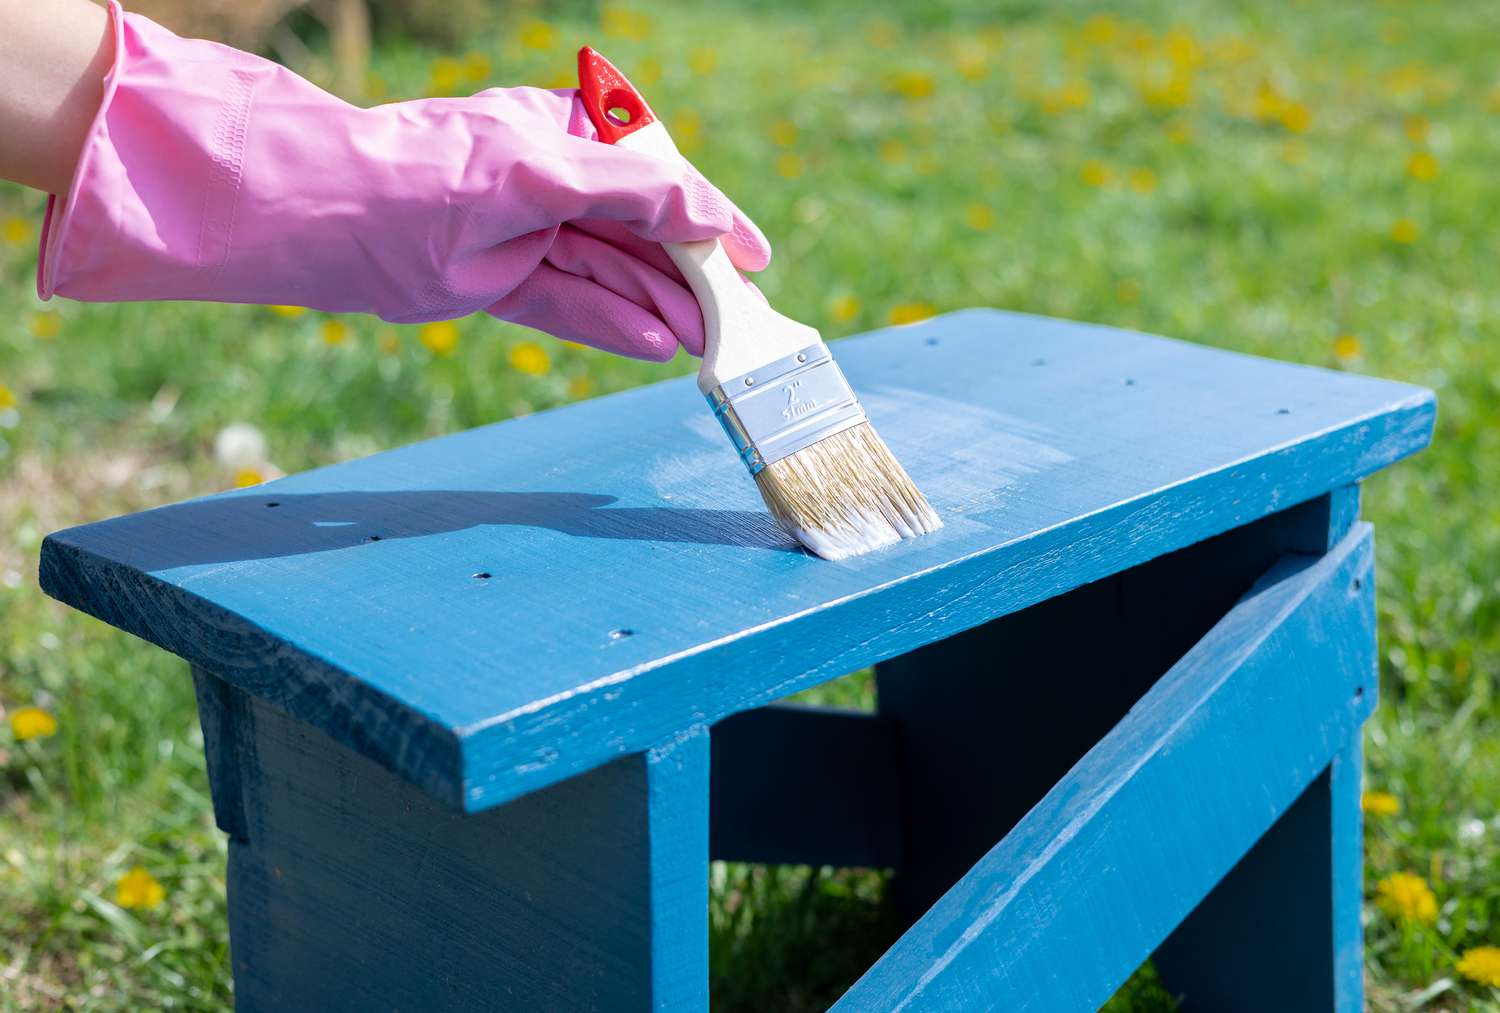
Step 3: Applying Wood Stain or Paint
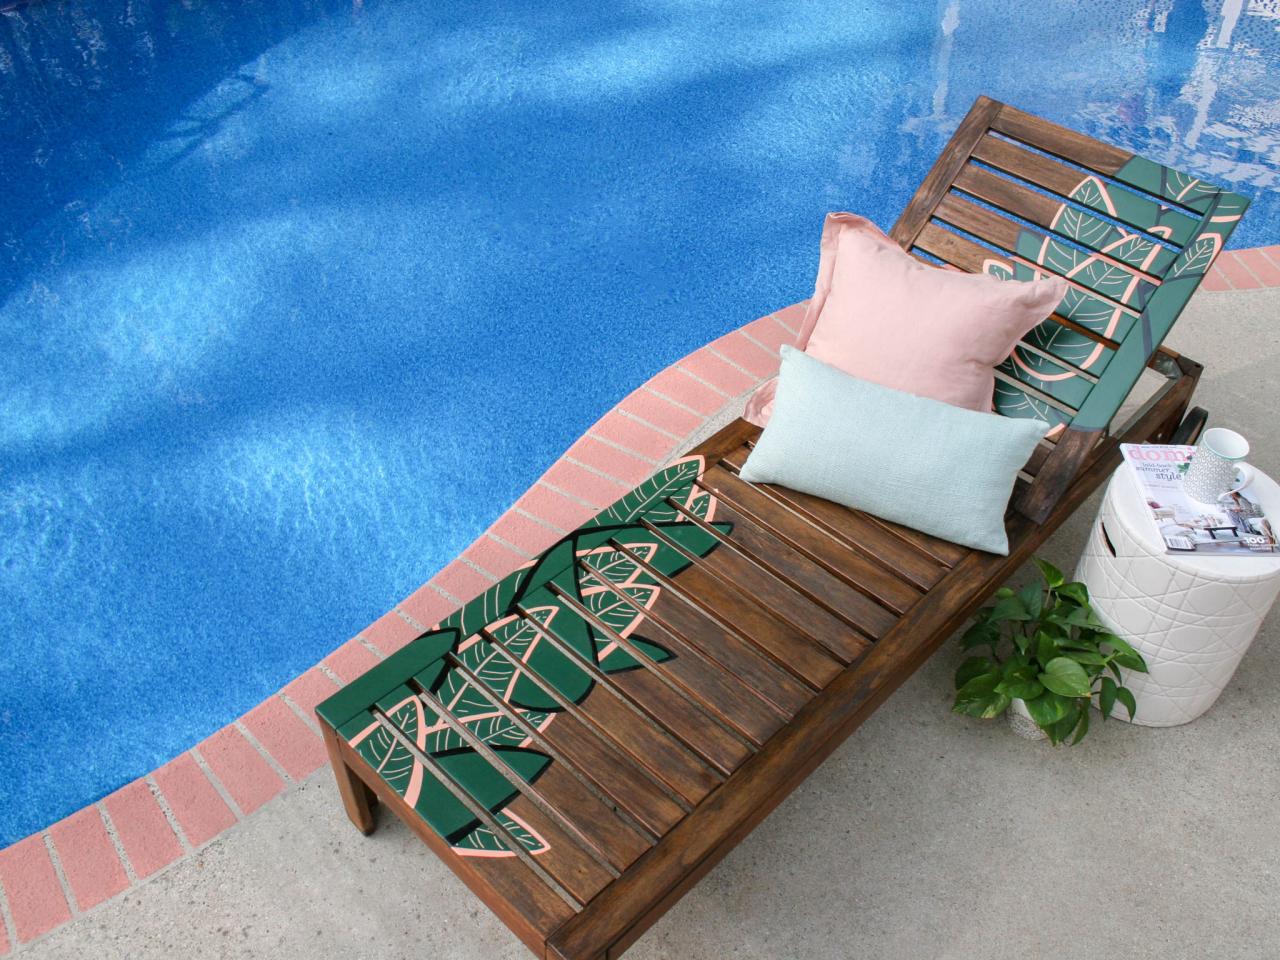
Once the wood has been sanded and cleaned, the next step in the refinishing process is to apply wood stain or paint, depending on the desired aesthetic and level of protection. Wood stain is an excellent choice for those who wish to enhance the natural grain and color of the wood while providing a degree of protection against the elements. On the other hand, paint offers a broader spectrum of color options and provides a robust shield against outdoor conditions.
If you opt for wood stain, it is essential to select a product specifically formulated for outdoor use, as it will contain additives that provide UV protection and moisture resistance. Before applying the stain, thoroughly stir the product to ensure an even distribution of color pigments. Using a natural bristle brush or a clean cloth, apply the stain in the direction of the wood grain, working methodically to cover the entire surface. Allow the stain to penetrate the wood for the recommended duration before wiping off any excess with a clean cloth.
Alternatively, if you choose to paint your outdoor wood furniture, select a high-quality exterior paint designed to withstand harsh outdoor conditions. Prior to painting, it is advisable to apply a primer specifically formulated for outdoor wood surfaces to enhance adhesion and longevity. Once the primer has dried, use a paintbrush or a paint sprayer to apply an even coat of paint, ensuring comprehensive coverage and a smooth finish.
Regardless of whether you opt for wood stain or paint, it is crucial to apply multiple thin coats rather than a single thick coat. This approach not only ensures better adhesion and durability but also allows for a more controlled and uniform application. Additionally, between each coat, lightly sand the surface with fine-grit sandpaper to promote adhesion and eliminate any imperfections.
By applying wood stain or paint, you are not only revitalizing the appearance of your outdoor wood furniture but also fortifying it against the rigors of outdoor exposure. Whether you choose to enhance the natural beauty of the wood with a stain or infuse it with vibrant color through paint, this step is pivotal in achieving a stunning and long-lasting finish.
To finish outdoor wood furniture, use a high-quality outdoor wood sealer or varnish to protect it from the elements. Apply multiple thin coats for best results.
Step 4: Applying a Sealant
After the wood stain or paint has been applied and allowed to dry, the next critical step in the process of refinishing outdoor wood furniture is the application of a sealant. This protective layer serves as a barrier against moisture, UV rays, and general wear and tear, effectively prolonging the lifespan of the finish and the underlying wood.
When selecting a sealant, it is imperative to choose a product specifically designed for outdoor use, as it will offer enhanced resistance to the elements. Polyurethane-based sealants are a popular choice for their exceptional durability and UV protection, while penetrating sealers provide a more natural look and are ideal for preserving the wood’s texture and grain.
Using a natural bristle brush or a clean cloth, apply the sealant evenly in smooth, overlapping strokes, working in the direction of the wood grain. Ensure comprehensive coverage of the entire surface, including intricate details and hard-to-reach areas. Allow the first coat to dry completely as per the manufacturer’s instructions, and then lightly sand the surface with fine-grit sandpaper to promote adhesion and eliminate any imperfections before applying subsequent coats.
Depending on the specific sealant product, multiple coats may be required to achieve the desired level of protection. Between each coat, carefully inspect the surface for any irregularities or bubbles, and lightly sand as needed to maintain a smooth and uniform finish. It is important to note that adequate drying time between coats is crucial to ensure the sealant cures effectively and forms a robust shield over the wood.
By applying a sealant, you are not only safeguarding the beauty of your outdoor wood furniture but also fortifying it against the harsh outdoor elements. This protective layer serves as a shield, preserving the integrity of the finish and the natural allure of the wood, ensuring that your outdoor furniture remains a timeless centerpiece of your outdoor space for years to come.
Read more: How To Outdoor-Proof Wood Furniture
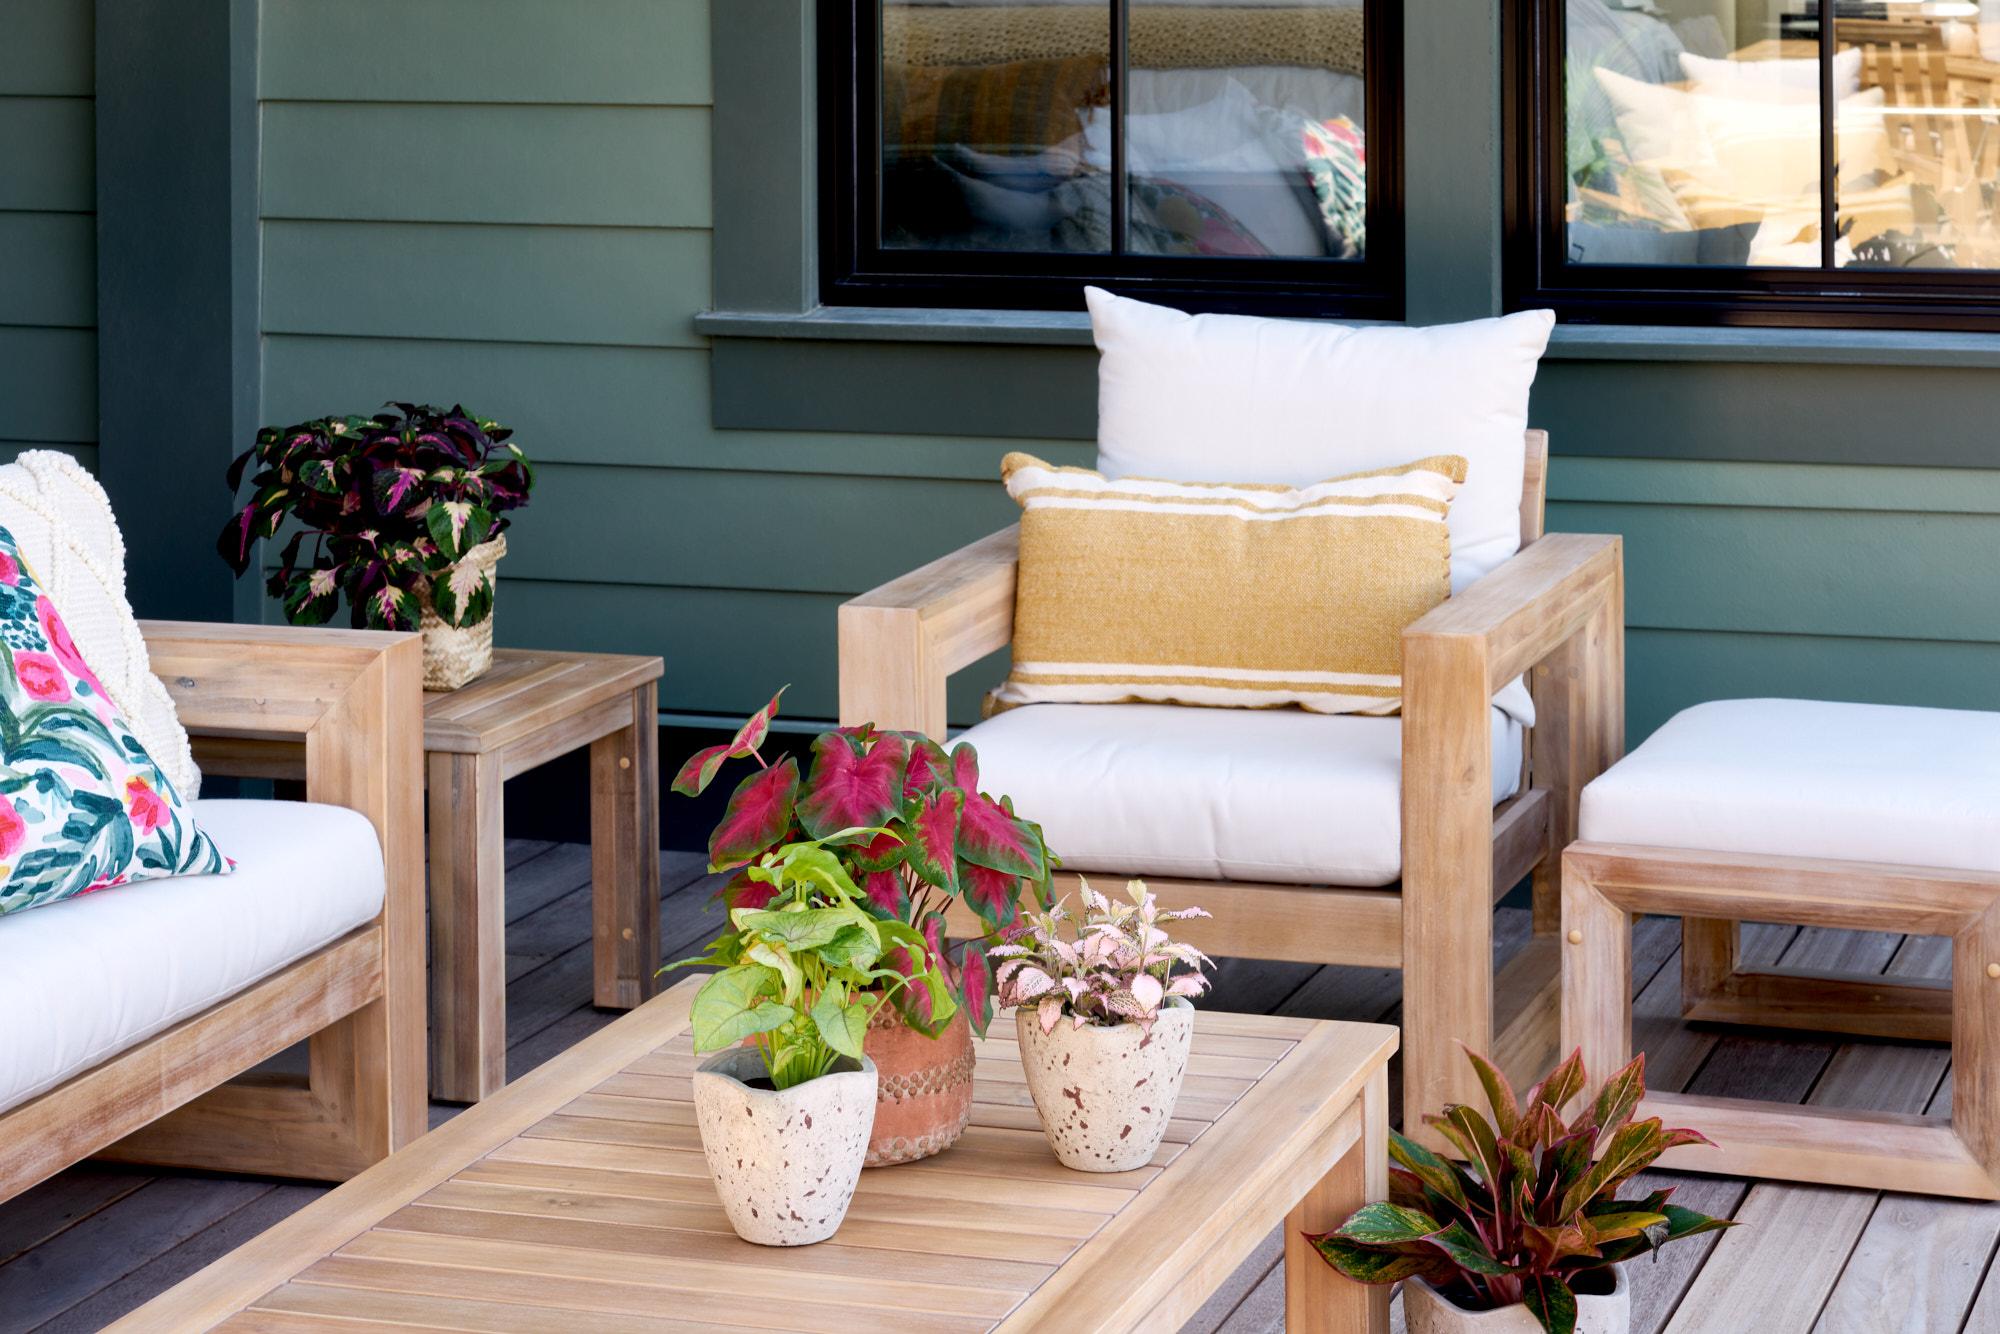
Step 5: Reassembling the Furniture
With the wood properly sanded, cleaned, stained or painted, and sealed, the final step in the process of refinishing outdoor wood furniture is the reassembly of the pieces. This step involves putting everything back together, ensuring that all components are securely fastened and aligned to restore the furniture to its functional and visually appealing state.
Begin by carefully reattaching any disassembled parts, such as table legs, chair arms, or bench slats, following the manufacturer’s instructions if available. Use appropriate fasteners such as screws, bolts, or nails to secure the components, ensuring a tight and stable fit. Pay attention to any hardware that may require replacement due to wear and tear, rust, or corrosion, as ensuring the structural integrity of the furniture is paramount to its longevity.
As you reassemble the furniture, take the opportunity to inspect each component for any signs of damage or weakness. Tighten any loose fasteners and address any issues that may compromise the stability and safety of the furniture. Additionally, consider applying a thin layer of lubricant to any moving parts, such as hinges or sliding mechanisms, to facilitate smooth operation and prevent premature wear.
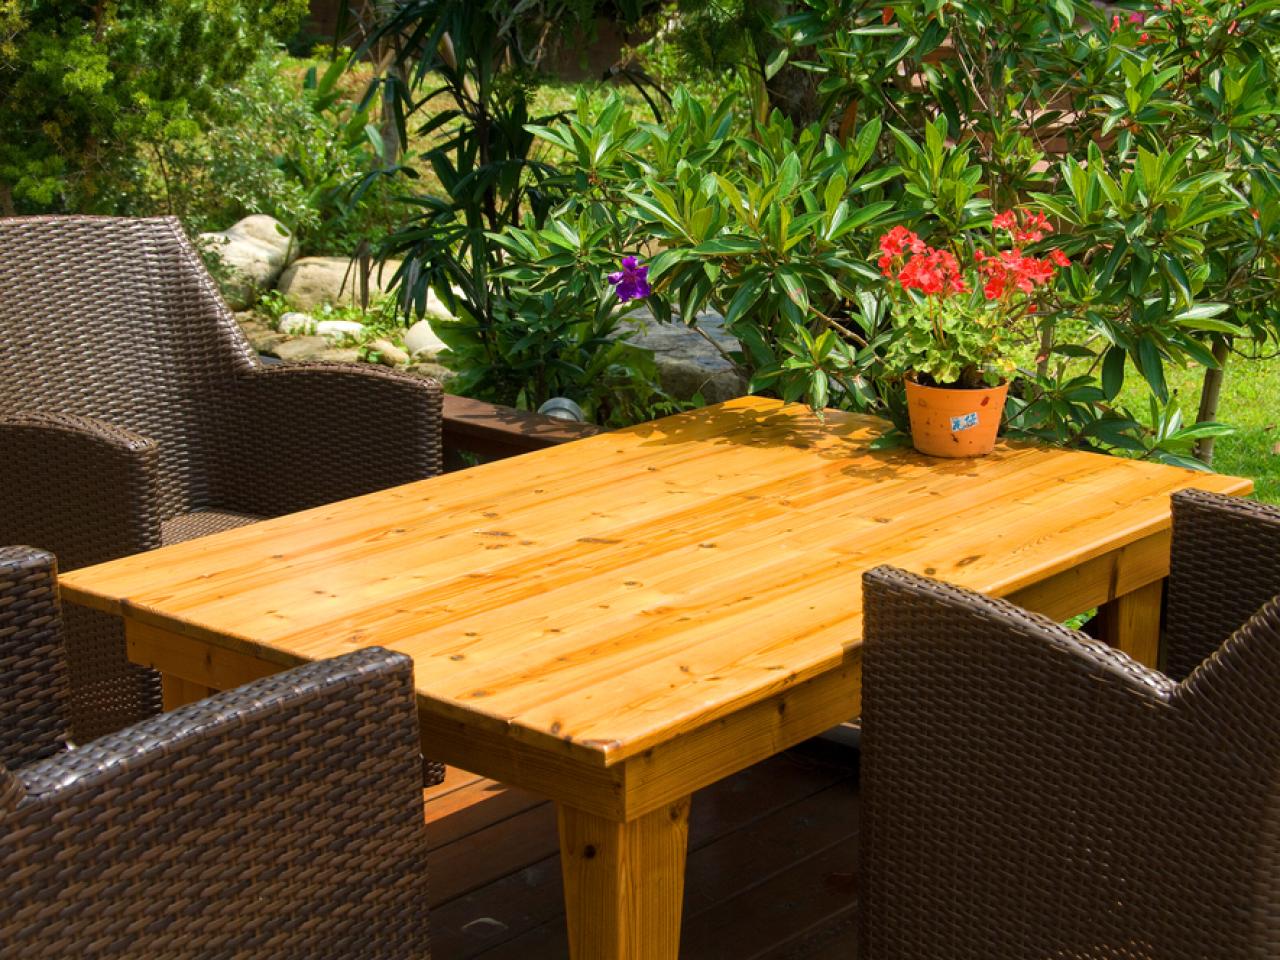
Once the reassembly is complete, take a moment to step back and admire the transformation of your outdoor wood furniture. The meticulous refinishing process has not only revived its appearance but also fortified it against the elements, ensuring that it will continue to be a cherished and functional asset in your outdoor space for years to come.
By reassembling the furniture with care and attention to detail, you are putting the finishing touch on the refinishing process, culminating in a stunning and revitalized piece that is ready to reclaim its place in your outdoor oasis.
Conclusion
Refinishing outdoor wood furniture is a rewarding endeavor that not only revitalizes the appearance of your cherished pieces but also extends their lifespan and usability in outdoor settings. By following the step-by-step process outlined in this guide, you have embarked on a journey to breathe new life into your outdoor furniture, ensuring that it remains a focal point of comfort and style in your outdoor space for years to come.
From the initial step of sanding the furniture to the final act of reassembling the pieces, each stage of the refinishing process plays a crucial role in rejuvenating and fortifying the wood against the rigors of outdoor exposure. Thoroughly preparing the surface, applying the appropriate finish, and sealing it with a protective layer are essential steps that collectively contribute to the longevity and visual appeal of your outdoor wood furniture.
As you witness the transformation of your furniture, take pride in the care and attention invested in the refinishing process. The renewed luster and enhanced durability are a testament to your dedication to preserving the beauty and functionality of your outdoor space. Whether you are enjoying a leisurely afternoon on a refinished Adirondack chair or hosting gatherings around a restored picnic table, the impact of the refinishing process will be palpable and enduring.
In conclusion, by learning how to finish outdoor wood furniture, you have not only acquired a valuable skill but also empowered yourself to maintain and enhance the allure of your outdoor sanctuary. The art of refinishing outdoor wood furniture is a timeless practice that honors the natural beauty of wood while ensuring that your outdoor furniture remains a source of joy, comfort, and aesthetic delight for years to come.
Frequently Asked Questions about How To Finish Outdoor Wood Furniture
Was this page helpful?
At Storables.com, we guarantee accurate and reliable information. Our content, validated by Expert Board Contributors, is crafted following stringent Editorial Policies. We're committed to providing you with well-researched, expert-backed insights for all your informational needs.


0 thoughts on “How To Finish Outdoor Wood Furniture”