Home>Furniture & Design>Outdoor Furniture>How To Refinish Wood Outdoor Furniture
Outdoor Furniture
How To Refinish Wood Outdoor Furniture
Published: January 15, 2024
Learn how to refinish your outdoor furniture and give it a fresh new look. Our expert tips will help you transform your outdoor space with ease.
(Many of the links in this article redirect to a specific reviewed product. Your purchase of these products through affiliate links helps to generate commission for Storables.com, at no extra cost. Learn more)
Introduction
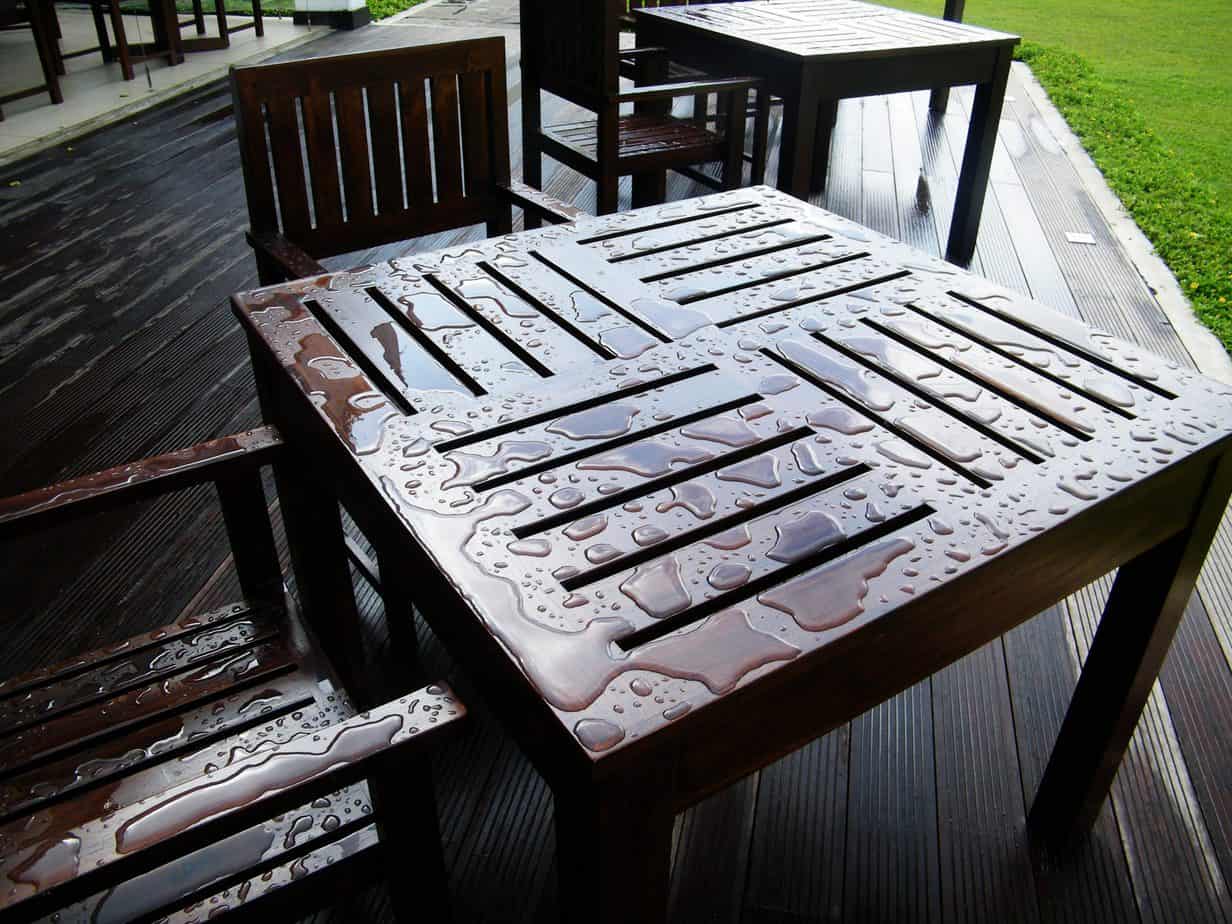
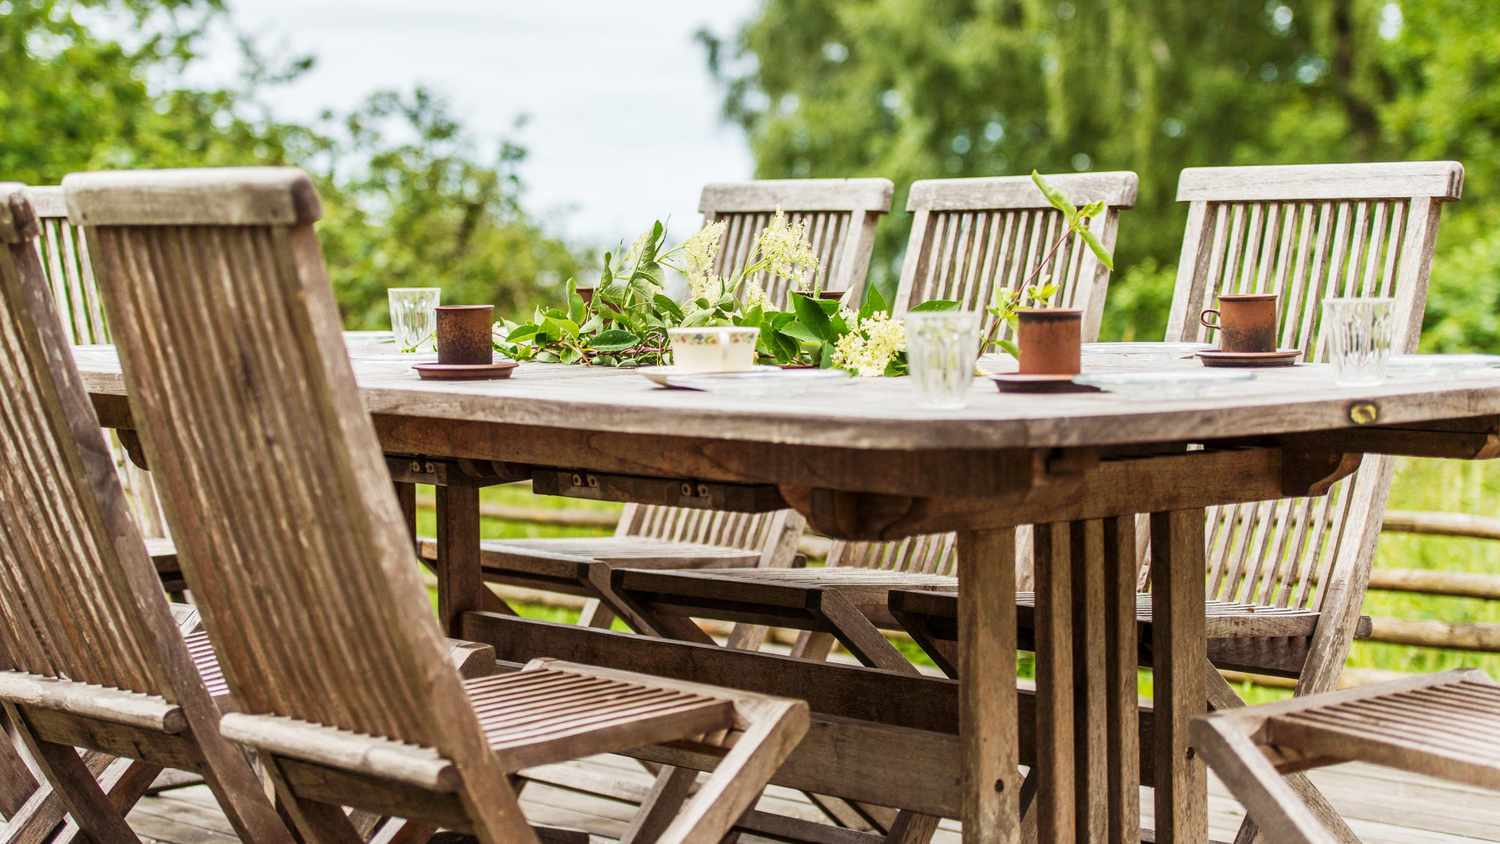
Welcome to the world of outdoor furniture refinishing! Whether you have a weathered wooden bench, a faded Adirondack chair, or a tired-looking picnic table, giving your outdoor furniture a fresh new look is a rewarding and budget-friendly project. Refinishing wood outdoor furniture not only revitalizes its appearance but also extends its lifespan, allowing you to continue enjoying those sunny afternoons and starlit evenings in your outdoor oasis.
In this guide, we'll walk through the essential steps to refinish your outdoor wooden furniture, from preparing the surfaces to applying the final protective finish. You'll learn the techniques to sand down the old finish, clean the wood, apply a new stain or paint, and seal the refreshed surface to safeguard it against the elements. Additionally, we'll cover some maintenance tips to help preserve the beauty of your newly refinished furniture for years to come.
So, roll up your sleeves, gather your supplies, and let's embark on this journey to breathe new life into your outdoor wooden furniture. Whether you're a seasoned DIY enthusiast or a first-time refinisher, this guide will equip you with the knowledge and confidence to transform your weathered pieces into stunning focal points of your outdoor living space. Let's dive in and discover the art of wood furniture refinishing!
Key Takeaways:
- Revitalize your outdoor wooden furniture by sanding, cleaning, and applying a fresh stain or paint. Seal the finish for long-lasting protection and add final touches for a stunning outdoor oasis.
- Prepare, sand, clean, and apply a new finish to transform weathered outdoor wooden furniture. Seal the finish, add decorative elements, and maintain regularly for enduring beauty.
Read more: How To Refinish Outdoor Teak Furniture
Preparing the Furniture
Before diving into the refinishing process, it’s essential to prepare your outdoor wooden furniture for the makeover. Start by selecting a well-ventilated and spacious area for the project. Ideally, an outdoor space such as a patio or a well-ventilated garage would be perfect to ensure good airflow and minimize the spread of dust and fumes.
Begin by removing any cushions, fabric, or metal hardware from the furniture. This will not only make the refinishing process easier but also protect these components from accidental damage. Next, thoroughly inspect the furniture for any loose or damaged parts. Tighten loose screws, replace any rotted or broken wood, and ensure that the structure is sturdy and stable before proceeding.
Once the furniture is free of any non-wooden elements and is structurally sound, it’s time to give it a good cleaning. Use a mild detergent or specially formulated wood cleaner and a brush to remove dirt, grime, and any mildew that may have accumulated. Rinse the furniture with a hose and allow it to dry completely before moving on to the next step.
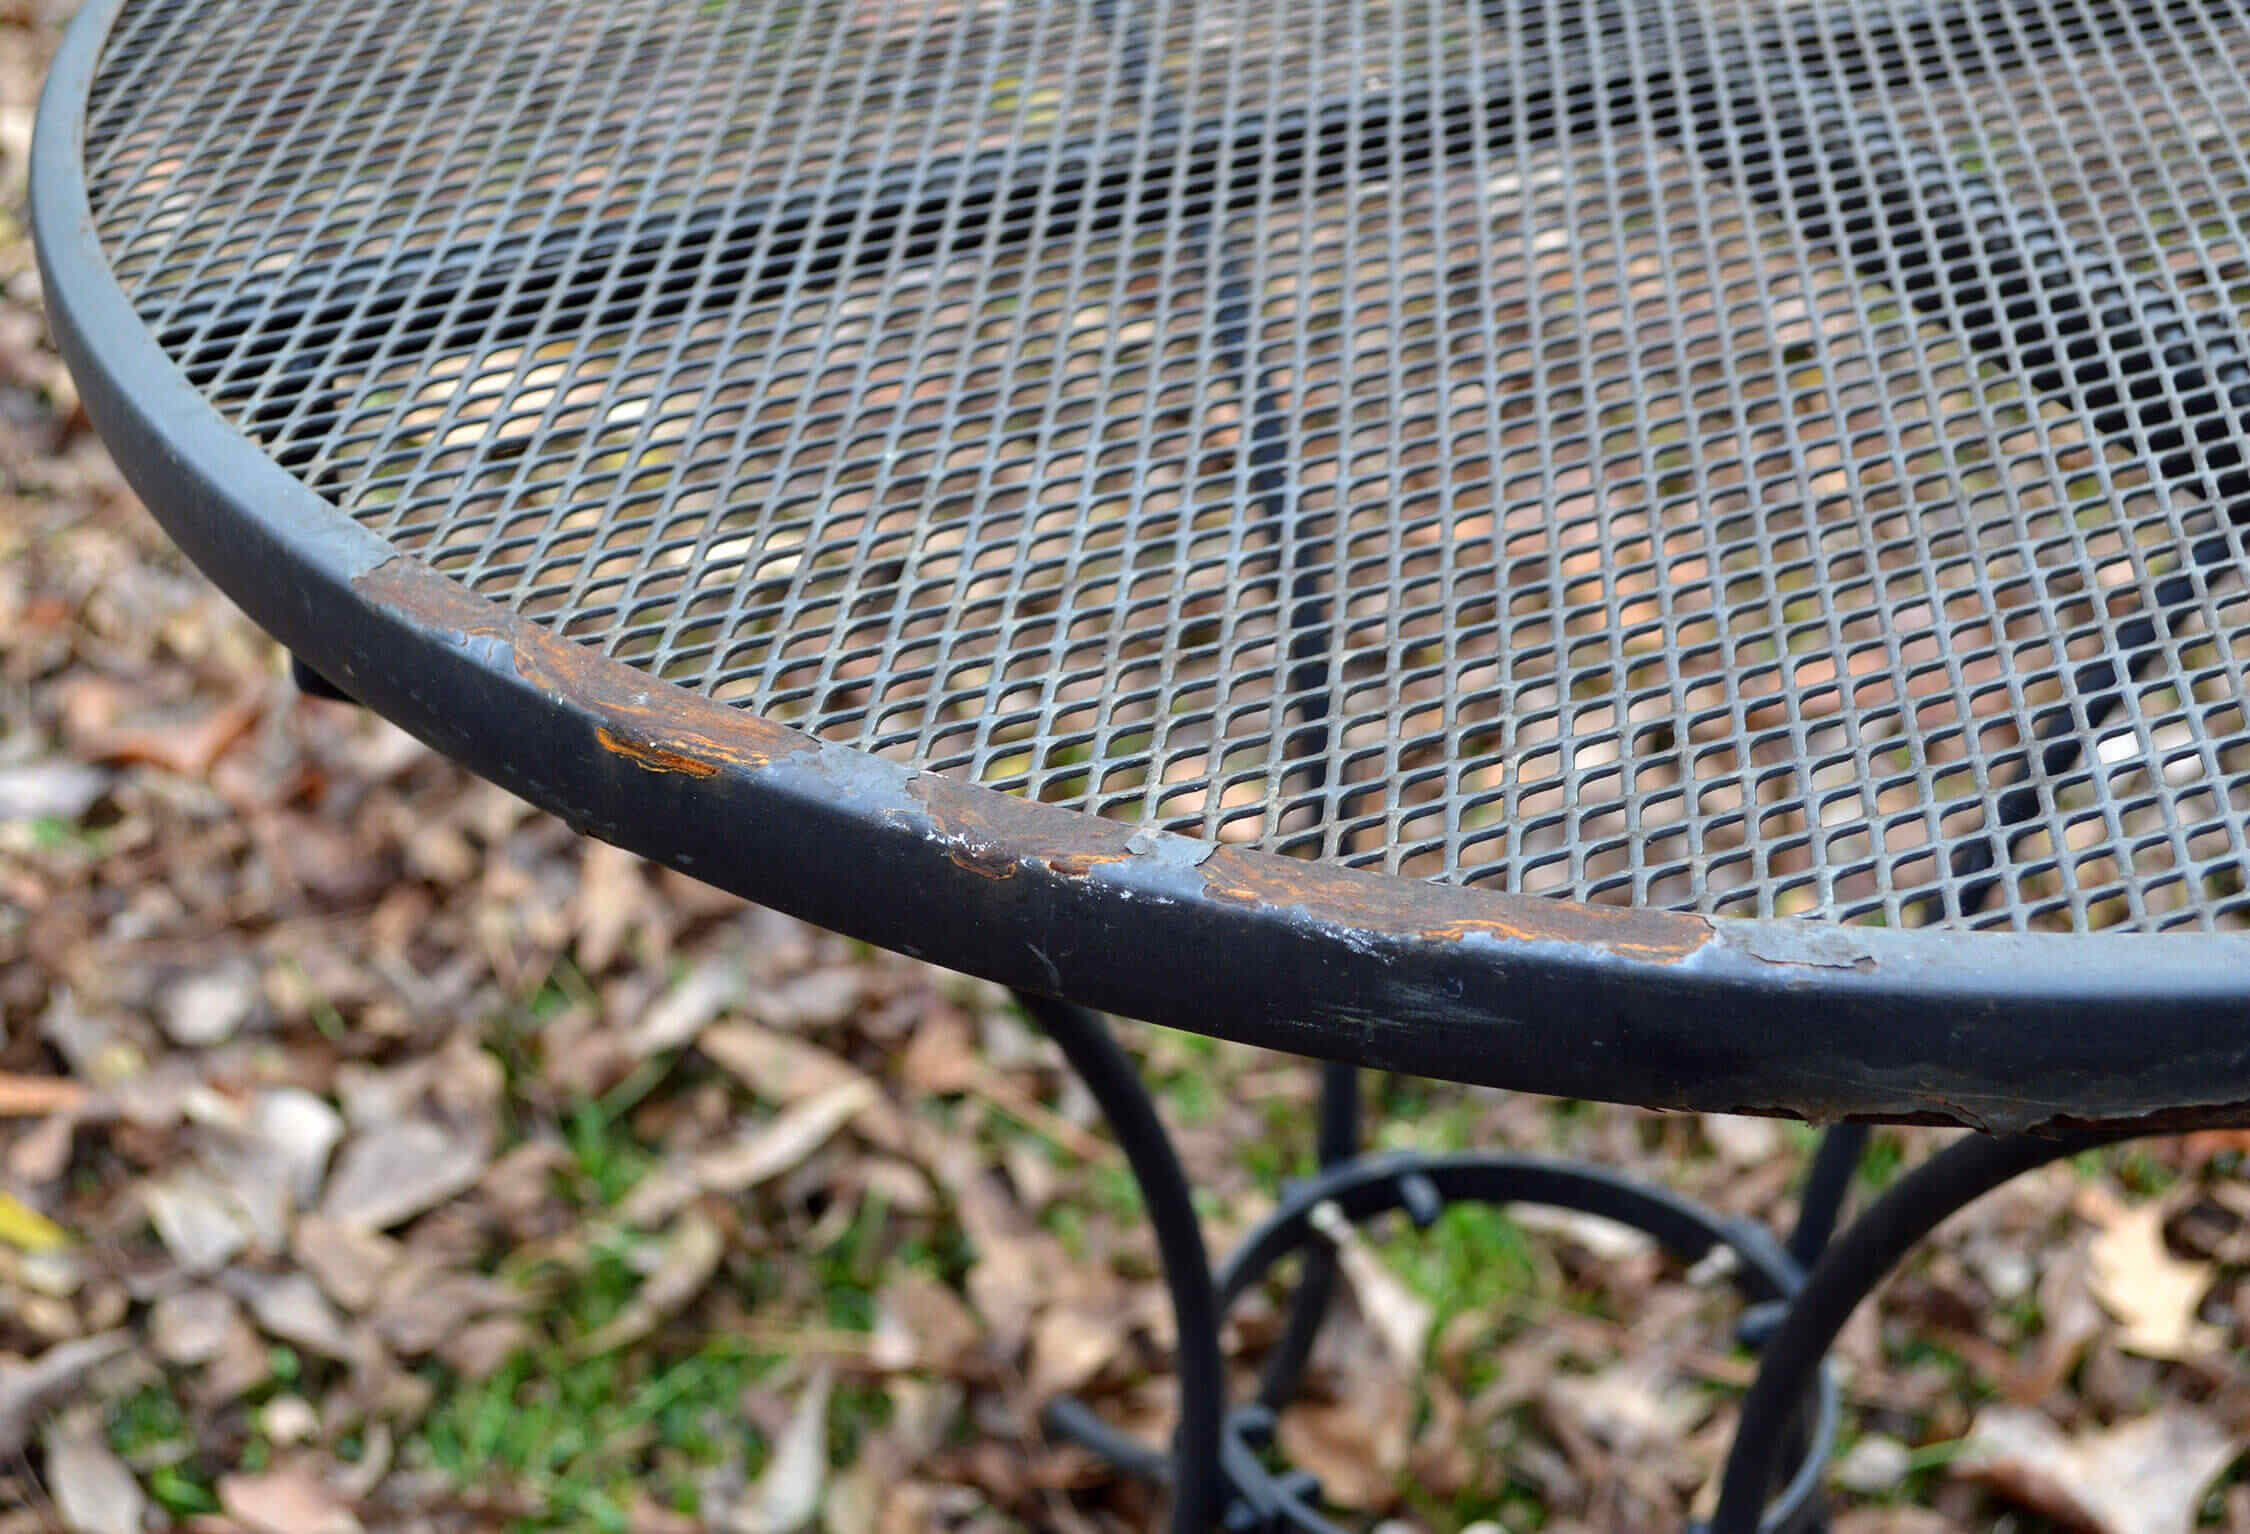
After the furniture has dried, carefully examine the surface for any remaining old finish, such as paint or stain. If there are large patches of old finish, consider using a paint stripper or wood stain remover to effectively lift the stubborn layers. Always follow the manufacturer’s instructions and safety precautions when using chemical strippers.
By preparing the furniture meticulously, you’ll create a clean canvas for the refinishing process, ensuring that the new finish adheres properly and results in a professional-looking outcome. With the furniture prepped and ready, you’re now set to embark on the exciting journey of restoring its natural beauty.
Sanding the Surface
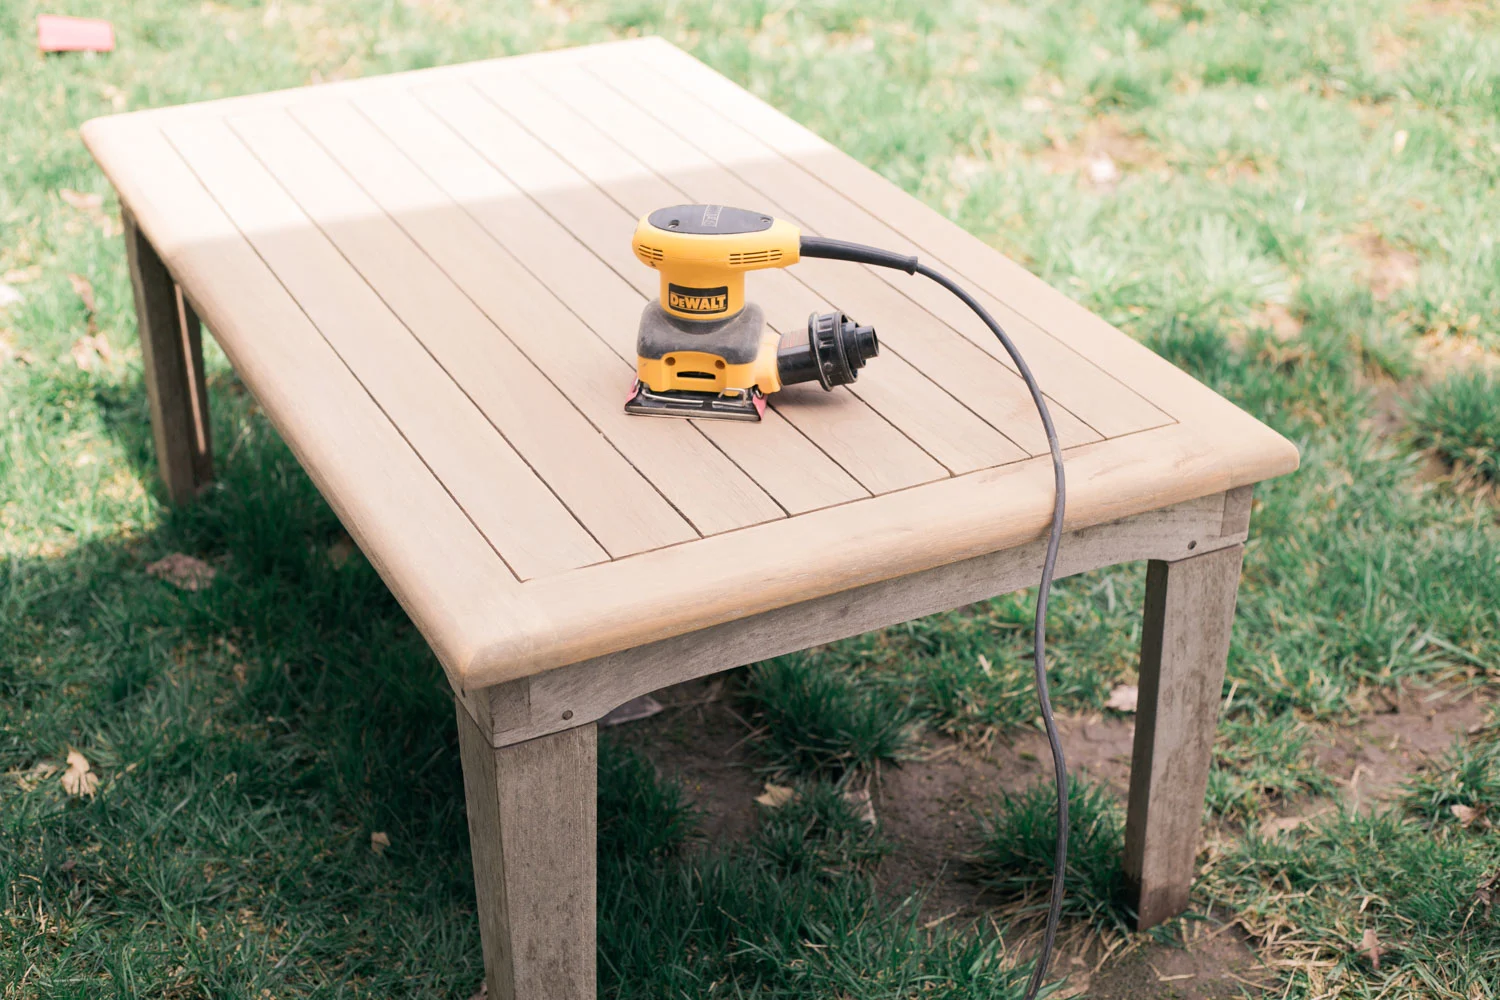
Once the furniture is prepared and free of any old finish, the next crucial step in the refinishing process is to sand the wood surface. Sanding not only smoothens the wood but also ensures that the new finish adheres effectively, resulting in a professional and long-lasting outcome.
Begin by selecting the appropriate sandpaper grit for the initial sanding. For removing old finish and smoothing rough surfaces, start with a coarse grit, such as 80 or 100. As the wood becomes smoother, progress to a medium grit, like 120 or 150, and finally to a fine grit, such as 220, for achieving a silky-smooth finish.
When sanding, work in the direction of the wood grain to avoid creating visible scratches or marks. Use a sanding block or an electric sander for larger surfaces to maintain an even and consistent finish. Pay special attention to intricate details and crevices, ensuring that all areas receive equal treatment to achieve a uniform result.
After the initial sanding, wipe the furniture with a tack cloth to remove any dust and debris. This step is crucial to ensure a clean surface for the subsequent stages of the refinishing process. Once the wood is free of dust, it’s time for the final sanding to achieve a velvety-smooth texture that’s ready for the new finish.
As you progress through the sanding stages, take the time to inspect the wood for any imperfections, such as dents, scratches, or gouges. Address these flaws by sanding them gently or using wood filler to achieve a seamless and flawless surface. By paying attention to these details, you’ll elevate the overall quality of the refinished furniture.
With the surface thoroughly sanded and perfected, the stage is set for the next exciting phase: applying the new stain or paint to breathe fresh life into the wood. The meticulous sanding process ensures that the wood is primed to absorb the new finish, resulting in a stunning transformation that will rejuvenate your outdoor furniture.
Cleaning the Wood
After sanding the wood to perfection, the next vital step in the refinishing process is to thoroughly clean the furniture to remove any remaining dust, dirt, or debris. A pristine surface is essential for ensuring that the new finish adheres flawlessly and achieves a professional, long-lasting result.
Begin by using a clean, damp cloth to wipe down the entire surface of the furniture. This will help to remove any residual dust left from the sanding process. Pay special attention to corners, crevices, and intricate details to ensure that every nook and cranny is free of debris.
Once the initial wipe-down is complete, allow the wood to dry completely before proceeding to the next cleaning stage. It’s essential to ensure that the wood is entirely free of moisture before applying the new finish to prevent any potential adhesion issues or blemishes in the final result.
After the wood has dried, consider using a specially formulated wood cleaner to deep-clean the surface. These cleaners are designed to remove embedded dirt, grime, and any residual old finish that may still be clinging to the wood. Follow the manufacturer’s instructions for the wood cleaner, ensuring that it is suitable for the type of wood and the intended finish.
Use a soft-bristled brush or a clean cloth to apply the wood cleaner, working it into the grain of the wood. This process will lift any remaining impurities and prepare the wood for the new finish. Once the wood has been thoroughly cleaned, rinse it with water and allow it to dry completely before proceeding to the next stage of the refinishing process.
Cleaning the wood meticulously not only ensures a flawless foundation for the new finish but also contributes to the overall longevity and beauty of the refinished furniture. With the wood now clean and pristine, you’re ready to embark on the exciting stage of applying the new stain or paint to breathe fresh life into your outdoor furniture.
Before refinishing wood outdoor furniture, make sure to thoroughly clean and sand the surface to remove any old finish or rough spots. This will help the new finish adhere better and last longer.
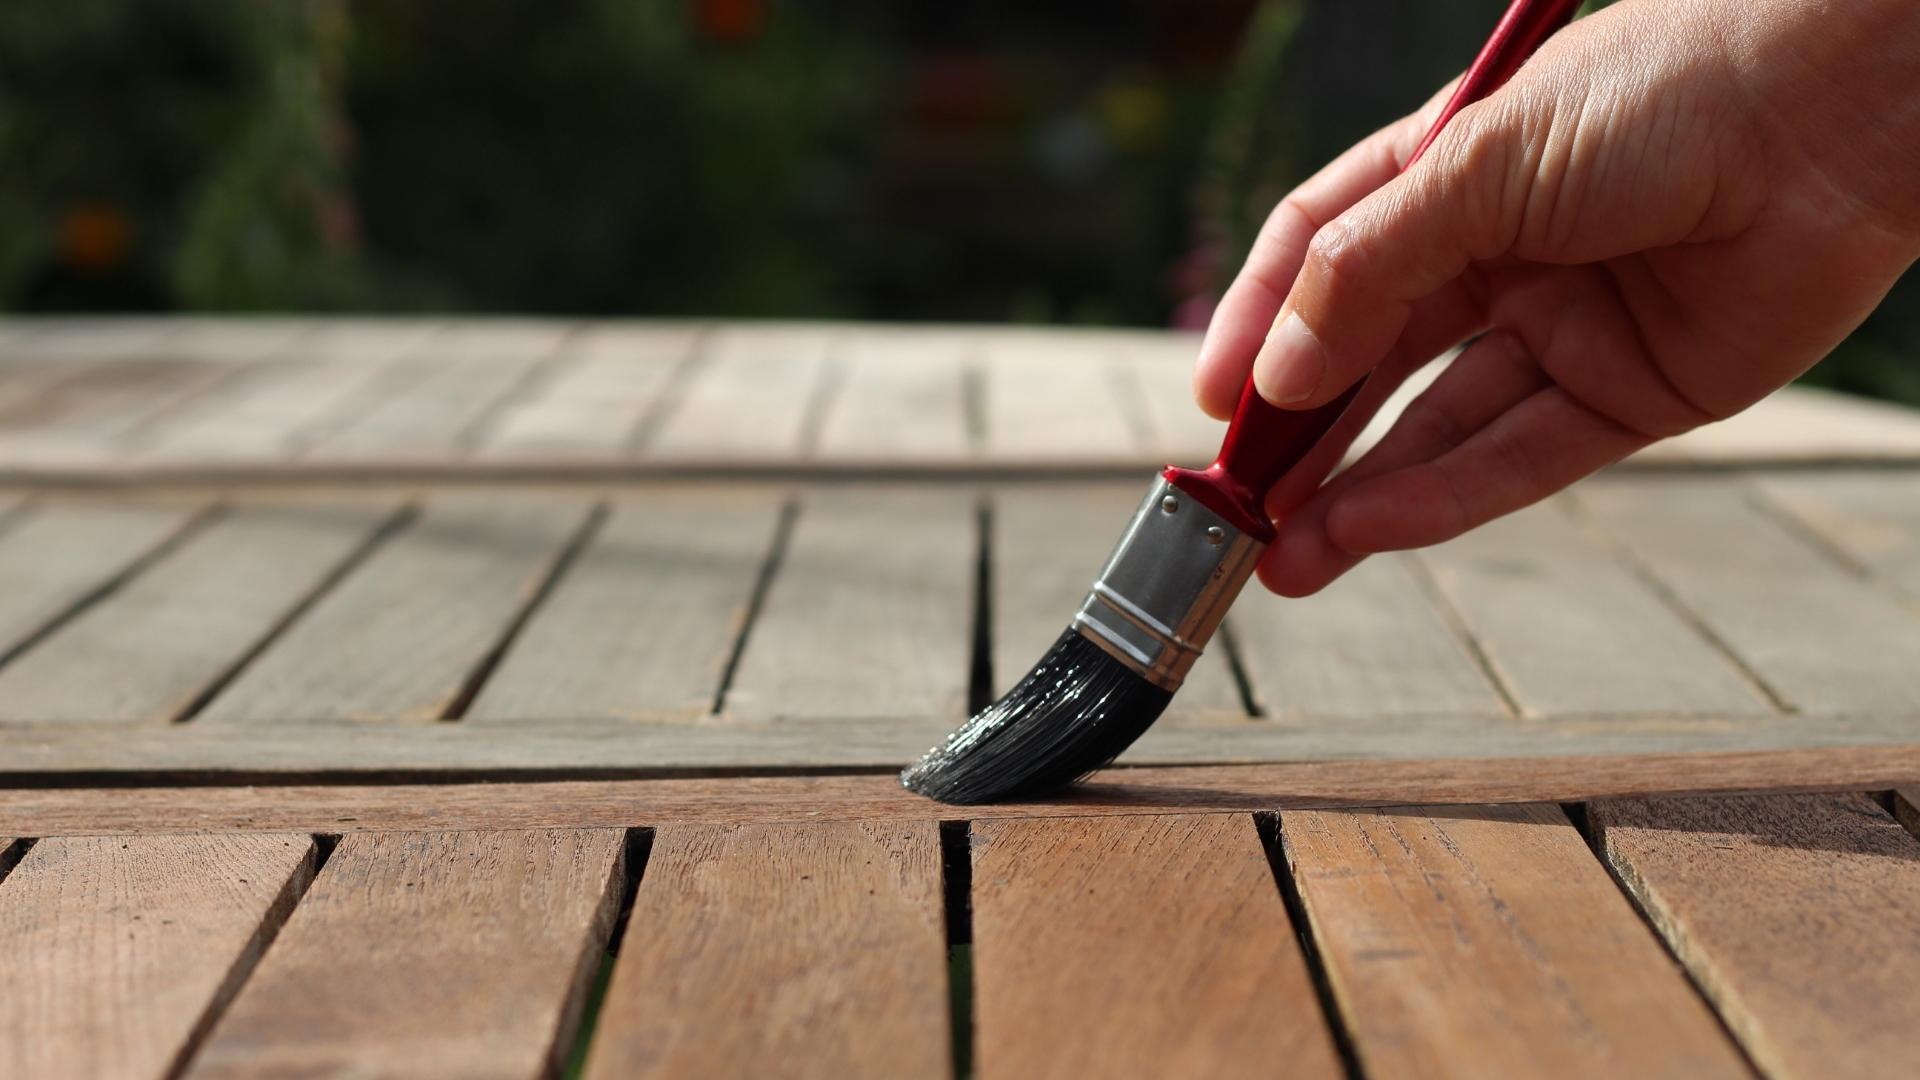
Applying the Stain or Paint
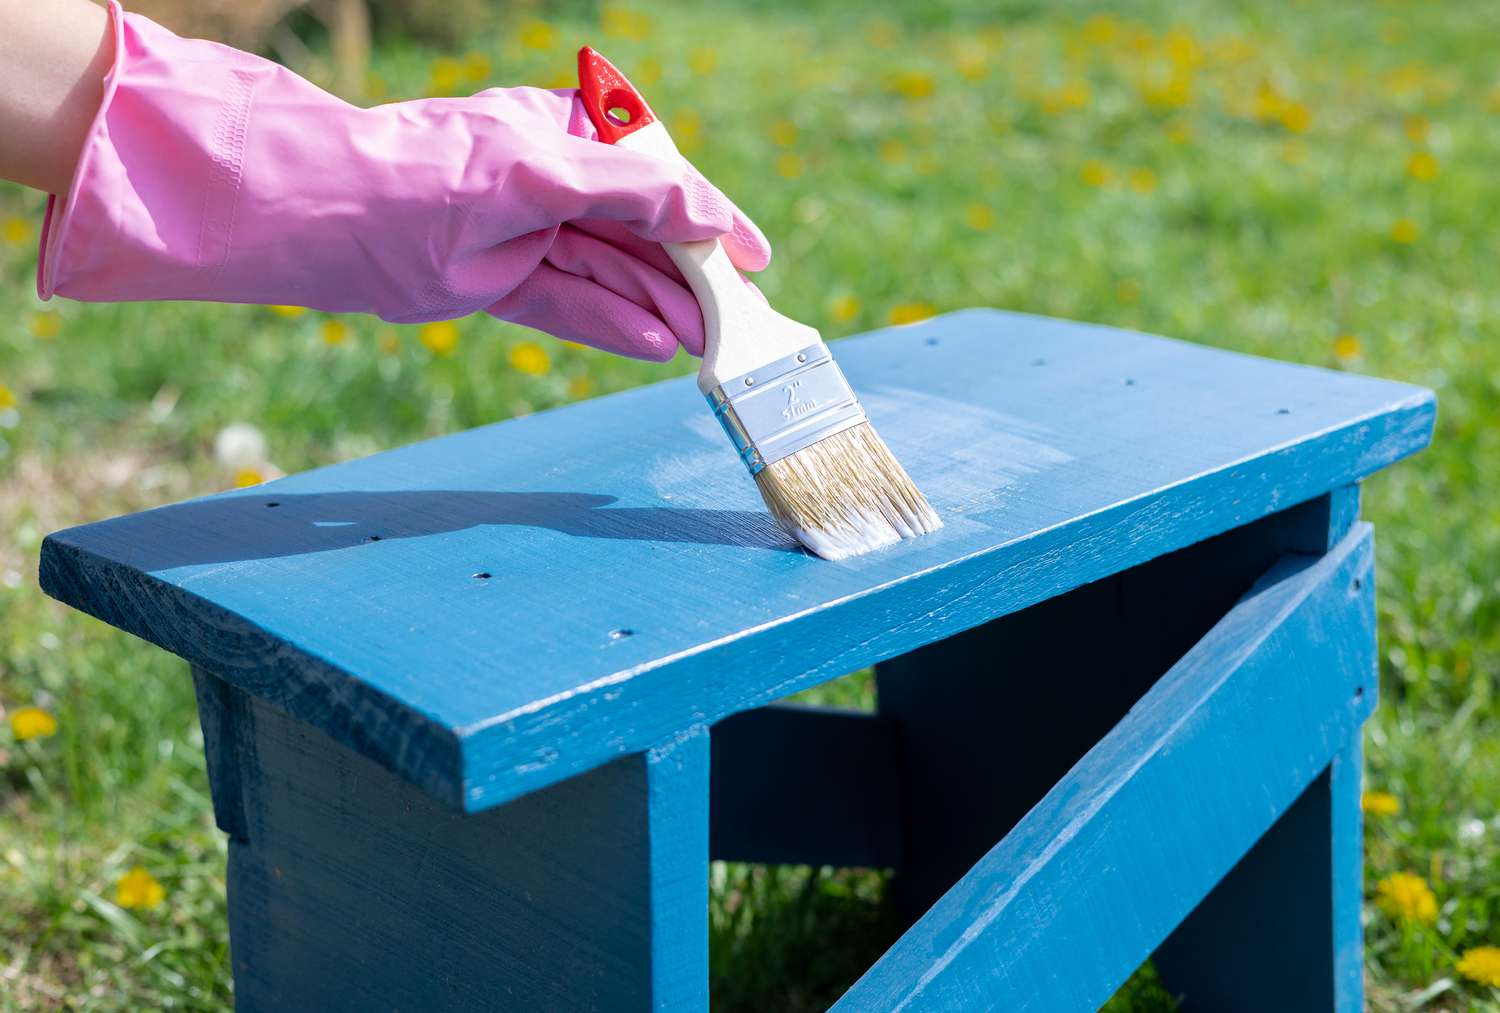
With the wood surface meticulously prepared and cleaned, the time has come to infuse your outdoor furniture with a fresh burst of color and protection. Whether you choose to apply a rich wood stain to enhance the natural beauty of the grain or opt for a vibrant coat of paint to add a pop of personality, the application process is a transformative and rewarding stage of the refinishing journey.
If you’ve chosen to stain the wood, begin by stirring the stain thoroughly to ensure an even consistency. Use a natural-bristle brush or a clean cloth to apply the stain in the direction of the wood grain, working in small sections to achieve a uniform result. Allow the stain to penetrate the wood for the recommended duration specified by the manufacturer before wiping off any excess with a clean cloth.
For those opting for paint, select a high-quality outdoor paint suitable for wooden surfaces. Stir the paint well and pour it into a paint tray for easy access. Using a high-quality paintbrush or a paint sprayer, apply the paint evenly, working in long, smooth strokes to achieve a flawless finish. If necessary, apply multiple coats, allowing each layer to dry completely before adding the next.
Regardless of whether you choose stain or paint, it’s important to apply the finish in thin, even layers to prevent drips, runs, or uneven coverage. Take care to cover all surfaces, including hidden or hard-to-reach areas, to ensure comprehensive protection and a professional appearance.
Once the stain or paint has been applied and has dried according to the manufacturer’s instructions, take a moment to admire the stunning transformation of your outdoor furniture. The new finish not only enhances the aesthetic appeal but also provides vital protection against the elements, ensuring that your refinished pieces will continue to shine for years to come.
With the stain or paint now adorning the wood, the next step is to seal the finish to safeguard it against the rigors of outdoor exposure. This final protective stage will fortify the wood against moisture, UV rays, and everyday wear, preserving the beauty and integrity of your refinished outdoor furniture.
Sealing the Finish
After applying the stain or paint to your outdoor wooden furniture, the crucial final step in the refinishing process is to seal the finish. Sealing not only enhances the durability of the new finish but also provides essential protection against moisture, UV rays, and everyday wear, ensuring that your refinished furniture remains radiant and resilient in the outdoor environment.
If you’ve applied a wood stain, consider using a clear polyurethane sealant to protect and enhance the natural beauty of the wood. Polyurethane provides a robust and long-lasting finish, safeguarding the wood from moisture and wear while accentuating the richness of the stain. Select a brush suitable for polyurethane application and work in smooth, even strokes, following the wood grain to achieve a flawless finish.
For painted surfaces, opt for a high-quality outdoor sealant designed to protect and prolong the life of the paint. Look for a sealant with UV protection to prevent color fading and ensure that it is compatible with the type of paint used. Apply the sealant evenly using a brush or a paint sprayer, ensuring comprehensive coverage to shield the paint from the elements.
When applying the sealant, be mindful of the manufacturer’s recommended drying times and application instructions. It’s essential to allow each coat to dry completely before applying subsequent layers to achieve optimal protection and a professional, long-lasting finish. Consider applying multiple coats of sealant to fortify the wood against the outdoor elements effectively.
Once the sealant has dried according to the manufacturer’s specifications, take a moment to admire the lustrous sheen and enhanced protection it has bestowed upon your refinished outdoor furniture. The sealed finish not only elevates the aesthetic appeal but also ensures that your cherished pieces are well-equipped to withstand the elements and retain their beauty for years to come.
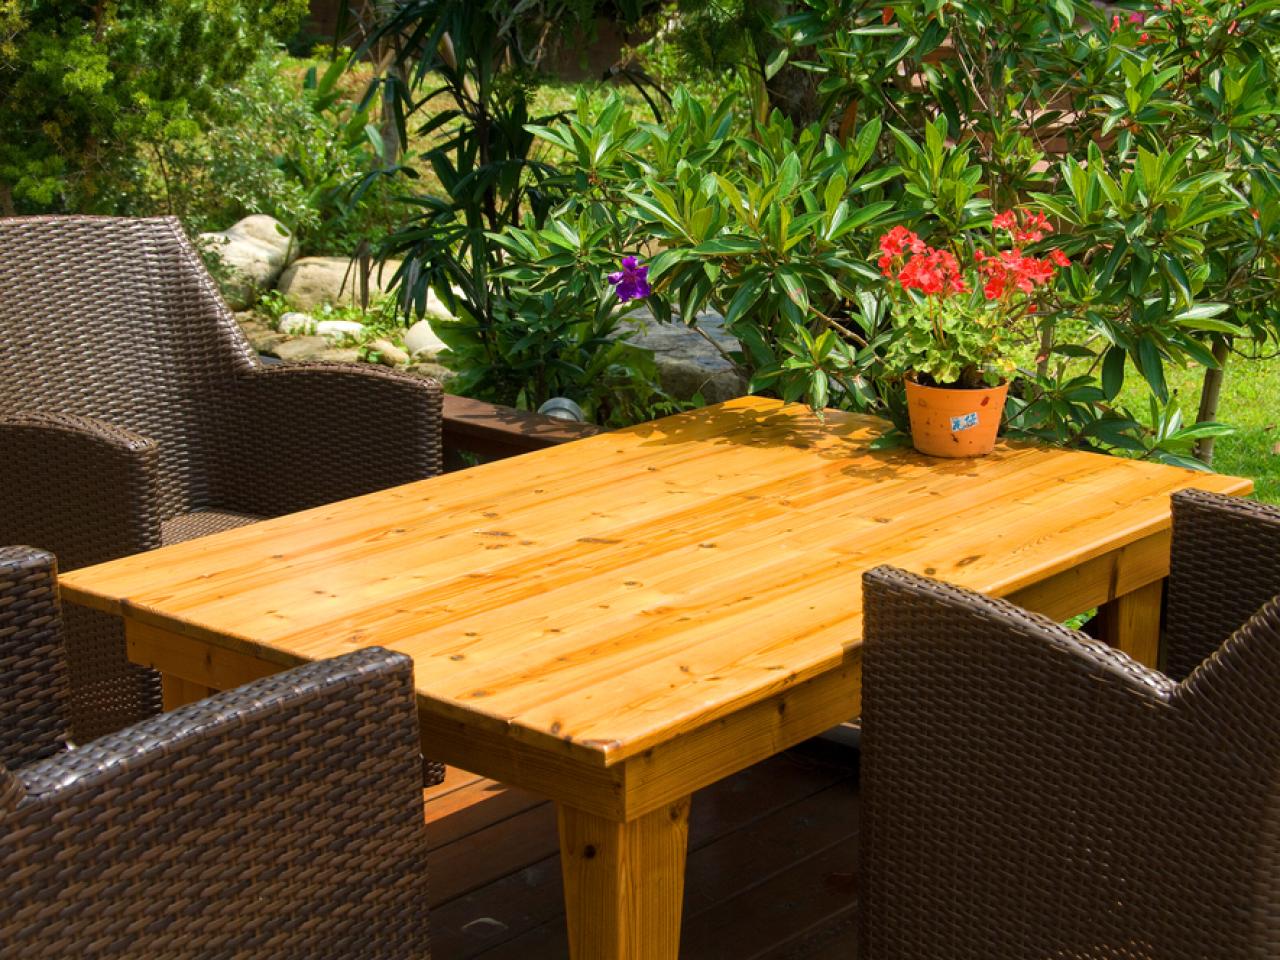
With the finish now sealed and fortified, your outdoor wooden furniture has undergone a remarkable transformation, emerging rejuvenated and ready to grace your outdoor living space with renewed splendor. By following these essential steps and investing care and attention into the refinishing process, you’ve not only extended the life of your furniture but also created a stunning focal point that invites relaxation and enjoyment amidst the beauty of the outdoors.
Final Touches and Maintenance Tips
As you stand back and admire your newly refinished outdoor wooden furniture, it’s time to add the final touches that will elevate its allure and ensure its longevity. Whether it’s reattaching hardware, adding decorative elements, or implementing maintenance strategies, these final touches and tips will enhance the beauty and resilience of your revitalized pieces.
If your furniture features metal hardware, such as hinges, handles, or decorative accents, now is the perfect time to reattach or replace these elements. Ensure that all hardware is securely fastened, and consider applying a protective coating, such as rust-resistant paint or sealant, to safeguard it against corrosion and maintain its functionality and aesthetic appeal.
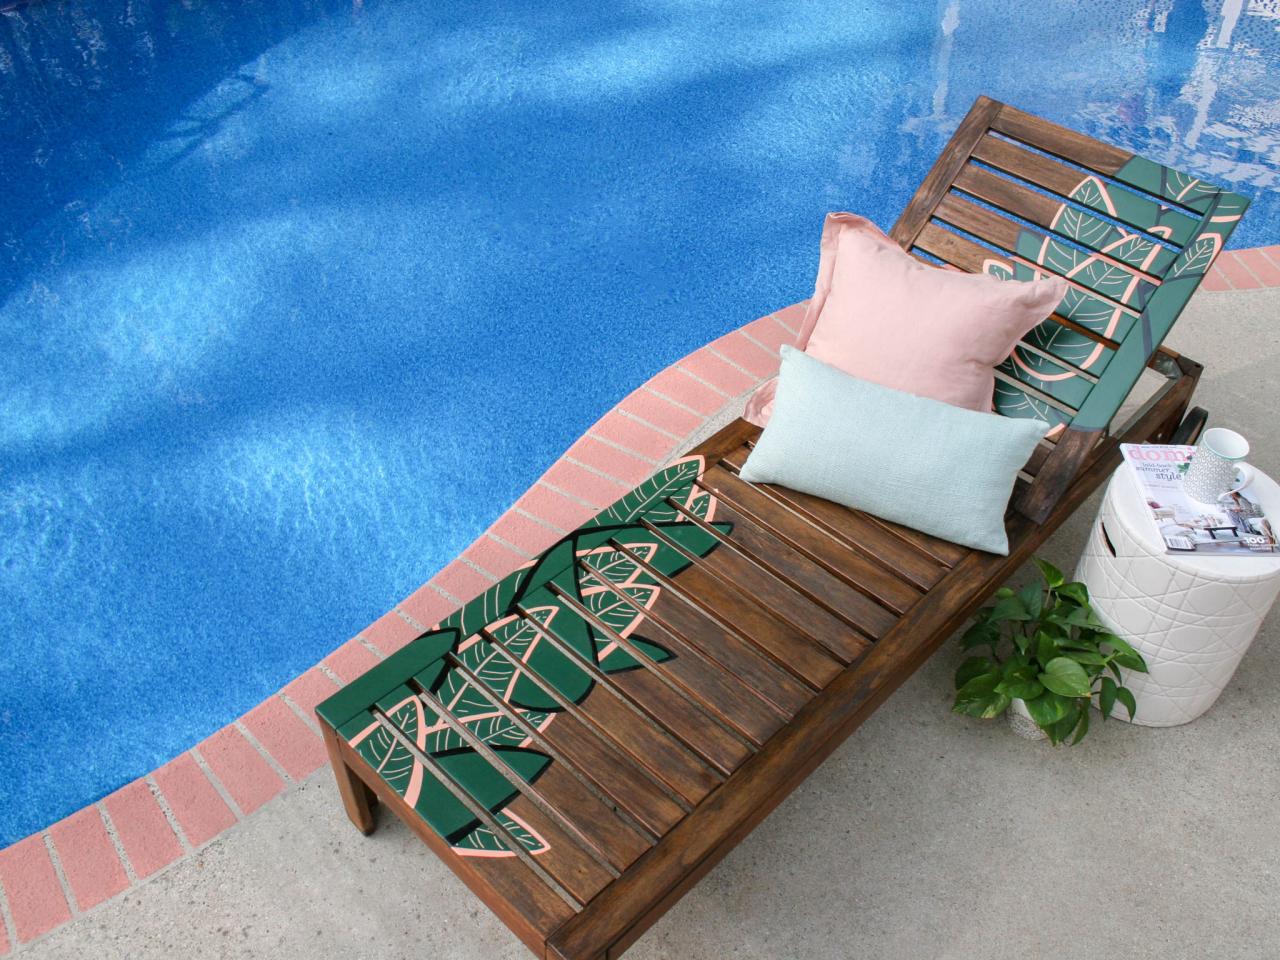
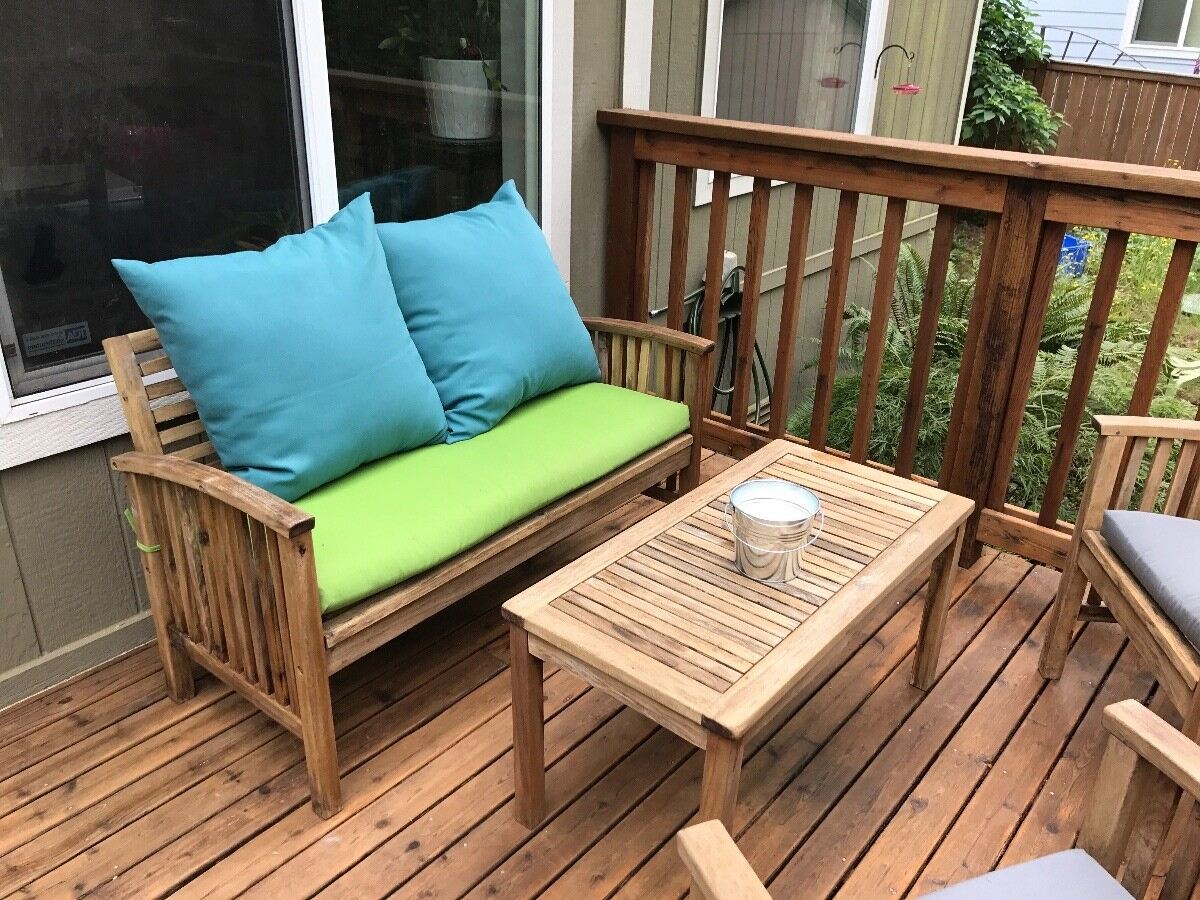
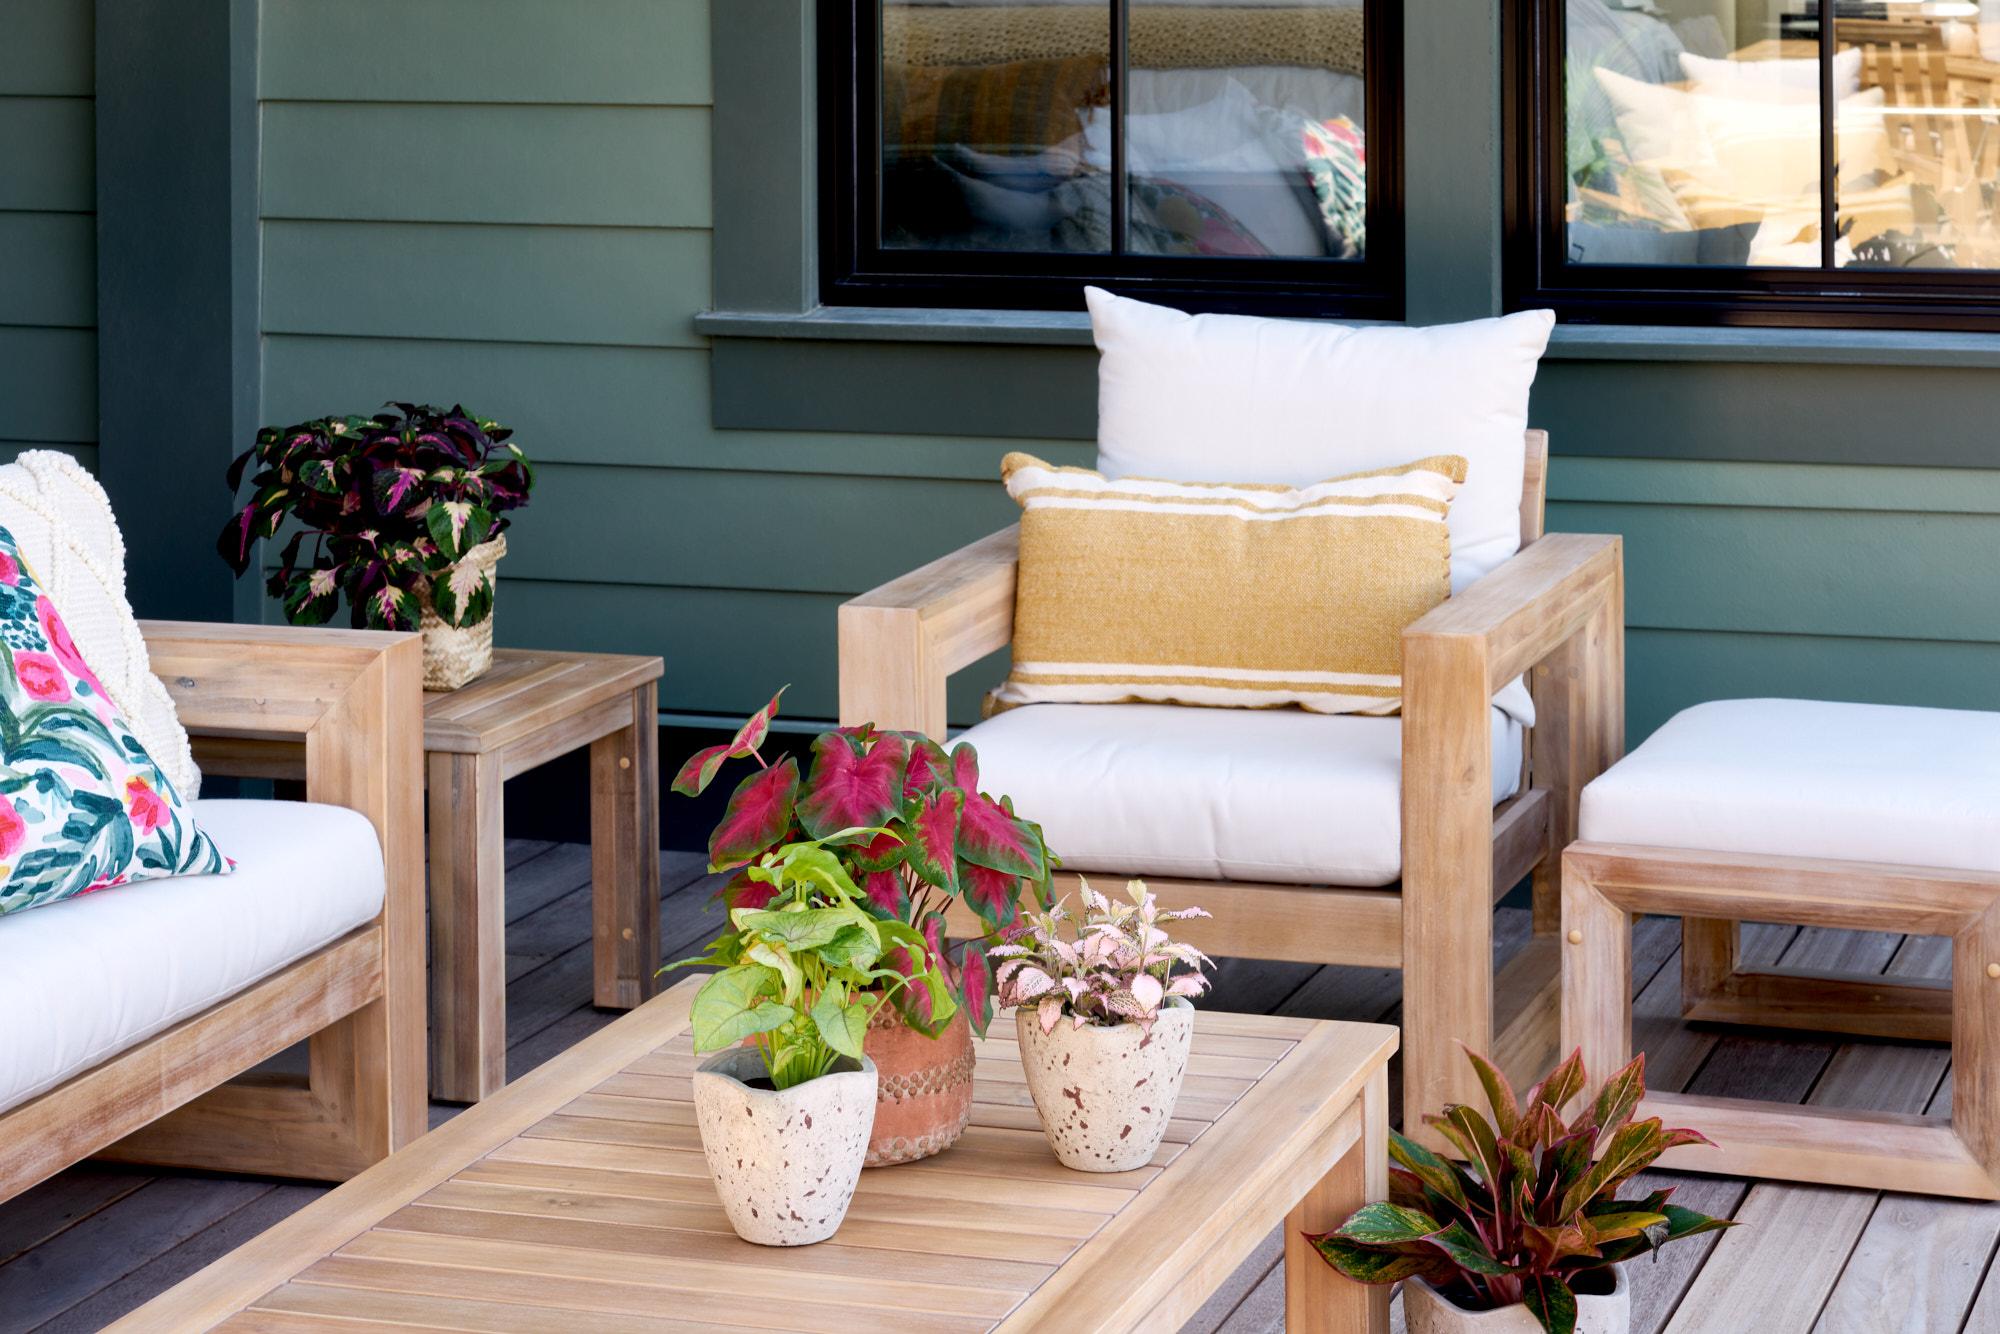
Consider adding decorative elements, such as cushions, throw pillows, or outdoor rugs, to complement the refinished furniture and create a welcoming and comfortable outdoor setting. These accents not only enhance the visual appeal but also provide additional comfort and style, transforming your outdoor space into a cozy retreat for relaxation and entertainment.
To maintain the beauty and integrity of your refinished furniture, implement a regular cleaning and maintenance routine. Periodically clean the furniture with a mild detergent and water, gently scrubbing away any dirt or grime that may accumulate. Avoid using harsh chemicals or abrasive cleaners that may compromise the finish or the wood itself.
Inspect the furniture regularly for signs of wear, such as chipping paint, fading stain, or water damage. Promptly address any issues by spot-treating the affected areas or applying touch-up paint or stain to maintain the furniture’s appearance and protection. By addressing minor issues promptly, you can prevent more significant damage and prolong the life of your refinished pieces.
During periods of inclement weather or extended periods of non-use, consider covering the furniture with protective tarps or storing it in a sheltered area to shield it from the elements. This proactive approach will help preserve the beauty and condition of the refinished wood, ensuring that it remains vibrant and resilient for years to come.
By adding these final touches and implementing proactive maintenance strategies, you’ll not only enhance the visual appeal of your outdoor living space but also ensure that your refinished wooden furniture remains a cherished and enduring asset. With care and attention, your revitalized pieces will continue to grace your outdoor oasis, providing comfort, style, and enjoyment for years to come.
Frequently Asked Questions about How To Refinish Wood Outdoor Furniture
Was this page helpful?
At Storables.com, we guarantee accurate and reliable information. Our content, validated by Expert Board Contributors, is crafted following stringent Editorial Policies. We're committed to providing you with well-researched, expert-backed insights for all your informational needs.


0 thoughts on “How To Refinish Wood Outdoor Furniture”