Articles
How To Finish Wood Countertops
Modified: August 28, 2024
Discover the best articles on how to finish wood countertops, and learn step-by-step techniques for achieving a flawless and durable finish. Enhance the beauty and longevity of your wood countertops with expert tips and advice.
(Many of the links in this article redirect to a specific reviewed product. Your purchase of these products through affiliate links helps to generate commission for Storables.com, at no extra cost. Learn more)
Introduction
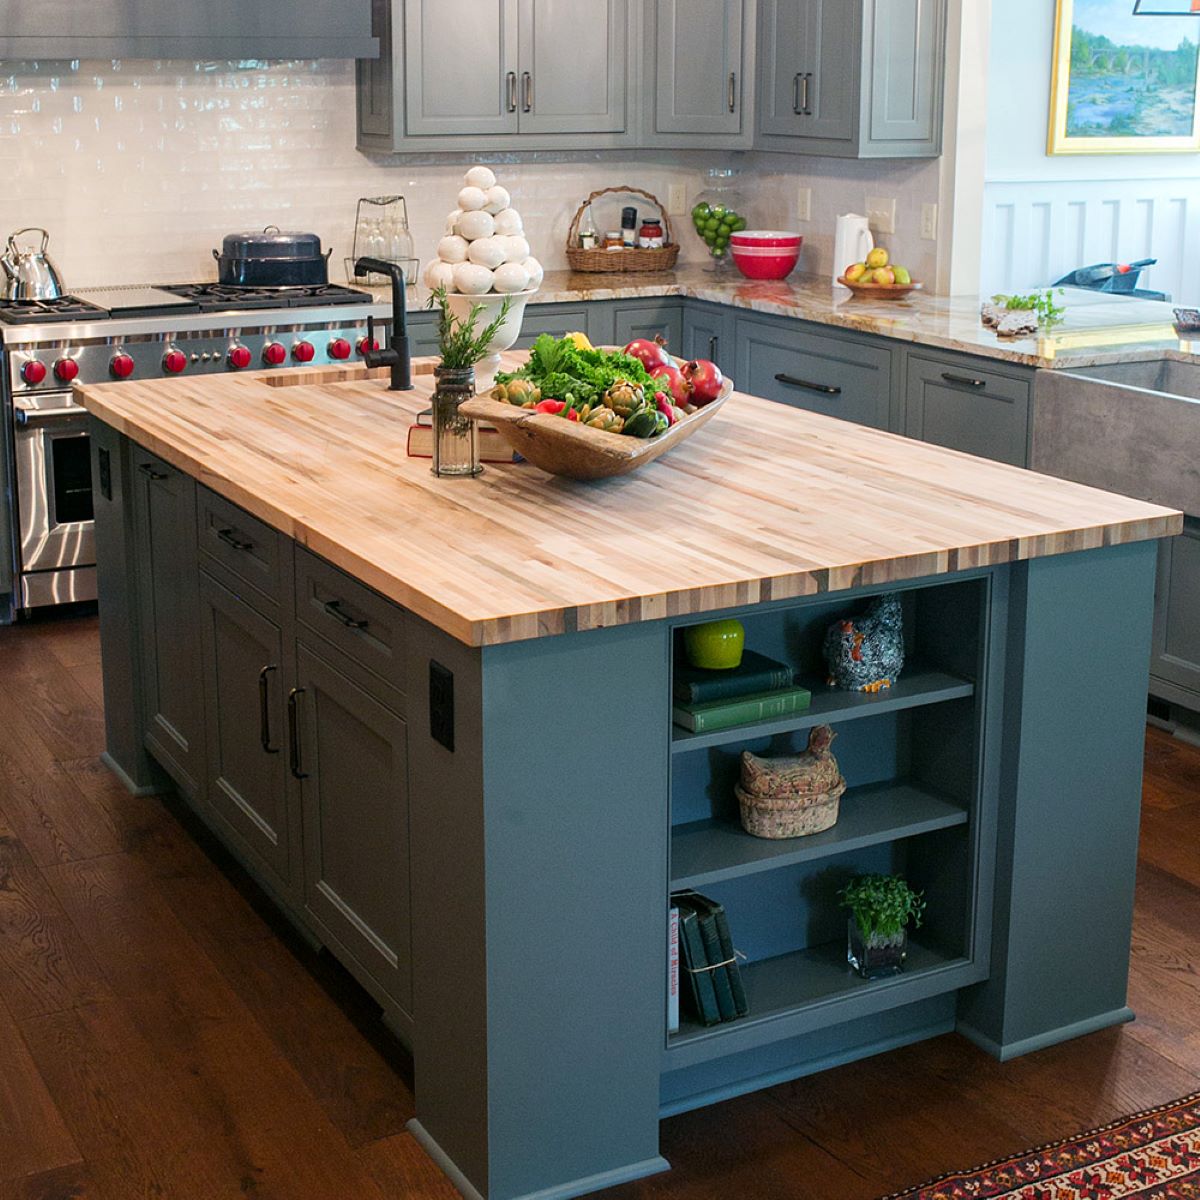
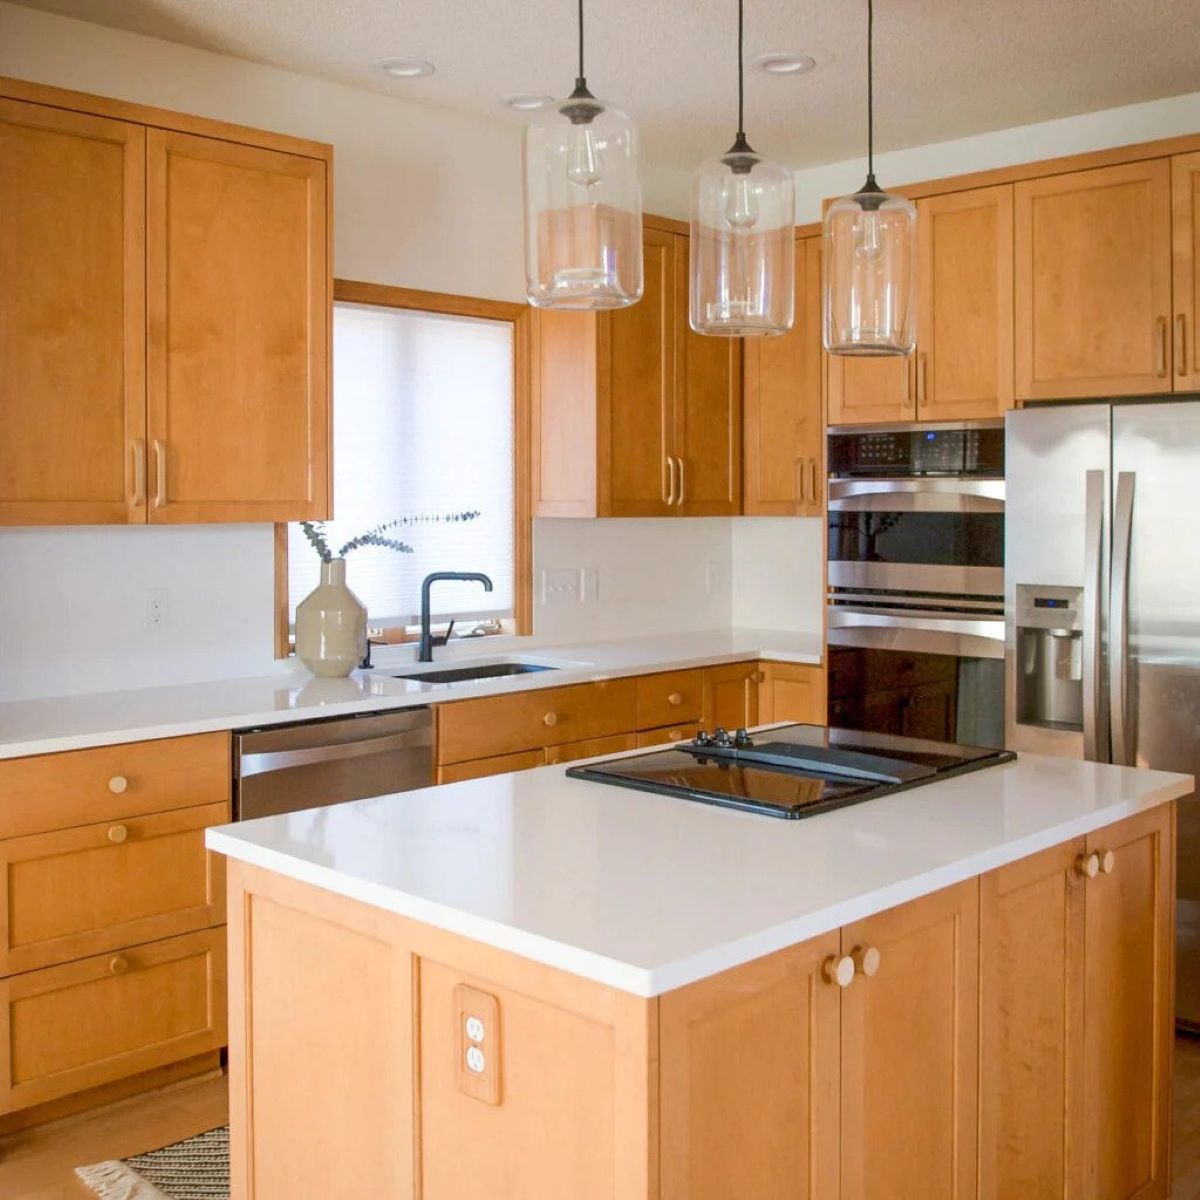
Welcome to the world of custom wood countertops. If you’re looking to add a touch of natural beauty and warmth to your kitchen or bathroom, wood countertops are an excellent choice. They bring a unique charm that can’t be replicated by any other material. But before you embark on this woodworking project, there are a few key things you need to know.
Choosing the right wood, preparing the countertops, and applying the finish are crucial steps in creating a stunning final result. In this guide, we’ll walk you through the process, providing expert tips and techniques to help you achieve a beautiful and durable finish on your wood countertops.
Whether you’re a seasoned DIY enthusiast or a novice looking to take on a new challenge, this article will provide you with the knowledge and guidance you need to successfully finish your wood countertops. So let’s get started!
Key Takeaways:
- Choose the right wood species based on durability, appearance, finishing options, and budget to create stunning and long-lasting wood countertops that complement your space and lifestyle.
- Properly prepare, sand, apply finish, and maintain wood countertops to achieve a beautiful and durable surface that adds warmth, charm, and functionality to your kitchen or bathroom.
Read more: How Much Are Wood Countertops
Choosing the Right Wood
When it comes to wood countertops, the type of wood you choose plays a significant role in both the aesthetics and functionality of the finished product. Here are some factors to consider when selecting the right wood for your countertops:
- Durability: Look for woods that are known for their durability and resistance to moisture, heat, and stains. Hardwoods like oak, maple, and cherry are popular choices due to their toughness and longevity.
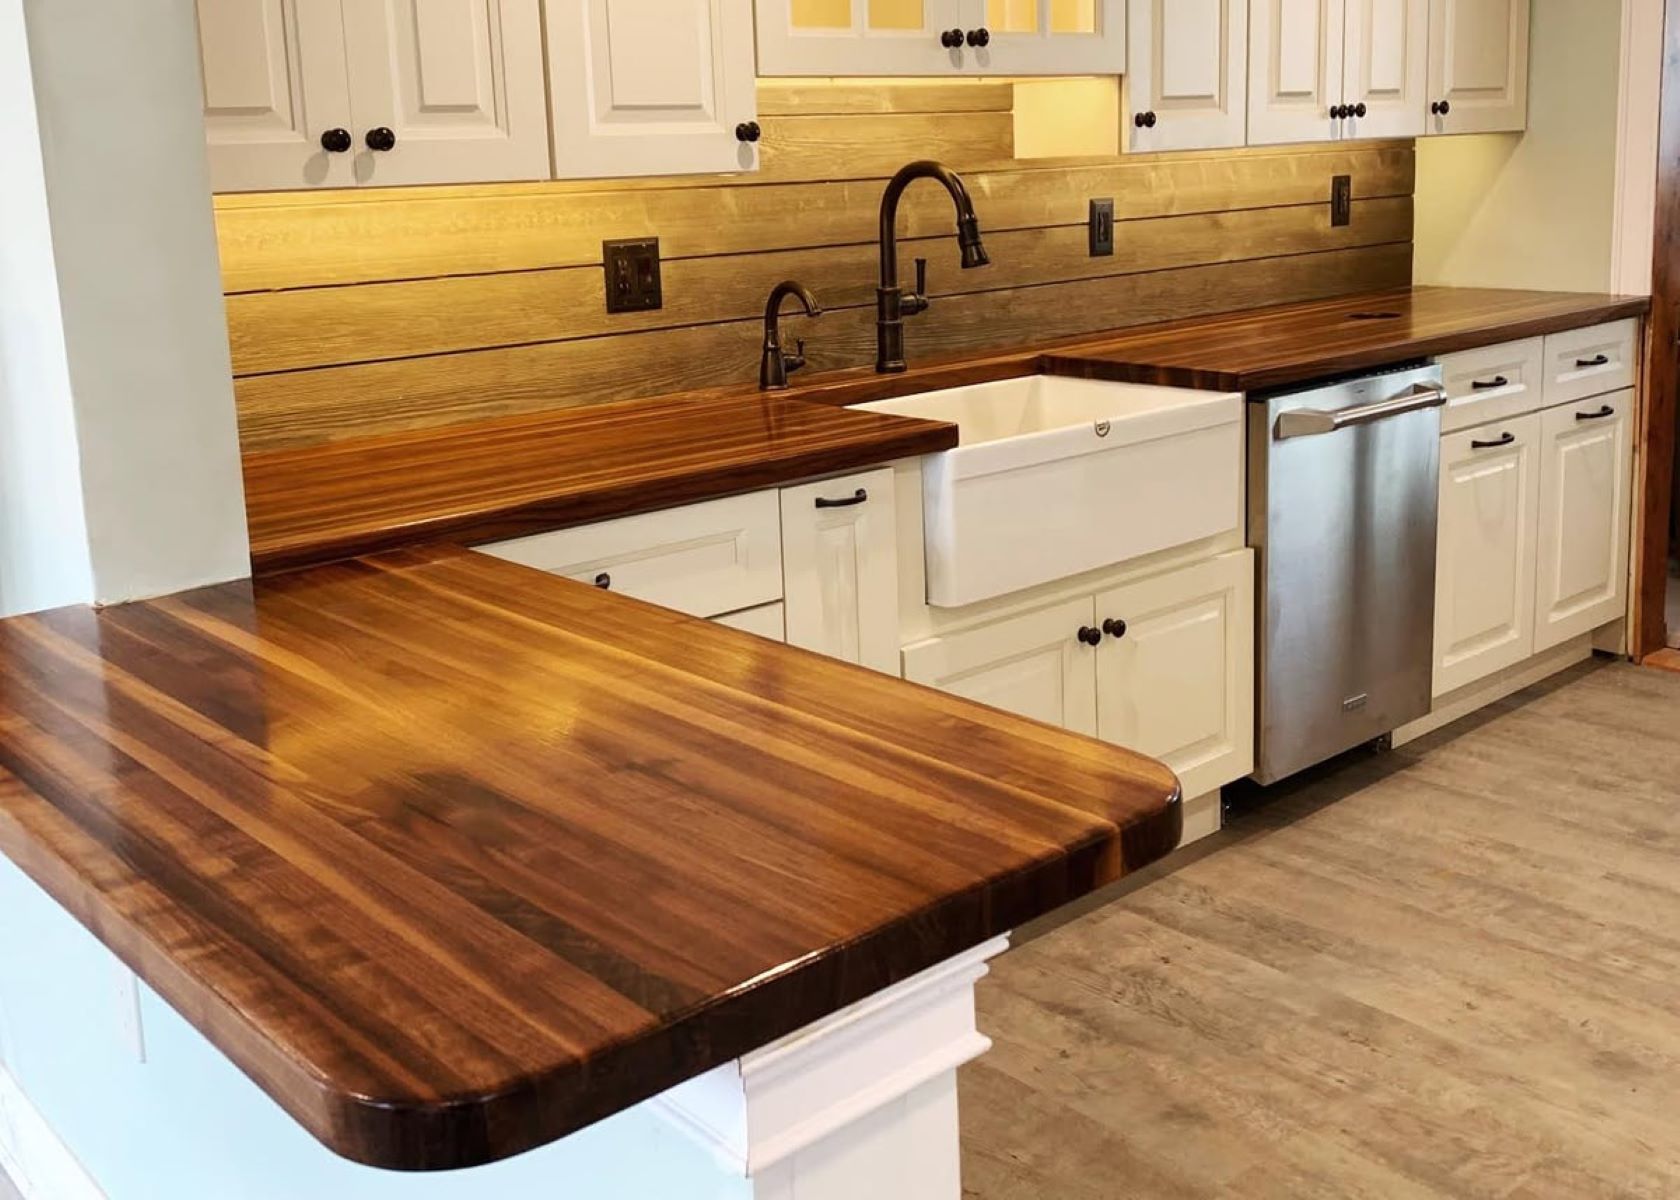
- Appearance: Consider the color and grain pattern of the wood. Do you prefer a light or dark wood? Are you drawn to a straight grain or a more pronounced pattern? Take into account your overall design scheme and choose a wood that complements it.
- Finishing: Some woods are more receptive to stains and finishes than others. If you have a specific finish in mind, check how well a particular wood can take it. For example, woods like walnut and birch take stains exceptionally well and offer a variety of finish options.
- Maintenance: Consider how much maintenance you’re willing to commit to. Some woods require regular sealing and conditioning to maintain their appearance and protect them from water damage. Others, like teak and mahogany, have natural oils that make them highly resistant to water and require minimal upkeep.
- Budget: Different wood species come at different price points. Exotic woods like zebrawood or bamboo might be more expensive than locally available hardwoods. Consider your budget and choose a wood that fits within it.
Ultimately, the right wood for your countertops will depend on your personal preferences, lifestyle, and budget. Take the time to research different wood species, visit local lumberyards to see samples, and consult with woodworking professionals to make an informed decision.
Preparing the Wood Countertops
Before you can start finishing your wood countertops, it’s crucial to properly prepare the surface. This preparation ensures that the finish adheres well and enhances the overall durability of the countertops. Here are the key steps to follow for preparing the wood:
- Cut to Size: Measure and cut your wood to the desired size for your countertops. Ensure that the edges are straight and smooth using a table saw or a circular saw.
- Remove Imperfections: Inspect the wood for any knots, cracks, or other imperfections. Use a chisel or a wood filler to fill any gaps or holes. Sand down rough patches to create a smooth surface.
- Edge Treatment: Consider options for edge treatments, such as bullnose, beveled, or straight edges. Use a router or hand plane to create the desired edge profile. Sand the edges to remove any roughness.
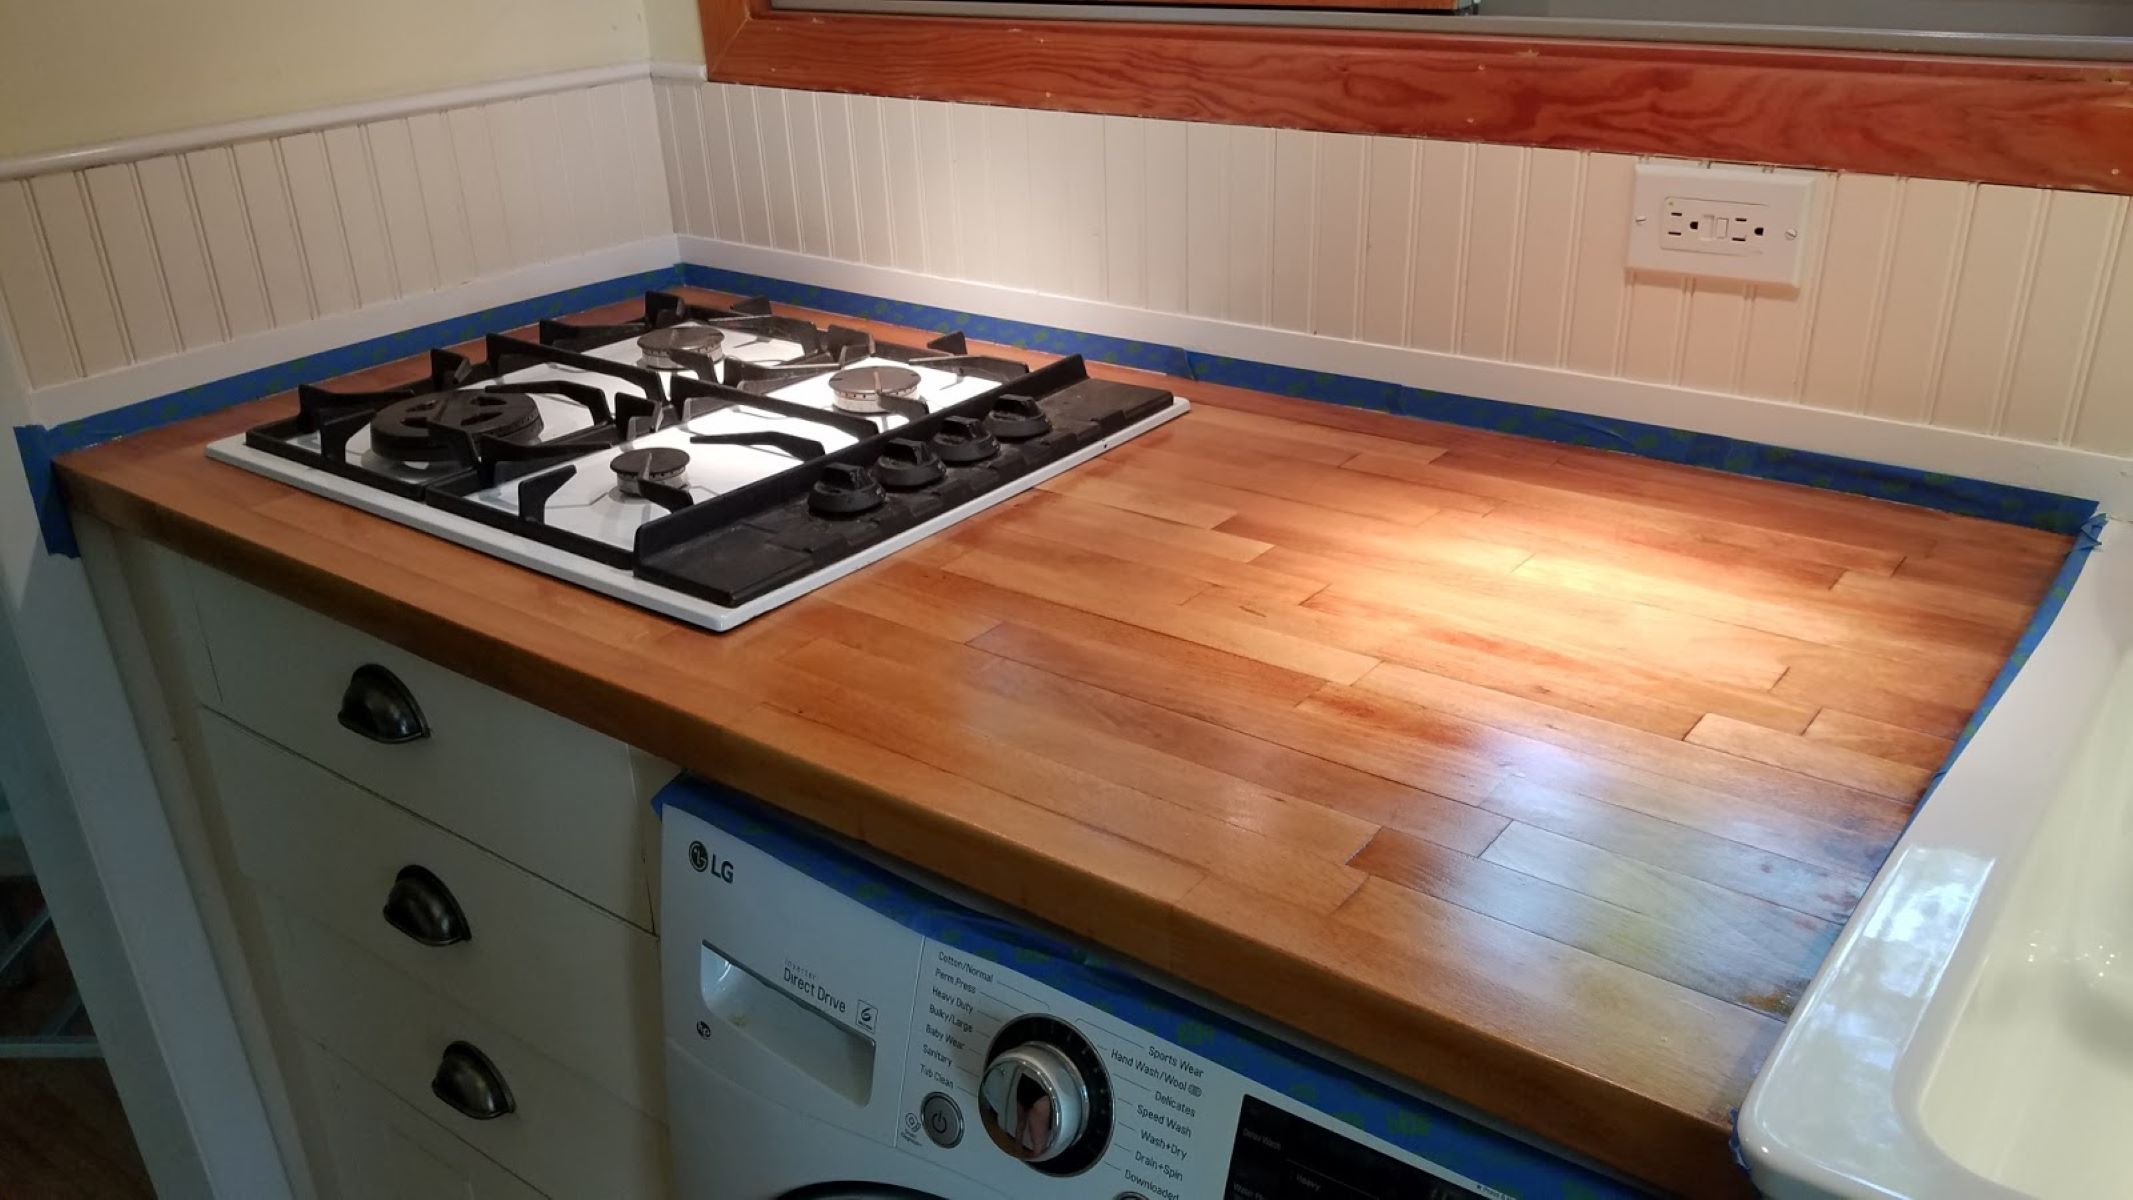
- Router Cutouts: If you have sinks or appliances that require cutouts in the countertop, use a router with a template to create precise and clean cutouts.
- Final Sanding: Use progressively finer grits of sandpaper to sand the entire surface of the countertops. Start with a coarse grit (around 80) and work your way up to a fine grit (around 220) for a smooth and even finish. Ensure to sand in the direction of the wood grain.
- Clean the Surface: After sanding, use a tack cloth or a lint-free cloth to remove any dust or debris from the surface. A clean surface is essential for optimal adhesion of the finish.
By following these preparation steps, you’ll create a solid foundation for your wood countertops, ensuring that they are smooth, even, and ready to be finished. Take your time during this process to achieve the best results and a final product that will be both functional and aesthetically pleasing.
Sanding the Wood
After preparing the wood countertops, the next step is to sand the surface. Sanding helps to remove any remaining imperfections, smoothen the wood, and create a surface that is ready to absorb the finish. Here’s how to effectively sand the wood:
- Select the Right Grit: Start with a medium-grit sandpaper, around 120 or 150, to remove any roughness and refine the surface. Gradually move to finer grits, such as 220 or 320, for a smoother finish. The goal is to achieve a surface that feels smooth to the touch.
- Use a Random Orbital Sander: A random orbital sander is recommended for sanding large areas. Its oscillating and rotating motion ensures an even sanding pattern, reducing the chances of creating unwanted swirl marks. Follow the wood grain and use light pressure while sanding.
- Sand by Hand: In areas where the sander cannot reach, such as corners or edges, sand by hand using a sanding block or sanding sponge. This allows for precise control and ensures uniformity with the rest of the surface.
- Check for Smoothness: Regularly check the smoothness of the surface by running your hand over it. If you feel any rough spots or irregularities, continue sanding until the entire surface feels consistently smooth.
- Remove Dust: After sanding, clean the countertop surface thoroughly to remove any sanding dust. Use a vacuum cleaner or a tack cloth to ensure the surface is free of debris.
Remember, sanding is a crucial step in achieving a professional and polished finish for your wood countertops. Take your time and be thorough to ensure a smooth and flawless surface. This will not only enhance the overall appearance but also improve the adhesion and durability of the applied finish.
When finishing wood countertops, make sure to sand the surface thoroughly to remove any rough spots or imperfections before applying the finish. This will ensure a smooth and even finish.
Applying the Finish
Now that your wood countertops are sanded and ready, it’s time to apply the finish. The finish serves two essential purposes—it seals the wood, protecting it from moisture and stains, and enhances its natural beauty. Here’s a step-by-step guide to help you apply the finish effectively:
- Choose the Right Finish: There are various types of finishes available, including oil-based, water-based, and polyurethane. Consider factors such as durability, appearance, and ease of application when selecting a finish that suits your needs.
- Prepare the Work Area: Find a well-ventilated and dust-free area to apply the finish. Lay down drop cloths or old newspapers to protect surrounding surfaces from any drips or spills.
- Stir the Finish: If using a canned finish, thoroughly stir it to ensure even distribution of solvents and pigments. Do not shake the can as it can introduce air bubbles into the finish.
- Apply the Finish: Use a high-quality brush, foam brush, or lint-free cloth to apply the finish onto the wood surface. Work in long, even strokes, following the wood grain for a uniform application. Avoid over-applying the finish, as this can lead to drips and uneven drying.
- Allow Initial Drying: Follow the instructions provided with the specific finish you chose to determine the drying time. After the initial coat has dried, lightly sand the surface with fine-grit sandpaper to remove any raised wood fibers or imperfections.
- Apply Additional Coats: Depending on the desired level of sheen and protection, apply additional coats of finish. Allow each coat to dry completely before applying the next. Sand between coats for a smooth surface.
- Final Sanding: After applying the final coat, perform a final sanding with a very fine-grit sandpaper, such as 400 or 600. This helps to achieve an extra smooth surface and remove any minor imperfections.
- Wipe Clean and Let Cure: Clean the surface with a lint-free cloth to remove any dust or debris. Allow the finish to cure according to the manufacturer’s instructions. This curing period ensures the finish hardens and develops its full protective properties.
By following these steps and being patient during the application and curing process, you will achieve a beautiful and durable finish on your wood countertops. Remember to read and follow the instructions specific to the finish you’re using for the best results.
Read more: How To Stain Wood Countertops
Curing and Sealing the Countertops
Once you have applied the finish to your wood countertops, it’s essential to allow for proper curing and sealing. Curing is the process in which the finish fully dries and hardens, while sealing helps to protect the wood and enhance its longevity. Follow these steps to ensure the countertops are properly cured and sealed:
- Read the Manufacturer’s Instructions: Refer to the instructions provided by the finish manufacturer for specific curing times. Different finishes have different curing periods, ranging from a few hours to several days. Follow the recommended drying times before using the countertops.
- Avoid Heavy Use: During the initial curing stage, it’s important to avoid placing any heavy objects or subjecting the countertops to excessive use. This can cause damage to the finish and compromise the sealing process.
- Apply Sealant: Once the finish has cured, consider applying a sealant for added protection. Sealants, such as a food-safe wax or an epoxy sealer, create an extra layer of defense against moisture, stains, and heat. Follow the manufacturer’s instructions for the proper application of the sealant.
- Maintain Regularly: To keep your wood countertops in optimal condition, perform regular maintenance. Wipe up spills immediately, use cutting boards when working with sharp objects, and avoid placing hot pans directly on the surface. Regularly clean and condition the countertops using products recommended for the specific finish you chose.
- Monitor for Wear: Over time, the finish on your wood countertops may experience wear and tear. Keep an eye out for signs of fading, scratches, or water damage. When needed, reapply the finish or touch up areas that require maintenance to ensure the wood remains protected.
Properly curing and sealing your wood countertops not only enhances their longevity but also safeguards against everyday wear and tear. By following these steps and practicing regular maintenance, you’ll enjoy beautiful and durable countertops for years to come.
Maintenance Tips
To ensure the longevity and beauty of your wood countertops, it’s important to follow proper maintenance practices. Wood is a natural material that requires attention and care to maintain its appearance and durability. Here are some essential maintenance tips to keep your countertops in excellent condition:
- Clean Spills Immediately: Accidental spills should be cleaned up promptly to avoid long-term damage. Use a soft cloth or paper towel to wipe up spills and avoid letting liquids sit on the countertop surface.
- Use Cutting Boards: To protect the wood surface from scratches and cuts, always use cutting boards when chopping or slicing food. Cutting directly on the countertop can lead to damage and may require sanding and refinishing to repair.
- Avoid Heat Exposure: Take precautions to protect the wood from excessive heat. Use trivets or hot pads when placing hot pans or pots on the surface to prevent heat damage. Avoid placing hot appliances directly on the countertop.
- Reapply Finish as Needed: Over time, the finish on your wood countertops may wear off or become damaged. If you notice signs of fading or wear, consider reapplying the finish to restore and protect the wood. Follow the manufacturer’s instructions for the specific finish you’re using.
- Regular Cleaning: Clean your wood countertops regularly with a mild soap and water solution. Avoid using abrasive cleaners or harsh chemicals, as they can strip away the finish. Gently scrub the surface with a soft cloth or sponge and dry it thoroughly to prevent water damage.
- Perform Routine Inspections: Regularly inspect your countertops for any signs of damage, such as cracks, scratches, or water stains. Address these issues promptly to prevent further deterioration and maintain the overall aesthetic appeal of your wood countertops.
- Apply Wood Conditioner: Depending on the type of finish you have applied, consider using a wood conditioner or oil to keep the wood moisturized and prevent it from drying out or cracking. Follow the manufacturer’s instructions for application guidelines.
- Avoid Harsh Chemicals: When cleaning, avoid using harsh chemicals, such as bleach or ammonia-based cleaners, as they can damage the wood and finish. Stick to gentle and natural cleaning solutions to preserve the integrity of your countertops.
By incorporating these maintenance practices into your routine, you can preserve the beauty and durability of your wood countertops. With proper care, they will continue to bring warmth and charm to your space for years to come.
Conclusion
Finishing wood countertops is a rewarding and transformative process that can elevate the appearance and functionality of your kitchen or bathroom. By carefully selecting the right wood, properly preparing the surfaces, sanding meticulously, applying the ideal finish, and allowing for adequate curing and sealing, you can create stunning and durable countertops that will stand the test of time.
Remember, choosing the right wood species is crucial, as it determines not only the aesthetics but also the durability and maintenance requirements of the countertops. Consider factors like durability, appearance, finishing options, and budget when making your selection.
Properly preparing the wood by cutting it to size, removing imperfections, and sanding it smooth ensures a solid foundation for the finishing process. Take your time during this step, as it sets the stage for the overall quality of the final result.
The application of the finish is where the true beauty of the wood comes to life. With careful attention to detail and following the recommended instructions for the chosen finish, you can achieve a surface that is both visually pleasing and well-protected against moisture, stains, and heat.
Lastly, the curing and sealing stages are just as essential for maintaining the longevity and aesthetic appeal of your wood countertops. Allowing the finish to fully cure before regular use and applying a sealant for added protection will help ensure the countertops withstand the demands of a busy kitchen or bathroom environment.
By following proper maintenance practices, such as promptly cleaning up spills, using cutting boards, avoiding heat exposure, and periodically reapplying the finish as needed, you can enjoy the beauty of your wood countertops for years to come.
In conclusion, finishing wood countertops is a labor of love that requires attention to detail and a commitment to the proper steps and techniques. With patience, care, and the right materials, you can create gorgeous and long-lasting countertops that will be the focal point of your space.
So roll up your sleeves, gather your tools, and embark on this woodworking journey. You’ll be rewarded with stunning wood countertops that bring warmth, elegance, and a touch of nature to your home.
Frequently Asked Questions about How To Finish Wood Countertops
Was this page helpful?
At Storables.com, we guarantee accurate and reliable information. Our content, validated by Expert Board Contributors, is crafted following stringent Editorial Policies. We're committed to providing you with well-researched, expert-backed insights for all your informational needs.


0 thoughts on “How To Finish Wood Countertops”