Home>Furniture & Design>Outdoor Furniture>How To Install Outdoor Antenna Tv
Outdoor Furniture
How To Install Outdoor Antenna Tv
Modified: August 16, 2024
Learn how to properly install an outdoor antenna for your TV and improve your outdoor entertainment experience. Find expert tips and advice on outdoor furniture, design, and installation.
(Many of the links in this article redirect to a specific reviewed product. Your purchase of these products through affiliate links helps to generate commission for Storables.com, at no extra cost. Learn more)
Introduction
Are you tired of exorbitant cable bills and endless subscription services? If so, installing an outdoor antenna for your TV might be the perfect solution. Not only does it provide access to local channels, but it also delivers stunning high-definition picture quality without the monthly fees.
In this comprehensive guide, we'll walk you through the step-by-step process of installing an outdoor antenna for your TV. From selecting the right antenna to scanning for channels, we've got you covered. By the end of this journey, you'll be enjoying a plethora of free, high-quality TV channels, all thanks to your outdoor antenna. Let's dive in and get started!
Key Takeaways:
- Say goodbye to expensive cable bills and subscriptions by installing an outdoor TV antenna. Enjoy free, high-definition channels with stunning picture quality and no monthly fees.
- Choose the right antenna, find the best location, and connect it to your TV to unlock a world of free, high-quality programming. Embrace the simplicity and cost-effectiveness of over-the-air broadcasting.
Read more: Who Installs Outdoor Antennas
Step 1: Choose the Right Antenna
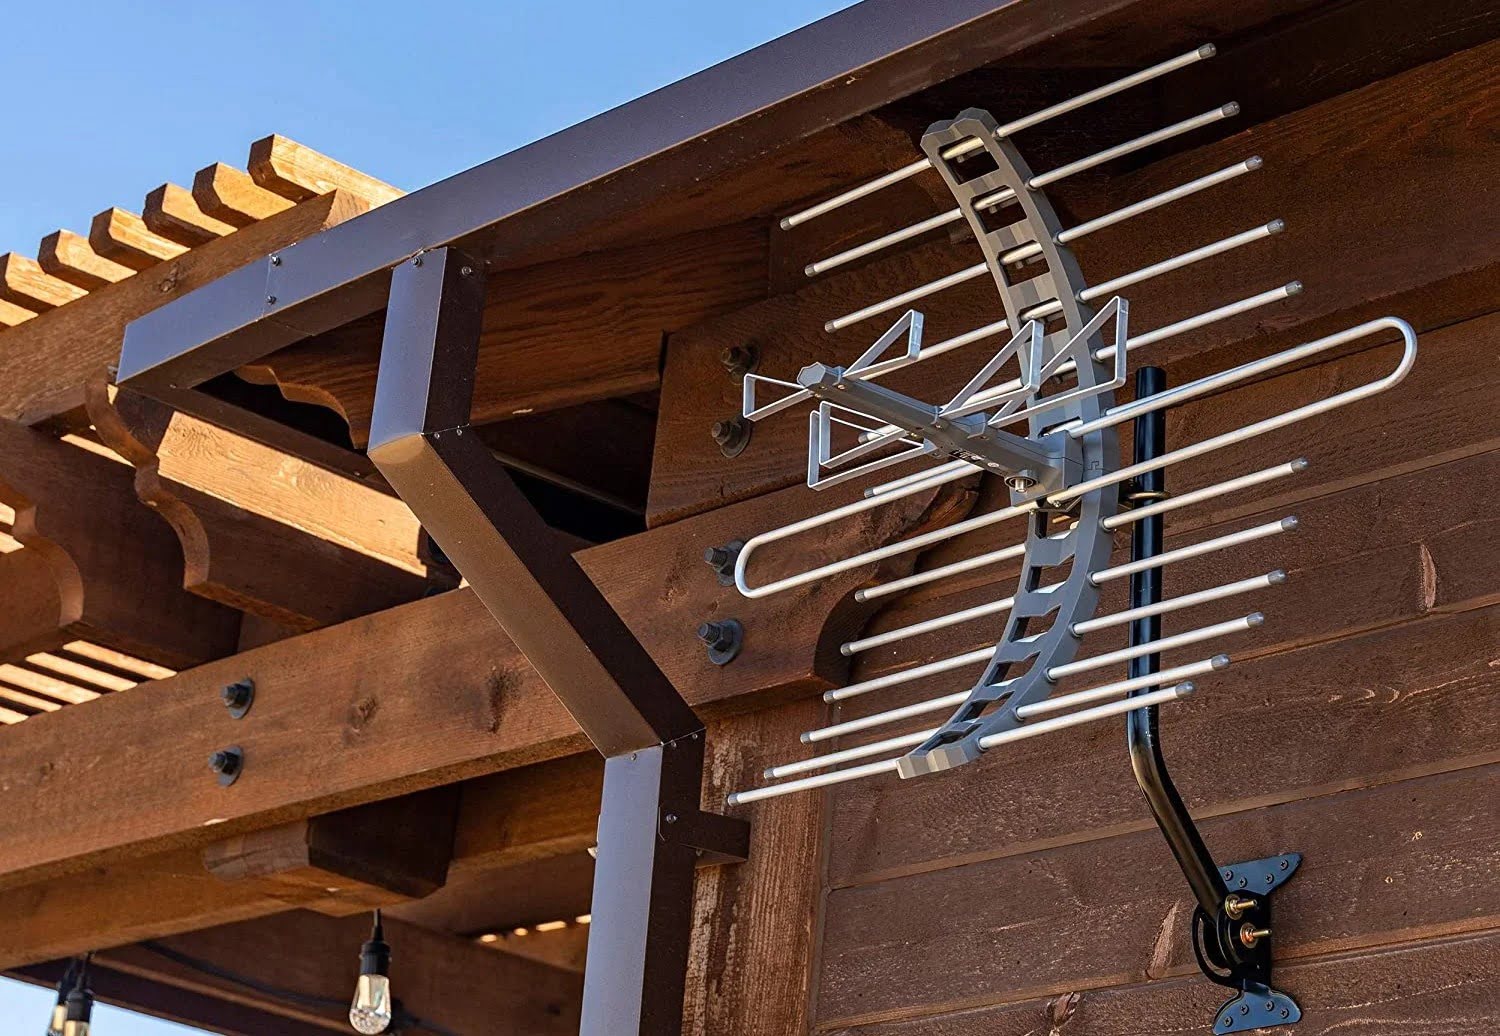
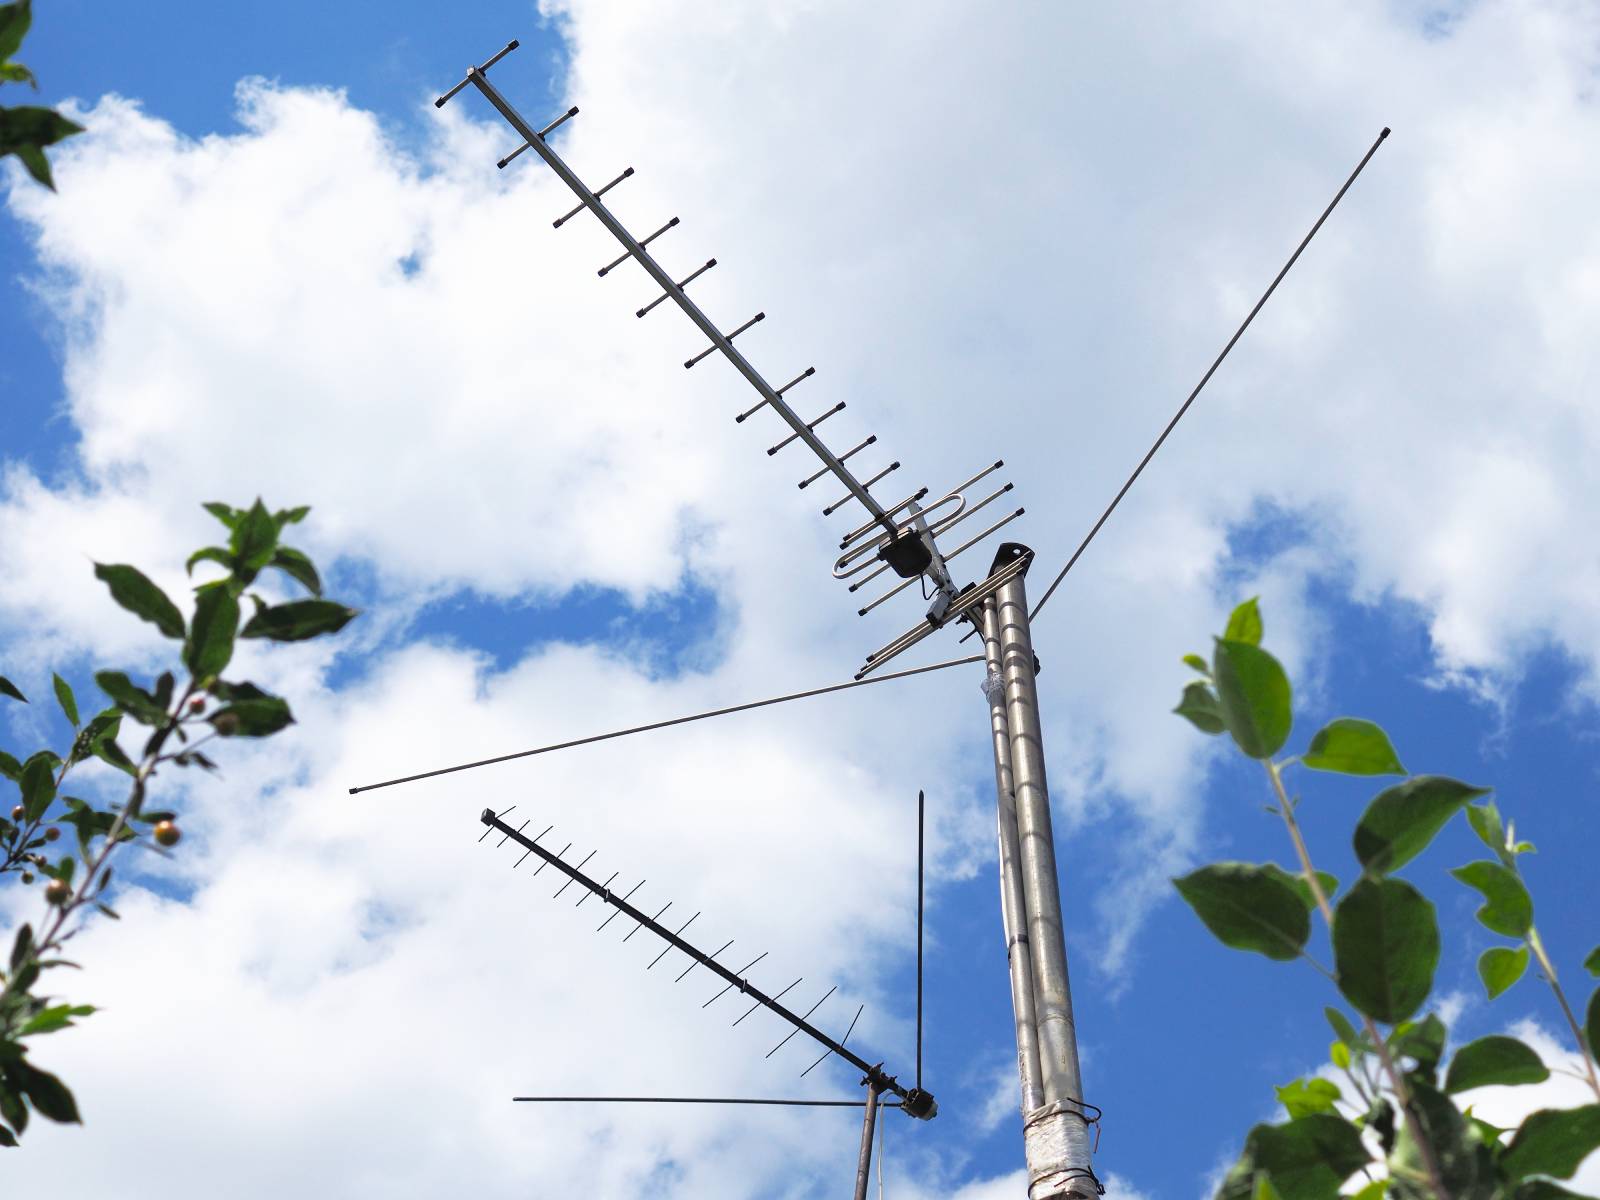
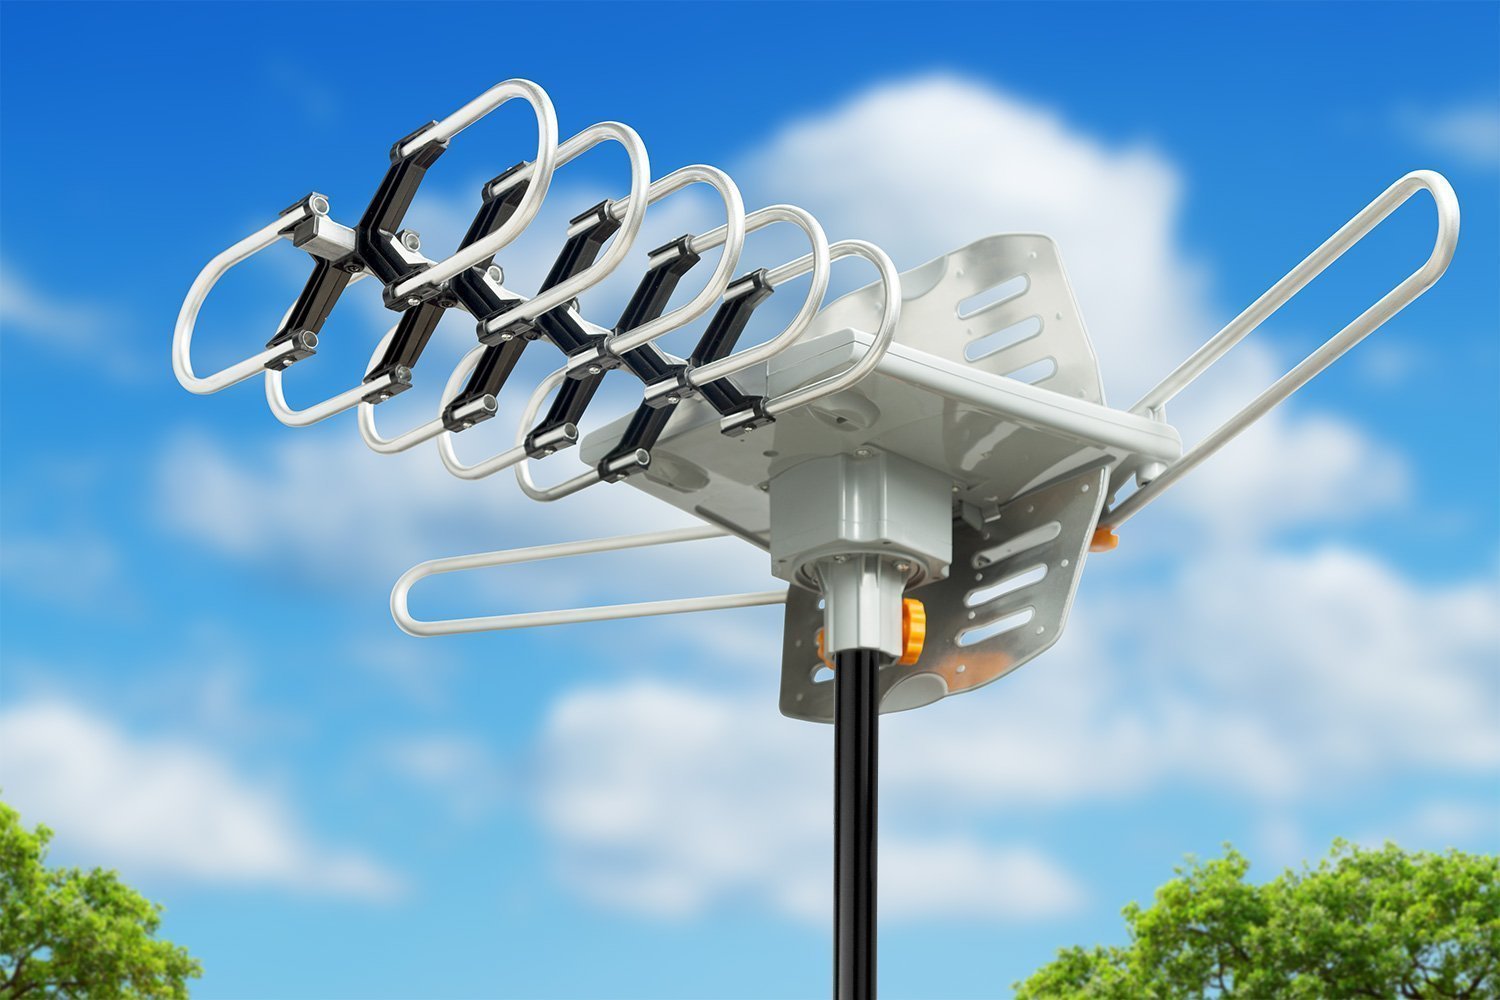
Before embarking on your outdoor antenna installation journey, it’s crucial to select the right antenna for your specific needs. The two main types of outdoor antennas are directional and multi-directional (omnidirectional). The choice between the two depends on your location and the direction of the broadcast towers.
Directional antennas are ideal for areas where the broadcast towers are clustered in one direction. These antennas can be aimed directly at the towers, providing a stronger signal from a specific direction. On the other hand, multi-directional antennas are suitable for locations where the broadcast towers are spread out in different directions. They can receive signals from various angles, making them versatile for capturing signals from multiple towers.
When selecting an outdoor antenna, consider the range of the broadcast towers from your location. Antennas are available in various ranges, such as 30 miles, 60 miles, or 100+ miles. It’s essential to choose an antenna with a range that accommodates the distance to the nearest broadcast towers. Additionally, factors such as terrain, obstructions, and elevation should be taken into account when determining the appropriate range for your antenna.
Another crucial consideration is the frequency bands supported by the antenna. Most antennas support both VHF (Very High Frequency) and UHF (Ultra High Frequency) bands to ensure compatibility with all available channels. Be sure to check the specifications of the antenna to confirm that it covers the frequency bands used by the local broadcasters.
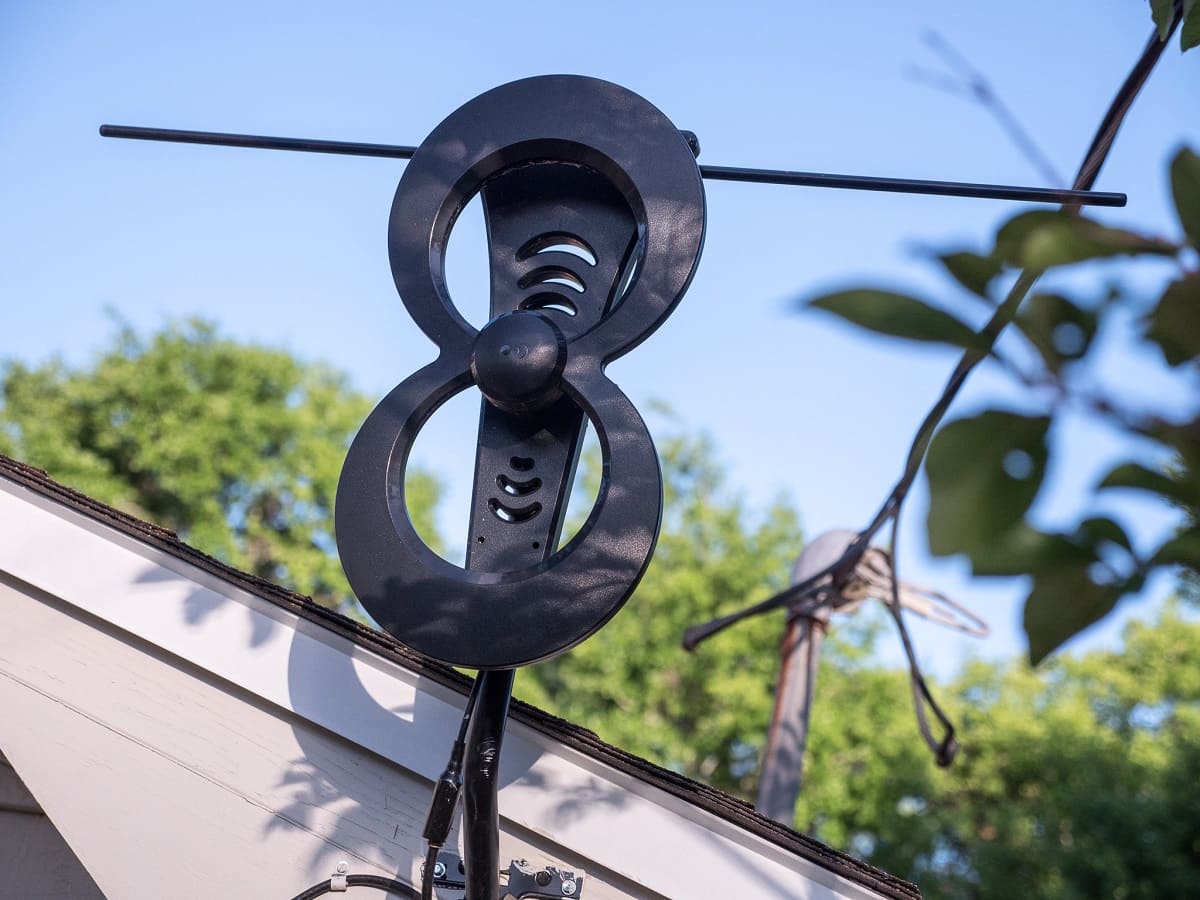
Lastly, assess the aesthetics and durability of the antenna. Since it will be installed outdoors, ensuring that it can withstand various weather conditions is essential. Additionally, some homeowners’ associations and local regulations may have restrictions on the size and appearance of outdoor antennas, so it’s important to choose one that complies with these guidelines.
By carefully considering these factors and choosing an antenna that aligns with your location and viewing preferences, you’ll set the stage for a successful outdoor antenna installation.
Step 2: Find the Best Location
Finding the optimal location for mounting your outdoor antenna is crucial for achieving the best reception and signal quality. Here are some essential considerations to guide you in identifying the best placement for your antenna:
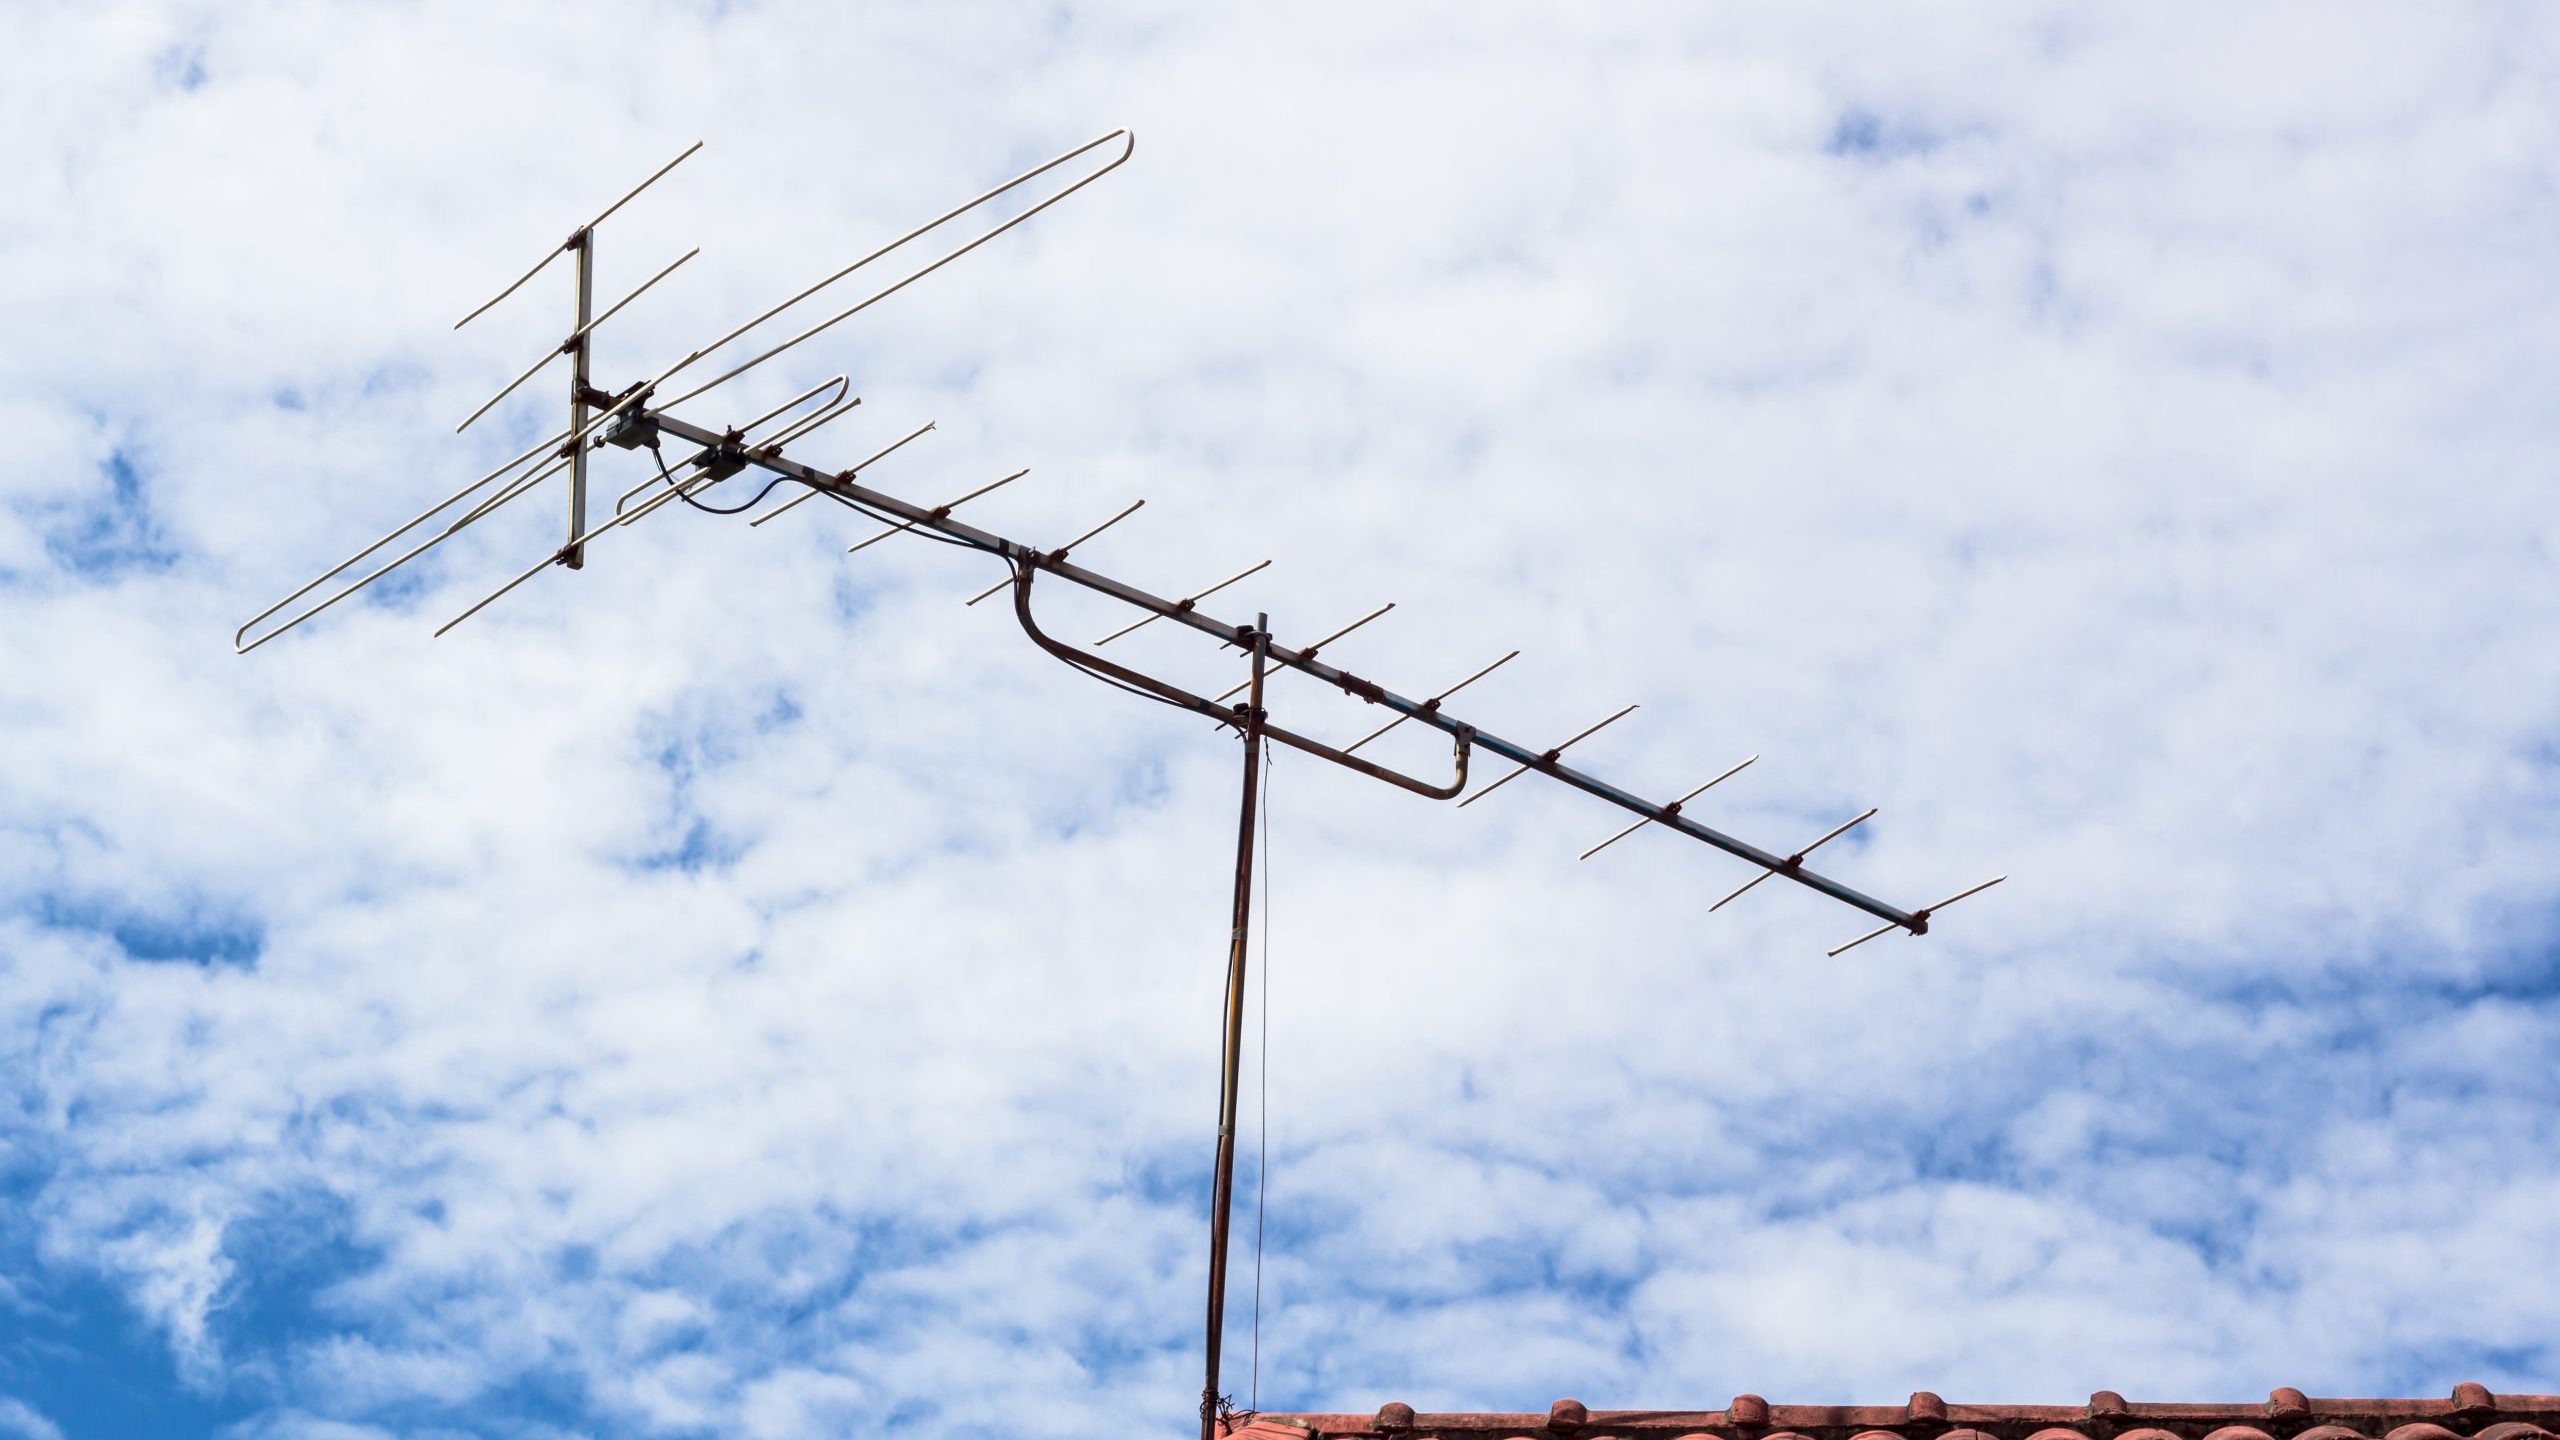
- Line of Sight: Identify the direction of the nearest broadcast towers and ensure that there are minimal obstructions, such as buildings, trees, or hills, blocking the line of sight between the towers and the antenna. Line of sight is critical for capturing strong and uninterrupted signals.
- Elevation: Mount the antenna at an elevated position to enhance its ability to receive signals. Higher elevations often result in improved reception, especially in areas with challenging terrain or distant broadcast towers.
- Orientation: If using a directional antenna, align it in the direction of the broadcast towers. Refer to a signal strength map or use a compass to determine the precise orientation for optimal signal reception.
- Accessibility: Ensure that the chosen location is easily accessible for installation, adjustments, and potential maintenance. Consider the practicality of running coaxial cable from the antenna to your TV while selecting the mounting location.
- Local Regulations: Check local regulations and homeowner association guidelines regarding outdoor antenna installations. Some areas may have restrictions on the height, placement, and visibility of antennas, so it’s essential to comply with these regulations.
Once you’ve identified a potential mounting location based on these considerations, it’s advisable to perform a preliminary signal strength test. This can be done using a portable TV or a signal strength meter while temporarily holding the antenna at the selected location. By assessing the signal quality at different potential mounting spots, you can determine the most favorable location for your outdoor antenna.
By carefully evaluating these factors and conducting a preliminary signal strength test, you’ll be well-equipped to identify the best location for mounting your outdoor antenna, setting the stage for optimal reception and viewing experience.
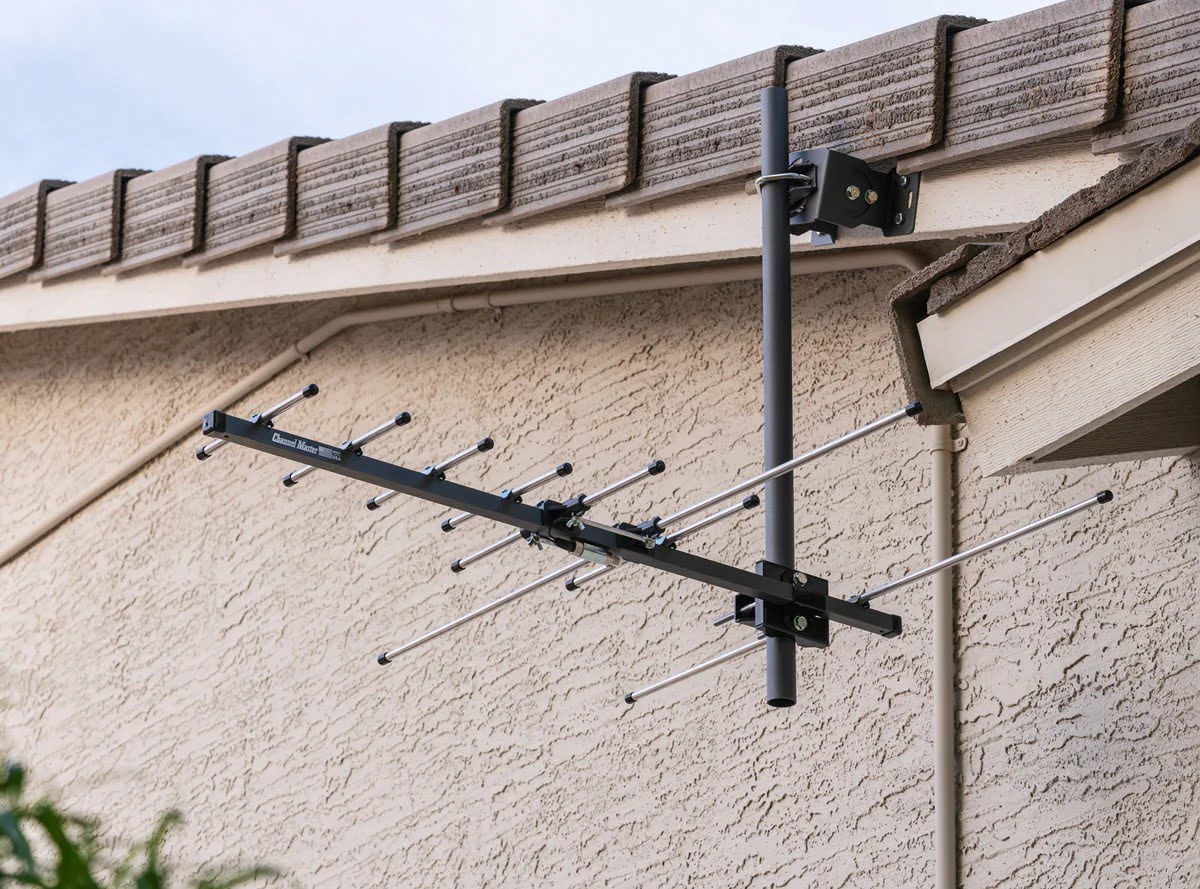
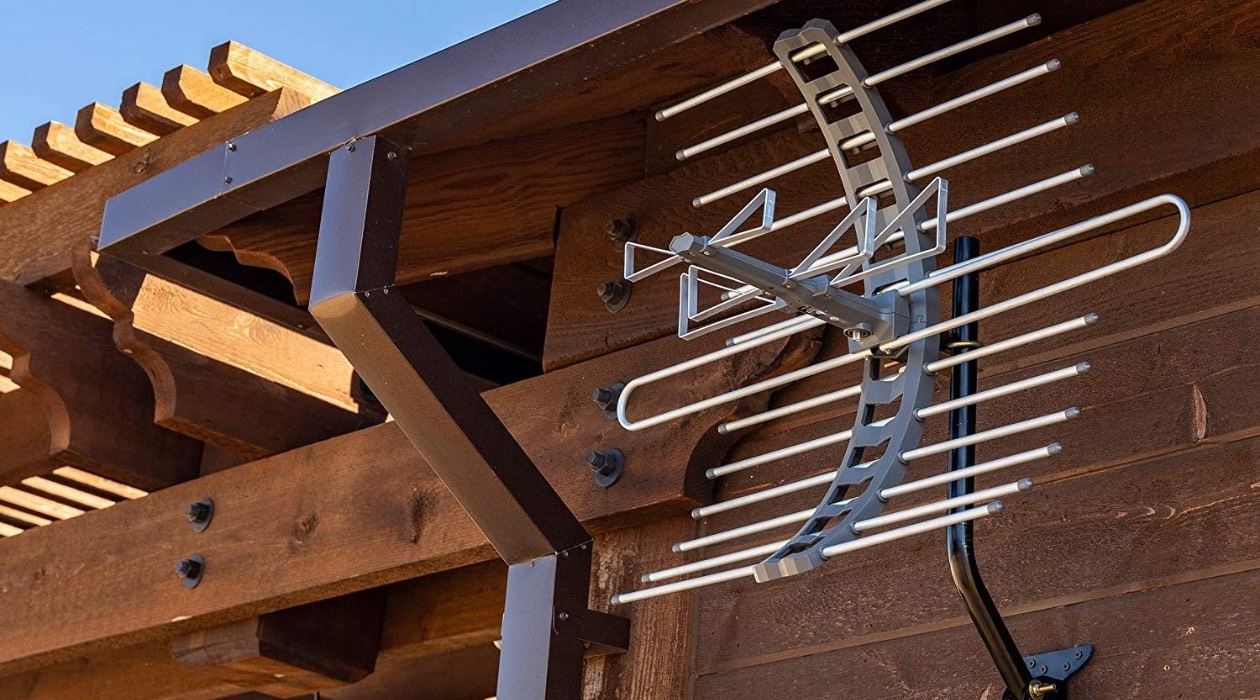
Step 3: Mount the Antenna
With the ideal location identified, it’s time to proceed with mounting your outdoor antenna. The mounting process is pivotal in ensuring the stability and effectiveness of the antenna. Here’s a step-by-step guide to help you successfully mount your antenna:
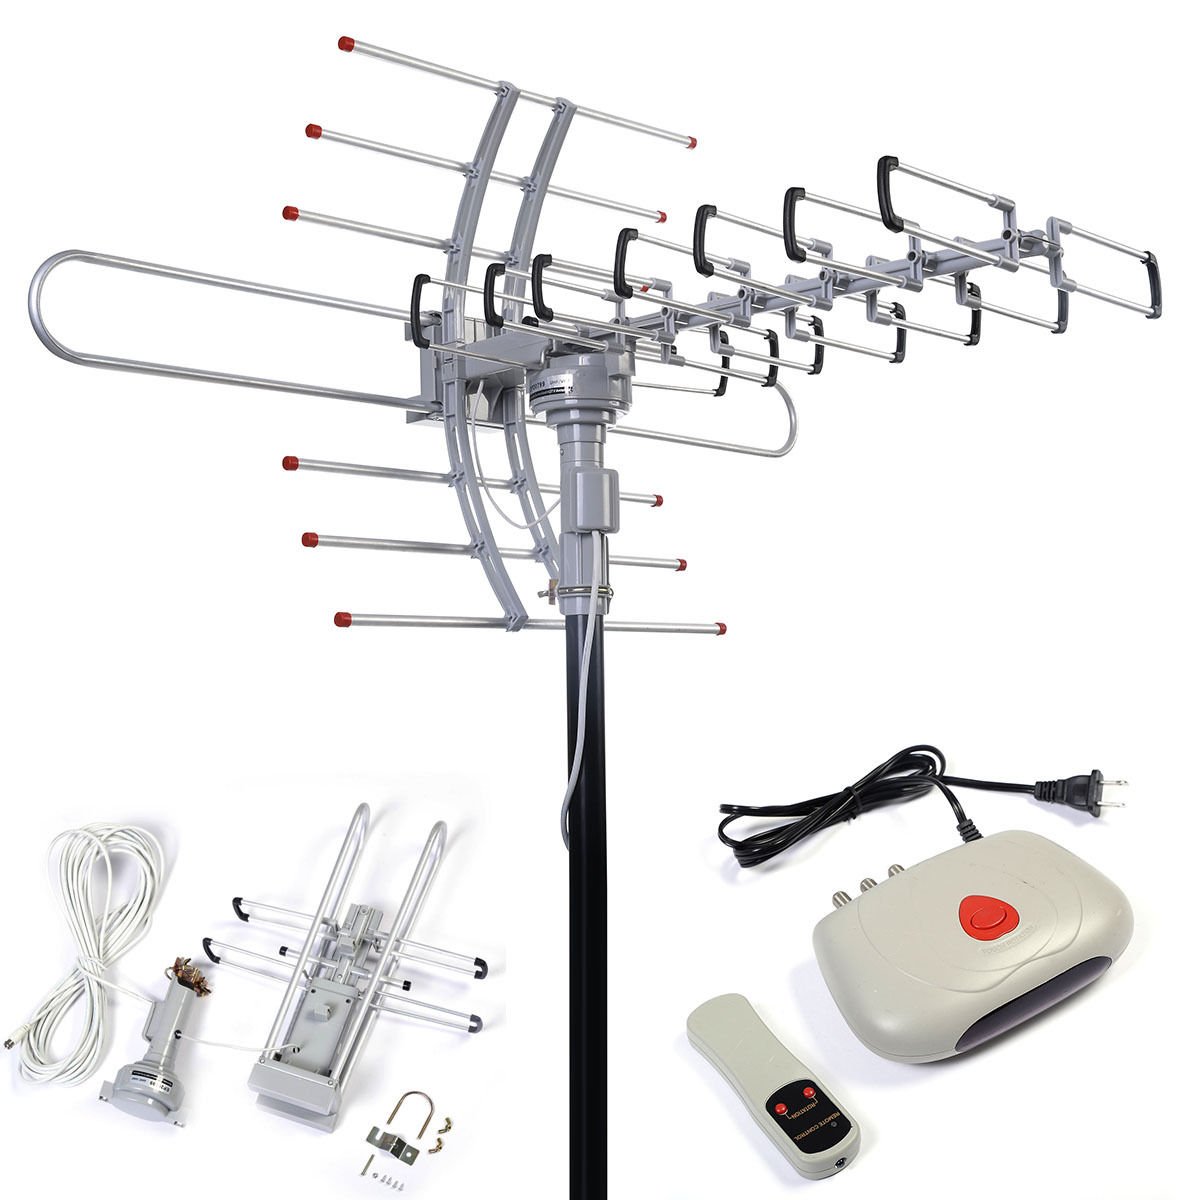
- Assemble the Necessary Tools: Gather the essential tools for the mounting process, including a ladder, mounting brackets, screws, a drill, a wrench or pliers, and a compass or smartphone with a compass app to assist with orientation.
- Secure the Mounting Bracket: Attach the mounting bracket to the chosen location using appropriate screws and anchors. Ensure that the bracket is firmly secured and level to provide a stable base for the antenna.
- Attach the Antenna to the Bracket: Depending on the type of antenna, follow the manufacturer’s instructions to securely fasten the antenna to the mounting bracket. Use the necessary hardware provided with the antenna to ensure a secure attachment.
- Orient the Antenna: If using a directional antenna, orient it according to the direction of the broadcast towers. Use a compass to align the antenna accurately, or refer to the orientation guidance provided by the antenna manufacturer.
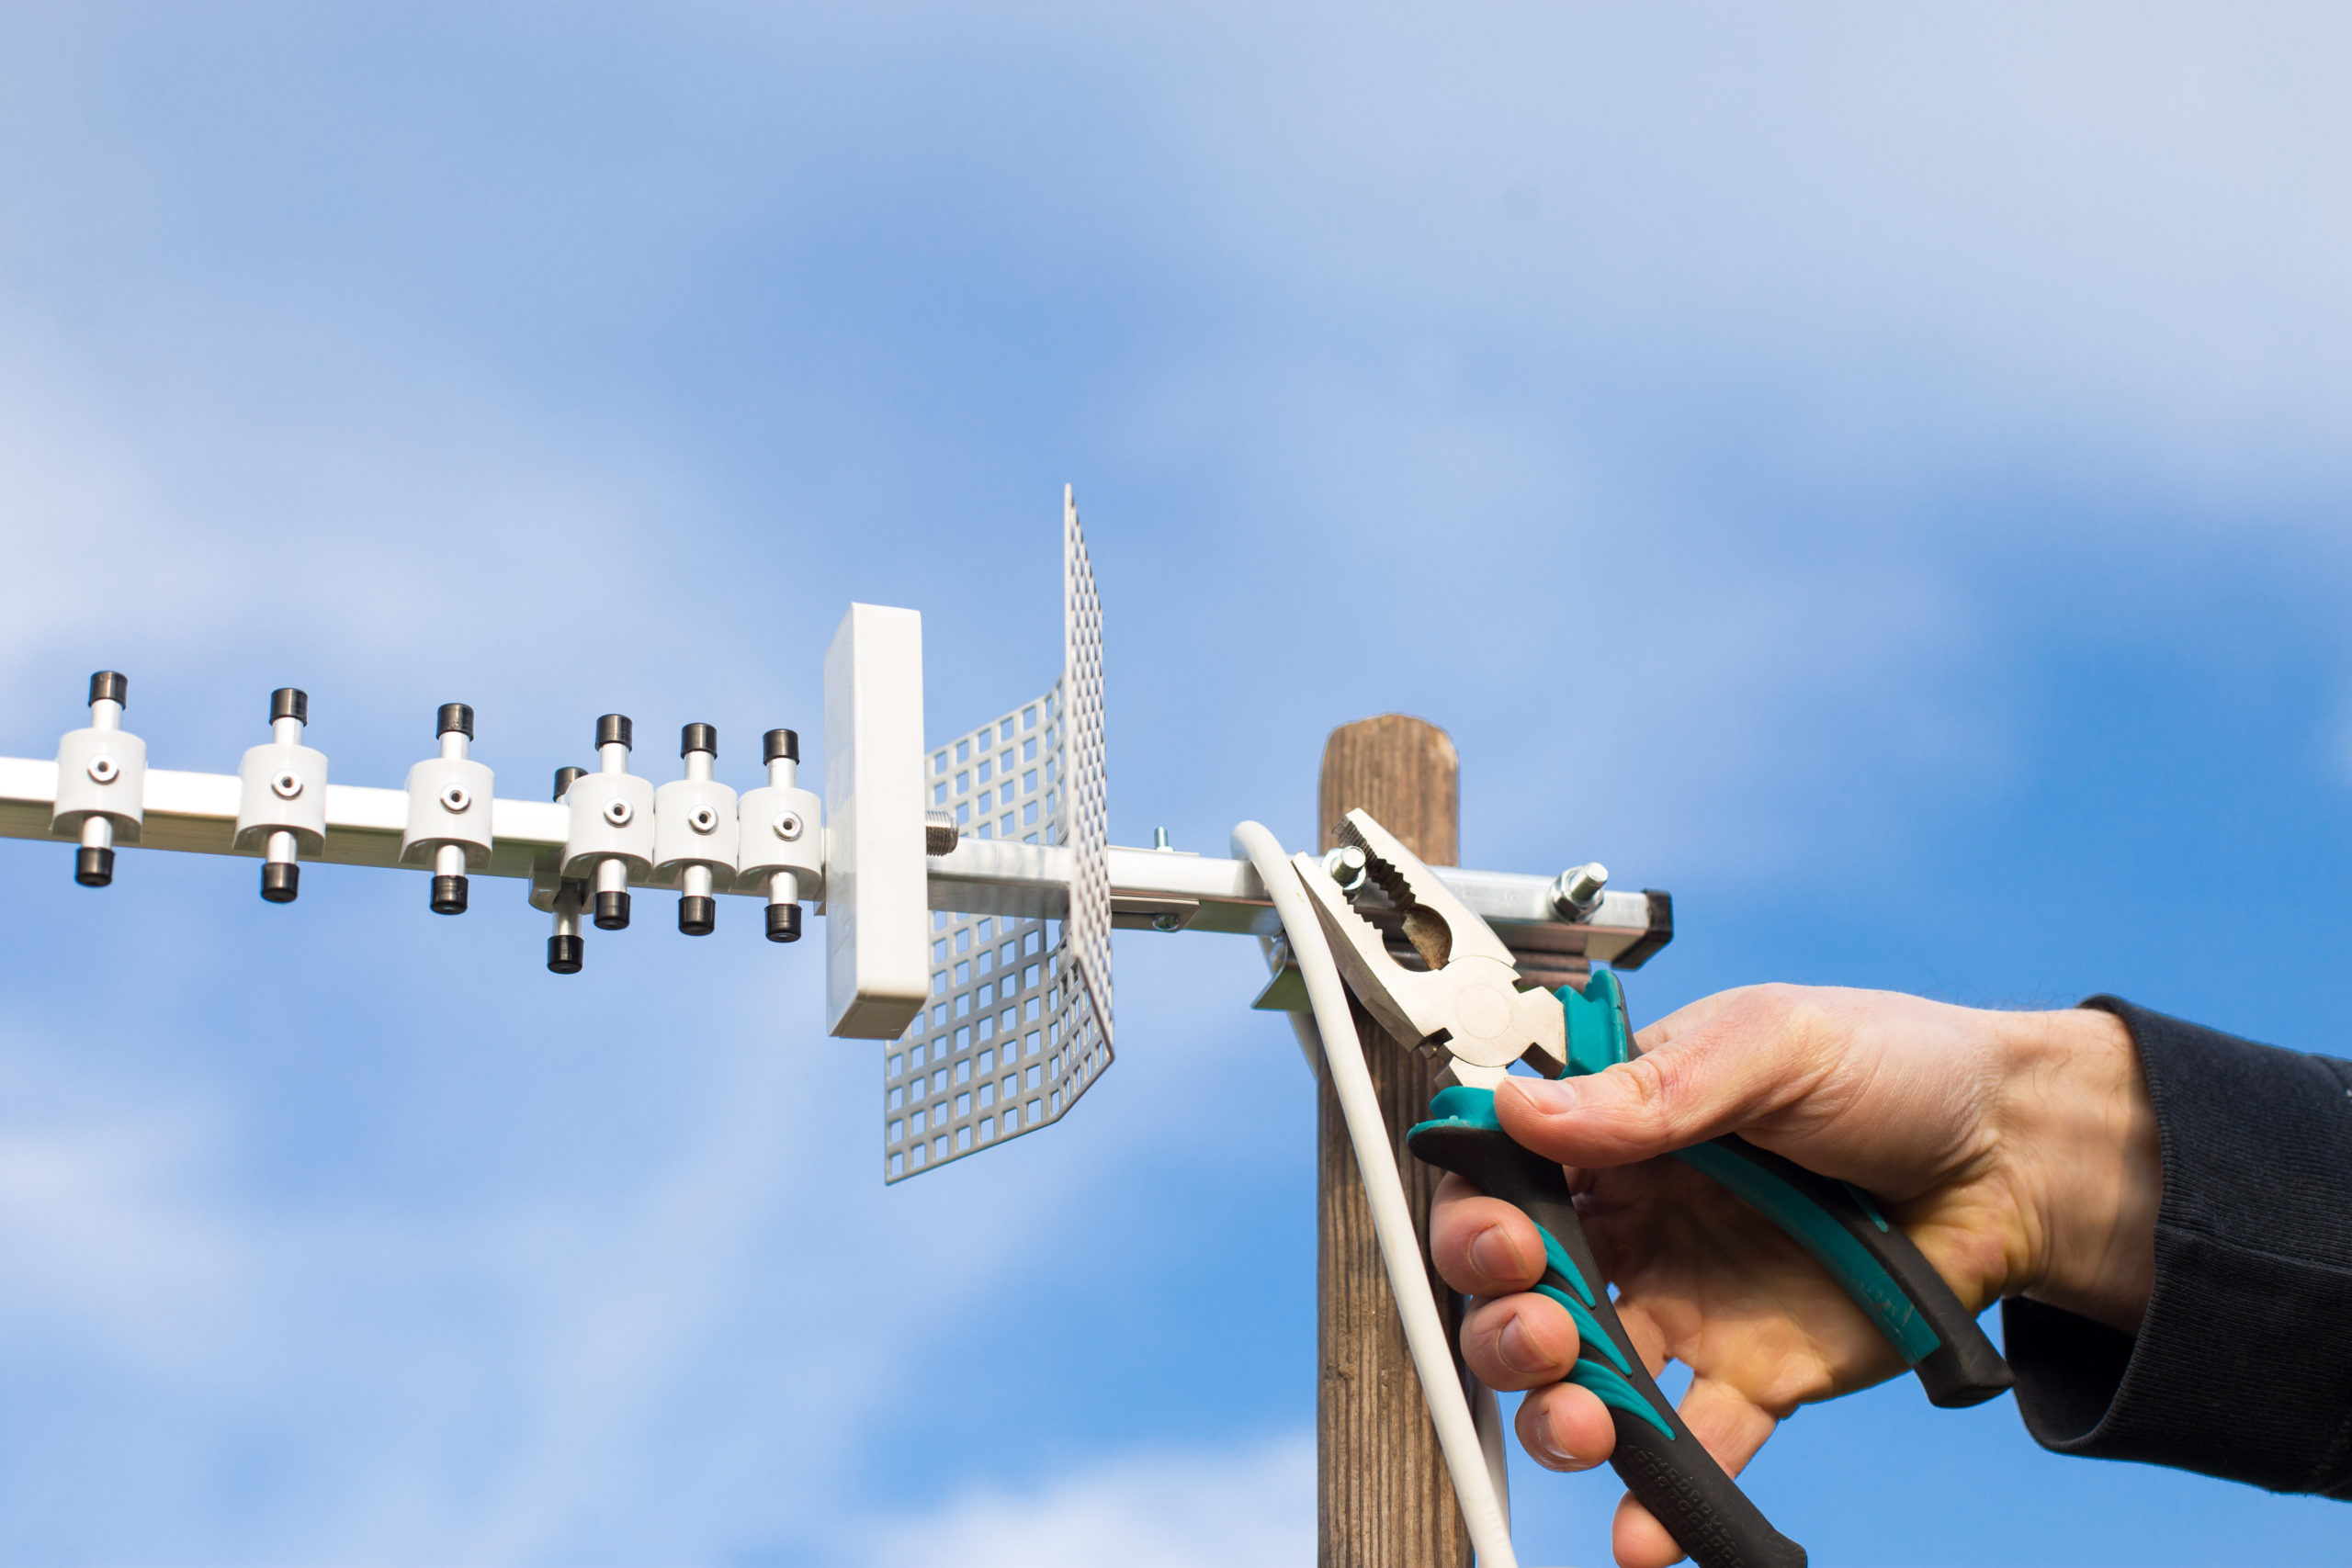
- Secure Cabling: Carefully route the coaxial cable from the antenna to your TV through a designated cable entry point. Secure the cable along the mounting surface using cable clips to prevent it from dangling or being exposed to potential damage.
- Grounding (If Applicable): If required by local electrical codes, ensure that the antenna is properly grounded. This typically involves connecting a grounding wire from the antenna to a grounding rod or an existing grounding system on your property.
- Adjust and Tighten: Once the antenna is mounted, make any necessary adjustments to optimize its position and secure all mounting hardware. Use a wrench or pliers to tighten any bolts or clamps, ensuring that the antenna is firmly in place.
By following these steps and exercising caution during the mounting process, you’ll successfully install and secure your outdoor antenna, paving the way for reliable signal reception and an enjoyable TV viewing experience.
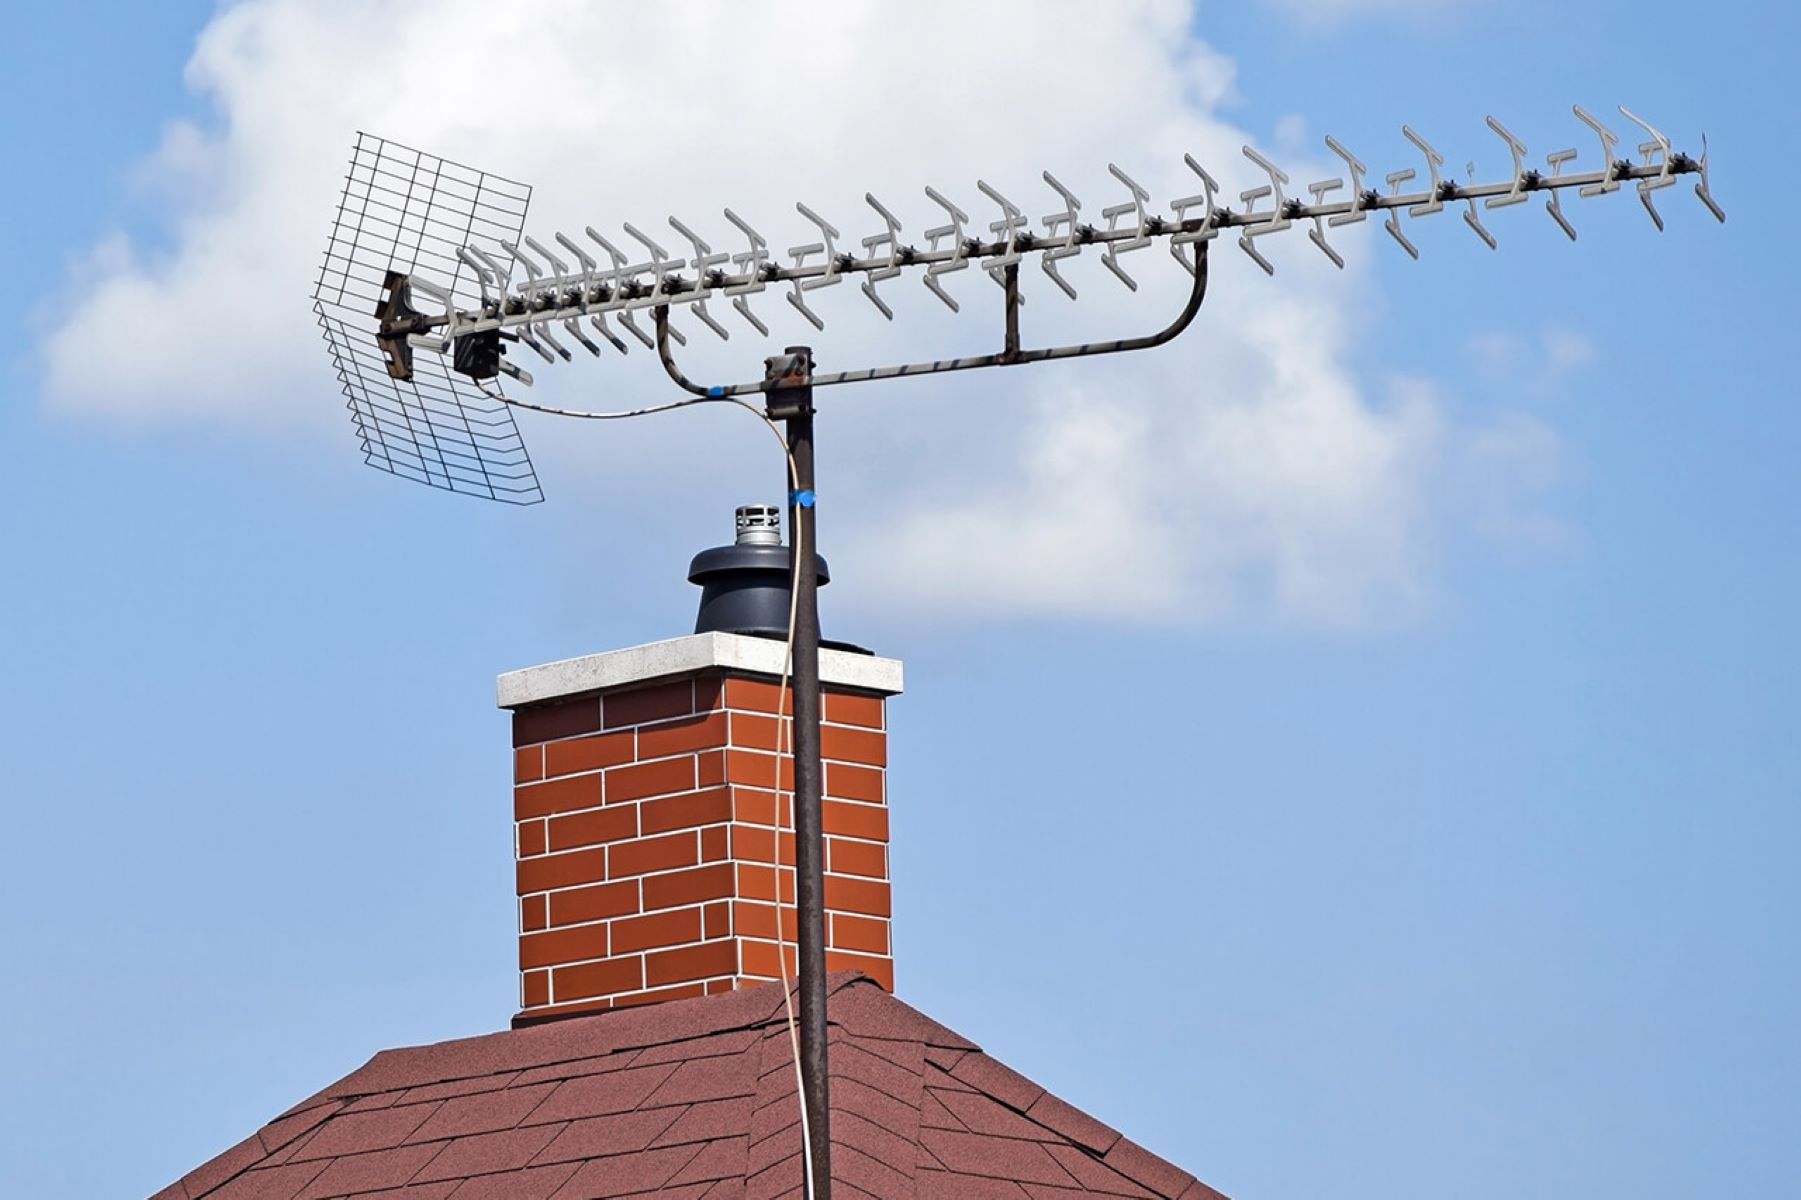
When installing an outdoor TV antenna, make sure to choose a location with a clear line of sight to the broadcast towers. Use a compass to find the correct direction and mount the antenna as high as possible for better reception.
Step 4: Connect the Antenna to Your TV
With the outdoor antenna securely mounted, the next crucial step is to establish the connection between the antenna and your TV. This process involves setting up the necessary cabling and configuring your TV to receive signals from the antenna. Follow these steps to seamlessly connect the antenna to your TV:
- Locate the Coaxial Cable: Identify the coaxial cable running from the outdoor antenna to the interior of your home. Ensure that the cable is properly secured and free from any damage or kinks that could affect signal transmission.
- Prepare the Connection: If the coaxial cable does not have a connector attached, carefully strip the outer insulation to expose the inner conductor and shielding. Use a coaxial cable stripper or a utility knife to make clean, precise cuts without damaging the inner components.
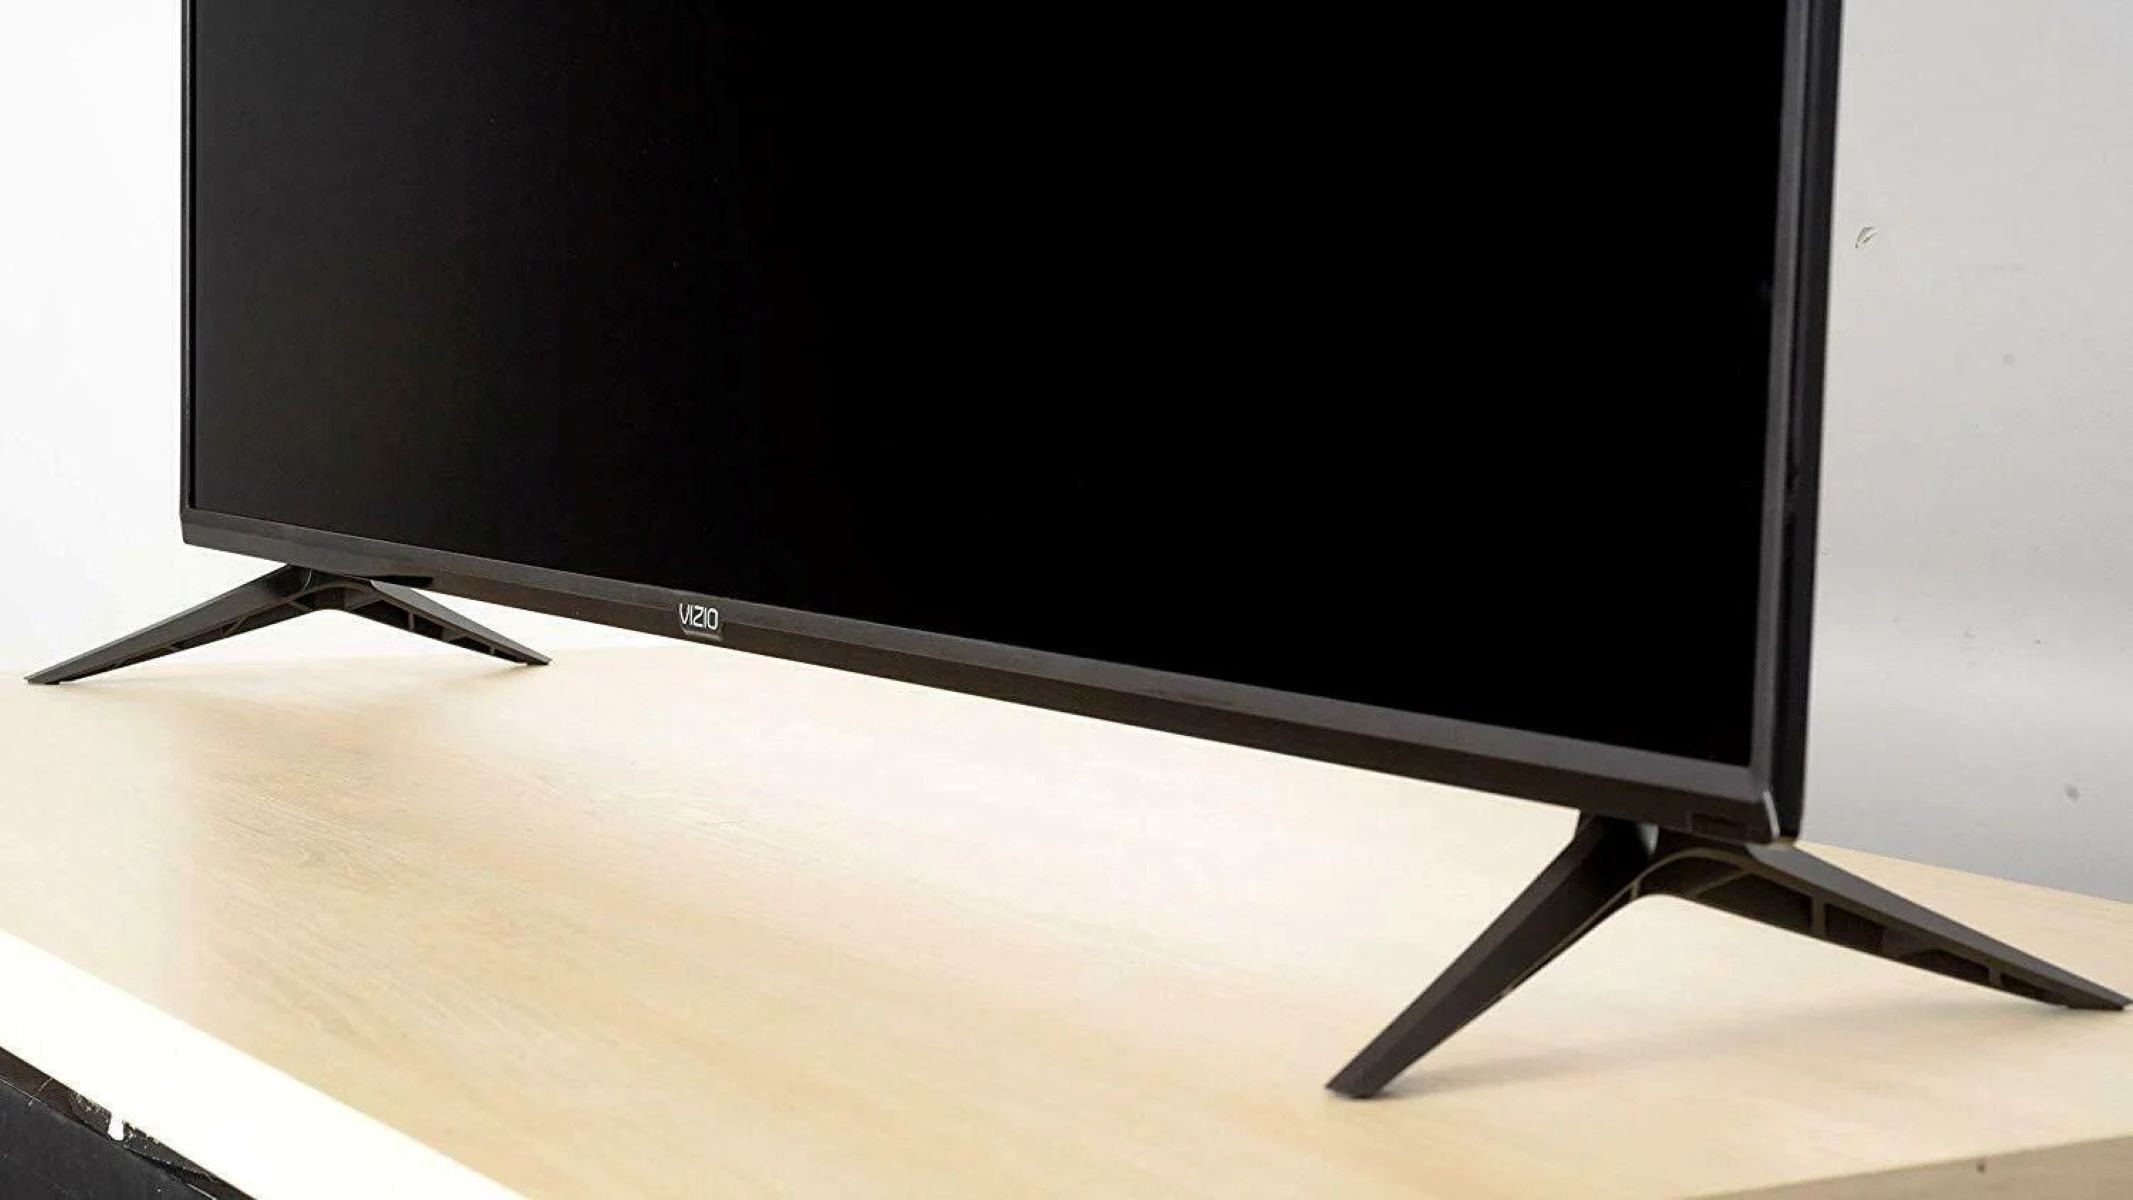
- Connect to the TV: Locate the antenna input on your TV, often labeled as “ANT IN” or “RF IN.” If your TV has a built-in digital tuner, this is where the coaxial cable from the antenna should be connected. Ensure a secure and snug connection to prevent signal loss or interference.
- Secure the Connection: Tighten the coaxial cable connector to the TV’s antenna input, ensuring that it is firmly attached. Avoid over-tightening, which could damage the connector or the TV’s input port.
- Power on the TV: Turn on your TV and access the input/source menu to select the antenna input. This may be labeled as “Antenna,” “Air,” or “TV” input, depending on the TV model. Consult your TV’s user manual for specific instructions on accessing the input menu.
- Scan for Channels: Initiate a channel scan using your TV’s built-in tuner. This process allows the TV to detect and store available channels received through the outdoor antenna. The scanning procedure may take several minutes to complete, during which the TV will search for all available digital and analog channels.
- Review Channel Lineup: Once the channel scan is finished, review the list of available channels on your TV. Organize and label the channels as desired to simplify navigation and access to your favorite stations.
By following these steps, you’ll establish a seamless connection between your outdoor antenna and your TV, enabling you to access a diverse array of free, high-quality channels without the need for a cable or satellite subscription.
Read more: What Is The Best Outdoor TV Antenna?
Step 5: Scan for Channels
After connecting your outdoor antenna to your TV, the final essential step is to scan for channels. This process allows your TV’s built-in tuner to detect all available over-the-air channels and store them for convenient access. Follow these steps to initiate a channel scan and unlock a plethora of free, high-definition channels:
- Access the Menu: Using your TV’s remote control, navigate to the menu or settings options. The exact location of the channel scan feature may vary depending on the TV model, so refer to your TV’s user manual for specific instructions.
- Initiate Channel Scan: Locate the “Channel Scan,” “Auto Program,” or “Tuning” option within the TV’s menu. Select this feature to begin the automatic scanning process, during which the TV will search for all available digital and analog channels received through the outdoor antenna.
- Patience During Scanning: Allow the TV to complete the channel scan, which may take several minutes. The scanning process involves the detection and storage of available channels, including network affiliates, local stations, and additional subchannels offering diverse programming.
- Review Scanned Channels: Once the channel scan is finished, navigate to the channel lineup or program guide on your TV to review the list of detected channels. Depending on your location and the capabilities of your outdoor antenna, you may have access to a wide range of local and regional channels, including news, sports, entertainment, and more.
- Organize Channels (Optional): If desired, organize and label the scanned channels to streamline navigation and enhance your viewing experience. Many TVs offer the option to create custom channel lists or favorite lists, allowing you to prioritize and access your preferred channels with ease.
- Enjoy Free, High-Quality TV: With the channel scan completed and the lineup of available channels at your fingertips, you’re ready to indulge in a diverse selection of free, high-definition programming. From local news and weather updates to popular network shows, your outdoor antenna has unlocked a world of entertainment without the burden of subscription fees.
By following these steps and initiating a thorough channel scan, you’ll harness the full potential of your outdoor antenna, gaining access to an extensive array of free, high-quality channels to enrich your TV viewing experience.
Conclusion
Congratulations on successfully navigating the process of installing an outdoor antenna for your TV. By carefully selecting the right antenna, finding the optimal mounting location, securing the antenna, establishing the connection to your TV, and scanning for channels, you’ve unlocked a world of free, high-quality programming without the constraints of traditional cable or satellite subscriptions.
With your outdoor antenna in place, you now have access to a diverse array of local and regional channels, delivering news, sports, entertainment, and more in stunning high-definition quality. Whether you’re a sports enthusiast, a news aficionado, or a fan of classic sitcoms, the channels received through your outdoor antenna offer a wealth of content to cater to your viewing preferences.
Embracing the world of over-the-air broadcasting not only provides cost-effective access to television programming but also ensures that you stay connected to local news and community events. Moreover, the reliability and clarity of the signals received through your outdoor antenna elevate your viewing experience, immersing you in the captivating world of free, over-the-air television.
As you settle in to enjoy the diverse programming made available by your outdoor antenna, take pride in your newfound freedom from monthly subscription fees and the ability to tailor your viewing experience to your preferences. Embrace the simplicity and cost-effectiveness of over-the-air broadcasting, and relish the wealth of free, high-definition channels at your disposal.
With your outdoor antenna serving as a gateway to a wide range of captivating content, you’re now equipped to savor the best in television entertainment while reveling in the freedom and flexibility that over-the-air broadcasting affords. Here’s to countless hours of enjoyable viewing, courtesy of your outdoor antenna!
Frequently Asked Questions about How To Install Outdoor Antenna Tv
Was this page helpful?
At Storables.com, we guarantee accurate and reliable information. Our content, validated by Expert Board Contributors, is crafted following stringent Editorial Policies. We're committed to providing you with well-researched, expert-backed insights for all your informational needs.


0 thoughts on “How To Install Outdoor Antenna Tv”