Home>Furniture & Design>Outdoor Furniture>How To Install An Outdoor TV
Outdoor Furniture
How To Install An Outdoor TV
Modified: February 18, 2024
Learn how to properly install an outdoor TV to enhance your outdoor furniture and design. Follow our step-by-step guide for a seamless installation process.
(Many of the links in this article redirect to a specific reviewed product. Your purchase of these products through affiliate links helps to generate commission for Storables.com, at no extra cost. Learn more)
Introduction
Welcome to the ultimate guide on how to install an outdoor TV! Transforming your outdoor space into a cozy entertainment hub can significantly elevate your leisure time. Whether you want to host a thrilling game night, enjoy movie marathons under the stars, or simply bask in the beauty of nature while catching up on your favorite shows, an outdoor TV can be the perfect addition to your outdoor oasis.
Installing an outdoor TV requires careful planning and execution to ensure that your viewing experience is not only enjoyable but also safe and durable. From choosing the ideal location to safeguarding the TV against the elements, each step plays a crucial role in creating a seamless outdoor entertainment setup.
In this comprehensive guide, we will walk you through the essential steps to install an outdoor TV, covering everything from selecting the right location and TV model to connecting external devices and protecting the TV from various weather conditions. By the end of this journey, you will have the knowledge and confidence to set up your outdoor TV with ease, allowing you to relish countless hours of entertainment in the great outdoors.
So, let's dive into the intricacies of outdoor TV installation and embark on a journey to create an outdoor entertainment space that will undoubtedly become the envy of your friends and neighbors!
Key Takeaways:
- Choose the perfect spot for your outdoor TV by considering visibility, shade, weather protection, accessibility, and aesthetic harmony to create a captivating and comfortable viewing experience while safeguarding the TV from environmental elements.
- Prioritize electrical safety and weatherproofing when connecting your outdoor TV to power, ensuring a secure and reliable electrical setup that supports uninterrupted entertainment while withstanding the outdoor elements.
Read more: How To Install An Outdoor TV Antenna
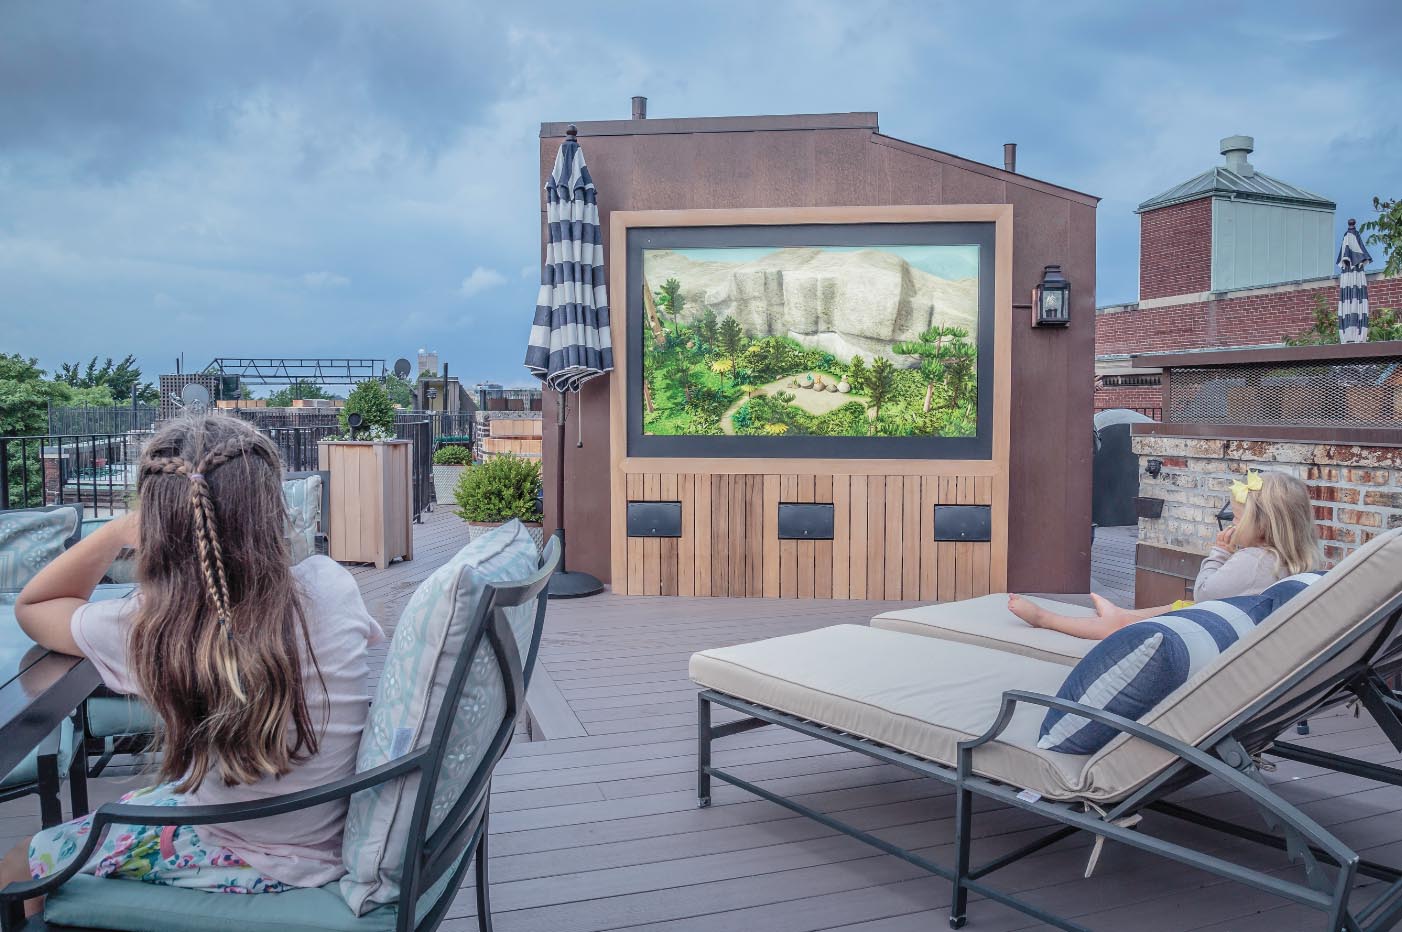
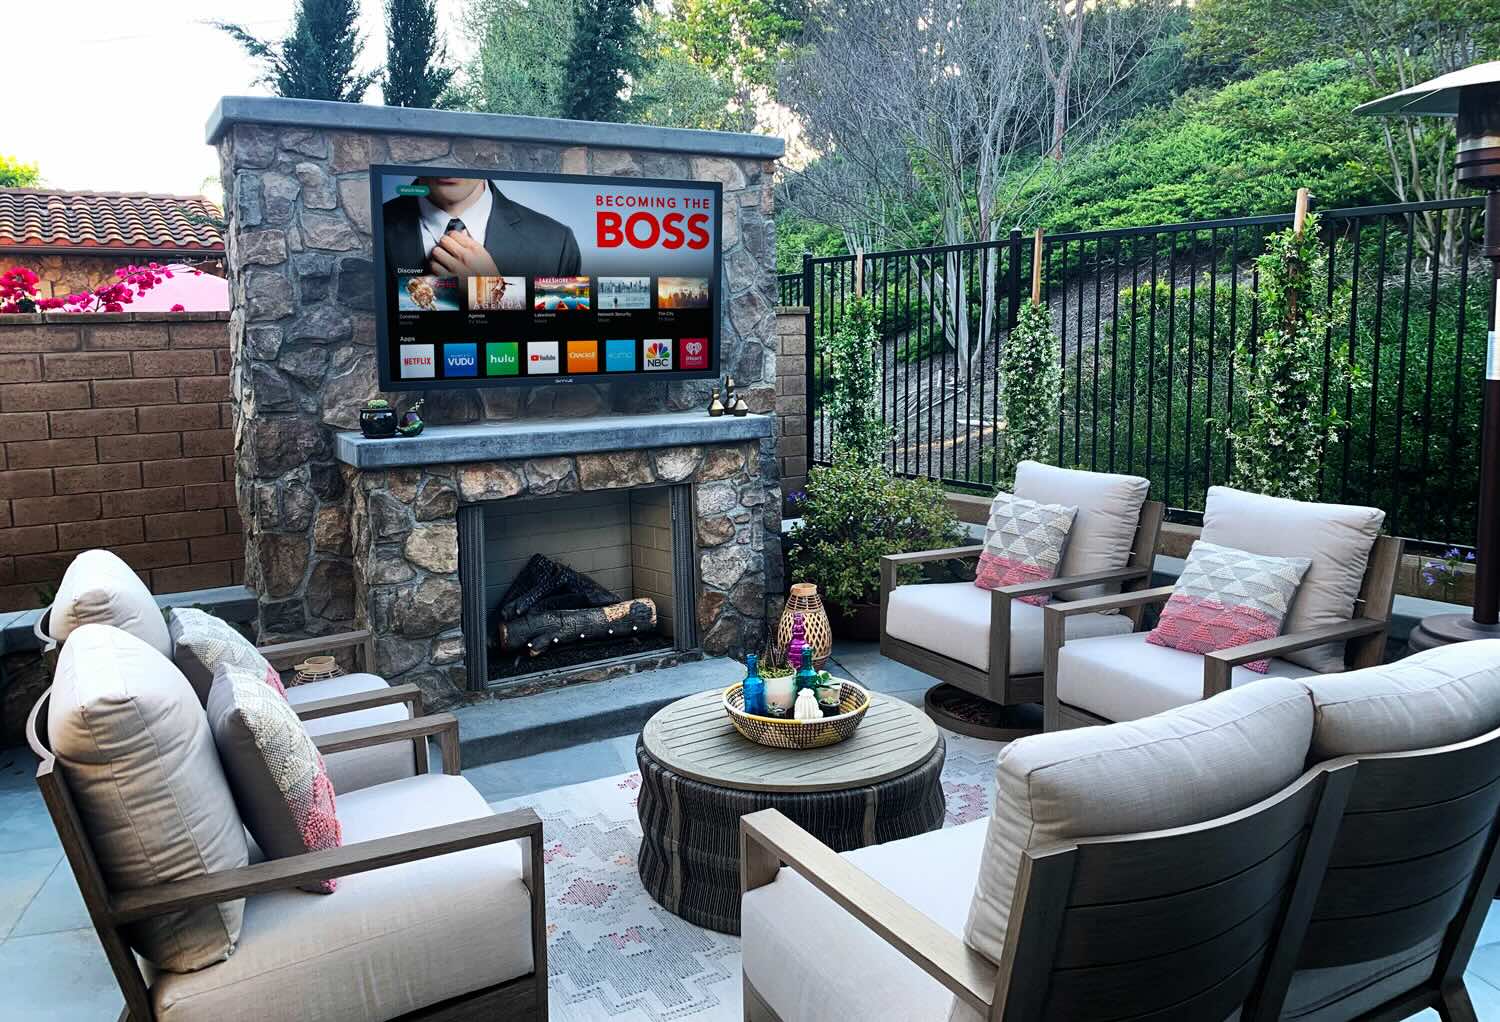
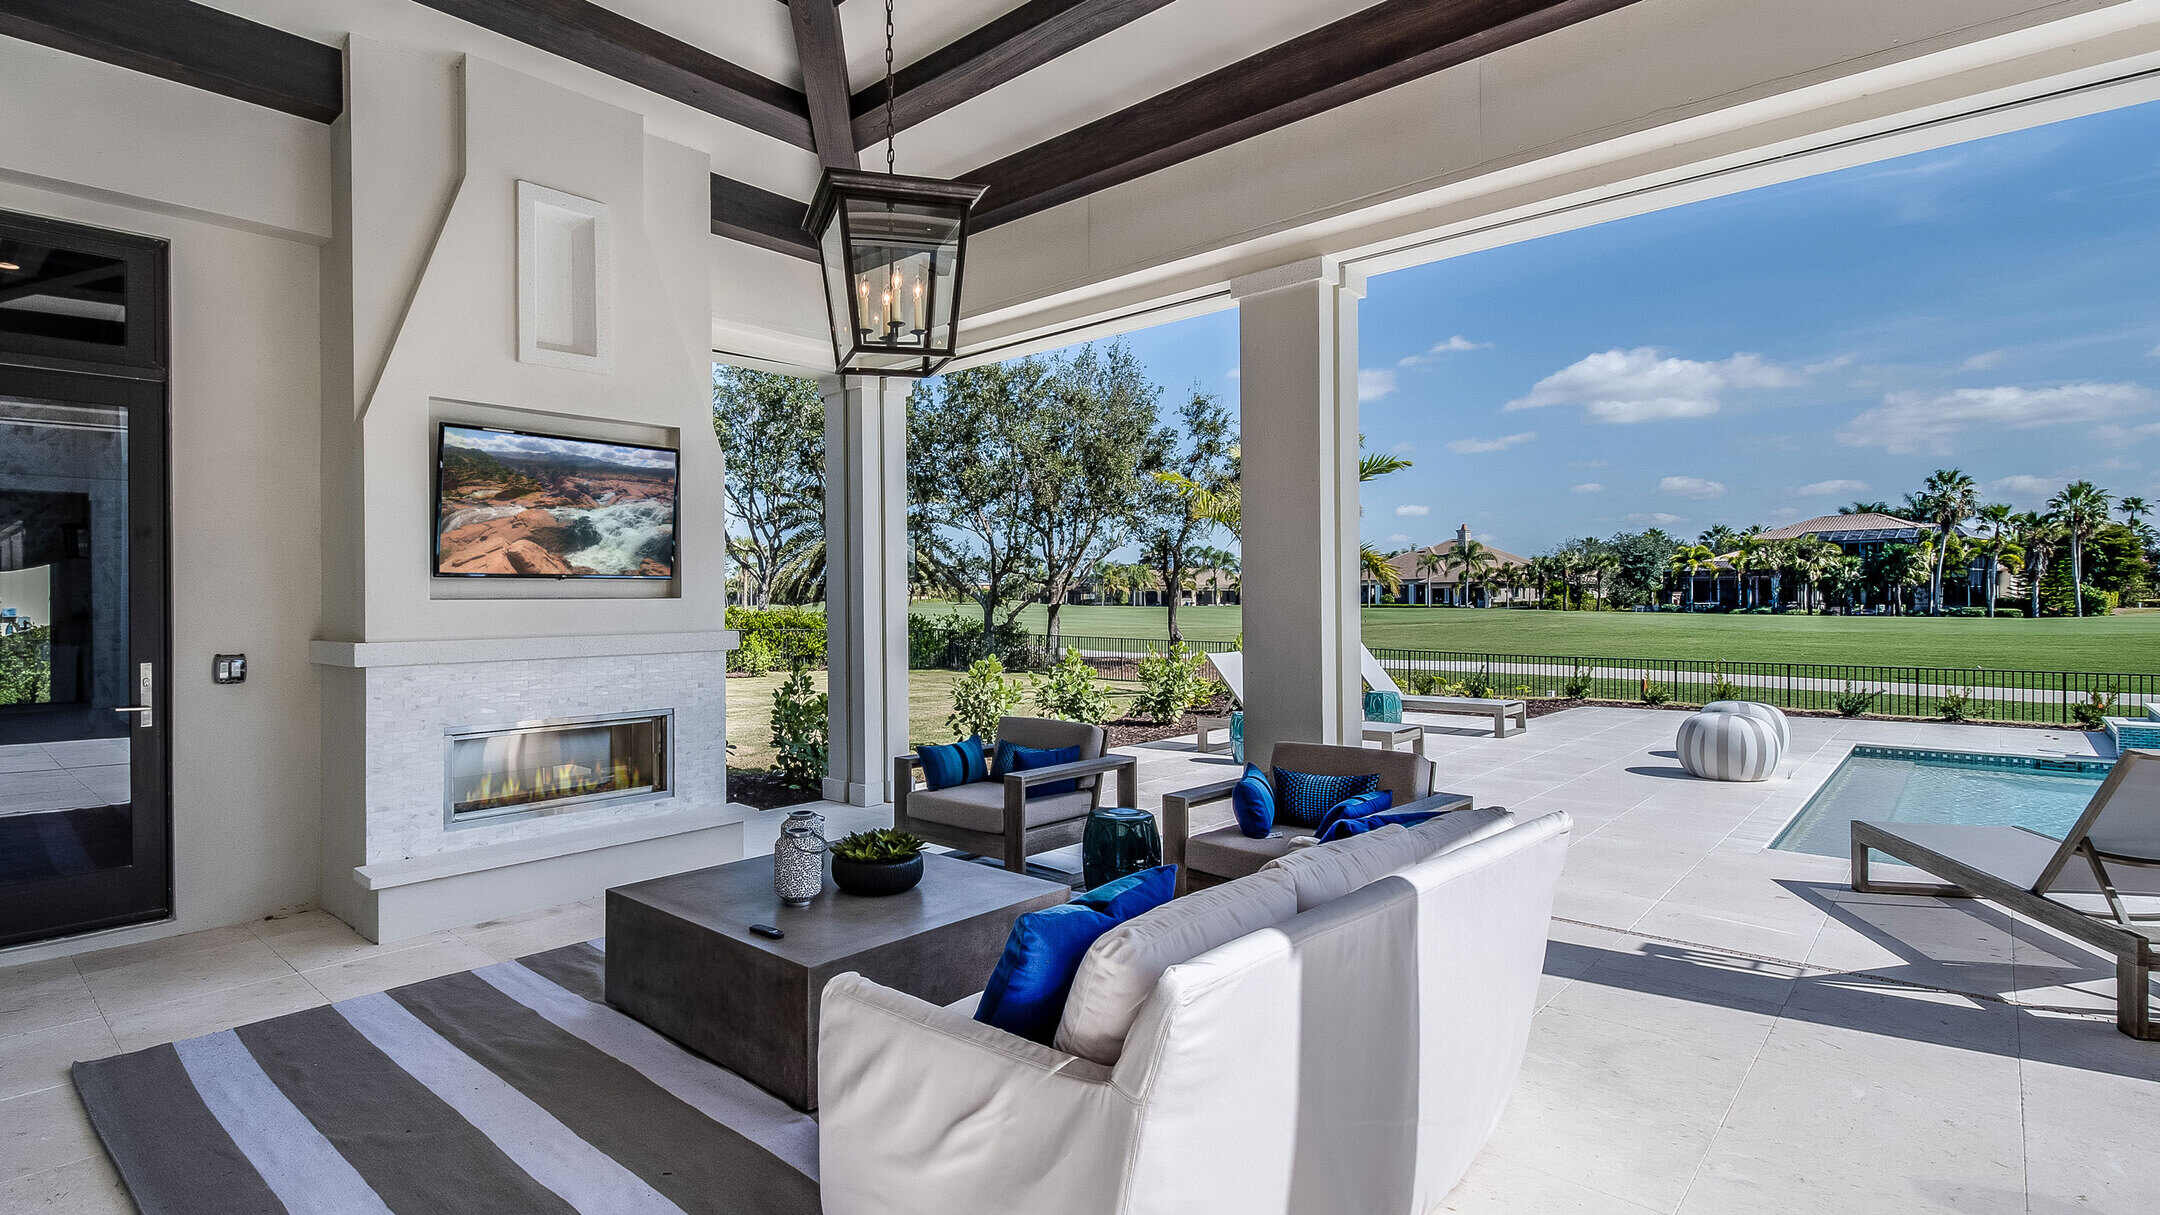
Step 1: Choose the Right Location
Before embarking on the installation process, it’s vital to carefully select the perfect spot for your outdoor TV. The location you choose will significantly impact your viewing experience and the longevity of your TV. Here are some key considerations to keep in mind:
- Visibility and Viewing Angle: Assess the areas in your outdoor space where the TV screen will be clearly visible from various seating arrangements. Consider the viewing angles from different spots to ensure that everyone can enjoy an unobstructed view of the screen.
- Shade and Sunlight: Take note of the sun’s trajectory throughout the day to determine the areas that receive direct sunlight. Ideally, choose a location that offers adequate shade to prevent glare and ensure comfortable viewing, especially during daytime use.
- Weather Protection: Select a spot that provides some natural shelter or consider installing a pergola, awning, or outdoor umbrella to shield the TV from rain, snow, and excessive moisture. This will help prolong the lifespan of the TV and minimize the risk of weather-related damage.
- Accessibility: Ensure that the chosen location allows easy access to power sources and cable connections. Additionally, consider the convenience of accessing the TV for maintenance and cleaning purposes.
- Aesthetic Harmony: Harmonize the placement of the outdoor TV with the overall design and layout of your outdoor space. Aim to integrate the TV seamlessly into the environment while complementing the existing decor and landscaping.
By carefully evaluating these factors, you can pinpoint the optimal location for your outdoor TV, setting the stage for a captivating and comfortable viewing experience while safeguarding the TV from environmental elements.
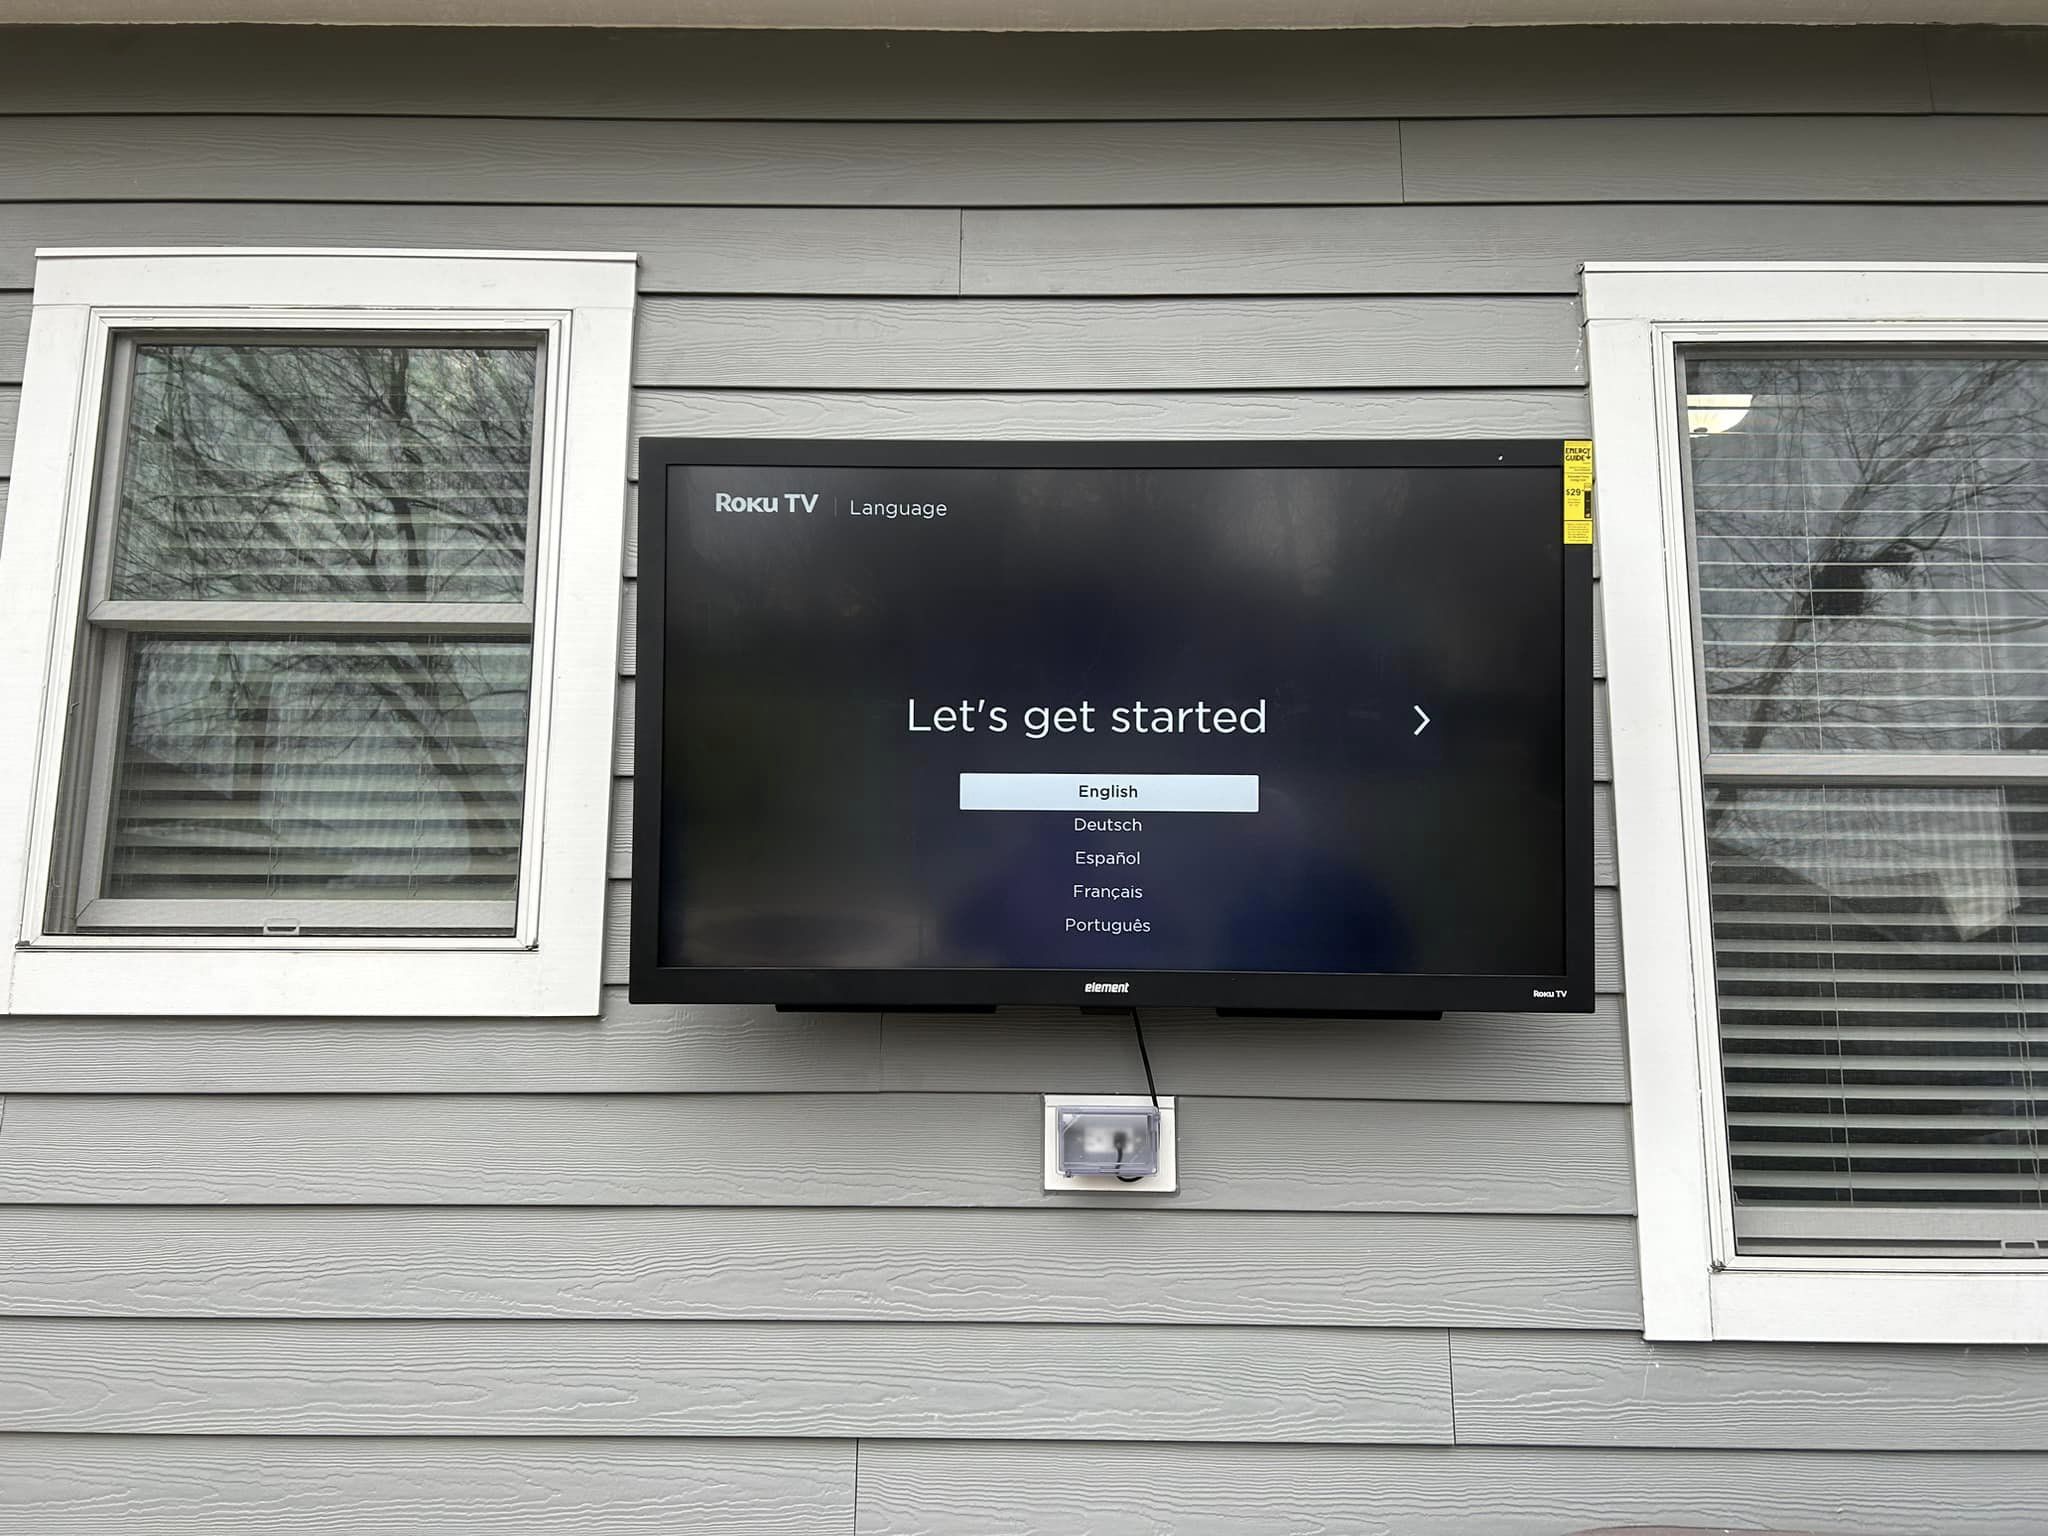
Step 2: Select the Right Outdoor TV
Choosing the perfect outdoor TV involves more than just picking a sleek model with impressive features. Outdoor TVs are designed to withstand various environmental challenges, making the selection process a critical aspect of your installation journey. Here’s what to consider when selecting the right outdoor TV:
- Weather Resistance: Opt for an outdoor TV specifically engineered to withstand the elements, including rain, snow, humidity, and extreme temperatures. Look for models with robust weatherproofing features and an IP (Ingress Protection) rating to ensure durability in outdoor conditions.
- Screen Brightness and Anti-Glare Technology: Outdoor TVs need to combat glare from sunlight and ambient lighting. Choose a model with high brightness levels and anti-glare technology to maintain excellent visibility even in bright outdoor settings.
- Temperature Tolerance: Ensure that the selected TV can operate within a wide temperature range, especially if you experience significant temperature variations throughout the year. A TV designed for outdoor use should function reliably in both hot summer days and chilly winter nights.
- Sealed Enclosure and Rust Resistance: Look for outdoor TVs with sealed enclosures and rust-resistant components to prevent moisture and corrosion from compromising the internal electronics. This feature is crucial for long-term performance and longevity.
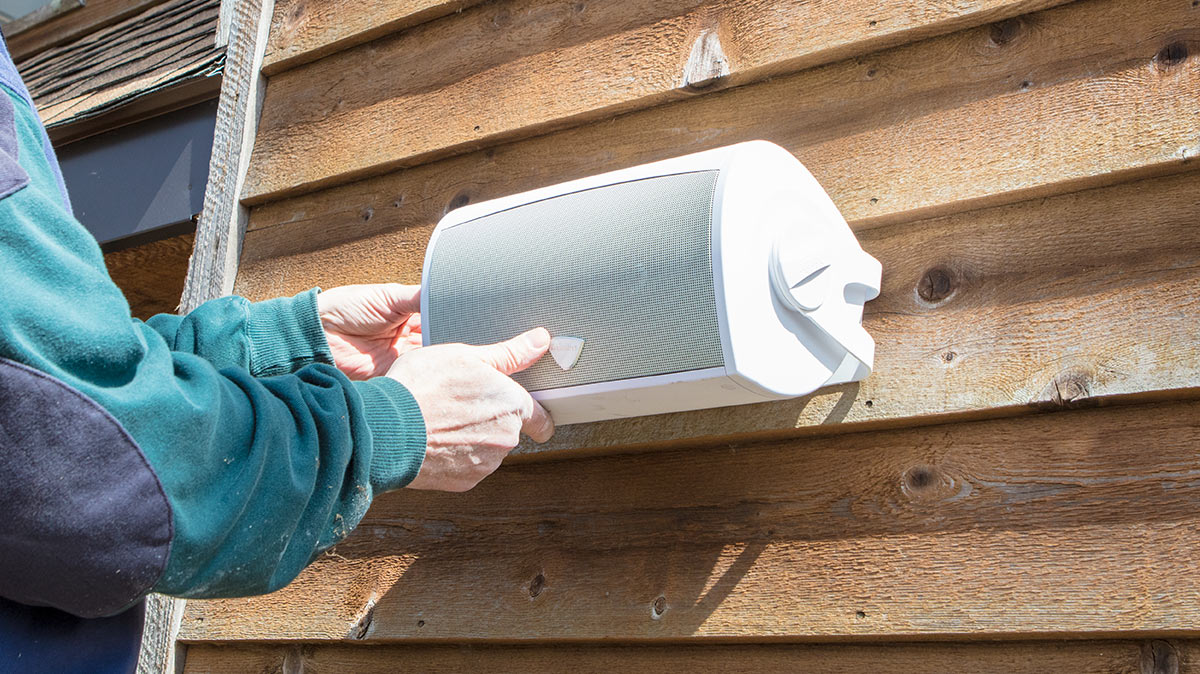
- Audio Quality and Outdoor Sound System Compatibility: Consider the TV’s built-in audio capabilities and compatibility with outdoor sound systems. Some outdoor TVs are designed to integrate seamlessly with external speakers and soundbars, enhancing the overall audio experience.
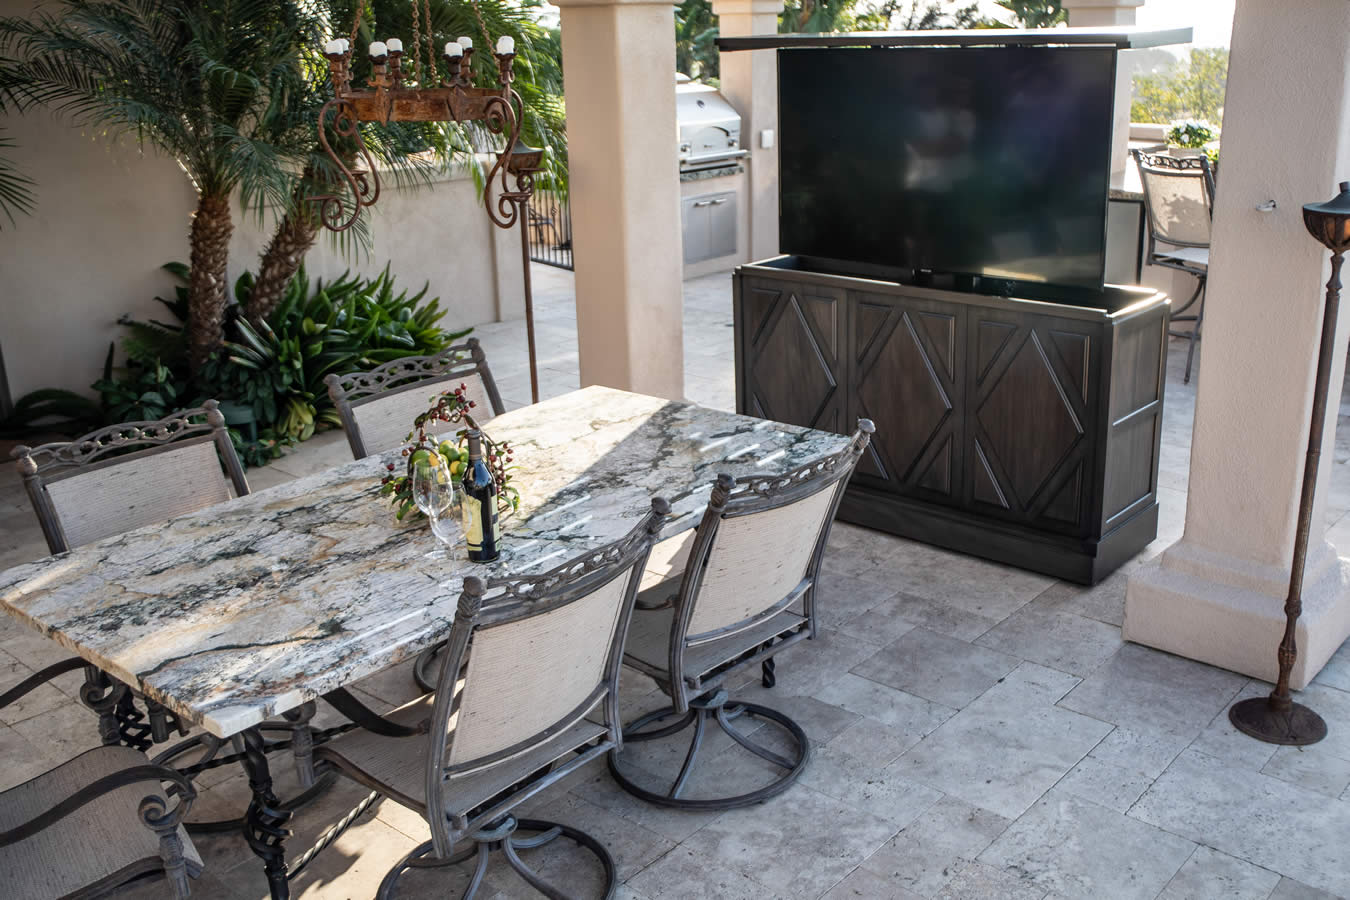
- Size and Mounting Flexibility: Choose a size that suits your outdoor space and viewing preferences. Additionally, ensure that the TV offers versatile mounting options, allowing for wall mounting, ceiling mounting, or placement on a dedicated outdoor stand.
By prioritizing these factors, you can narrow down your options and select an outdoor TV that not only delivers stunning visual performance but also stands up to the rigors of outdoor environments, ensuring years of immersive entertainment in your outdoor sanctuary.
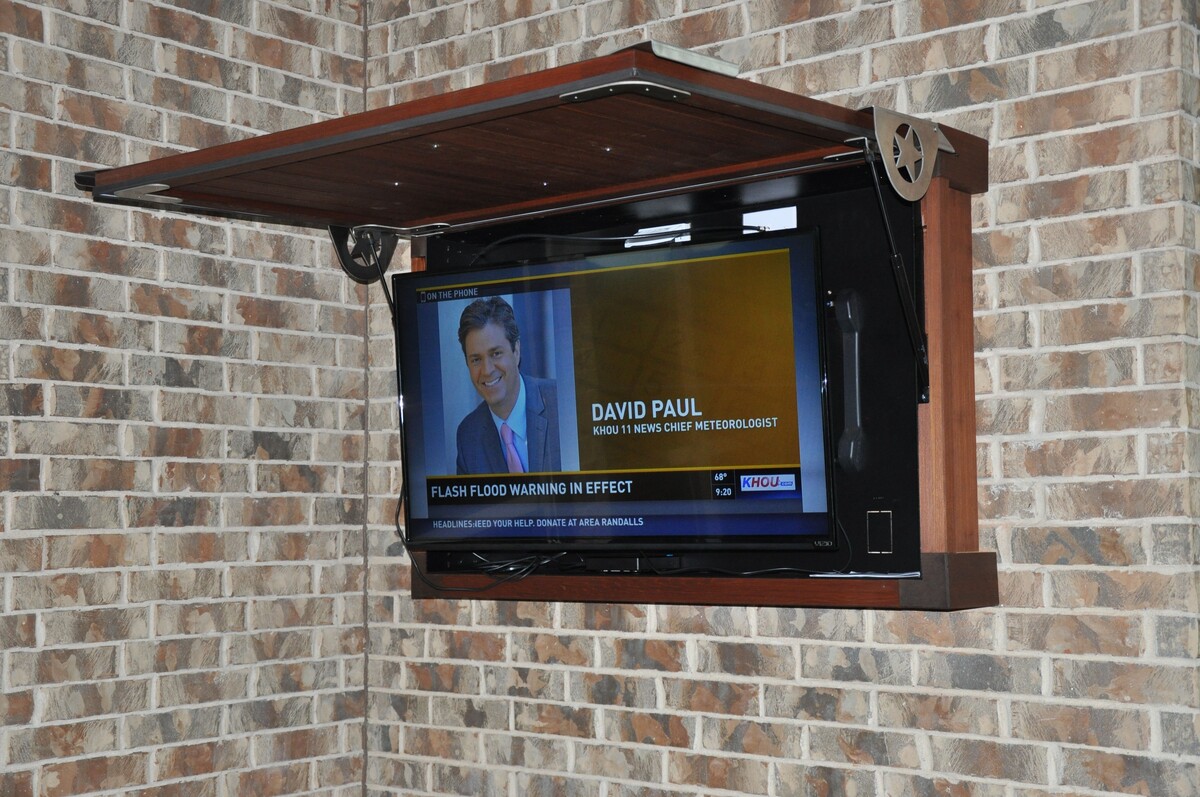
Step 3: Install a Weatherproof Mount
Securing your outdoor TV with a weatherproof mount is a crucial step in the installation process. A robust and reliable mount not only ensures the safety and stability of the TV but also provides the flexibility to adjust the viewing angle for optimal visibility. Here’s how to install a weatherproof mount for your outdoor TV:
- Choose the Right Mount: Select a weatherproof TV mount specifically designed for outdoor use. Look for mounts constructed from durable materials such as stainless steel or powder-coated aluminum, as they offer excellent resistance to corrosion and weather-related wear and tear.
- Locate the Studs or Support Structure: Identify the wall, ceiling, or support structure where you intend to mount the TV. Use a stud finder or consult a professional to locate the sturdy support points that can bear the weight of the TV and withstand outdoor conditions.
- Position the Mounting Bracket: Mark the precise locations for mounting the bracket, ensuring that it aligns with the stud or support structure. Use a level to guarantee that the bracket is perfectly horizontal or vertical, depending on the desired orientation of the TV.
- Secure the Mounting Bracket: Drill pilot holes into the marked positions and attach the mounting bracket securely using appropriate hardware. Ensure that the bracket is firmly anchored to the support structure, providing a stable foundation for the TV.
- Attach the TV to the Mount: With the weatherproof mount in place, carefully lift and attach the outdoor TV to the bracket, following the manufacturer’s instructions for securing the TV to the mount. Double-check the connections to guarantee a snug and secure fit.
- Test the Adjustability: Verify that the weatherproof mount allows for smooth and secure adjustments to the viewing angle. Tilt, swivel, or rotate the TV as needed to optimize the viewing experience from different seating areas in your outdoor space.
By installing a weatherproof mount with precision and attention to detail, you can ensure that your outdoor TV is firmly and safely positioned, ready to deliver captivating entertainment while withstanding the elements with resilience and durability.
When installing an outdoor TV, make sure to use a weatherproof mounting bracket and outdoor-rated cables to protect the TV from the elements.
Step 4: Connect the TV to Power
Powering your outdoor TV is a critical aspect of the installation process, and it requires careful attention to electrical safety and weatherproofing. Here’s a step-by-step guide to connect your outdoor TV to power:
- Outdoor-Rated Power Outlet: Ensure that you have access to an outdoor-rated power outlet in close proximity to the TV installation location. If an outdoor outlet is not available, consult a licensed electrician to install one, adhering to local building codes and safety regulations.
- Weatherproof Electrical Box: Use a weatherproof electrical box to enclose the power connections and protect them from moisture and environmental exposure. The electrical box should be rated for outdoor use and designed to shield the wiring and connections from rain, snow, and debris.
- Secure Cable Routing: Route the power cable from the outdoor-rated outlet to the back of the TV, ensuring that it is safely secured and protected from potential damage. Use cable clips, conduit, or cable covers to organize and shield the power cable along its path.
- Use Outdoor-Rated Power Cord: If the outdoor TV requires a separate power cord, ensure that it is outdoor-rated and designed to withstand exposure to the elements. Avoid using indoor power cords for outdoor applications, as they are not equipped to handle outdoor conditions.
- Grounding and Surge Protection: Implement proper grounding for the outdoor TV to minimize the risk of electrical hazards and enhance the TV’s safety. Additionally, consider using a surge protector or outdoor-rated power strip to safeguard the TV and connected devices from power surges and fluctuations.
- Professional Electrical Inspection: After completing the power connections, consider having a qualified electrician inspect the installation to ensure compliance with electrical codes and safety standards. This additional measure can provide peace of mind regarding the safety and integrity of the power setup.
By following these steps and prioritizing electrical safety and weatherproofing, you can effectively connect your outdoor TV to power, creating a secure and reliable electrical setup that supports uninterrupted entertainment while withstanding the outdoor elements.
Read more: How To Install Outdoor Antenna Tv
Step 5: Connect External Devices
Enhancing the functionality of your outdoor TV often involves connecting external devices such as media players, gaming consoles, streaming devices, and audio systems. Establishing these connections enables a diverse range of entertainment options and ensures a seamless multimedia experience in your outdoor space. Here’s how to connect external devices to your outdoor TV:
- Assess Input Options: Identify the available input ports on your outdoor TV, including HDMI, USB, component, and audio inputs. Determine the type and number of devices you intend to connect and match them with the corresponding input options on the TV.
- Choose High-Quality Cables: Select high-quality, weather-resistant cables suitable for outdoor use. Look for durable HDMI cables, audio cables, and any other necessary connectors designed to withstand exposure to moisture, temperature variations, and outdoor conditions.
- Position External Devices: Place your media players, gaming consoles, and other external devices in a secure and accessible location near the outdoor TV. Ensure that the devices are shielded from direct exposure to rain, sunlight, and debris, either through placement in a weatherproof enclosure or by positioning them under a protective covering.
- Weatherproof Cable Management: Organize and protect the cables running from the external devices to the TV using weatherproof cable management solutions. Secure the cables to prevent tripping hazards and protect them from environmental damage, utilizing cable covers, conduits, or outdoor cable channels as needed.
- Test and Configure Connections: Connect each external device to the corresponding input on the outdoor TV, ensuring a secure and snug fit. Power on the devices and the TV to verify the connections and configure the input settings on the TV to recognize and optimize the external devices’ output.
- Integrate Outdoor Audio Systems: If you have an outdoor sound system or external speakers, establish the necessary audio connections to synchronize the audio output from the TV with the external audio devices. This may involve using audio cables, wireless transmitters, or Bluetooth connectivity, depending on the audio system’s capabilities.
By methodically connecting external devices and optimizing their integration with the outdoor TV, you can expand your entertainment options and create a versatile outdoor entertainment hub that caters to diverse multimedia experiences, from movie nights and gaming sessions to music playback and streaming content.
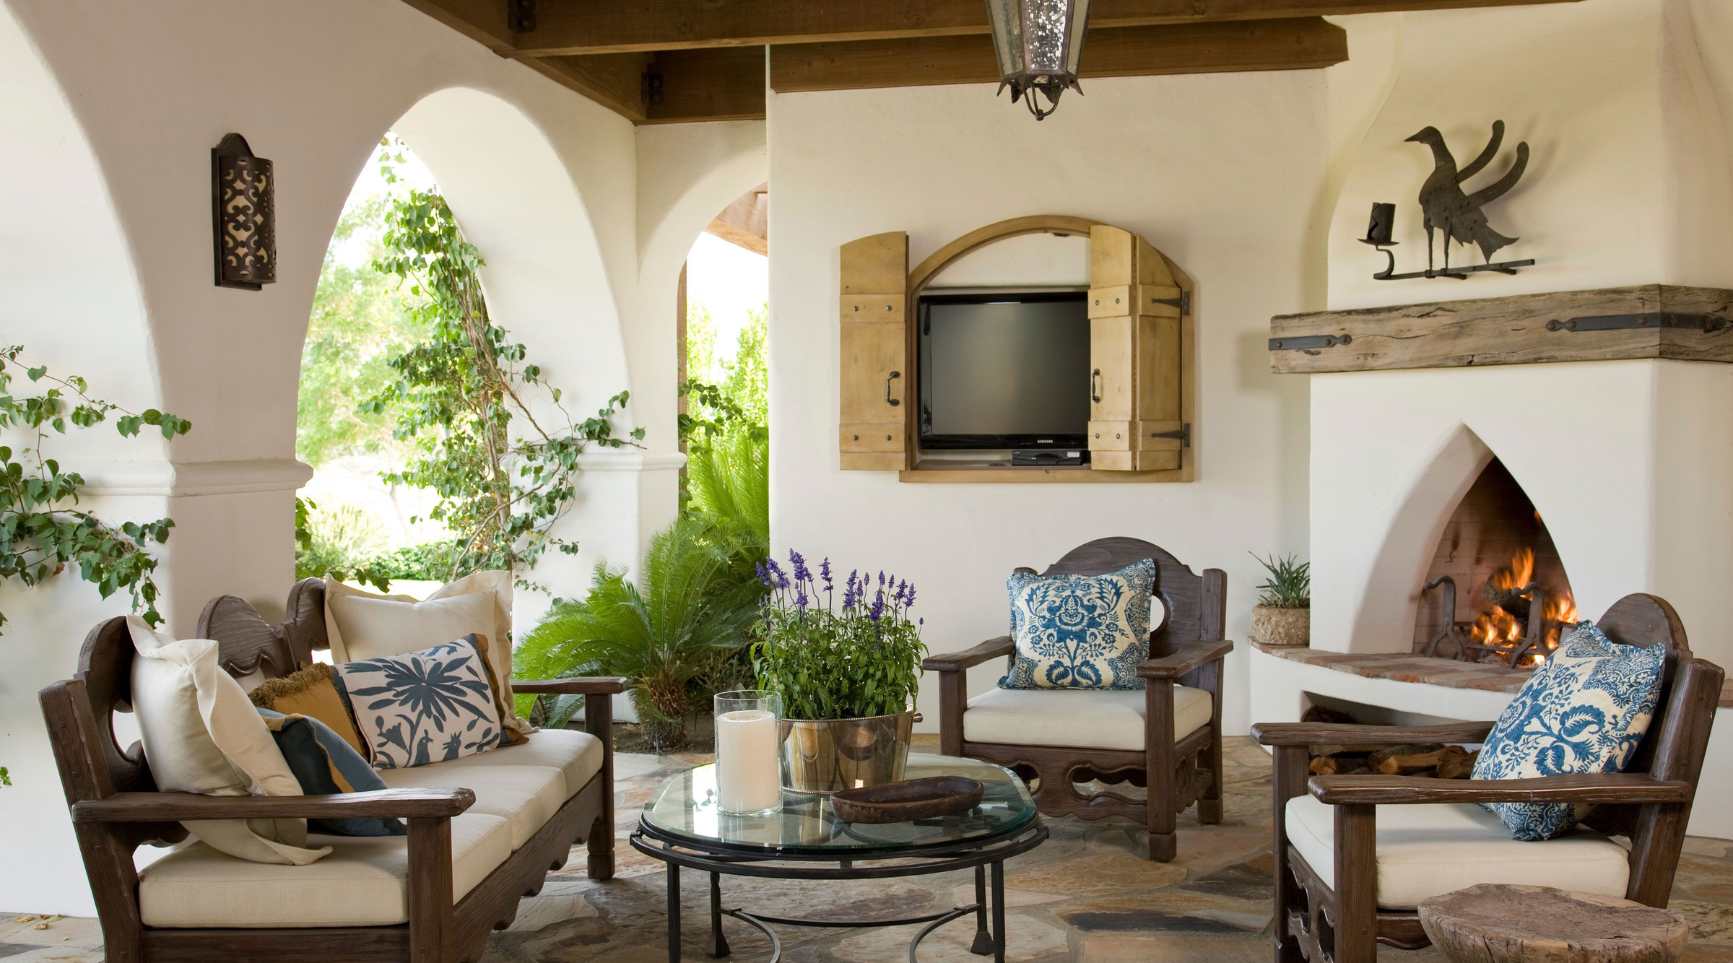
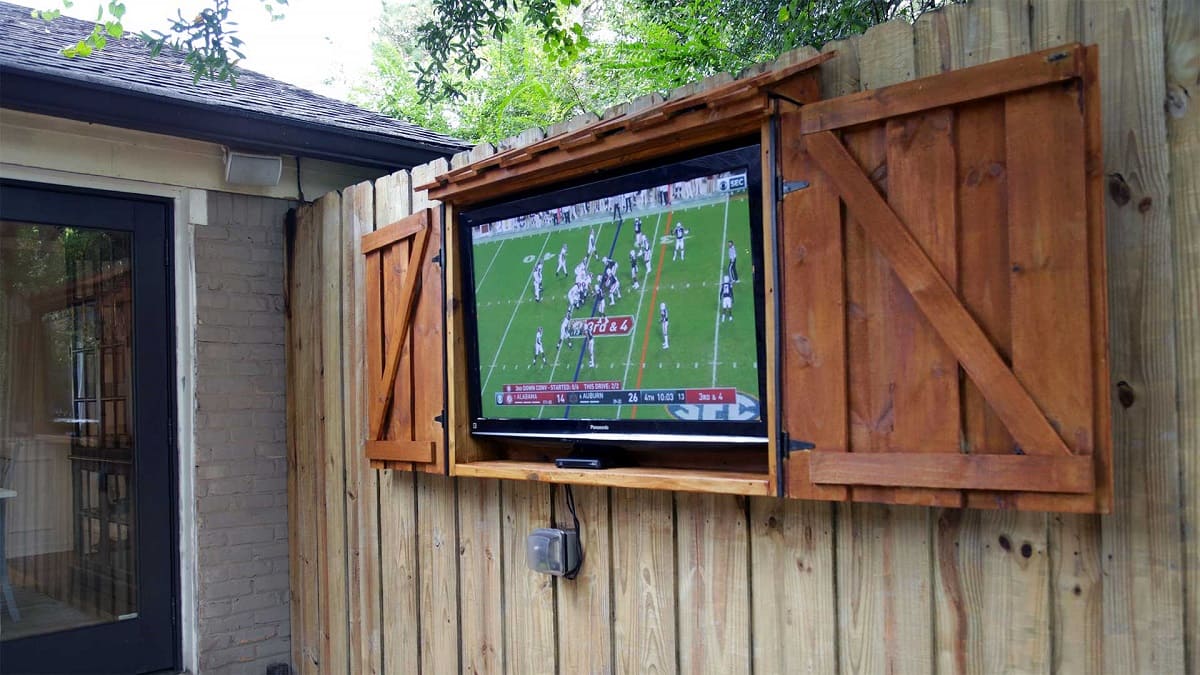
Step 6: Protect the TV from the Elements
Shielding your outdoor TV from the elements is essential for preserving its functionality and longevity. Weatherproofing measures and protective accessories can safeguard the TV from rain, sunlight, dust, and other environmental factors, ensuring uninterrupted performance and sustained visual appeal. Here’s how to protect your outdoor TV from the elements:
- Utilize a Weatherproof TV Cover: Invest in a high-quality, weatherproof cover designed specifically for outdoor TVs. These covers are crafted from durable, UV-resistant materials and provide comprehensive protection against rain, snow, dust, and direct sunlight. Choose a cover that fits your TV model snugly and features secure fastenings to prevent wind from dislodging it.
- Implement Sunshade Solutions: If your outdoor TV is exposed to prolonged sunlight, consider installing a sunshade or awning above the TV to provide shade and minimize direct UV exposure. This not only protects the TV screen from sun damage but also enhances viewing comfort by reducing glare.
- Invest in a Climate-Controlled Enclosure: For comprehensive protection in extreme weather conditions, consider installing a climate-controlled enclosure around the outdoor TV. These enclosures regulate temperature and humidity levels, shielding the TV from temperature extremes and moisture while allowing for proper ventilation to prevent heat buildup.
- Regular Cleaning and Maintenance: Establish a routine for cleaning the outdoor TV and its protective cover, removing dirt, debris, and any accumulated moisture. Use gentle cleaning solutions and microfiber cloths to maintain the screen’s clarity and the overall appearance of the TV, prolonging its visual appeal and performance.
- Inspect and Secure Mounting Hardware: Periodically inspect the weatherproof mount and its associated hardware to ensure that they remain secure and free from corrosion. Tighten any loose fastenings and address any signs of wear or damage to maintain the stability and safety of the TV installation.
- Winterization Precautions: If you live in a region with harsh winter conditions, take additional precautions to winterize the outdoor TV. This may involve removing the TV and storing it indoors during the winter months or implementing specialized winterization procedures to protect the TV from freezing temperatures and ice accumulation.
By implementing these protective measures and maintenance practices, you can safeguard your outdoor TV from the elements, ensuring that it remains resilient, visually striking, and fully functional throughout its lifespan, even in the face of diverse weather challenges.
Conclusion
Congratulations on successfully navigating the intricacies of installing an outdoor TV! By following the comprehensive steps outlined in this guide, you have laid the foundation for a captivating outdoor entertainment experience that seamlessly integrates technology with the natural allure of your outdoor space.
From carefully choosing the ideal location for your outdoor TV to selecting a weather-resistant model, installing a sturdy weatherproof mount, and establishing secure power and device connections, you have equipped yourself with the knowledge and skills to create a resilient and immersive outdoor entertainment setup.
As you bask in the glow of your outdoor TV, remember to prioritize its protection from the elements by utilizing weatherproof covers, sunshade solutions, and climate-controlled enclosures, ensuring that your investment continues to deliver stunning visuals and captivating entertainment for years to come.
Whether you’re hosting lively gatherings, enjoying tranquil movie nights, or simply relishing the serenity of nature while catching up on your favorite shows, your outdoor TV stands as a testament to the seamless fusion of technology and outdoor living.
Embrace the endless possibilities that your outdoor TV offers and revel in the joy of al fresco entertainment, knowing that you have mastered the art of installing and safeguarding a captivating outdoor viewing experience.
Now, it’s time to sit back, relax, and immerse yourself in the enchanting world of outdoor entertainment, where every moment is illuminated by the magic of your outdoor TV.
Frequently Asked Questions about How To Install An Outdoor TV
Was this page helpful?
At Storables.com, we guarantee accurate and reliable information. Our content, validated by Expert Board Contributors, is crafted following stringent Editorial Policies. We're committed to providing you with well-researched, expert-backed insights for all your informational needs.


0 thoughts on “How To Install An Outdoor TV”