Articles
How To Install Attic Antenna
Modified: January 6, 2024
Learn how to install an attic antenna with our informative articles. Get step-by-step instructions and tips for optimal reception.
(Many of the links in this article redirect to a specific reviewed product. Your purchase of these products through affiliate links helps to generate commission for Storables.com, at no extra cost. Learn more)
Introduction
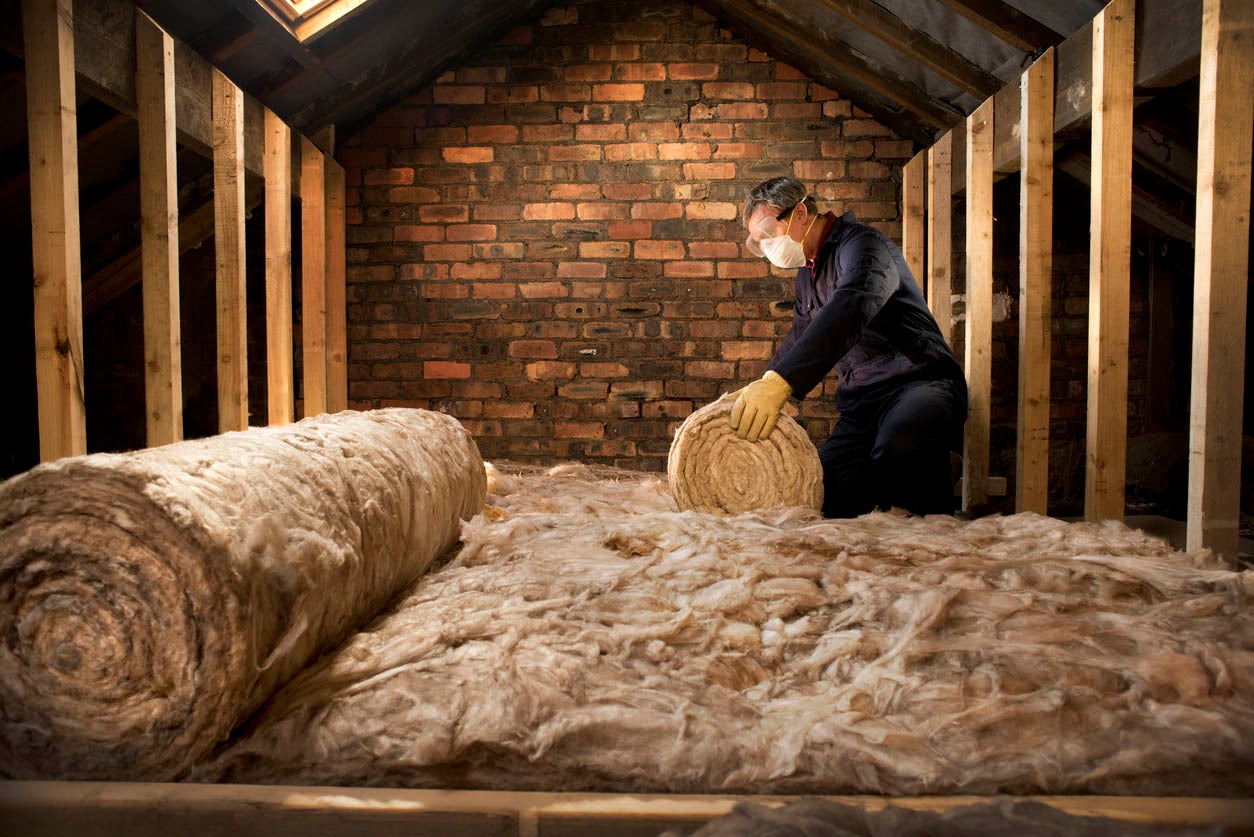
Welcome to the world of cord-cutting! With the rise of streaming services and the ever-increasing cost of cable subscriptions, many people are opting to install an attic antenna to receive free over-the-air television channels. Attic antennas can provide clear and crisp signals, allowing you to enjoy your favorite local channels without paying a monthly fee.
In this guide, we will walk you through the step-by-step process of installing an attic antenna. Whether you are a DIY enthusiast or simply looking to save some money, this article will provide you with all the information you need to successfully install your own attic antenna.
Before we begin, it’s important to note that the type of attic antenna you choose will depend on your location and the signal strength in your area. It’s a good idea to check your local broadcasting towers and determine the distance and direction of the signals. This information will help you select the right type of antenna for your needs.
Now, let’s get started and turn your attic into a broadcasting hub!
Key Takeaways:
- Say goodbye to expensive cable subscriptions and enjoy free over-the-air television channels with a DIY attic antenna installation. Save money and enjoy high-quality, crisp signals for a variety of local programming.
- Transform your attic into a broadcasting hub and cut the cord with confidence. Follow the step-by-step guide to install an attic antenna, fine-tune for optimal reception, and enjoy a wide range of free channels.
Read more: Who Installs Outdoor Antennas
Step 1: Gather the Necessary Tools and Equipment
Before you begin the installation process, it’s essential to gather all the tools and equipment you’ll need. Here’s a list of items you should have on hand:
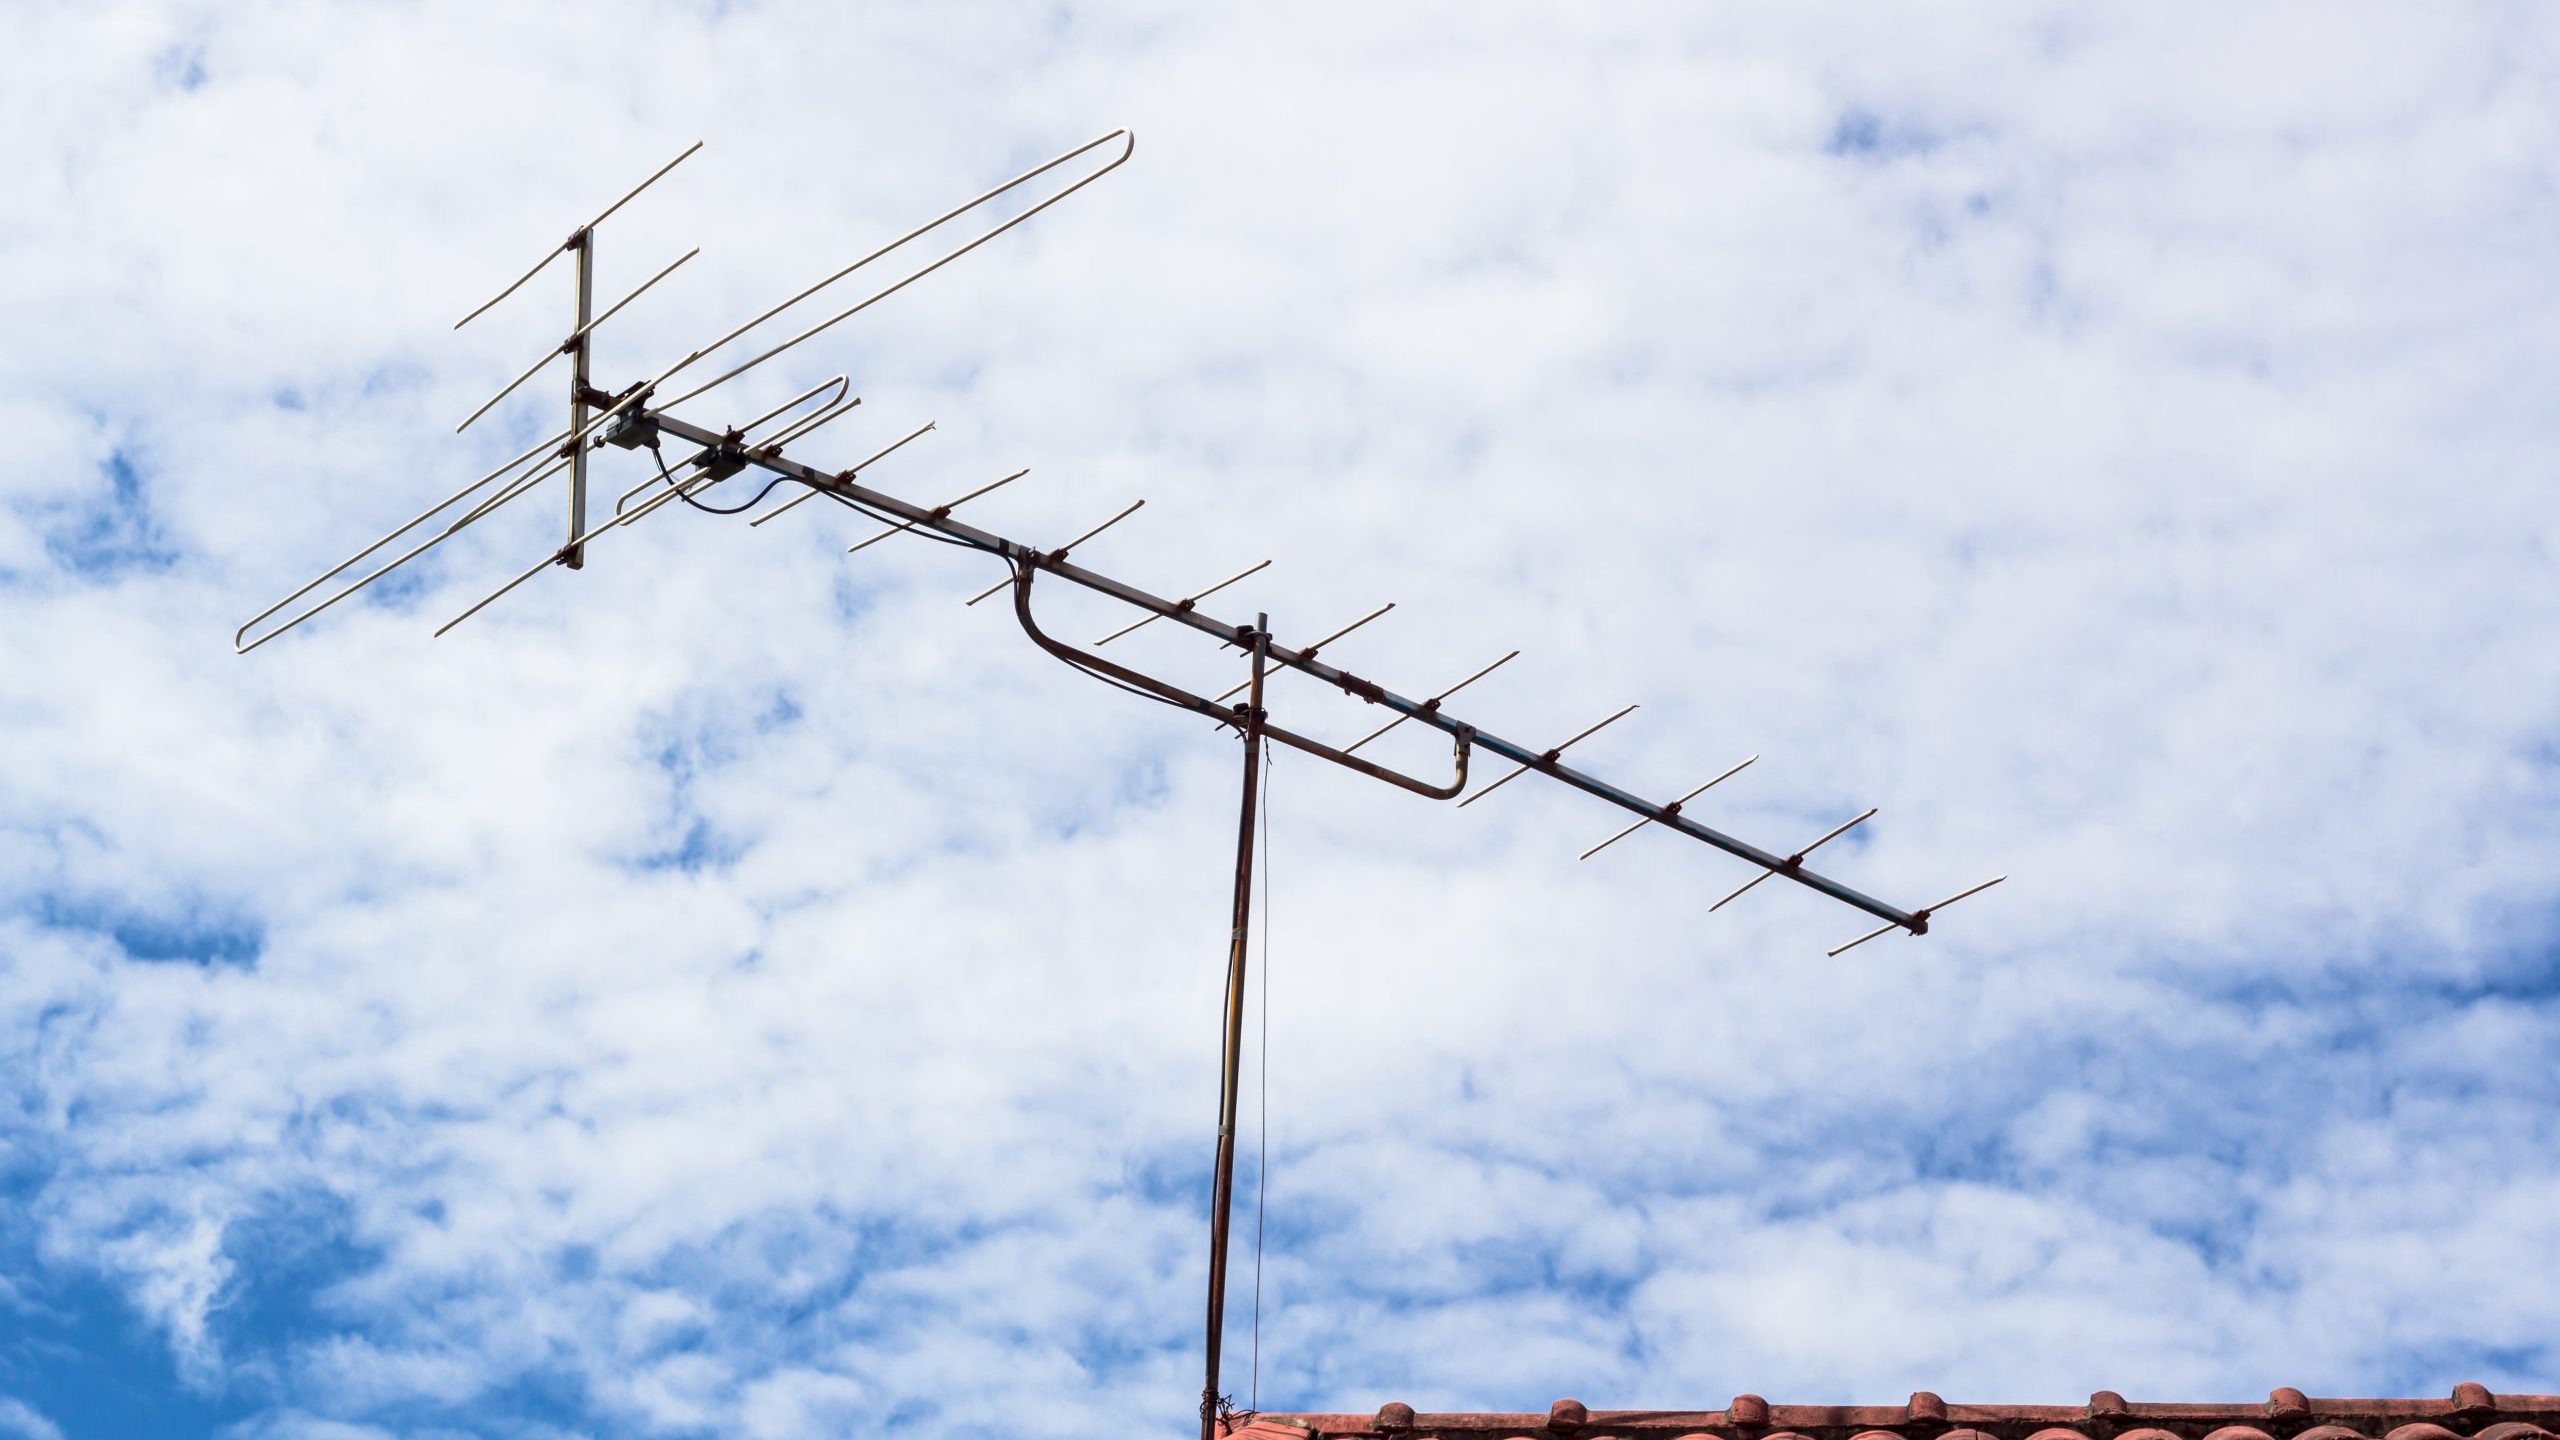
- Attic Antenna: Choose an antenna that suits your needs and is compatible with your TV or set-top box. There are a variety of indoor and outdoor antennas available, so make sure to select one that is suitable for attic installation.
- Coaxial Cable: You’ll need a coaxial cable to connect the antenna to your TV or set-top box. Ensure you have enough cable length to reach from the attic to your TV.
- Mounting Hardware: Depending on the type of attic antenna you choose, you may need mounting brackets, screws, and other hardware to secure it in place.
- Power Drill: A power drill will come in handy for drilling holes and installing the mounting hardware.
- Screwdriver: Have a screwdriver available to tighten screws and secure connections.
- Cable Cutter or Wire Strippers: These tools will help you cut and strip the coaxial cable for proper installation.
- Labeling Tape: Use labeling tape to mark the cables and connectors for easy identification.
- Tape Measure: Measure the distance and height in your attic to determine the best location for the antenna.
- Flashlight or Headlamp: Attics can be dark, so having a flashlight or headlamp will make it easier to see and work in tight spaces.
Once you have gathered all the necessary tools and equipment, you’re ready to move on to the next step: choosing the right location for your attic antenna.
Step 2: Choose the Right Location for Your Attic Antenna
Choosing the right location for your attic antenna is crucial to ensure optimal signal reception. Here are a few factors to consider when selecting the location:
- Signal Strength: Survey the attic for areas with good signal reception. Keep in mind that the antenna should be positioned as high as possible to minimize any obstructions.
- Attic Space: Take into account the available space in your attic. Ideally, there should be enough room to mount the antenna securely and position it for maximum signal reception.
- Access Points: Consider the locations of access points, such as stairs or hatches, for easy installation and future maintenance.
- Electrical Outlets: Determine the proximity of electrical outlets to power any devices that may require it, such as a preamplifier or signal booster.
Once you have identified the ideal location, mark it with a pencil or tape. This will serve as a reference point for the installation process.
Keep in mind that every attic space is different, so take some time to assess the unique characteristics of your attic to find the best location for your antenna.
With the location chosen, you’re ready to move on to the next step: assembling the antenna components.
Step 3: Assemble the Antenna Components
Now that you have chosen the right location for your attic antenna, it’s time to assemble the components. Follow these steps to ensure a smooth assembly process:
- Read the Instructions: Take the time to carefully read the instructions provided with your attic antenna. Familiarize yourself with the different parts and their functions.
- Unbox the Antenna: Remove the antenna and all its components from the packaging. Lay them out in an organized manner to make the assembly process easier.
- Attach the Elements: Most attic antennas come with separate elements or rods that need to be connected to the main body of the antenna. Follow the instructions to attach these elements securely.
- Connect the Balun: The balun is a device that converts the balanced signal from the antenna to an unbalanced signal that can be received by your TV or set-top box. Connect the balun to the antenna using the provided connectors or screws.
- Secure Loose Parts: Check for any loose parts or connections and ensure they are tightened and secure. This will prevent any issues with signal reception later on.
- Double-Check the Assembly: Once you have completed the assembly, give it a final inspection to ensure everything is properly connected and fastened.
Remember, each antenna model may have slight variations in the assembly process, so refer to the manufacturer’s instructions for specific guidance.
With the antenna components assembled, you’re now ready to move on to the next step: mounting the antenna in the attic.
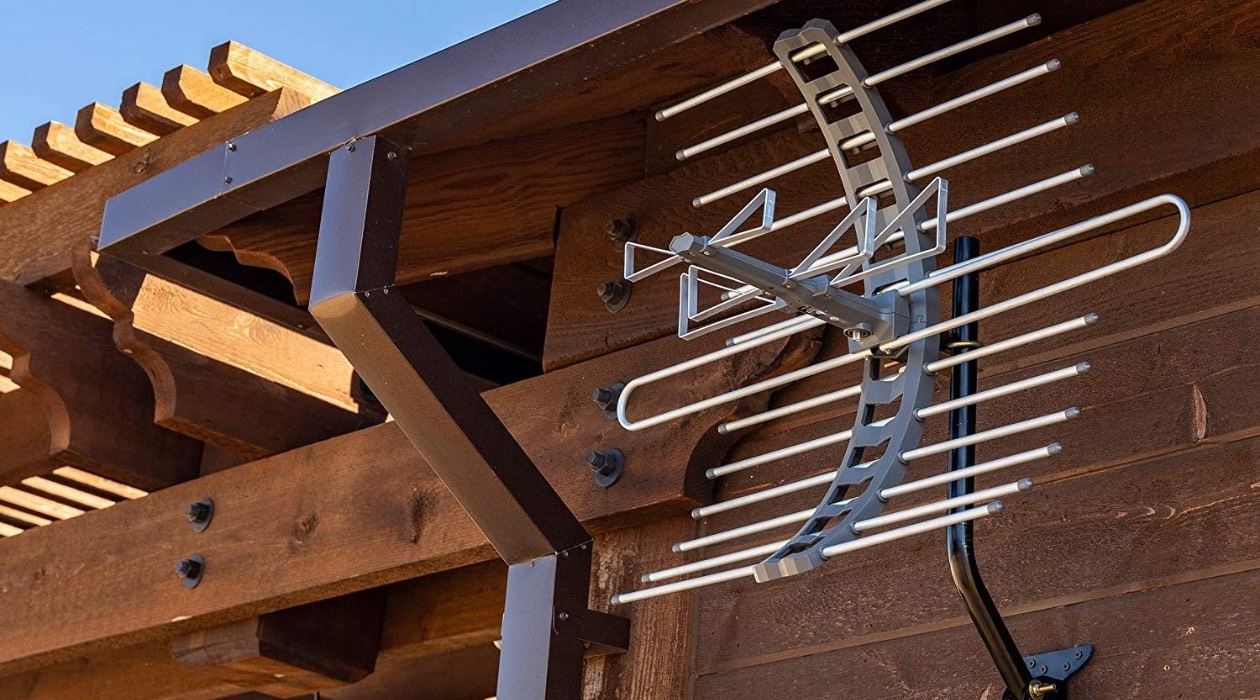
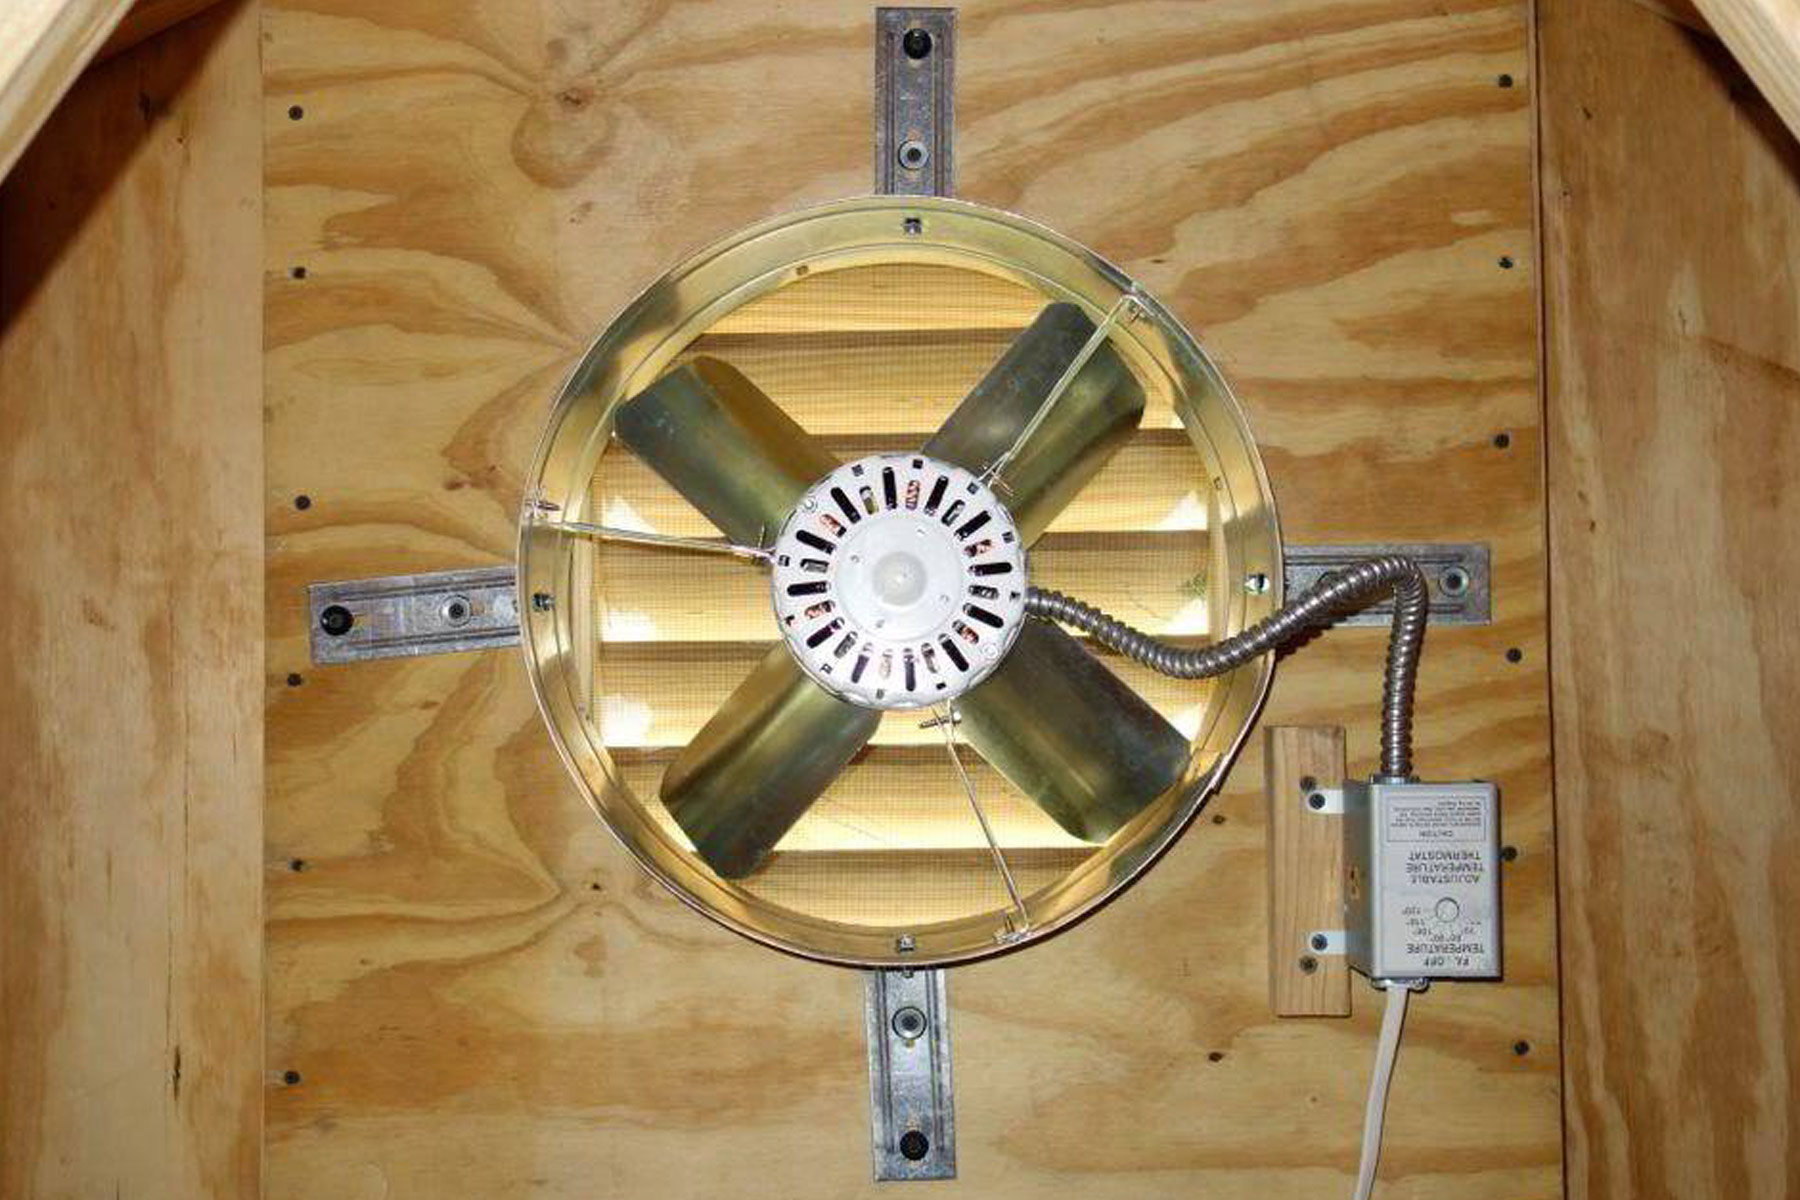
Step 4: Mount the Antenna in the Attic
With the antenna components assembled, it’s time to mount the antenna in your attic. Follow these steps to securely install it:
- Locate Mounting Point: Using the marked location from Step 2, identify the spot in your attic where you will mount the antenna. Ensure there is enough space and clear access for installation.
- Prepare Mounting Hardware: If your attic antenna comes with mounting brackets or hardware, assemble them according to the manufacturer’s instructions. Make sure all screws and bolts are tightened properly.
- Secure the Mounting Hardware: Position the mounting brackets on the chosen spot in your attic. Use a power drill to secure them in place with screws or other fasteners. Double-check that the brackets are level and securely attached.
- Attach the Antenna: Carefully place the antenna on the mounting brackets. Align the antenna with the desired direction for optimal signal reception. Use any included locking mechanisms or brackets to secure the antenna to the mounting hardware.
- Adjust Antenna Position: Fine-tune the position of the antenna if needed. You may need to rotate or slightly tilt the antenna to optimize its reception. Ensure that there are no obstructions blocking the signal path.
Take your time during the mounting process to ensure the antenna is securely attached and properly aligned. A stable and well-positioned antenna will provide better signal reception and minimize any interference.
Once the antenna is securely mounted in your attic, you’re ready to move on to the next step: connecting the coaxial cable to the antenna.
Read also: 11 Superior Attic Tv Antenna For 2025
Step 5: Connect the Coaxial Cable to the Antenna
With the attic antenna securely mounted, it’s time to connect the coaxial cable to ensure a proper signal transfer. Follow these steps to establish a solid connection:
- Locate the Coaxial Input: Locate the coaxial input on the antenna. It is usually located on the back or side of the antenna. Remove any protective caps or covers.
- Prepare the Coaxial Cable End: Using a cable cutter or wire strippers, carefully remove the outer insulation from the end of the coaxial cable. Be cautious not to damage the inner wires.
- Expose the Inner Wires: After removing the outer insulation, you will see a braided wire mesh and a center conductor. Gently fold back the braided wire mesh to expose the center conductor.
- Attach the Coaxial Cable Connector: Slide the coaxial cable connector over the exposed center conductor. Make sure the connector fits securely and snugly. If necessary, tighten any screws or fasteners on the connector to secure it in place.
- Secure the Braided Wire Mesh: Bring the folded-back braided wire mesh over the coaxial cable connector. Use electrical tape or cable ties to secure the braided wire mesh to the connector. This will provide proper grounding and prevent interference.
- Connect the Coaxial Cable: Insert the connected end of the coaxial cable into the coaxial input on the antenna. Gently push in the connector until it is firmly seated. Give it a slight twist to ensure a secure connection.
Double-check that the coaxial cable is properly connected and securely attached to the antenna. A loose or poorly connected cable can result in signal loss or poor reception.
With the coaxial cable connected to the antenna, you’re ready to move on to the next step: running the cable to your TV or set-top box.
When installing an attic antenna, make sure to choose a location that is free from obstructions such as metal or wiring, and aim the antenna towards the broadcast towers for the best reception.
Step 6: Run the Coaxial Cable to Your TV or Set-Top Box
Now that the coaxial cable is connected to the attic antenna, it’s time to run the cable to your TV or set-top box. Follow these steps to ensure a proper and tidy installation:
- Determine Cable Route: Plan the route for the coaxial cable from the attic to your TV or set-top box. Avoid sharp bends or tight corners that could damage the cable or degrade the signal.
- Create Access Points: If necessary, create access points in the walls or ceilings to pass the cable through. You can use a drill with a hole saw attachment or a sharp utility knife for this purpose.
- Run the Coaxial Cable: Starting from the attic, carefully run the coaxial cable along the planned route. Use cable clips or adhesive clips to secure the cable neatly against the walls or baseboards.
- Minimize Cable Length: Keep the length of the coaxial cable as short as possible to reduce signal loss. Avoid excess cable that could lead to interference or degraded reception.
- Use Cable Labels: If running multiple cables, use labeling tape or tags to identify each cable. This will make it easier to connect them to the appropriate devices later on.
Take your time to properly secure and route the coaxial cable. Ensure that it is not stretched or tightly squeezed, as this can cause signal loss or damage to the cable.
With the coaxial cable successfully routed to your TV or set-top box, you’re ready to move on to the next step: scanning for channels.
Step 7: Scan for Channels
Now that the coaxial cable is connected to your TV or set-top box, it’s time to scan for channels. Follow these steps to access and scan for available channels:
- Power on Your TV or Set-Top Box: Make sure your TV or set-top box is powered on and properly connected to the coaxial cable.
- Access the Channel Scan Menu: Using your TV remote or set-top box remote, navigate to the menu or settings option. Look for the “Channel Setup” or “Channel Scan” section.
- Select Antenna or Air/Cable: In the channel setup menu, choose the option for antenna or air/cable depending on your TV or set-top box’s terminology.
- Start the Scan: Initiate the channel scan. This process may take a few minutes as your TV or set-top box searches for available channels and saves them to your device’s memory.
- Save and Exit: Once the channel scan is complete, save the scanned channels and exit the menu.
- Test Channel Reception: Tune in to different channels to ensure that you are receiving a clear signal. If you encounter any issues with specific channels, you may need to fine-tune your attic antenna placement or direction.
It’s important to note that the number and availability of channels will vary depending on your location and the strength of the received signals. In some cases, you may receive additional subchannels or regional broadcasts alongside the main channels.
By scanning for channels, you can access and enjoy a wide range of free over-the-air programming without the need for a cable subscription.
With the channel scan complete and your channels saved, you’re ready to move on to the next step: fine-tuning your attic antenna position.
Step 8: Fine-Tune Your Attic Antenna Position
After scanning for channels, you may find that some channels are not coming in clearly or experiencing interference. In such cases, fine-tuning your attic antenna position can help improve signal reception. Follow these steps to optimize your antenna’s performance:
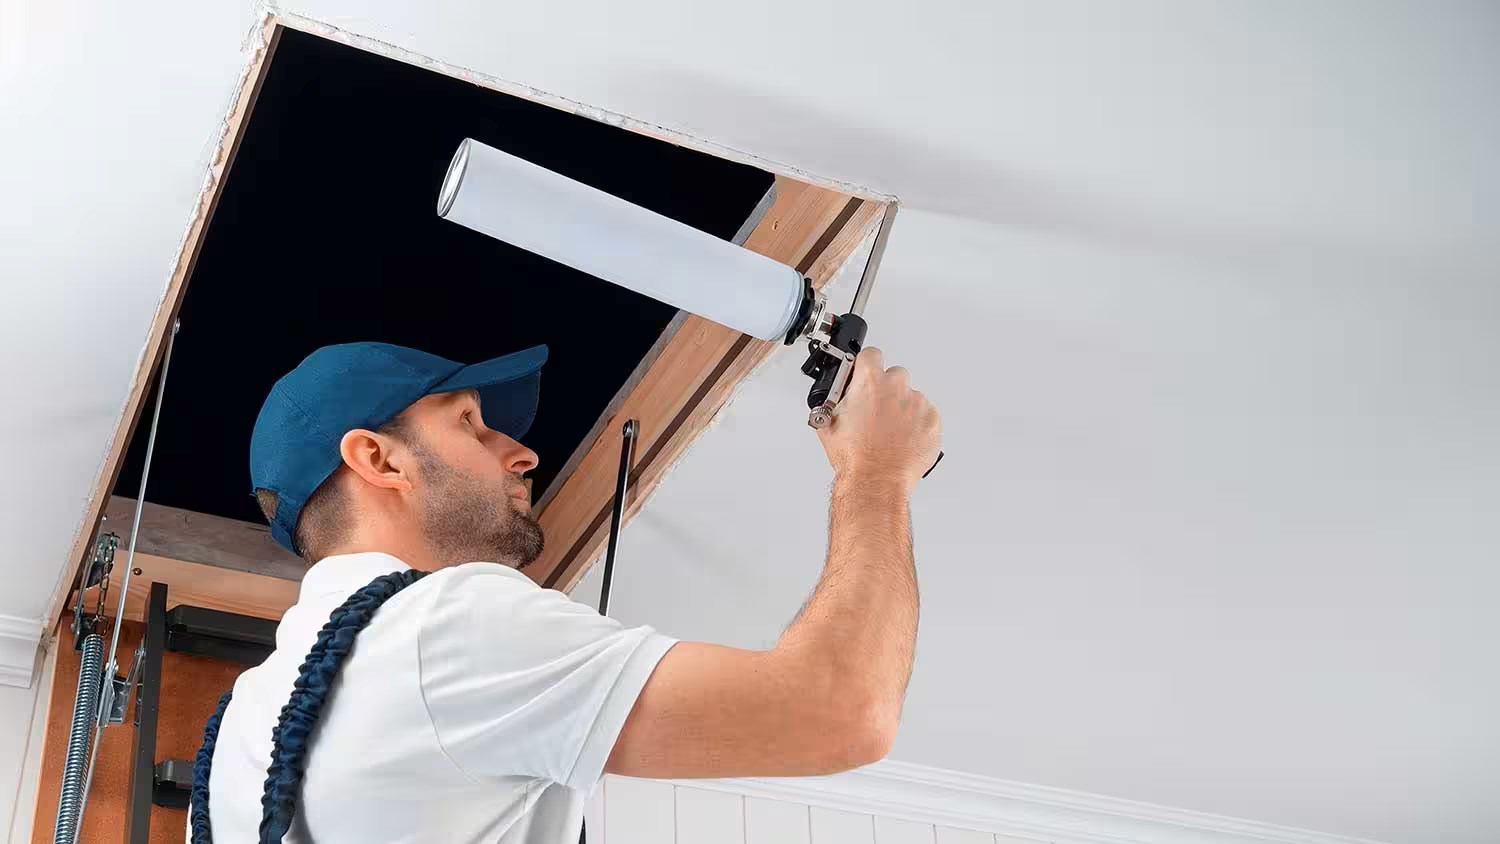
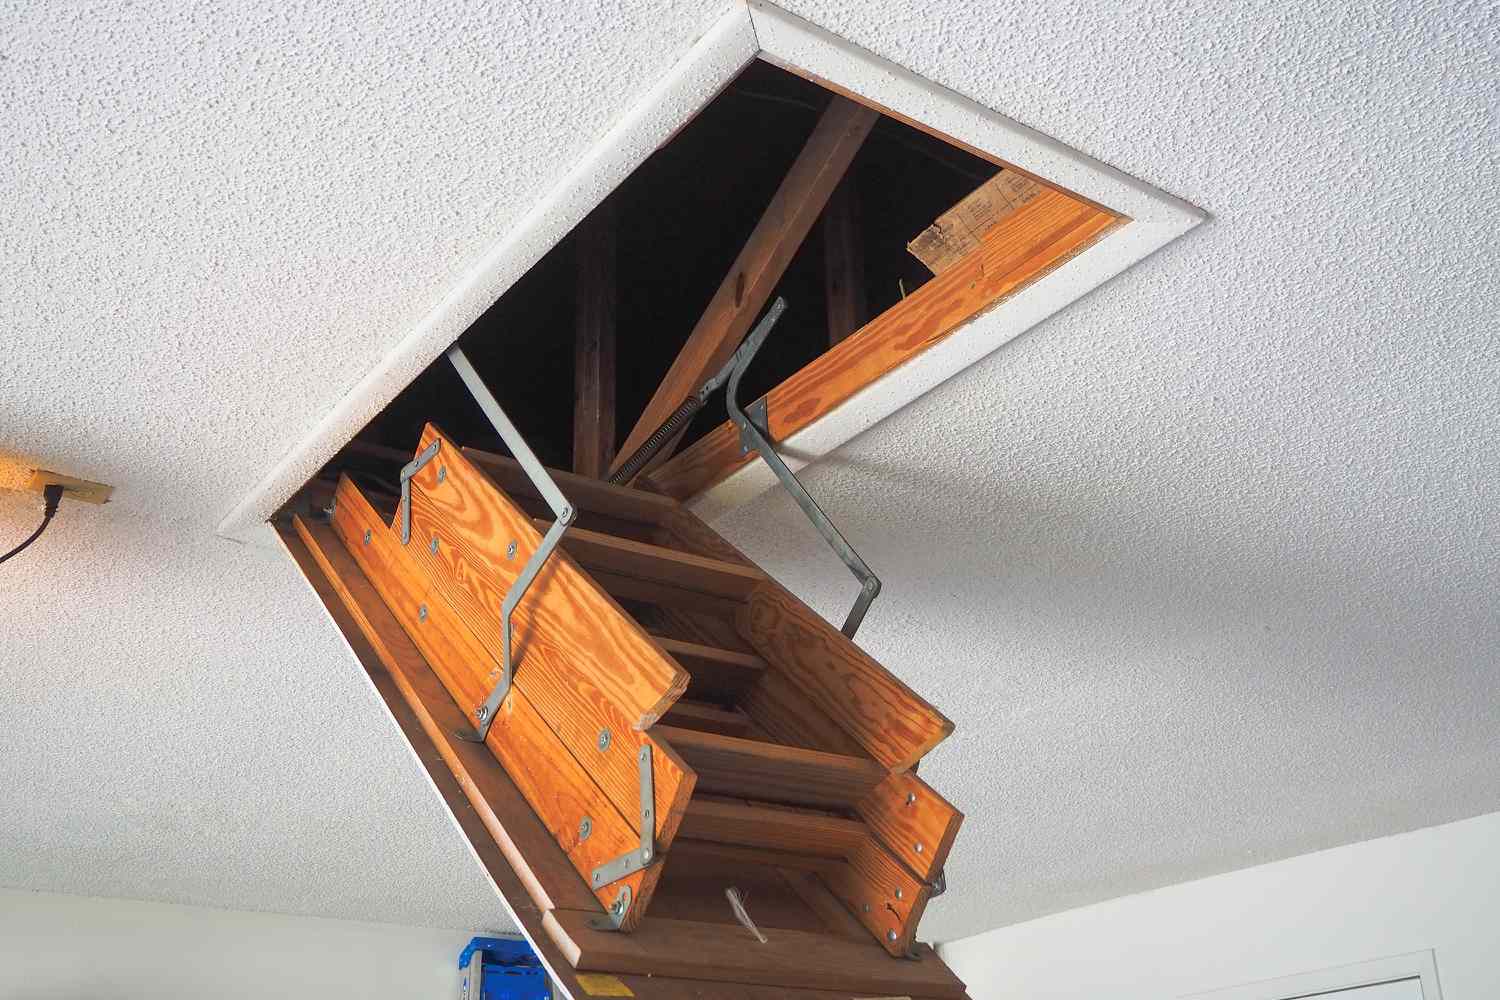
- Access the Attic: Safely navigate to your attic to access the antenna. Use caution when moving in the confined space.
- Signal Strength Indicator: Most TVs or set-top boxes have a signal strength indicator that can help you assess the signal quality for each channel. Access the tuner or signal strength display on your device.
- Adjust the Antenna Orientation: Gradually rotate or tilt the antenna in small increments. Monitor the signal strength indicator as you make these adjustments to identify the optimal position.
- Scan for Channels as You Adjust: Repeat the channel scan process each time you make an adjustment to the antenna position. This will allow you to gauge the impact of each change on signal reception.
- Note Signal Quality and Reception: Take note of channels that may require special attention due to weaker signals or interference.
- Make Multiple Adjustments: Fine-tuning the antenna may require several adjustments back and forth to find the best position. Be patient and persistent in your approach.
- Consider Signal Amplification: If you are still experiencing difficulty with certain channels, you may want to consider using a signal amplifier or booster to enhance the signal strength.
Remember, the optimal antenna position may vary depending on your location, nearby obstacles, and the direction of broadcasting towers. Take the time to experiment and find the position that provides the strongest and clearest signal for your desired channels.
With your attic antenna fine-tuned for optimal reception, you’re ready to move on to the final step: testing and enjoying the improved signal quality.
Read more: How To Install Outdoor Antenna Tv
Step 9: Test and Enjoy the Improved Signal Quality
Now that you have successfully installed and fine-tuned your attic antenna, it’s time to test and enjoy the improved signal quality. Follow these steps to ensure a smooth viewing experience:
- Tune In to Channels: Use your TV remote or set-top box remote to navigate through the channels you scanned in Step 7. Test different channels to ensure that the signal is clear and free from interference.
- Check Signal Strength: Monitor the signal strength indicators on your TV or set-top box for each channel. A strong signal indicates good reception and will result in a better viewing experience.
- Enjoy High-Quality Content: Sit back, relax, and enjoy your favorite shows, movies, and live broadcasts with improved picture and sound quality.
- Periodic Maintenance: It’s a good idea to periodically check your attic antenna for any signs of damage or loose connections. Re-adjust if necessary to maintain optimal signal reception.
- Stay Updated: Stay informed about any changes in channel frequencies or the addition of new channels in your area. This will ensure that you are always up to date with the available programming.
By following this installation process and fine-tuning your attic antenna, you can enjoy a wide range of free over-the-air television channels without the monthly costs of a cable subscription. Say goodbye to pixelated or inconsistent signals and embrace the improved signal quality that your attic antenna provides.
Congratulations on successfully installing your attic antenna, and enjoy the benefits of free over-the-air television!
Don’t forget to share your experience with friends and family who may be interested in cutting the cord and installing their own attic antennas.
Happy viewing!
Conclusion
Installing an attic antenna is a great way to access free over-the-air television channels and save money on cable subscriptions. By following the step-by-step process outlined in this guide, you can enjoy improved signal quality and a wide range of channels for a one-time investment.
Throughout this installation process, we have emphasized the importance of choosing the right location, assembling the antenna components correctly, mounting the antenna securely, and fine-tuning its position for optimal reception. These steps, accompanied by scanning for channels and adjusting as needed, will ensure a smooth and enjoyable viewing experience.
Remember to gather the necessary tools and equipment, carefully read the instructions provided with your attic antenna, and take your time during each step. It’s crucial to prioritize safety while working in the attic and to exercise caution when handling tools and climbing ladders.
By harnessing the power of an attic antenna, you can access a multitude of channels that are broadcasted over-the-air, including local news, sports, and entertainment content. The improved signal quality will provide a crisp and clear viewing experience, making your favorite shows and movies even more enjoyable.
Don’t forget to periodically check and maintain your antenna setup to ensure continued reception and signal strength. Stay updated on any changes in channel frequencies and new additions to the available programming in your area.
With your attic antenna up and running, you can embrace the freedom and flexibility of cord-cutting. Say goodbye to high cable bills and embrace the simplicity of free over-the-air television.
So, why wait? Start your journey towards a cable-free lifestyle by installing an attic antenna today!
Frequently Asked Questions about How To Install Attic Antenna
Was this page helpful?
At Storables.com, we guarantee accurate and reliable information. Our content, validated by Expert Board Contributors, is crafted following stringent Editorial Policies. We're committed to providing you with well-researched, expert-backed insights for all your informational needs.


0 thoughts on “How To Install Attic Antenna”