Home>Furniture & Design>Outdoor Furniture>How To Make An Outdoor Hdtv Antenna
Outdoor Furniture
How To Make An Outdoor Hdtv Antenna
Published: January 15, 2024
Learn how to make an outdoor HDTV antenna and improve your TV reception with our easy DIY guide. Get the best outdoor furniture, furniture, and design tips to enhance your outdoor space.
(Many of the links in this article redirect to a specific reviewed product. Your purchase of these products through affiliate links helps to generate commission for Storables.com, at no extra cost. Learn more)
Introduction
Welcome to the world of DIY outdoor entertainment! In this guide, we will explore the exciting process of creating your very own outdoor HDTV antenna. Imagine enjoying your favorite TV shows, sports events, and movies in the fresh air, surrounded by the beauty of nature. By following the steps outlined in this article, you can elevate your outdoor leisure time with a customized HDTV antenna designed to deliver high-quality reception.
The satisfaction of constructing a functional outdoor HDTV antenna with your own hands is truly rewarding. Not only does it provide a sense of accomplishment, but it also allows you to tailor the antenna to your specific outdoor space and viewing preferences. Whether you are an avid sports enthusiast who wants to host outdoor game nights or a movie lover seeking an alfresco cinematic experience, this DIY project will enhance your outdoor entertainment options.
By utilizing readily available materials and simple tools, you can embark on this DIY journey with confidence. No specialized technical skills are required, making this project accessible to enthusiasts of all experience levels. Throughout this guide, we will walk through the materials and tools needed, the design and assembly process, as well as the crucial steps of mounting and testing the antenna.
So, gather your creative spirit, roll up your sleeves, and let's dive into the world of outdoor HDTV antenna creation. Get ready to amplify your outdoor entertainment experience as we bring your favorite TV programs to the great outdoors!
Key Takeaways:
- Create your own outdoor HDTV antenna to enjoy TV shows and movies in nature. It’s a fun, cost-effective DIY project that enhances your outdoor entertainment experience.
- Customize your antenna for optimal reception and enjoy reliable signal quality. With simple tools and materials, you can bring high-quality TV to your outdoor space.
Read more: What Is The Best Outdoor Antenna For Hdtv
Materials and Tools
Before diving into the construction of your outdoor HDTV antenna, it’s essential to gather the necessary materials and tools. This project is designed to be approachable and cost-effective, utilizing items that are readily available at hardware stores and online retailers. Here’s a comprehensive list of what you’ll need to get started:
Materials:
- 1. Wooden board or PVC pipe: Serving as the base for the antenna, the wooden board or PVC pipe should be sturdy and weather-resistant.
- 2. Copper wire: This will form the antenna's elements, and the length will depend on the design specifications.
- 3. Balun transformer: Essential for connecting the antenna to the coaxial cable, the balun transformer ensures a smooth signal transition.
- 4. Coaxial cable: To transmit the signal from the antenna to your outdoor HDTV, a high-quality coaxial cable is necessary.
- 5. Screws and washers: These will be used to secure the elements of the antenna and attach it to the mounting structure.
- 6. Weatherproofing materials: Sealant or weatherproofing tape will protect the antenna from the elements, ensuring durability and longevity.
Tools:
- 1. Saw: Depending on the chosen design, a saw will be needed to cut the wooden board or PVC pipe to the desired dimensions.
- 2. Drill and bits: Essential for creating holes for the antenna elements and mounting hardware.
- 3. Pliers: Useful for bending and manipulating the copper wire to form the antenna elements.
- 4. Screwdriver: To secure the screws and washers during the assembly process.
- 5. Measuring tape: A precise measurement of the antenna elements and the mounting location is crucial for optimal performance.
- 6. Weatherproofing applicator: If using sealant or weatherproofing tape, an applicator will be necessary for proper application.
With these materials and tools at your disposal, you’re well-equipped to commence the construction of your outdoor HDTV antenna. The next step involves designing the antenna to ensure optimal reception and performance in your outdoor space.
Designing the Antenna
When it comes to designing your outdoor HDTV antenna, several factors should be taken into consideration to ensure optimal performance. The design process involves determining the type of antenna, the number of elements, and the dimensions, all tailored to your specific location and the channels you intend to receive. Here’s a step-by-step guide to help you craft an effective antenna design:
Read more: How To Make An Outdoor Antenna
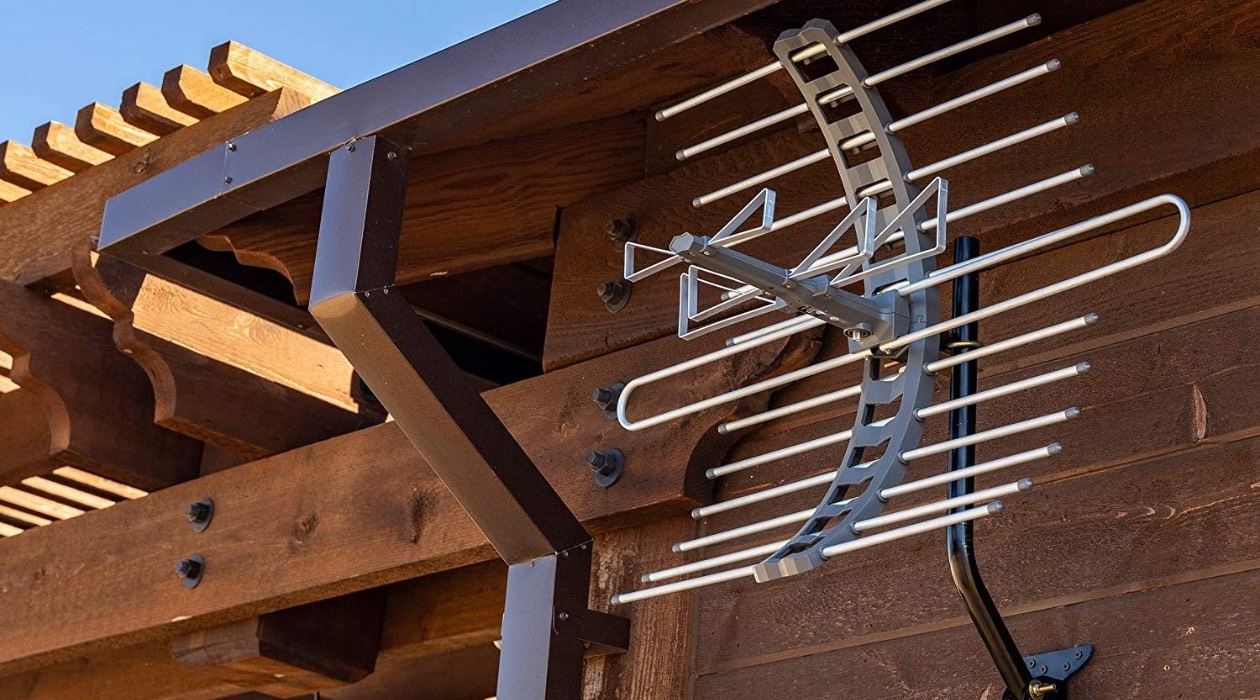
1. Antenna Type:
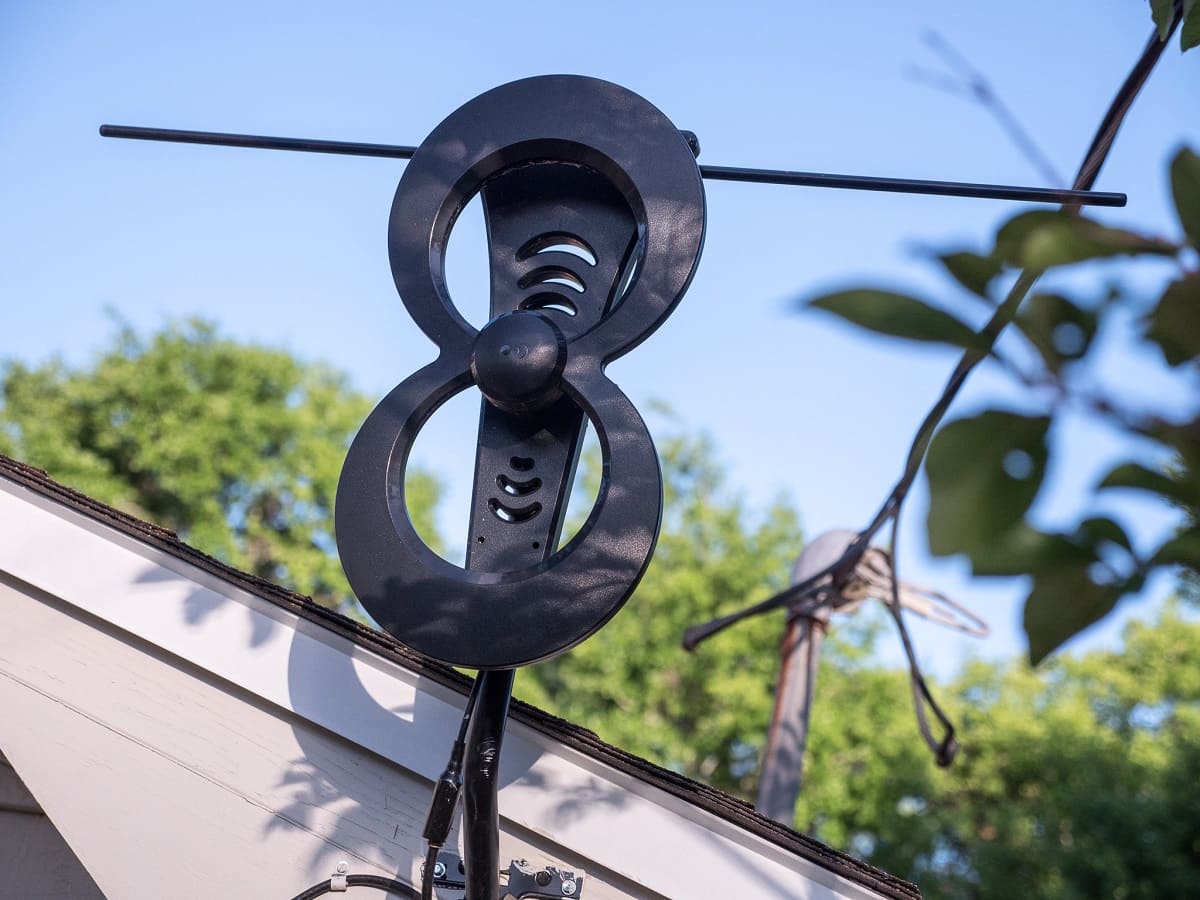
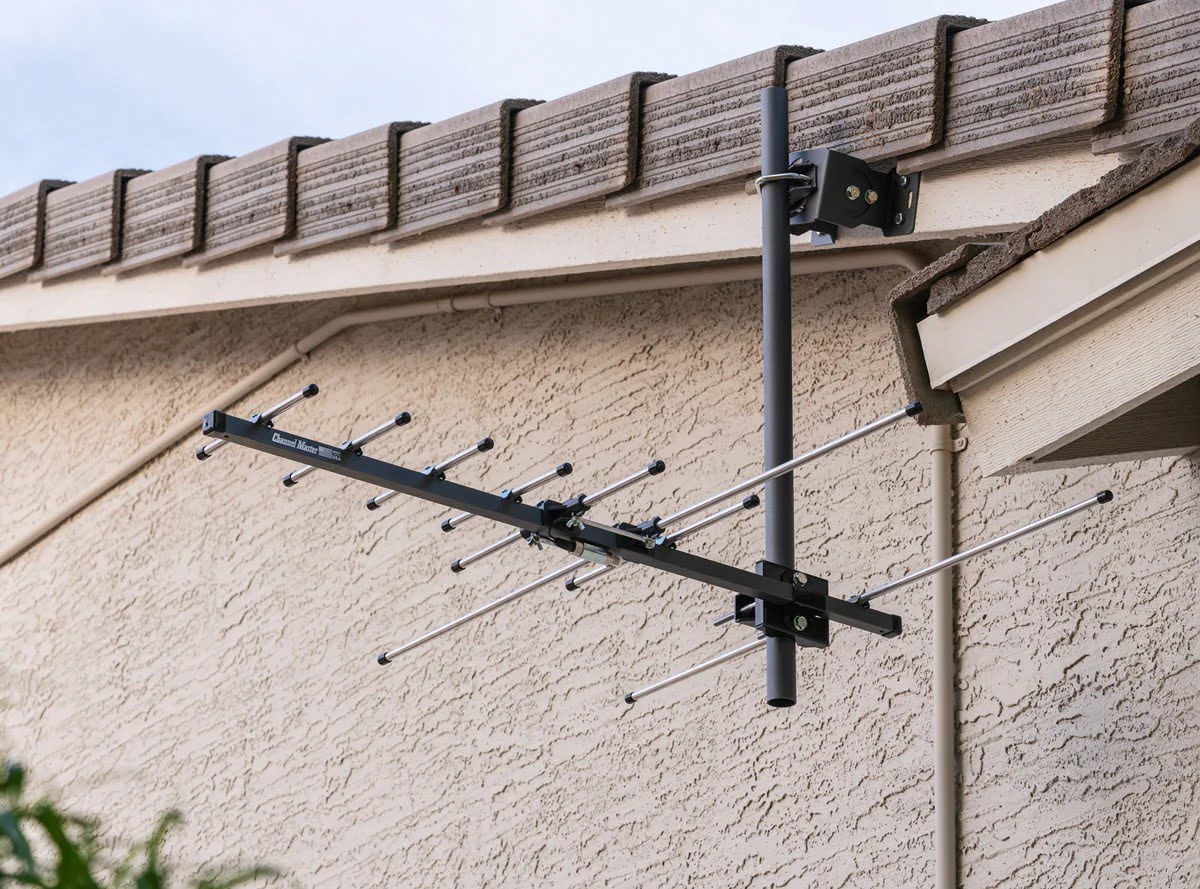
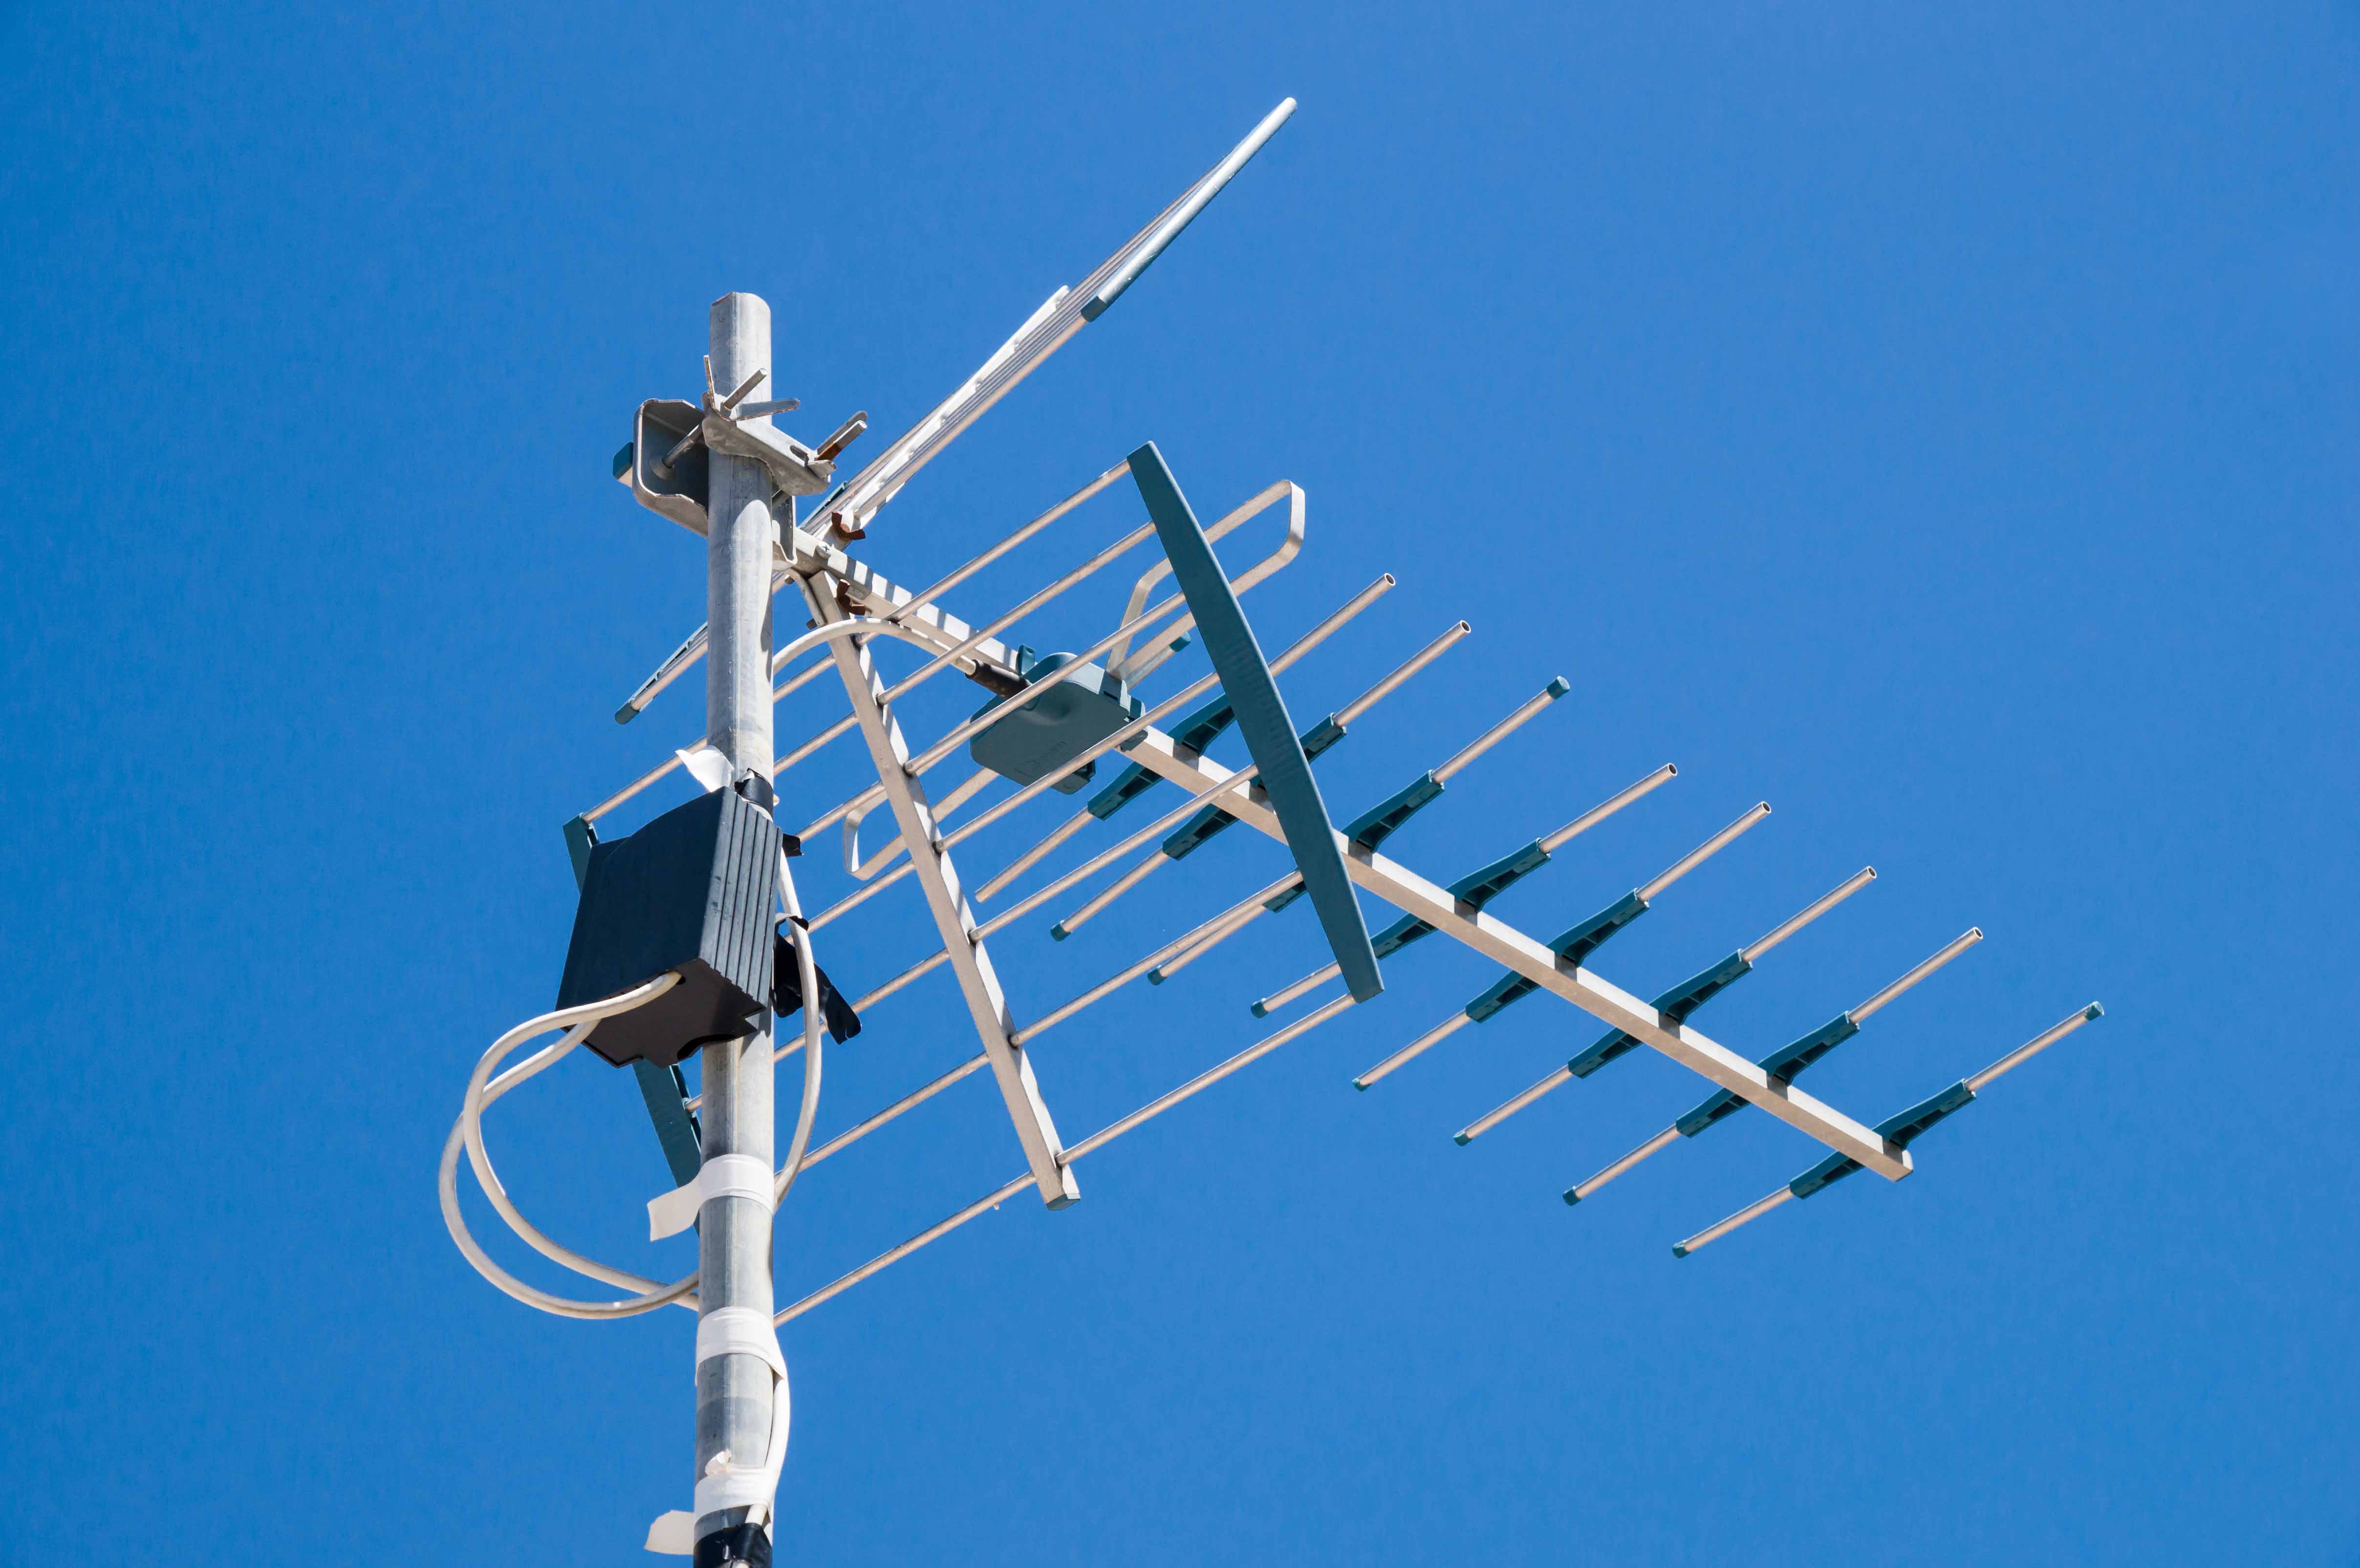
The first decision to make is the type of antenna that best suits your outdoor space. Common options include Yagi, bowtie, and loop antennas. Yagi antennas are known for their directional reception, making them ideal for capturing signals from a specific direction, while bowtie antennas offer a wider reception angle. Loop antennas, on the other hand, are compact and suitable for urban areas with strong signals. Consider the layout of your outdoor space and the direction of local broadcast towers when choosing the antenna type.
2. Number of Elements:
The number of elements in the antenna plays a crucial role in signal reception. More elements generally result in higher gain and improved reception, especially for distant or weak signals. However, the trade-off is a larger and more complex antenna. Consider the distance to the broadcast towers and the strength of the signals you wish to receive when determining the number of elements for your antenna.
3. Dimensions:
The dimensions of the antenna elements are determined by the frequency of the channels you want to receive. Each element should be a specific fraction of the wavelength corresponding to the desired frequency. For UHF channels, the elements are typically shorter, while VHF channels require longer elements. Refer to online calculators or antenna design resources to obtain precise measurements based on the channels available in your area.
By carefully considering these design elements, you can create a customized outdoor HDTV antenna that aligns with your outdoor space and channel reception requirements. Once the design is finalized, the next step is assembling the antenna to bring the design to life.
Assembling the Antenna
With the design of your outdoor HDTV antenna finalized, it’s time to bring the components together and assemble the antenna. This step involves shaping the elements, connecting the balun transformer, and securing everything in place to create a functional and effective antenna. Follow these steps to assemble your customized outdoor HDTV antenna:
Read more: How To Point An Outdoor Antenna
1. Shaping the Elements:
Using the copper wire, carefully shape and position the elements according to the design specifications. Pay close attention to the spacing and alignment of the elements to ensure optimal reception. Pliers can be used to bend and manipulate the wire, creating the necessary configurations for the antenna.
2. Connecting the Balun Transformer:
Attach the balun transformer to the driven element of the antenna. This component is crucial for converting the balanced signal of the antenna to the unbalanced signal required for the coaxial cable connection. Follow the manufacturer’s instructions for proper installation and secure the balun transformer in place.
3. Securing the Elements and Balun:
Once the elements and balun transformer are in place, secure them to the wooden board or PVC pipe using screws and washers. Ensure that all connections are tight and secure, as the stability of the elements is essential for the antenna’s performance and longevity. Take care to weatherproof the connections to protect the antenna from the outdoor elements.
4. Attaching the Coaxial Cable:
Connect the coaxial cable to the balun transformer, ensuring a firm and stable connection. The coaxial cable will transmit the signal from the antenna to your outdoor HDTV, so it’s crucial to establish a reliable connection. Use weatherproofing materials to seal the connection and protect it from moisture and environmental factors.
By following these steps, you will successfully assemble your outdoor HDTV antenna, bringing your custom design to life. The next phase involves mounting the antenna in your outdoor space to optimize signal reception and viewing quality.
Read more: How To Build An Outdoor Antenna
Mounting the Antenna
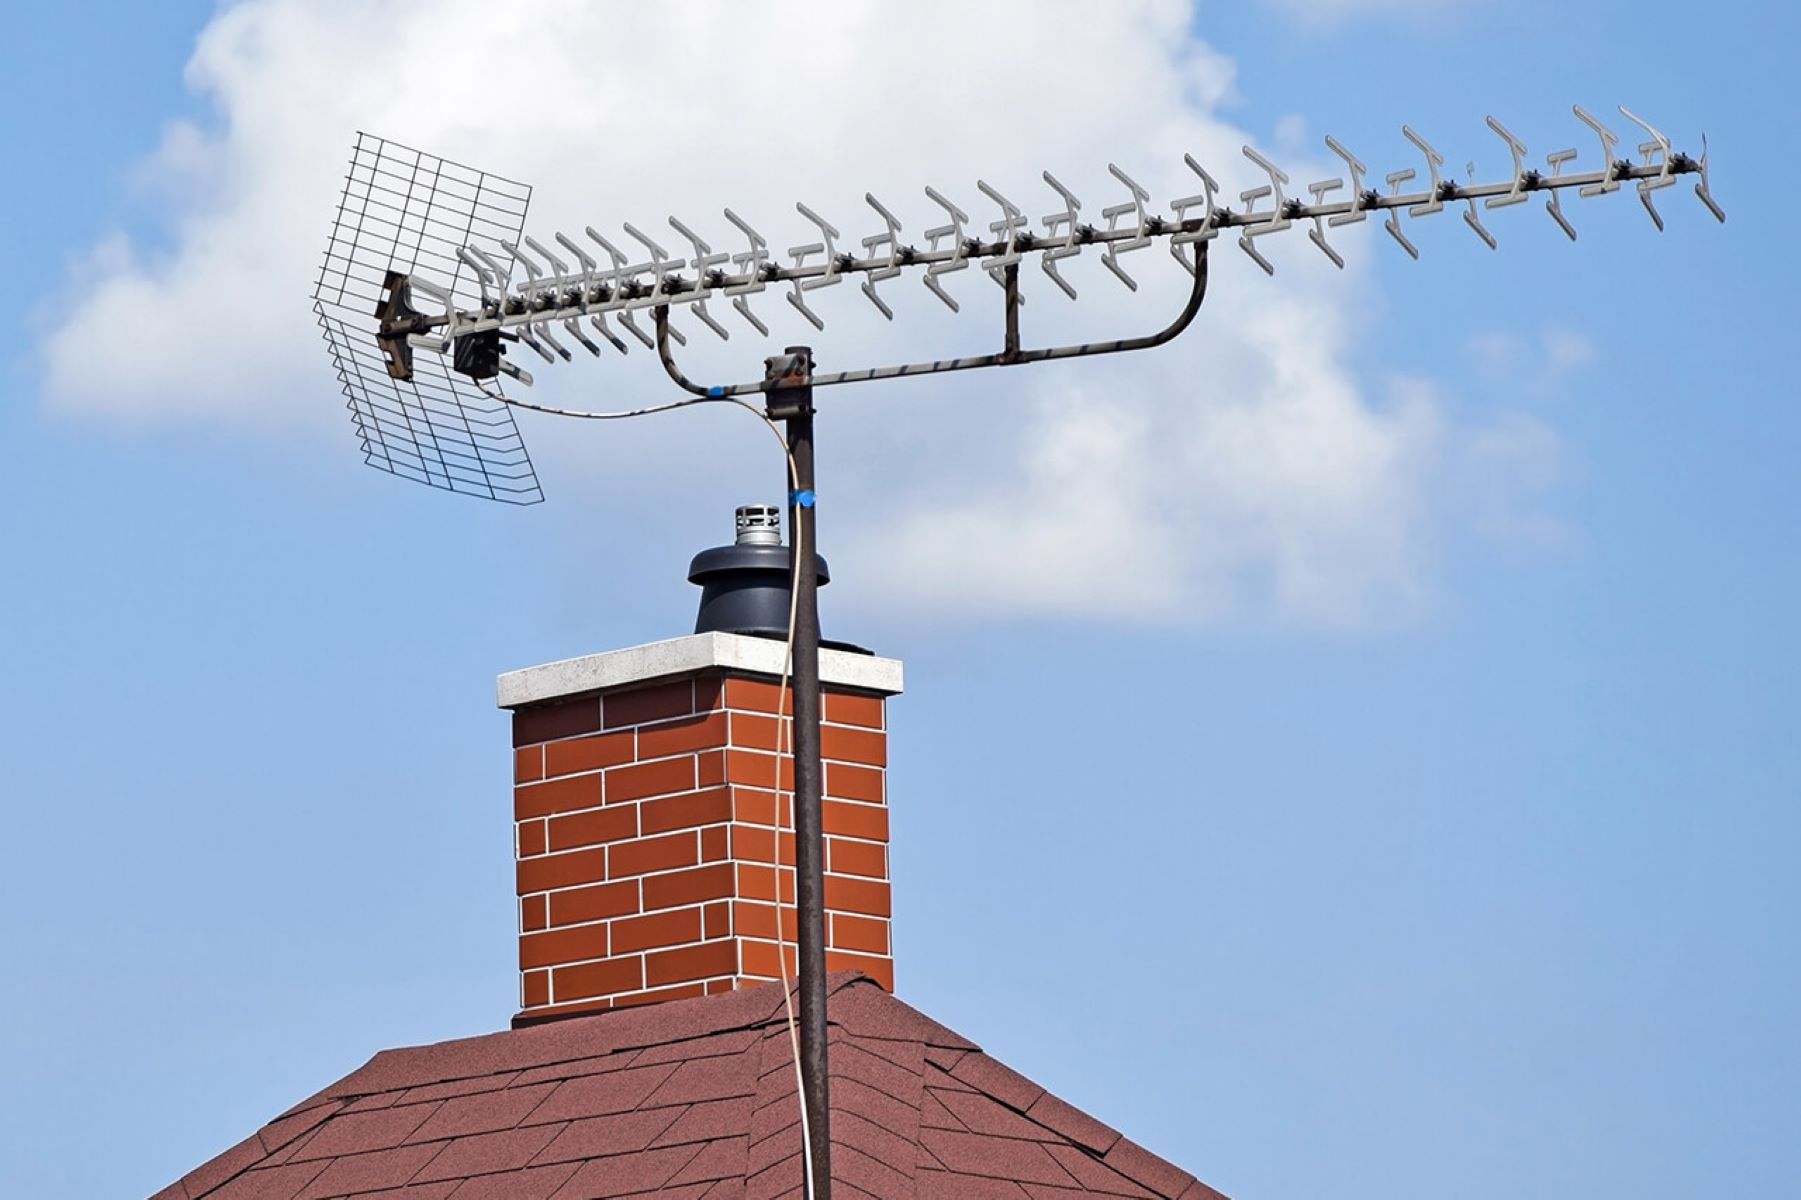
Mounting your outdoor HDTV antenna is a crucial step in ensuring optimal signal reception and performance. The placement and orientation of the antenna significantly impact the quality of the received signals. By following these guidelines, you can effectively mount your DIY antenna to maximize its effectiveness:
1. Selecting the Mounting Location:
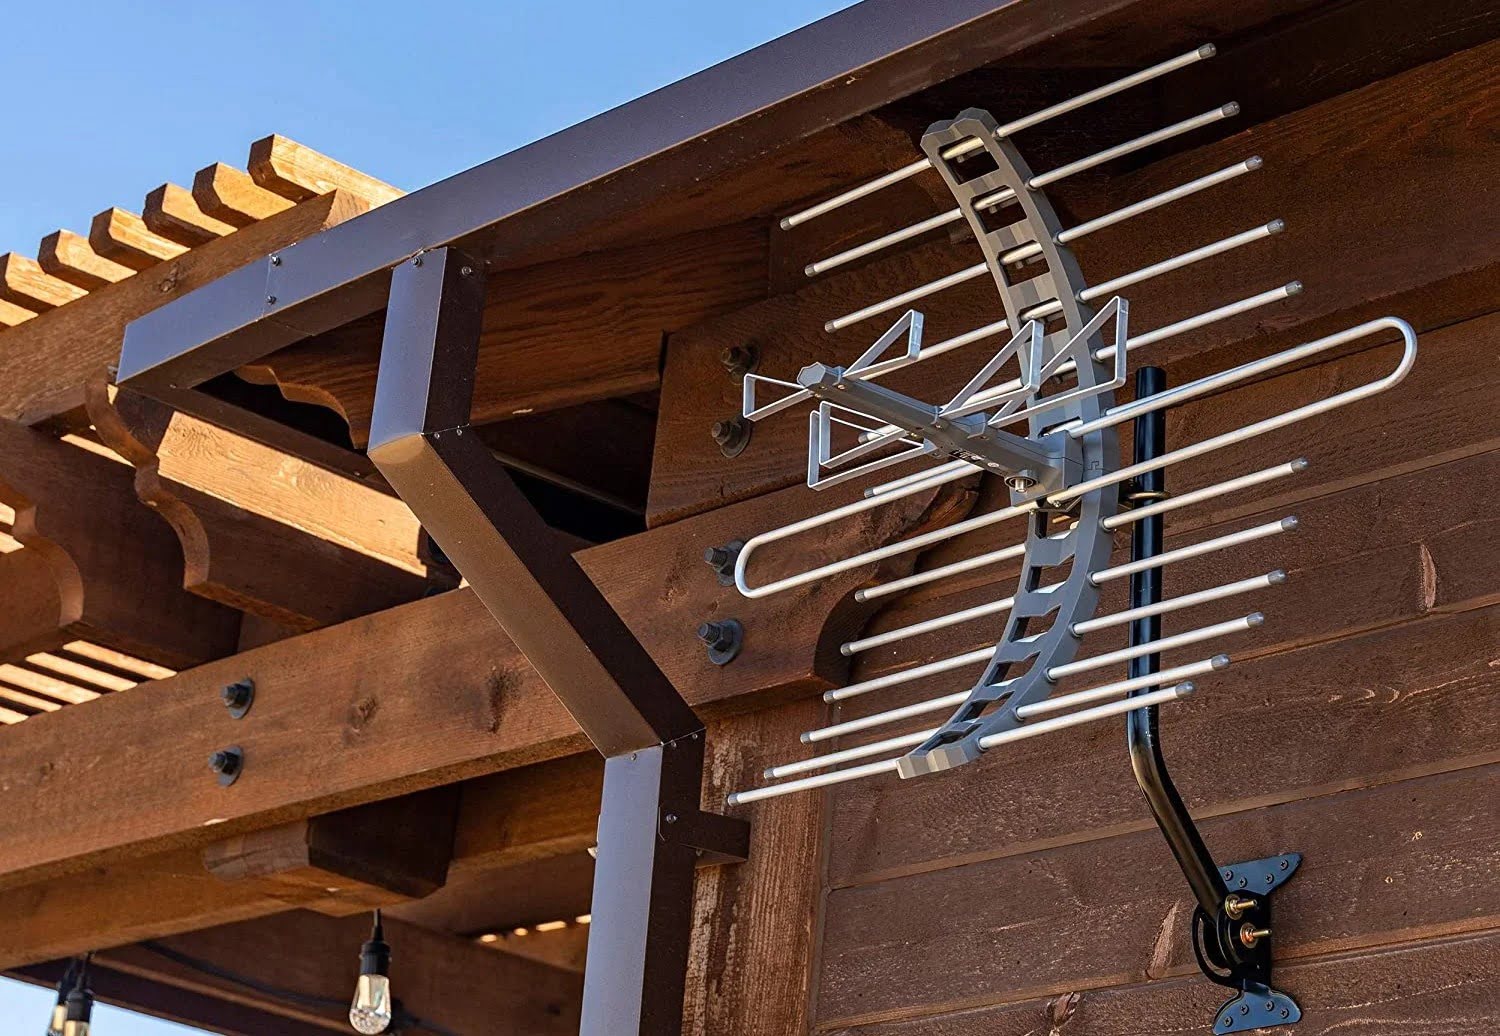
Choose a location for the antenna that offers a clear line of sight to the broadcast towers. Ideally, the mounting location should be elevated and free from obstructions such as trees, buildings, or other structures that could interfere with signal reception. Consider using a mounting pole or bracket to secure the antenna in a high and unobstructed position.
2. Securing the Mounting Structure:
If using a mounting pole or bracket, ensure that it is firmly secured to a stable surface, such as a wall, roof, or mast. The stability of the mounting structure is essential for the long-term performance of the antenna, especially in outdoor environments exposed to wind and weather.
3. Orienting the Antenna:
Determine the direction of the local broadcast towers and orient the antenna accordingly. This step may require referencing online signal maps or using a compass to align the antenna with the optimal signal path. Fine-tune the orientation for the best possible reception of the desired channels.
Read more: How To Ground An Outdoor Antenna
4. Securing the Antenna:
Attach the assembled antenna to the mounting structure using appropriate hardware, such as U-bolts or clamps. Ensure that the antenna is securely fastened and that it remains stable in varying weather conditions. Consider using weatherproofing materials to protect the mounting hardware and connections from corrosion and environmental damage.
By carefully following these steps, you can effectively mount your outdoor HDTV antenna, setting the stage for reliable signal reception and an enhanced outdoor viewing experience. With the antenna securely in place, the final phase involves testing the system to ensure optimal performance.
Testing the Antenna
After assembling and mounting your outdoor HDTV antenna, it’s time to put it to the test. Proper testing ensures that the antenna is effectively capturing signals and delivering high-quality reception to your outdoor HDTV. Follow these steps to conduct comprehensive testing of your DIY antenna:
1. Channel Scan:
Initiate a channel scan on your outdoor HDTV to detect and store the available channels. This process allows the TV to identify and save the digital channels received by the antenna. Pay close attention to the signal strength and quality indicators displayed during the scan.
2. Signal Quality Check:
Once the channel scan is complete, navigate through the detected channels and assess the signal quality of each. Look for any pixelation, stuttering, or signal dropouts, which may indicate issues with reception. Note the signal strength and quality for each channel to identify potential areas for improvement.
Read more: Who Installs Outdoor Antennas
3. Fine-Tuning the Antenna:
If certain channels exhibit poor signal quality or are not detected during the scan, consider fine-tuning the orientation and position of the antenna. Make small adjustments to the antenna’s orientation and re-scan the channels to observe any improvements in signal reception. Patience and incremental adjustments can lead to significant enhancements in signal quality.
4. Weather Impact Testing:
Observe the performance of the antenna during varying weather conditions. Rain, wind, and atmospheric changes can affect signal reception, so it’s essential to assess how the antenna handles these environmental factors. Note any changes in signal quality and make adjustments as needed to optimize performance in different weather scenarios.
5. Long-Term Observation:
Monitor the performance of the antenna over an extended period, noting any fluctuations in signal quality or reception. Regularly conduct channel scans and signal quality checks to ensure that the antenna continues to deliver reliable and consistent performance.
By thoroughly testing the outdoor HDTV antenna and making necessary adjustments, you can fine-tune its performance to provide excellent signal reception and an enjoyable outdoor viewing experience. With successful testing, you can confidently enjoy your favorite TV programs and entertainment in the great outdoors.
Conclusion
Congratulations on completing the journey of creating your very own outdoor HDTV antenna! Through the process of designing, assembling, mounting, and testing, you have crafted a customized antenna that brings high-quality TV reception to your outdoor space. As you reflect on this DIY project, consider the following key points:
Read more: How To Make Television Antenna
1. Personalized Outdoor Entertainment:
Your DIY outdoor HDTV antenna opens up a world of possibilities for outdoor entertainment. Whether you’re hosting a sports viewing party, enjoying movie nights under the stars, or simply relaxing with your favorite TV programs, the antenna enhances your outdoor leisure time with high-quality TV reception.
2. Cost-Effective and Accessible:
By utilizing readily available materials and simple tools, you’ve created a cost-effective solution for outdoor TV reception. This project demonstrates that enhancing your outdoor entertainment doesn’t have to be expensive or technically complex, making it accessible to enthusiasts of all skill levels.
3. Customized Performance:
Through careful design and testing, you’ve tailored the antenna to meet the specific reception needs of your outdoor space. The ability to fine-tune the antenna’s performance ensures that you can enjoy reliable signal reception and excellent picture quality, enhancing your outdoor viewing experience.
4. Continued Enjoyment and Exploration:
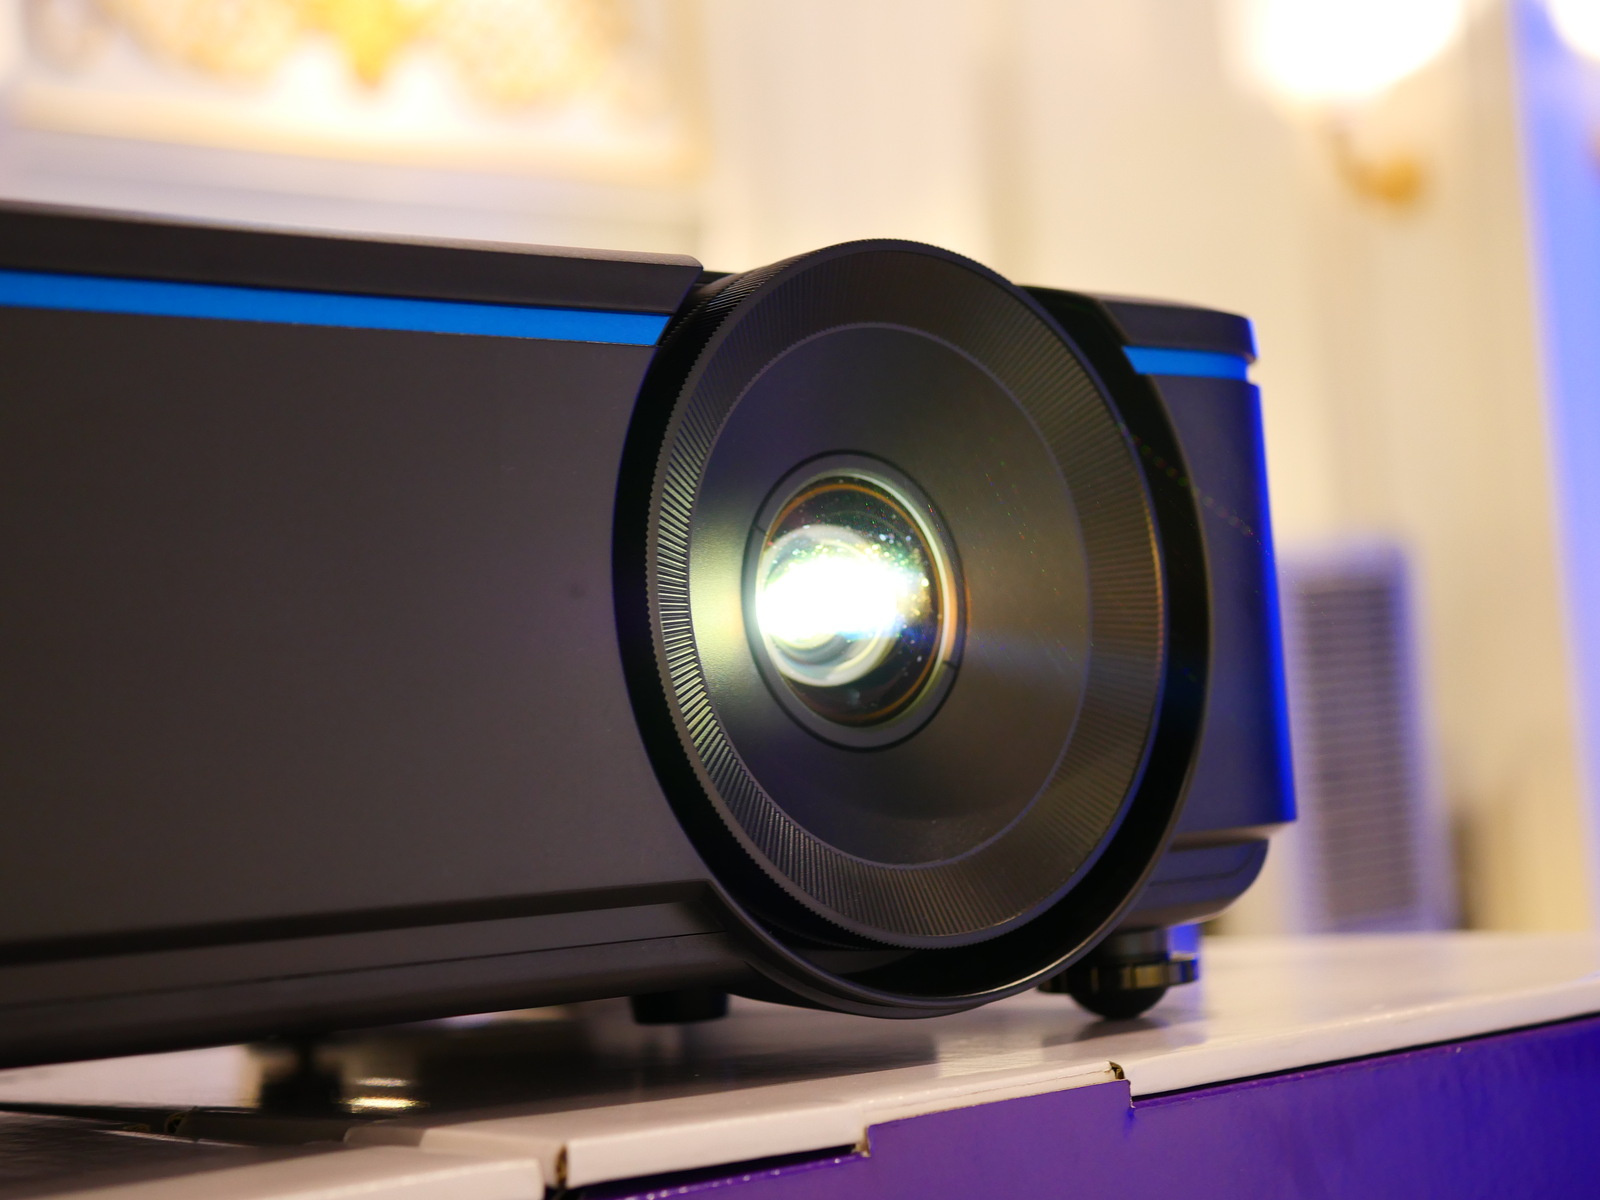
As you continue to enjoy the benefits of your outdoor HDTV antenna, consider exploring additional DIY projects to further enhance your outdoor space. Whether it’s creating outdoor seating, building a projector screen, or adding ambient lighting, there are numerous opportunities to elevate your outdoor entertainment environment.
With your outdoor HDTV antenna successfully installed and tested, it’s time to sit back, relax, and immerse yourself in the captivating world of outdoor TV entertainment. Whether it’s a sunny afternoon, a starry night, or a crisp autumn day, your customized antenna brings the magic of television to the great outdoors, enriching your outdoor experiences with the power of technology and creativity.
Frequently Asked Questions about How To Make An Outdoor Hdtv Antenna
Was this page helpful?
At Storables.com, we guarantee accurate and reliable information. Our content, validated by Expert Board Contributors, is crafted following stringent Editorial Policies. We're committed to providing you with well-researched, expert-backed insights for all your informational needs.
0 thoughts on “How To Make An Outdoor Hdtv Antenna”