Articles
How To Put Christmas Lights On Porch Railing
Modified: February 23, 2024
Learn how to put Christmas lights on your porch railing with this helpful articles. Step-by-step instructions and tips to create a festive holiday display.
(Many of the links in this article redirect to a specific reviewed product. Your purchase of these products through affiliate links helps to generate commission for Storables.com, at no extra cost. Learn more)
Introduction
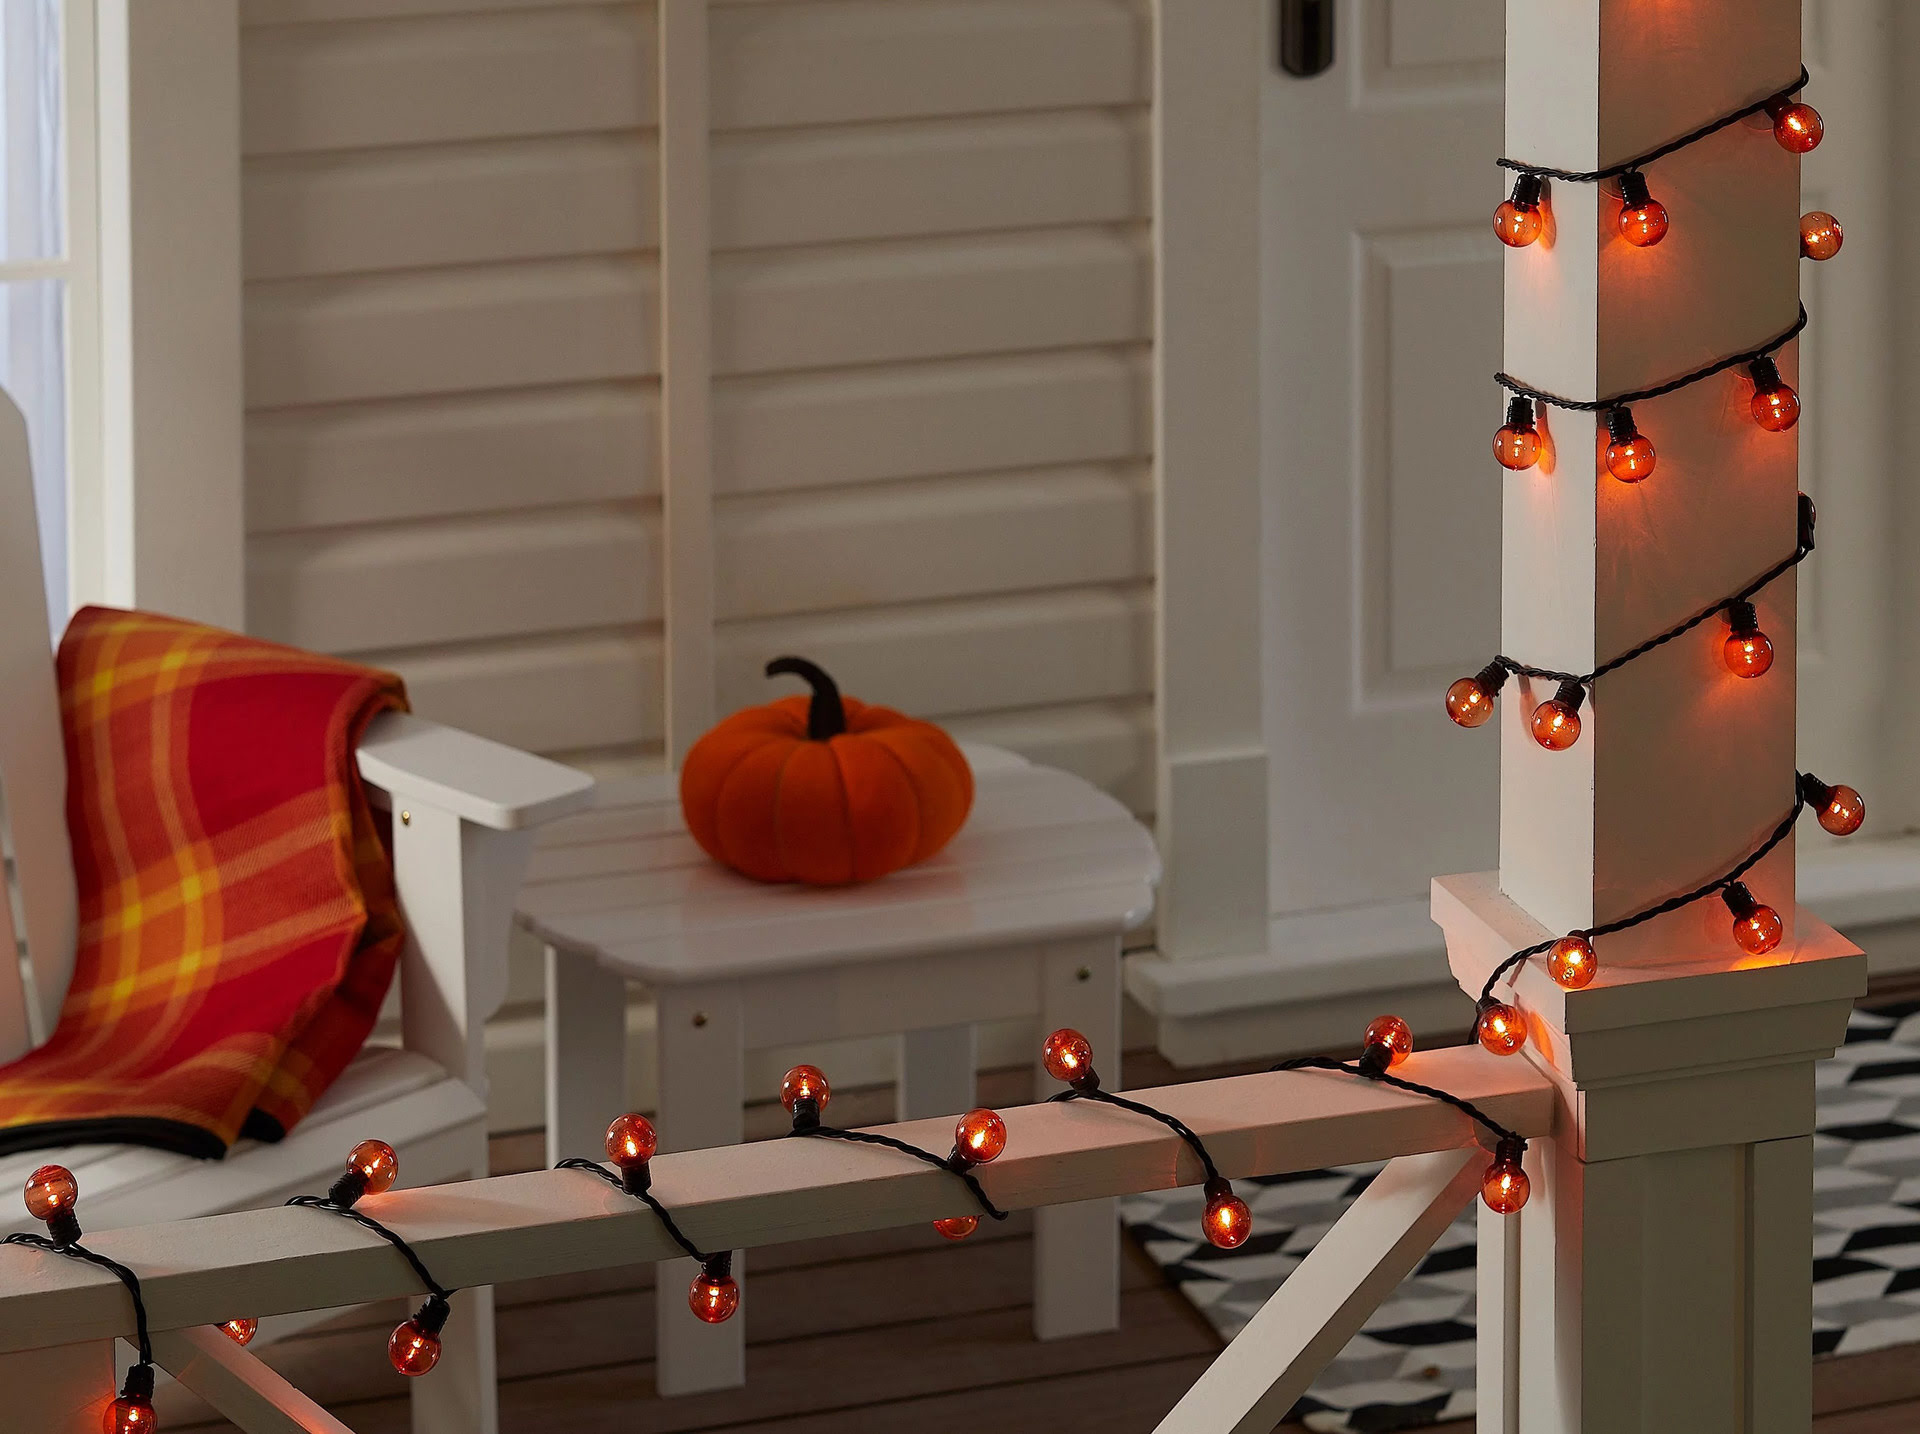
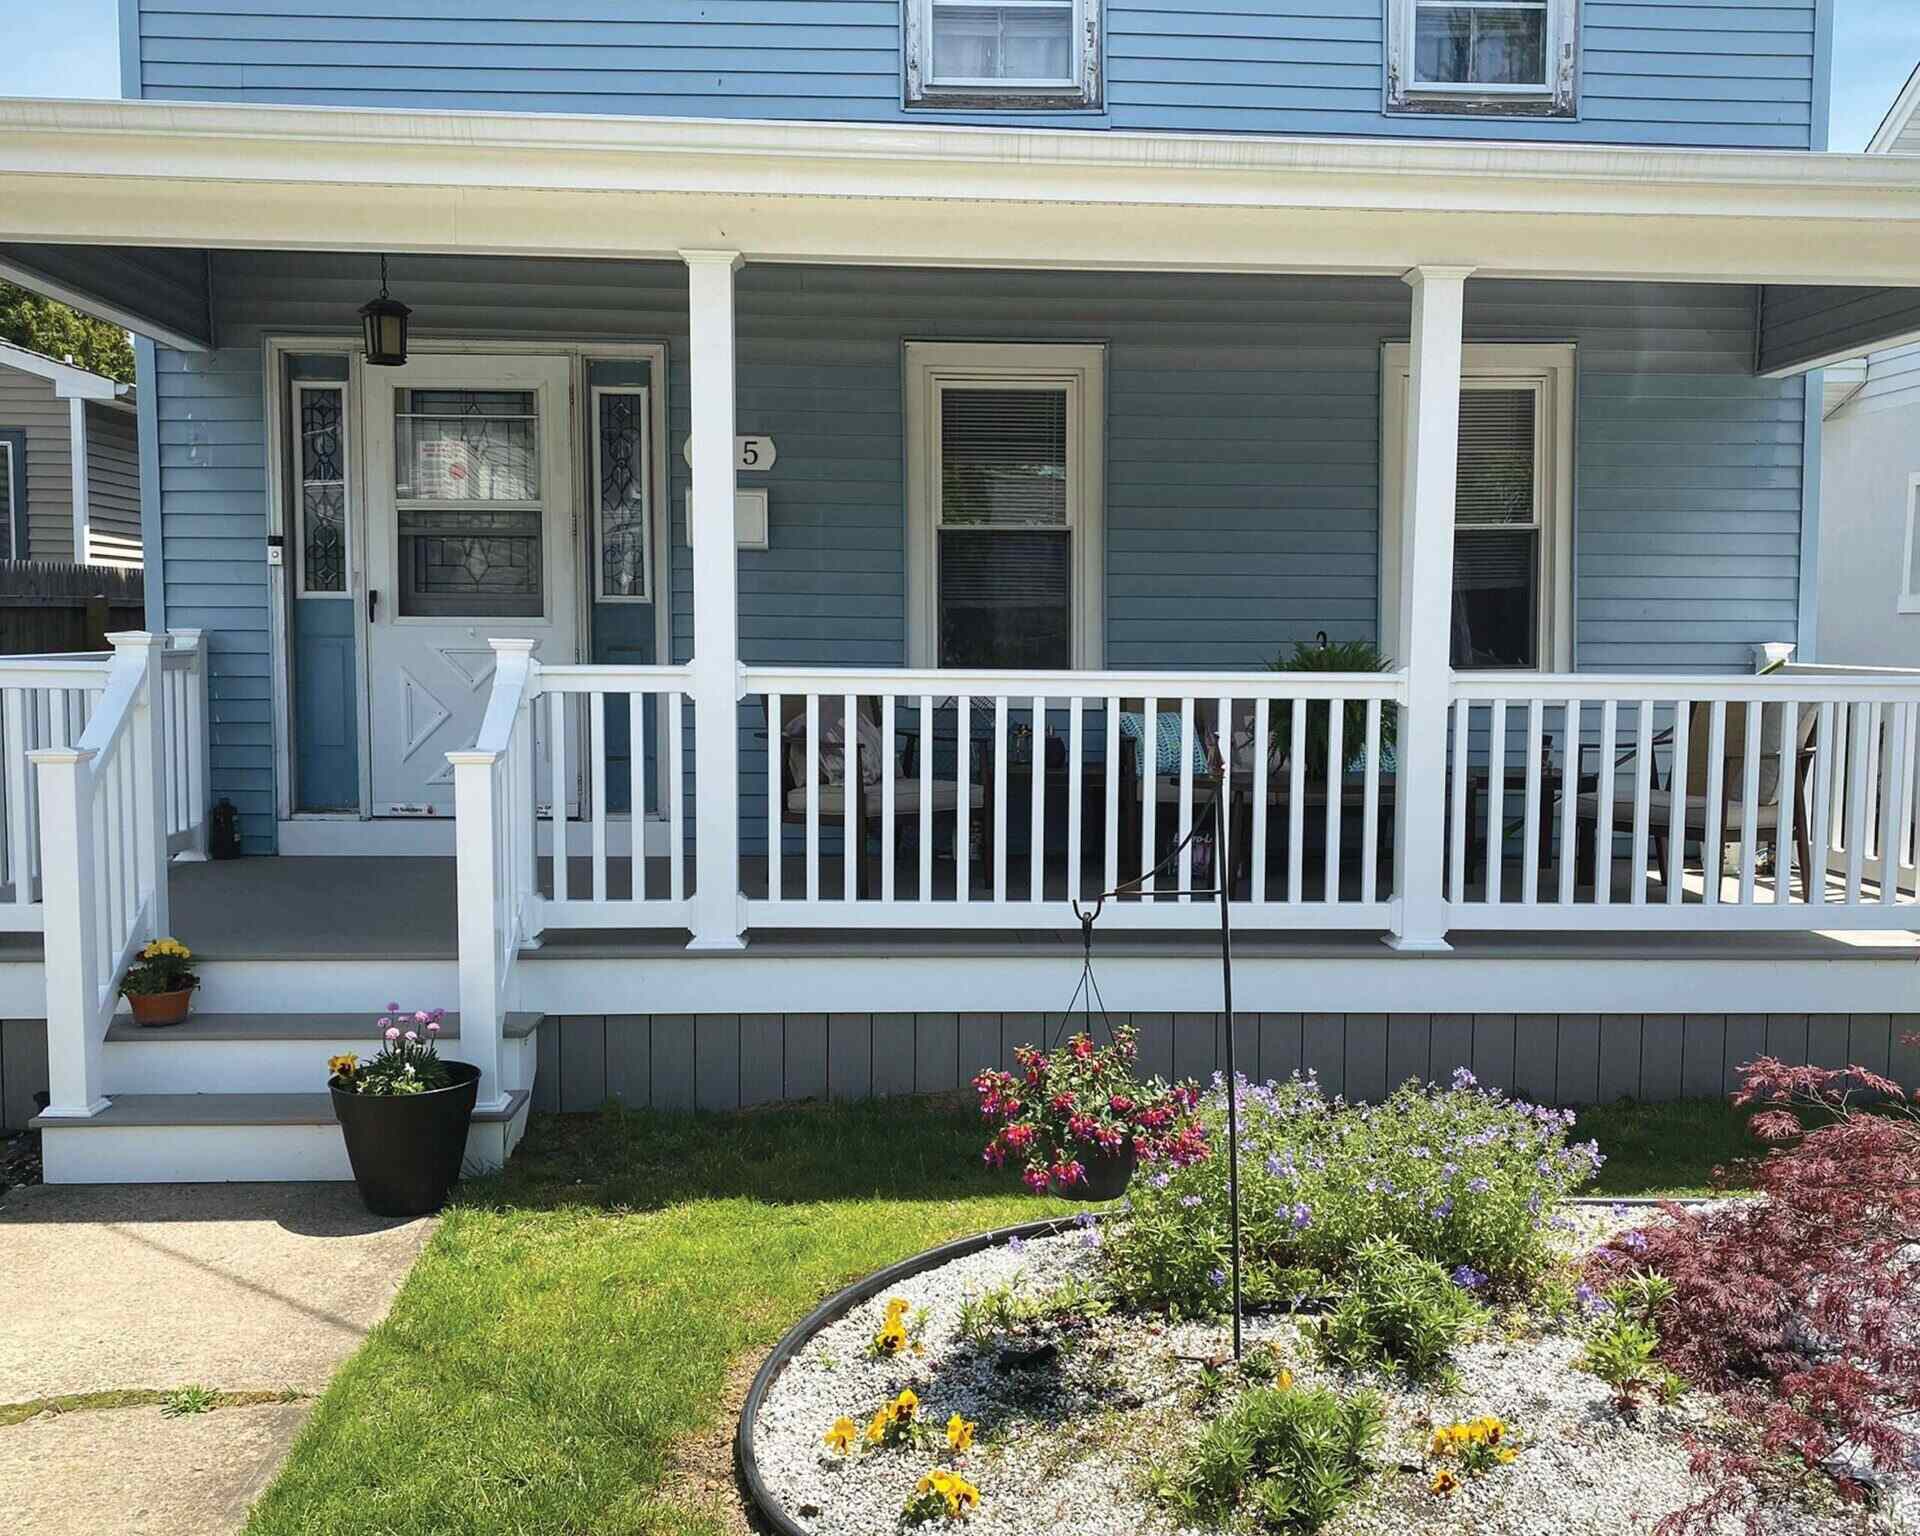
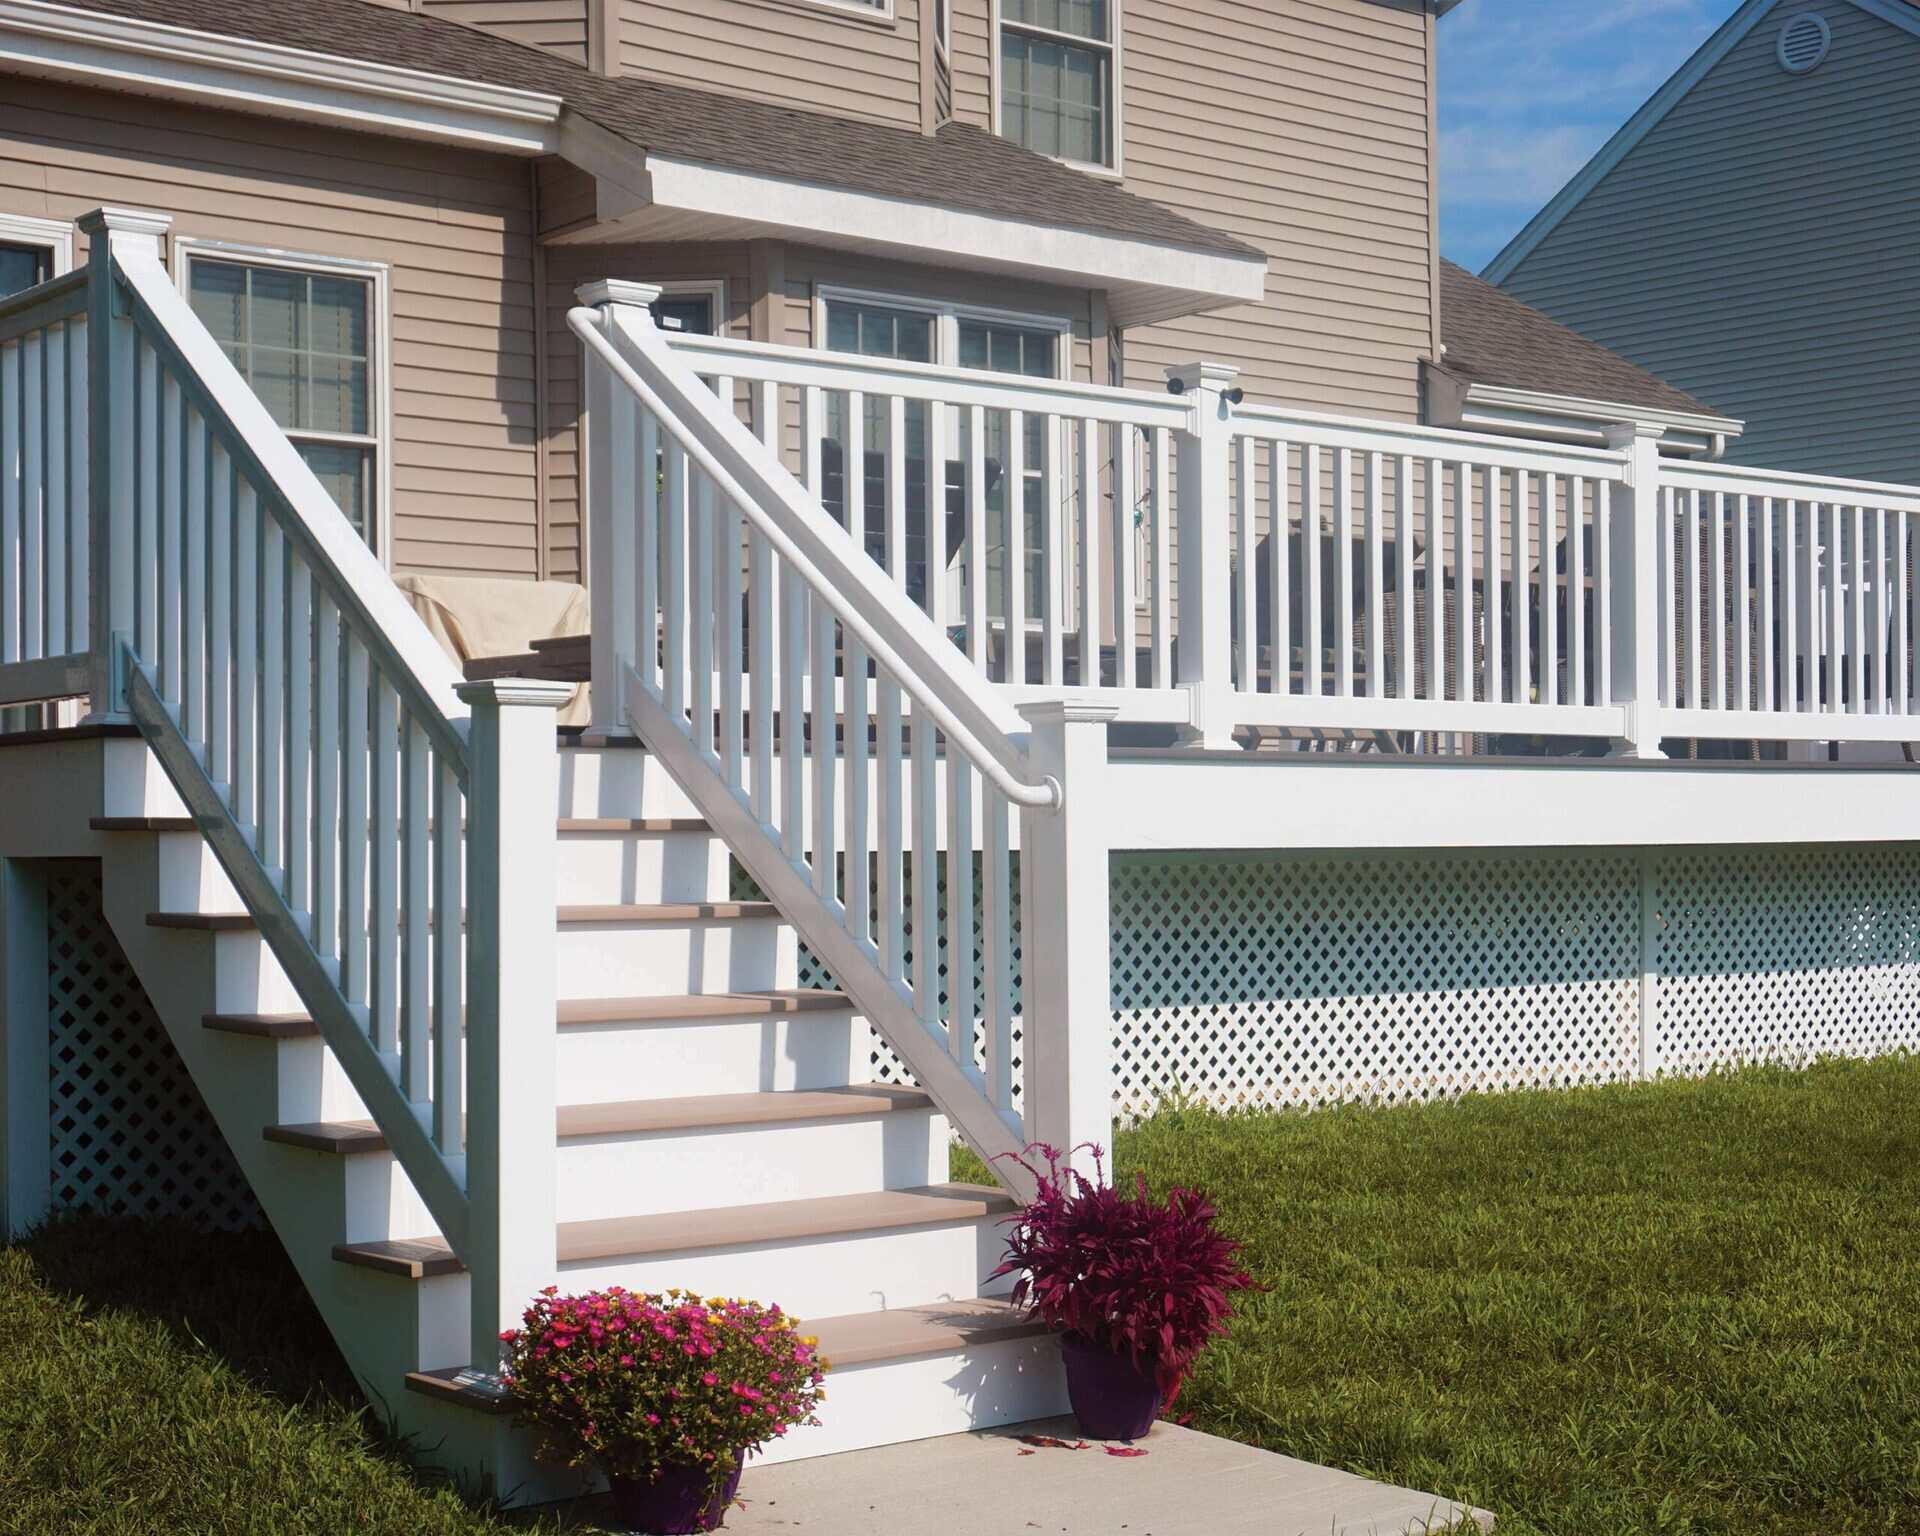
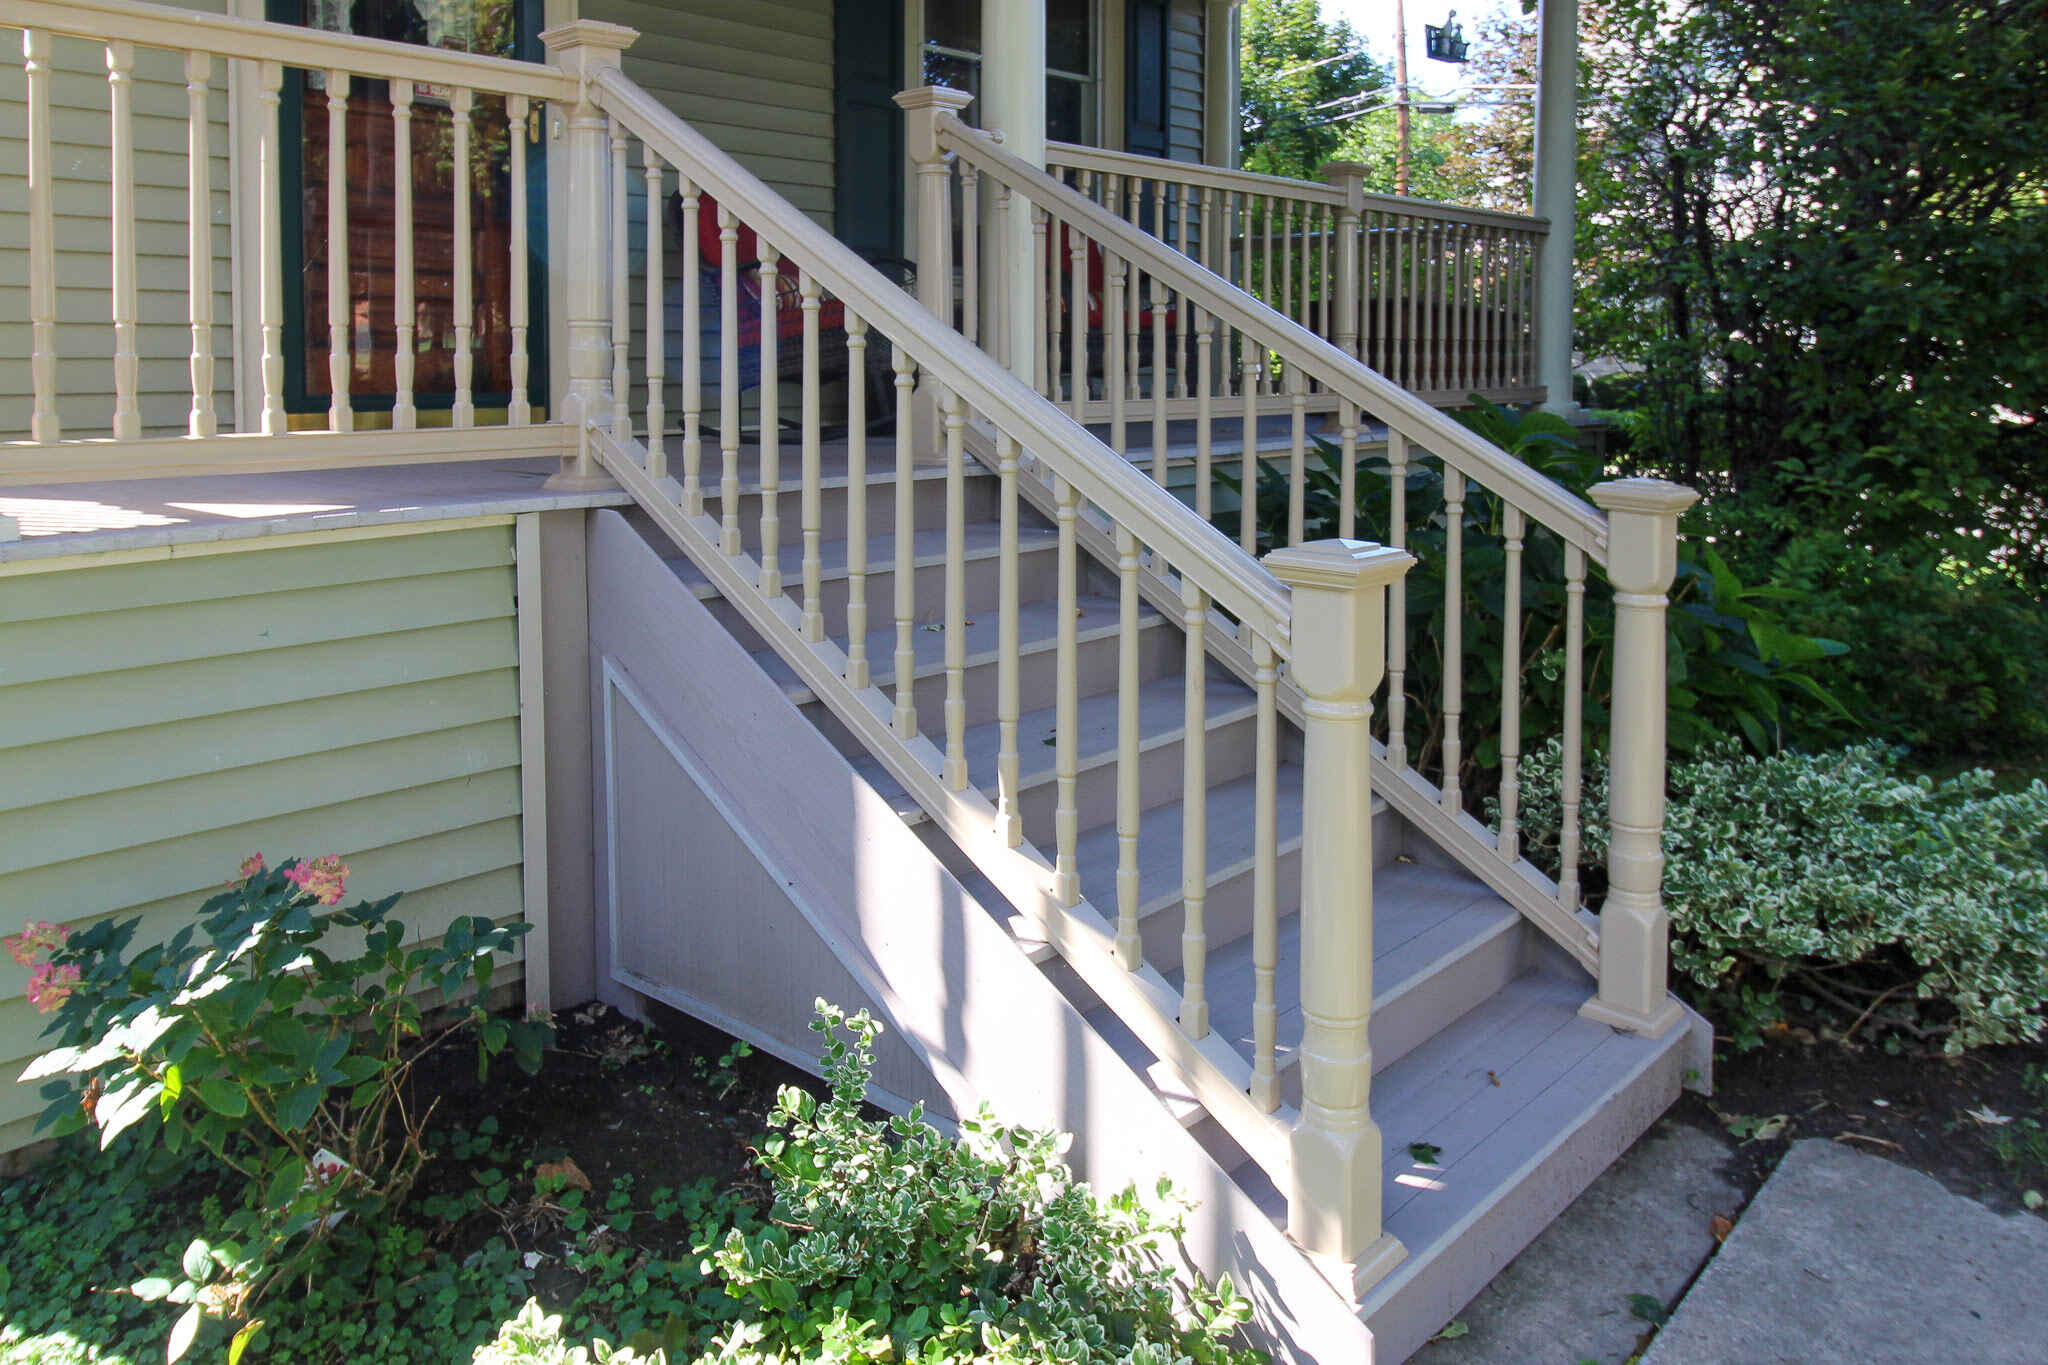
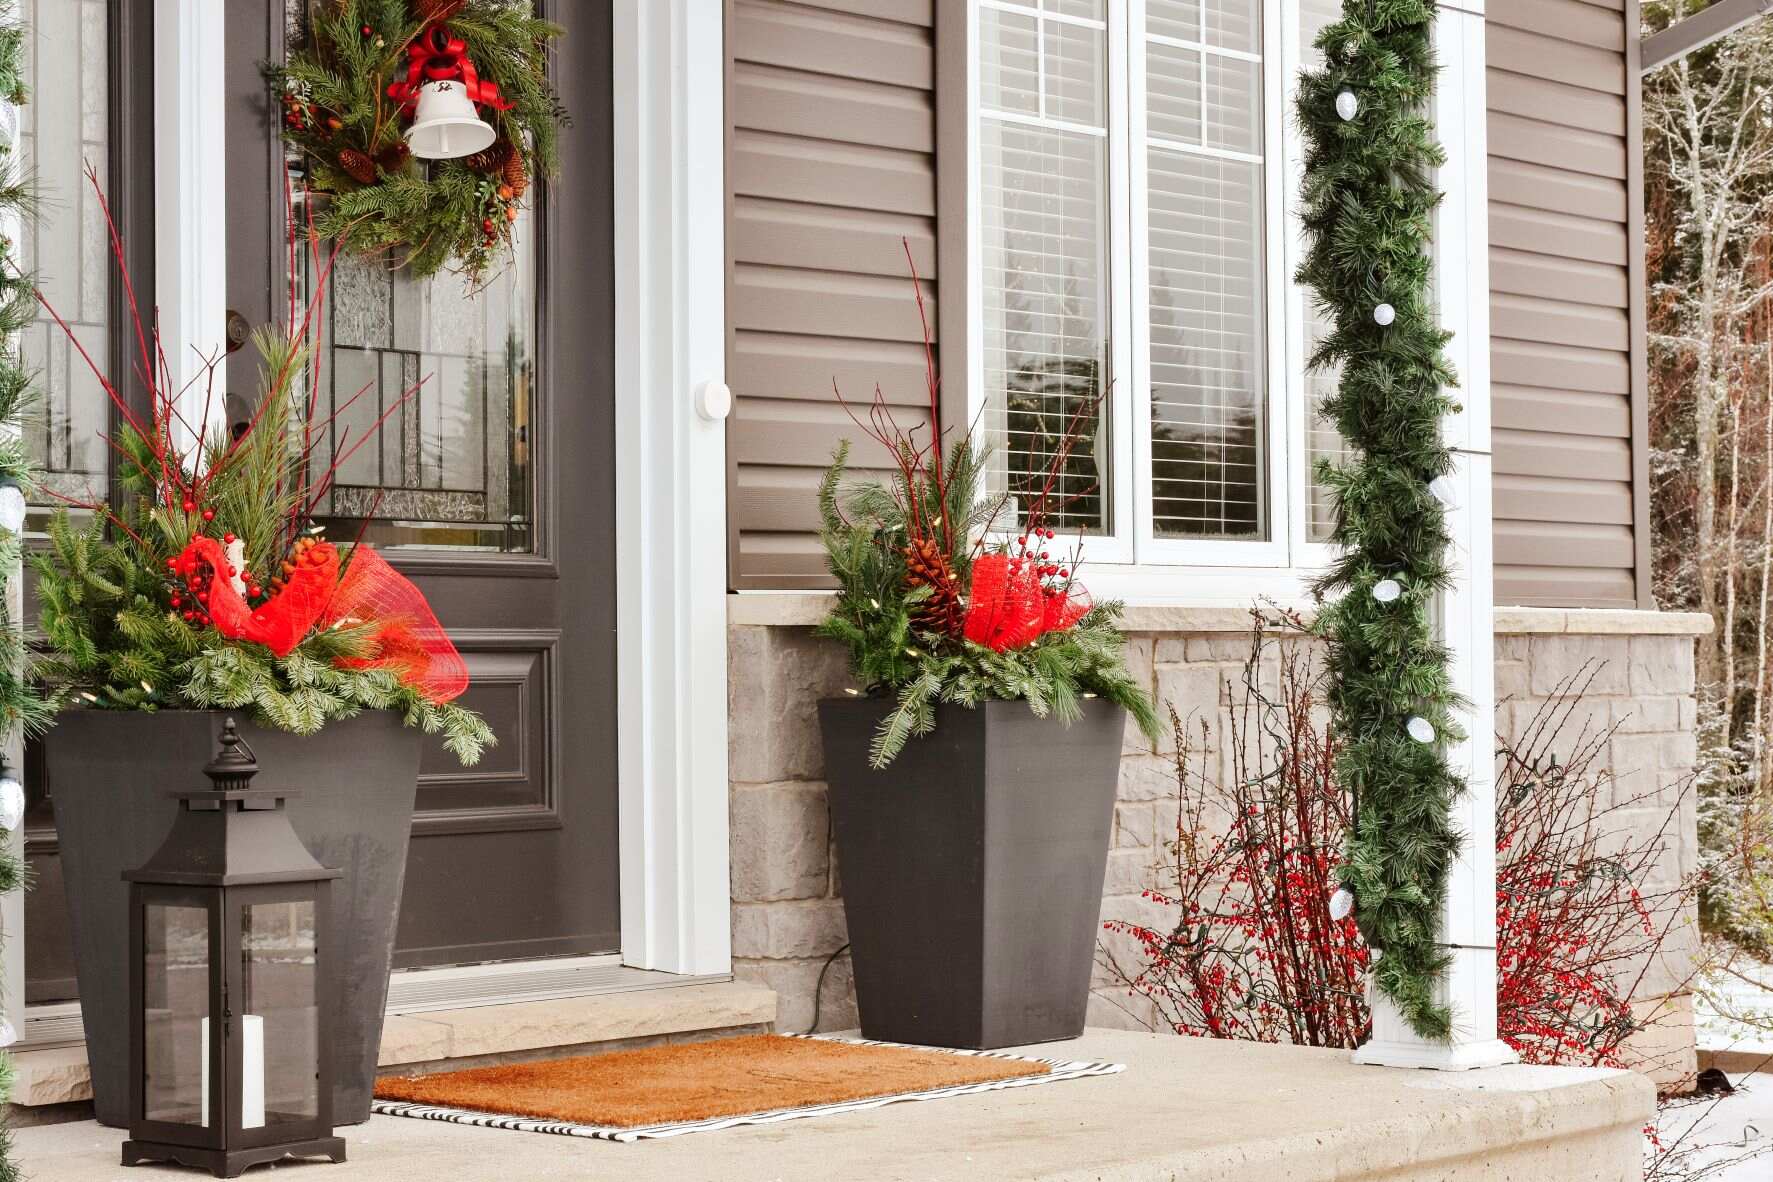
Adding Christmas lights to your porch railing is a fantastic way to bring festive cheer to your home during the holiday season. The twinkling lights can create a warm and welcoming atmosphere that will impress your guests and passersby alike. Not only are porch railing lights aesthetically pleasing, but they also serve as a great way to showcase your holiday spirit. Whether you prefer a subtle display or a dazzling show, this article will guide you through the steps of putting up Christmas lights on your porch railing.
Before you begin, it’s important to gather all the necessary materials. Being prepared will make the installation process much smoother. You will need the following items:
- String lights: Choose lights that are designed for outdoor use and are suitable for the size of your porch railing. LED lights are energy-efficient and have a longer lifespan.
- Power source: Ensure you have a nearby outdoor electrical outlet or an extension cord that can safely reach the railing.
- Mounting clips or hooks: These will securely attach the lights to your porch railing without causing any damage. Make sure they are compatible with the type of railing you have.
- Zip ties or twist ties: These will be useful for securing the wiring and keeping it neat.
- Tape measure: You’ll need this to measure the length of your porch railing and determine how many lights you will need.
- Ladder or step stool: Depending on the height of your porch, you may need a stable platform to safely access the railing.
Now that you’ve gathered your materials, follow these steps to put up Christmas lights on your porch railing:
Key Takeaways:
- Planning and preparation are crucial when putting up Christmas lights on your porch railing. From measuring the length of the railing to selecting the right clips and hooks, attention to detail ensures a stunning and safe display.
- Once your porch railing lights are installed, take time to enjoy the festive ambiance they create. Share the joy with others, capture memories, and prioritize safety to make the most of your beautifully decorated home.
Read more: How To Put Railing On Concrete Porch
Materials Needed
Before you begin the process of putting up Christmas lights on your porch railing, it’s important to gather all the necessary materials. Having everything you need on hand will make the installation process smoother and more efficient. Here are the materials you will need:
- String lights: Choose lights that are designed for outdoor use and can withstand different weather conditions. LED lights are a popular choice due to their energy efficiency and long lifespan. Consider the length of your porch railing to determine how many lights you will need. Measure the area in advance to ensure you purchase enough lights for the entire railing.
- Power source: Ensure that you have access to a nearby outdoor electrical outlet or have an extension cord long enough to reach the railing. Safety is paramount, so make sure the electrical connection is protected from water or any potential hazards. If using an extension cord, make sure it is designated for outdoor use.
- Mounting clips or hooks: These will be used to secure the lights to the porch railing. Choose clips or hooks that are designed for outdoor use and are compatible with your railing material. Plastic or metal clips that can easily attach to the railing without causing damage are often the best options. Consider the weight of the lights and choose clips or hooks that can support them securely.
- Zip ties or twist ties: These will come in handy for securing the wiring and keeping it neat along the railing. Use them to tie off any loose sections of lights or to bundle excess wiring to prevent tangling or tripping hazards.
- Tape measure: Use a tape measure to accurately measure the length of your porch railing. This will help you determine the amount of lights needed and ensure a balanced and uniform display. Measure twice to be sure of the length to avoid any shortages or wastage.
- Ladder or step stool: Depending on the height of your porch railing, you may need a stable platform to safely reach and install the lights. Use a ladder or step stool that is suitable for outdoor use and provides stability. Ensure it is set up on a level ground and follow proper ladder safety guidelines.
By having these materials ready, you’ll be well-prepared to put up your Christmas lights on the porch railing. Let’s move on to the step-by-step process for installing the lights!
Step 1: Measure and Plan
Before you start installing the Christmas lights on your porch railing, it’s important to measure the length of the railing and plan out your lighting design. This will help ensure that you have enough lights to cover the entire railing and create a visually appealing display. Here are the steps to follow:
- Measure the length: Use a tape measure to measure the total length of your porch railing. Start from one end and measure all the way to the other end. Take note of the measurement so you know how many lights you will need to cover the entire railing.
- Decide on the lighting design: Consider the aesthetic you want to achieve with your Christmas lights. Do you want a simple, uniform look, or are you going for a more elaborate and decorative display? This will help you determine the spacing and arrangement of the lights.
- Plan the spacing: Based on the length of your porch railing and the design you have in mind, calculate the spacing between each light. This will ensure an even distribution and prevent any gaps or overcrowding. You can mark the desired intervals on the railing with a pencil or use a piece of string as a guide.
- Consider power source placement: Take note of the location of the nearest outdoor electrical outlet or the position where you plan to plug in the lights. Make sure it is easily accessible and can reach your porch railing without any issues. If you require an extension cord, plan its placement accordingly to avoid any trip hazards or damage to the cord.
By measuring the length of your porch railing and planning out the spacing and design, you’ll have a clear idea of how many lights you’ll need and how to position them. This will save you time and effort during the installation process and ensure a visually pleasing result. Now that you have your plan in place, let’s move on to the next step: attaching the clips or hooks to the railing.
Step 2: Attach Clips or Hooks
Once you have measured the length of your porch railing and planned out your lighting design, the next step is to attach the clips or hooks that will hold the Christmas lights in place. These clips or hooks will securely fasten the lights to the railing without causing any damage. Here’s how to do it:
- Select the right clips or hooks: Choose clips or hooks that are suitable for your specific railing material. You can find various options at hardware stores or online. Plastic clips with adhesive backing or adjustable hooks that can securely grip the railing are popular choices. Make sure the clips or hooks are designed for outdoor use to withstand the elements.
- Start at one end: Begin at one end of the porch railing and attach the clips or hooks according to your planned spacing. Keep them evenly spaced and secure.
- Press them firmly: Apply firm pressure to ensure the clips or hooks are securely attached to the railing. This will prevent them from coming loose when the lights are installed.
- Repeat the process: Continue attaching the clips or hooks along the entire length of the railing, following your planned spacing. Make sure they are aligned and evenly distributed for a uniform display.
- Double-check the attachment: Once all the clips or hooks are in place, give them a gentle tug to ensure they are firmly attached and can support the weight of the lights. Make any necessary adjustments as needed.
By attaching the clips or hooks to your porch railing, you have created a stable and secure foundation for your Christmas lights. This step is crucial to ensure that the lights stay in place and create a beautiful display. With the clips or hooks in position, it’s time to move on to the next step: installing the lights themselves.
Step 3: Install the Lights
With the clips or hooks securely attached to your porch railing, it’s now time to install the Christmas lights. This step involves carefully arranging and fastening the lights onto the clips or hooks. Follow these steps for a smooth installation:
- Start at the desired end: Begin at one end of the porch railing, where you have already attached the clips or hooks. This will serve as your starting point for installing the lights.
- Thread the lights through the clips or hooks: Take the first section of lights and thread them through the clips or hooks in a zigzag pattern. This will create a visually appealing display along the railing. Make sure the lights are securely held by the clips or hooks.
- Continue the zigzag pattern: Repeat the process, following the planned spacing and zigzag pattern, until you reach the other end of the porch railing. Take your time to ensure the lights are evenly distributed and well-secured with the clips or hooks.
- Do not overtighten: Avoid pulling the lights too tightly or stretching them excessively. This can strain the wiring and potentially cause damage. Keep a gentle tension on the lights to maintain their shape and prevent any issues.
- Leave excess wire: If you have any excess wire at the end of the railing, allow it to hang down or loop it neatly instead of forcing it into a tight space. This will prevent unnecessary strain on the wires and help maintain the overall integrity of the display.
As you install the lights, step back occasionally to assess the overall look and make any necessary adjustments. Ensure that the lights are evenly distributed, the spacing is consistent, and the overall design is visually appealing. Taking your time during this step will result in a stunning display that enhances the festive atmosphere of your porch. Once all the lights are installed, it’s time to move on to the next step: securing the wiring.
When putting Christmas lights on a porch railing, start by measuring the length of the railing and then choose lights that are suitable for outdoor use. Use clips or hooks to secure the lights to the railing, and be sure to test the lights before hanging them.
Read more: How To Put Christmas Lights On Roof
Step 4: Secure the Wiring
After installing the Christmas lights on your porch railing, it’s important to properly secure the wiring to ensure a safe and tidy display. Securing the wiring will help prevent tripping hazards, protect the lights from damage, and maintain the overall aesthetics of your setup. Follow these steps to secure the wiring:
- Use zip ties or twist ties: Gather any excess wiring and secure it to the railing using zip ties or twist ties. This will help keep the wiring neat and prevent it from getting tangled or snagged.
- Bundle the excess wire: If there is a significant amount of excess wire, you may want to bundle it together. Use zip ties or twist ties to create a neat bundle and attach it to the railing.
- Hide the wiring: If possible, try to hide the wiring by positioning it behind the railing or tucking it away in the corners. This will give your display a cleaner and more professional look.
- Secure any loose wires: Check along the railing for any loose or hanging wires. Use additional zip ties or twist ties to secure them to the railing or the existing wiring. This will prevent them from flopping around or getting caught on anything.
- Ensure proper wire protection: Make sure that the wiring is protected from any potential hazards, such as sharp edges or outdoor elements. Avoid running the wires across walkways or areas where they might be accidentally pulled or damaged.
- Double-check the stability: Once you have secured the wiring, give it a gentle tug to test its stability. Ensure that it is firmly attached to the railing and will not come loose easily.
By properly securing the wiring, you can enjoy a safe and well-organized display of Christmas lights on your porch railing. Remember to take your time and pay attention to details to create a visually pleasing and hassle-free setup. After securing the wiring, it’s time to move on to the next step: testing the lights to make sure they are functioning properly.
Step 5: Test the Lights
Before you can fully enjoy the festive ambiance of your Christmas lights on the porch railing, it’s crucial to test them to ensure they are working properly. Testing the lights will allow you to address any potential issues or malfunctions before the holiday season is in full swing. Follow these steps to test the lights:
- Plug in the lights: Connect the lights to the power source by plugging them into the nearby outdoor electrical outlet or extension cord.
- Switch on the lights: If the lights have an on/off switch, make sure it is in the “on” position. If the lights are not turning on, double-check the power source and ensure that it is functioning correctly.
- Inspect for any issues: Carefully examine the lights to ensure that all bulbs are lit and there are no flickering or dim sections. Check for loose connections or damaged bulbs. If you notice any problems, replace any faulty bulbs or address any wiring issues before proceeding.
- Test different lighting modes: If your Christmas lights have different lighting modes, such as steady glow or flashing, test each mode to ensure that all options are functioning as intended.
- Make necessary adjustments: If you notice any areas where the lights are not appearing as desired, adjust them accordingly. Straighten out any tangled wires or adjust the clips or hooks to achieve the desired look.
- Enjoy the illuminated display: Once you have confirmed that the lights are working properly and the display looks as you envisioned, you can now step back and enjoy the beautiful and festive ambiance created by your Christmas lights on the porch railing.
By testing the lights before the holiday season, you can ensure that they are in good working order and address any issues promptly. This step allows you to make any necessary adjustments and guarantees that your porch railing lights will shine bright throughout the holiday period. Now that the lights have been tested, let’s move on to the next step: making any necessary adjustments to perfect your display.
Step 6: Make Necessary Adjustments
After testing the Christmas lights on your porch railing, it’s time to step back and evaluate the overall display. This step allows you to make any necessary adjustments to perfect the look and ensure that the lights are creating the desired effect. Follow these steps to make any necessary adjustments:
- Check for symmetry: Assess the overall symmetry of the lights along the porch railing. Ensure that the spacing between each light is consistent and that the zigzag pattern, if applicable, is well-balanced.
- Ensure proper coverage: Review the coverage of the lights along the railing. If there are any areas that appear sparse or uneven, consider adding additional lights to create a fuller and more visually appealing display.
- Address any loose clips or hooks: Inspect the clips or hooks to ensure that they are securely holding the lights. If you notice any loose or wobbly attachments, reposition or tighten them as needed to ensure stability.
- Remove any tangled wires: If you notice any tangled or twisted wires, take the time to carefully untangle them. Straighten out the wires to create a neater and more professional-looking display.
- Make adjustments for balance: Step back and evaluate the overall balance of the lights. If certain sections appear heavier or lighter than others, consider redistributing the lights to create a more even distribution.
- Step back and reassess: After making adjustments, take a few steps back and evaluate the display as a whole. Ensure that it meets your expectations and creates the desired visual impact.
Making necessary adjustments allows you to create a visually pleasing display that is well-balanced and aesthetically appealing. By taking the time to perfect your porch railing lights, you can create a festive atmosphere that will impress your guests and bring joy to all who see it. Now that you have made any necessary adjustments, it’s time to step back and enjoy your beautifully decorated porch railing.
Step 7: Enjoy the Festive Porch Railing
With your Christmas lights securely installed, properly tested, and any necessary adjustments made, it’s time to sit back, relax, and enjoy the festive ambiance created by your porch railing lights. Here are some tips to maximize your enjoyment:
- Admire your handiwork: Take a moment to appreciate the effort you put into decorating your porch railing. Stand back and admire the beautiful lights that now gracefully adorn your home.
- Invite others to share the joy: Spread the holiday cheer by inviting friends, family, and neighbors to come and see your festive porch railing. Your beautifully decorated home will undoubtedly brighten their holiday season.
- Host gatherings or outdoor parties: Utilize your beautifully lit porch railing as a backdrop for hosting outdoor gatherings or parties. The warm and inviting ambiance will create a festive and joyful atmosphere for your guests.
- Capture memories: Take photos or videos of your porch railing lights during the day and at night to capture the magical moments. Share these images with loved ones or on social media platforms to spread the holiday spirit.
- Maintain safety: While enjoying your porch railing lights, remember to prioritize safety. Keep an eye on the lights to ensure they are functioning properly and promptly address any issues or concerns that arise. Always follow safety guidelines when working with electricity and outdoor decorations.
- Extend the holiday spirit: Consider keeping your porch railing lights up even beyond the holiday season. They can bring warmth and charm to your home throughout the winter months, adding a touch of magic to your surroundings.
By following these steps, you can fully embrace the festive atmosphere created by your porch railing lights. Enjoy the beauty and joy they bring, and share the holiday spirit with those around you. Wishing you a wonderful and memorable holiday season filled with love, laughter, and the magic of Christmas!
Frequently Asked Questions about How To Put Christmas Lights On Porch Railing
Was this page helpful?
At Storables.com, we guarantee accurate and reliable information. Our content, validated by Expert Board Contributors, is crafted following stringent Editorial Policies. We're committed to providing you with well-researched, expert-backed insights for all your informational needs.


0 thoughts on “How To Put Christmas Lights On Porch Railing”