Home>Furniture & Design>Outdoor Furniture>How To Plug In Christmas Lights Outdoor
Outdoor Furniture
How To Plug In Christmas Lights Outdoor
Modified: August 17, 2024
Discover the best way to plug in Christmas lights outdoor with our expert tips. Illuminate your outdoor space with our outdoor furniture, furniture, and design ideas.
(Many of the links in this article redirect to a specific reviewed product. Your purchase of these products through affiliate links helps to generate commission for Storables.com, at no extra cost. Learn more)
Introduction
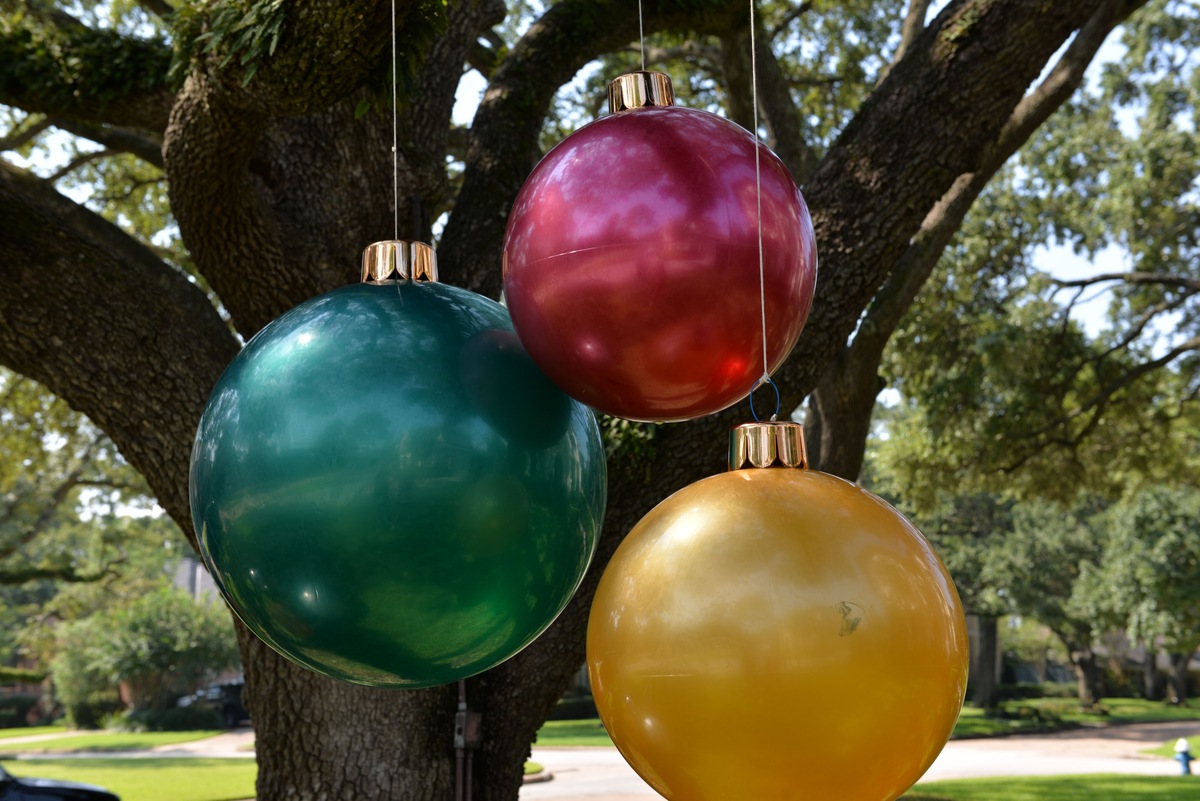
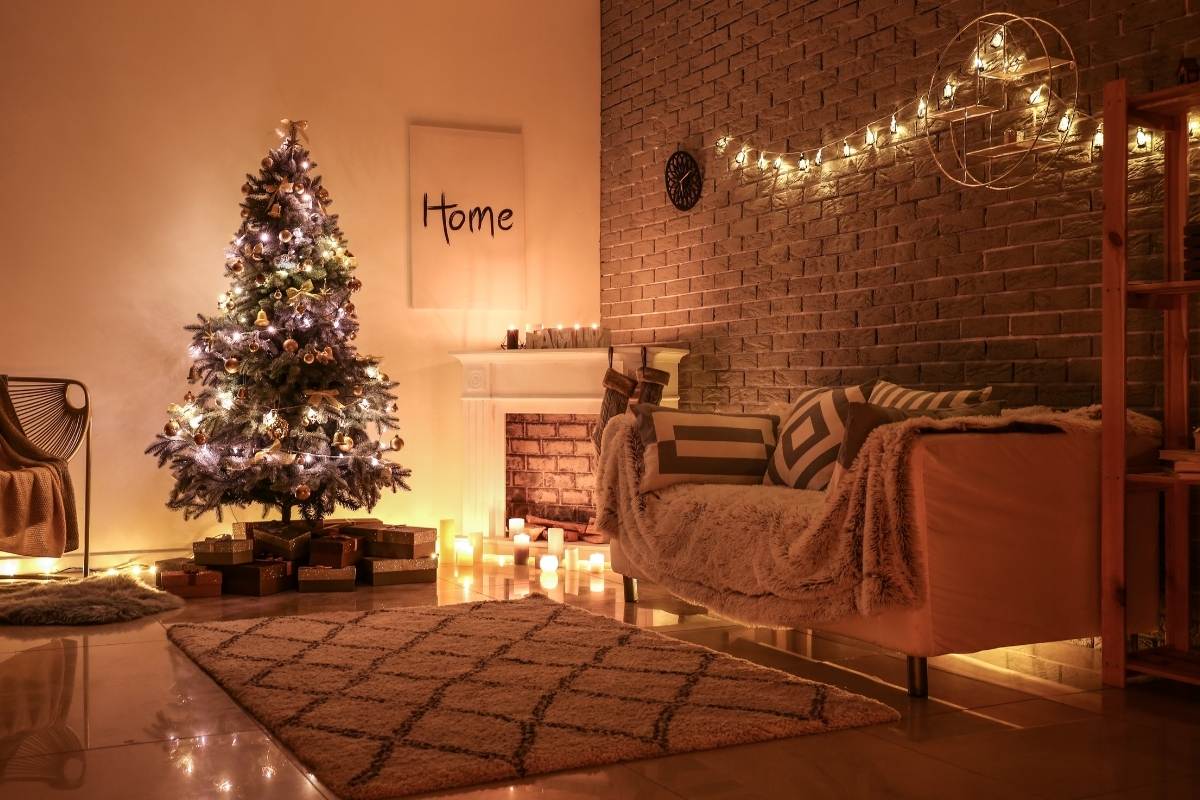
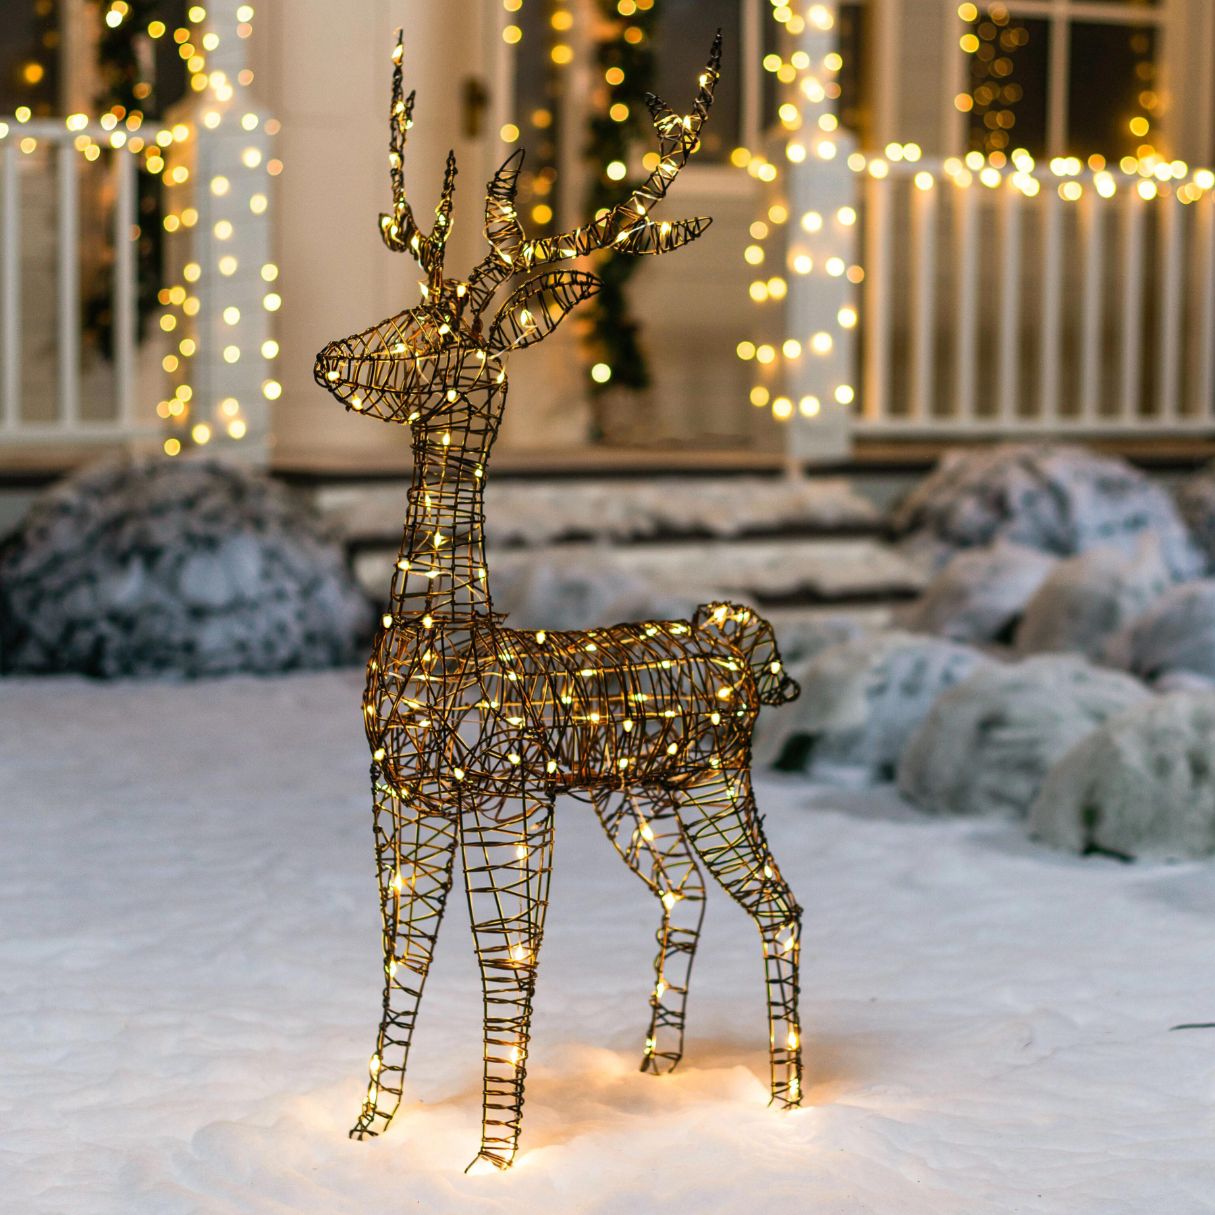
The festive season brings with it the joy of decorating our homes with beautiful Christmas lights. Whether it's a simple string of lights adorning the front porch or an elaborate display illuminating the entire yard, outdoor Christmas lights add a magical touch to the holiday ambiance. While the thought of decking the halls with twinkling lights may evoke feelings of excitement, the practical aspects of setting up outdoor Christmas lights can sometimes pose a challenge.
In this comprehensive guide, we will walk you through the process of plugging in outdoor Christmas lights, ensuring that your festive display is not only visually stunning but also safe and hassle-free. From selecting the right lights to securing them in place, we'll cover all the essential steps to help you create a captivating outdoor light display that spreads joy and cheer to all who behold it.
So, gather your lights, extension cords, and a cup of hot cocoa, and let's embark on this enchanting journey to illuminate your outdoor space with the warmth and splendor of Christmas lights.
Key Takeaways:
- Choose outdoor Christmas lights designed for weather resistance, energy efficiency, and aesthetic appeal to create a visually stunning and safe display that spreads holiday cheer throughout your neighborhood.
- Prioritize safety by locating a suitable outdoor outlet, using outdoor-rated extension cords, and securing the lights with care to ensure a seamless and secure electrical connection for your outdoor Christmas lights.
Read more: How To Protect Outdoor Christmas Light Plugs
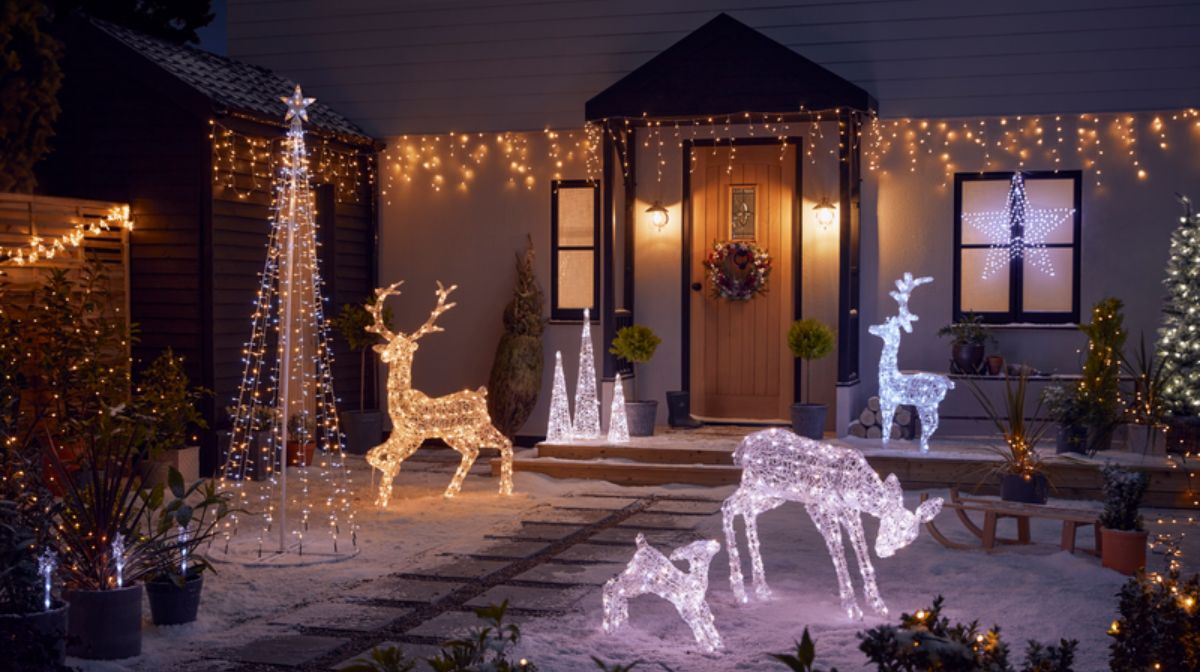
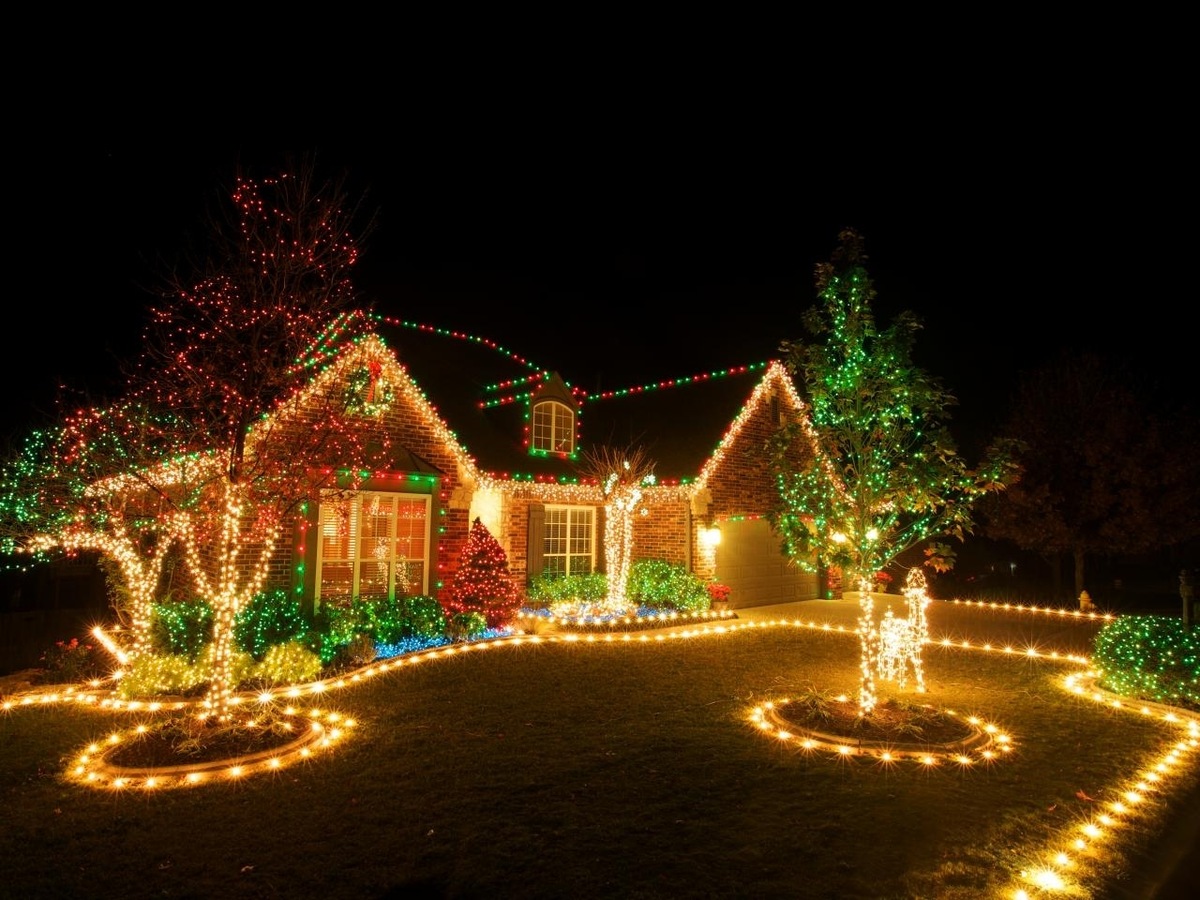
Step 1: Choose the Right Lights
Before diving into the process of plugging in your outdoor Christmas lights, it’s crucial to select the right type of lights that are suitable for outdoor use. When choosing lights for outdoor display, consider the following factors:
- Weather Resistance: Opt for lights specifically designed for outdoor use. Look for weather-resistant or outdoor-rated lights that can withstand varying weather conditions, including rain, snow, and wind.
- LED vs. Incandescent: LED lights are an excellent choice for outdoor displays due to their energy efficiency, durability, and resistance to breakage. They also emit less heat, reducing the risk of fire hazards. However, if you prefer the traditional warm glow of incandescent lights, ensure they are labeled for outdoor use and handle them with care.
- Color and Style: Consider the color and style of the lights to complement your outdoor decor and personal preferences. Whether you prefer classic white lights, multicolored displays, or festive themed designs, there are a wide variety of options to suit your aesthetic vision.
Once you’ve chosen the perfect lights for your outdoor display, ensure that they are in good working condition, with no damaged bulbs or frayed wires. Thoroughly inspect the lights, and if any issues are detected, consider replacing them to ensure a safe and visually appealing presentation.
By selecting the right lights designed for outdoor use and aligning with your decorative vision, you set the stage for a stunning outdoor Christmas light display that will captivate onlookers and spread holiday cheer throughout your neighborhood.
Step 2: Locate an Outdoor Outlet
Locating a suitable outdoor outlet is a crucial step in the process of plugging in your outdoor Christmas lights. Before you begin decorating, take the time to identify a safe and accessible outdoor power source for your lights. Here are some essential considerations when locating an outdoor outlet:
- Accessibility: Look for an outdoor outlet that is easily accessible and within close proximity to the areas where you plan to display your lights. This will minimize the need for extensive extension cords and ensure a neater, more organized setup.
- Weatherproofing: Ensure that the outdoor outlet is equipped with a weatherproof cover or housing to protect it from moisture, snow, and other environmental elements. This is essential for maintaining the safety and functionality of the electrical connection.
- Ground Fault Circuit Interrupter (GFCI): Ideally, the outdoor outlet should be equipped with a GFCI, which provides added protection against electrical hazards, particularly in outdoor environments where exposure to moisture is a concern.
If your outdoor space lacks a readily accessible outdoor outlet, consider using a weatherproof outdoor extension cord to connect your lights to an indoor outlet. However, it’s crucial to use extension cords specifically designed for outdoor use and ensure that they are rated for the power requirements of your lights to prevent overloading and potential hazards.
By identifying a suitable outdoor outlet and ensuring that it meets the necessary safety and accessibility criteria, you lay the foundation for a seamless and secure electrical connection for your outdoor Christmas lights, allowing you to bring your festive vision to life with ease and peace of mind.
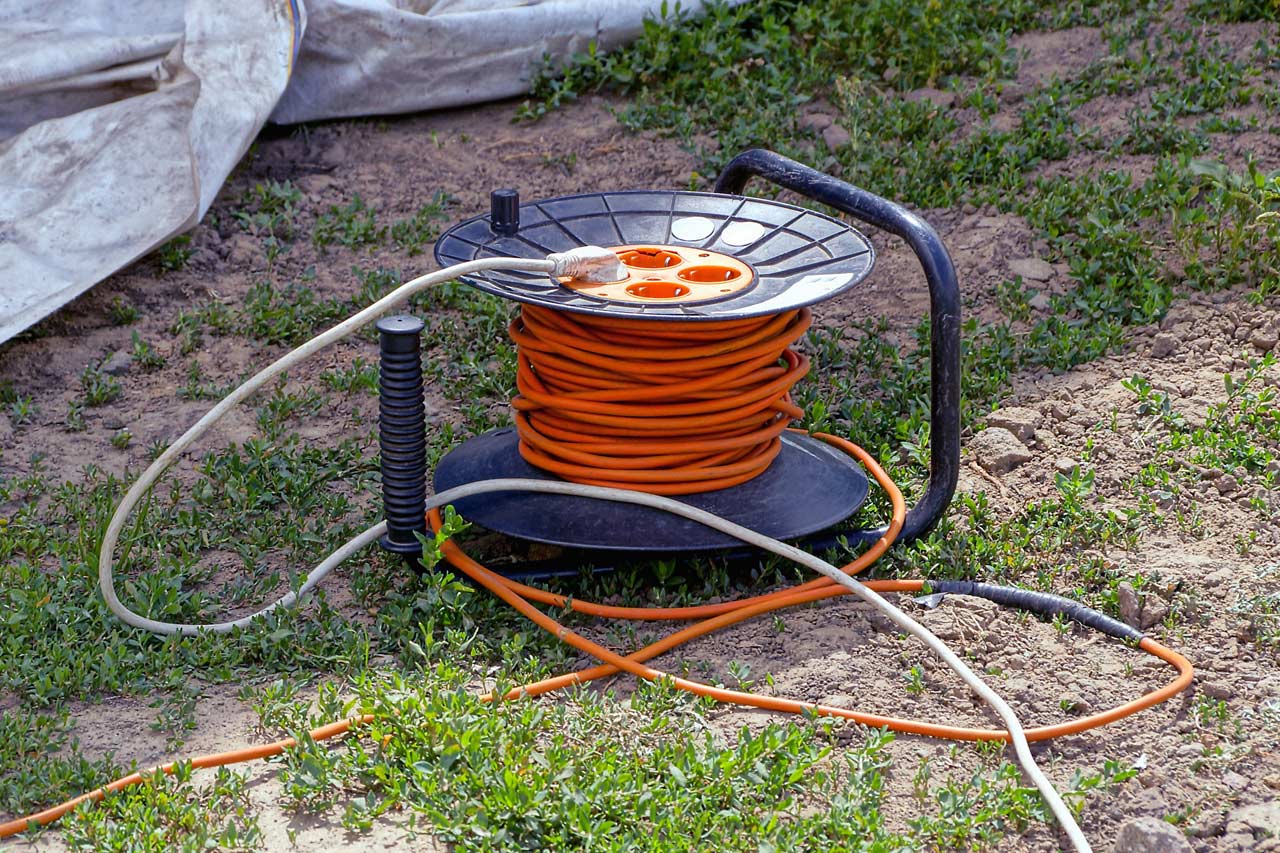
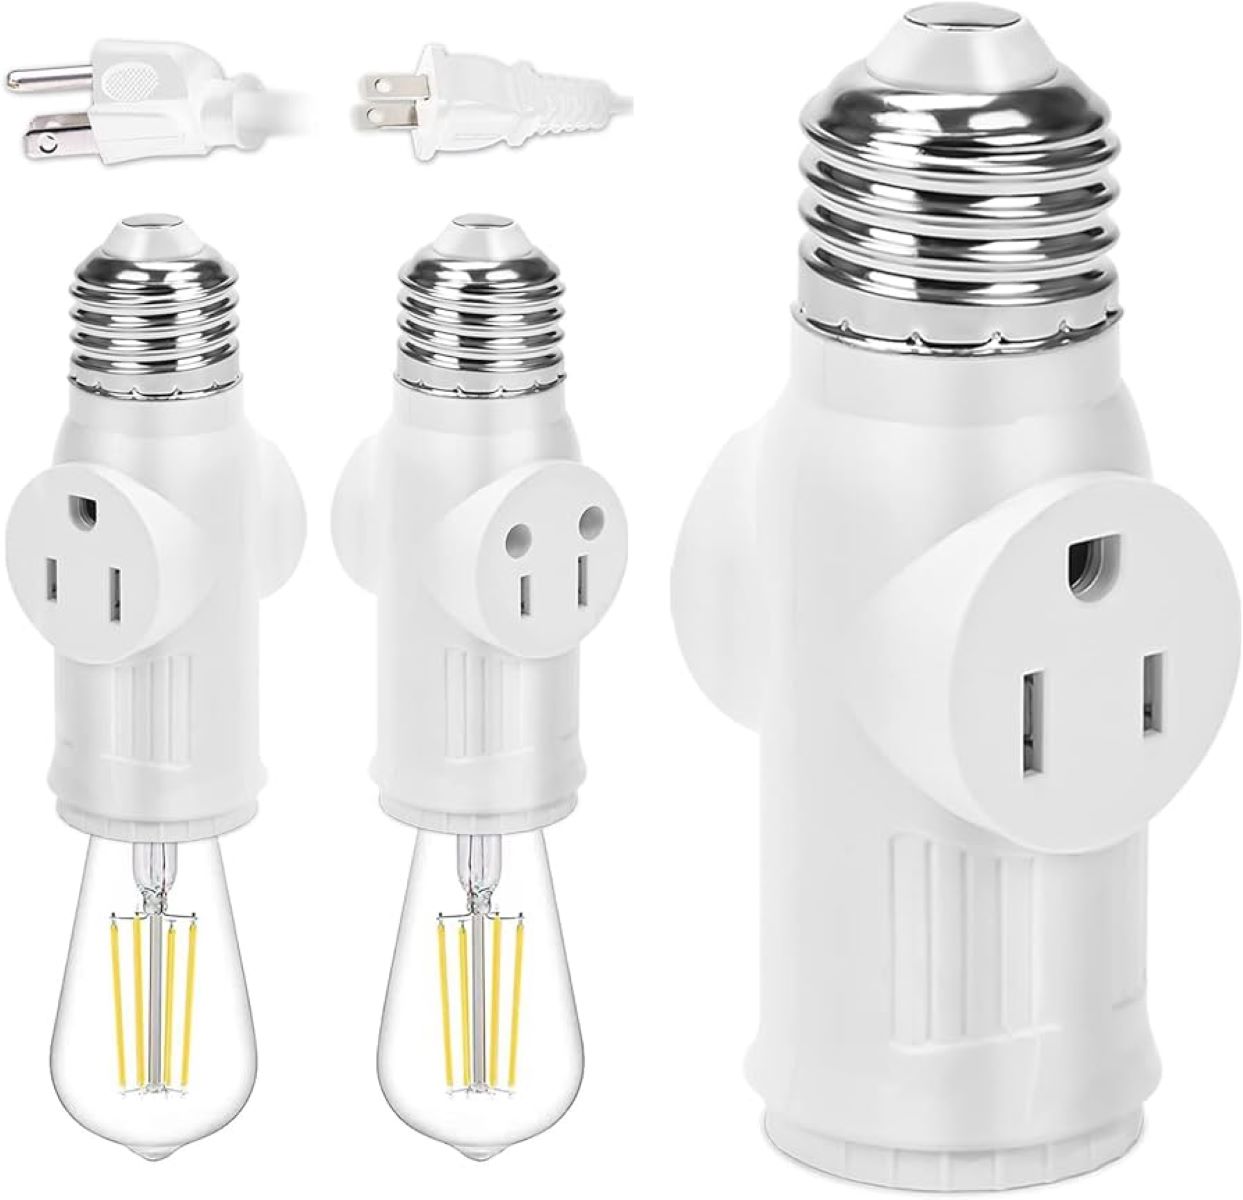
Step 3: Use Extension Cords and Power Strips
When setting up outdoor Christmas lights, the strategic use of extension cords and power strips plays a vital role in ensuring a well-organized and safe electrical setup. Here are essential guidelines for effectively utilizing extension cords and power strips for your outdoor light display:
- Outdoor-Rated Extension Cords: Use extension cords specifically designed for outdoor use to connect your lights to the outdoor power source. Outdoor-rated extension cords are constructed with weather-resistant materials and are equipped to withstand exposure to the elements, providing a secure and reliable electrical connection.
- Proper Length and Capacity: Select extension cords that are the appropriate length to reach your desired display areas without creating excessive slack or tension. Additionally, ensure that the extension cords have the capacity to handle the power requirements of your lights without overloading, which could pose safety risks.
- Power Strips with Weatherproof Covers: If you require multiple outlets for your light display, consider using a weatherproof power strip with built-in surge protection. This will allow you to connect multiple light strands or decorations while safeguarding against power surges and moisture-related hazards.
It’s important to position the extension cords and power strips in a manner that minimizes tripping hazards and protects them from potential damage. Secure the cords along pathways or edges using outdoor-rated cable clips or stakes to ensure a tidy and safe setup.
By employing outdoor-rated extension cords and weatherproof power strips, and arranging them thoughtfully to ensure safety and functionality, you can effectively extend the reach of your outdoor Christmas lights while maintaining a well-organized and hazard-free display that enhances the festive ambiance of your outdoor space.
Make sure to use outdoor-rated extension cords and outlets with ground fault circuit interrupters (GFCI) when plugging in outdoor Christmas lights to ensure safety and prevent electrical hazards.
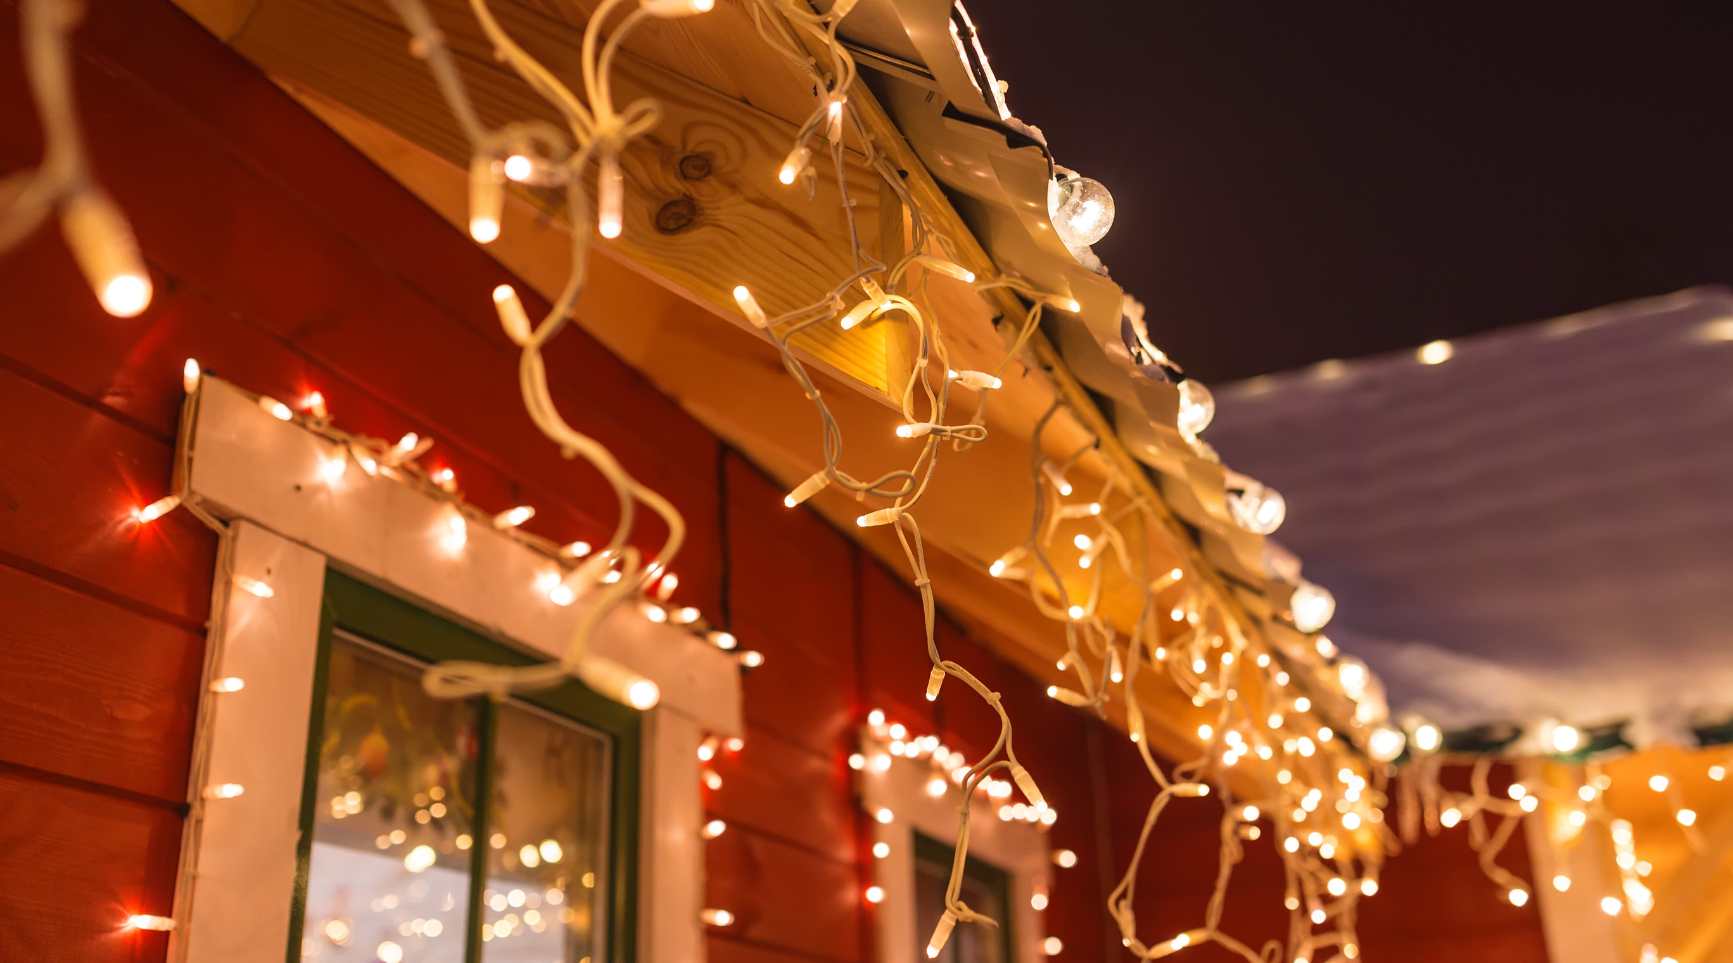
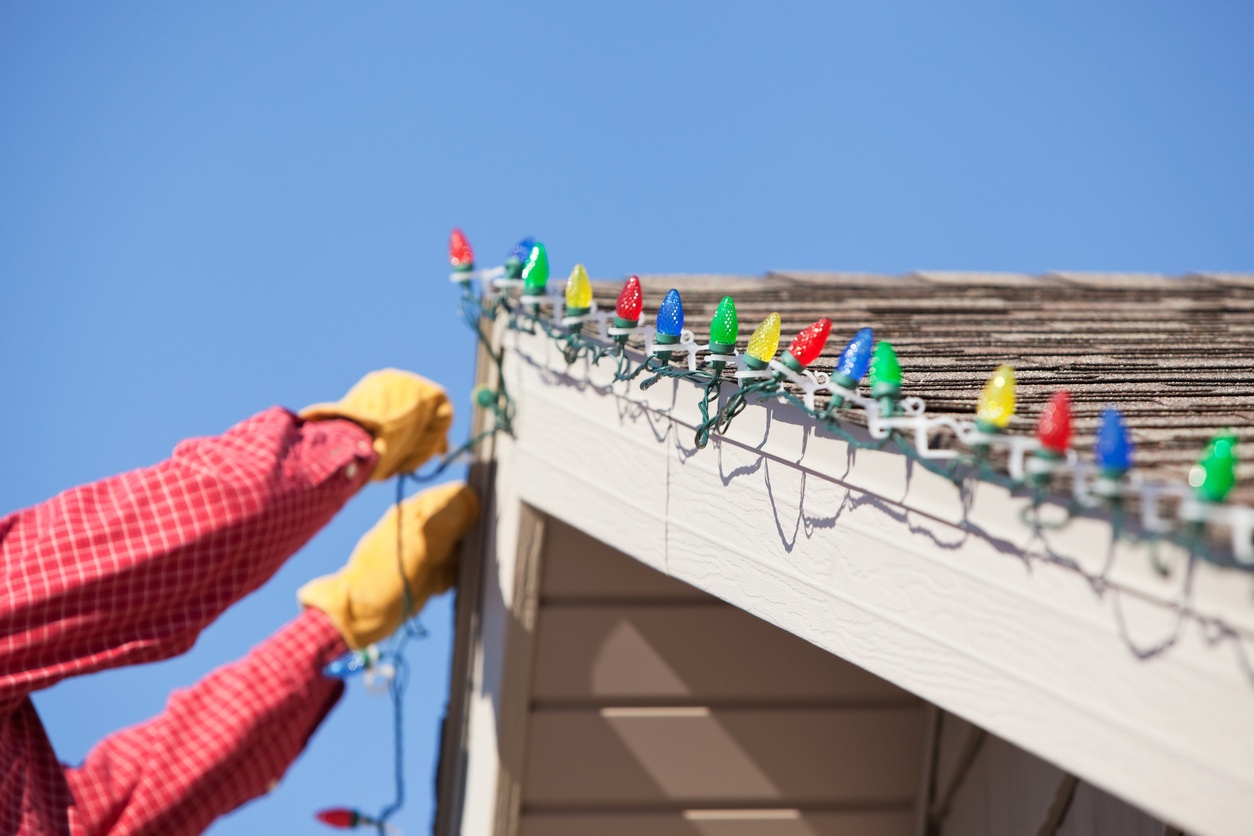
Step 4: Secure the Lights Safely
Securing your outdoor Christmas lights in a safe and reliable manner is essential to ensure that they remain steadfast and visually appealing throughout the holiday season. Proper installation and securing techniques not only enhance the aesthetic impact of your display but also contribute to the safety and longevity of the lights. Here are key steps to securely install and fasten your outdoor Christmas lights:
- Utilize Outdoor-Safe Fasteners: Choose fastening materials designed for outdoor use, such as plastic clips, hooks, or hangers that are specifically tailored for securing lights to various surfaces, including gutters, eaves, trees, and fences. These fasteners help prevent damage to the lights and the surfaces to which they are attached.
- Adhere to Weight and Length Limits: Follow the manufacturer’s guidelines regarding the maximum number of light strands that can be connected end-to-end. Avoid exceeding the recommended length to prevent overloading the electrical circuits and potentially causing damage to the lights or creating safety hazards.
- Protect Exposed Connections: Shield exposed connections, such as plug junctions and extension cord connections, from moisture and debris by using weatherproof covers or electrical tape. This precaution helps safeguard the electrical components from environmental elements and minimizes the risk of electrical malfunctions.
When securing lights to outdoor surfaces, exercise caution and ensure that the fasteners do not puncture or damage the electrical wiring. Additionally, periodically inspect the fastenings to verify that the lights remain securely attached and make adjustments as needed to maintain a tidy and polished display.
By employing appropriate fastening materials, adhering to length and weight limits, and protecting exposed connections, you can confidently and securely install your outdoor Christmas lights, creating a captivating and enduring display that radiates the spirit of the season while prioritizing safety and longevity.
Read more: How To Store Outdoor Christmas Lights
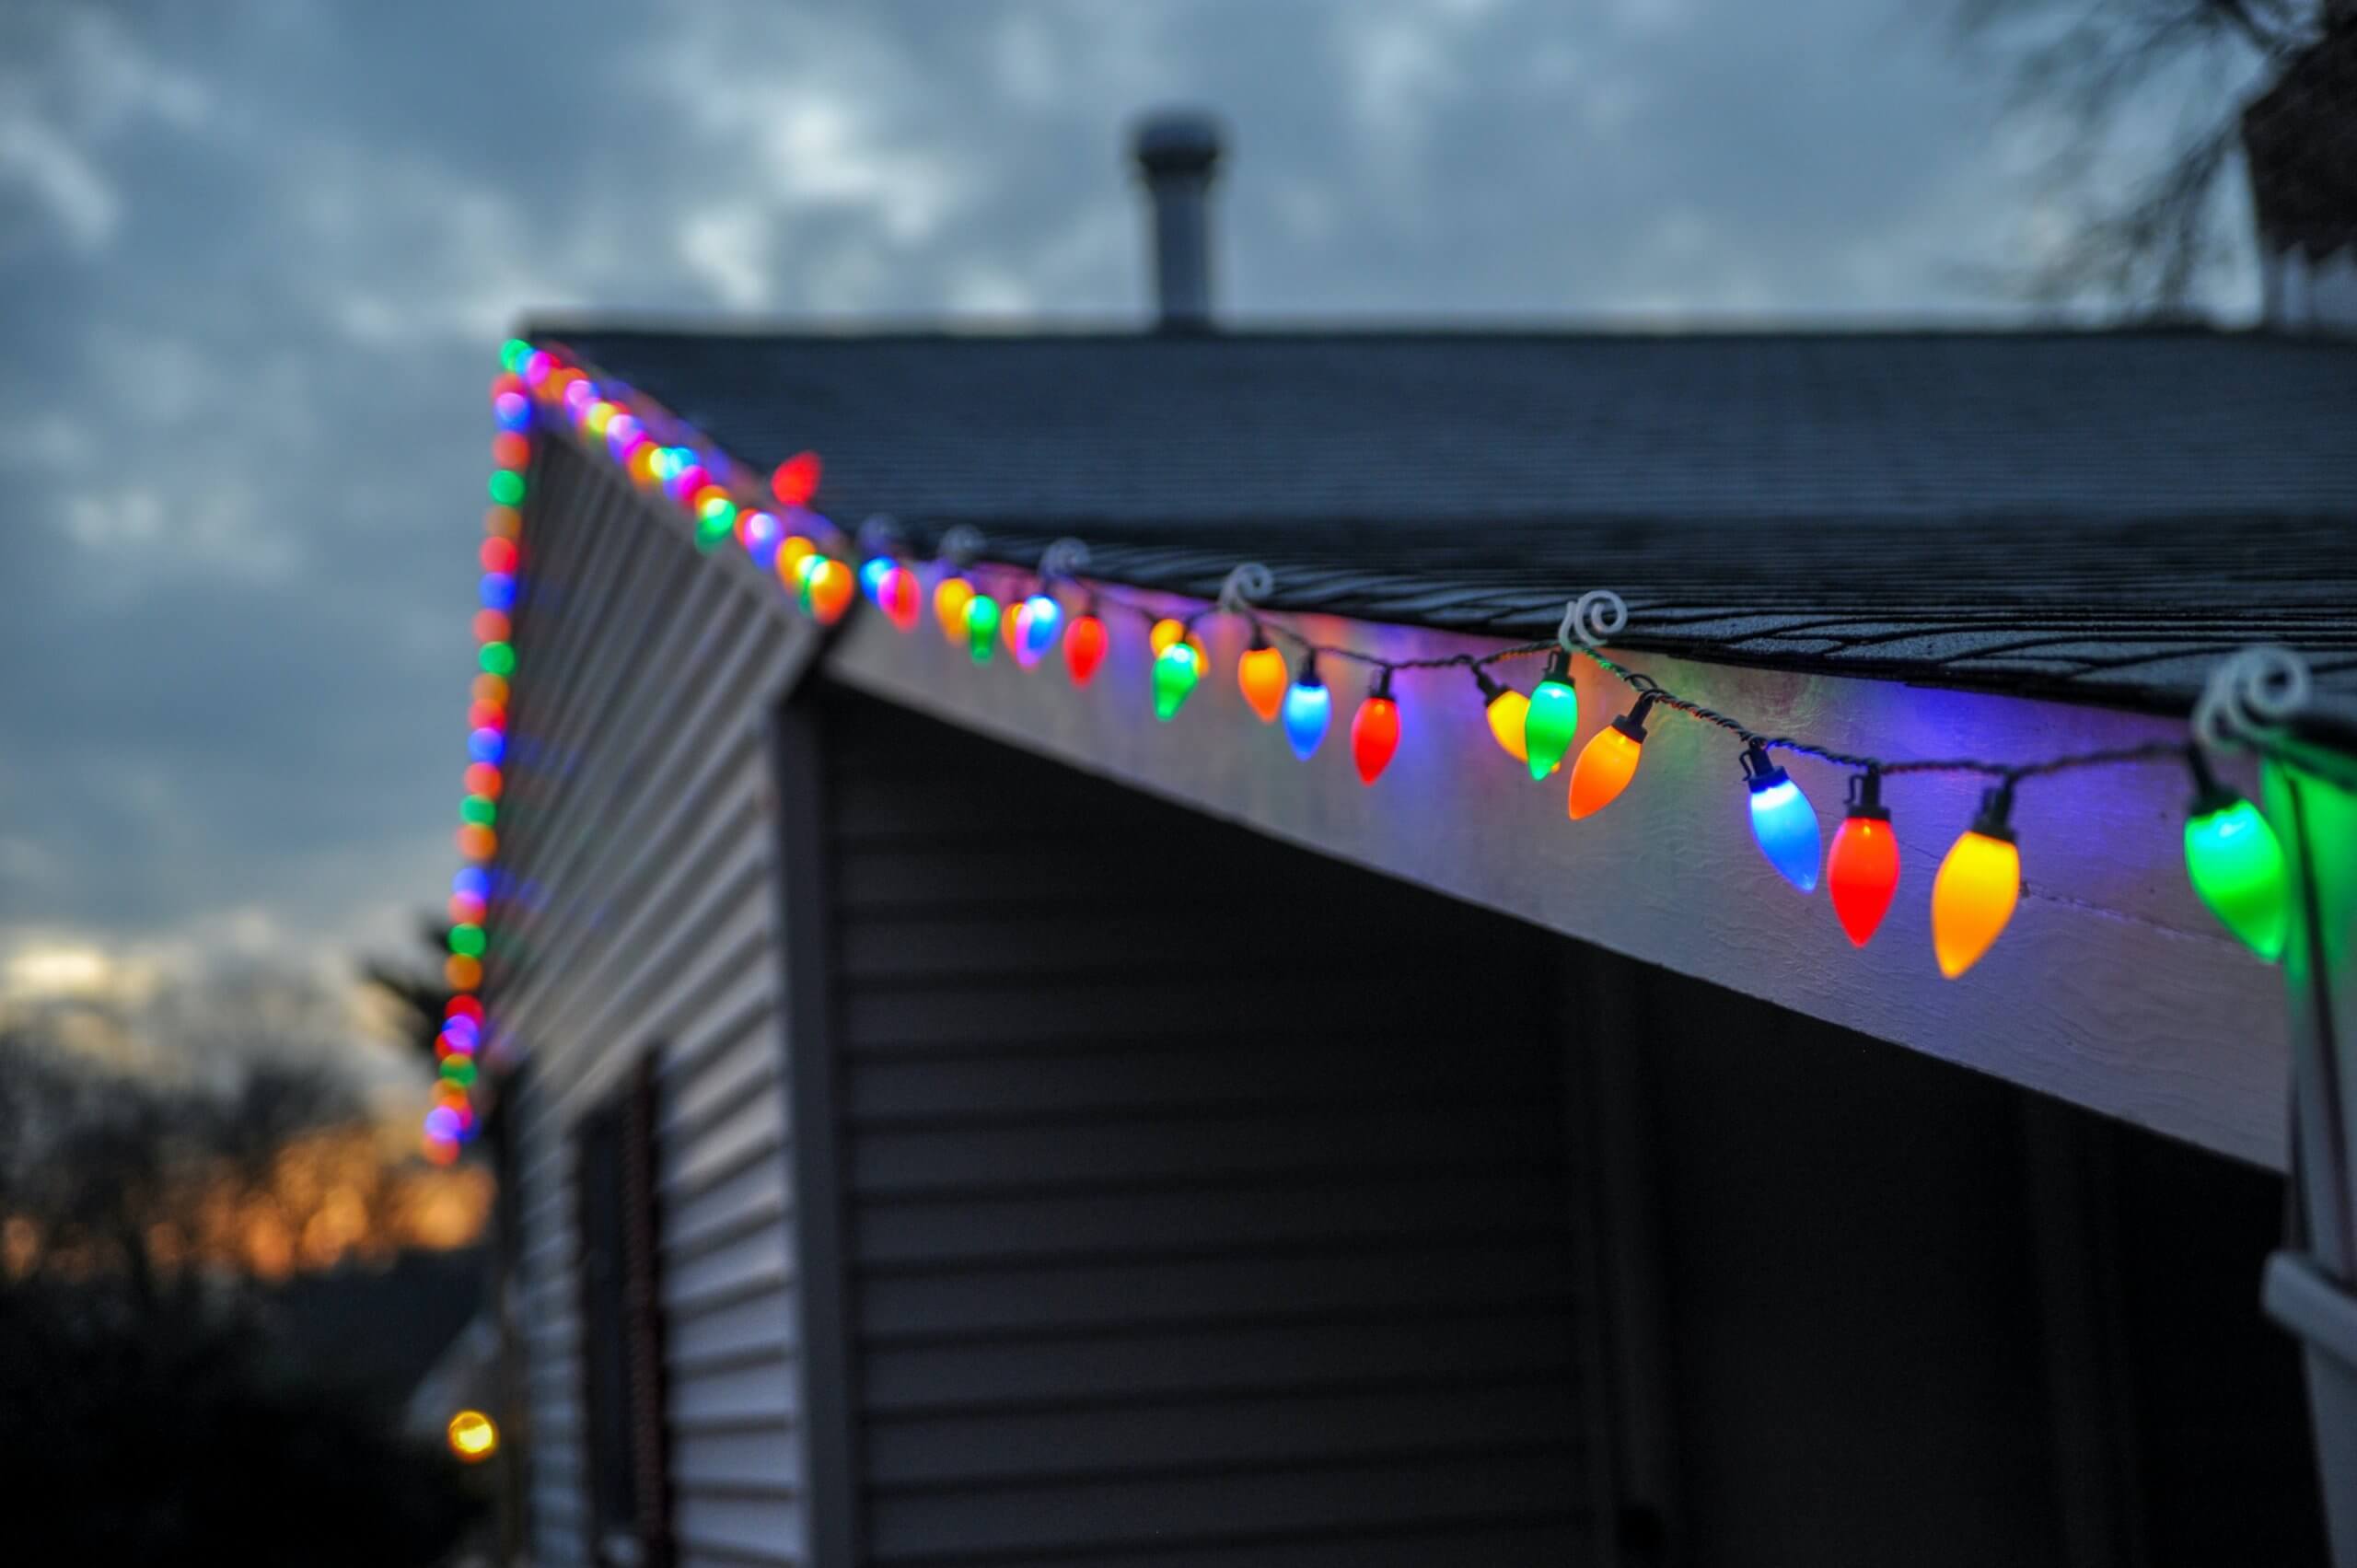
Step 5: Test the Lights
Before unveiling your outdoor Christmas light display to the world, it’s crucial to conduct a thorough testing process to ensure that the lights are in optimal working condition and that the electrical connections are secure. Testing the lights before finalizing the setup allows you to identify and address any issues proactively, ensuring a flawless and dazzling presentation. Here’s how to effectively test your outdoor Christmas lights:
- Preliminary Inspection: Prior to plugging in the lights, visually inspect each strand for damaged bulbs, frayed wires, or any signs of wear and tear. Replace any defective bulbs and refrain from using strands with compromised wiring to prevent electrical hazards.
- Systematic Illumination Test: Plug in each strand of lights individually to verify that all bulbs illuminate consistently. This step enables you to identify and replace any non-functioning bulbs or faulty strands, ensuring a uniform and radiant display.
- Connection Integrity Check: Confirm that the electrical connections, including plugs, extension cords, and power strips, are secure and free from damage. Test the stability of the connections by gently adjusting the cords and plugs to ensure that they remain firmly in place.
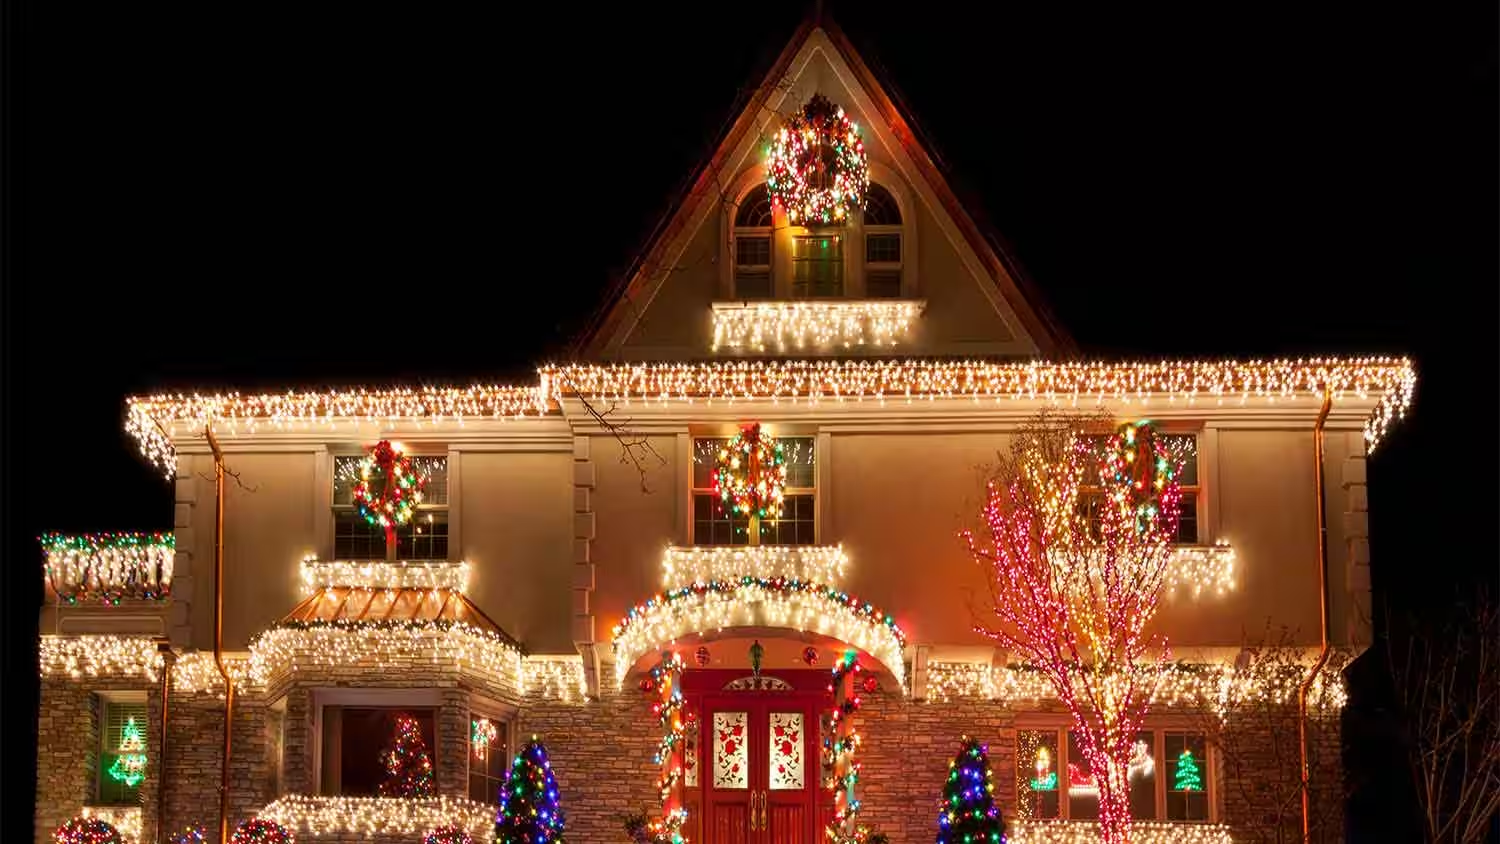
Once the testing process is complete and any necessary adjustments or replacements have been made, step back and admire the breathtaking glow of your outdoor Christmas lights. Take this opportunity to fine-tune the positioning and alignment of the lights to achieve the desired visual impact and ensure that they accentuate the architectural features and landscaping elements of your outdoor space.
By meticulously testing the lights, addressing any issues, and refining the display to perfection, you can unveil a stunning and flawlessly illuminated outdoor Christmas light arrangement that radiates the magic of the season and spreads joy to all who behold it.
Conclusion
As the final touches are applied and the last bulbs twinkle to life, the transformation of your outdoor space into a captivating winter wonderland is complete. The journey of plugging in outdoor Christmas lights has not only resulted in a visually enchanting display but has also been a testament to the meticulous planning, attention to detail, and commitment to safety that underpin the festive spirit.
By choosing the right lights designed for outdoor use, locating a suitable outdoor outlet, and employing extension cords and power strips with care, you have orchestrated a symphony of illumination that effortlessly harmonizes with the wintry landscape. The secure installation and thoughtful positioning of the lights have not only enhanced the visual allure of your outdoor space but have also prioritized the safety and longevity of the display, ensuring a season of unblemished radiance.
As the lights cast their warm glow, enveloping your outdoor haven in a luminous embrace, the testing process has affirmed the flawless functionality of each bulb and the steadfastness of the electrical connections. With every flicker and shimmer, the scene is set for cherished moments and cherished memories, as your outdoor Christmas lights become beacons of joy, guiding the way to festive gatherings and heartwarming celebrations.
Amidst the glistening lights and the palpable sense of wonder they evoke, your outdoor space becomes a testament to the magic of the season, a testament to the joy that emanates from the artful arrangement of lights, and a testament to the spirit of community and togetherness that your radiant display embodies.
As the world outside is adorned with the splendor of your outdoor Christmas lights, may the warmth they exude kindle the spirit of the season in the hearts of all who behold them, and may the memories created beneath their luminous embrace be etched in the tapestry of time, illuminating the path to cherished traditions and shared jubilation for years to come.
Frequently Asked Questions about How To Plug In Christmas Lights Outdoor
Was this page helpful?
At Storables.com, we guarantee accurate and reliable information. Our content, validated by Expert Board Contributors, is crafted following stringent Editorial Policies. We're committed to providing you with well-researched, expert-backed insights for all your informational needs.


0 thoughts on “How To Plug In Christmas Lights Outdoor”