Home>Furniture>Outdoor Furniture>How To Refinish Patio Furniture

Outdoor Furniture
How To Refinish Patio Furniture
Modified: March 15, 2024
Learn how to refinish your outdoor furniture and give it a fresh look. Our step-by-step guide will help you transform your patio furniture with ease.
(Many of the links in this article redirect to a specific reviewed product. Your purchase of these products through affiliate links helps to generate commission for Storables.com, at no extra cost. Learn more)
Introduction
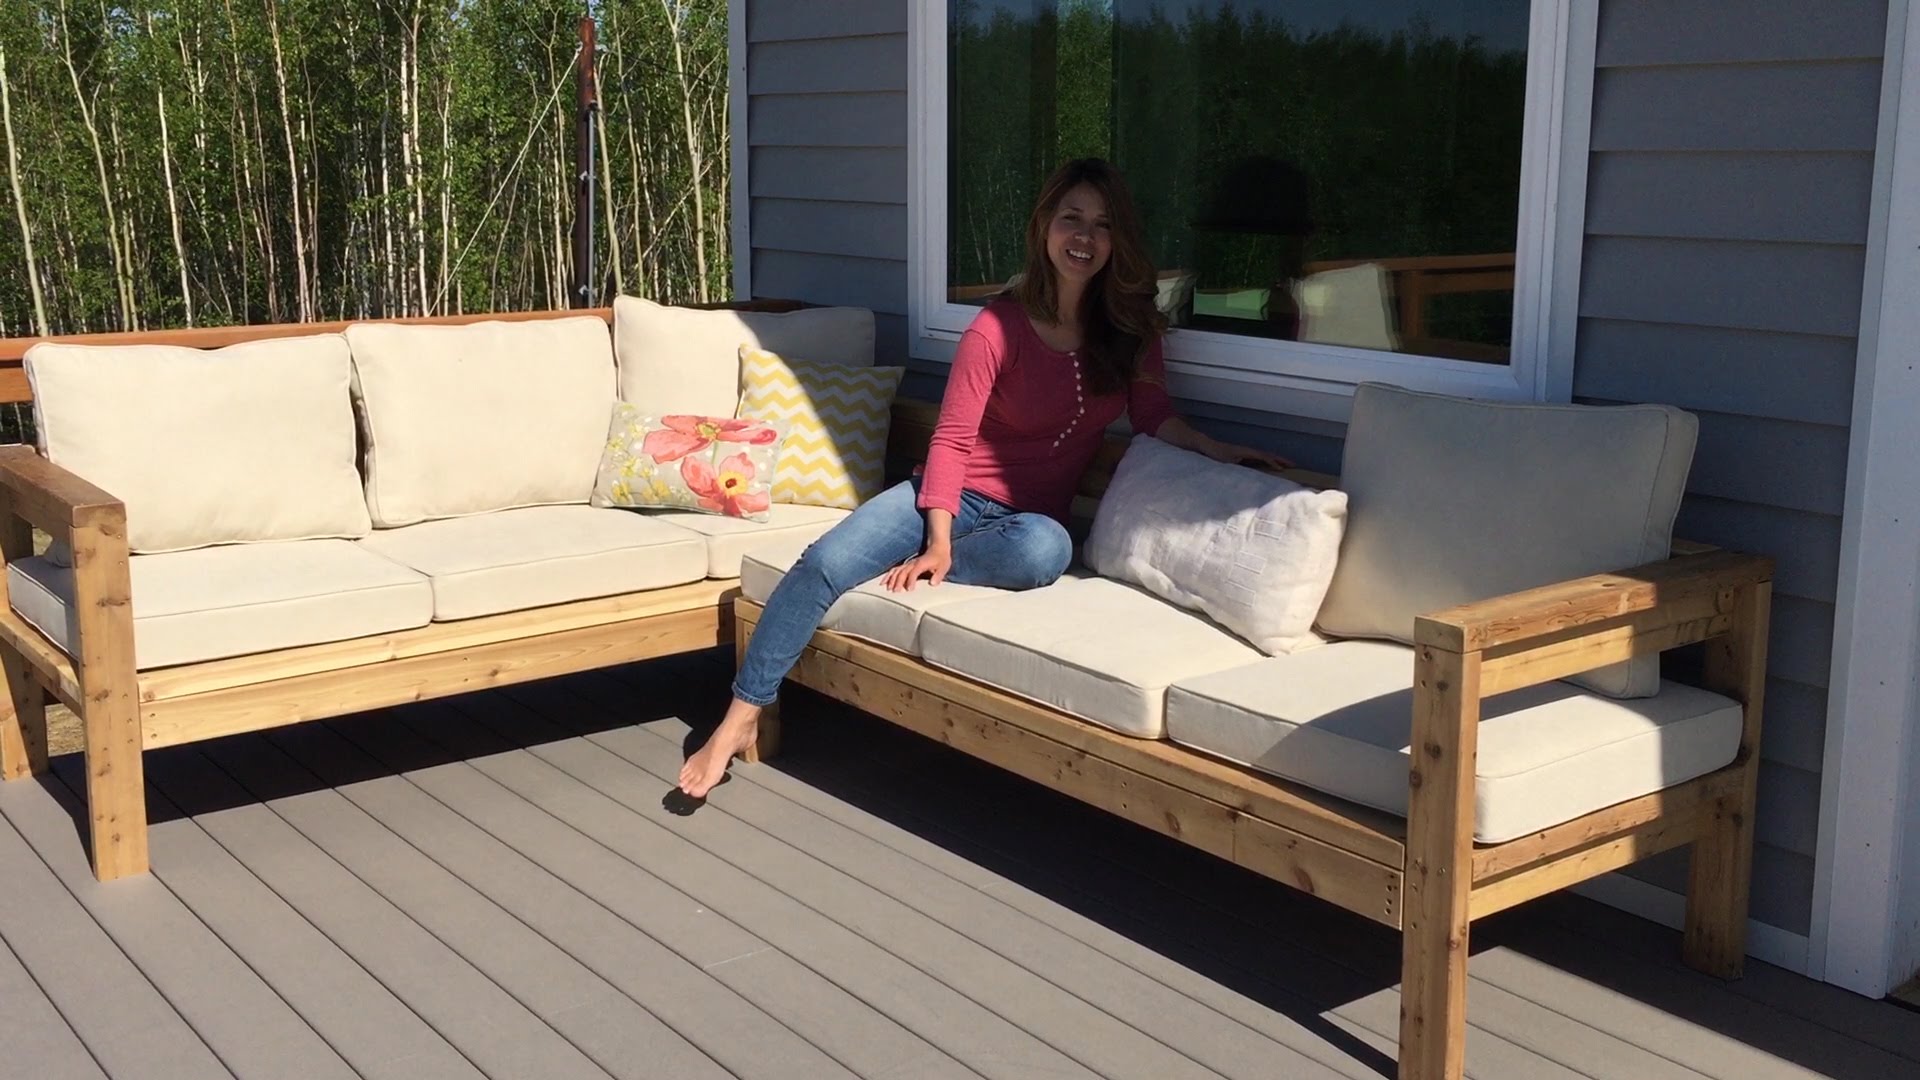
Welcome to our comprehensive guide on how to refinish patio furniture. If you’re looking to revitalize your outdoor space and give your worn-out furniture a new lease on life, refinishing is the perfect solution. Over time, exposure to the elements can cause your patio furniture to fade, chip, or develop a dull appearance. By refinishing your furniture, you can restore its original beauty and prolong its lifespan.
Refinishing patio furniture is a rewarding DIY project that allows you to unleash your creativity and personalize your outdoor space. Whether you have wooden, metal, or plastic furniture, this guide will provide you with the step-by-step instructions and essential tips to achieve professional-looking results. So, grab your supplies and let’s get started!
But first, let’s go over the supplies you’ll need to gather for this project.
Key Takeaways:
- Revitalize worn-out patio furniture by following our guide. Unleash your creativity and personalize your outdoor space with a rewarding DIY project. Enjoy professional-looking results and extended furniture lifespan.
- Prioritize safety and proper preparation for a successful patio furniture refinishing. Transform worn-out pieces into stunning focal points for your outdoor space. Enjoy the process and achieve beautiful, long-lasting results.
Read more: How To Refinish Outdoor Teak Patio Furniture
Supplies Needed
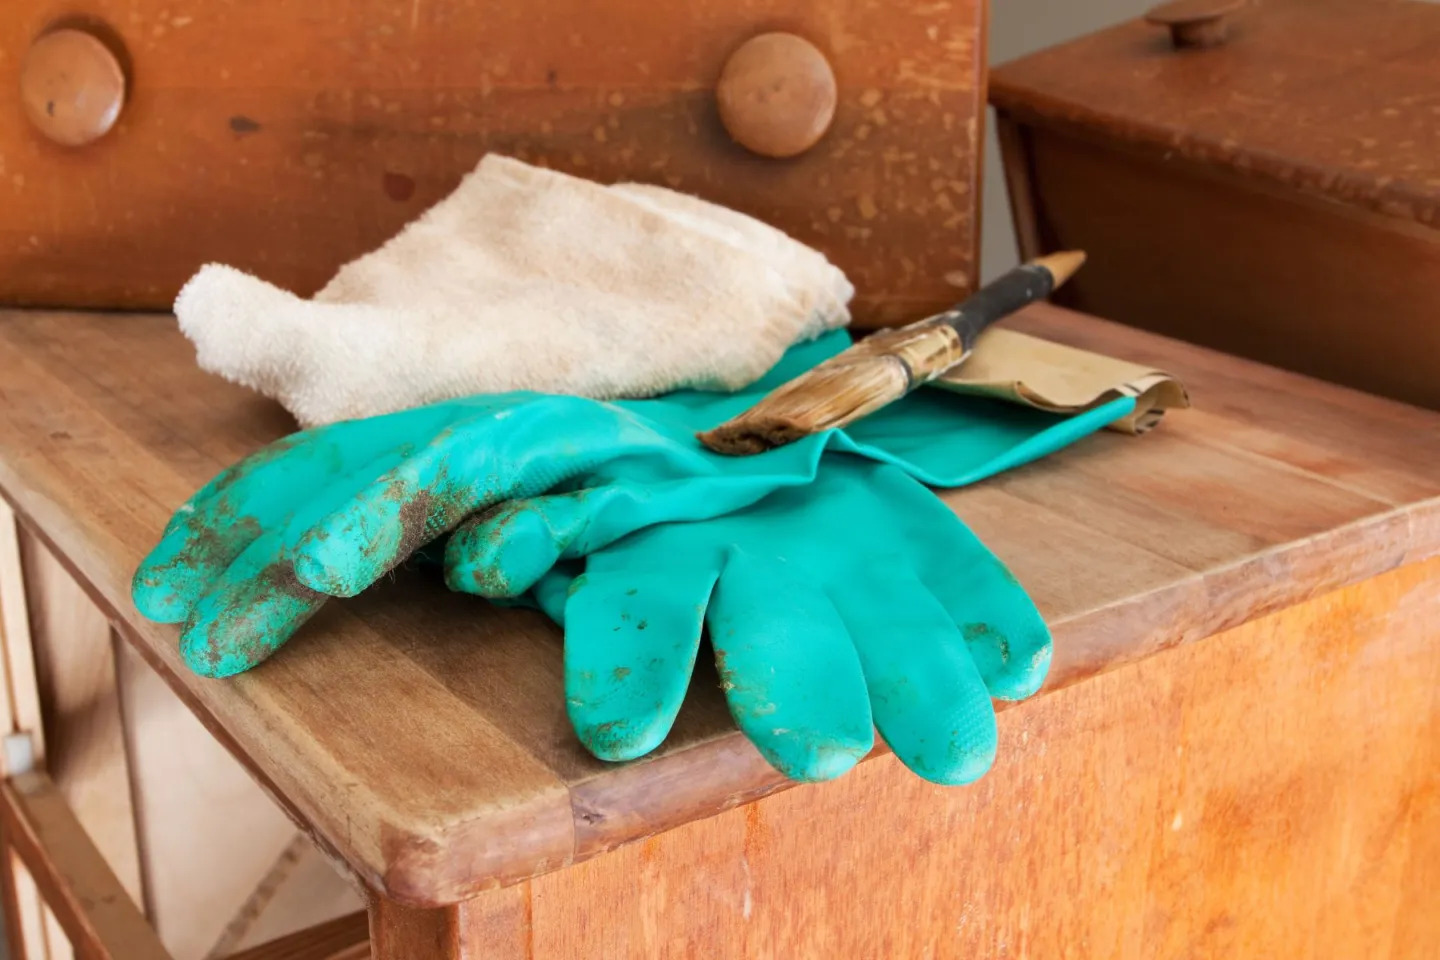
Before you begin refinishing your patio furniture, it’s important to gather all the necessary supplies. Having everything at hand will make the process smoother and more efficient. Here are the supplies you’ll need:
- Protective gear: Safety goggles, gloves, and a mask
- Drop cloths or plastic sheeting to protect your workspace
- Cleaning solution or mild detergent
- Scrub brush or sponge for cleaning
- Sandpaper (medium and fine grit)
- Epoxy putty or wood filler (if repairing damaged parts)
- Stain or paint (depending on the desired finish)
- Brushes or roller for applying stain or paint
- Sealant or varnish for protection
- Screwdriver or wrench (for disassembling and reassembling furniture)
- Steel wool or wire brush (for metal furniture)
Make sure to check the manufacturer’s recommendations for specific products suitable for your type of furniture. Now, let’s move on to preparing your furniture for refinishing.
Preparing the Furniture
Before diving into the refinishing process, it’s important to properly prepare your patio furniture. This step ensures that the surface is clean and free from any debris, allowing for better adhesion of the new finish. Follow the steps below to prepare your furniture:
- Clear the area: Clear your outdoor space or work area and ensure you have enough room to move around comfortably.
- Remove cushions and accessories: Take off any cushions, pillows, or accessories from the furniture to avoid getting them dirty or damaged during the refinishing process.
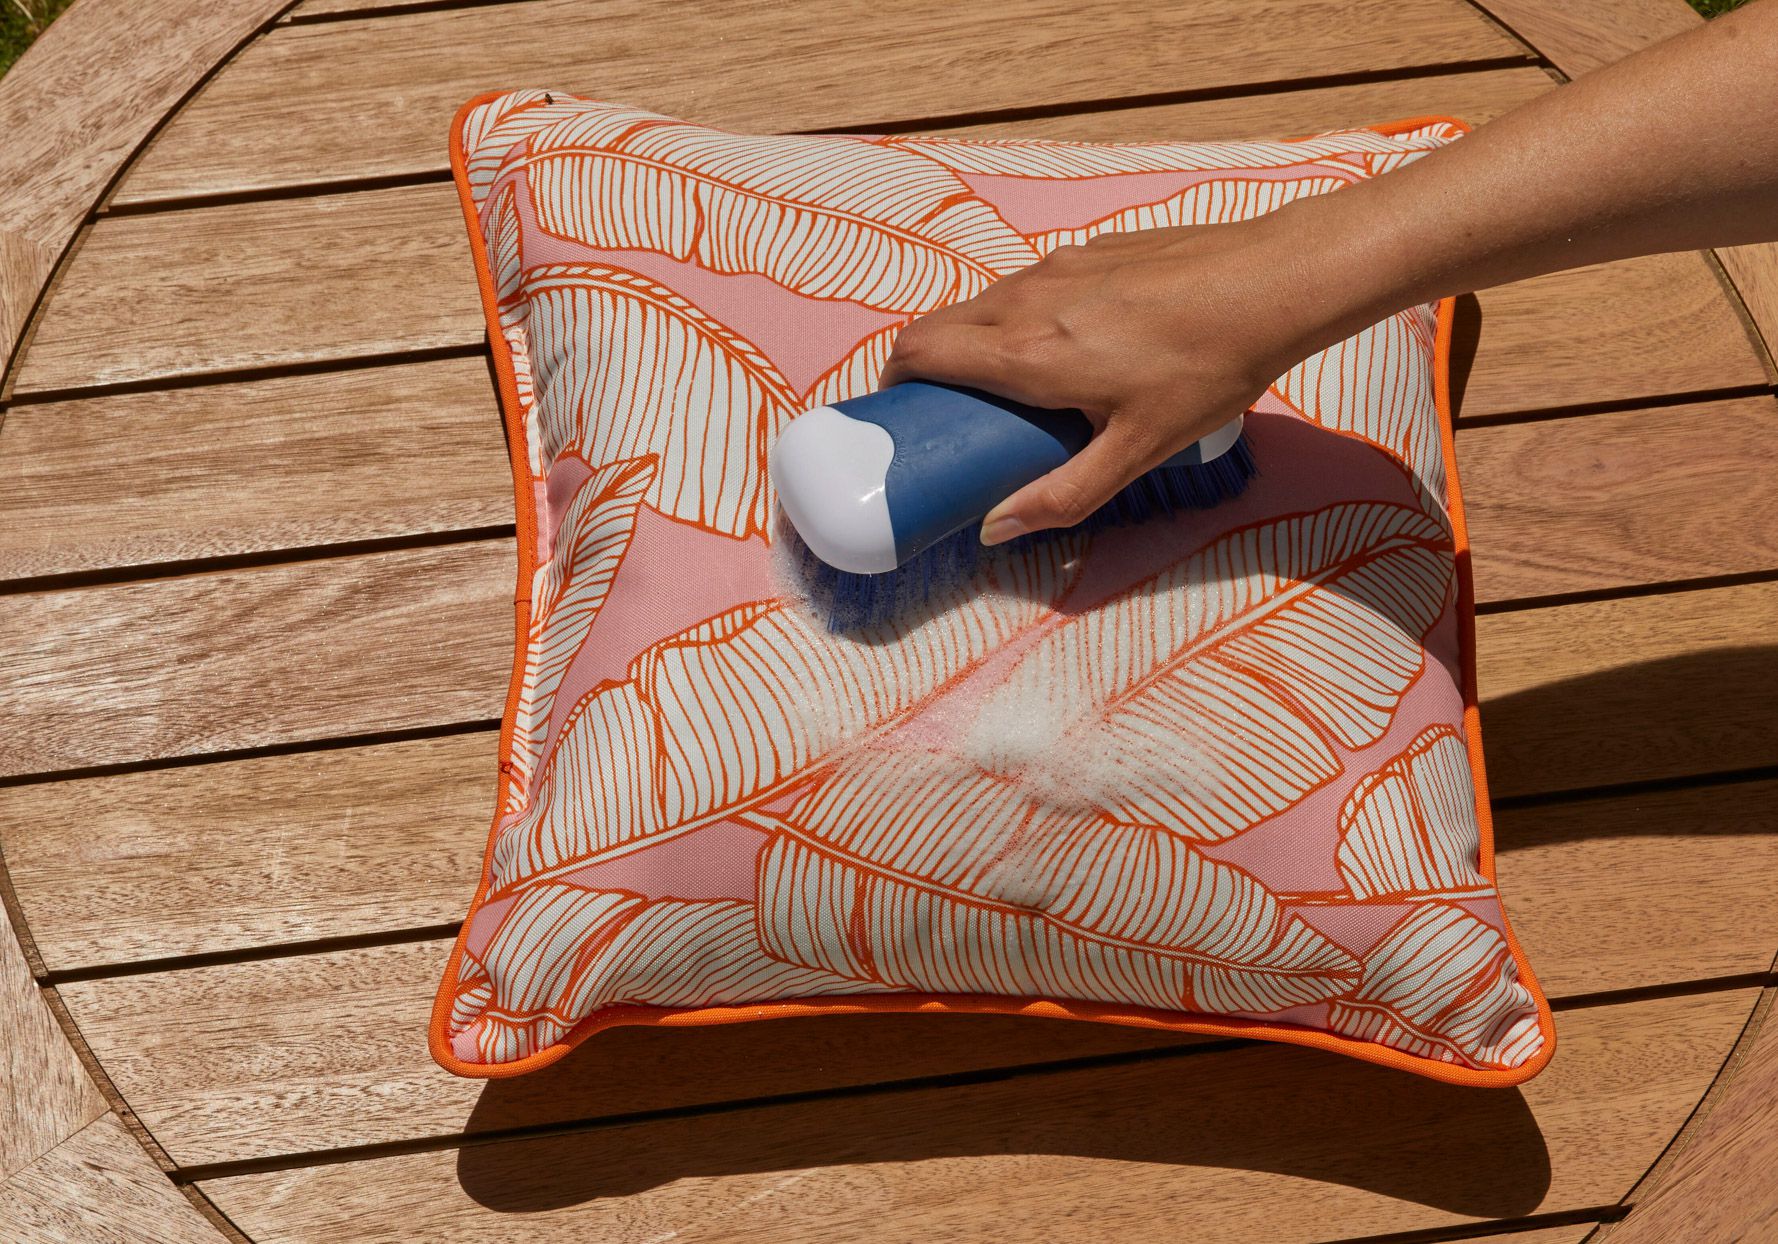
- Clean the furniture: Use a cleaning solution or mild detergent mixed with water to clean the surface of your furniture. Scrub with a brush or sponge to remove dirt, grime, and any residue. Rinse thoroughly and allow the furniture to dry completely.
- Disassemble if necessary: If your furniture has removable parts, such as table legs or chair backrests, it’s a good idea to disassemble them for easier refinishing. Use a screwdriver or wrench to carefully remove any screws or bolts.
By properly preparing your furniture, you create a clean slate for the refinishing process. Once your furniture is clean and dry, you’re ready to move on to the next step: removing the old finish.
Removing Old Finish
Removing the old finish from your patio furniture is an essential step in the refinishing process. It allows for a smooth and even application of the new finish. The method you choose depends on the type of furniture and the current finish. Here are a few options:
- Sanding: Sanding is a common method for removing old finish from wood furniture. Start by using medium-grit sandpaper and sand the surface in the direction of the wood grain. This will help remove any peeling paint, stains, or varnish. Once the old finish is removed, switch to fine-grit sandpaper to achieve a smooth surface.
- Chemical strippers: Chemical strippers can be used to remove old paint or varnish from both wood and metal furniture. Follow the instructions on the product and apply the stripper to the furniture using a brush. Allow it to penetrate the finish for the recommended amount of time, and then scrape off the old finish with a putty knife or scraper. Be sure to work in a well-ventilated area and wear protective gloves and a mask.
- Heat gun: A heat gun can be used to soften and remove old paint or varnish from wood furniture. Hold the heat gun a few inches away from the surface and move it in a sweeping motion. As the finish softens, use a scraper or putty knife to scrape it off. Be cautious not to apply too much heat to prevent scorching the wood.
Remember to follow safety precautions when using chemical strippers or a heat gun. Always work in a well-ventilated area, wear protective gear, and read the product instructions carefully. Once the old finish is removed, proceed to the next step: sanding the surface.
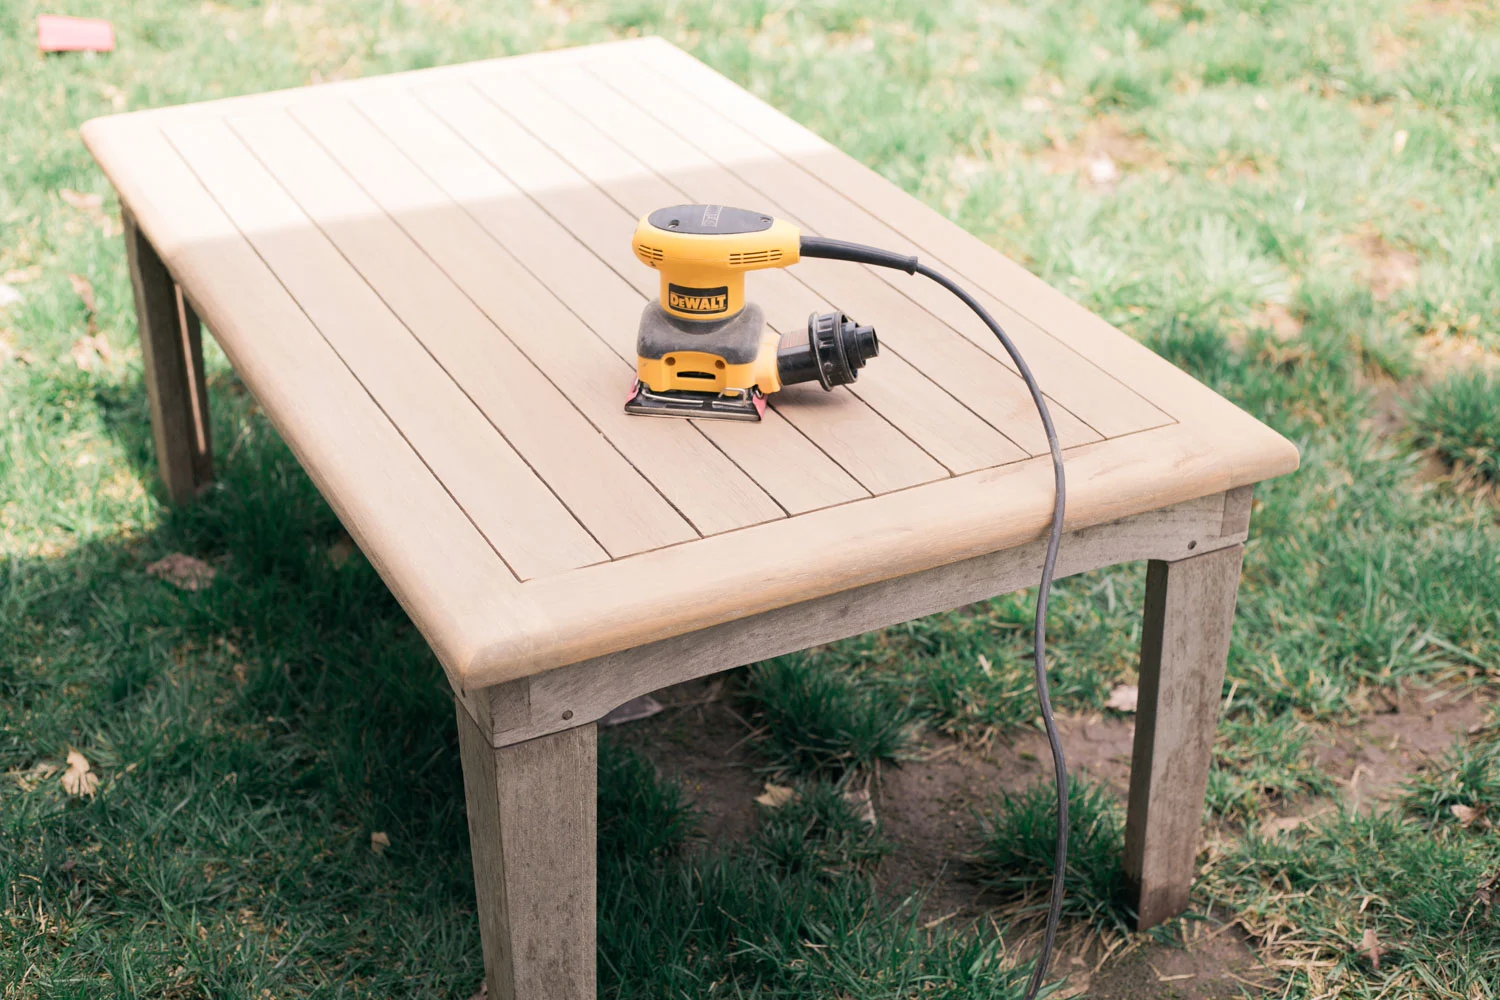
Sanding the Surface
After removing the old finish from your patio furniture, it’s time to sand the surface to achieve a smooth and even texture. Sanding helps to remove any imperfections, rough areas, or remaining traces of the old finish. Here’s how to sand your furniture:
- Select the appropriate sandpaper: Choose the appropriate grit sandpaper for the job. Start with a medium-grit sandpaper (around 120 to 150 grit) to smooth out any roughness or uneven areas. If needed, switch to a finer-grit sandpaper (around 220 grit) for a smoother finish.
- Sand along the grain: Always sand in the direction of the grain for wood furniture. This helps to prevent scratches and maintain the natural beauty of the wood. For metal furniture, sand in a back-and-forth motion to remove any rust or old paint.
- Apply even pressure: Apply even pressure as you sand to ensure a consistent and uniform surface. Be careful not to press too hard or sand too aggressively, as this can damage the furniture.
- Check for smoothness: Periodically stop and run your hand over the sanded surface to check for smoothness. If you notice any rough areas or inconsistencies, continue sanding until you achieve a smooth and even surface.
- Clean the furniture: Once you finish sanding, use a soft cloth or brush to remove any dust or debris from the furniture. This will ensure a clean surface for the next steps.
Sanding the surface prepares the furniture for the next stage of refinishing, whether it be staining or painting. Take your time with this step, as it plays a crucial role in achieving a professional-looking finish. Next, we’ll address how to repair any damaged parts of the furniture.
Repairing Damaged Parts
If your patio furniture has any damaged or broken parts, it’s important to address them before moving forward with the refinishing process. Repairing these issues will not only improve the aesthetics but also ensure the structural integrity of the furniture. Follow these steps to repair damaged parts:
- Assess the damage: Carefully inspect the furniture for any cracks, splits, or loose joints. Identify areas that require repair or reinforcement.
- Epoxy putty or wood filler: Use epoxy putty or wood filler to fill in cracks, holes, or gaps in wooden furniture. Apply the filler according to the manufacturer’s instructions and use a putty knife or spatula to smooth it out.
- Sand and blend: Once the filler is dry, use sandpaper to smooth the repaired areas, blending them seamlessly with the rest of the furniture’s surface. Ensure a smooth and even transition between the repaired spots and the surrounding wood.
- Repair loose joints: If you have furniture with loose joints, apply wood glue to the joint areas and firmly clamp them together. Wipe away any excess adhesive and let it dry according to the glue manufacturer’s instructions.
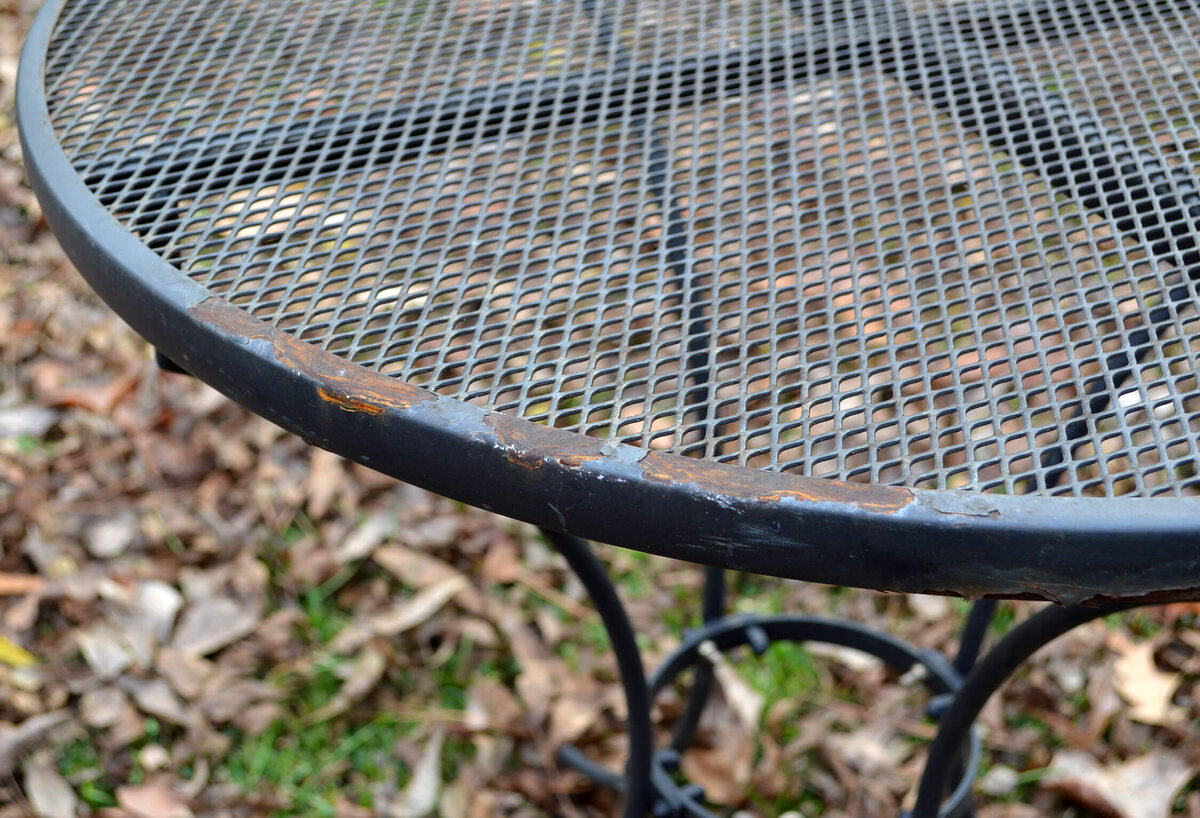
- Fix metal furniture: For metal furniture, use steel wool or a wire brush to remove rust or corrosion. Apply rust-resistant primer to the affected areas and let it dry before applying the finish. If there are any bent or misaligned parts, gently bend them back into place using pliers or a rubber mallet.
Repairing damaged parts ensures the longevity of your patio furniture and makes the refinishing process more effective. Once any repairs are complete, you can proceed to the next step: applying stain or paint.
Before refinishing patio furniture, make sure to thoroughly clean the surface with a mild detergent and water to remove any dirt or grime. This will help the new finish adhere better and last longer.
Applying Stain or Paint
Now comes the exciting part of refinishing your patio furniture – applying the stain or paint to achieve the desired look. The choice between stain and paint depends on your personal preference and the type of furniture you have. Here’s a step-by-step process for applying stain or paint:
- Choosing the right finish: Select a stain or paint that is suitable for your furniture material. Stains are ideal for wooden furniture as they enhance the natural beauty of the wood grain, while paint works well for both wood and metal furniture, offering a wide range of colors and finishes.
- Prepare the stain or paint: Stir the stain or paint thoroughly to ensure an even application. If needed, thin the product with an appropriate solvent following the manufacturer’s instructions.
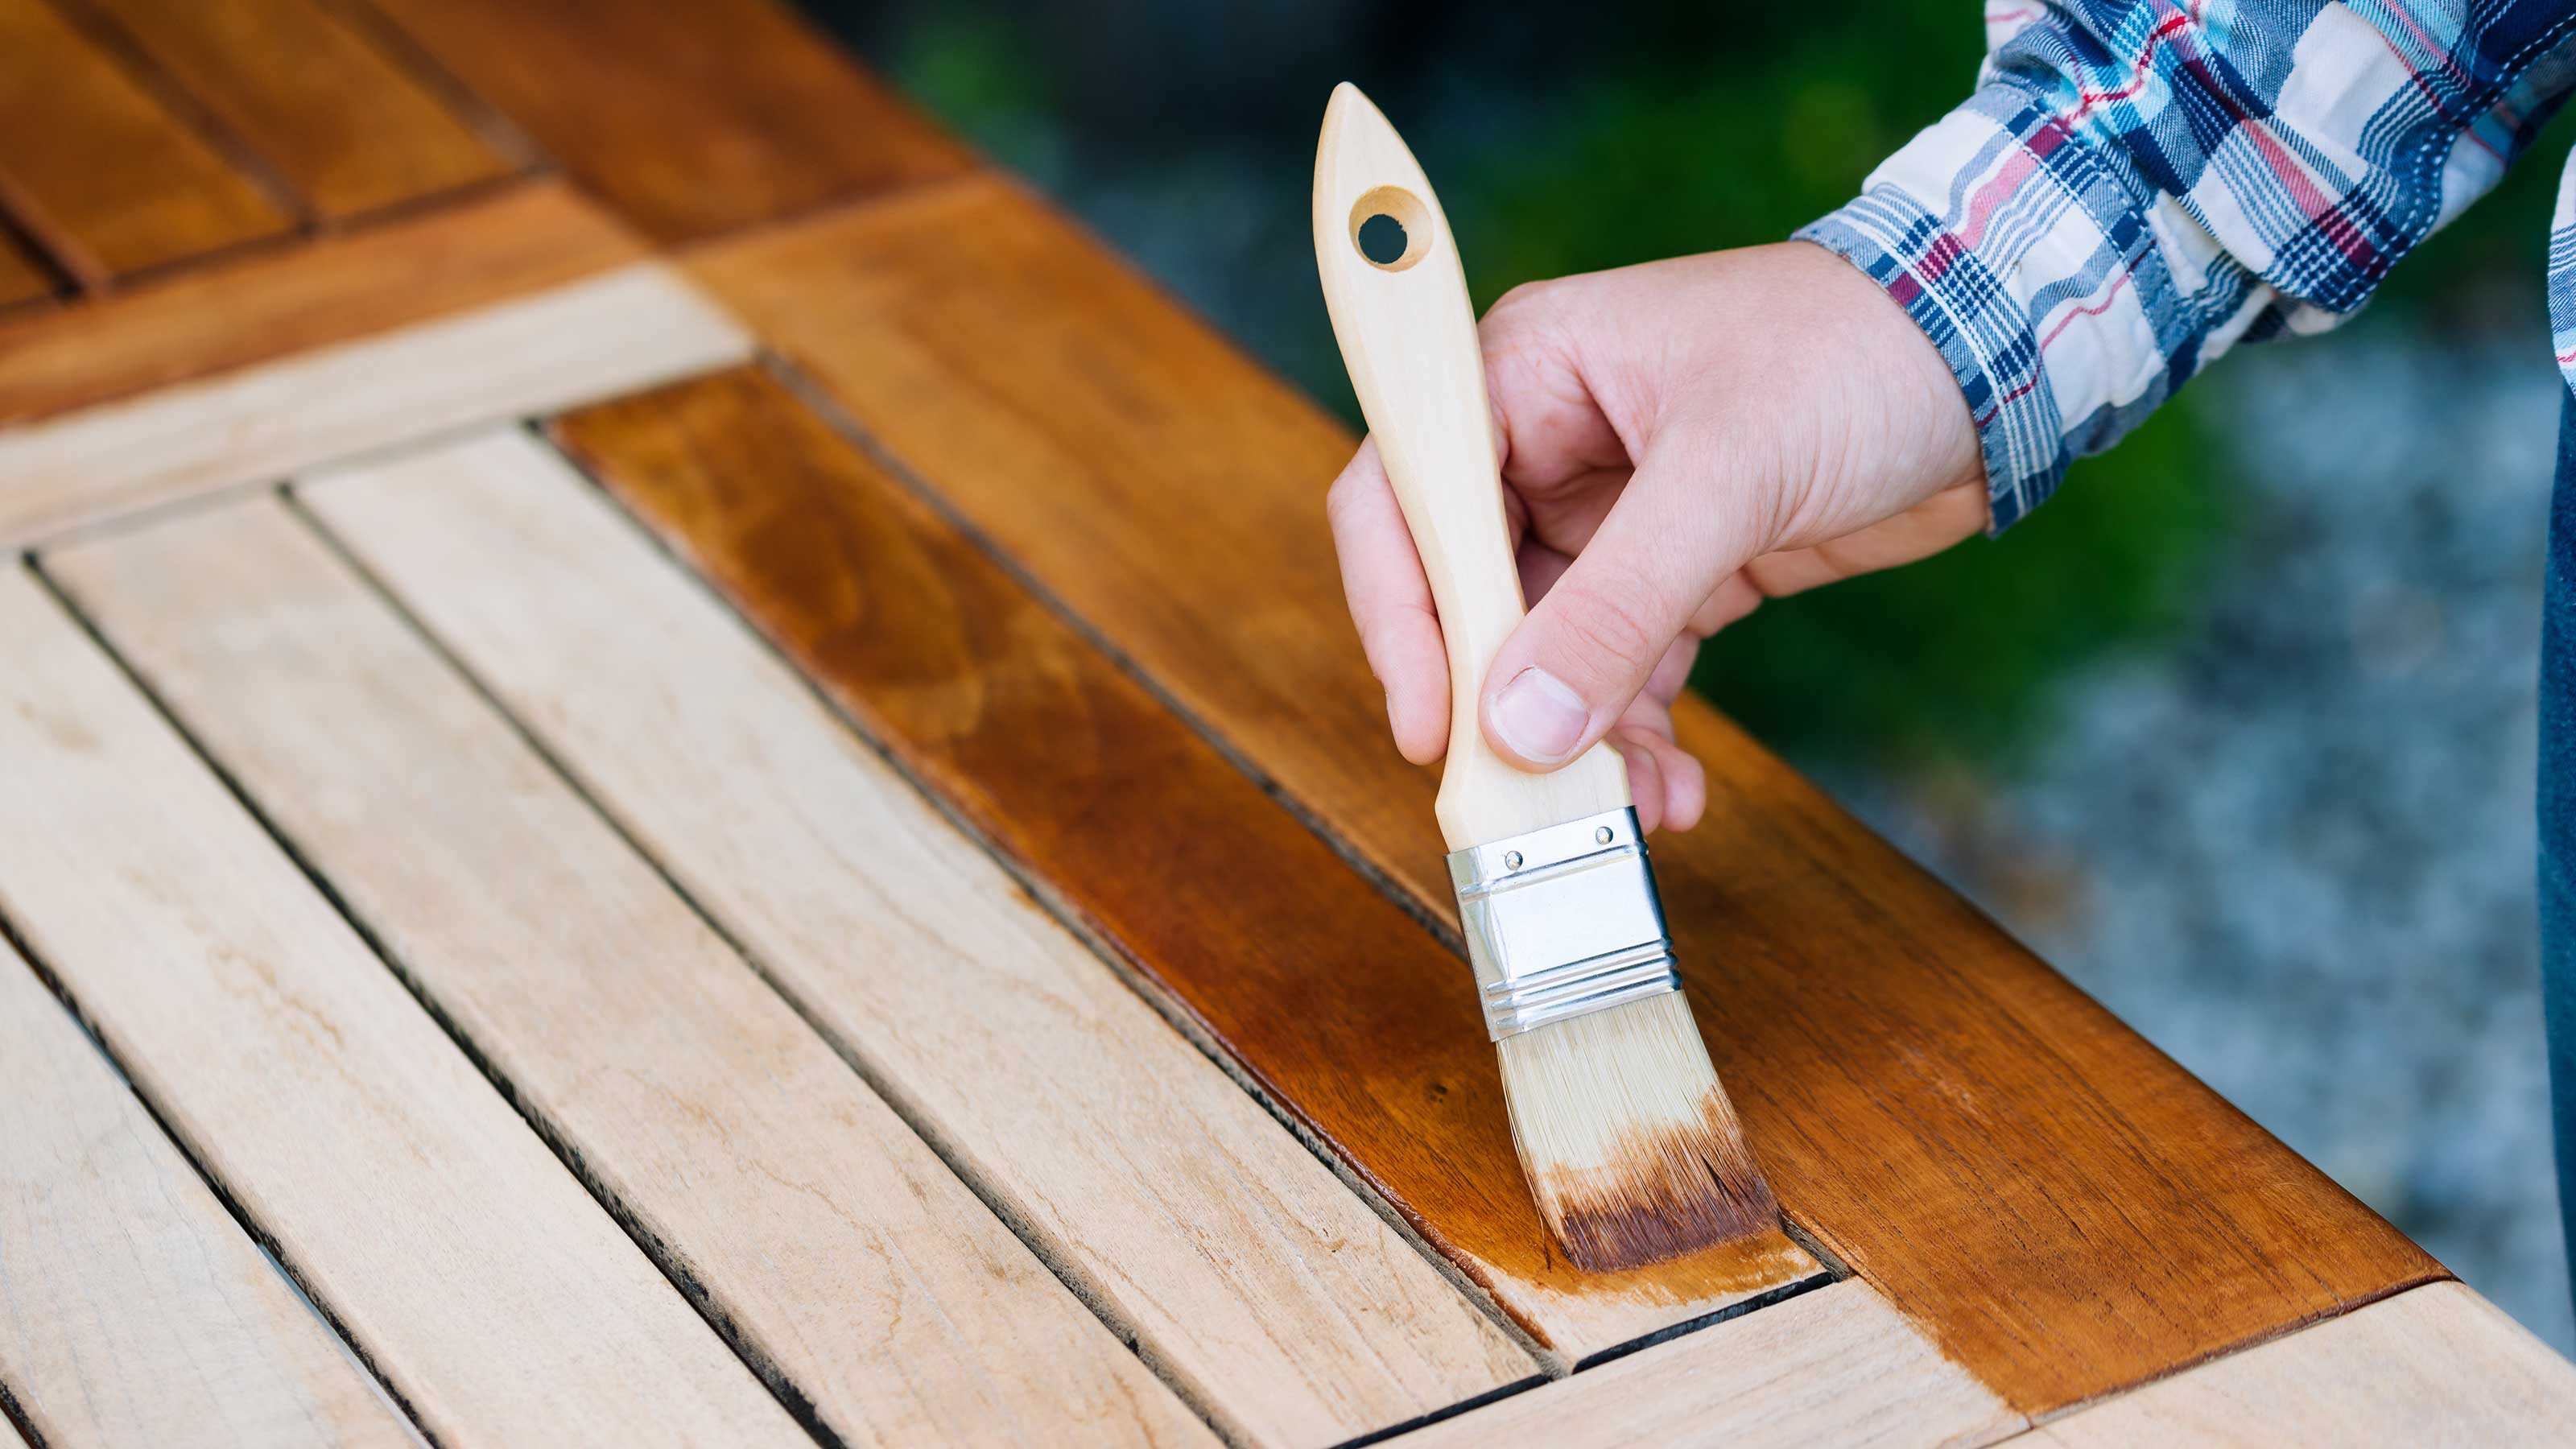
- Apply the first coat: Use a brush or roller to apply a thin and even coat of stain or paint to the furniture’s surface. Apply the product in the direction of the grain or in smooth, overlapping strokes for consistent coverage. Allow the first coat to dry completely before applying additional coats.
- Apply additional coats (if necessary): Depending on the desired depth of color or coverage, you may need to apply multiple coats. Follow the drying time recommended by the manufacturer between each coat to allow for proper drying and adhesion.
- Allow for proper drying: After applying the final coat, let the furniture dry completely. This usually takes about 24 to 48 hours, but drying time may vary depending on the product and environmental conditions. Follow the manufacturer’s instructions for precise drying times.
Whether you choose stain or paint, make sure to work in a well-ventilated area and follow proper safety precautions. Consider using brushes or rollers specifically designed for the type of finish you are applying to achieve the best results. Once the finish is dry, you’ll need to protect it with a sealant or varnish.
Applying Sealant or Varnish
After applying the stain or paint to your patio furniture, it’s essential to protect and prolong the lifespan of the finish with a sealant or varnish. The sealant acts as a barrier, shielding the surface from moisture, UV rays, and other outdoor elements. Follow these steps to apply a sealant or varnish:
- Select the right sealant or varnish: Choose a product specifically designed for outdoor use and compatible with your chosen finish. There are various options available, including clear sealants and varnishes that enhance the natural look of the wood or colored options that add a glossy or satin finish.
- Prepare the furniture: Ensure the furniture is clean, dry, and free from any dust or debris before applying the sealant or varnish. Lightly sand the surface with fine-grit sandpaper to create a smooth texture for better adhesion.
- Apply the first coat: Use a brush or roller to apply a thin and even coat of sealant or varnish to the furniture’s surface. Apply in the direction of the grain or in smooth, overlapping strokes for consistent coverage.
- Allow for drying and curing: Follow the manufacturer’s instructions for drying and curing times. Typically, the first coat needs to dry for a few hours before applying additional coats. Multiple coats may be necessary for optimal protection.
- Sand between coats (optional): If desired, lightly sand the surface between coats to create a smoother finish. Use fine-grit sandpaper and ensure the surface is clean before applying subsequent coats.
- Apply additional coats (if necessary): Depending on the level of protection desired, apply additional coats of sealant or varnish, following the proper drying and sanding steps between each coat.
- Allow for final curing: After applying the final coat, allow the furniture to fully cure according to the manufacturer’s instructions. This may take a few days, but it’s crucial for optimal durability and protection of the finish.
By applying a sealant or varnish, you provide an extra layer of protection to your patio furniture, ensuring its longevity and ability to withstand outdoor conditions. Once the sealant or varnish has fully cured, you’re ready to reassemble the furniture and enjoy your newly refinished pieces.
Reassembling the Furniture
With the refinishing process complete, it’s time to reassemble your patio furniture so you can start enjoying it in its refreshed and revitalized state. Follow these steps to reassemble your furniture:
- Refer to the manufacturer’s instructions: If your furniture came with an assembly manual, refer to it for guidance on how to properly reassemble the individual components.
- Organize your parts: Lay out all the disassembled parts in a well-organized manner. This will help ensure you have all the necessary pieces and make the reassembly process smoother.
- Check for any additional repairs: Take a final look at the components and make sure there are no loose screws, damaged parts, or other issues that may require further repair before reassembly.
- Start with the larger parts: Begin reassembling your furniture by connecting the larger components, such as table legs or chair frames. Use a screwdriver or wrench to secure the screws or bolts tightly.
- Attach smaller components: Once the larger parts are assembled, attach the smaller components, such as armrests, backrests, or table supports. Ensure all connections are secure and stable.
- Double-check stability: After reassembling the furniture, give it a gentle shake or test its stability to ensure all the connections are secure and there are no wobbly or loose parts.
- Reattach cushions and accessories: Finally, reattach any cushions, pillows, or accessories to complete the reassembled look of your patio furniture. Make sure they are clean and in good condition before placing them back on the furniture.
Take your time during the reassembly process to ensure everything is properly connected and secure. Once you have finished reassembling, step back and admire your beautifully refinished patio furniture.
Read more: How To Refinish Wood Outdoor Furniture
Tips and Safety Precautions
As you embark on your patio furniture refinishing project, keep these helpful tips and safety precautions in mind to ensure a successful and enjoyable experience:
- Work in a well-ventilated area: Whether you’re cleaning, sanding, or applying finishes, make sure you have proper ventilation to avoid inhaling fumes or dust. If needed, work outdoors or open windows and doors for adequate airflow.
- Protect yourself: Always wear safety goggles, gloves, and a mask when working with chemicals, sanding, or using power tools. Safety gear will protect your eyes, hands, and respiratory system from potential hazards.
- Follow manufacturer’s instructions: Read and follow the instructions on all products you use, including cleaning solutions, strippers, stains, paints, sealants, and varnishes. Following instructions will ensure you achieve the best results and maintain safety.
- Take time to prepare: Proper preparation is key to achieving a professional finish. Clean the furniture thoroughly, remove any old finish, and repair any damages before proceeding with sanding and refinishing.
- Test the finish: Before applying the stain or paint to the entire surface, it’s a good idea to test it on a small, inconspicuous area to ensure you achieve the desired color or effect.
- Keep a consistent stroke: When applying the stain, paint, or sealant, maintain a consistent stroke or direction to achieve an even finish. Avoid applying too much product at once, as it can lead to drips, uneven color, or an inconsistent appearance.
- Allow for proper drying and curing: Follow the recommended drying and curing times for each step of the refinishing process. Rushing can affect the final result and may lead to premature damage or peeling of the finish.
- Maintain your refinished furniture: After refinishing, regularly clean your patio furniture with mild soap and water and apply a fresh coat of sealant or varnish as needed to protect and maintain its appearance.
By keeping these tips in mind and prioritizing safety, you can confidently embark on your patio furniture refinishing project and enjoy the process while achieving beautiful, long-lasting results.
Conclusion
Congratulations! You have successfully completed your journey to refinish your patio furniture. By following our comprehensive guide, you have transformed your worn-out pieces into stunning focal points for your outdoor space. Refinishing your patio furniture not only enhances its appearance but also extends its lifespan, allowing you to enjoy the outdoors in style and comfort for years to come.
We started by gathering the necessary supplies and preparing the furniture for the refinishing process. You learned how to remove the old finish, sand the surface, and repair any damaged parts. Then, you applied your chosen stain or paint, bringing new life and personality to your furniture. Finally, you sealed and protected the finish to ensure its longevity and resistance against outdoor elements.
Throughout the process, we provided you with valuable tips and safety precautions to make your refinishing experience both successful and enjoyable. Remember to prioritize proper ventilation, protect yourself with safety gear, and follow the manufacturer’s instructions for each product you use.
With your furniture beautifully refinished and reassembled, it’s time to sit back, relax, and bask in the glory of your outdoor oasis. Invite friends and family over for a gathering, or simply savor quiet moments soaking up the natural beauty of your revamped patio area.
Keep in mind that maintaining your refinished furniture is essential for its long-term beauty and durability. Regular cleaning and reapplication of sealant or varnish will ensure your furniture stays in great shape and continues to impress for years to come.
We hope this guide has empowered you to take on the challenge of refinishing your patio furniture. With a little time, effort, and creativity, you have transformed your outdoor space into a haven that reflects your personal style and enhances your enjoyment of the great outdoors.
So, grab a cold drink, sink into your newly refinished chair, and savor the satisfaction of a job well done!
Frequently Asked Questions about How To Refinish Patio Furniture
Was this page helpful?
At Storables.com, we guarantee accurate and reliable information. Our content, validated by Expert Board Contributors, is crafted following stringent Editorial Policies. We're committed to providing you with well-researched, expert-backed insights for all your informational needs.


0 thoughts on “How To Refinish Patio Furniture”