Home>Interior Design>How To Refinish Wood Furniture In 4 Easy Steps
Interior Design
How To Refinish Wood Furniture In 4 Easy Steps
Modified: January 9, 2024
Learn how to refinish wood furniture in 4 easy steps with our interior design guide. Transform your space with these simple techniques.
(Many of the links in this article redirect to a specific reviewed product. Your purchase of these products through affiliate links helps to generate commission for Storables.com, at no extra cost. Learn more)
Introduction
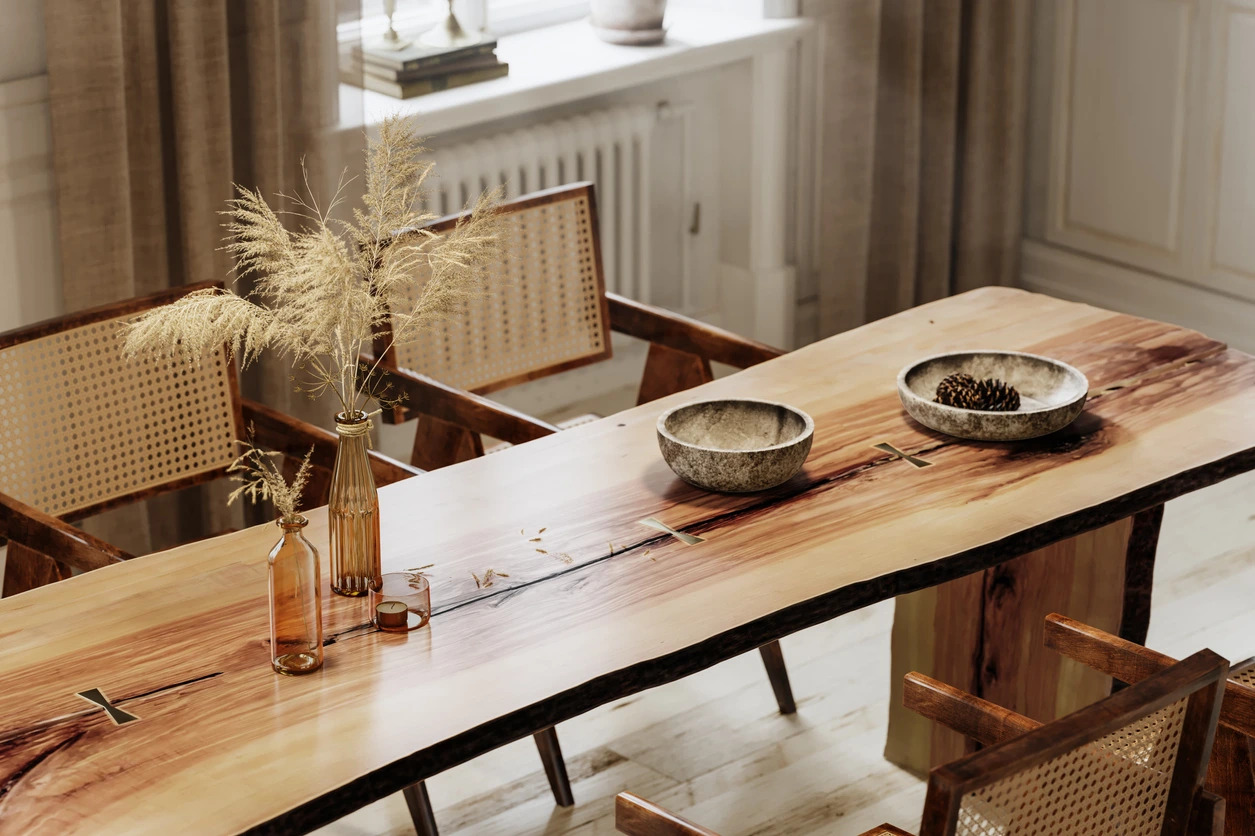
Welcome to the world of interior design, where creativity and passion come together to transform spaces into beautiful and functional environments. One of the key elements in bringing a room together is furniture, and specifically, wood furniture. Wood furniture can add warmth, elegance, and a touch of natural beauty to any space. However, over time, the wear and tear of everyday use can diminish its original luster, leaving you with furniture that looks tired and worn.
But fear not! The good news is that you can easily restore the beauty of your wood furniture by refinishing it. Refinishing wood furniture not only revitalizes its appearance but also helps to protect and prolong its lifespan. Rather than replacing your furniture, refinishing allows you to breathe new life into it while keeping the charm and character that you have grown to love.
In this article, we will take you through the step-by-step process of refinishing wood furniture. Whether you’re a seasoned DIY enthusiast or a novice looking to embark on your first restoration project, this guide will provide you with all the information you need to successfully refinish your wood furniture.
Before we dive into the process, it’s important to note that refinishing wood furniture requires some time, patience, and the right tools. Each piece of furniture is unique, and the specific steps and techniques may vary depending on the type of wood, the condition of the piece, and your desired outcome. So, take a deep breath, gather your supplies, and let’s get started on transforming your furniture!
Key Takeaways:
- Revitalize your wood furniture with these 4 easy steps: preparation, stripping the old finish, sanding, and applying the new finish. Save money and customize your furniture to match your personal style.
- Refinishing wood furniture is a rewarding DIY project that transforms tired pieces into stunning focal points. Embrace the process with confidence and creativity, and enjoy the beauty of your revitalized furniture for years to come.
Read more: How To Refinish Wood Dining Chairs
Step 1: Preparation
Before you begin refinishing your wood furniture, it’s crucial to thoroughly prepare the piece and its surroundings. Proper preparation ensures a smooth and successful restoration process. Here are the essential steps to follow:
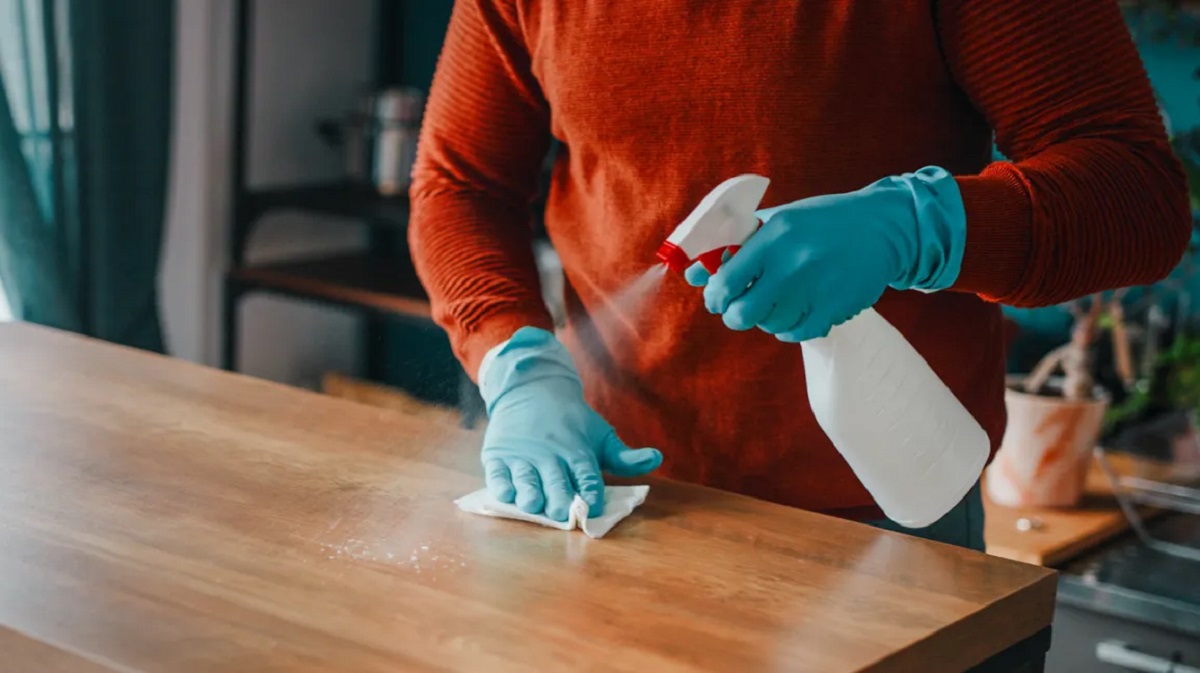
- Clean the furniture: Start by removing any dirt, dust, or grime from the surface of the furniture. Wipe it down with a soft cloth or use a mild cleaning solution and a sponge to gently remove any build-up.
- Remove hardware: If your furniture has any knobs, handles, or other hardware, carefully remove them using a screwdriver or appropriate tool. This will make the refinishing process easier and prevent damage to the hardware.
- Protect the surrounding area: Refinishing can be a messy process, so it’s essential to protect the area where you’ll be working. Lay down drop cloths or plastic sheets to catch any drips or spills. It’s also a good idea to work in a well-ventilated space to avoid inhaling any fumes.
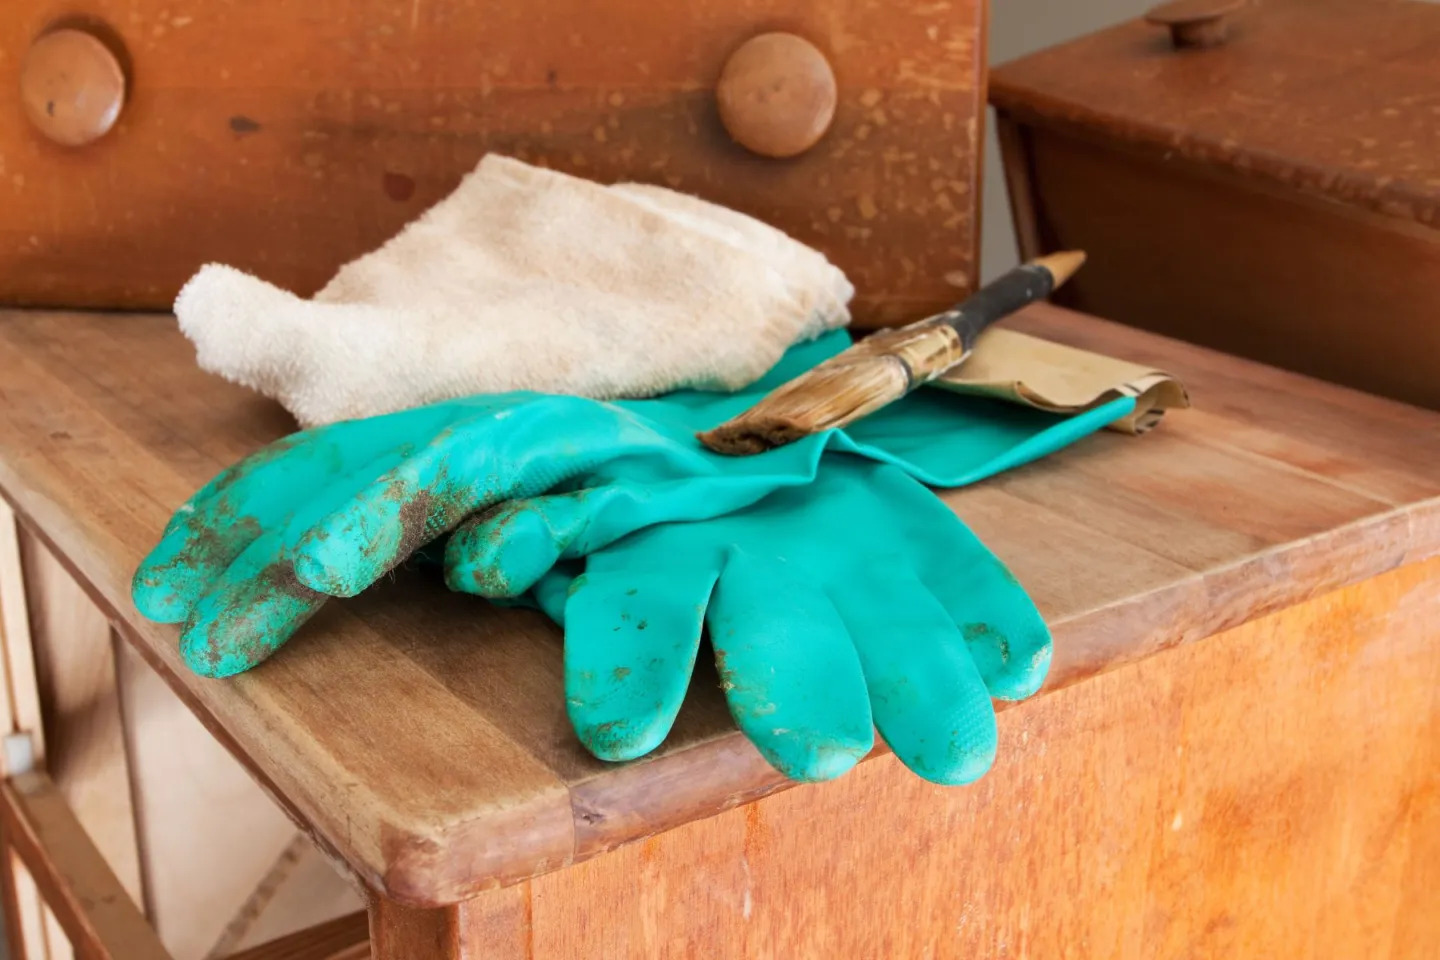
- Gather the necessary supplies: Before you begin stripping or sanding, make sure you have all the required tools and materials. This may include paint stripper, sandpaper in various grits, a paintbrush or foam brush, gloves, safety glasses, and a dust mask. Having everything on hand will save you time and ensure a smoother process.
Once you have completed these steps, you’re ready to move on to the next phase of refinishing your wood furniture: stripping the old finish.
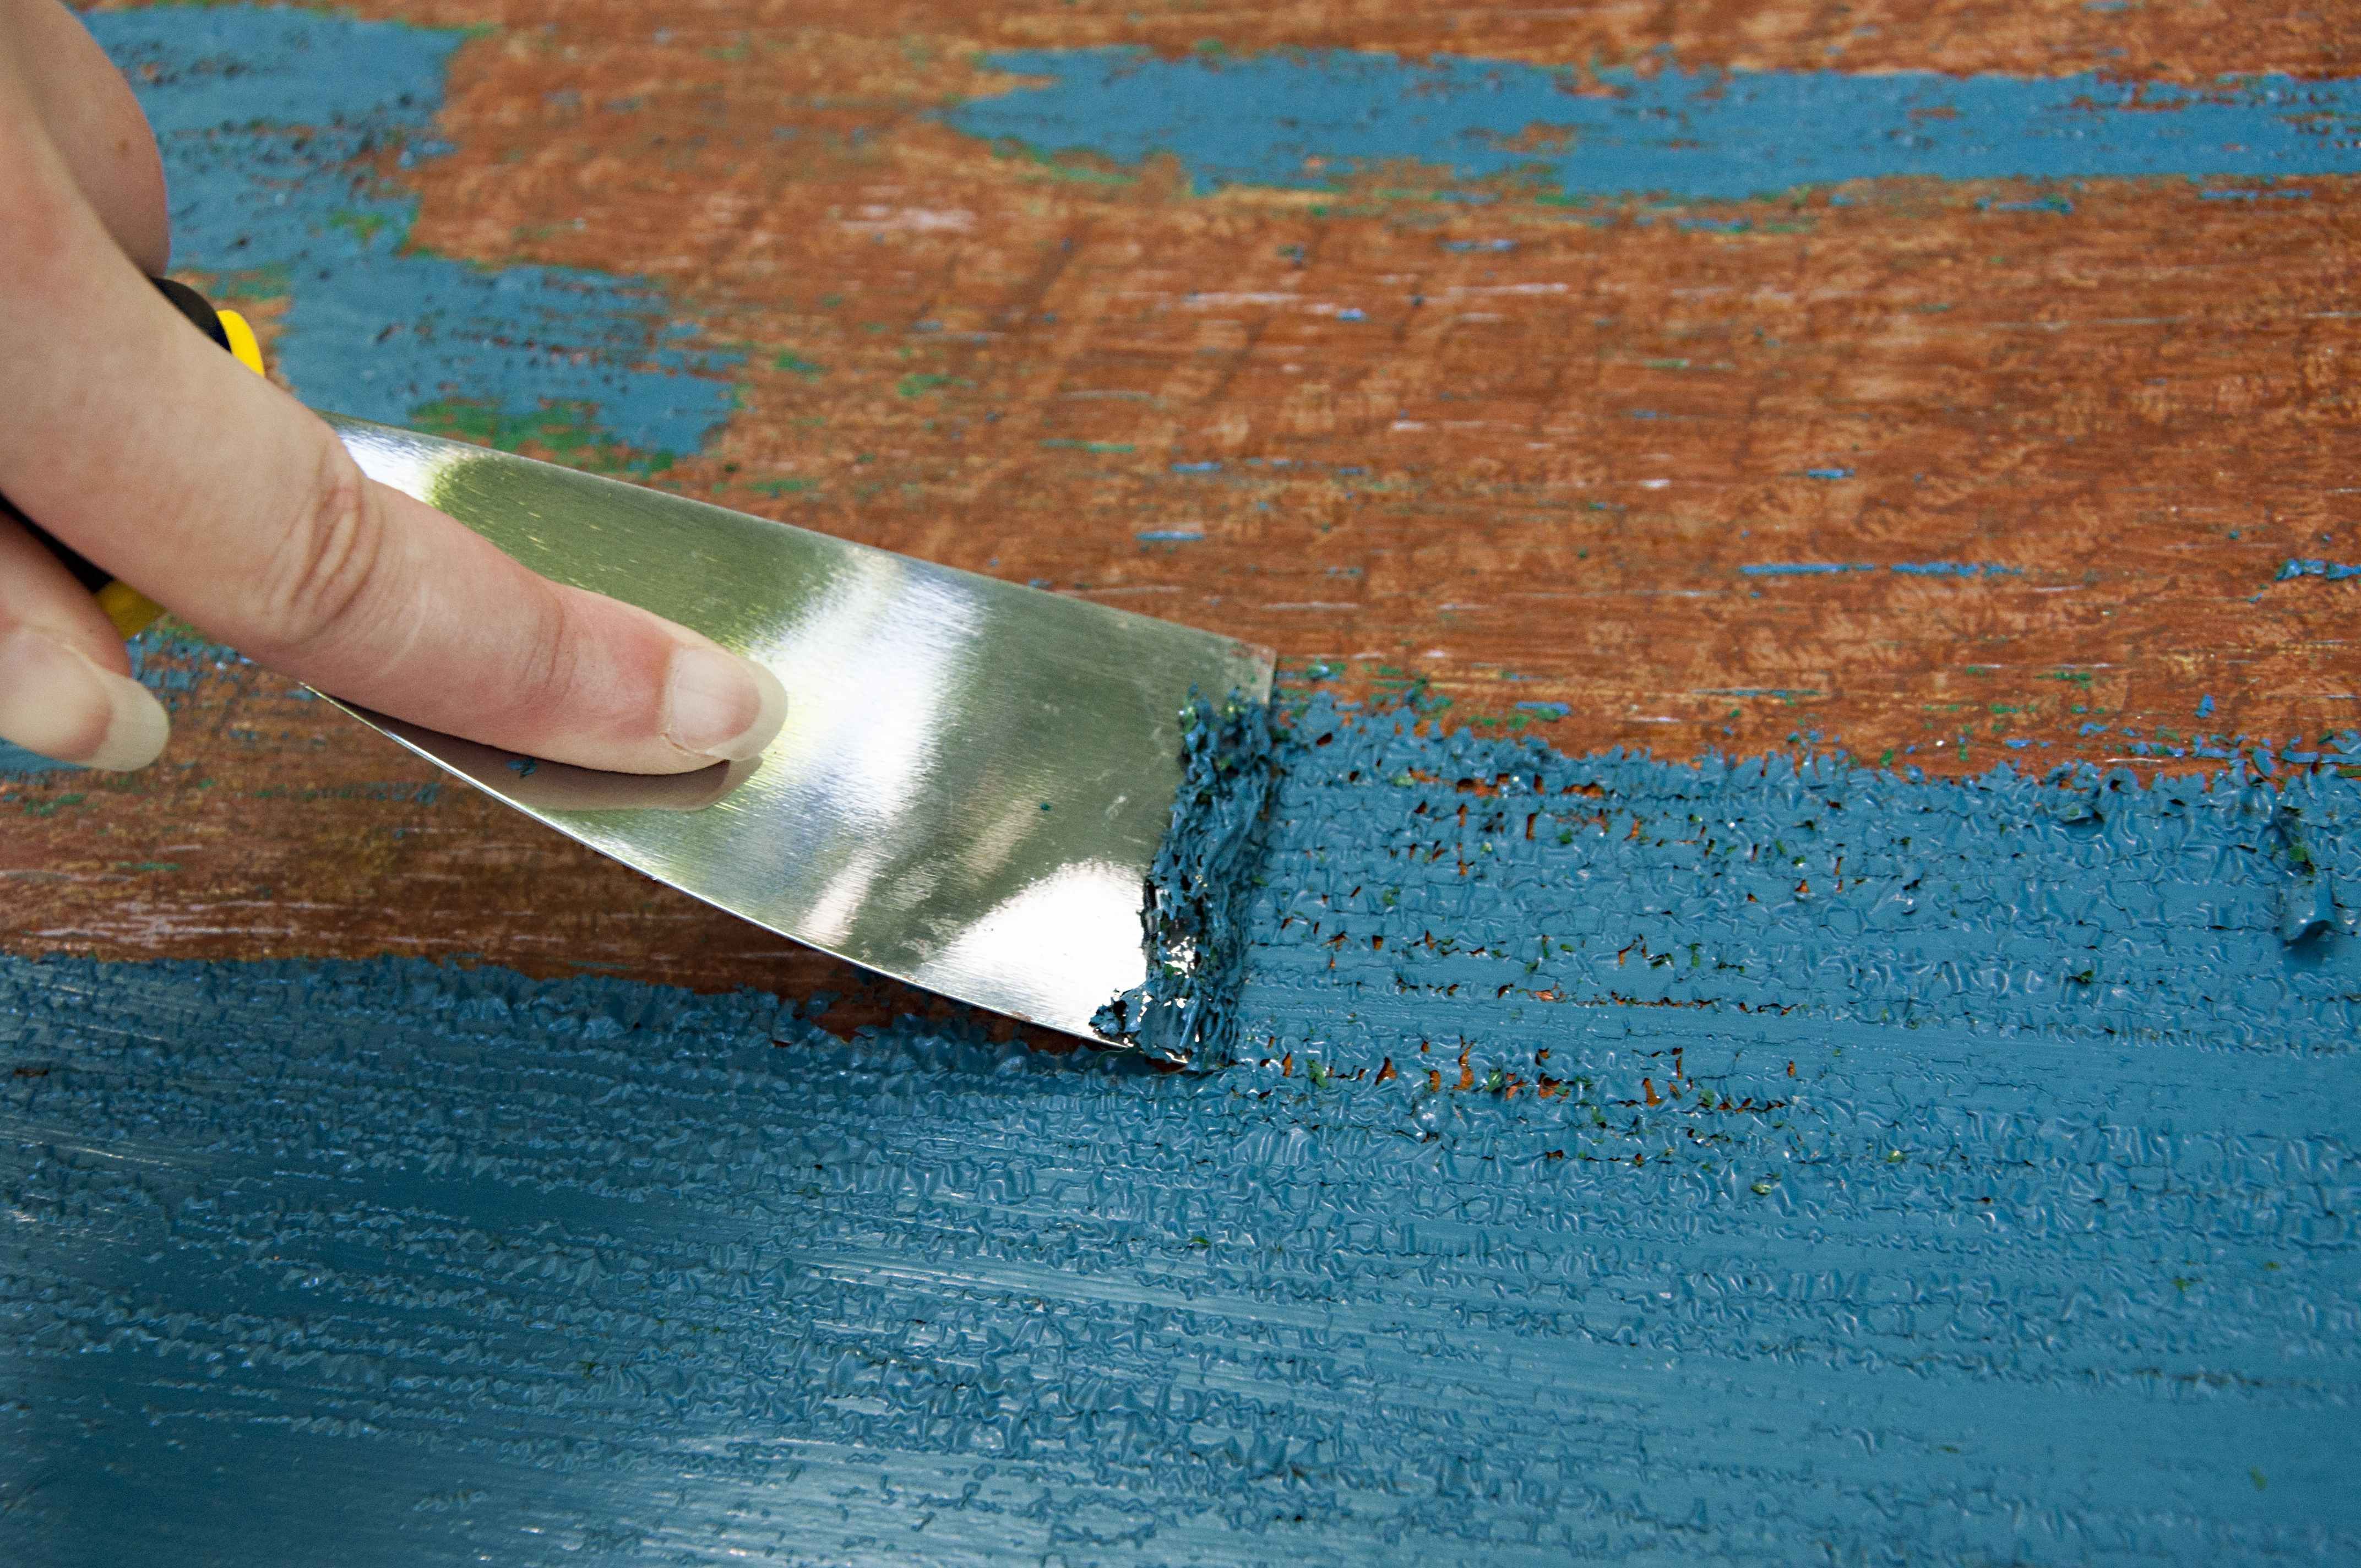
Step 2: Stripping the old finish
Now that you have prepared your wood furniture, it’s time to strip away the old finish. Stripping the old finish is essential to remove any layers of paint, varnish, or stain that may be covering the natural beauty of the wood. Here are the steps to follow:
- Choose the right stripper: Select a suitable paint or varnish stripper based on the type of finish you are removing. There are various types available, such as liquid strippers or gel-based strippers. Read the product instructions carefully to ensure you choose the most appropriate one for your furniture.
- Apply the stripper: Wear gloves, safety glasses, and a dust mask for protection. Using a brush or cloth, apply a generous amount of the stripper to the surface of the furniture. Ensure that the stripper is evenly spread and covers all areas with the old finish you want to remove.
- Allow the stripper to work: Follow the manufacturer’s instructions regarding the recommended waiting time for the stripper to penetrate the old finish. Typically, this can range from 15 minutes to several hours, depending on the product and the thickness of the old finish.
- Remove the old finish: Use a scraper or putty knife to gently scrape off the softened old finish. Work in the direction of the wood grain to avoid damaging the surface. You may need to repeat this step or use a fine steel wool pad to remove stubborn areas or remaining traces of the old finish.
- Clean the stripped surface: Once the old finish has been removed, use a clean cloth or sponge soaked in mineral spirits or a gentle wash solution to clean the surface of the furniture. This will help remove any residue or stripper remaining on the wood.
Remember to read and follow the safety precautions outlined by the manufacturer when working with paint or varnish strippers. After completing the stripping process, you can move on to the next step: sanding the furniture.
Before starting the refinishing process, make sure to thoroughly clean the wood furniture to remove any dirt, grime, or old finish. This will ensure a smooth and even application of the new finish.
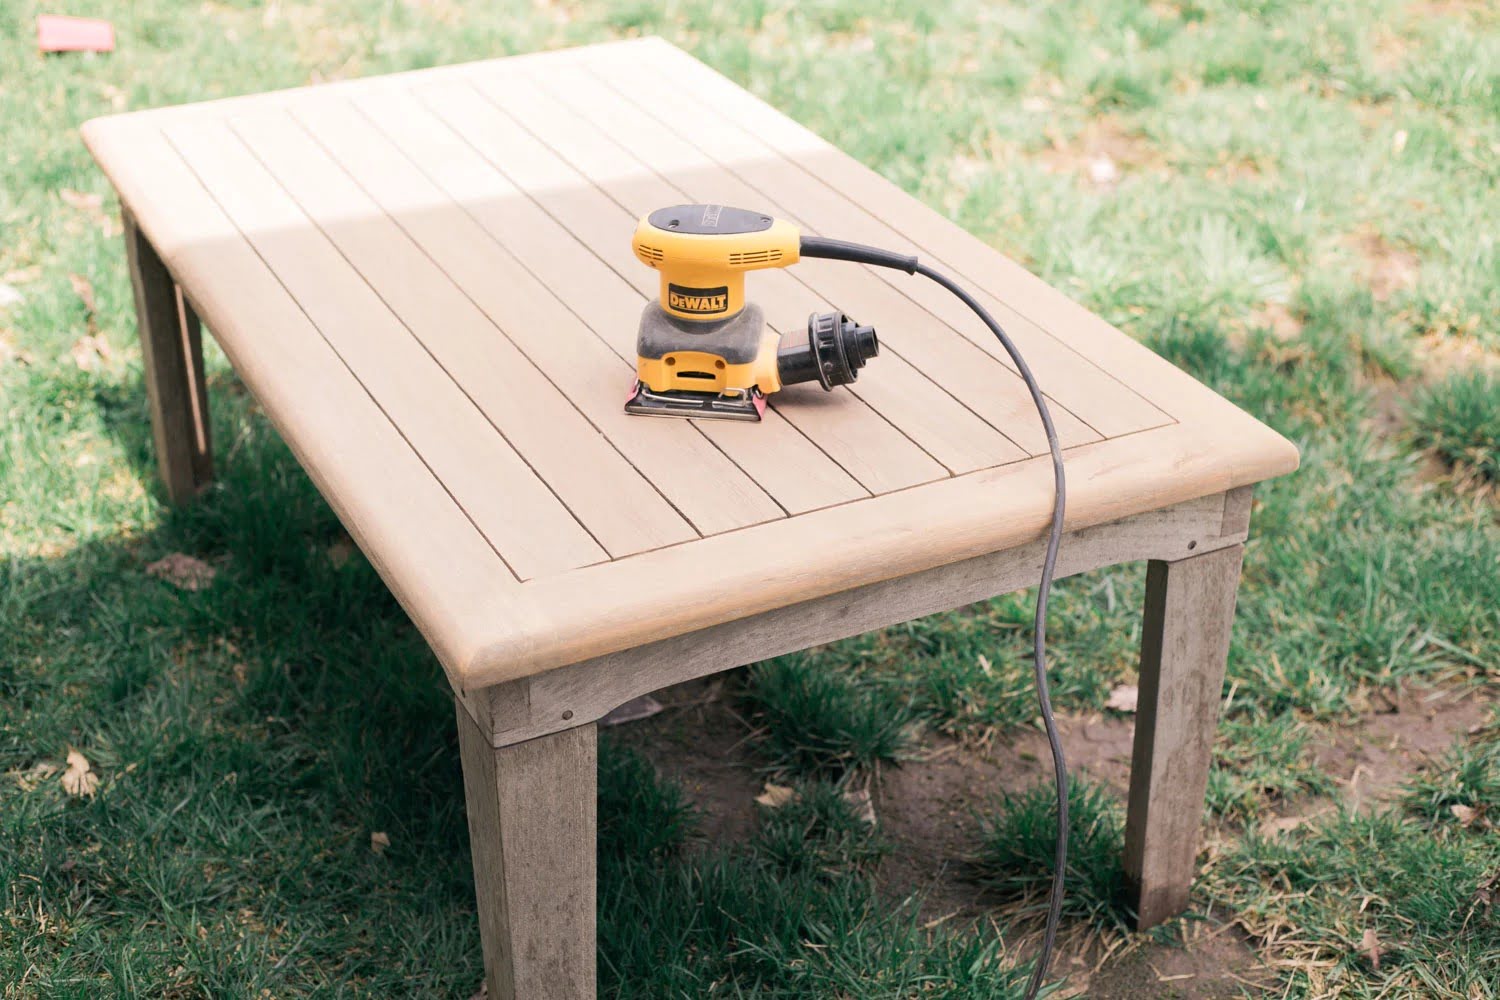
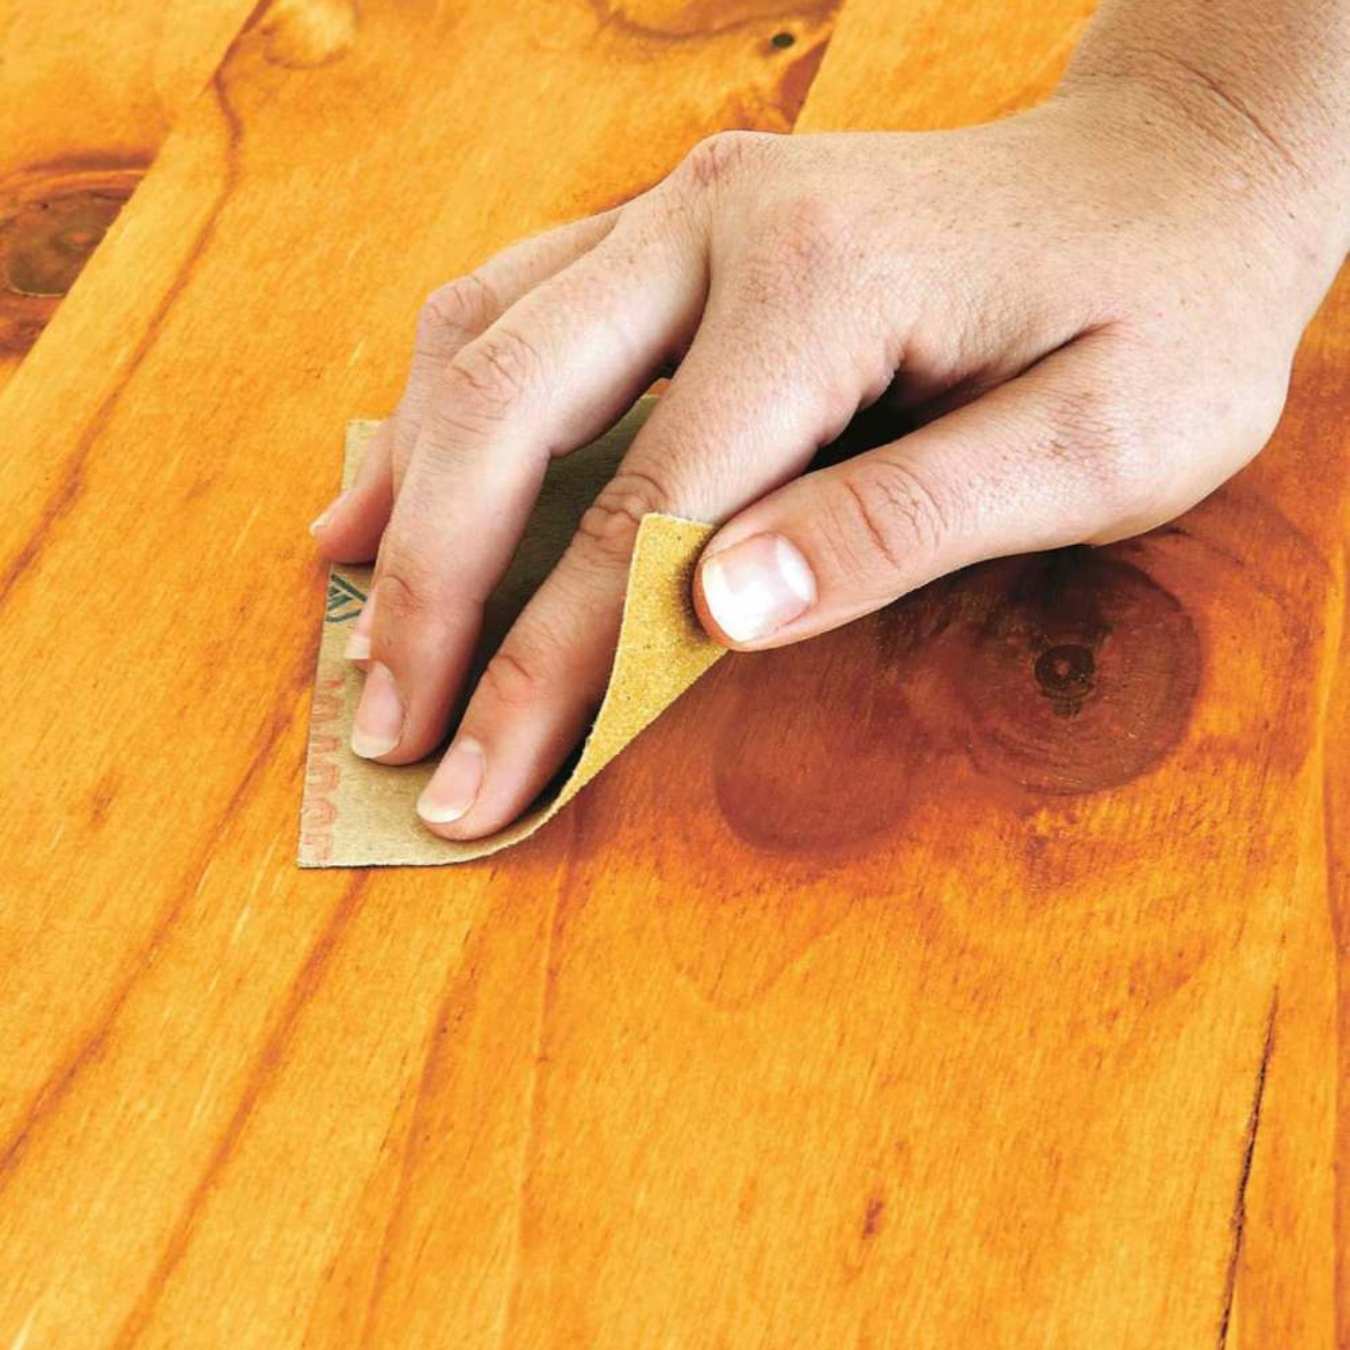
Step 3: Sanding
After stripping off the old finish, the next step in refinishing wood furniture is sanding. Sanding helps to smooth the surface of the wood, remove any remaining traces of the old finish, and prepare it for the application of the new finish. Here’s how to go about sanding your furniture:
- Select the right sandpaper: The choice of sandpaper depends on the condition of your furniture and the desired level of smoothness. Start with a coarse-grit sandpaper (such as 80-grit) to remove any rough patches or imperfections. Then, gradually work your way up to finer grits (such as 120-grit, 220-grit) for a smoother finish.
- Sand with the grain: Always sand in the direction of the wood grain to avoid scratches or damage to the surface. Use a sanding block or a sanding tool to ensure even pressure and consistent results.
- Smooth rough edges and corners: Pay special attention to any rough edges or corners of the furniture that may need extra sanding. Be gentle and take your time to achieve a smooth and even surface.
- Remove sanding dust: Regularly wipe away sanding dust from the furniture using a clean, dry cloth or a vacuum with a soft brush attachment. This will help you see the progress you’re making and prevent dust particles from interfering with the finish.
- Check for smoothness: As you sand, periodically run your hand over the surface to check for smoothness. If you encounter any rough spots or unevenness, continue sanding until you achieve a consistent feel across the entire furniture piece.
Sanding can be a dusty and time-consuming process, so take breaks if needed and remember to protect yourself with a dust mask and safety glasses. Once the furniture is sanded to your satisfaction, it’s time to move on to the final step: applying the new finish.
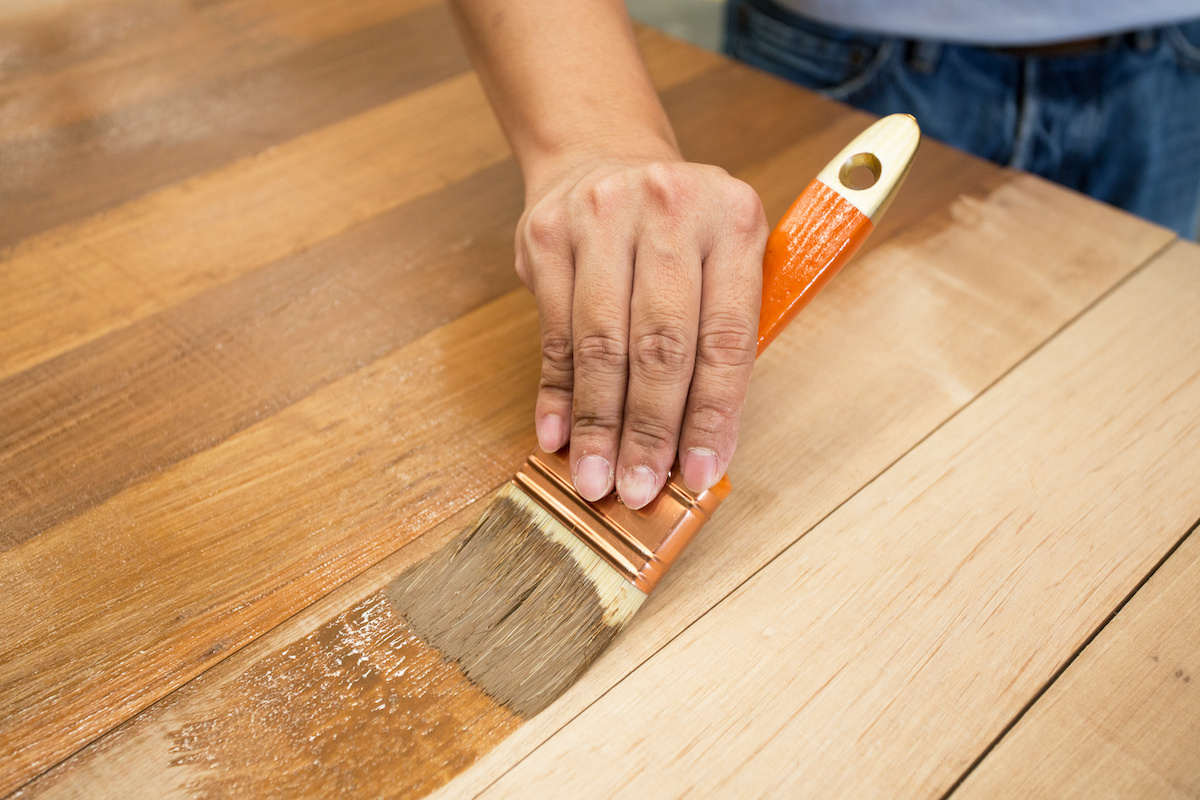
Step 4: Applying the new finish
After sanding your wood furniture, it’s time to give it a fresh and beautiful new finish. Applying the new finish will not only protect the wood but also enhance its natural beauty. Here’s how to apply the new finish to your furniture:
- Choose the appropriate finish: Depending on your desired look and the level of durability you need, there are various finish options available. Common choices include wood stain, varnish, lacquer, or paint. Consider the type of wood and the overall aesthetic you’re aiming for when selecting the finish.
- Apply the first coat: Using a clean brush or foam brush, apply the first coat of the new finish to the furniture. Work in the direction of the wood grain for a smooth and even application. Take care to cover all surfaces, including any nooks or hard-to-reach areas.
- Allow time to dry: Follow the manufacturer’s instructions for the recommended drying time between coats. This is typically a few hours, but it can vary depending on the type of finish you are using.
- Lightly sand between coats: After the first coat has dried, lightly sand the furniture with a fine-grit sandpaper (such as 220-grit) to achieve a smooth surface. Remove any sanding dust before applying subsequent coats.
- Apply additional coats: Depending on the desired finish and the look you want to achieve, you may need to apply multiple coats. Follow the same process of applying, drying, and sanding between coats until you achieve the desired level of coverage and sheen.
- Finish with a protective topcoat: Once you’ve achieved the desired look, consider applying a protective topcoat to enhance durability and protect the finish from everyday wear and tear. This can be a clear varnish or polyurethane sealant, applied according to the manufacturer’s instructions.
Remember to work in a well-ventilated area and follow any safety precautions specified by the manufacturer when applying the finish. Once the final coat has dried and cured, your newly refinished wood furniture is ready to be showcased in your home!
Read more: How To Refinish A Wood Bed Frame
Conclusion
Congratulations! You have successfully completed the refinishing process for your wood furniture. By following the proper steps of preparation, stripping the old finish, sanding, and applying the new finish, you have revived your furniture’s beauty and ensured its longevity.
Refinishing wood furniture is a rewarding DIY project that allows you to transform worn-out pieces into stunning focal points in your home. Not only does it save you money compared to buying new furniture, but it also allows you to customize the look and feel of your pieces to match your personal style.
Throughout this article, we have emphasized the importance of proper preparation, using the right tools and materials, and taking the necessary safety precautions. Remember to always read and follow the manufacturer’s instructions for any products you use during the refinishing process.
As you embark on future wood furniture refinishing projects, you’ll gain more experience and enhance your skills. Each piece of furniture presents its own unique challenges and rewards, contributing to your growth as an interior design enthusiast.
So, go ahead and explore the world of wood furniture refinishing with confidence and creativity. Enjoy the process of transforming tired-looking furniture into timeless pieces that will bring joy and beauty to your living spaces for years to come.
Frequently Asked Questions about How To Refinish Wood Furniture In 4 Easy Steps
Was this page helpful?
At Storables.com, we guarantee accurate and reliable information. Our content, validated by Expert Board Contributors, is crafted following stringent Editorial Policies. We're committed to providing you with well-researched, expert-backed insights for all your informational needs.


0 thoughts on “How To Refinish Wood Furniture In 4 Easy Steps”