Home>Furniture & Design>Outdoor Furniture>How To Seal Outdoor Furniture
Outdoor Furniture
How To Seal Outdoor Furniture
Published: January 13, 2024
Learn how to seal and protect your outdoor furniture for long-lasting beauty and durability. Our expert tips will help you maintain the design and quality of your outdoor furniture.
(Many of the links in this article redirect to a specific reviewed product. Your purchase of these products through affiliate links helps to generate commission for Storables.com, at no extra cost. Learn more)
Introduction
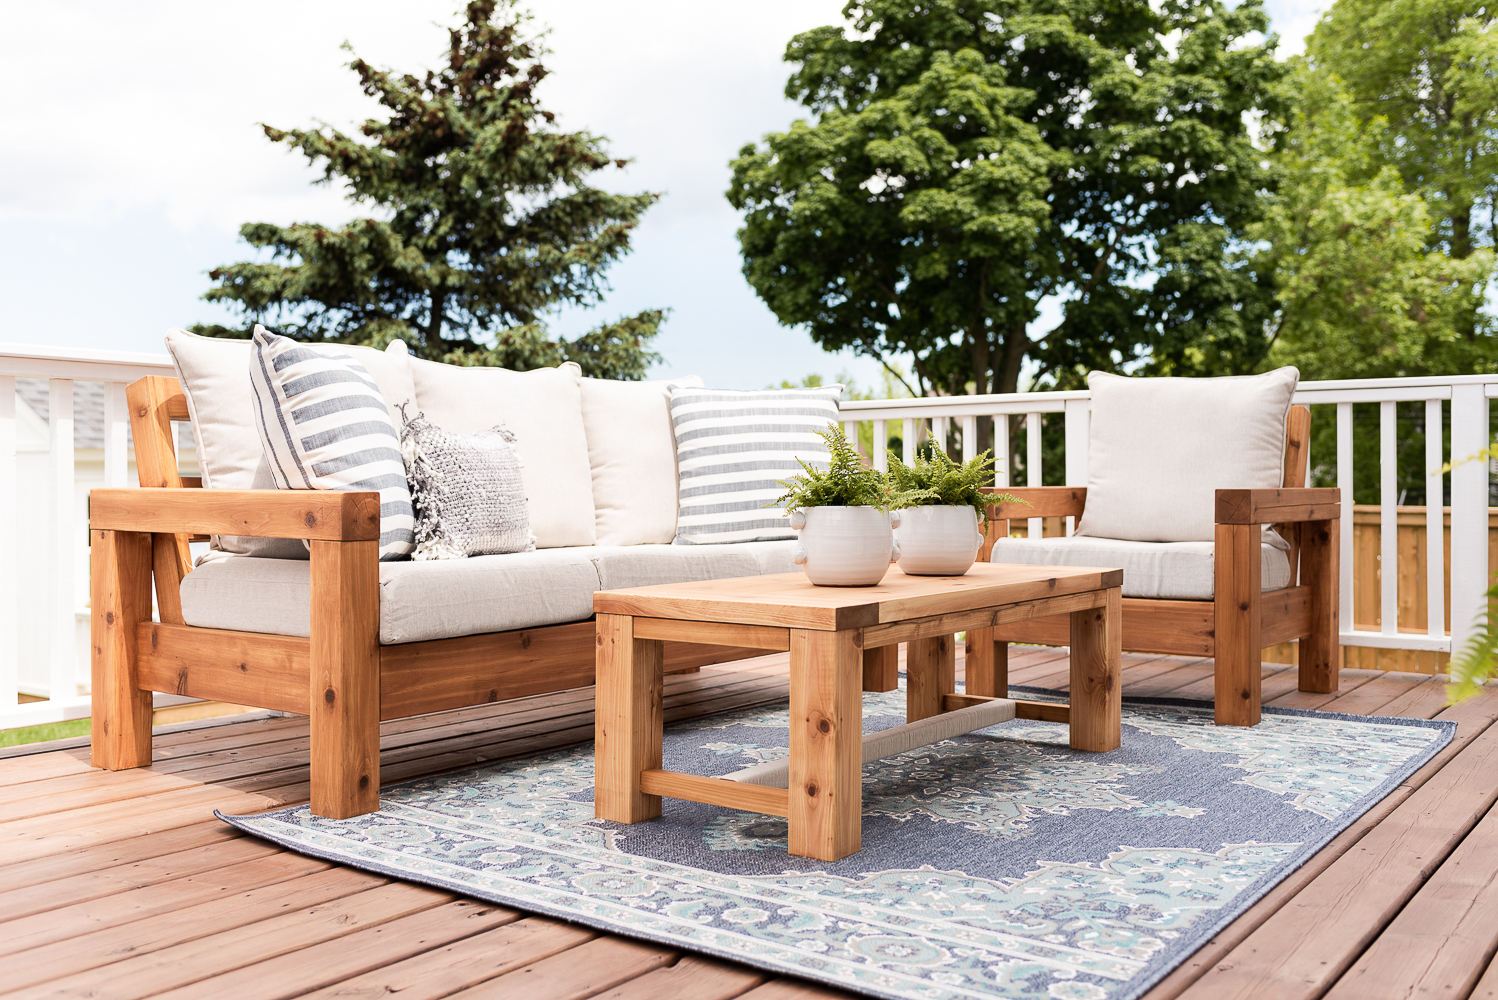
When it comes to outdoor furniture, durability is key. Exposure to the elements can take a toll on even the sturdiest pieces, leading to weathering, fading, and deterioration. To combat these challenges and extend the lifespan of your outdoor furniture, sealing it is an essential step. By applying a high-quality sealant, you can shield your furniture from moisture, UV rays, and other environmental factors, preserving its beauty and structural integrity for years to come.
In this comprehensive guide, we'll walk you through the process of sealing your outdoor furniture, from cleaning and sanding to the application of the sealant and beyond. Whether you have a classic wooden bench, a sleek metal table, or a stylish wicker chair, the principles of sealing remain consistent, offering a universal solution for enhancing and safeguarding your outdoor furniture.
So, grab your supplies and get ready to revitalize your outdoor living space by mastering the art of furniture sealing. With the right techniques and a bit of elbow grease, you'll be able to enjoy your outdoor oasis in its full splendor, season after season. Let's dive into the step-by-step process and unlock the secrets of effective outdoor furniture sealing.
Key Takeaways:
- Protect your outdoor furniture from the elements by sealing it with the right sealant. Follow the steps to clean, sand, apply, and dry the furniture for long-lasting protection and beauty.
- Regularly inspect and reapply sealant to maintain the resilience and appearance of your outdoor furniture. Choose the appropriate sealant for your furniture type and enjoy your outdoor oasis for years to come.
Read more: What To Seal Outdoor Wood Furniture With
Step 1: Clean the Furniture
Before applying any sealant, it’s crucial to start with a clean surface. Over time, outdoor furniture can accumulate dirt, grime, and other residues, which can hinder the effectiveness of the sealant. To begin the cleaning process, gather a few basic supplies, including a gentle soap or detergent, a bucket of warm water, and a soft-bristled brush or sponge.
For wooden furniture, use a mild soap specifically formulated for wood cleaning. Avoid harsh chemicals that can damage the wood or leave behind a residue. Dip the brush or sponge into the soapy water and gently scrub the surfaces of the furniture, paying close attention to any areas with visible dirt or stains. Rinse thoroughly with clean water to remove all traces of soap.
For metal or plastic furniture, a mixture of mild detergent and water works well for removing dirt and debris. Apply the soapy solution to the furniture and use the brush or sponge to scrub away any buildup. Rinse the furniture with water to ensure that all the soap is completely removed.
Wicker furniture requires a slightly different approach. Use a vacuum cleaner with a brush attachment to remove loose dirt and dust from the crevices and corners of the wicker weave. For more stubborn dirt, a soft brush and a solution of mild detergent and water can be used to gently clean the wicker. Take care not to saturate the wicker with water, as excessive moisture can lead to mold and mildew growth.
Once the cleaning process is complete, allow the furniture to air-dry thoroughly before proceeding to the next step. This ensures that the surface is free from moisture, allowing the sealant to adhere properly for maximum effectiveness.
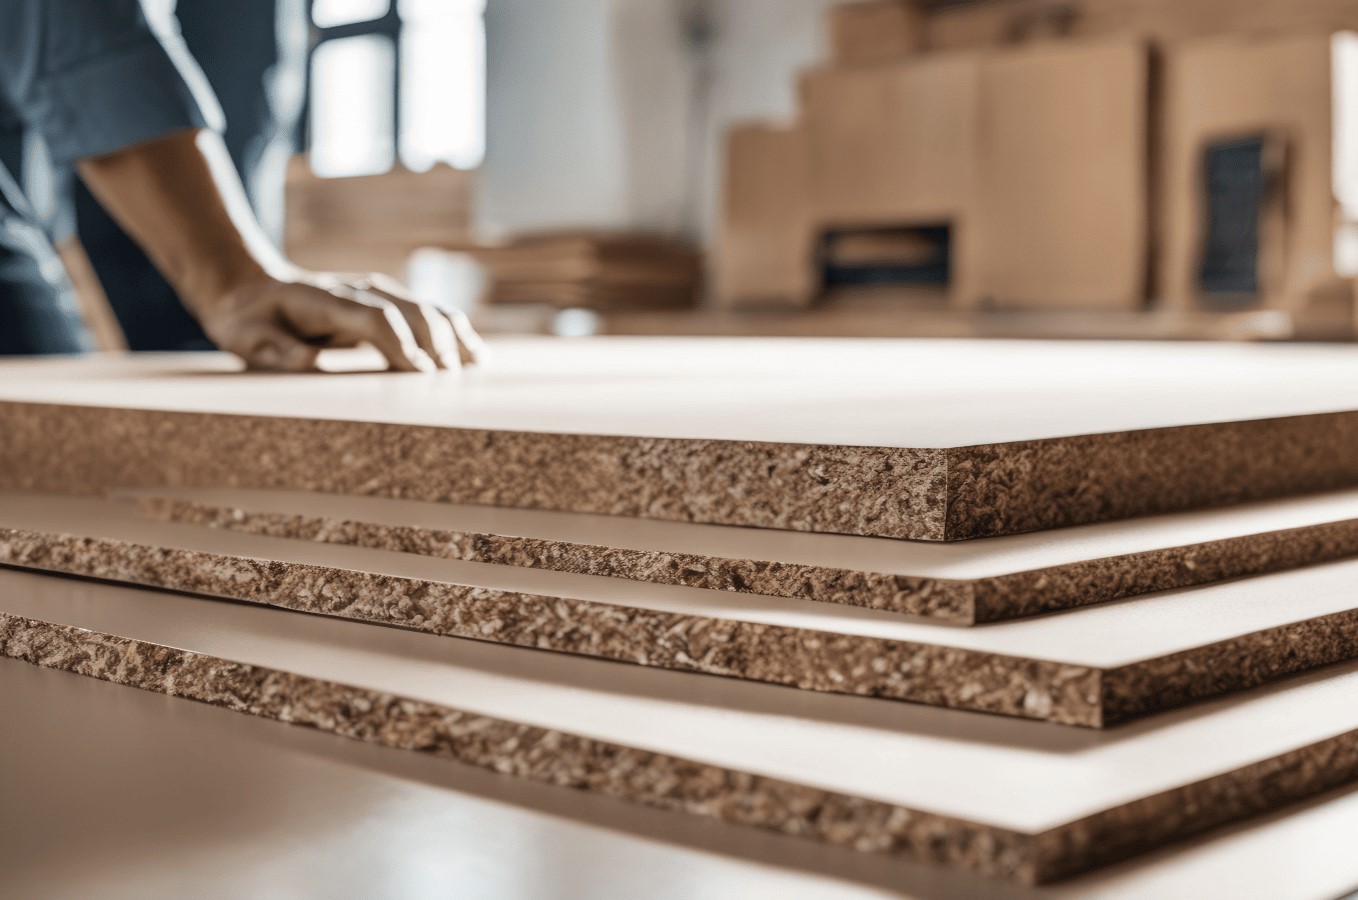
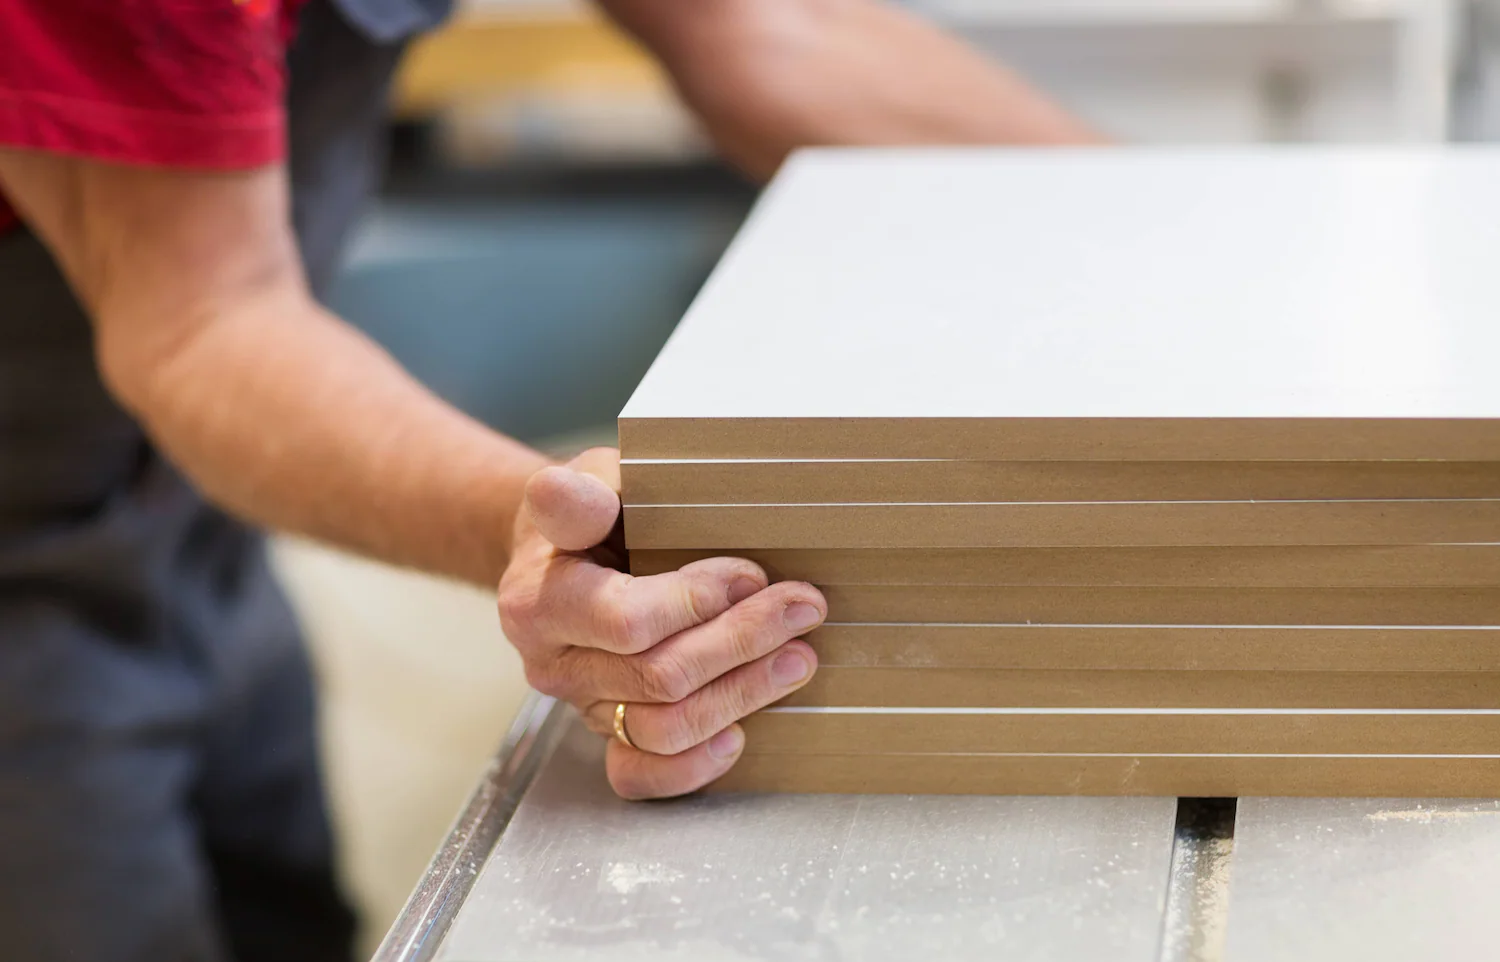
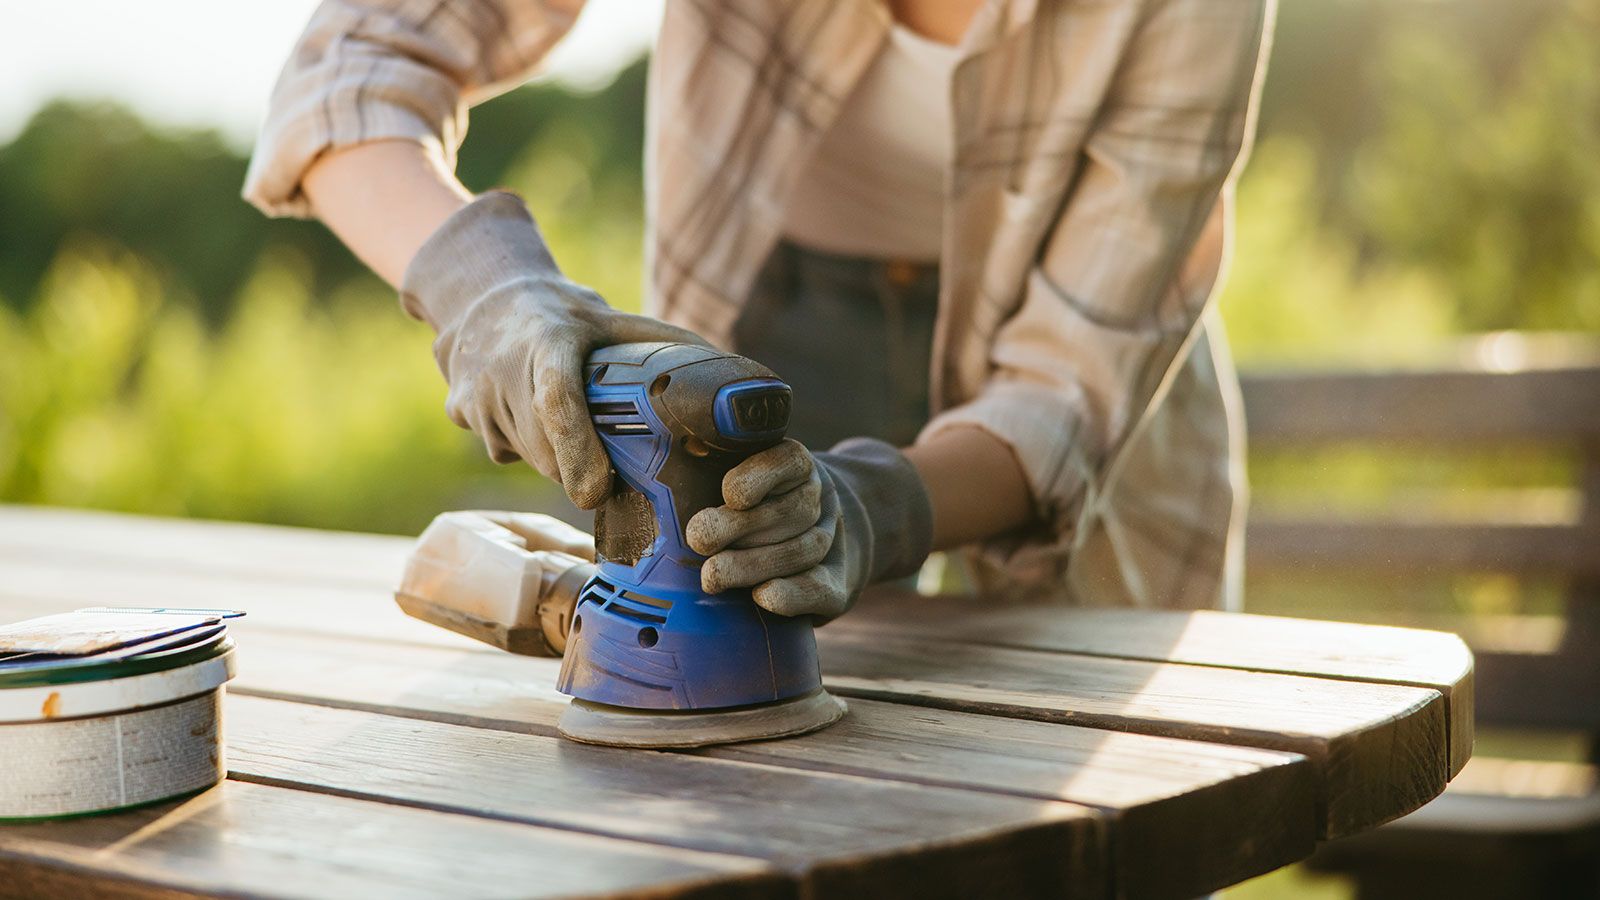
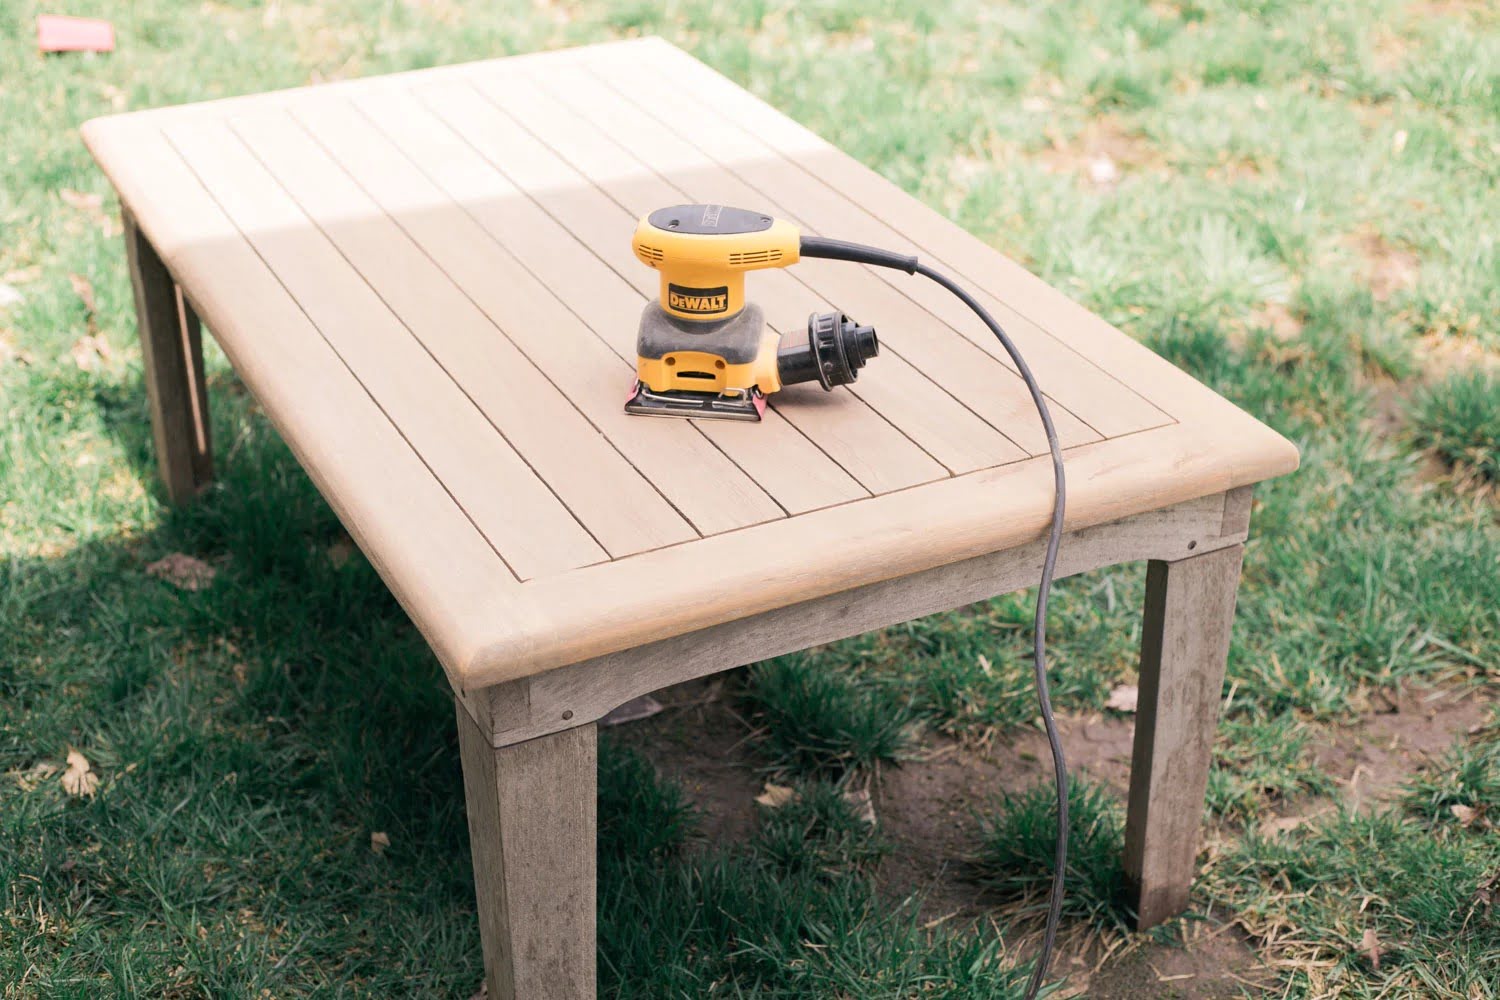
Step 2: Sand the Furniture
After the furniture has been thoroughly cleaned and dried, the next crucial step in the sealing process is to sand the surfaces. Sanding serves multiple purposes, including smoothing out any rough areas, removing old sealant or finish, and creating a clean, porous surface for the new sealant to adhere to.
For wooden furniture, start by inspecting the surfaces for rough patches, splinters, or uneven areas. Using fine-grit sandpaper, gently sand the entire surface along the grain of the wood. This helps to smooth out any imperfections and prepares the wood to better absorb the sealant. Take care to sand any intricate or hard-to-reach areas, such as carvings or slatted surfaces, to ensure that the sealant will be applied evenly.
When it comes to metal furniture, sanding serves to remove any rust, corrosion, or old paint that may be present. Use medium-grit sandpaper to lightly sand the metal surfaces, focusing on areas that show signs of wear or damage. This not only improves the appearance of the furniture but also promotes better adhesion of the sealant, creating a protective barrier against future corrosion.
For plastic furniture, sanding is essential for creating a textured surface that allows the sealant to bond effectively. Use fine-grit sandpaper to gently roughen the surface of the plastic, providing a suitable foundation for the sealant to grip onto. Be mindful of not applying too much pressure, as excessive sanding can damage the integrity of the plastic.
When dealing with wicker furniture, a light sanding can help to smooth out any rough spots or frayed edges. Use a fine-grit sandpaper to gently sand the wicker, taking care not to disturb the weave pattern. This process helps to prepare the wicker for the sealant application, ensuring that it adheres evenly and effectively.
Once the sanding is complete, thoroughly clean the furniture to remove any dust or debris that may have accumulated. This sets the stage for the next step: the application of the sealant.
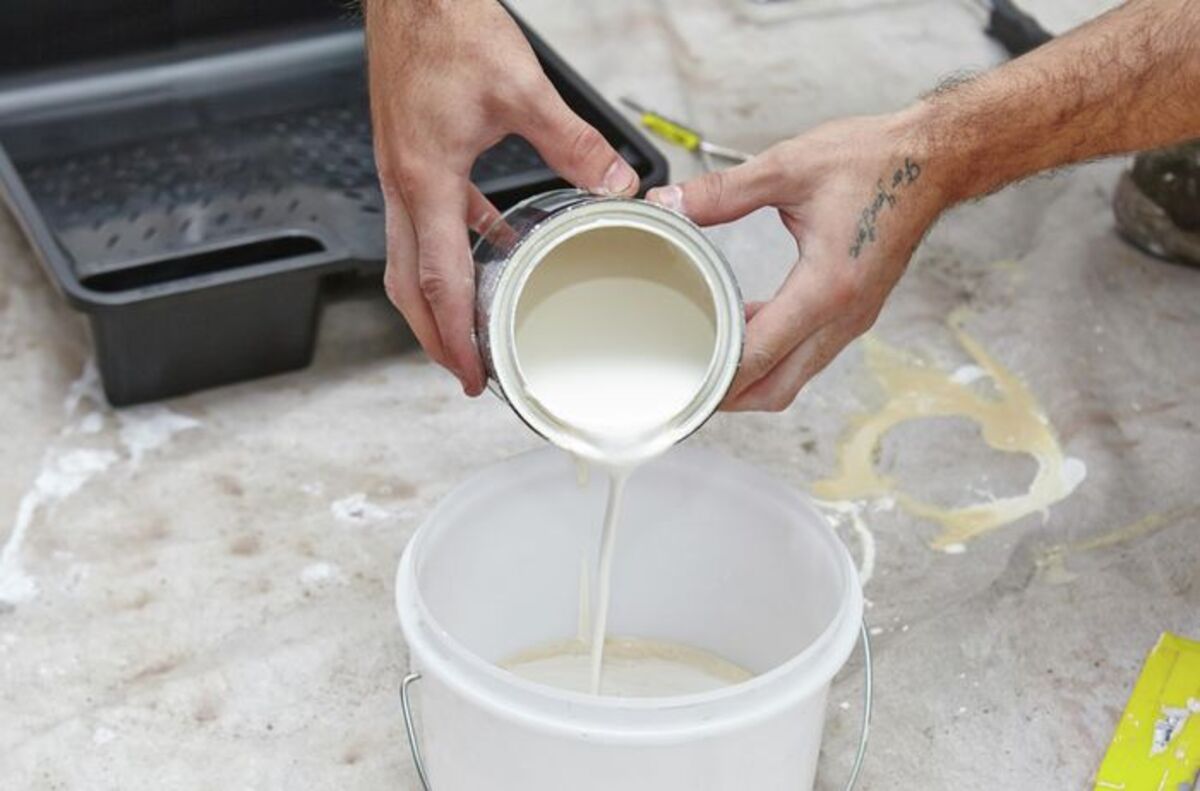
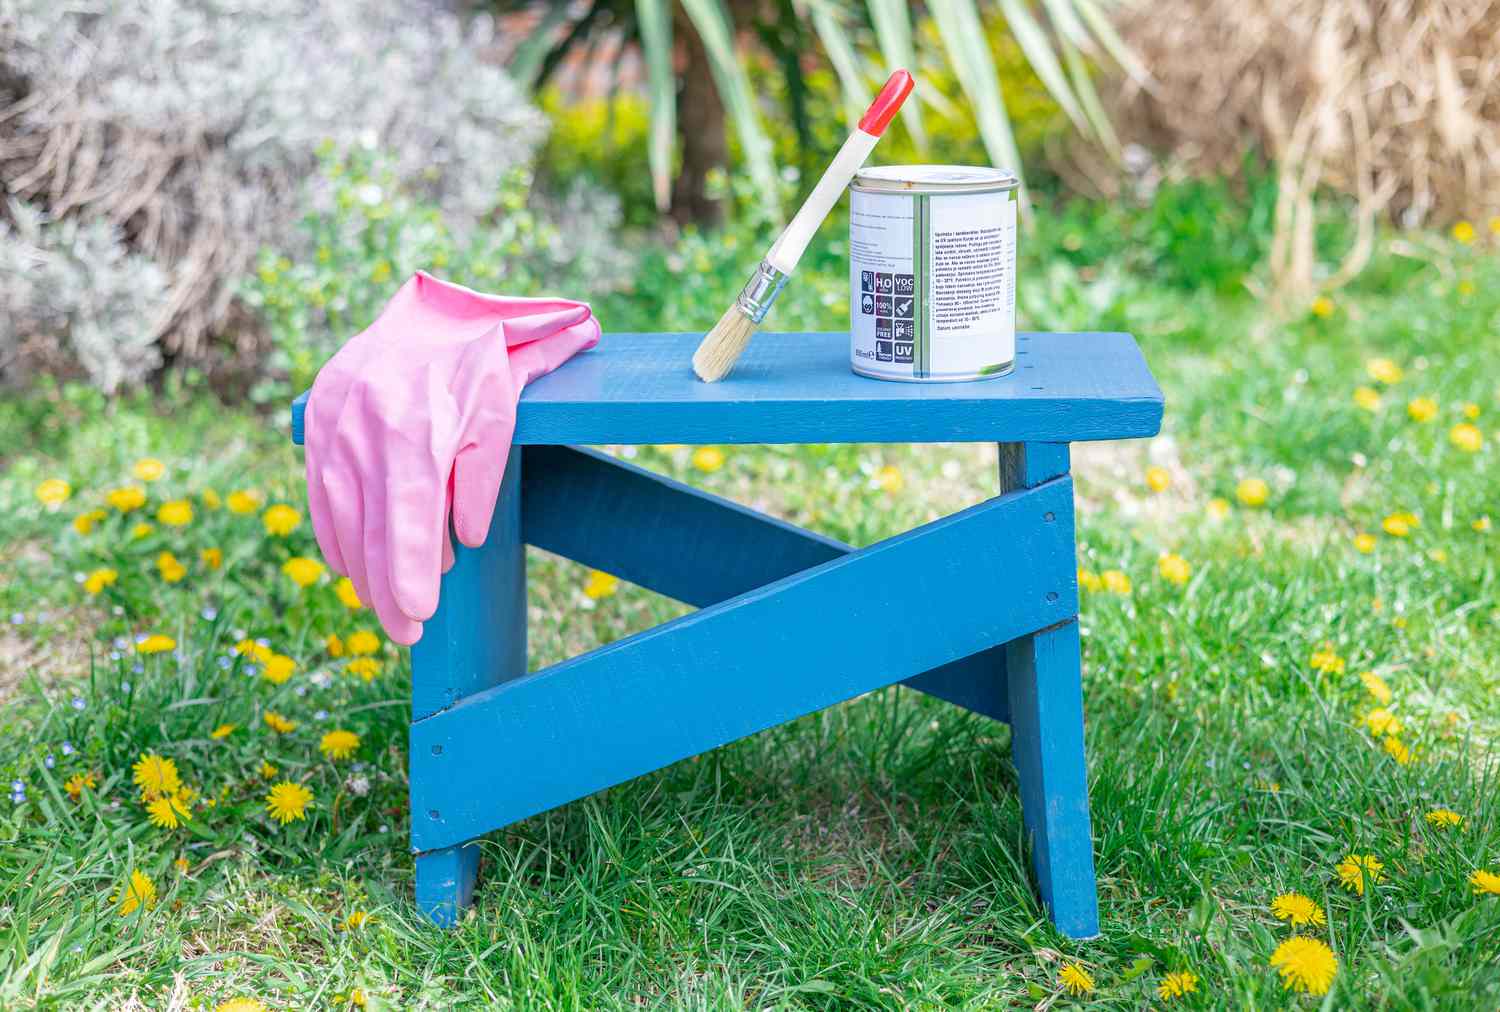
Step 3: Apply the Sealant
With the furniture cleaned and sanded, it’s time to apply the sealant. Choosing the right sealant is crucial, as different types of outdoor furniture may require specific formulations to ensure optimal protection. Whether you’re working with wood, metal, plastic, or wicker furniture, there are sealants designed to meet the unique needs of each material.
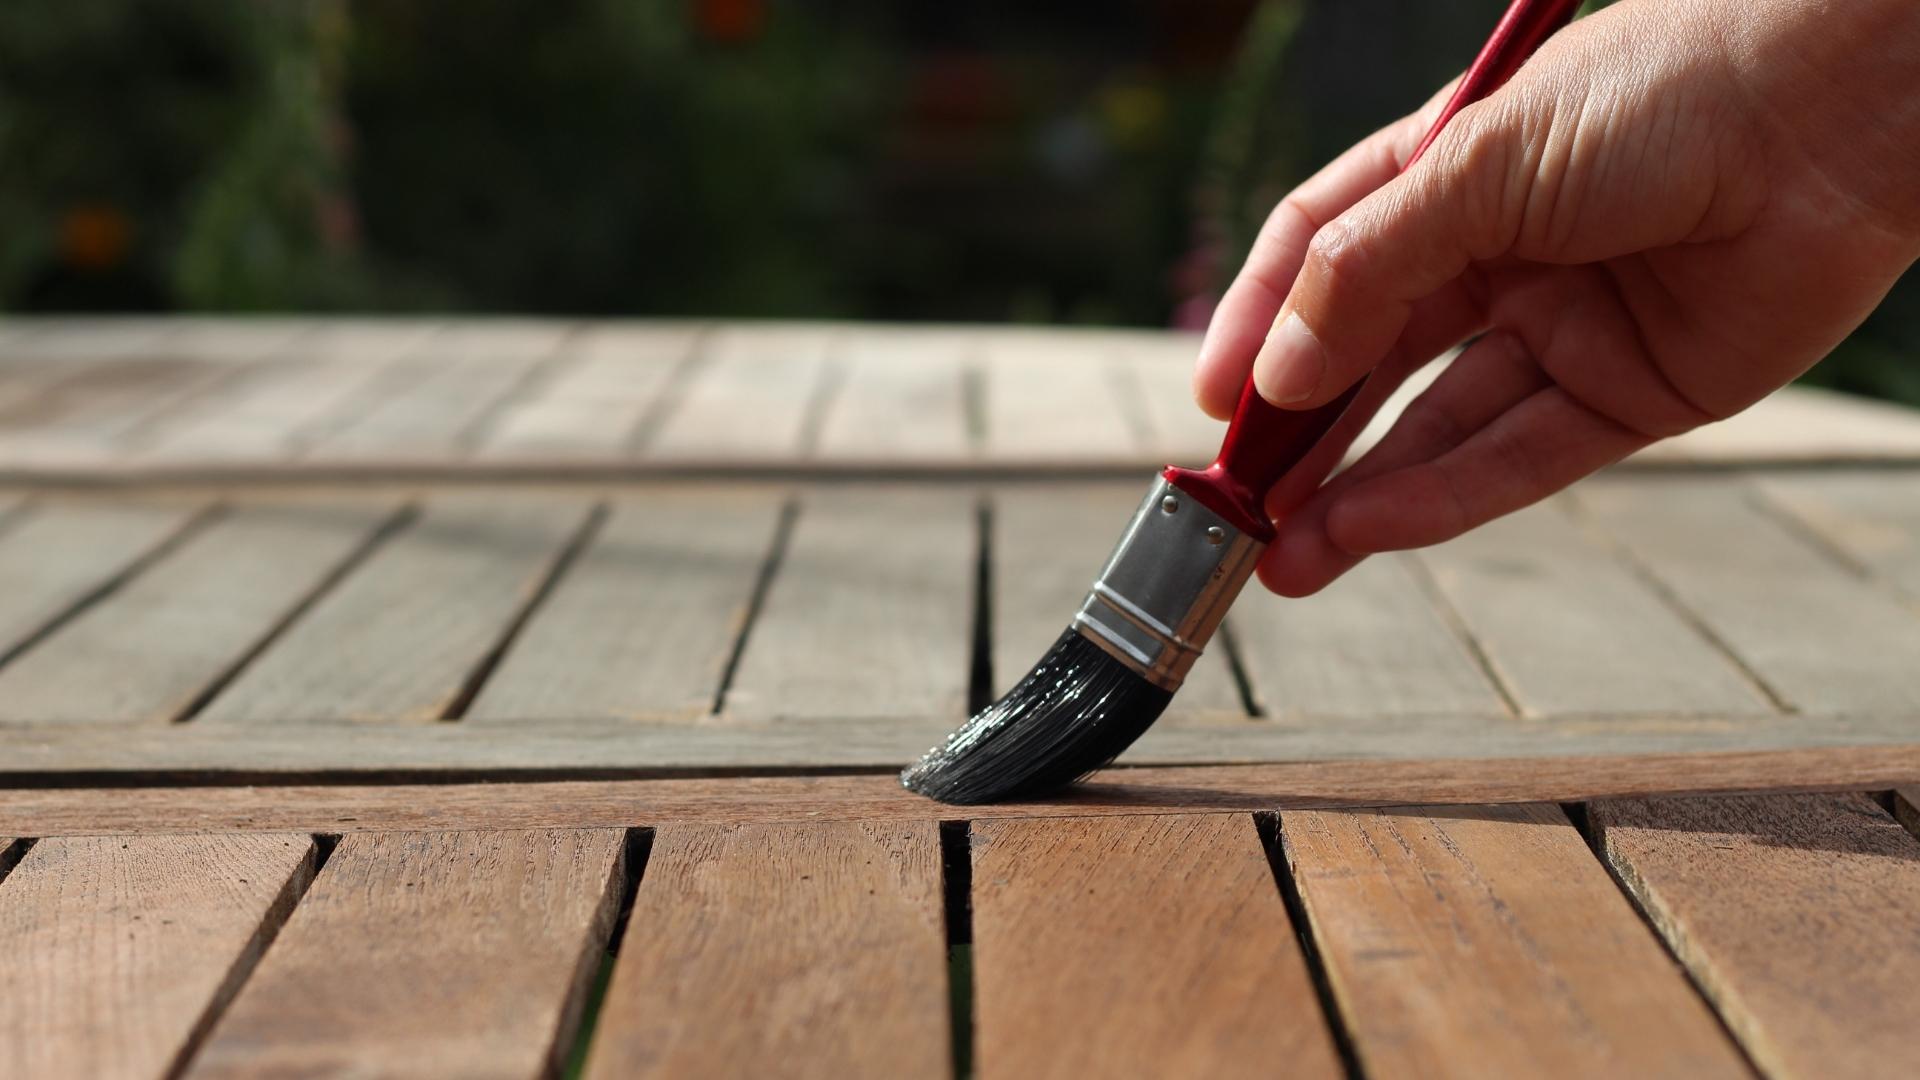
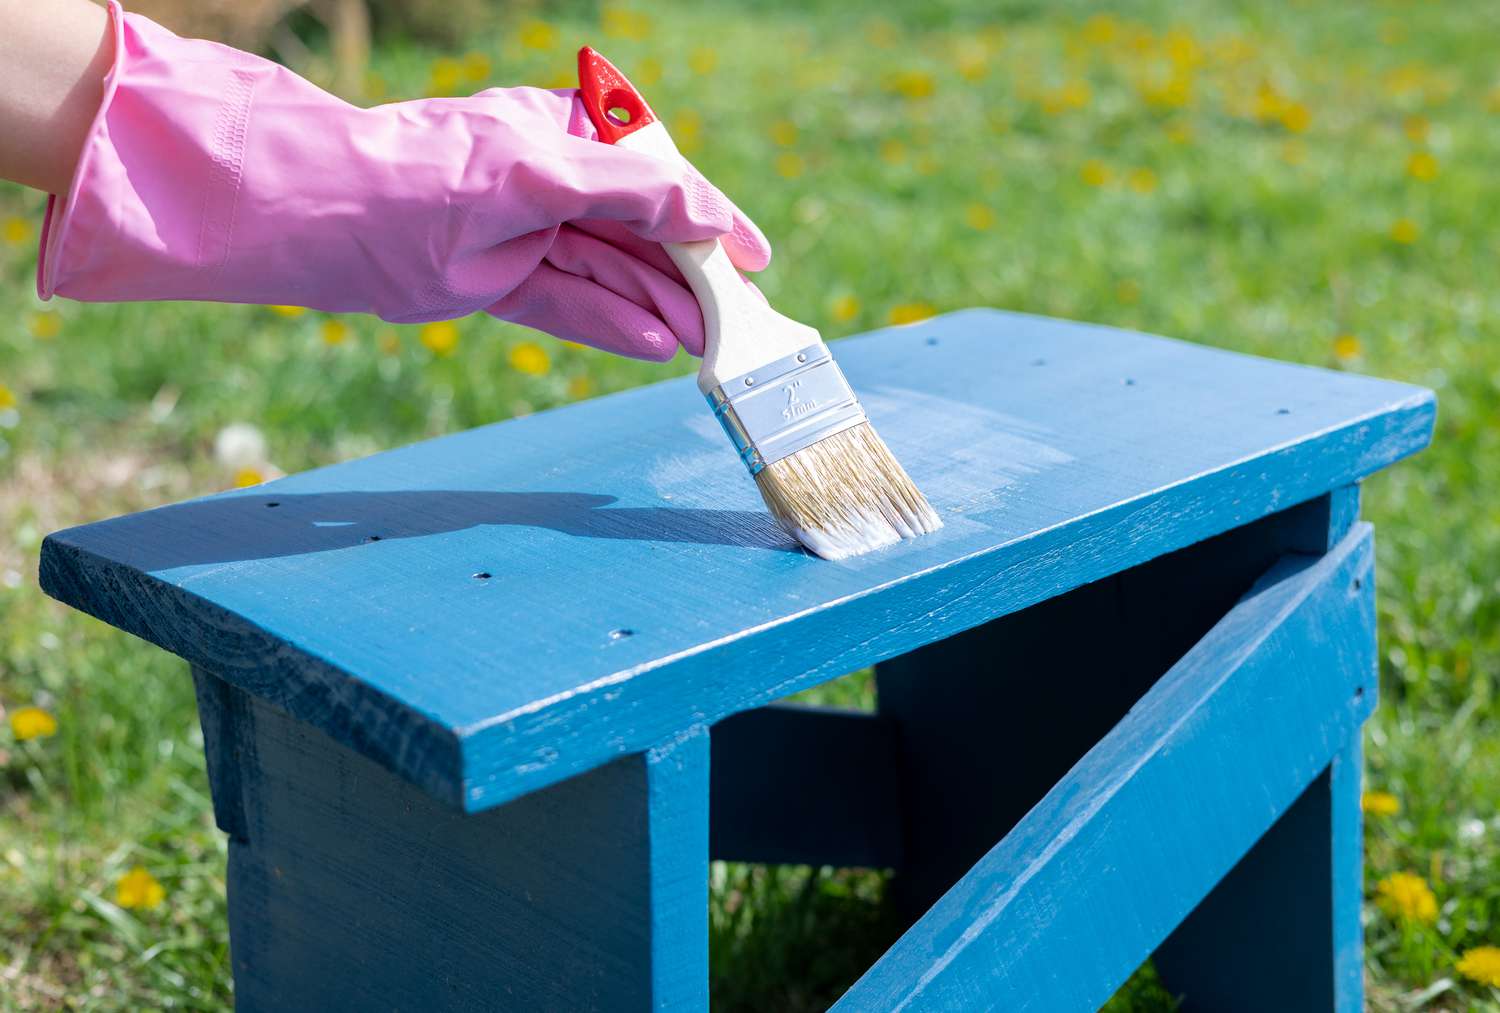
For wooden furniture, consider using a high-quality outdoor wood sealant or varnish that provides protection against moisture, UV rays, and mildew. Apply the sealant using a natural bristle brush, working in the direction of the wood grain for a smooth and even finish. Ensure that the sealant is applied evenly, and pay special attention to any intricate details or hard-to-reach areas.
When it comes to metal furniture, look for a sealant that offers rust protection and UV resistance. Some metal sealants are available in spray form, making application quick and convenient. If using a liquid sealant, a brush or roller can be used to apply a thin, uniform coat to all surfaces of the furniture. Be sure to cover the entire piece, including undersides and hidden areas, to provide comprehensive protection.
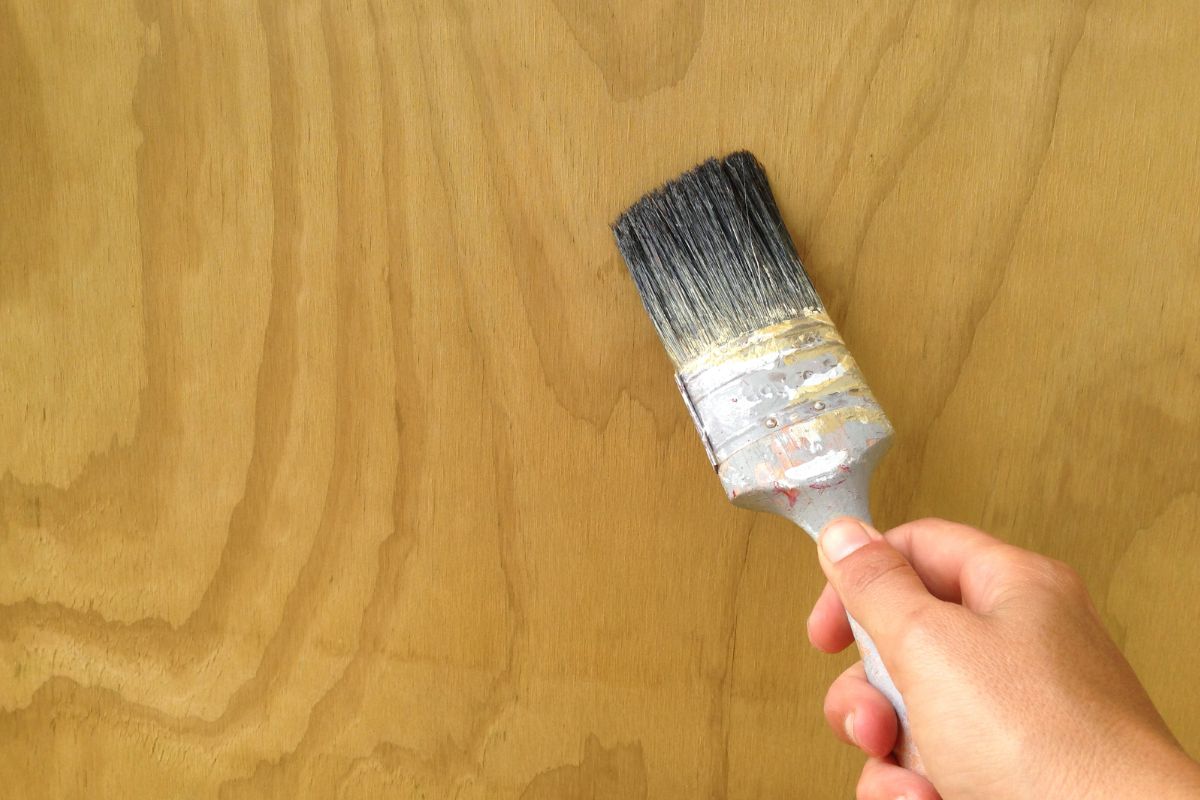
For plastic furniture, opt for a sealant specifically formulated for outdoor use, offering resistance to fading and discoloration caused by sunlight exposure. Similar to painting, plastic sealants can be applied using a brush, roller, or spray. Ensure that the application is even and thorough, taking care to cover all surfaces for maximum protection.
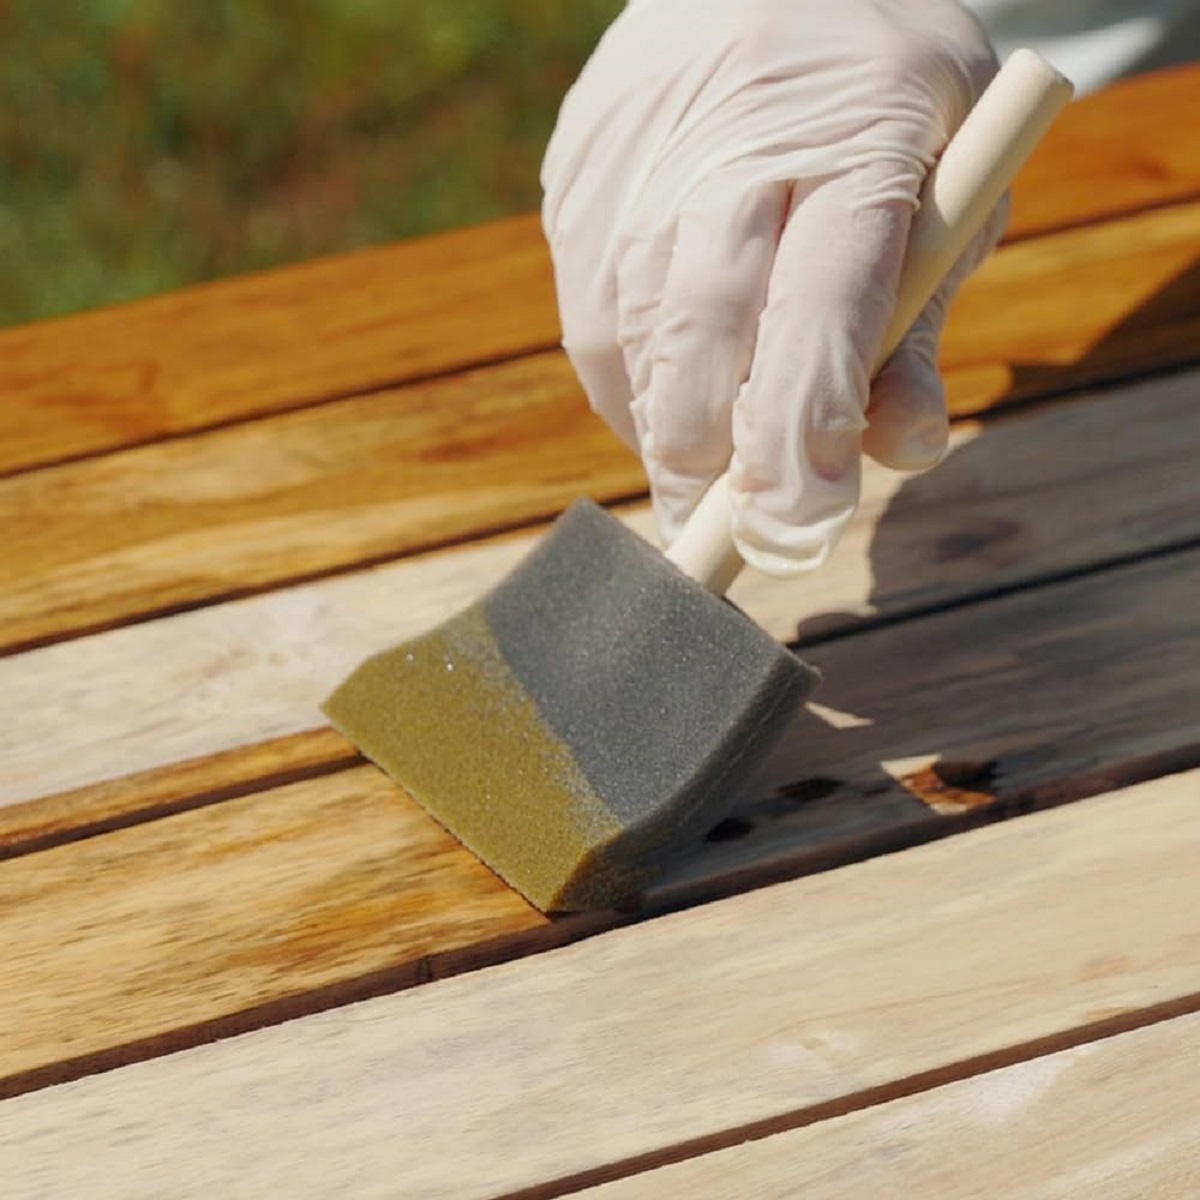
When sealing wicker furniture, choose a sealant that is compatible with the material and provides flexibility to accommodate the natural movement of the wicker weave. Apply the sealant using a brush or spray, ensuring complete coverage of the wicker surfaces. Multiple thin coats may be necessary to achieve optimal protection, allowing each coat to dry completely before applying the next.
Regardless of the type of furniture you’re sealing, always follow the manufacturer’s instructions for the sealant application process. This includes guidelines on proper ventilation, recommended drying times, and any additional steps for achieving the best results. By adhering to these instructions, you can ensure that the sealant performs as intended, safeguarding your outdoor furniture for the long haul.
To seal outdoor furniture, use a clear outdoor sealant to protect it from the elements. Apply the sealant in a well-ventilated area and follow the manufacturer’s instructions for best results.
Step 4: Let the Furniture Dry
After applying the sealant, allowing the furniture to dry thoroughly is essential for the sealant to cure and provide optimal protection. Proper drying time ensures that the sealant forms a durable barrier, safeguarding the furniture from the elements and extending its longevity.
The drying time for outdoor furniture can vary depending on factors such as temperature, humidity, and the type of sealant used. In general, it’s recommended to allow the furniture to dry in a well-ventilated, shaded area to prevent direct exposure to sunlight, which can interfere with the drying process and the effectiveness of the sealant.
For wooden furniture, the drying process typically takes 24 to 48 hours, during which the sealant cures to form a resilient finish. During this time, it’s important to protect the furniture from moisture, dust, and debris that could compromise the quality of the sealant. If multiple coats of sealant are required, allow each coat to dry completely before applying the next, following the manufacturer’s recommendations for drying times between coats.
Metal furniture sealants may have varying drying times depending on the formulation and environmental conditions. While some sealants may dry to the touch within a few hours, allowing the furniture to remain undisturbed for 24 to 48 hours is advisable to ensure complete curing and maximum protection. This helps to prevent smudges, streaks, or other imperfections that can occur if the furniture is handled before the sealant has fully dried.
For plastic furniture, the drying process is generally quicker, with some sealants achieving full cure within a few hours. However, to be on the safe side, it’s best to allow the furniture to dry undisturbed for 24 hours before resuming normal use. This ensures that the sealant has bonded effectively to the plastic surface, providing lasting resistance to UV rays and environmental wear.
Wicker furniture may require additional drying time due to the intricacies of the weave and the need for thorough penetration of the sealant. Depending on the type of sealant used, as well as the weave density, drying times can range from 24 to 48 hours or longer. Patience during the drying process is key to achieving a durable and long-lasting sealant finish.
By allowing the furniture to dry completely before use, you can ensure that the sealant forms a robust protective layer, enhancing the resilience and longevity of your outdoor furniture.
Read more: How To Seal Paint On Furniture
Step 5: Reapply as Needed
While the initial application of sealant provides essential protection for outdoor furniture, it’s important to recognize that the effects of weathering, UV exposure, and general wear and tear can diminish the sealant’s effectiveness over time. To maintain the longevity and appearance of your outdoor furniture, periodic reapplication of sealant may be necessary.
For wooden furniture, regular inspection can help identify areas where the sealant may be wearing thin or showing signs of deterioration. When these signs are observed, it’s time to consider reapplying the sealant to ensure continued protection. Depending on the specific sealant used and environmental conditions, reapplication may be needed every 1 to 3 years to maintain optimal performance.
Metal furniture, particularly outdoor pieces exposed to the elements, may require more frequent reapplication of sealant due to the potential for rust and corrosion. Regularly inspect the furniture for signs of wear or damage to the sealant, and be proactive in addressing any areas that show vulnerability. Depending on the exposure and environmental factors, resealing metal furniture every 1 to 2 years is often recommended.
For plastic furniture, the effects of UV exposure can lead to fading and discoloration over time. Periodic reapplication of sealant helps to combat these effects, preserving the vibrancy and integrity of the furniture. Depending on the level of exposure and the specific sealant used, resealing plastic furniture every 1 to 3 years can help maintain its appearance and durability.
Wicker furniture, while inherently durable, can benefit from regular resealing to uphold its resilience against moisture and UV rays. As with other materials, periodic inspection for signs of wear or fading can guide the decision to reapply the sealant. The frequency of resealing wicker furniture may vary depending on environmental conditions and the type of sealant used, typically ranging from every 1 to 3 years.
When reapplying sealant, it’s important to follow the same preparation and application process as the initial sealing. This includes cleaning the furniture, sanding if necessary, and applying the sealant according to the manufacturer’s instructions. By maintaining a proactive approach to resealing, you can ensure that your outdoor furniture remains well-protected and visually appealing for years to come.
Conclusion
Sealing outdoor furniture is a transformative process that not only enhances its appearance but also fortifies it against the rigors of outdoor exposure. By following the steps outlined in this guide, you can revitalize your outdoor furniture and ensure its longevity, allowing you to enjoy your outdoor living space to the fullest.
From the initial cleaning and sanding to the precise application of sealant and the subsequent drying process, each step plays a vital role in safeguarding your furniture against moisture, UV rays, and other environmental factors. By taking the time to seal your outdoor furniture properly, you invest in its resilience and aesthetic appeal, making it a worthwhile endeavor with long-lasting benefits.
Remember to choose the right sealant for your specific type of furniture and follow the manufacturer’s instructions for application and drying. Additionally, stay vigilant in inspecting your furniture for signs of wear and consider reapplying the sealant as needed to maintain its protective qualities over time.
By mastering the art of furniture sealing, you can elevate the durability and beauty of your outdoor furniture, creating an inviting and enduring outdoor oasis for relaxation, entertainment, and enjoyment. With the knowledge and skills gained from this guide, you’re well-equipped to embark on the journey of sealing your outdoor furniture with confidence and expertise.
So, gather your supplies, roll up your sleeves, and embark on the rewarding process of sealing your outdoor furniture. With each brushstroke of sealant, you’re not just preserving your furniture – you’re enhancing the outdoor experience, one piece at a time.
Frequently Asked Questions about How To Seal Outdoor Furniture
Was this page helpful?
At Storables.com, we guarantee accurate and reliable information. Our content, validated by Expert Board Contributors, is crafted following stringent Editorial Policies. We're committed to providing you with well-researched, expert-backed insights for all your informational needs.


0 thoughts on “How To Seal Outdoor Furniture”