Home>Furniture & Design>Outdoor Furniture>How To Replace Outdoor Furniture Fabric
Outdoor Furniture
How To Replace Outdoor Furniture Fabric
Modified: January 19, 2024
Learn how to replace outdoor furniture fabric with our step-by-step guide. Enhance your outdoor space with our expert tips and advice.
(Many of the links in this article redirect to a specific reviewed product. Your purchase of these products through affiliate links helps to generate commission for Storables.com, at no extra cost. Learn more)
Introduction
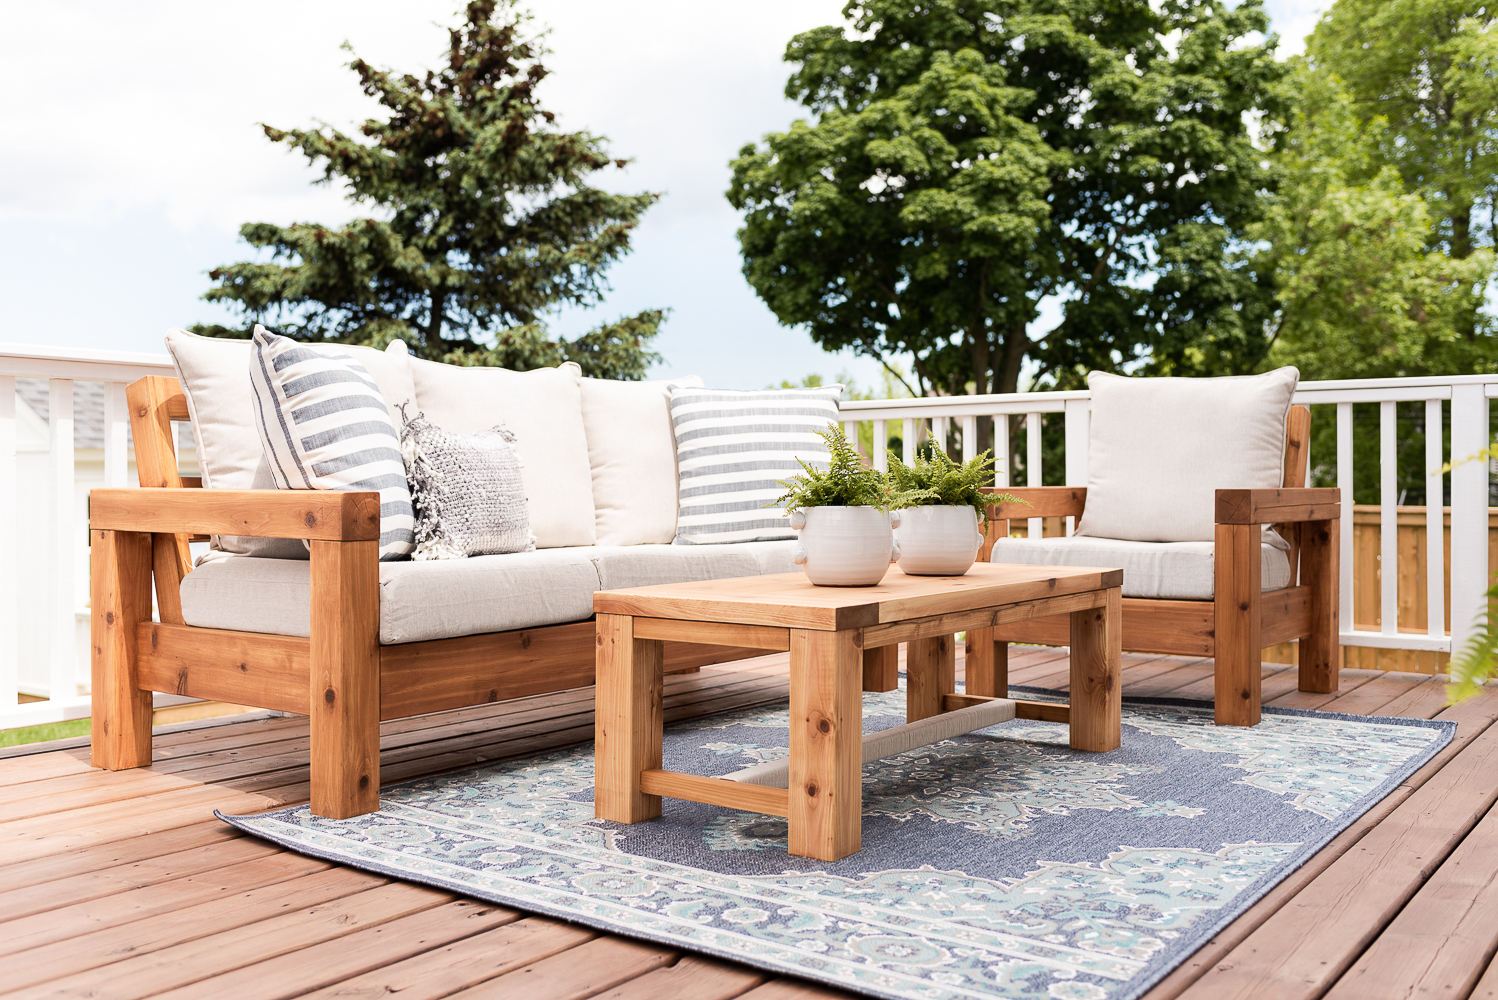
Welcome to the world of outdoor furniture! Whether you have a cozy patio set, a classic chaise lounge, or a stylish outdoor sofa, one of the most common challenges you may encounter is the wear and tear of the fabric. The constant exposure to the elements can take a toll on the fabric of your outdoor furniture, causing it to fade, tear, or become worn over time. However, there's no need to fret because with a little DIY spirit and the right guidance, you can easily breathe new life into your outdoor furniture by replacing the fabric.
In this comprehensive guide, we will walk you through the step-by-step process of replacing the fabric on your outdoor furniture. From gathering the necessary tools and materials to removing the old fabric, preparing the frame, measuring and cutting the new fabric, and finally attaching it with finesse, you'll be equipped with the knowledge and confidence to revitalize your outdoor oasis. So, roll up your sleeves, grab your tools, and let's embark on this rewarding journey of furniture restoration!
Key Takeaways:
- Revitalize your outdoor furniture by replacing worn fabric with the right tools and materials. From removing the old fabric to attaching the new one, follow the steps to transform your outdoor oasis.
- After replacing the fabric, maintain your outdoor furniture with protective treatments and regular cleaning. Enjoy the renewed charm and functionality of your revitalized pieces for years to come.
Read more: Outdoor Furniture And Fabric Ideas
Tools and Materials Needed
Before diving into the fabric replacement process, it’s essential to gather the necessary tools and materials. Here’s a comprehensive list to ensure you’re well-prepared for the task at hand:
Tools:
- Scissors
- Screwdriver
- Staple gun
- Tape measure
- Needle-nose pliers
- Utility knife
- Sewing machine (if sewing is required)
- Hammer
- Wire cutters
- Clamps
- Power drill (if applicable)
Materials:
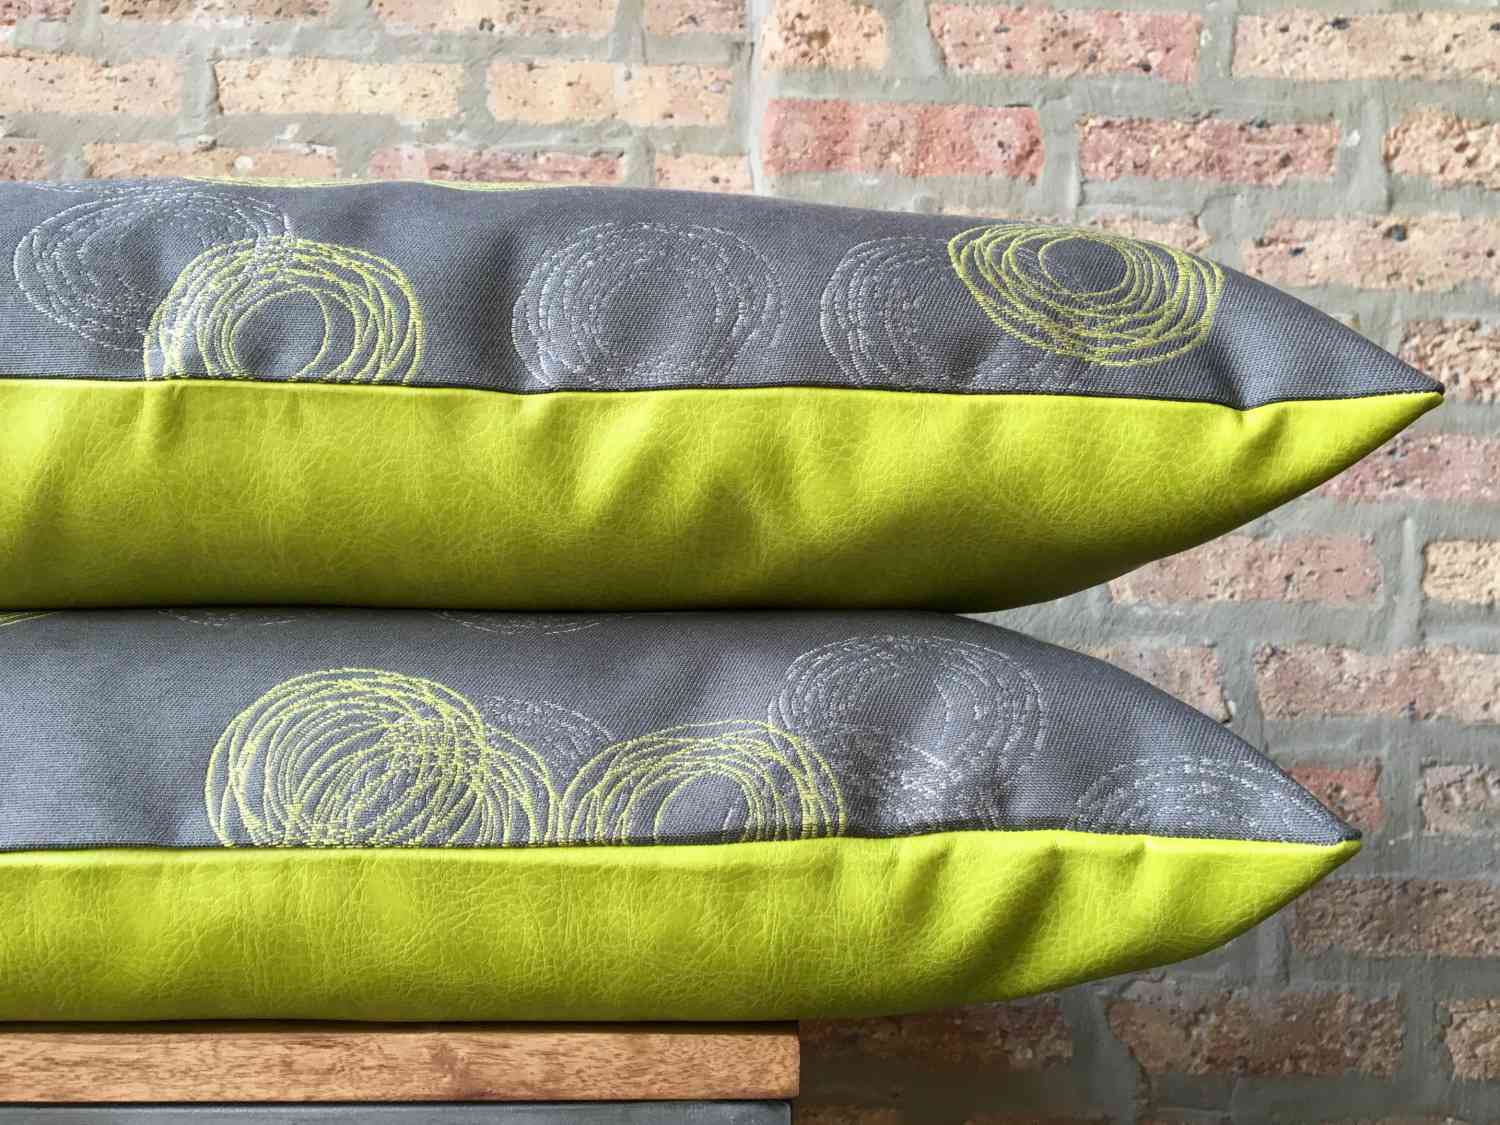
- Durable outdoor fabric
- Replacement foam or batting (if needed)
- Staples
- Thread
- Webbing or strapping (if applicable)
- Extra screws or fasteners (if applicable)
- Protective gloves
- Clean cloth and mild detergent for frame cleaning
- Waterproofing spray (optional, for added protection)
Having these tools and materials on hand will streamline the fabric replacement process and ensure that you’re equipped to handle any unforeseen challenges that may arise. Now that you’re fully prepared, it’s time to roll up your sleeves and begin the transformation of your outdoor furniture!
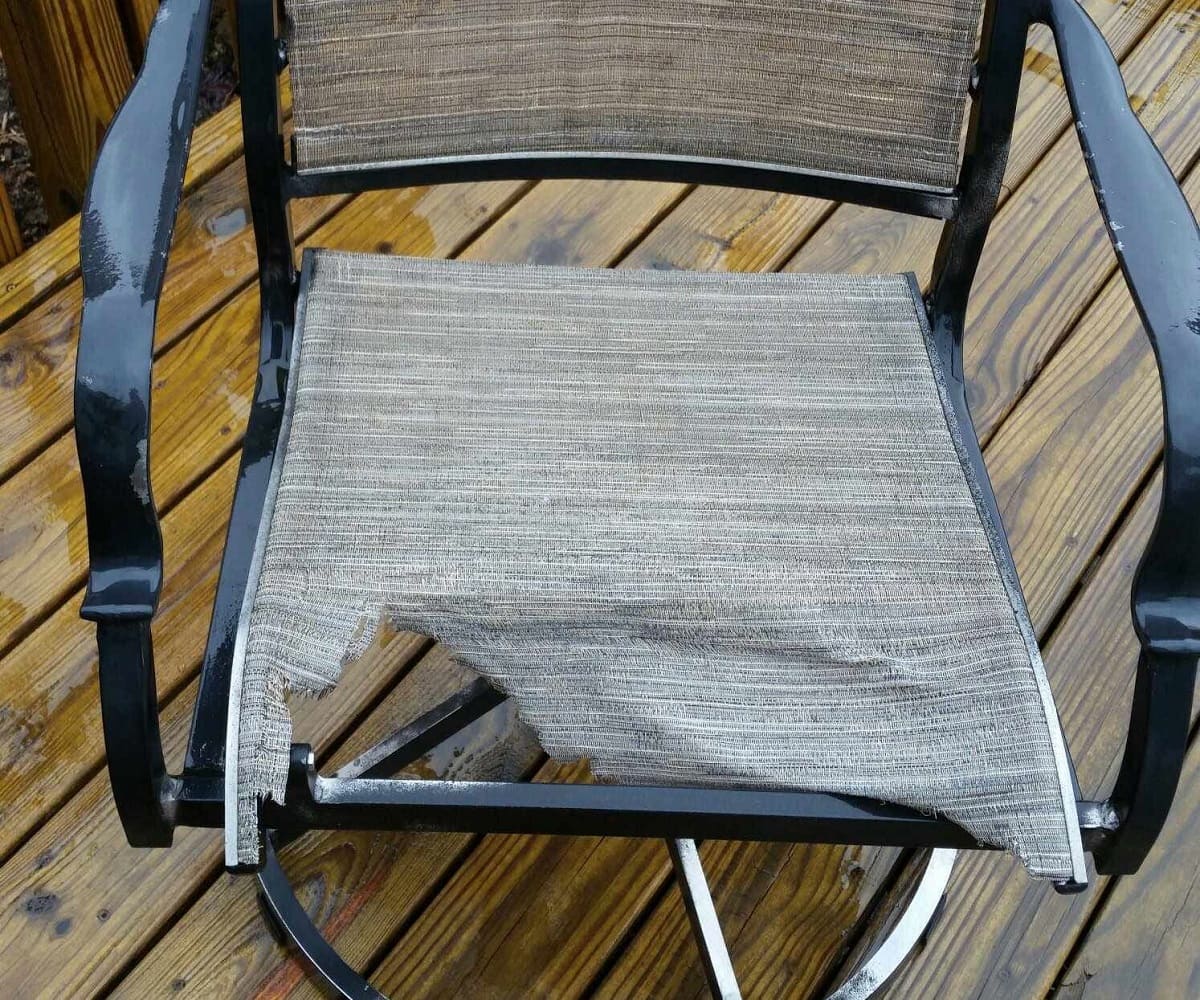
Removing the Old Fabric
Before you can breathe new life into your outdoor furniture, you’ll need to bid farewell to the old, worn fabric. This process requires careful attention to detail and a systematic approach. Here’s how to tackle the task of removing the old fabric:
Read more: How To Clean Outdoor Furniture Fabric
Step 1: Assess the Condition
Begin by examining the existing fabric. Note any areas of damage, such as tears, fraying, or discoloration. This assessment will guide your approach to removing the fabric and provide insight into any underlying issues that may need attention.
Step 2: Disassemble the Furniture
If your outdoor furniture has a frame that allows for disassembly, carefully take it apart to access the fabric. Keep track of the screws, bolts, or fasteners, ensuring they are safely stored for reassembly later. For furniture with a fixed frame, you may need to work around the structure to remove the fabric.
Step 3: Remove the Old Fabric
Once you have clear access to the fabric, use your tools, such as a screwdriver or pliers, to detach the old fabric from the frame. Take care to remove any staples, tacks, or fasteners securing the fabric in place. A utility knife can be handy for cutting through stubborn or deteriorated fabric sections.
Step 4: Clean the Frame
With the old fabric removed, take the opportunity to clean the frame of your outdoor furniture. Use a clean cloth and mild detergent to wipe away any dirt, debris, or residual adhesive from the previous fabric. This step prepares the frame for the new fabric and ensures a clean foundation for the restoration process.
By methodically removing the old fabric and preparing the frame, you’ve set the stage for the next phase of the transformation. With the frame primed and ready, you’re now ready to embark on the exciting process of revitalizing your outdoor furniture with fresh, vibrant fabric.
Preparing the Frame
With the old fabric removed and the frame of your outdoor furniture clean and ready, it’s time to focus on preparing the frame for the new fabric. This crucial step sets the foundation for a successful and long-lasting fabric replacement. Here’s how to prepare the frame with precision and care:
Inspect the Frame
Take a close look at the frame of your outdoor furniture. Check for any signs of damage, rust, or weakened areas that may need attention. Addressing these issues before applying the new fabric will ensure the structural integrity of the furniture.
Repair and Reinforce
If you encounter any damaged or weakened areas, take the time to reinforce and repair them. This may involve replacing rusted screws or fasteners, reinforcing weakened joints, or addressing any structural concerns. By proactively addressing these issues, you’ll enhance the longevity of your revitalized outdoor furniture.
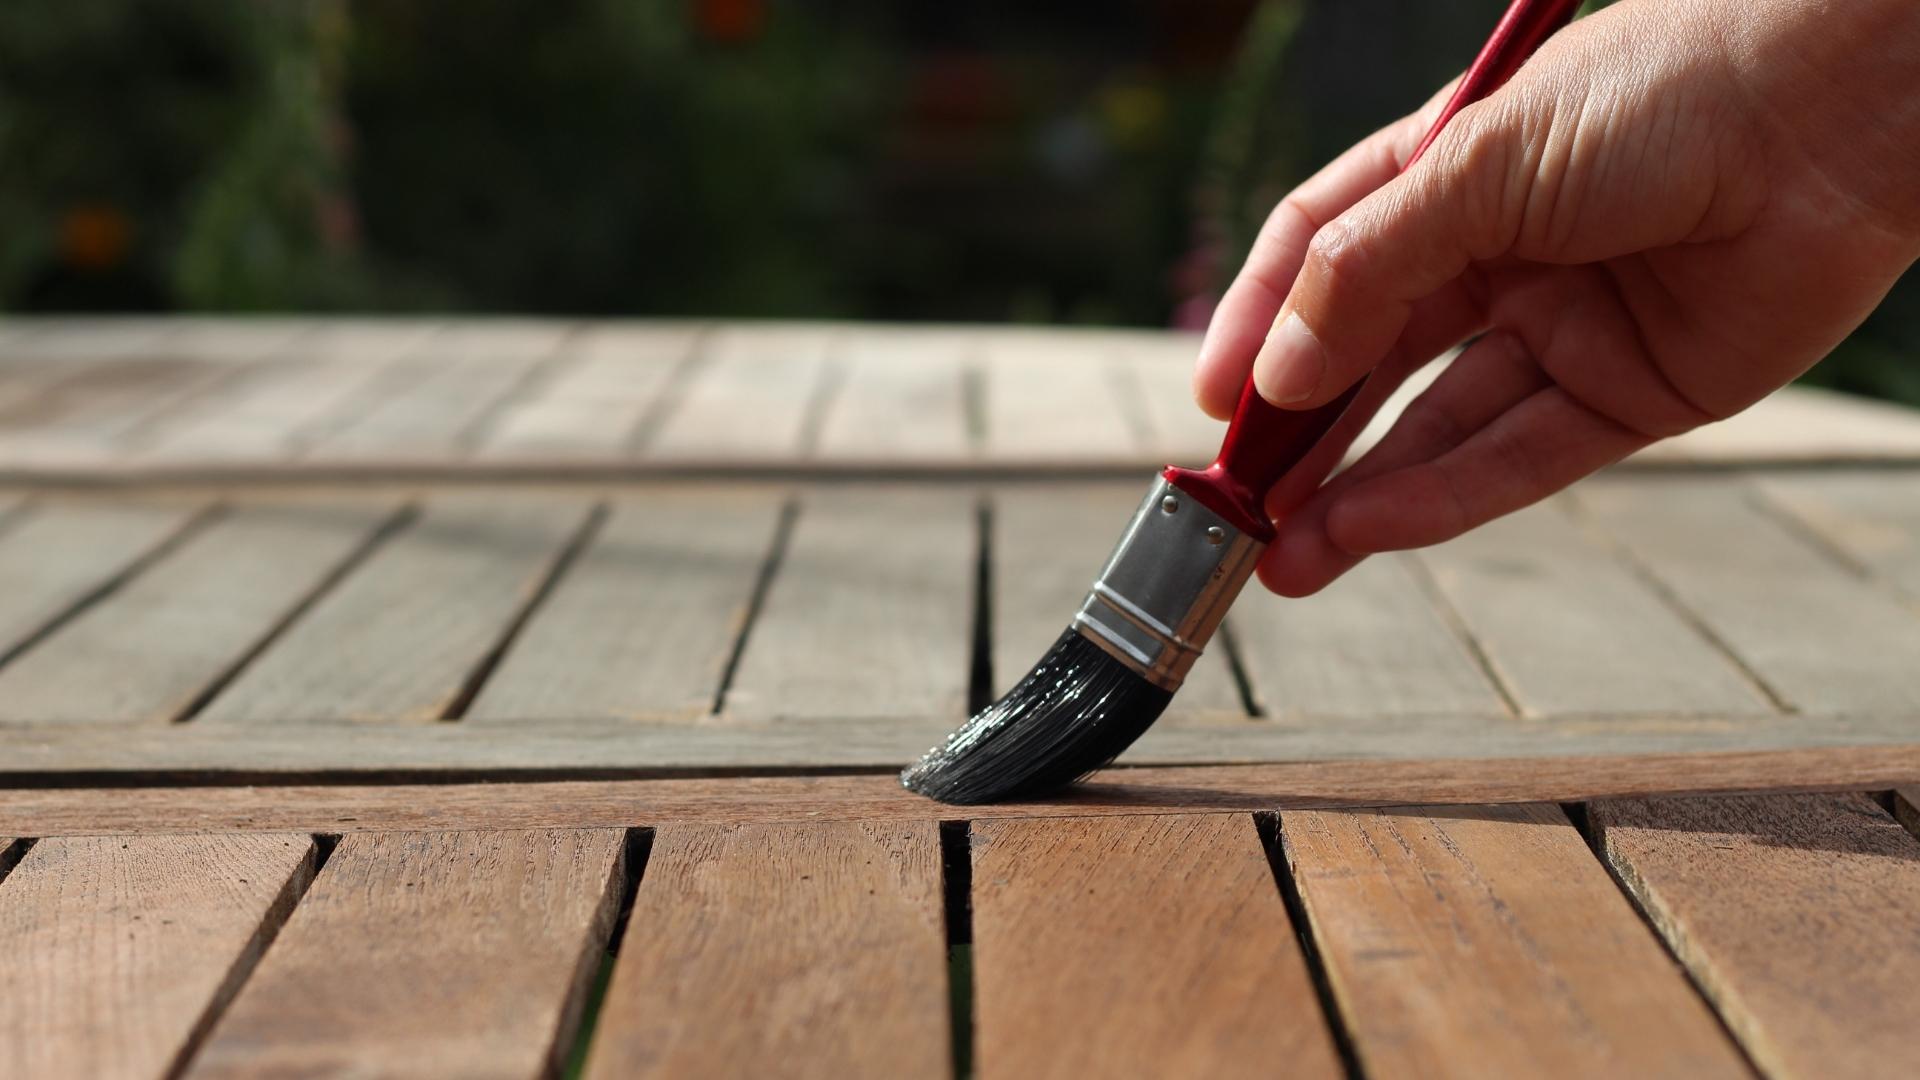
Consider Waterproofing
Depending on the material and design of your outdoor furniture, consider applying a waterproofing spray to the frame. This additional layer of protection can help safeguard the frame against moisture, extending its lifespan and enhancing its resilience in outdoor settings.
Read more: How To Paint Fabric Furniture
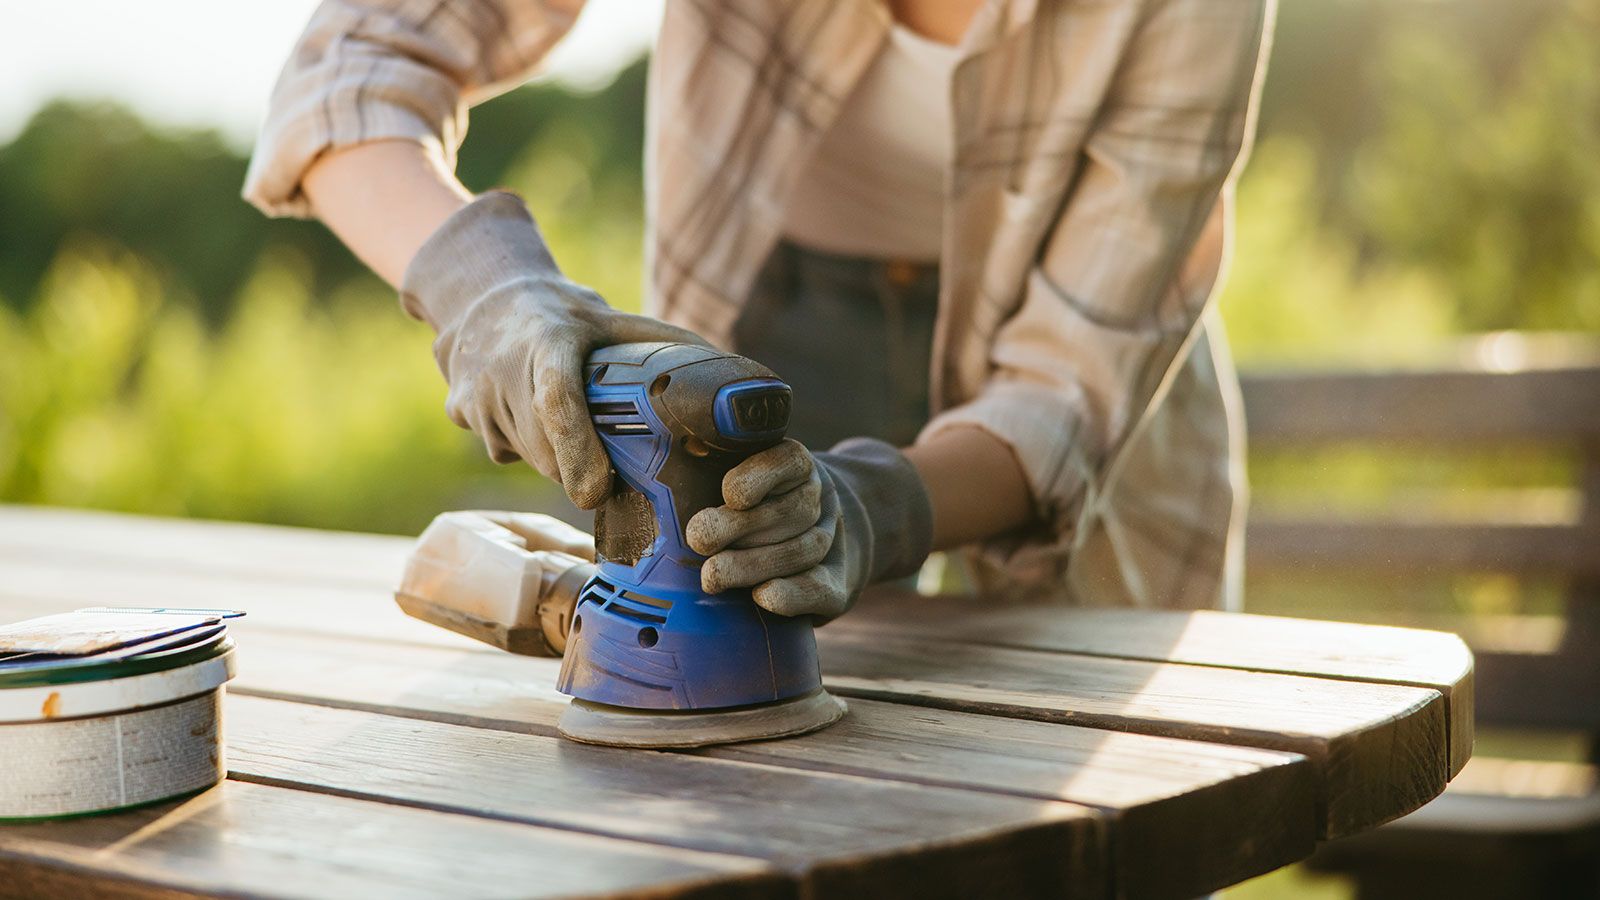
Ensure Even Surfaces
Smooth out any rough or uneven surfaces on the frame. Sand down any protruding nails, splintered wood, or rough metal edges that could potentially damage the new fabric. A smooth, even surface will provide optimal support and longevity for the replacement fabric.
Apply Protective Coating (Optional)
For wooden frames, consider applying a protective coating or sealant to shield the wood from the elements. This step adds an extra layer of defense against moisture, UV rays, and general wear, further preserving the frame and the new fabric.
By meticulously preparing the frame of your outdoor furniture, you’re laying the groundwork for a successful fabric replacement. This proactive approach ensures that the frame is structurally sound, well-protected, and ready to showcase its revitalized appearance with the new fabric.
Measuring and Cutting the New Fabric
With the frame of your outdoor furniture primed and ready, it’s time to embark on the exciting phase of measuring and cutting the new fabric. This step is pivotal in ensuring a precise and tailored fit for the replacement fabric. Here’s a comprehensive guide to measuring and cutting the new fabric with finesse:
Accurate Measurements
Begin by taking precise measurements of the areas where the new fabric will be applied. Use a tape measure to capture the dimensions of the seating and backrest areas, ensuring that you account for any curves, angles, or unique contours. Accuracy in measurement is key to achieving a seamless and snug fit for the new fabric.
Read more: How To Replace Fabric On An RV Awning
Consider Seam Allowance
If sewing is required for the new fabric, factor in the seam allowance when measuring and cutting the fabric. The seam allowance ensures that there is ample material for sewing and securing the edges. Typically, a seam allowance of ½ inch to 1 inch is sufficient for outdoor furniture fabric replacements.
Pattern Alignment
If your outdoor furniture features patterns or designs on the fabric, take care to align the new fabric accordingly. Consider the placement of stripes, motifs, or any decorative elements to ensure a cohesive and visually appealing result. Careful pattern alignment adds a touch of craftsmanship to the fabric replacement process.
Cutting with Precision
Once the measurements are finalized, carefully cut the new fabric using sharp scissors or a rotary cutter. Follow the measured dimensions with precision, and if applicable, mark the seam allowance to guide the sewing process. Smooth, clean cuts contribute to a professional and polished outcome.
Labeling and Organization
As you cut the fabric pieces, consider labeling them according to their intended placement on the furniture. This organization prevents confusion during the attachment phase and ensures that each piece is seamlessly integrated into the overall fabric replacement process.
By meticulously measuring and cutting the new fabric, you’re setting the stage for a seamless and tailored fit that elevates the aesthetic and comfort of your outdoor furniture. With precision and attention to detail, the new fabric will breathe fresh life into your beloved outdoor oasis.
Read more: How To Paint Outdoor Fabric
Attaching the New Fabric
With the new fabric meticulously measured and cut, it’s time to embark on the transformative process of attaching it to the frame of your outdoor furniture. This phase requires precision, patience, and a methodical approach to ensure a flawless and durable result. Here’s a comprehensive guide to attaching the new fabric with finesse:
Secure Beginnings
Start by securing one edge of the new fabric to the frame using clamps or temporary fasteners. This initial anchoring provides stability and allows you to work methodically across the furniture as you attach the fabric. Ensure that the fabric is taut but not overly stretched, maintaining a balanced and snug fit.
Staple or Securement Method
Depending on the design of your outdoor furniture and the type of fabric, choose the appropriate method for securing the fabric to the frame. A staple gun is commonly used for this purpose, providing a secure and efficient means of attachment. Alternatively, some designs may require sewing, lacing, or other fastening techniques to ensure a tailored and enduring fit.
Even Tension and Alignment
As you progress in attaching the new fabric, pay close attention to the tension and alignment of the material. Ensure that the fabric is evenly tensioned across the seating and backrest areas, avoiding any bunching, sagging, or unevenness. Consistent alignment contributes to a polished and professional result.
Read more: How To Sew Outdoor Fabric
Trimming Excess Fabric
Once the fabric is securely attached and aligned, trim any excess material with sharp scissors or a utility knife. Take care to trim along the edges of the frame, ensuring a clean and seamless finish. Precision in trimming enhances the overall appearance and longevity of the fabric replacement.
Reassembly and Finishing Touches
If your outdoor furniture was disassembled, carefully reassemble the pieces, ensuring that all components are securely fastened and aligned. Check for any loose screws, bolts, or fasteners, and tighten them as needed. Once reassembled, inspect the fabric for any final adjustments and make any necessary refinements to achieve a flawless outcome.
By methodically attaching the new fabric with precision and care, you’re breathing new life into your outdoor furniture, transforming it into a refreshed and inviting focal point of your outdoor space. The attention to detail and craftsmanship applied during this phase will yield a stunning and enduring result that enhances your outdoor oasis.
Final Touches and Maintenance
As you admire the rejuvenated appearance of your outdoor furniture with the new fabric in place, it’s important to complete the process with final touches and establish a maintenance routine to preserve its beauty and functionality for years to come. Here’s how to add those finishing touches and ensure the longevity of your newly revitalized outdoor furniture:
Inspect and Refine
Take a moment to thoroughly inspect the newly replaced fabric, ensuring that it is securely fastened, aligned, and free from any imperfections. Make any final adjustments, such as tightening fasteners or addressing minor alignment details, to achieve a flawless and professional finish.
Read more: How To Remove Mold From Furniture Fabric
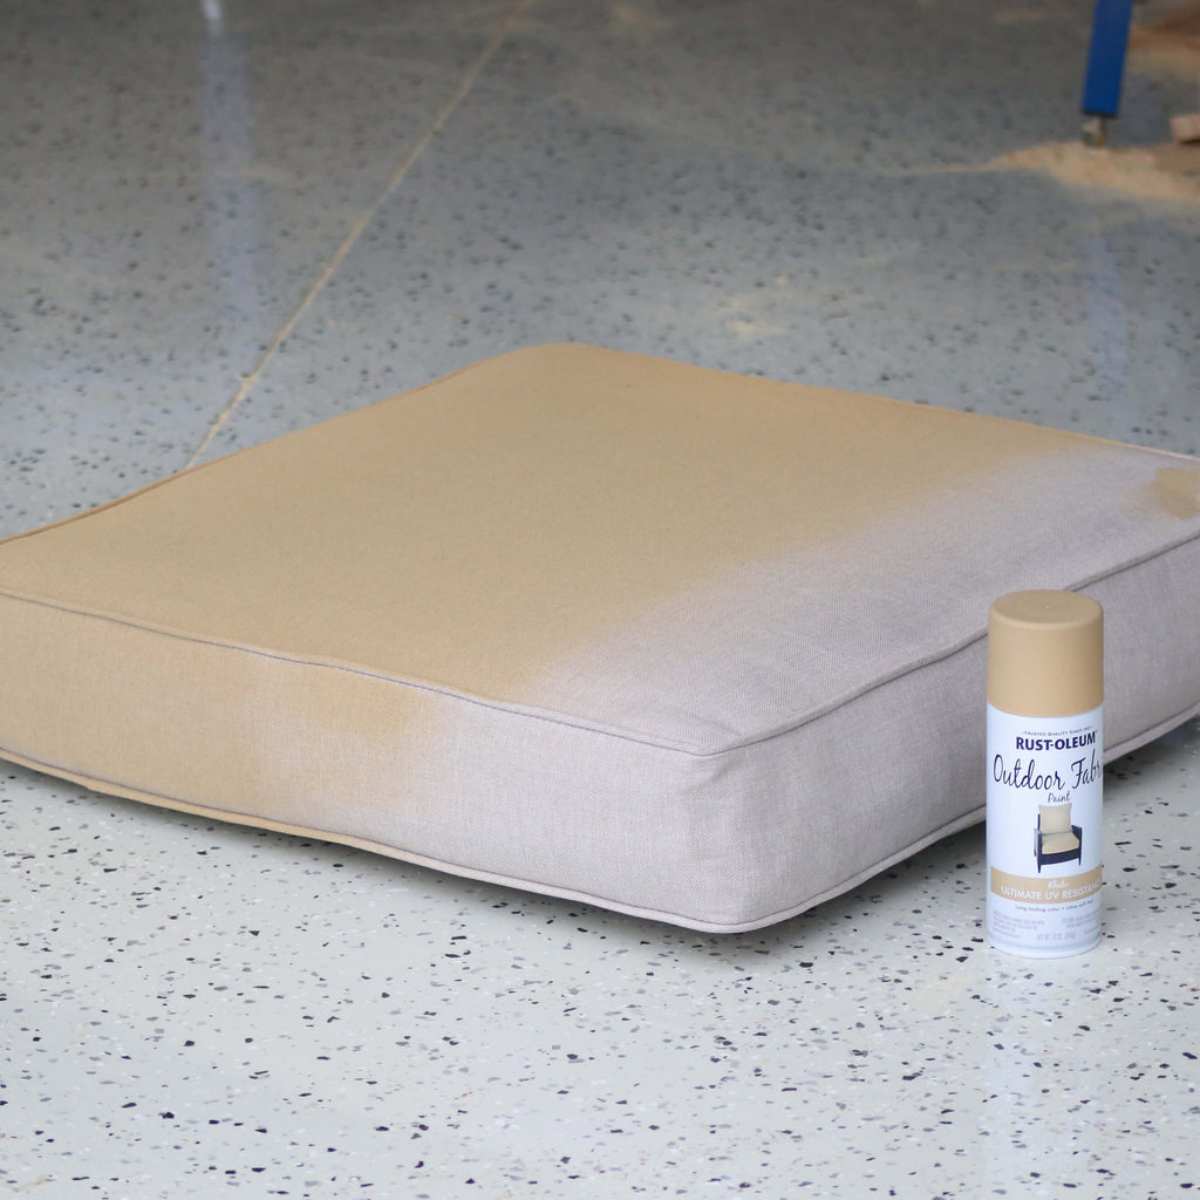
Protective Treatments
Consider applying a protective treatment to the new fabric, especially if it is exposed to direct sunlight or inclement weather. Waterproofing sprays, UV protectants, and fabric sealants can enhance the fabric’s resilience and safeguard it against the elements, prolonging its vibrancy and durability.
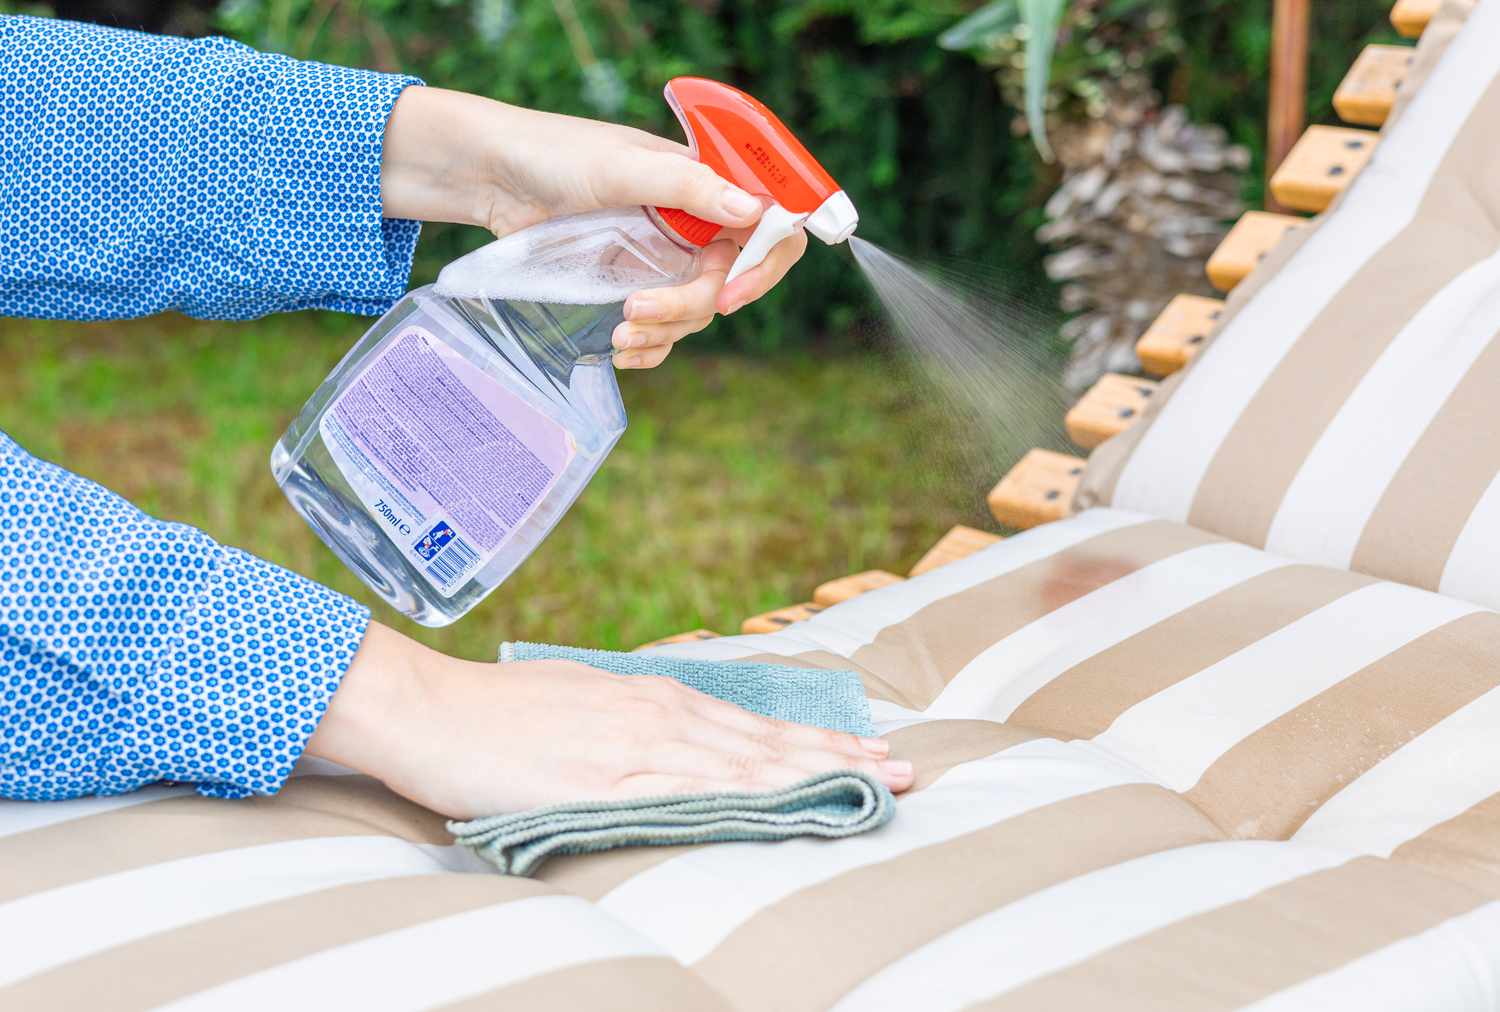
Regular Cleaning and Maintenance
Establish a regular cleaning and maintenance routine for your outdoor furniture to preserve the beauty and functionality of the new fabric. Depending on the fabric type, use gentle cleaning solutions and methods recommended for outdoor use. Regular maintenance, such as removing debris, spot cleaning, and periodic deep cleaning, will extend the life of the fabric and maintain its fresh appearance.
Seasonal Storage and Protection
During inclement weather or extended periods of non-use, consider storing your outdoor furniture in a protected area or using furniture covers to shield it from the elements. This proactive approach to seasonal protection will minimize exposure to harsh conditions and prolong the lifespan of the fabric and the furniture frame.
Enjoy and Rejuvenate
With the final touches completed and a maintenance plan in place, it’s time to enjoy the renewed allure of your outdoor furniture. Revel in the comfort and visual appeal of the revitalized pieces, and take pride in the craftsmanship and care invested in the fabric replacement process. Your outdoor oasis is now ready to welcome moments of relaxation and conviviality in style.
By adding these final touches and implementing a proactive maintenance regimen, you’re ensuring that your outdoor furniture remains a cherished and enduring asset, enriching your outdoor living experience for years to come.
Read more: What Is Outdoor Fabric Made Of
Conclusion
Congratulations on successfully navigating the process of replacing the fabric on your outdoor furniture! Through meticulous planning, precise execution, and a touch of creativity, you’ve breathed new life into your outdoor oasis, transforming worn and weathered furniture into inviting and vibrant focal points of your outdoor space.
As you reflect on the journey of fabric replacement, it’s important to appreciate the craftsmanship and dedication invested in revitalizing your outdoor furniture. The careful selection of durable outdoor fabric, the precision in measuring and cutting, and the methodical attachment to the frame have all contributed to the stunning transformation of your beloved pieces.
With the new fabric in place, your outdoor furniture stands as a testament to your DIY spirit and your commitment to enhancing your outdoor living experience. Whether it’s a cozy patio set, a classic chaise lounge, or a stylish outdoor sofa, each piece now exudes a renewed charm and functionality, ready to accompany you in moments of relaxation, convivial gatherings, and cherished outdoor memories.
As you enjoy the fruits of your labor, remember to maintain a proactive approach to caring for your revitalized outdoor furniture. Regular cleaning, protective treatments, and seasonal storage practices will safeguard the fabric and frame, ensuring that they continue to enrich your outdoor space for years to come.
Embrace the allure and comfort of your newly revitalized outdoor furniture, and take pride in the transformation you’ve accomplished. Your outdoor oasis now radiates with fresh vibrancy, inviting you and your guests to savor the beauty of the outdoors in style and comfort.
Thank you for embarking on this rewarding journey of furniture restoration. May your revitalized outdoor furniture continue to be a source of joy, relaxation, and cherished moments in the great outdoors.
Frequently Asked Questions about How To Replace Outdoor Furniture Fabric
Was this page helpful?
At Storables.com, we guarantee accurate and reliable information. Our content, validated by Expert Board Contributors, is crafted following stringent Editorial Policies. We're committed to providing you with well-researched, expert-backed insights for all your informational needs.
0 thoughts on “How To Replace Outdoor Furniture Fabric”