Home>Furniture & Design>Outdoor Furniture>How To Set Up Nest Camera Outdoor
Outdoor Furniture
How To Set Up Nest Camera Outdoor
Published: January 13, 2024
Learn how to set up your Nest Camera Outdoor with our comprehensive guide. Get expert tips on optimizing your outdoor furniture and design for maximum appeal.
(Many of the links in this article redirect to a specific reviewed product. Your purchase of these products through affiliate links helps to generate commission for Storables.com, at no extra cost. Learn more)
Introduction
Welcome to the world of smart home security! Setting up your Nest Camera Outdoor is an exciting step toward enhancing the safety and security of your home. Whether you're a tech enthusiast or a homeowner looking to bolster your property's defenses, this guide will walk you through the process of installing and configuring your Nest Camera Outdoor. By the end of this journey, you'll have a comprehensive understanding of how to set up and optimize your outdoor surveillance system for maximum effectiveness.
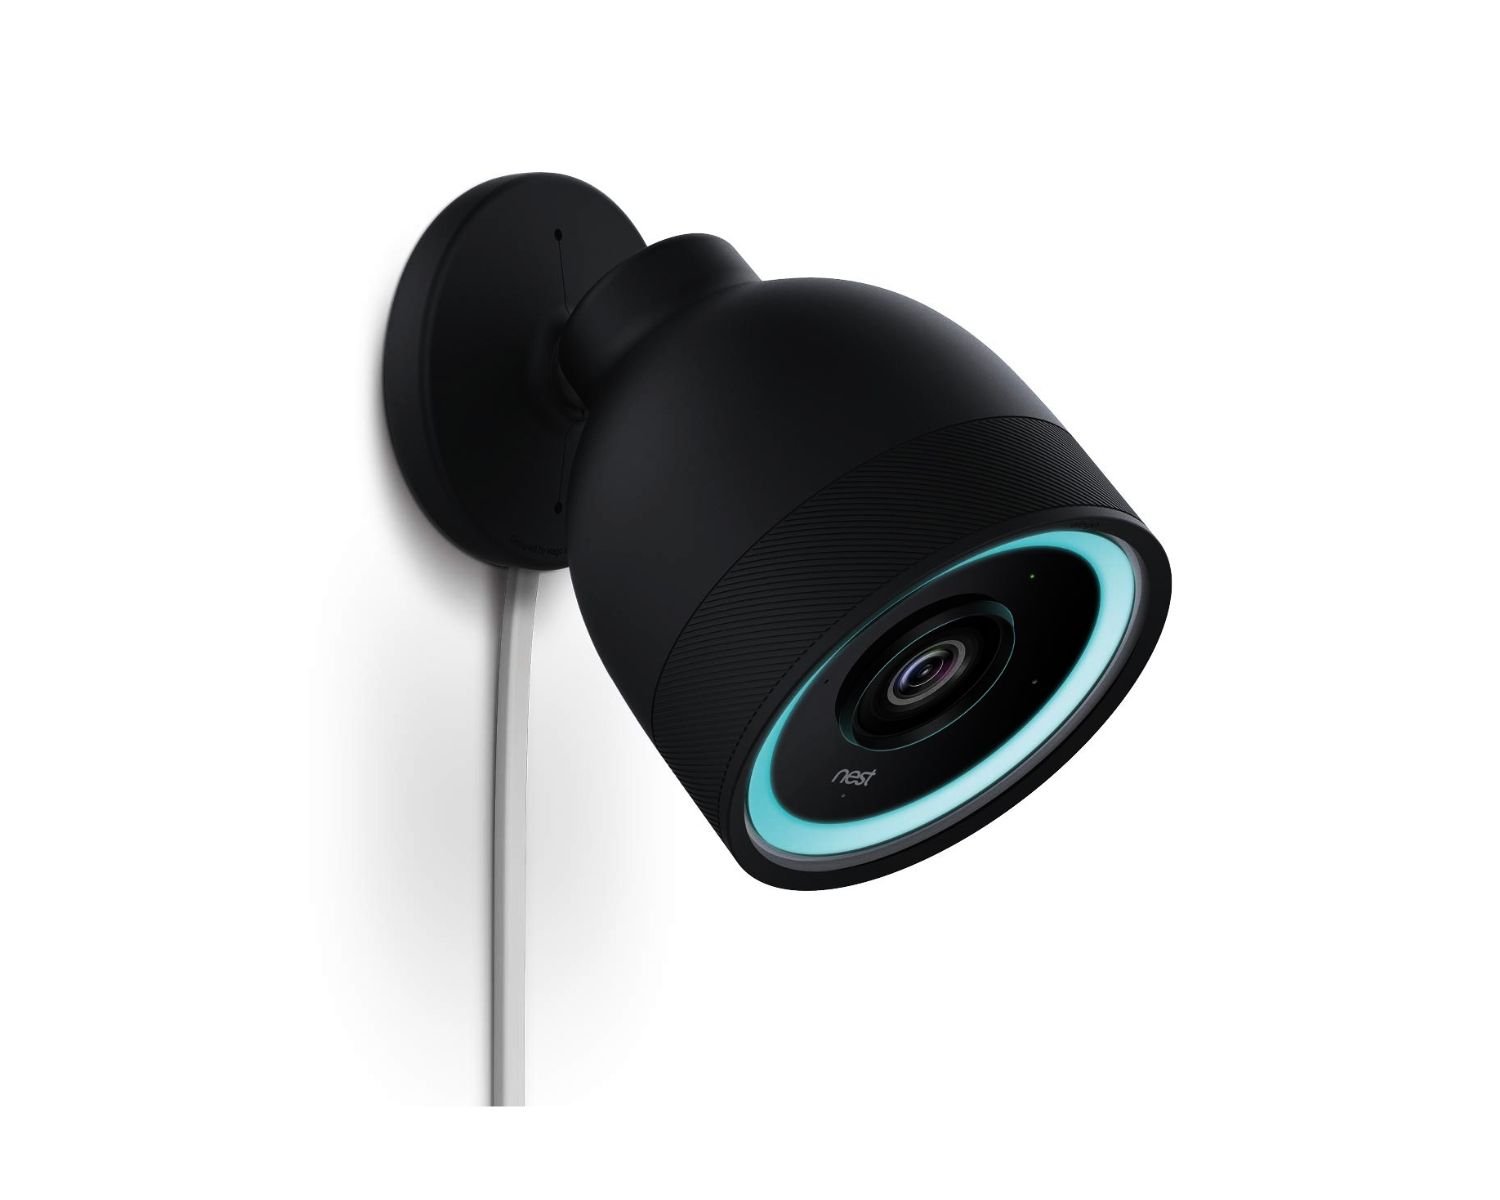
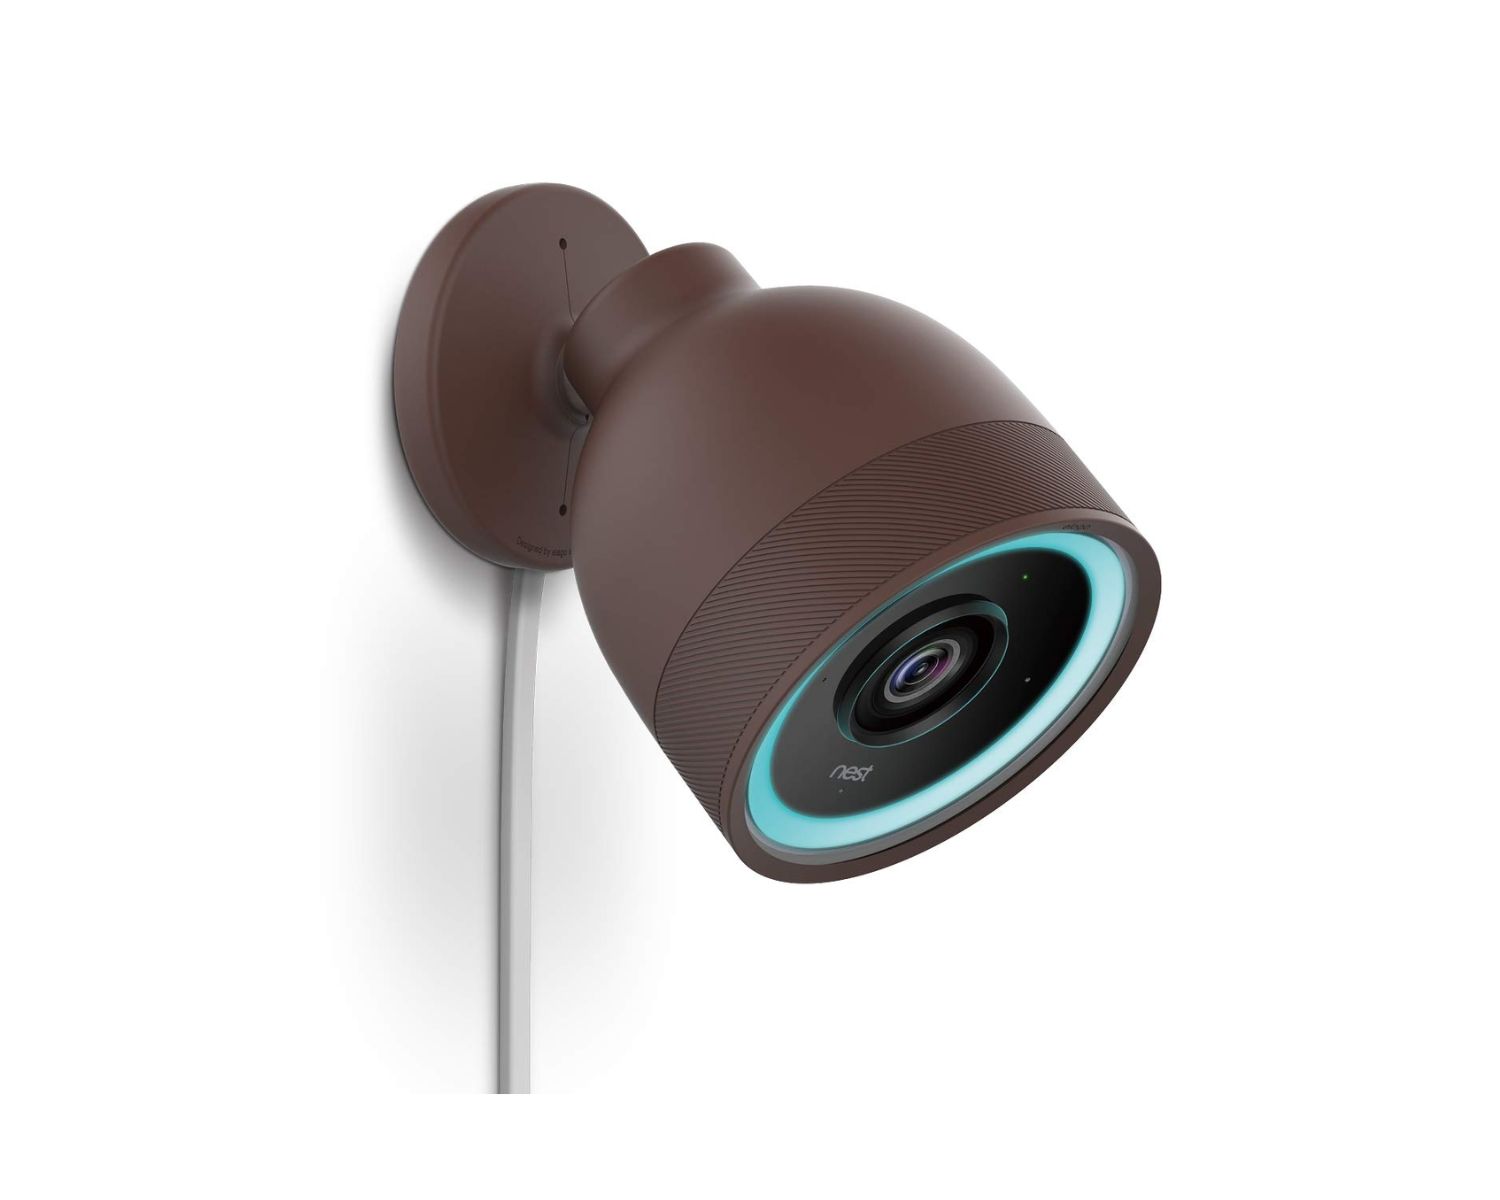
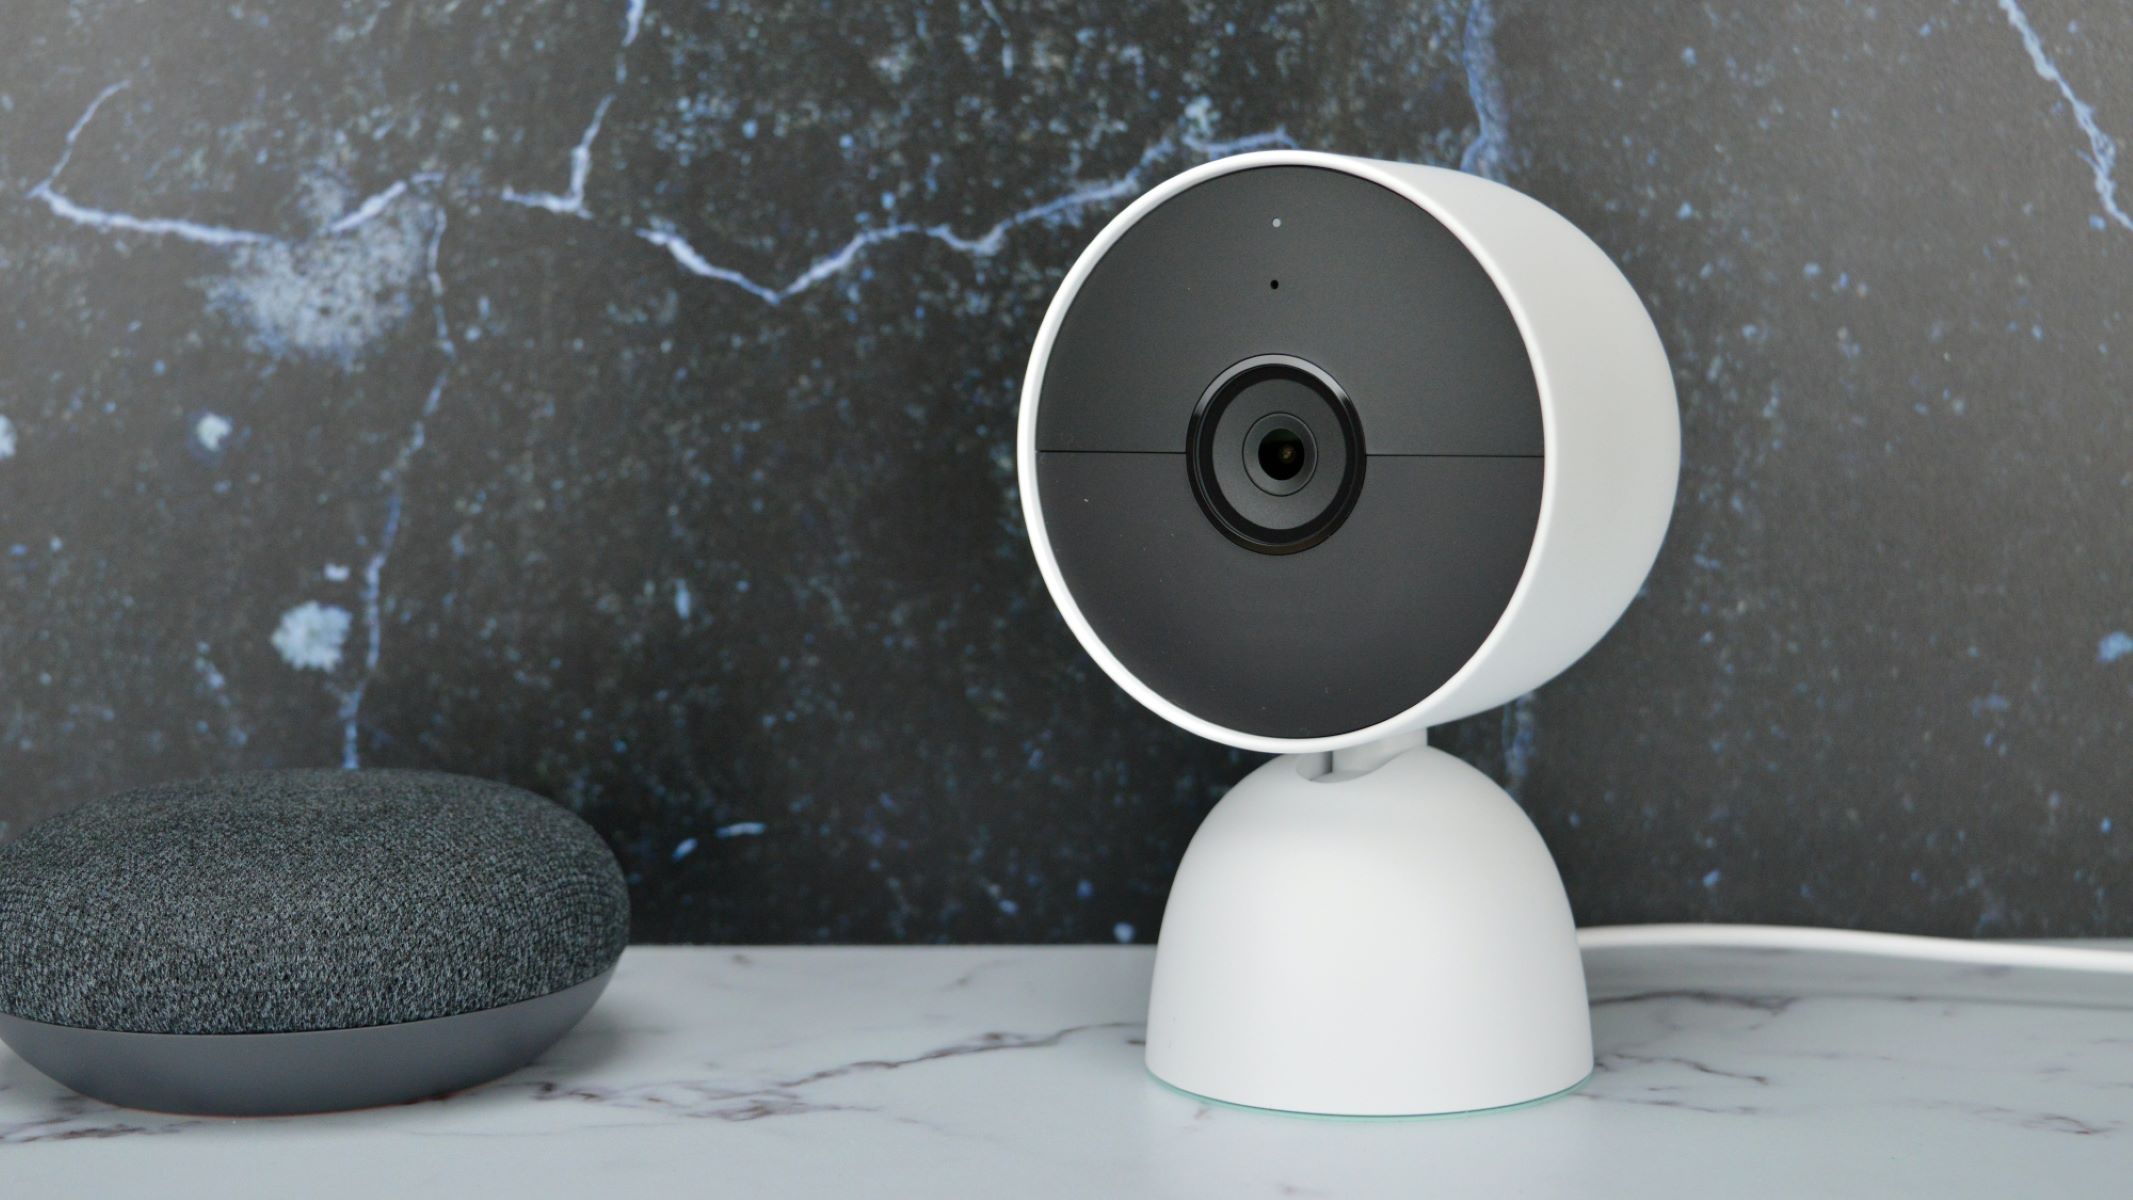
The Nest Camera Outdoor offers a myriad of features designed to keep your home safe and secure. From high-definition video recording to advanced motion detection and night vision capabilities, this smart camera is a powerful addition to any home security setup. With the ability to monitor your property remotely and receive instant alerts for any detected activity, the Nest Camera Outdoor provides peace of mind and convenience.
In this guide, we'll cover everything from unboxing the camera to connecting it to your Wi-Fi network and setting it up through the Nest app. We'll also explore the process of choosing the optimal mounting location and adjusting the camera for the best possible coverage. By following these step-by-step instructions, you'll be well-equipped to harness the full potential of your Nest Camera Outdoor.
So, grab your Nest Camera Outdoor, roll up your sleeves, and let's dive into the process of setting up your smart outdoor surveillance system. Whether you're aiming to deter potential intruders, keep an eye on package deliveries, or simply monitor the comings and goings around your property, the Nest Camera Outdoor is a valuable tool for bolstering the security of your home. Let's embark on this journey together and transform your home security setup with the power of smart technology.
Key Takeaways:
- Setting up your Nest Camera Outdoor enhances home security with remote monitoring and real-time alerts, customizable settings, and durable, weatherproof design for reliable performance.
- The seamless integration of the Nest Camera Outdoor into your smart home ecosystem provides intuitive controls, proactive security measures, and peace of mind for safeguarding your property.
Read more: How To Reset Nest Outdoor Camera
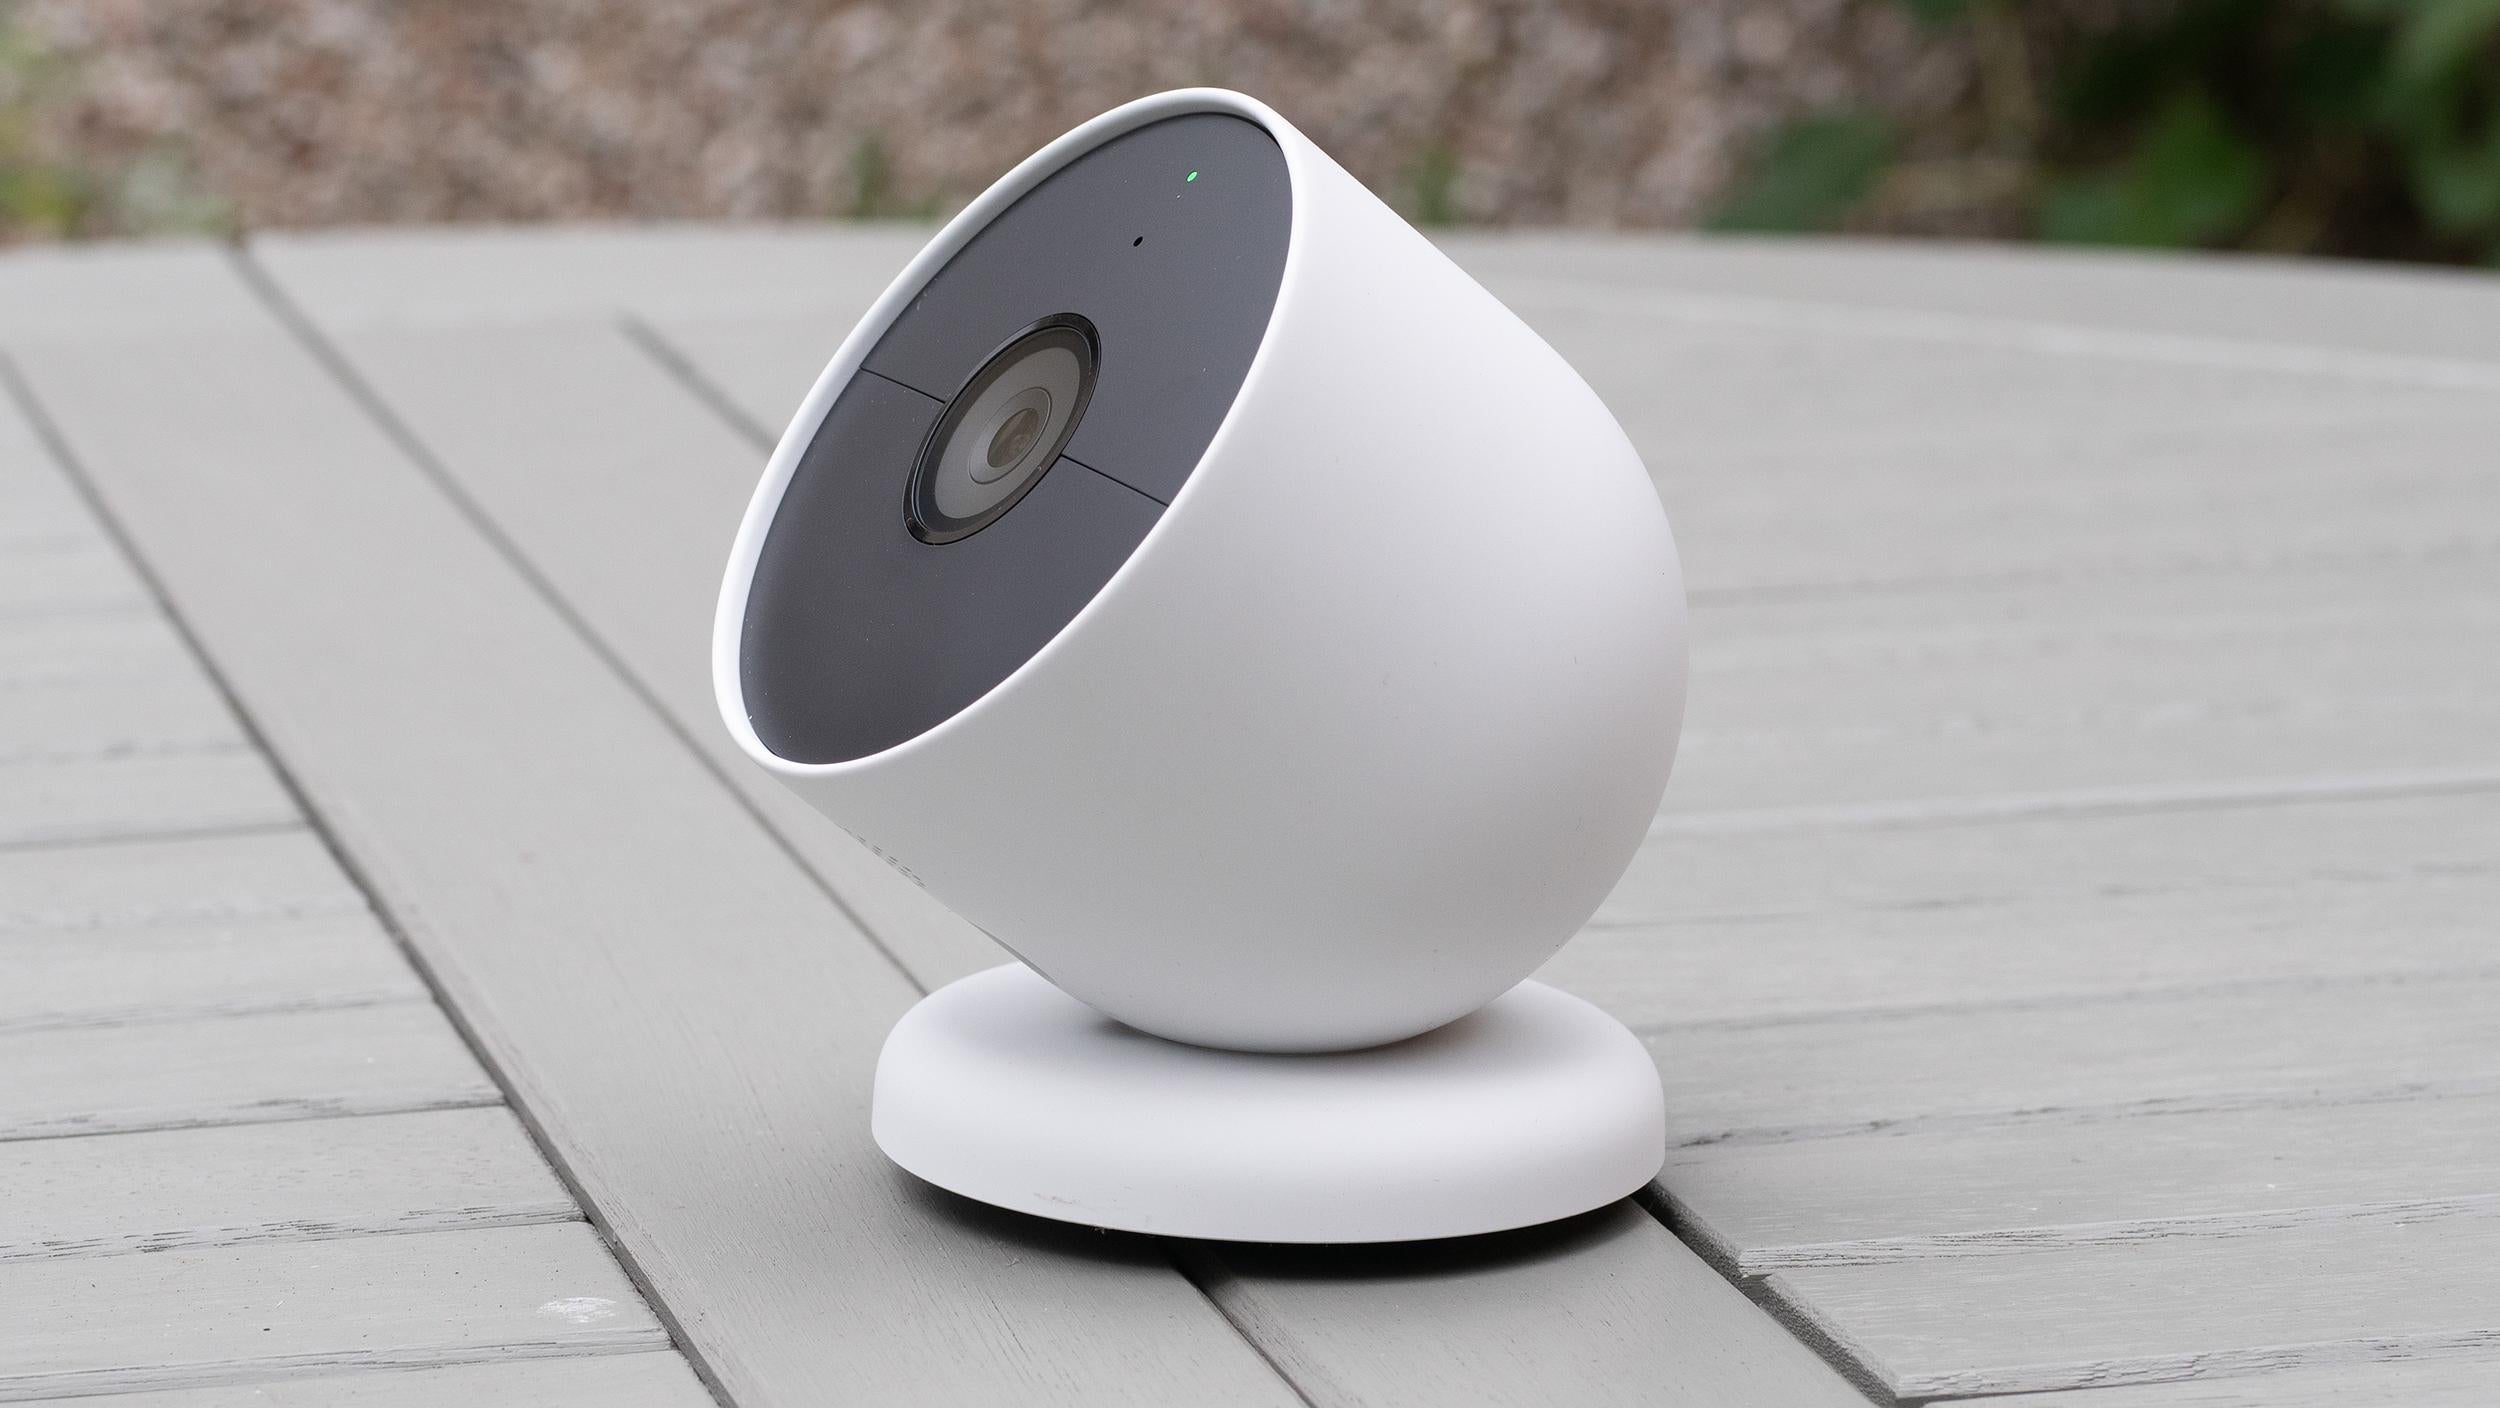
Step 1: Unboxing the Nest Camera Outdoor
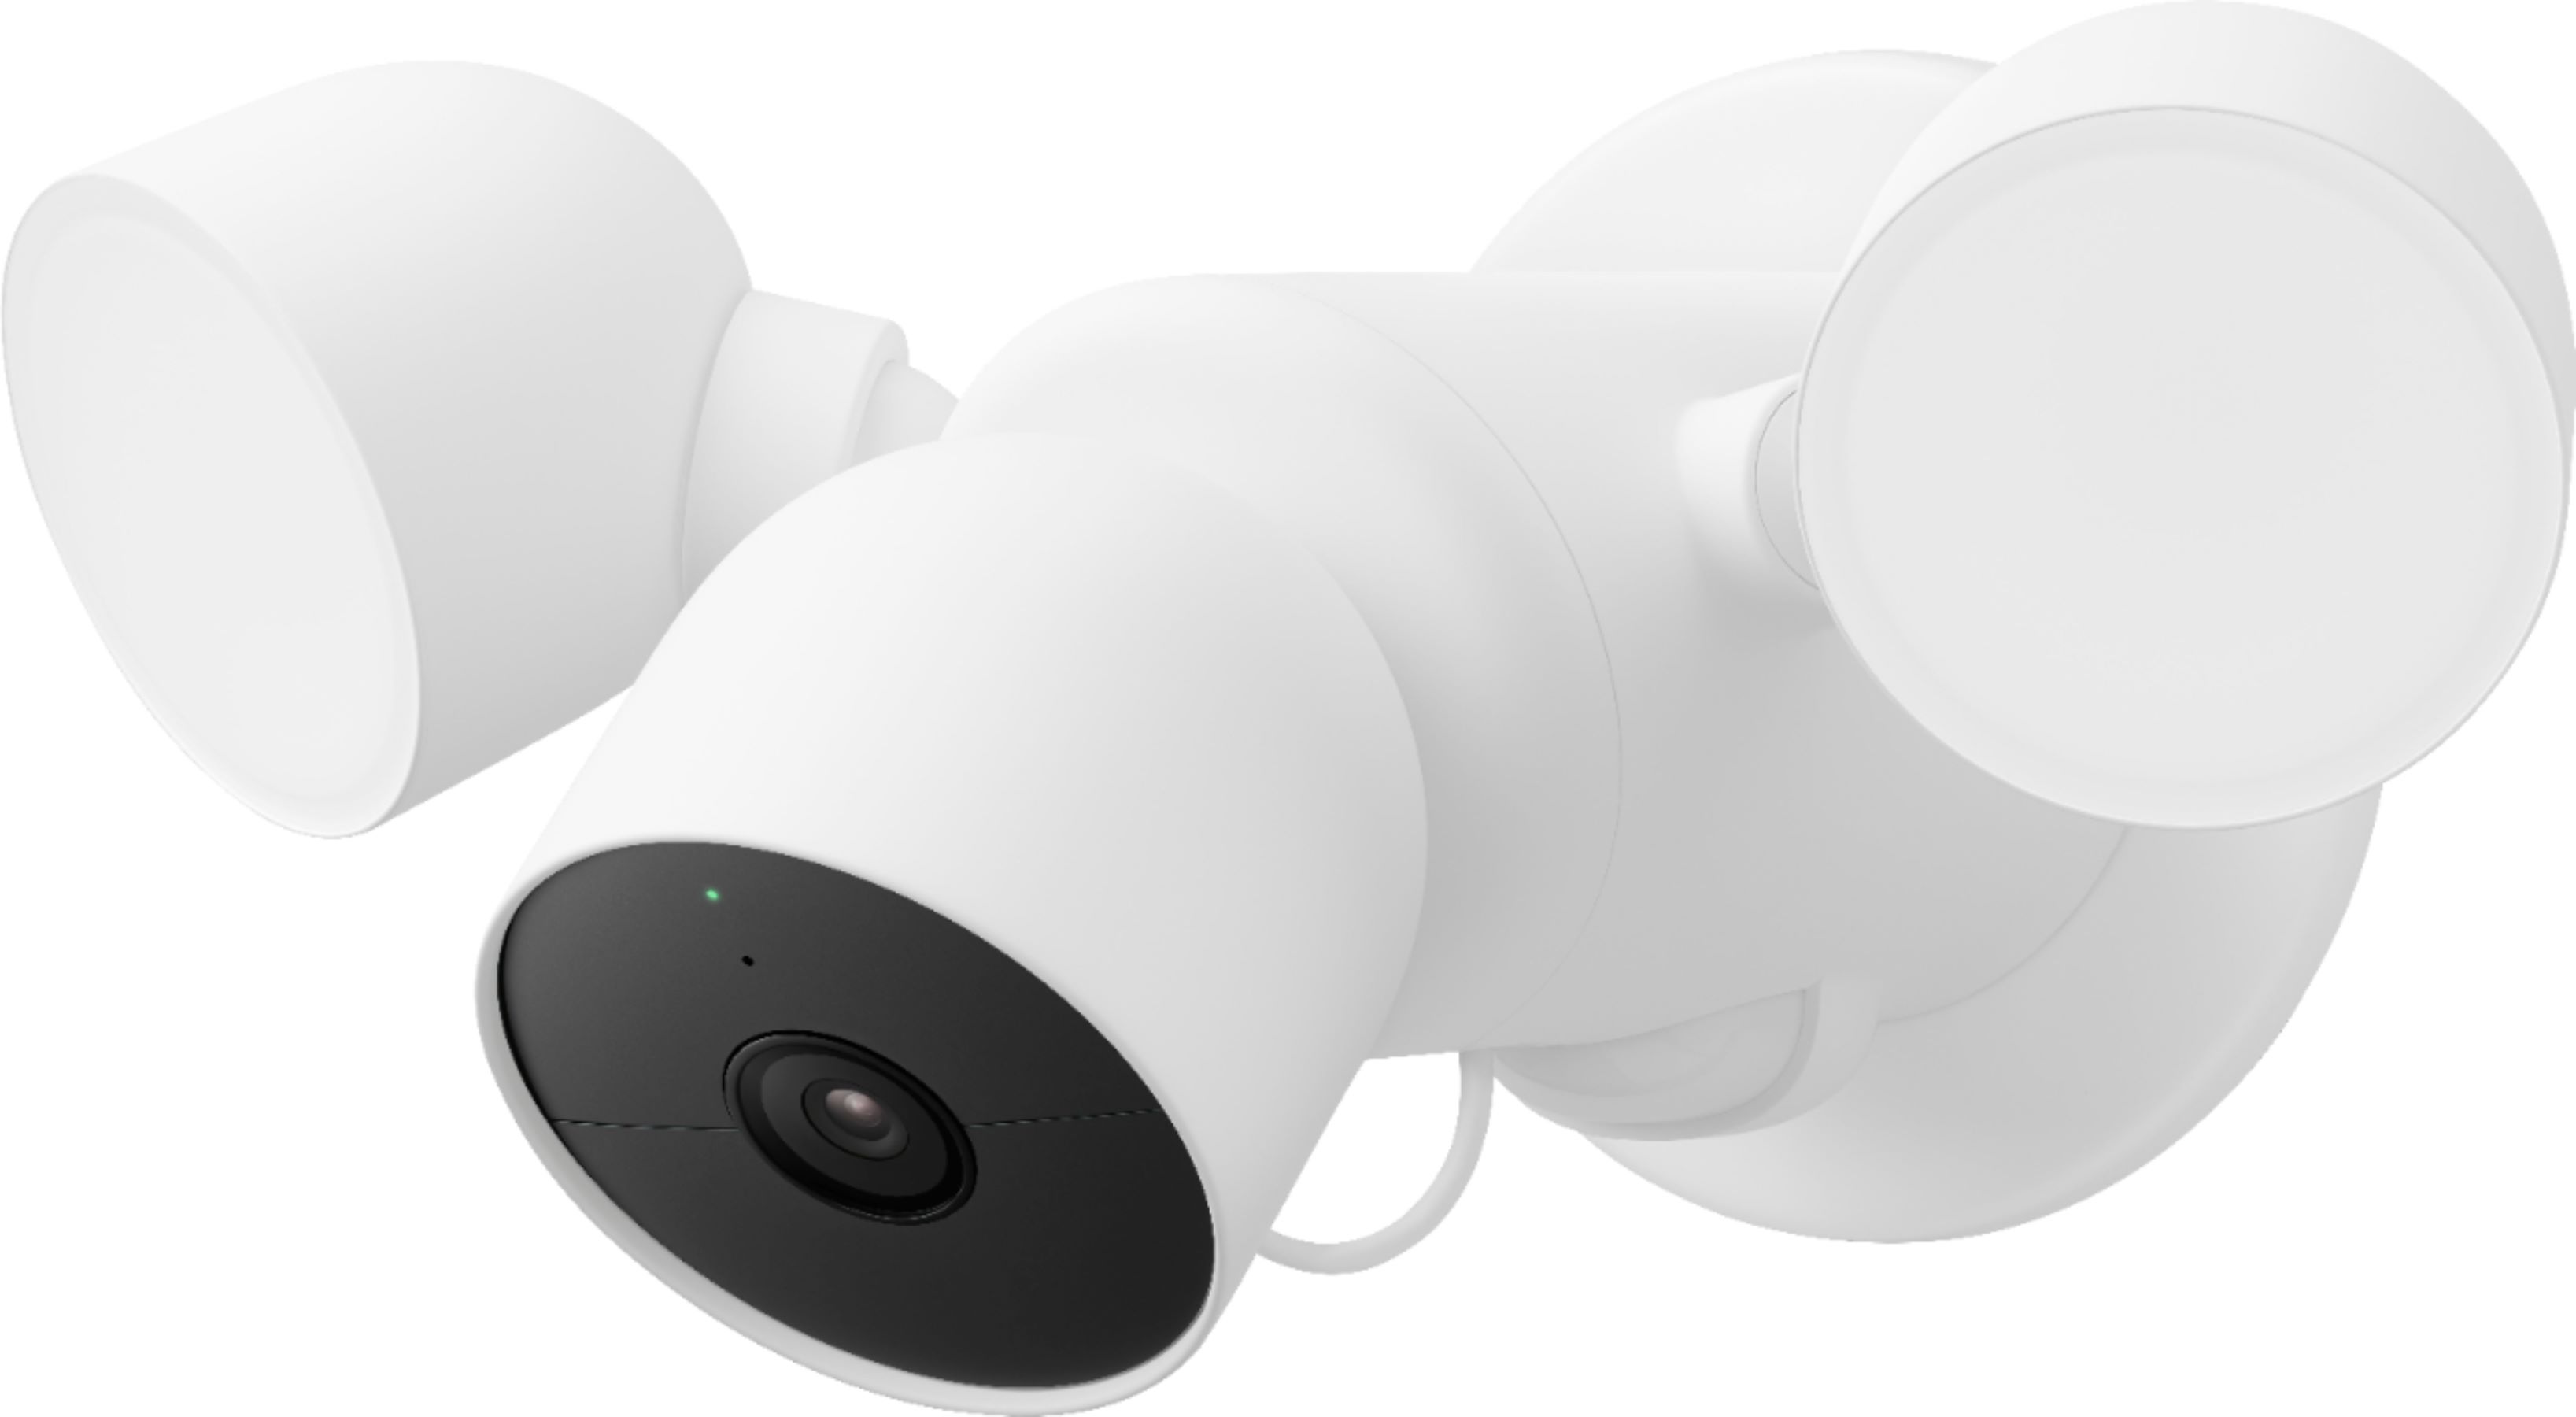
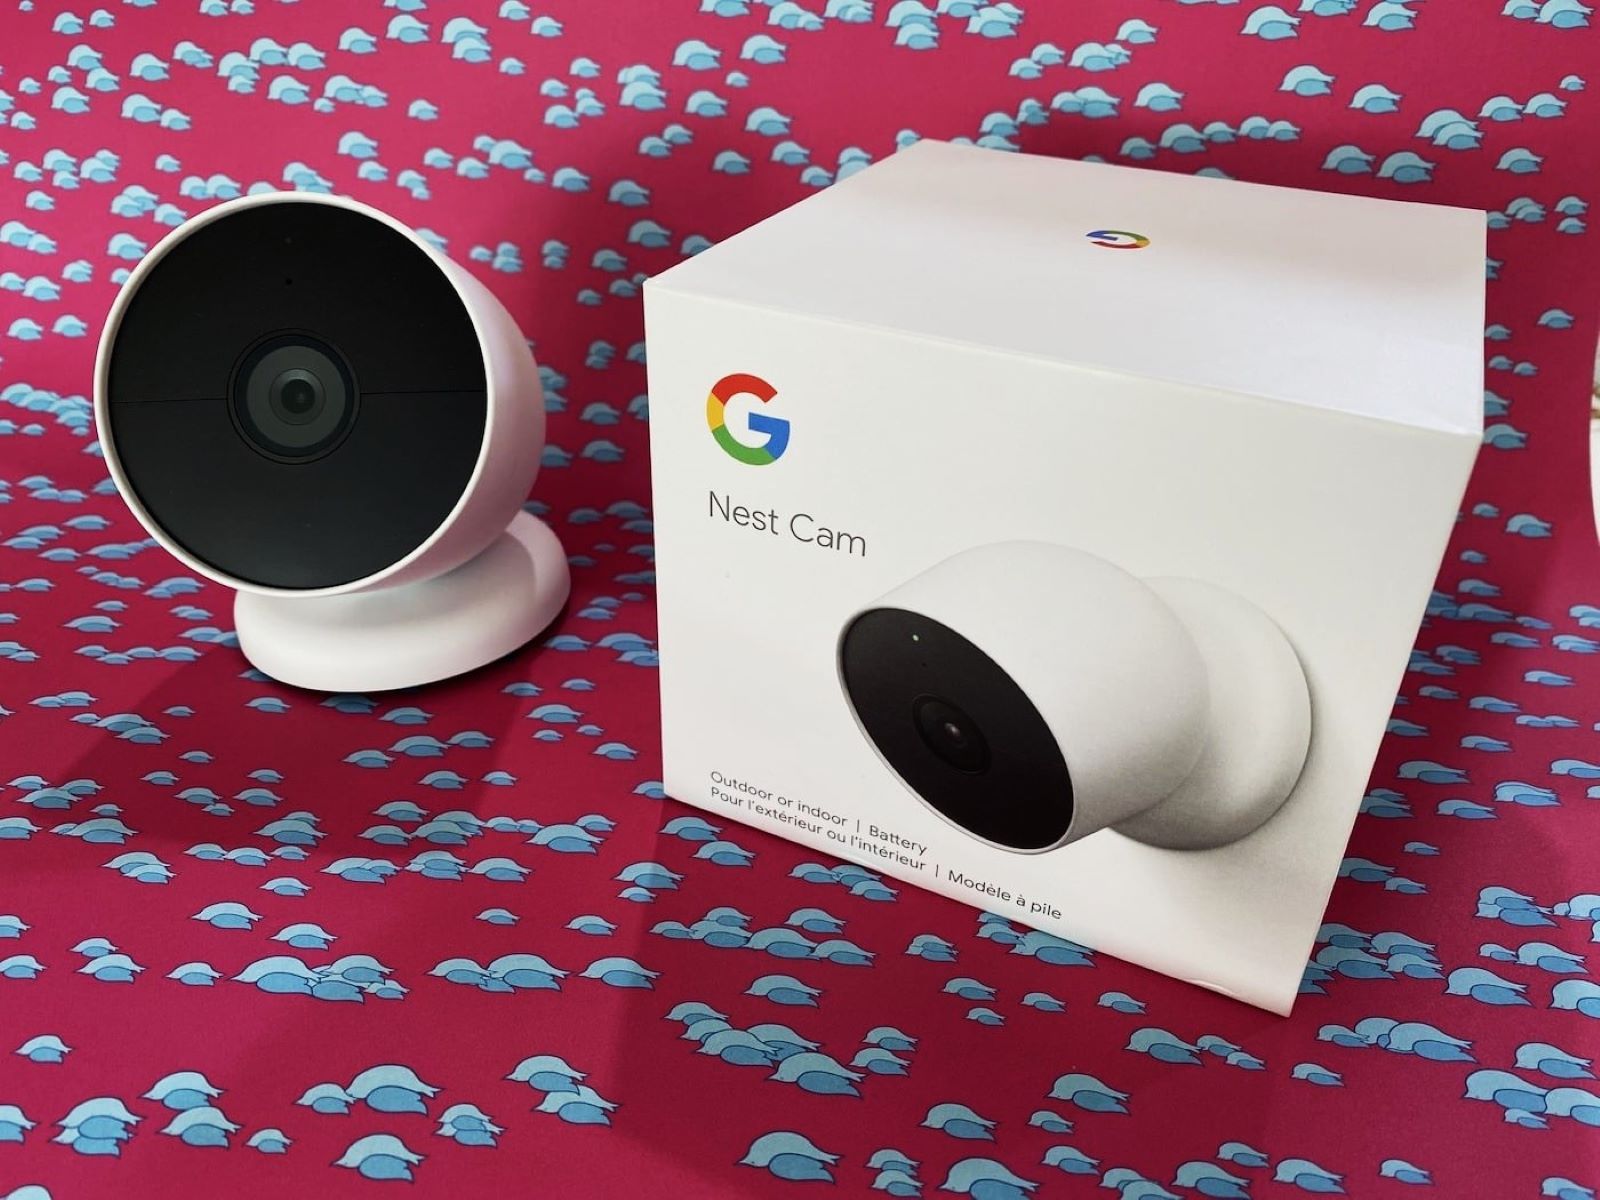
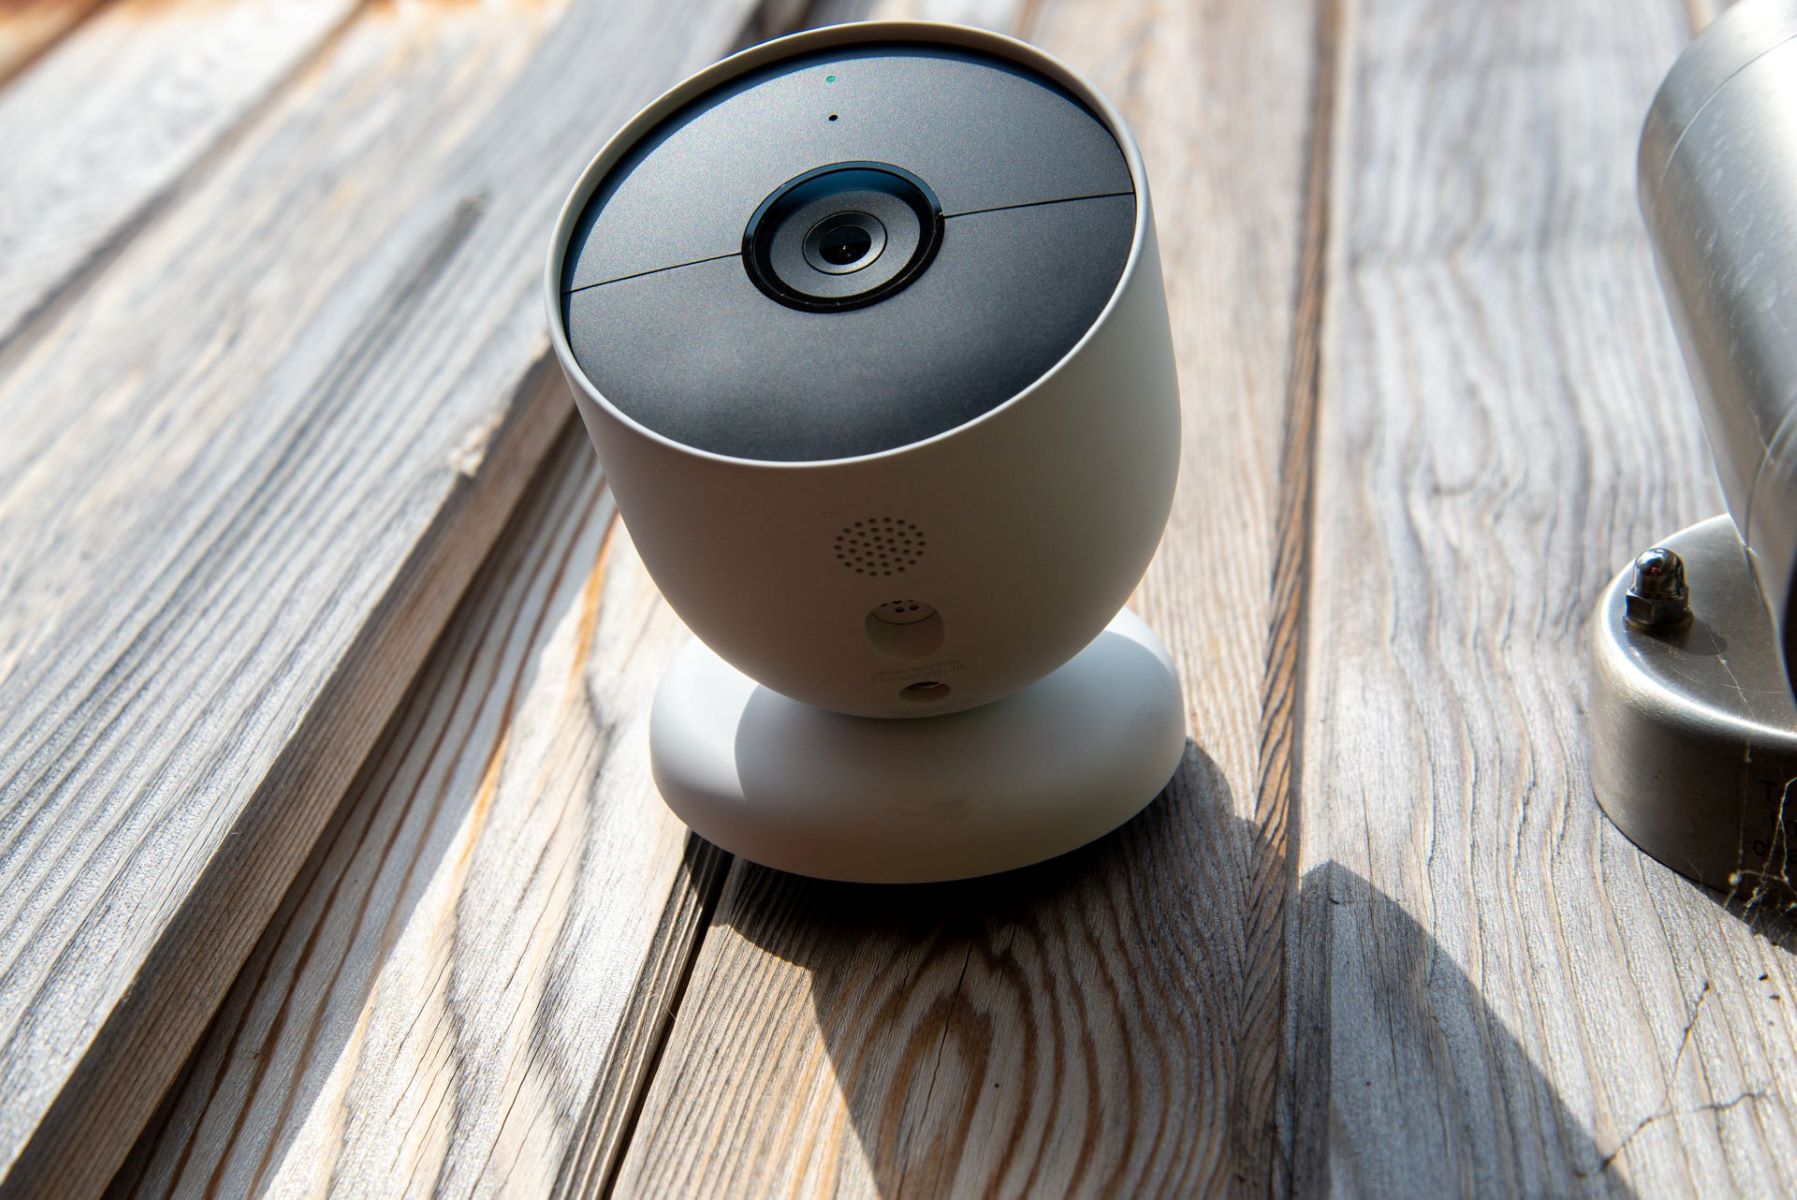
Before diving into the setup process, let’s start by unboxing your Nest Camera Outdoor. The packaging contains everything you need to get started, including the camera itself, a power adapter, mounting hardware, and any additional accessories that may come with your specific model.
As you carefully open the box, you’ll find the sleek and weatherproof Nest Camera Outdoor, designed to withstand the elements while delivering high-quality video and audio. Take a moment to inspect the camera and its components, ensuring that everything is in pristine condition and free from any shipping-related damage.
Once you’ve confirmed that all the components are present and undamaged, it’s time to identify the mounting location for your camera. Consider areas around your property that require surveillance coverage and determine the most suitable position for the camera. This initial planning will streamline the installation process and ensure optimal coverage of your outdoor space.
While unboxing the camera, familiarize yourself with its features and functionalities. The Nest Camera Outdoor boasts a range of capabilities, including advanced motion detection, night vision, and two-way audio communication. Understanding these features will enable you to make informed decisions during the setup process and leverage the camera’s full potential for home security.
As you unbox your Nest Camera Outdoor, take note of the camera’s build quality and weather-resistant design. This durable construction ensures that your camera can withstand varying weather conditions, providing reliable outdoor surveillance throughout the year. Whether it’s rain or shine, your Nest Camera Outdoor is engineered to deliver consistent performance and keep your home protected.
With the camera unboxed and its features familiarized, you’re ready to move on to the next step: choosing the right location for mounting your Nest Camera Outdoor. This crucial decision will directly impact the camera’s effectiveness in monitoring your property and deterring potential intruders. So, let’s proceed to Step 2 and explore the process of selecting the optimal mounting location for your outdoor surveillance camera.
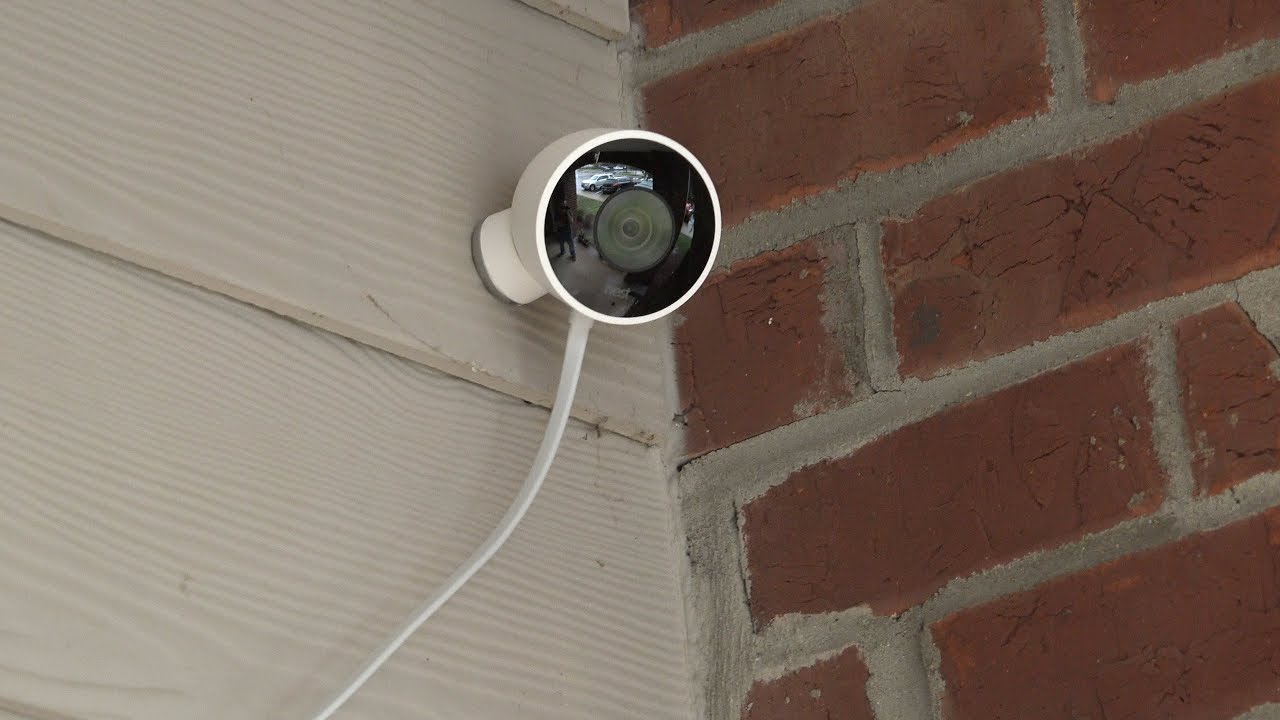
Step 2: Choosing the Right Location
When it comes to setting up your Nest Camera Outdoor, selecting the ideal mounting location is a pivotal decision that significantly influences the camera’s effectiveness in monitoring your property. Before proceeding with the installation, take the time to carefully assess various areas around your home to determine the best position for your outdoor surveillance camera.
Consider the following factors when choosing the location for your Nest Camera Outdoor:
- Visibility and Coverage: Identify areas with optimal visibility and coverage of your property. Look for vantage points that provide a clear view of entry points, pathways, and other areas of interest. This comprehensive coverage ensures that your camera can effectively monitor and record any activity around your home.
- Accessibility to Power Outlets: Ensure that the chosen location is within reach of a power outlet or an easily accessible power source. The availability of power is essential for keeping your Nest Camera Outdoor operational at all times, allowing it to continuously monitor your surroundings and provide real-time alerts when necessary.
- Protection from the Elements: Opt for a location that offers protection from direct exposure to harsh weather conditions, such as heavy rain or direct sunlight. Shielding your camera from the elements helps prolong its lifespan and ensures consistent performance regardless of the weather.
- Height and Angles: Consider the optimal height and angles for mounting your camera. Positioning the camera at an appropriate height and angle enables it to capture clear and comprehensive footage, minimizing blind spots and maximizing its surveillance capabilities.
- Security and Vandalism Prevention: Choose a location that minimizes the risk of tampering or vandalism. Mounting the camera in a secure and less accessible area helps safeguard it from potential interference or damage, ensuring uninterrupted surveillance of your property.
As you evaluate potential mounting locations, envision the camera’s field of view and how it aligns with your security objectives. Whether you’re aiming to monitor your front yard, driveway, or backyard, the chosen location should offer a strategic vantage point for capturing relevant activity and deterring potential intruders.
Once you’ve identified the optimal location for your Nest Camera Outdoor, you’re ready to proceed with the installation process. In the next step, we’ll delve into the process of mounting the camera at the chosen location, setting the stage for seamless integration of your outdoor surveillance system into your home security setup.
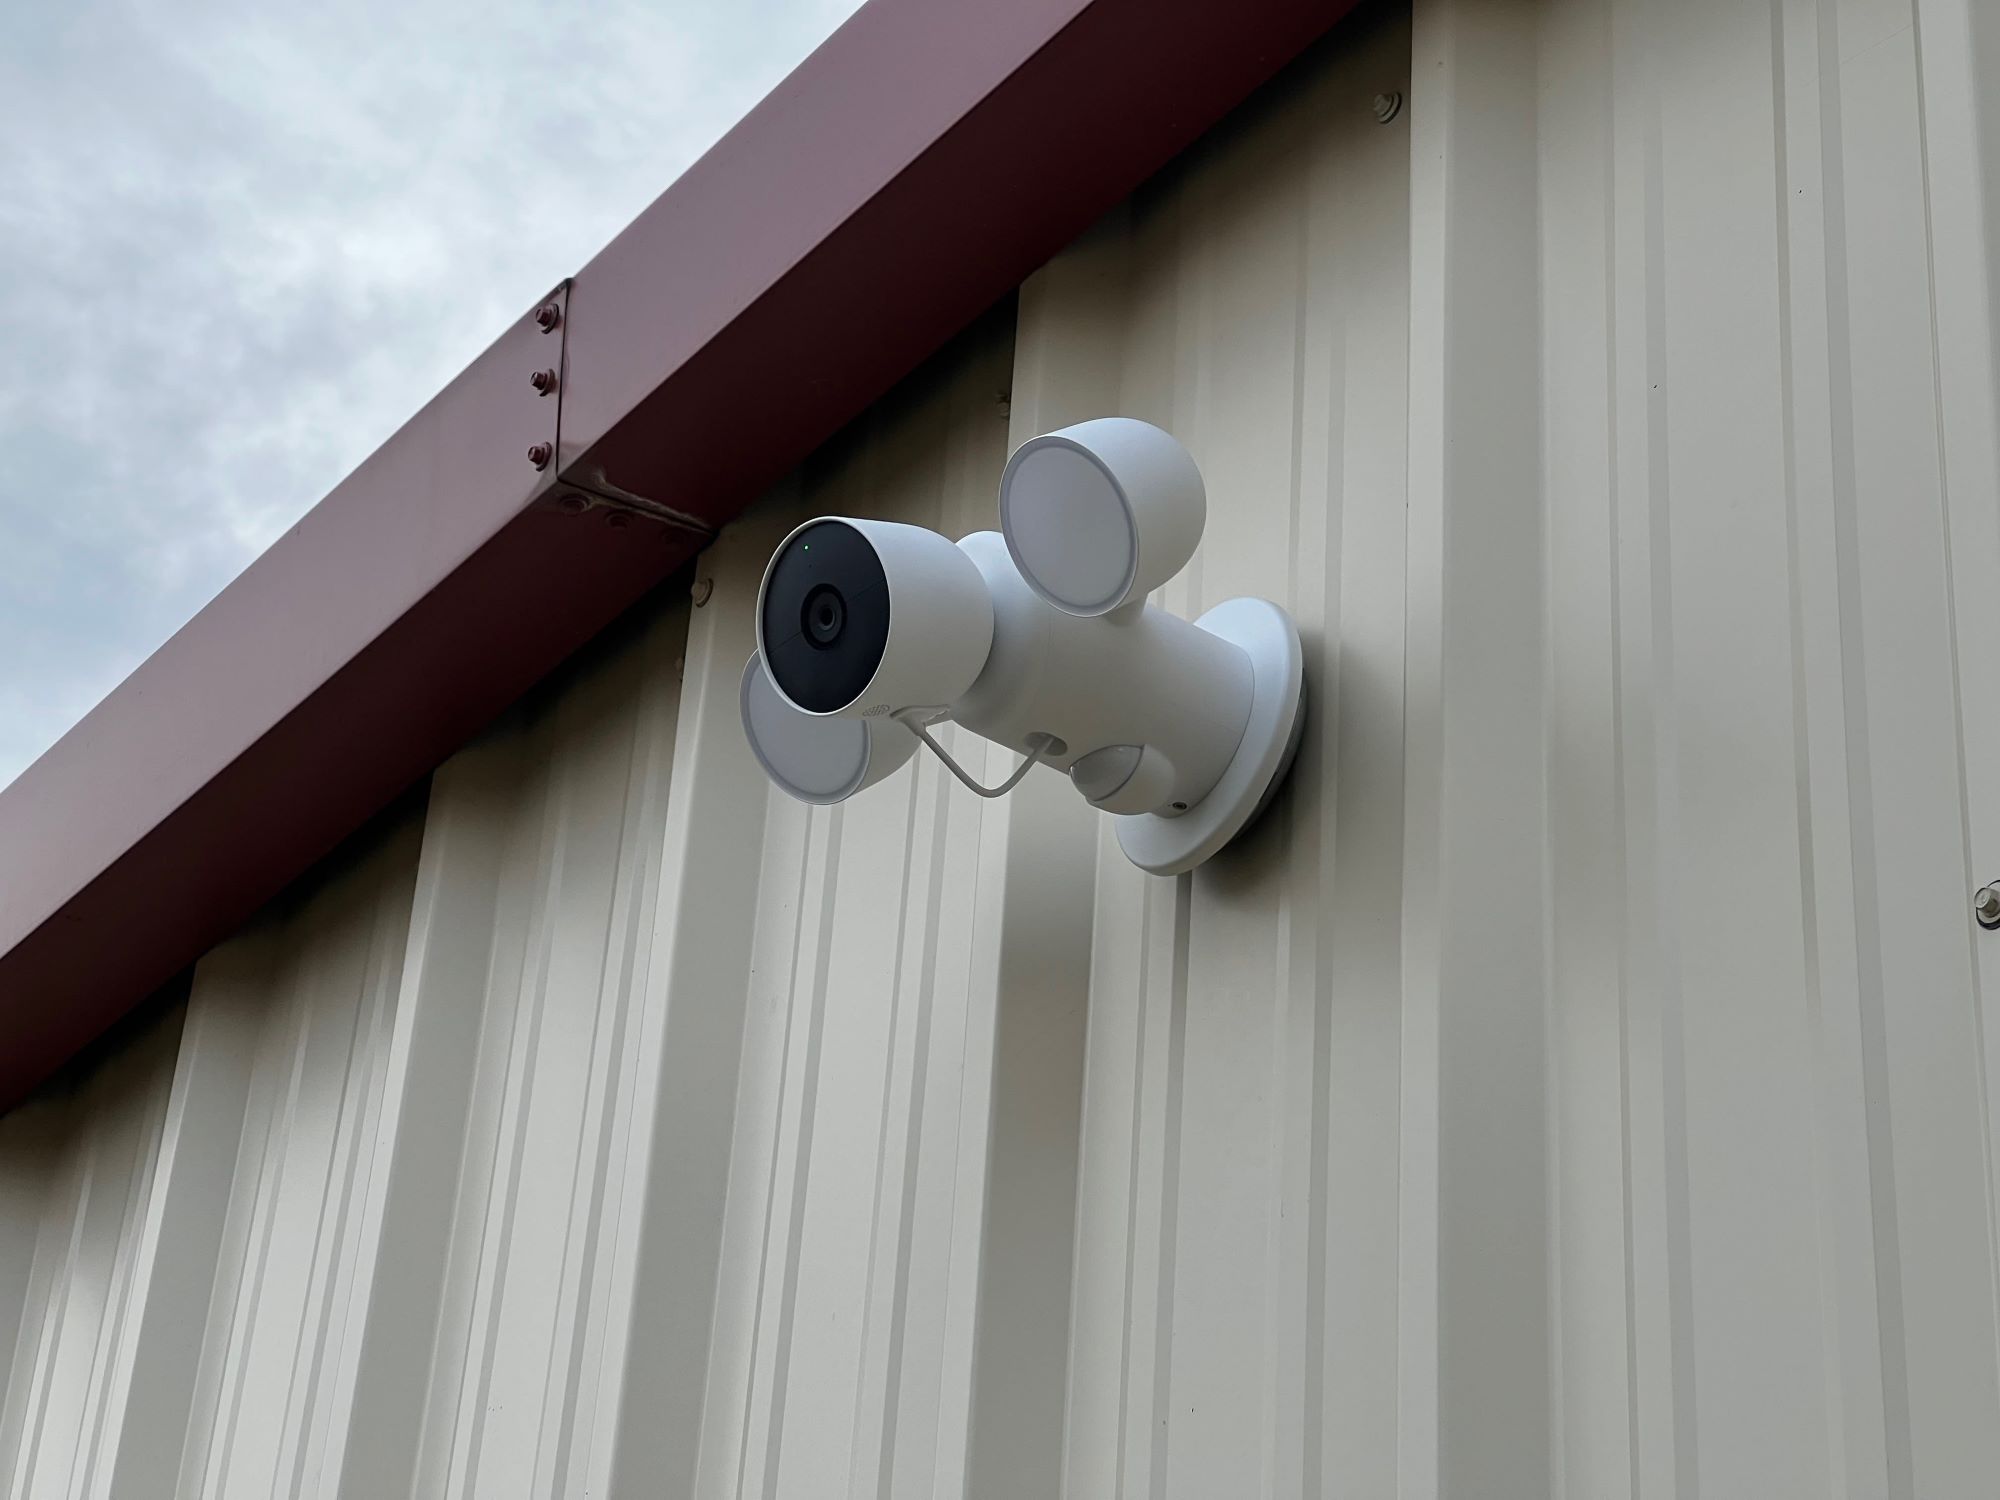
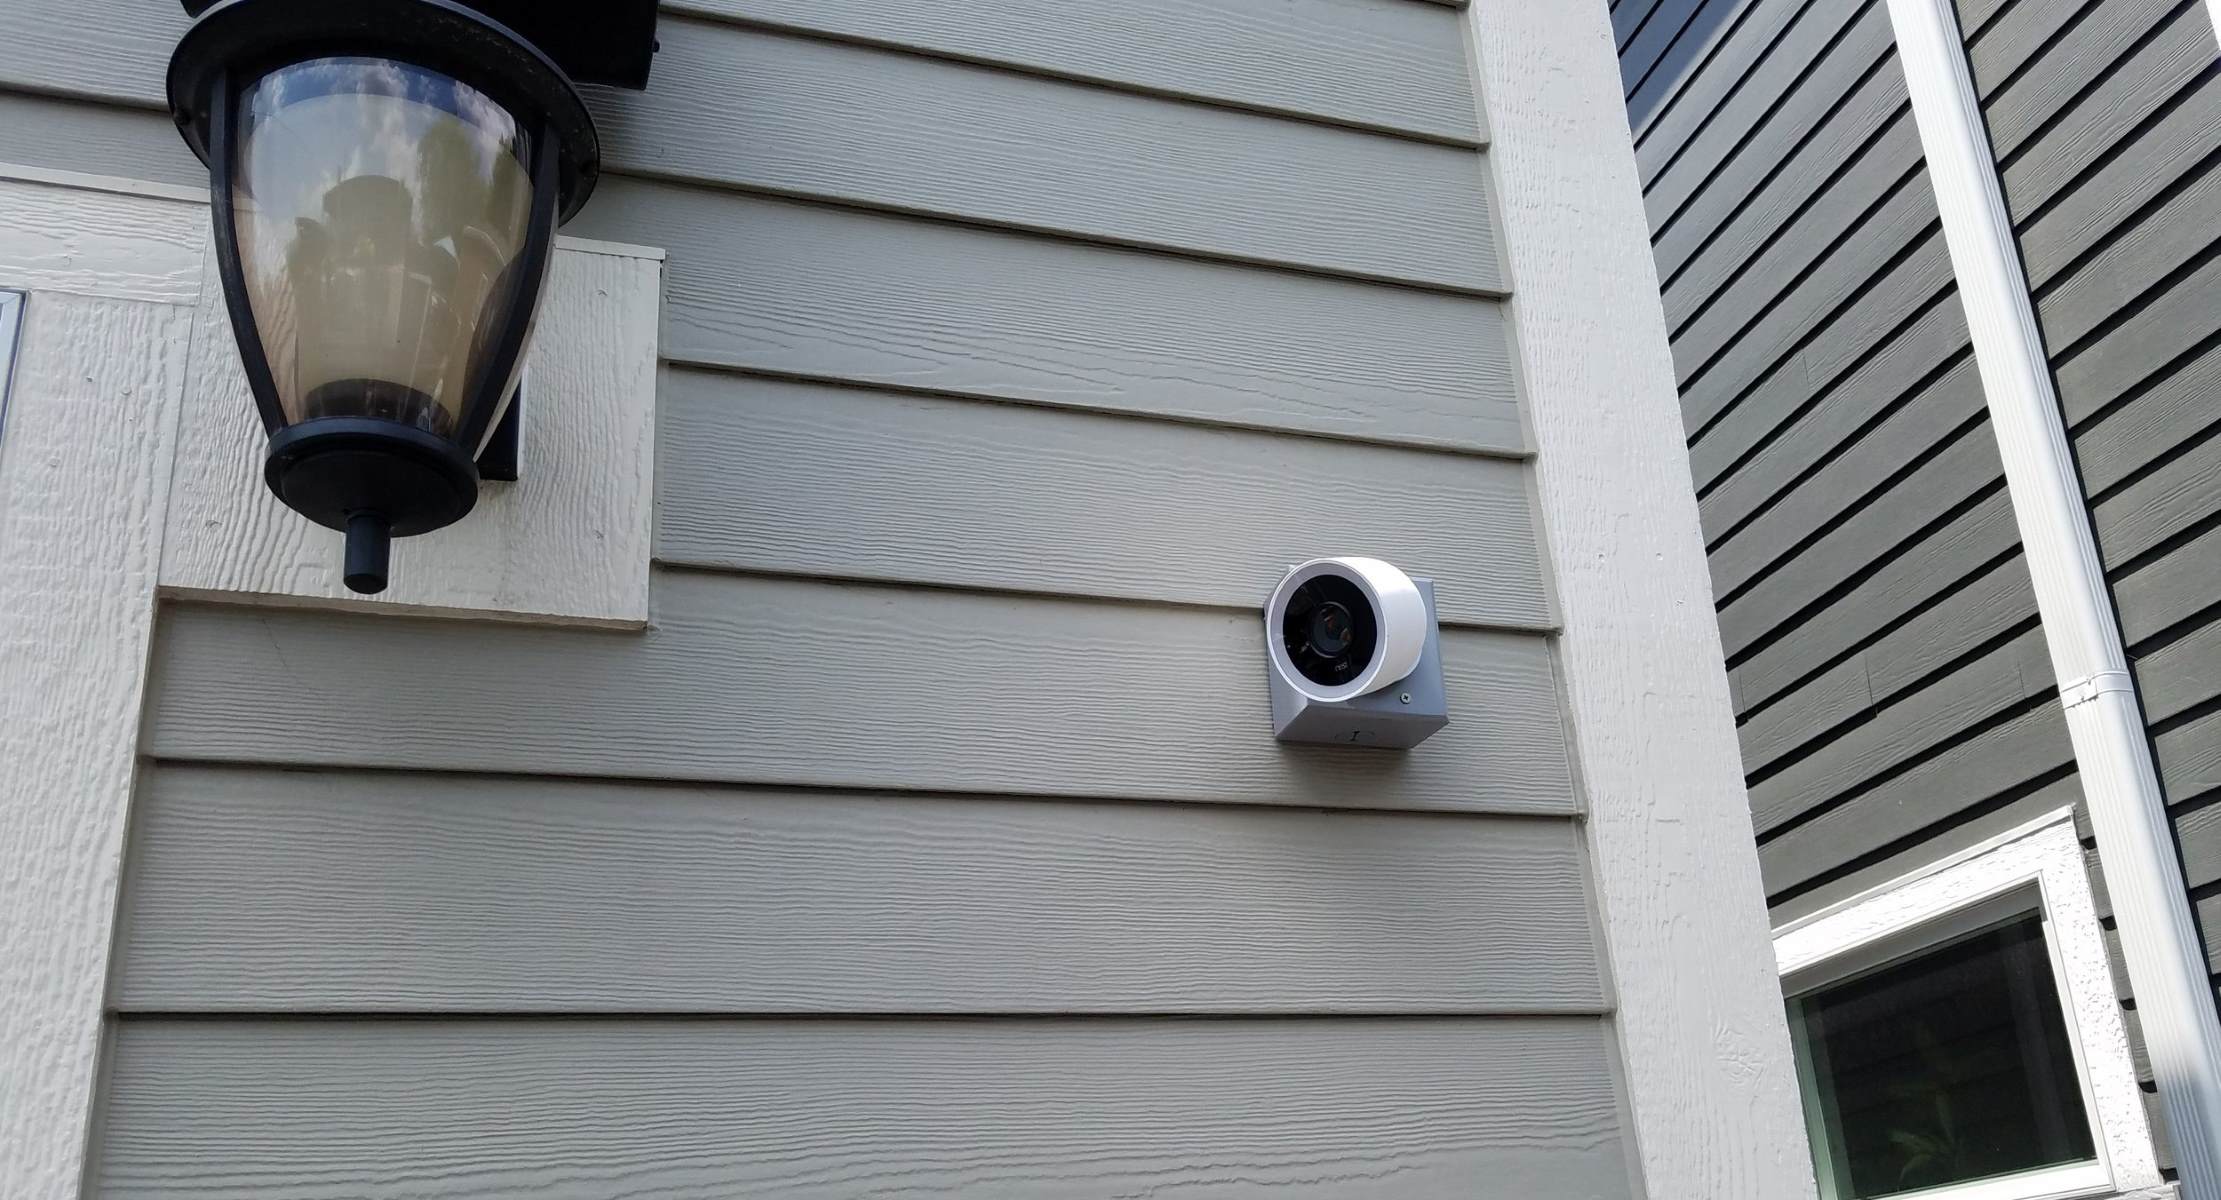
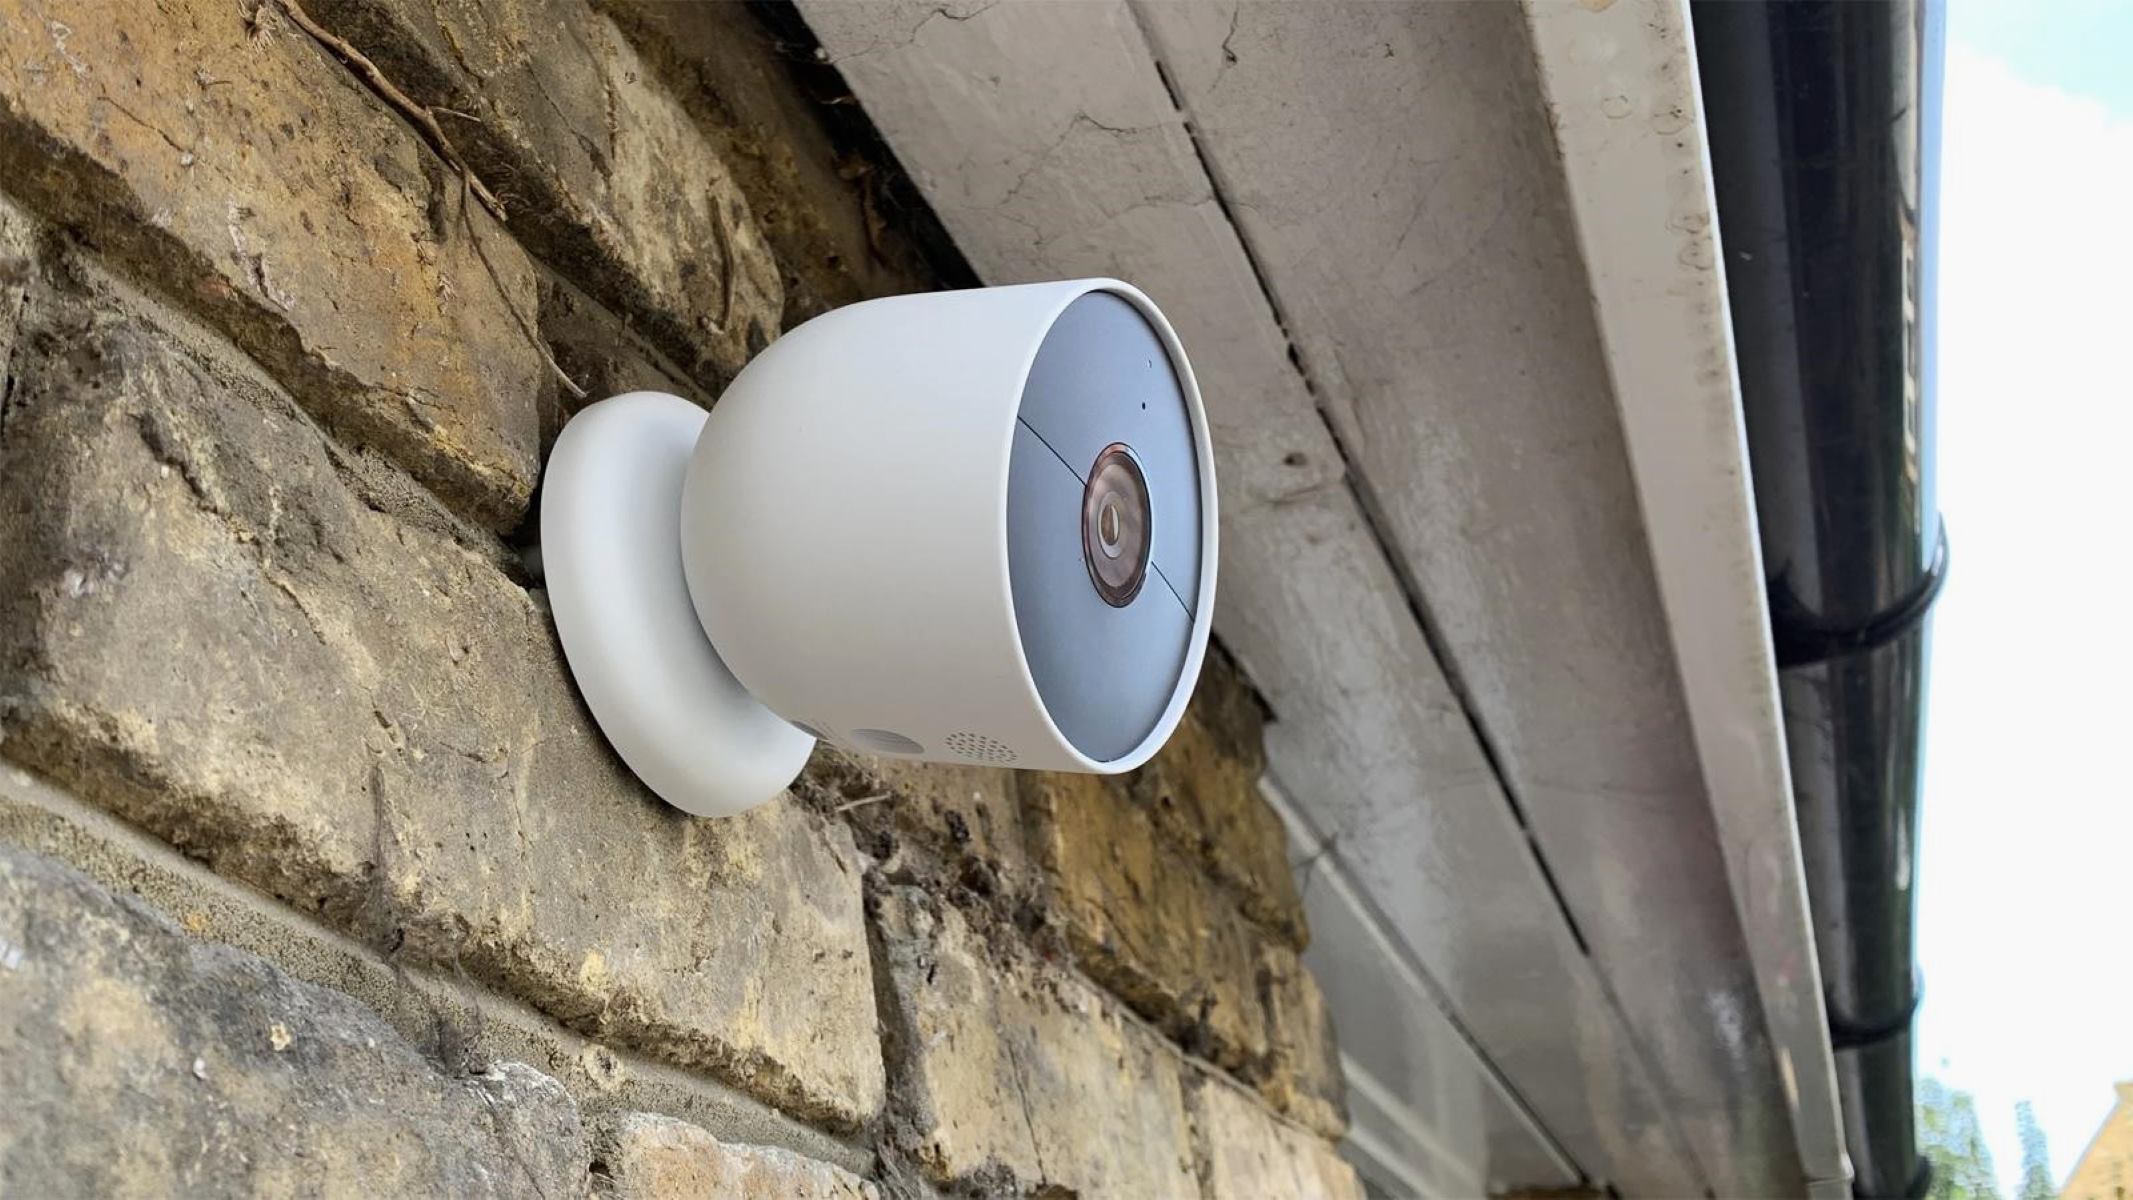
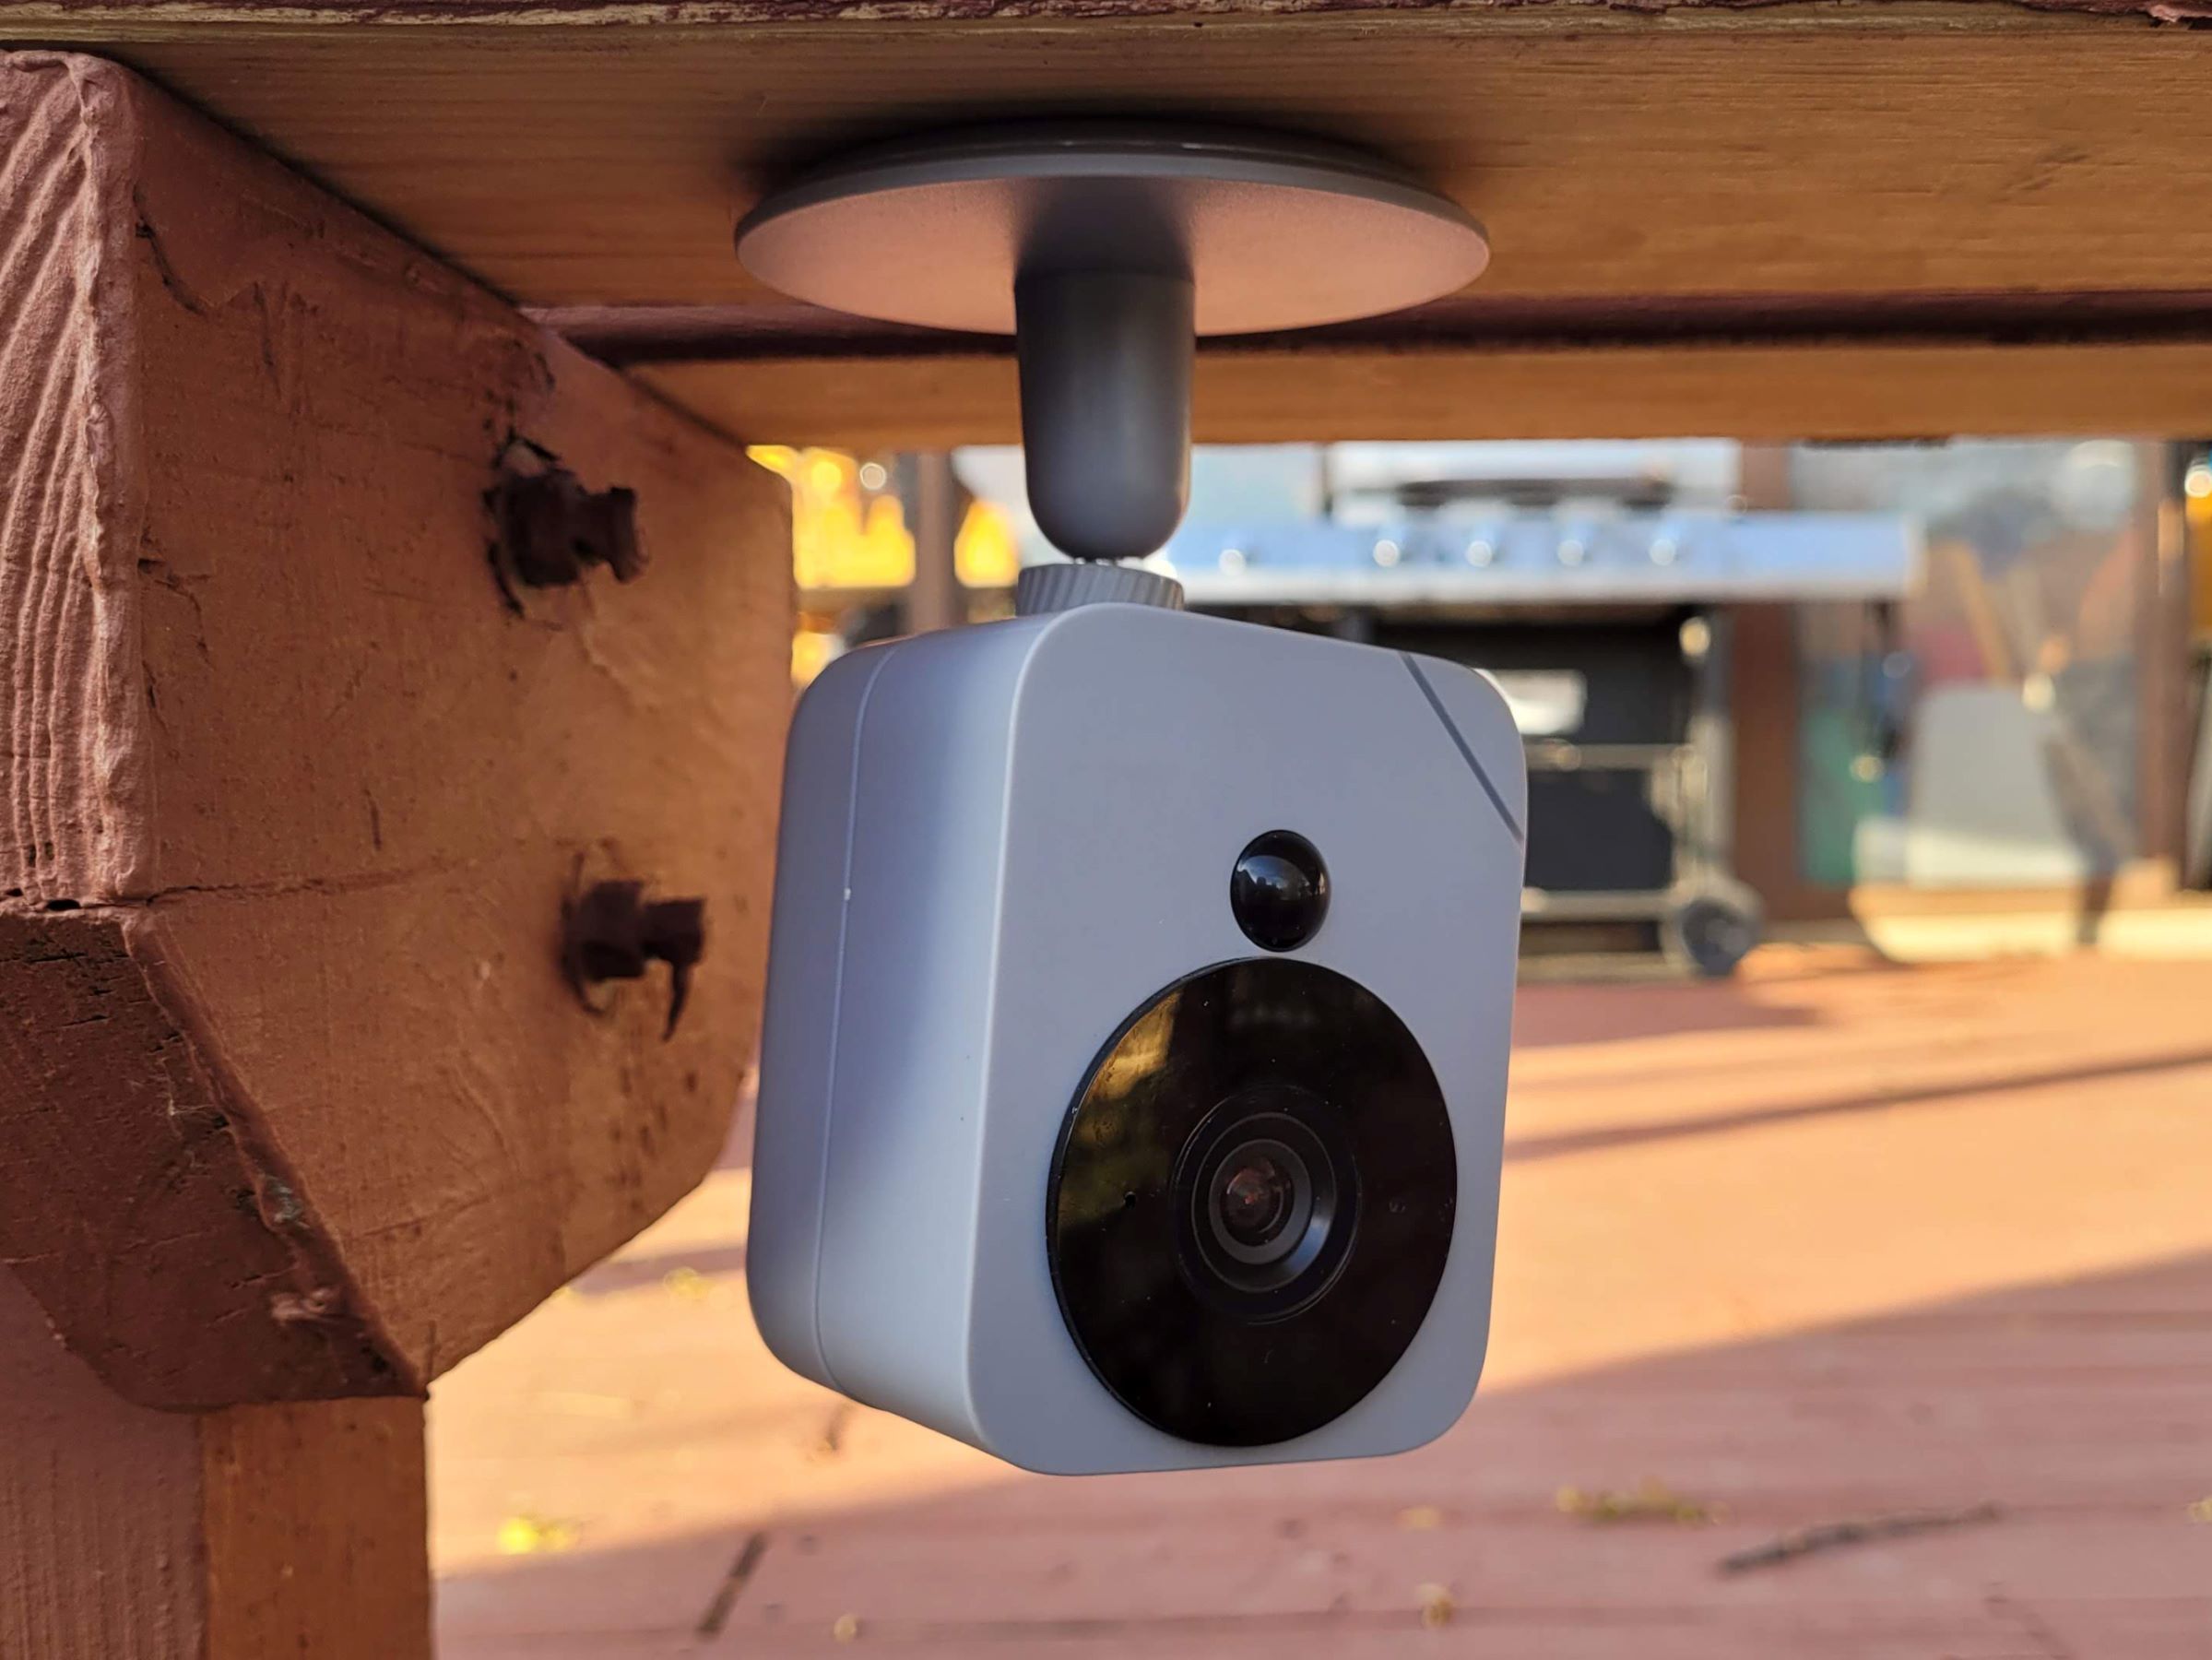
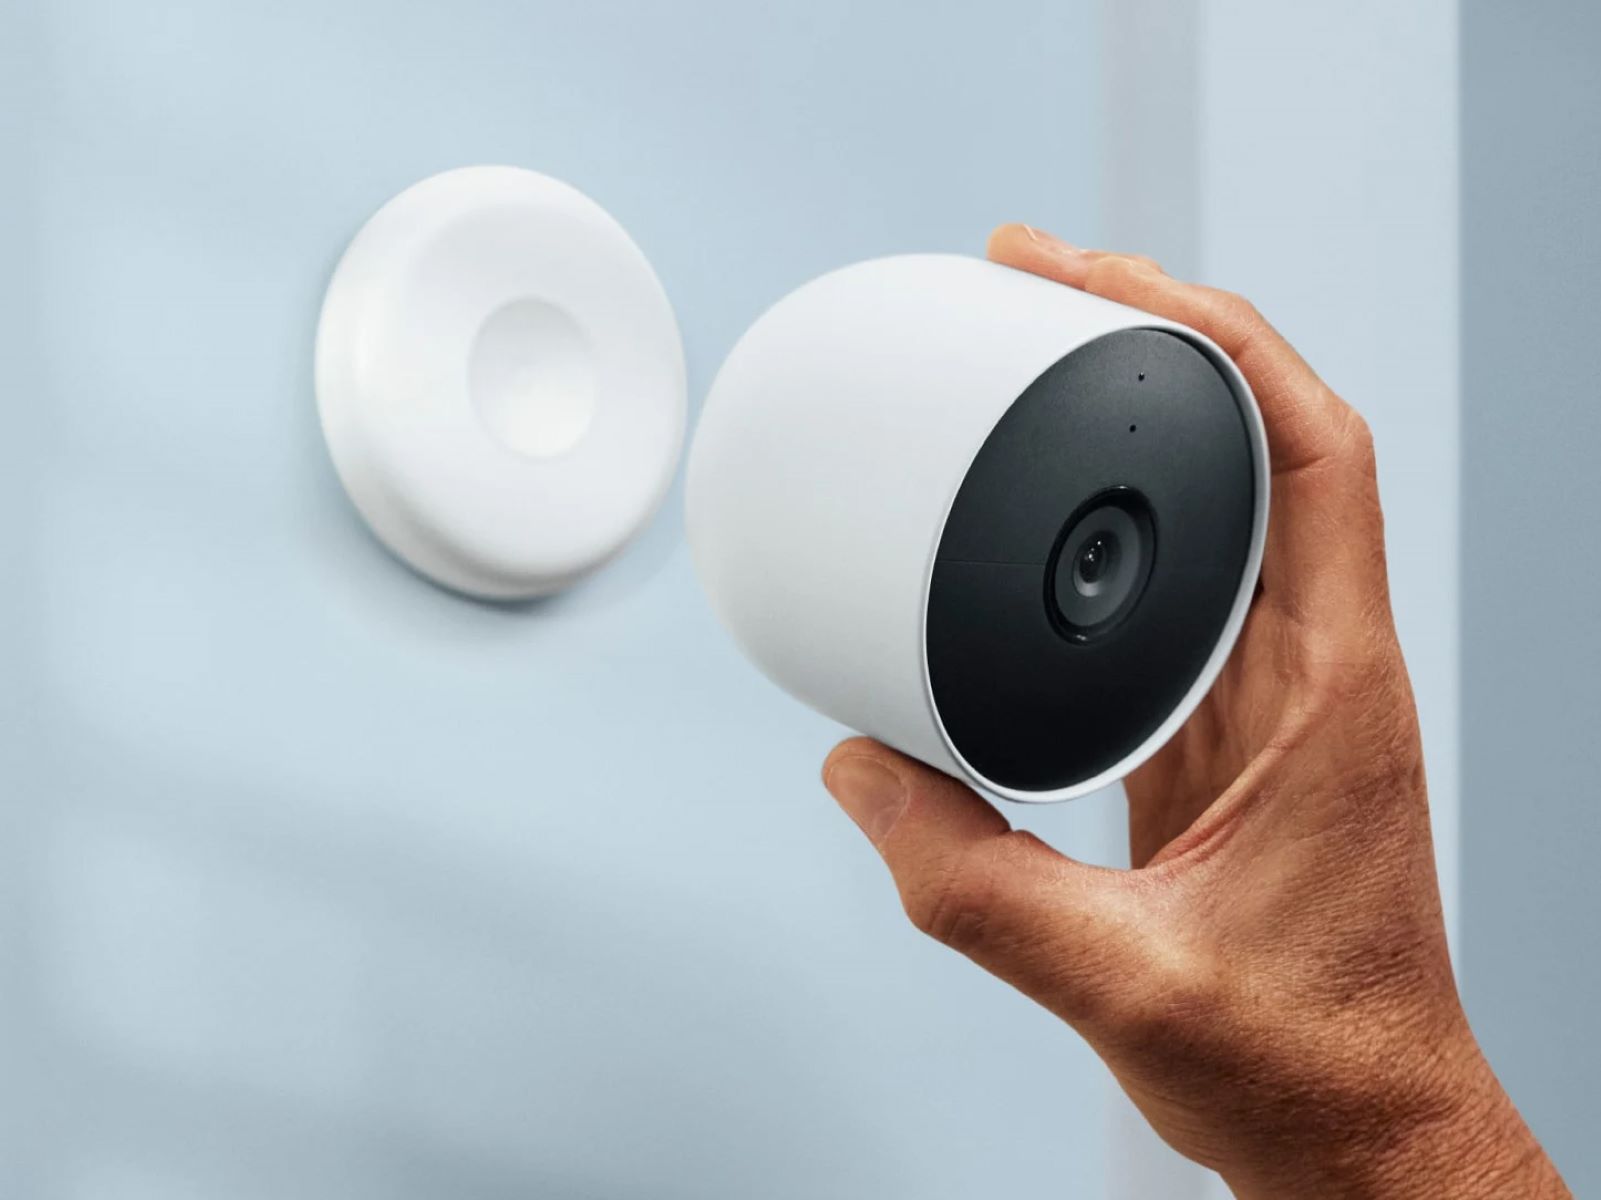
Step 3: Mounting the Camera
With the ideal location selected for your Nest Camera Outdoor, it’s time to proceed with the crucial step of mounting the camera. The mounting process ensures that your camera is securely positioned to provide comprehensive surveillance coverage while withstanding outdoor elements and potential tampering. Follow these steps to effectively mount your Nest Camera Outdoor:
- Prepare the Mounting Surface: Before attaching the camera, ensure that the mounting surface is clean and free from debris. Use a suitable cleaning solution to wipe the surface and allow it to dry completely. This preparation promotes a secure and stable attachment for your camera.
- Secure the Mounting Bracket: Depending on the chosen location, attach the mounting bracket to the surface using the provided hardware. Ensure that the bracket is firmly secured and aligned to support the weight of the camera. If necessary, use anchors or additional support to reinforce the mounting.
- Attach the Camera: Once the mounting bracket is in place, carefully attach the Nest Camera Outdoor to the bracket according to the manufacturer’s instructions. Ensure that the camera is securely fastened and positioned at the desired angle to achieve optimal surveillance coverage.
- Adjust the Camera Position: After attaching the camera, make any necessary adjustments to its position and angle to ensure comprehensive coverage of the monitored area. Test the camera’s field of view and adjust its orientation as needed to minimize blind spots and maximize its surveillance capabilities.
- Weatherproof Cable Connection: If the camera requires a wired connection, ensure that the cable is weatherproof and securely connected to the camera. Proper cable management and weatherproofing protect the camera’s connections from environmental factors, ensuring reliable operation in outdoor settings.
- Test the Stability: Once the camera is mounted, perform a stability test to ensure that it is securely attached and resistant to external forces. Gently apply pressure to the mounted camera to verify its stability and make any adjustments if necessary to enhance its robustness.
By meticulously following these steps, you’ll successfully mount your Nest Camera Outdoor in the chosen location, setting the stage for effective outdoor surveillance of your property. The secure and strategic positioning of the camera ensures that it can fulfill its role in monitoring your surroundings and enhancing the security of your home.
With the camera securely mounted, you’re now prepared to move on to the next step: connecting your Nest Camera Outdoor to your Wi-Fi network. This pivotal stage paves the way for seamless integration of the camera into your smart home ecosystem, enabling remote monitoring and real-time alerts. Let’s proceed to Step 4 and explore the process of connecting your camera to Wi-Fi for enhanced functionality and convenience.
When setting up a Nest outdoor camera, make sure to place it within reach of a power outlet and Wi-Fi signal. Also, consider the camera’s field of view and potential obstructions.
Step 4: Connecting to Wi-Fi
As you proceed with setting up your Nest Camera Outdoor, the next crucial step involves connecting the camera to your Wi-Fi network. This pivotal stage enables seamless communication between the camera, the Nest app, and your smart home ecosystem, empowering you to remotely monitor your property and receive real-time alerts for any detected activity. Follow these steps to successfully connect your Nest Camera Outdoor to Wi-Fi:
- Power Up the Camera: Ensure that the Nest Camera Outdoor is powered up and ready for the setup process. The camera should be securely mounted and positioned within range of your Wi-Fi network for optimal connectivity.
- Launch the Nest App: Open the Nest app on your mobile device and navigate to the camera setup section. If you don’t have the app installed, download it from the App Store or Google Play Store, depending on your device’s platform.
- Initiate the Setup Process: Follow the on-screen instructions within the Nest app to begin the camera setup process. This typically involves scanning the QR code on the camera or selecting the camera model from the app’s menu to initiate the setup wizard.
- Connect to Wi-Fi: During the setup process, you’ll be prompted to connect the camera to your Wi-Fi network. Ensure that you have your Wi-Fi credentials readily available, including the network name (SSID) and password, to facilitate a seamless connection.
- Complete the Setup: Follow the app’s prompts to complete the Wi-Fi connection process. Once the camera is successfully connected to your Wi-Fi network, you’ll receive a confirmation within the app, indicating that the setup is complete and the camera is ready for remote access and monitoring.
- Verify Connectivity: After connecting the camera to Wi-Fi, perform a connectivity test by accessing the live feed from the camera within the Nest app. Ensure that the camera’s live stream is accessible and stable, confirming that it is successfully integrated into your smart home network.
By following these steps, you’ll seamlessly integrate your Nest Camera Outdoor into your Wi-Fi network, unlocking its full potential for remote monitoring and proactive security measures. The successful connection to Wi-Fi enables you to access the camera’s live feed, receive instant alerts for detected activity, and leverage the full suite of features offered by the Nest app.
With your Nest Camera Outdoor now connected to Wi-Fi, you’re ready to proceed to the next step: setting up the camera through the Nest app. This pivotal stage allows you to customize the camera’s settings, configure activity zones, and tailor its functionality to suit your specific security needs. Let’s move on to Step 5 and explore the process of setting up your Nest Camera Outdoor through the intuitive Nest app for enhanced control and customization.
Read more: How To Wire A Nest Outdoor Camera
Step 5: Setting Up the Nest App
As you embark on the journey of maximizing the potential of your Nest Camera Outdoor, setting up the Nest app is a pivotal step that empowers you to customize and control your outdoor surveillance system with ease. The Nest app serves as the central hub for managing your smart home devices, including the Nest Camera Outdoor, and provides intuitive controls for monitoring your property, receiving alerts, and customizing the camera’s settings. Follow these steps to effectively set up the Nest app for seamless integration with your outdoor camera:
- Download and Install the Nest App: If you haven’t already done so, download the Nest app from the App Store or Google Play Store, depending on your device’s platform. Install the app and launch it to begin the setup process.
- Create or Sign In to Your Nest Account: If you’re new to Nest, create a Nest account within the app using your email address and a secure password. If you already have a Nest account, sign in using your existing credentials to access your smart home ecosystem.
- Add the Nest Camera Outdoor: Within the app, navigate to the “Add a Product” or “Add Device” section to initiate the process of adding your Nest Camera Outdoor to the app. Follow the on-screen instructions to identify and connect the camera to your Nest account.
- Customize Camera Settings: Once the camera is successfully added to the app, explore the available settings and customization options for your Nest Camera Outdoor. This includes configuring motion detection sensitivity, setting up activity zones, adjusting video quality, and enabling specific alerts based on your preferences.
- Explore Remote Monitoring Features: Familiarize yourself with the remote monitoring features offered by the Nest app. Access the live feed from your Nest Camera Outdoor, review recorded footage, and set up notifications to receive alerts for motion detection or specific events captured by the camera.
- Integrate with Smart Home Ecosystem: If you have other smart home devices compatible with the Nest ecosystem, explore the options for integrating your Nest Camera Outdoor with other devices. This may include creating automation routines, integrating with voice assistants, or linking the camera to other security or home automation systems.
By following these steps, you’ll effectively set up the Nest app to seamlessly integrate with your Nest Camera Outdoor, providing you with intuitive controls, remote monitoring capabilities, and personalized security settings. The app serves as a powerful tool for managing your outdoor surveillance system and staying informed about any activity around your property.
With the Nest app set up and your camera seamlessly integrated into your smart home ecosystem, you’re now prepared to move on to the next step: testing and adjusting the camera to ensure optimal performance. This vital stage allows you to fine-tune the camera’s settings, verify its functionality, and make any necessary adjustments for enhanced surveillance coverage. Let’s proceed to Step 6 and explore the process of testing and adjusting your Nest Camera Outdoor for maximum effectiveness and peace of mind.
Step 6: Testing and Adjusting the Camera
As you near the completion of setting up your Nest Camera Outdoor, the pivotal step of testing and adjusting the camera ensures that it is optimized to deliver reliable surveillance coverage and proactive security measures. This stage allows you to verify the camera’s functionality, fine-tune its settings, and make any necessary adjustments to enhance its performance. Follow these steps to effectively test and adjust your Nest Camera Outdoor:
- Verify Live Feed and Recording: Access the live feed from your Nest Camera Outdoor within the Nest app to ensure that it provides a clear and reliable video stream. Additionally, review any recorded footage to confirm that the camera effectively captures and stores relevant activity around your property.
- Adjust Camera Angles and Position: Fine-tune the camera’s positioning and angles to optimize its surveillance coverage. Ensure that key areas of interest, such as entry points and pathways, are effectively monitored, and make adjustments to minimize blind spots or areas with limited visibility.
- Test Motion Detection and Alerts: Trigger motion detection by moving within the camera’s field of view to verify that alerts are promptly generated and received within the Nest app. Adjust the motion detection sensitivity as needed to minimize false alerts while ensuring that relevant activity is promptly captured and reported.
- Configure Activity Zones: If your Nest Camera Outdoor supports activity zones, set up customized zones to focus on specific areas of interest within the camera’s field of view. This allows you to tailor the camera’s monitoring capabilities to prioritize specific regions and ignore irrelevant motion outside of designated zones.
- Optimize Night Vision Settings: If your camera features night vision capabilities, verify its performance in low-light conditions or darkness. Adjust the night vision settings to ensure clear and detailed footage during nighttime surveillance, enhancing the camera’s effectiveness around the clock.
- Review and Customize Alerts: Explore the alert settings within the Nest app to customize the types of notifications you receive based on detected activity. Tailor the alerts to align with your security preferences, ensuring that you stay informed about relevant events captured by the camera.
By diligently following these steps, you’ll effectively test and adjust your Nest Camera Outdoor to ensure that it is optimized for proactive surveillance and reliable security measures. The thorough testing and adjustment process empower you to fine-tune the camera’s settings, address any potential limitations, and maximize its effectiveness in safeguarding your home.
With the camera thoroughly tested and adjusted, you’ve successfully completed the setup process for your Nest Camera Outdoor, harnessing its full potential for enhancing the security of your property. The seamless integration into your smart home ecosystem, coupled with the camera’s advanced features and intuitive controls, positions you to remotely monitor your surroundings and receive real-time alerts for any detected activity.
Congratulations on successfully setting up your Nest Camera Outdoor! With its robust surveillance capabilities and seamless connectivity, you’re now equipped to enjoy the peace of mind and convenience that come with a smart outdoor security solution. Whether you’re monitoring your property while away or keeping a watchful eye on your surroundings, the Nest Camera Outdoor stands as a reliable guardian of your home’s safety and security.
Conclusion
Congratulations on completing the setup of your Nest Camera Outdoor! By following the comprehensive steps outlined in this guide, you’ve successfully transformed your home security setup with the power of smart technology. The Nest Camera Outdoor, with its advanced features and seamless integration into your smart home ecosystem, now stands as a formidable guardian of your property, providing reliable surveillance and proactive security measures.
As you reflect on the setup process, consider the following key takeaways:
- Enhanced Surveillance: The Nest Camera Outdoor offers comprehensive surveillance coverage, empowering you to monitor your property remotely and receive real-time alerts for any detected activity.
- Customized Security Settings: Through the Nest app, you can tailor the camera’s settings, configure activity zones, and fine-tune its functionality to align with your specific security preferences.
- Seamless Integration: The seamless integration of the Nest Camera Outdoor into your smart home ecosystem enables intuitive controls, remote monitoring, and proactive security measures for enhanced peace of mind.
- Reliable Performance: With its durable construction, weatherproof design, and advanced capabilities such as night vision and motion detection, the Nest Camera Outdoor delivers consistent performance in safeguarding your home.
By setting up your Nest Camera Outdoor, you’ve taken a proactive step toward bolstering the safety and security of your home. Whether you’re deterring potential intruders, monitoring package deliveries, or simply keeping an eye on your surroundings, the Nest Camera Outdoor stands as a reliable and versatile tool for safeguarding your property.
As you continue to explore the features and capabilities of your Nest Camera Outdoor, remember to regularly review and adjust its settings to align with your evolving security needs. Stay informed about software updates, new features, and best practices for maximizing the effectiveness of your outdoor surveillance system.
With the Nest Camera Outdoor in place, you can enjoy the convenience of remote monitoring, the assurance of proactive security measures, and the peace of mind that comes with a reliable smart home security solution. Whether you’re at home, at work, or on the go, the Nest Camera Outdoor stands ready to keep a watchful eye on your property, empowering you to stay connected and informed about your surroundings.
Thank you for embarking on this journey of setting up your Nest Camera Outdoor. May it serve as a steadfast guardian of your home, providing you with enhanced security, convenience, and peace of mind.
Frequently Asked Questions about How To Set Up Nest Camera Outdoor
Was this page helpful?
At Storables.com, we guarantee accurate and reliable information. Our content, validated by Expert Board Contributors, is crafted following stringent Editorial Policies. We're committed to providing you with well-researched, expert-backed insights for all your informational needs.

0 thoughts on “How To Set Up Nest Camera Outdoor”