Home>Home Security and Surveillance>How To Set Up Wyze Outdoor Camera
Home Security and Surveillance
How To Set Up Wyze Outdoor Camera
Modified: March 6, 2024
Learn how to set up the Wyze outdoor camera for efficient Home Security and Surveillance. Step-by-step instructions for easy installation and optimal functionality.
(Many of the links in this article redirect to a specific reviewed product. Your purchase of these products through affiliate links helps to generate commission for Storables.com, at no extra cost. Learn more)
Introduction
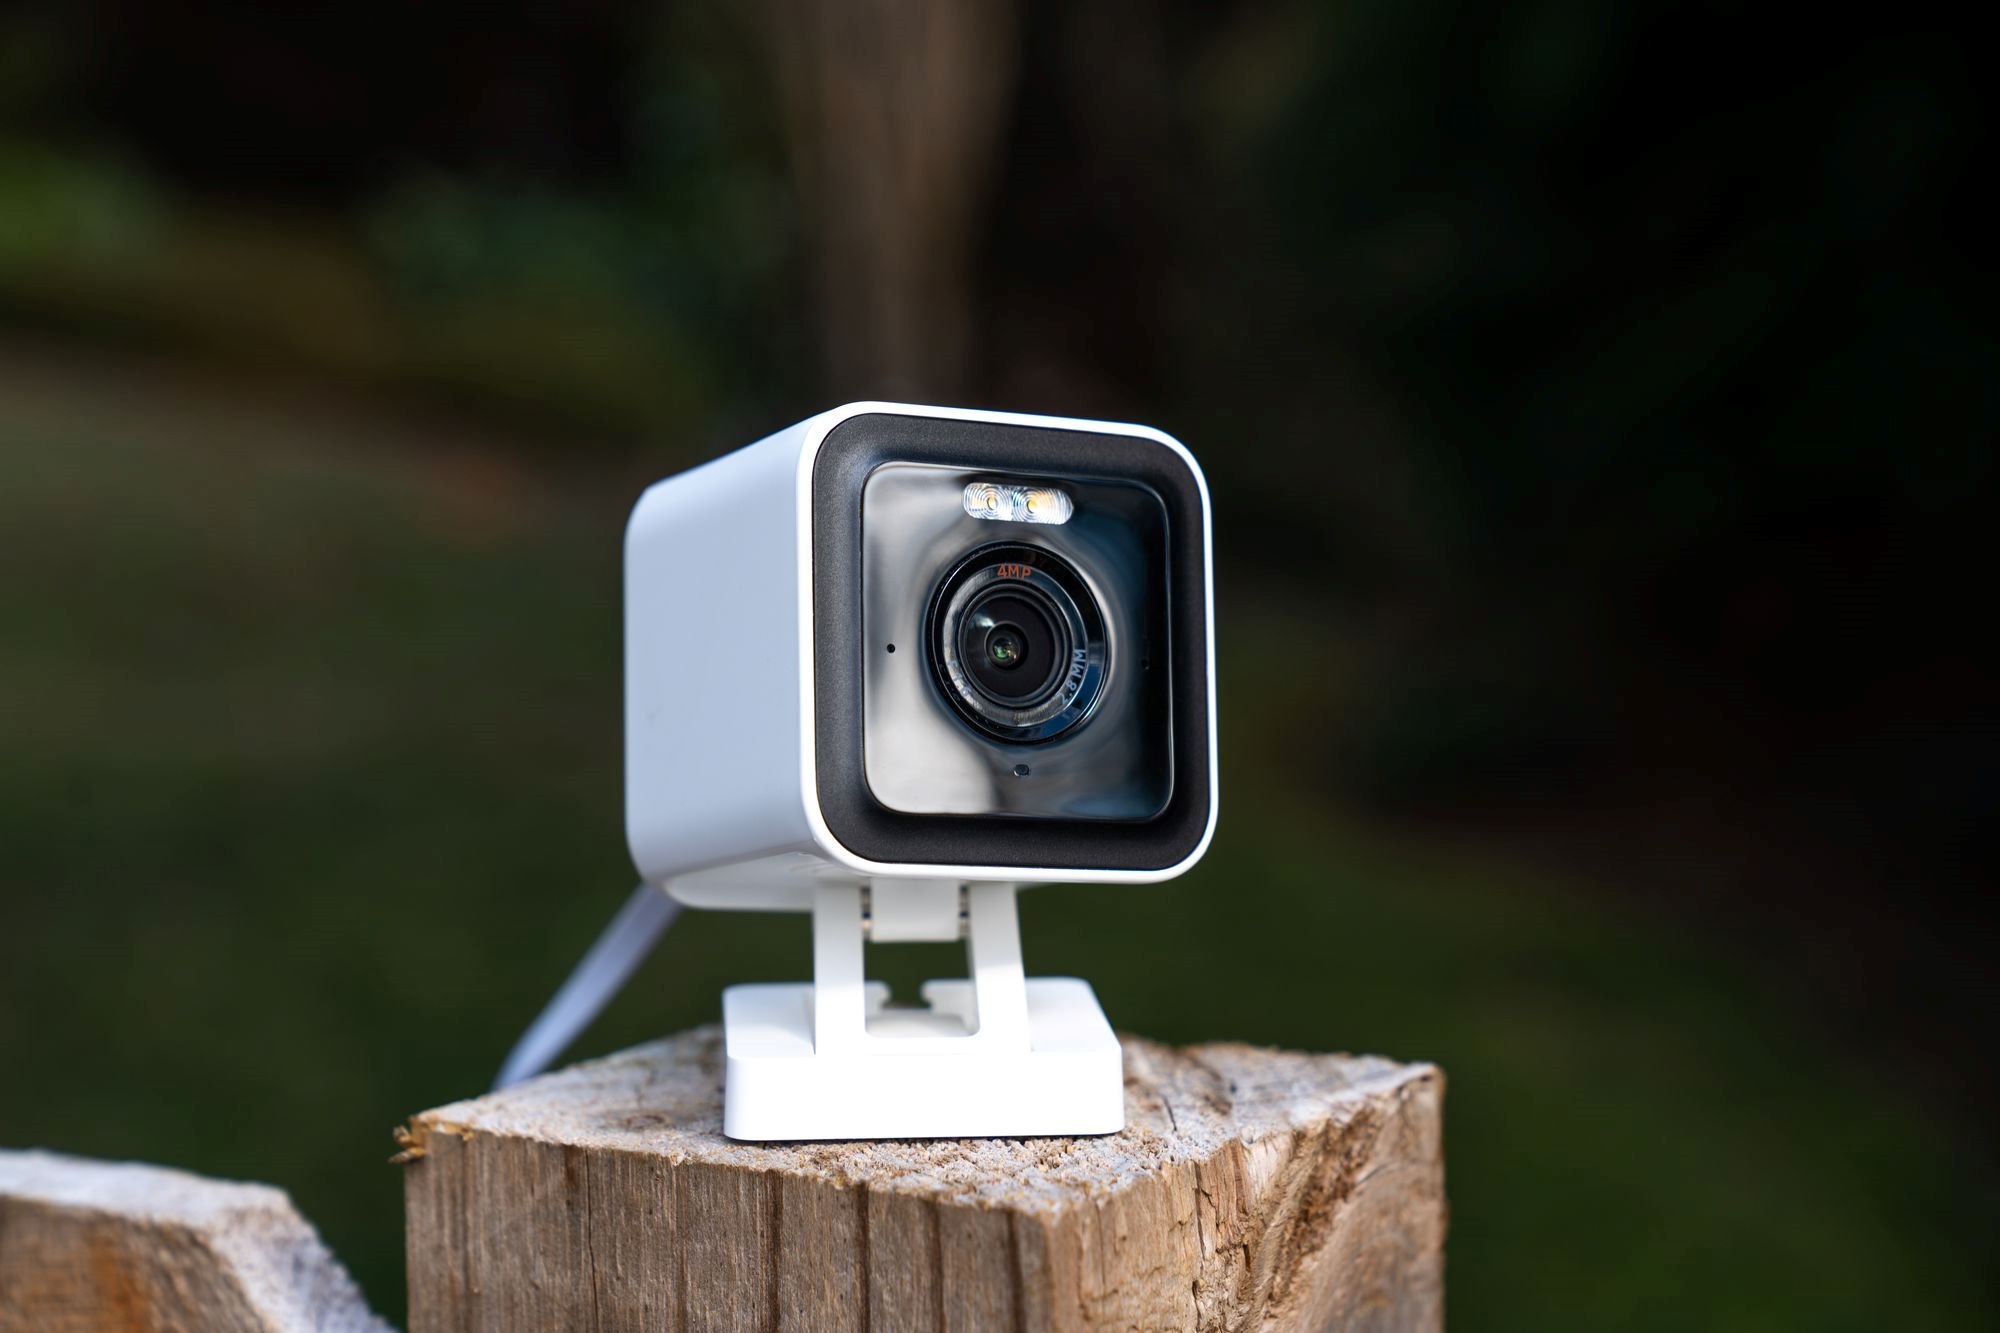
Welcome to the world of home security and surveillance! Whether you’re a new homeowner looking to protect your property or a concerned individual seeking peace of mind, investing in a reliable outdoor camera system is a wise choice. In this article, we will guide you through the process of setting up the Wyze Outdoor Camera, a popular and affordable option that delivers impressive performance.
With the Wyze Outdoor Camera, you can keep a watchful eye on your home and surroundings, deterring potential intruders and capturing important footage whenever necessary. Designed to withstand various weather conditions, this camera offers exceptional durability and reliability. Whether it’s monitoring your front porch for package deliveries or keeping an eye on your backyard, the Wyze Outdoor Camera has got you covered.
Setting up the Wyze Outdoor Camera may seem like a daunting task, but fear not! We’ve broken down the process into easy-to-follow steps to make your experience seamless and hassle-free. So let’s get started!
Key Takeaways:
- Setting up the Wyze Outdoor Camera is a breeze with simple steps for unboxing, mounting, connecting to power and Wi-Fi, and customizing settings. Enjoy peace of mind and enhanced security for your home!
- The Wyze Outdoor Camera offers affordable and reliable home security. With easy setup and customizable features, you can monitor your property with confidence and convenience. Stay safe and secure!
Read more: How To Mount Wyze Outdoor Camera
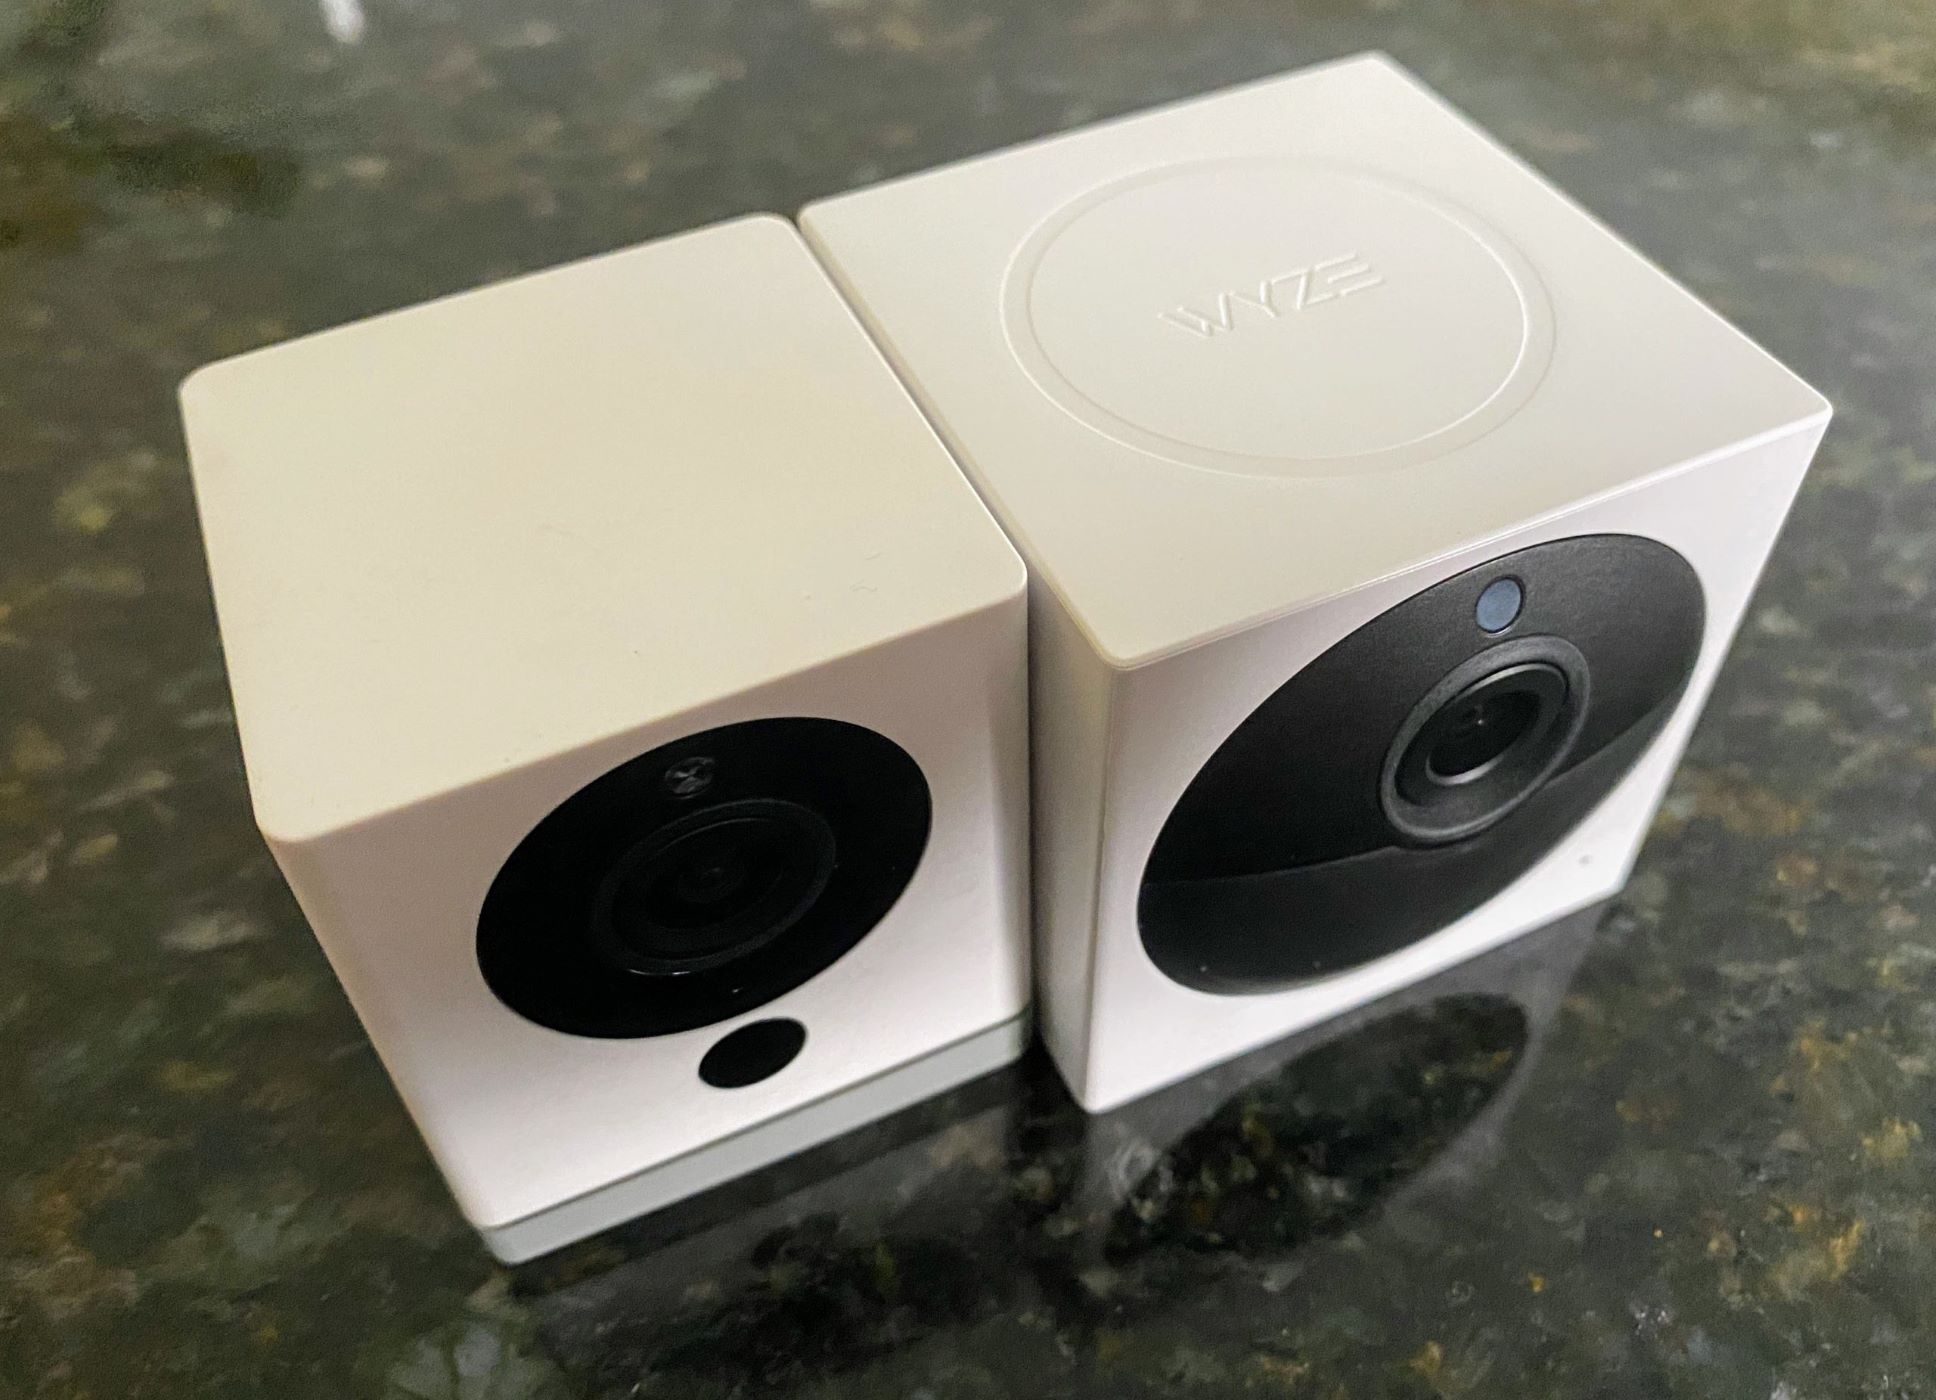
Step 1: Unboxing the Wyze Outdoor Camera
The first step in setting up your Wyze Outdoor Camera is unboxing the package and familiarizing yourself with its contents. Start by carefully opening the box and taking out all the components. Here’s what you can expect to find:
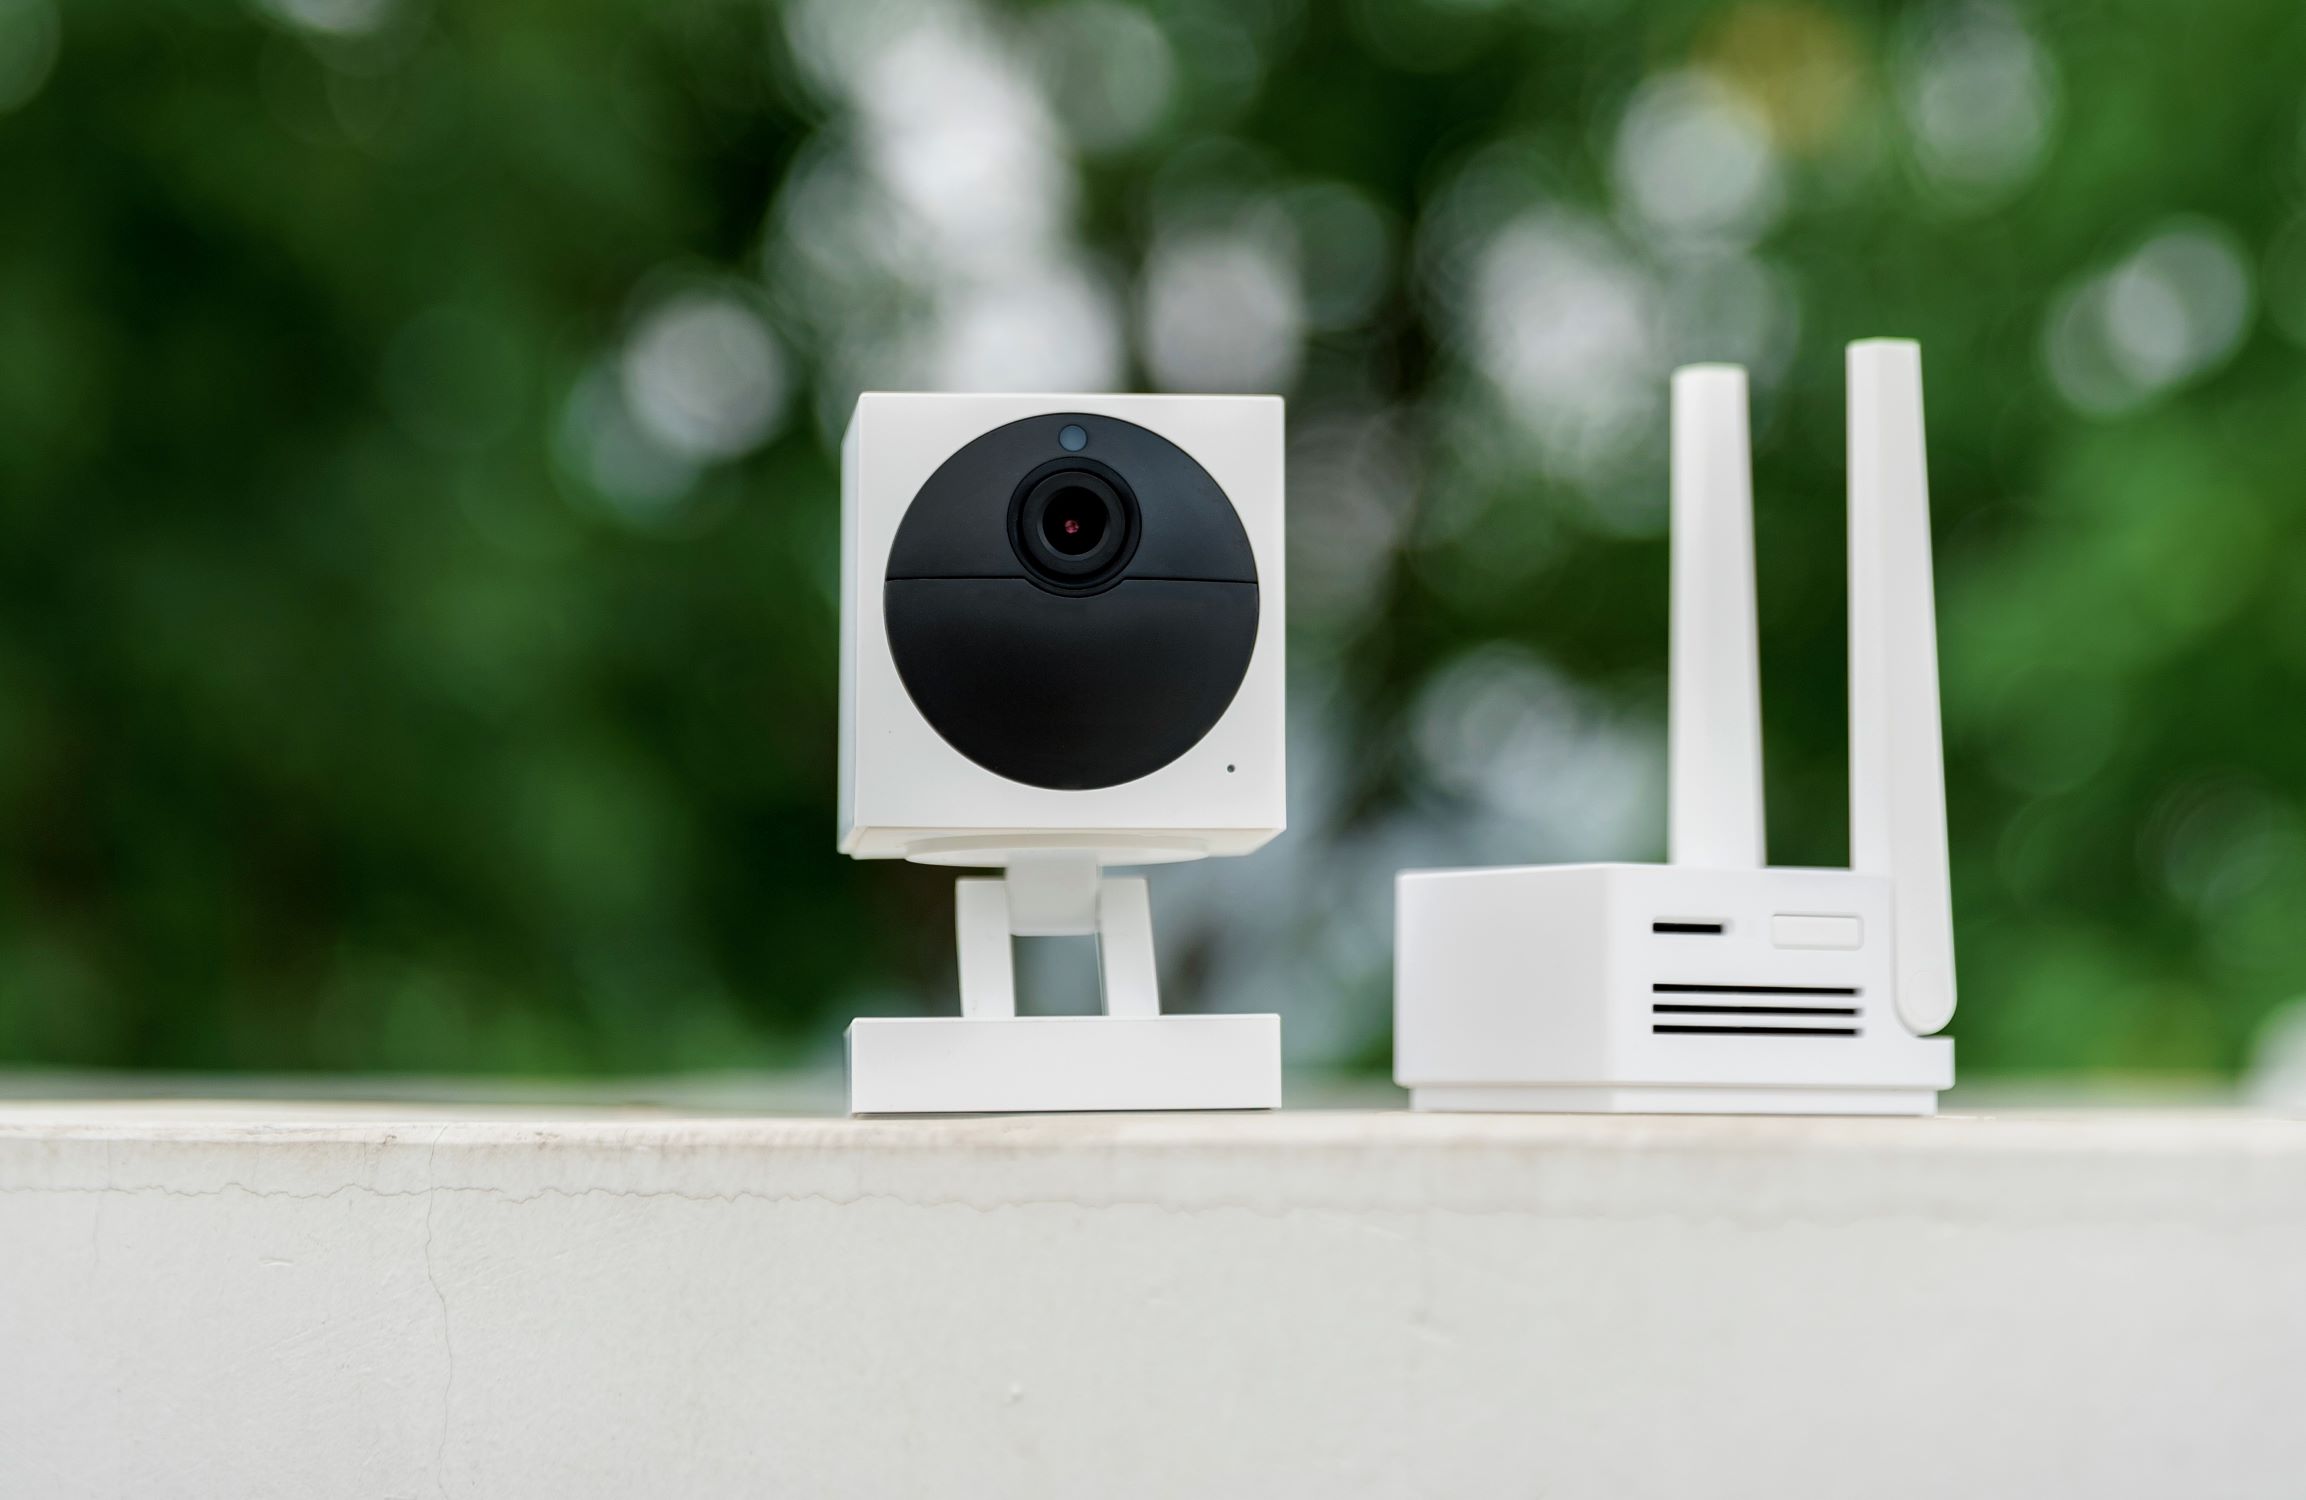
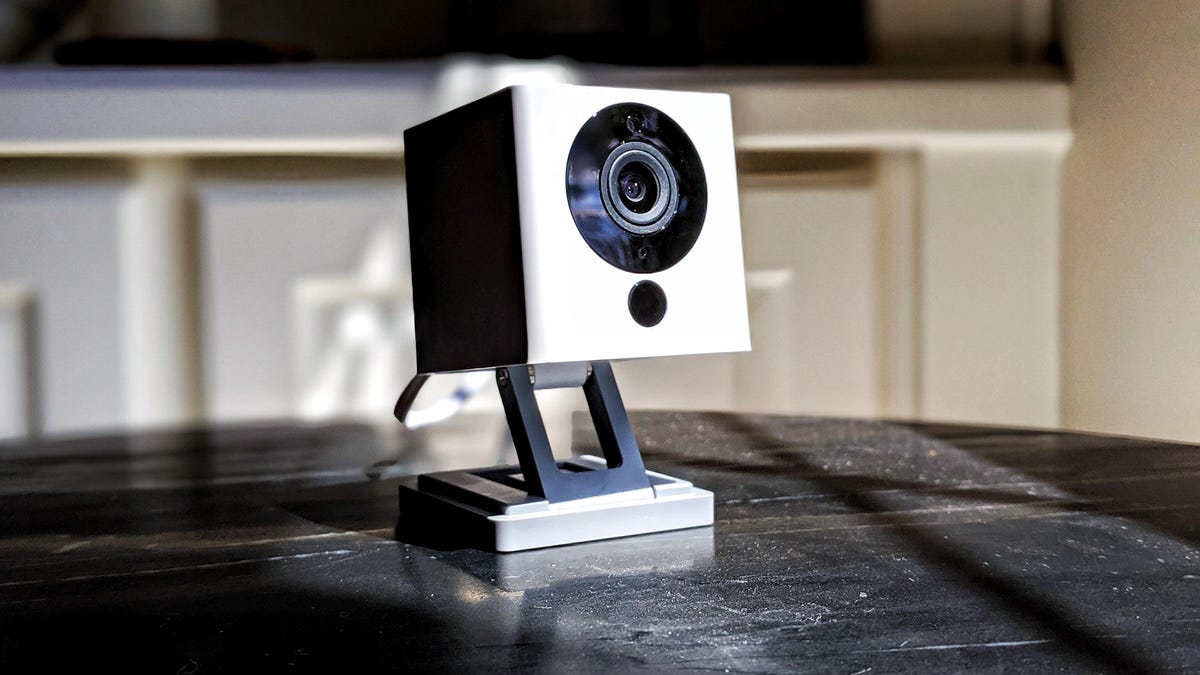
- Wyze Outdoor Camera: This is the main camera unit that will be mounted outside your home.
- Mounting Plate and Screws: The mounting plate and screws are provided to securely attach the camera to a wall or other surface.
- Power Adapter: The power adapter is used to provide a continuous power supply to the camera.
- USB Cable: The USB cable is used to connect the power adapter to the camera.
- Quick Start Guide: The quick start guide provides step-by-step instructions on how to set up the camera.
Once you have all the components, take a moment to inspect them for any damage that may have occurred during shipping. It’s always a good idea to contact the manufacturer if you notice any issues or missing parts.
With the unboxing complete and all the necessary components in front of you, you’re now ready to move on to the next step: mounting the camera.
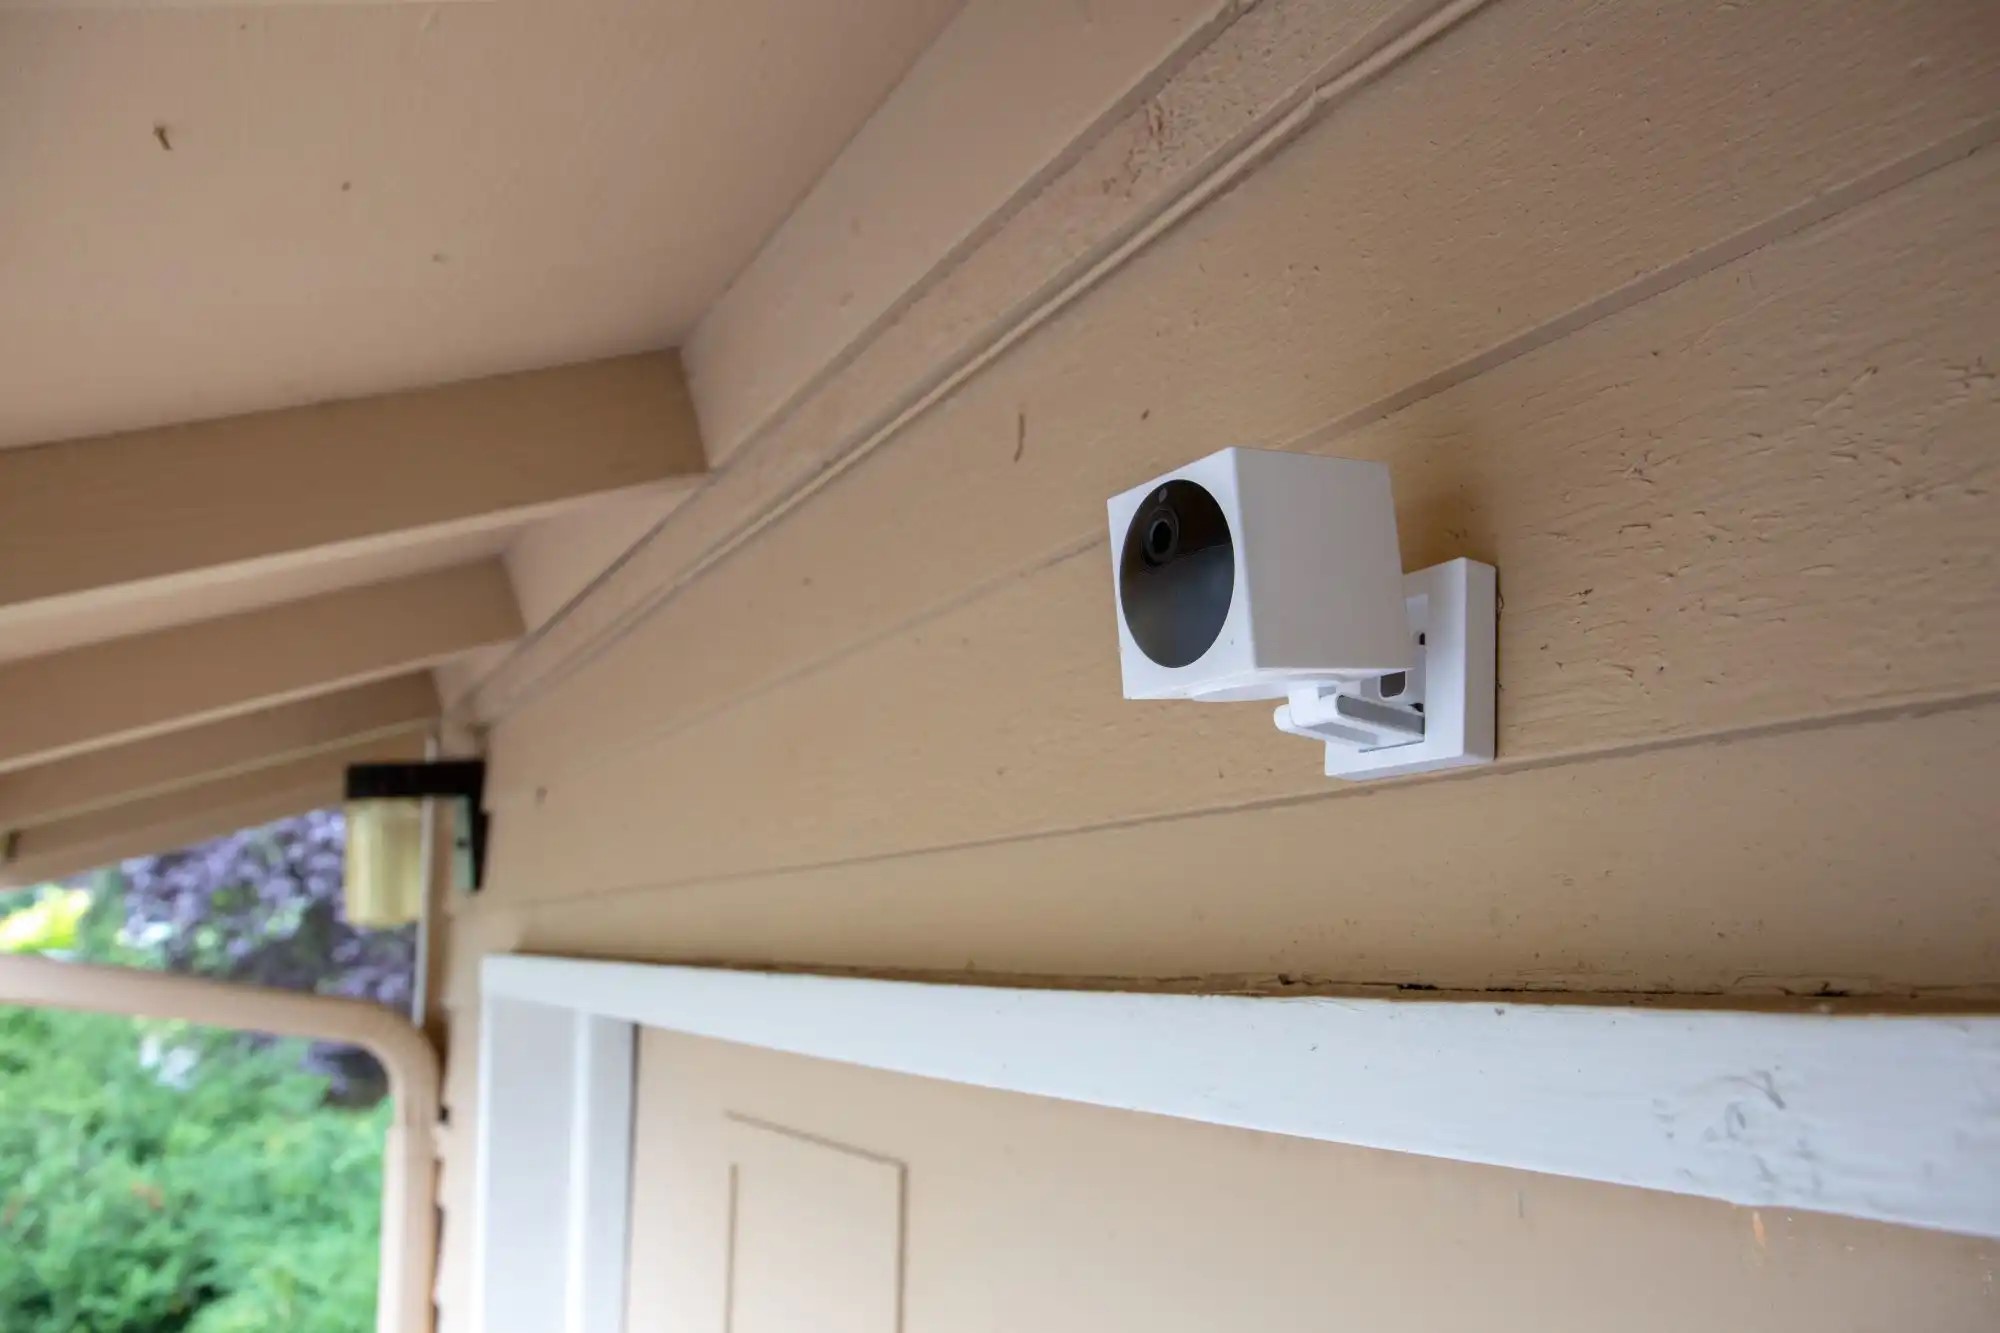
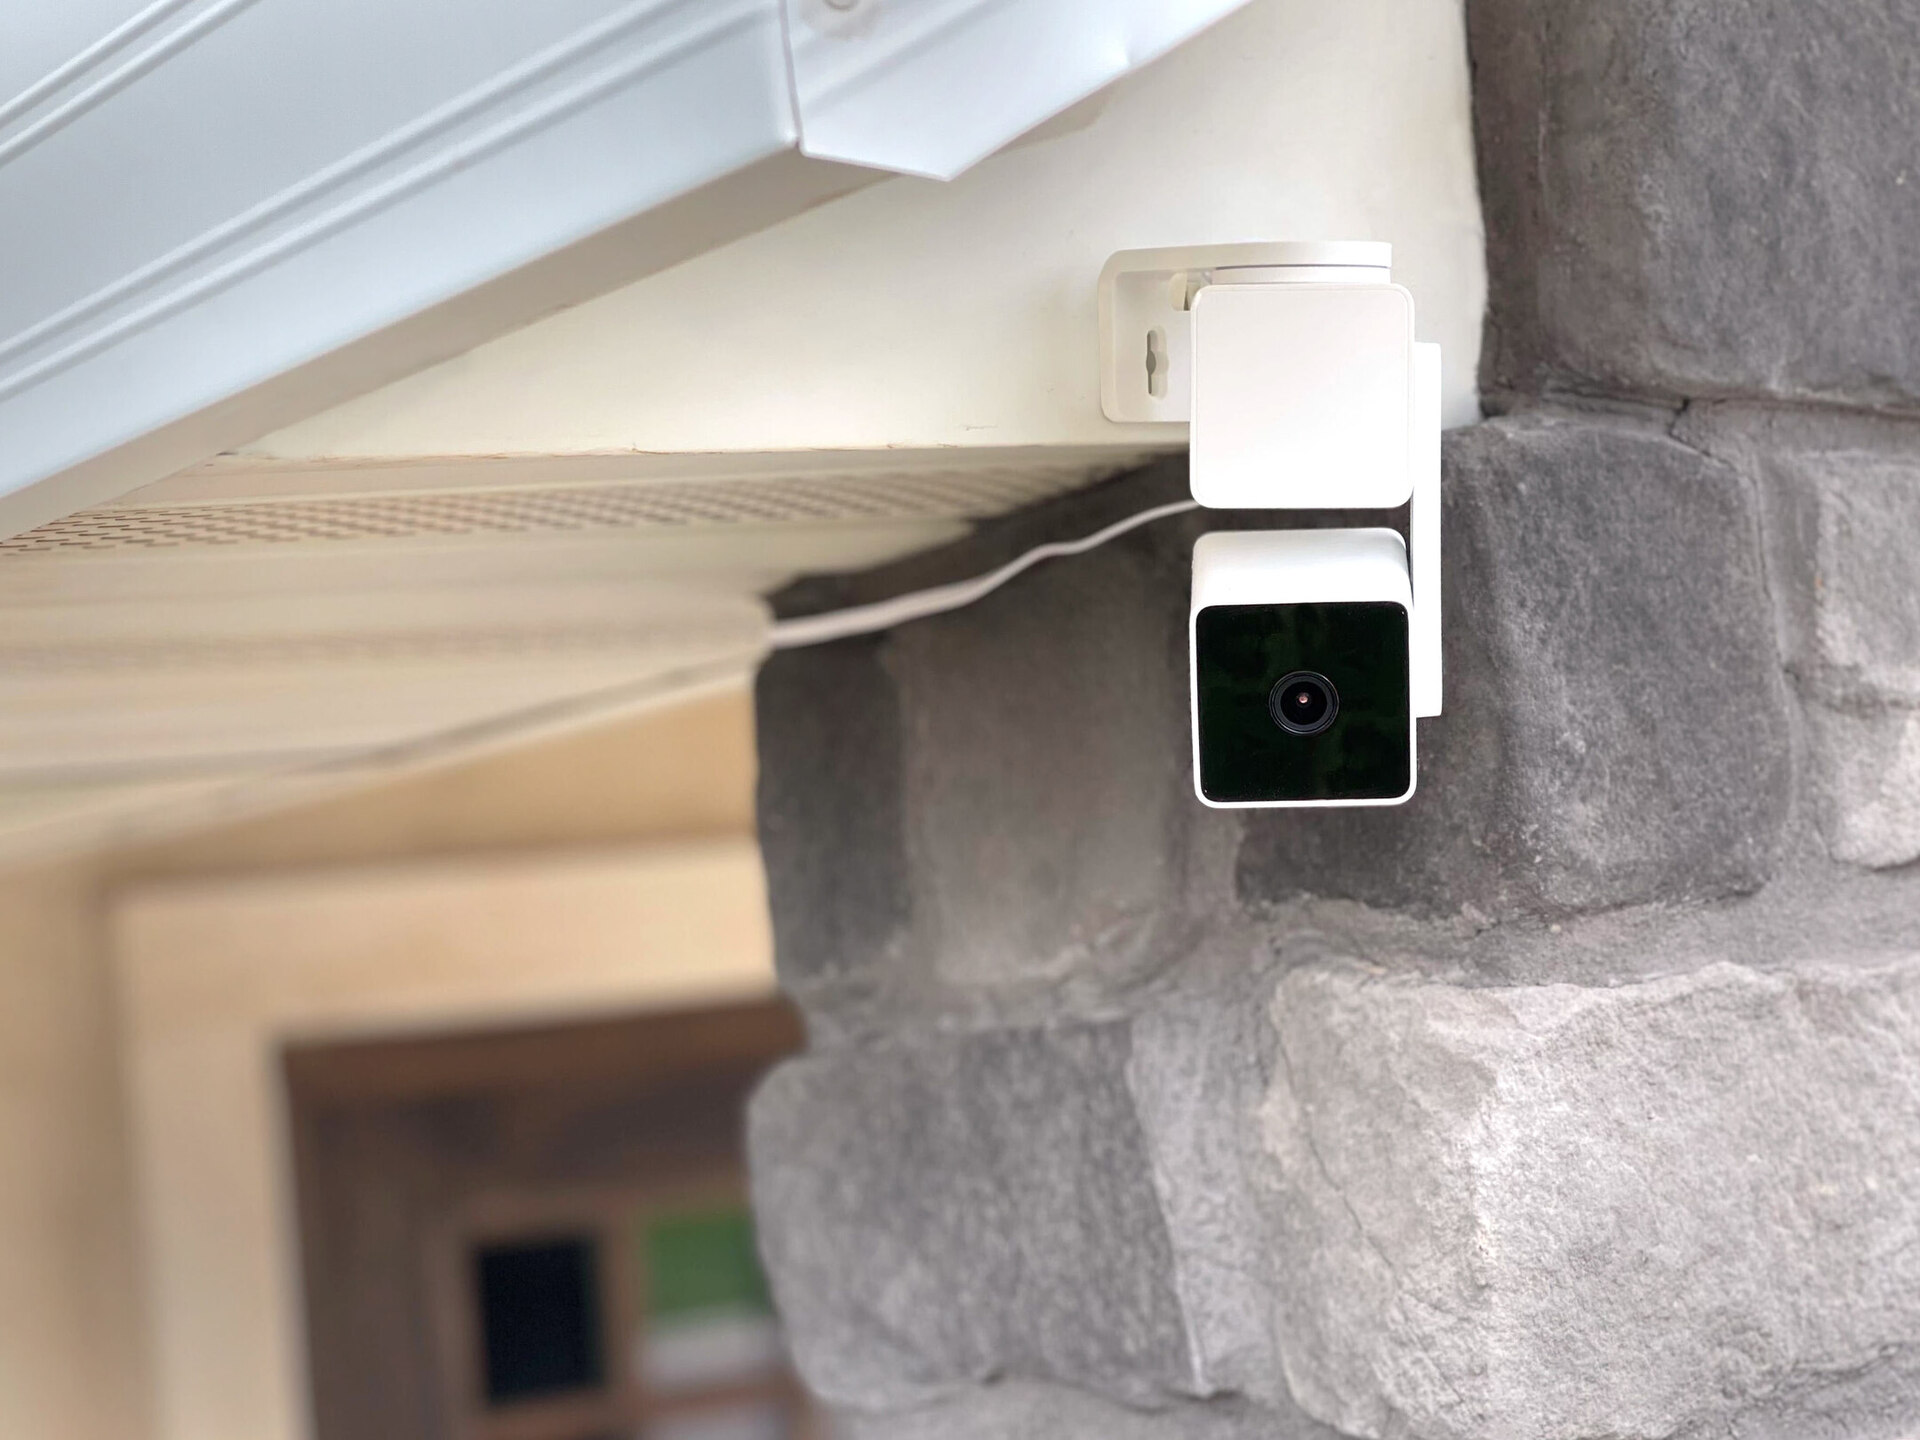
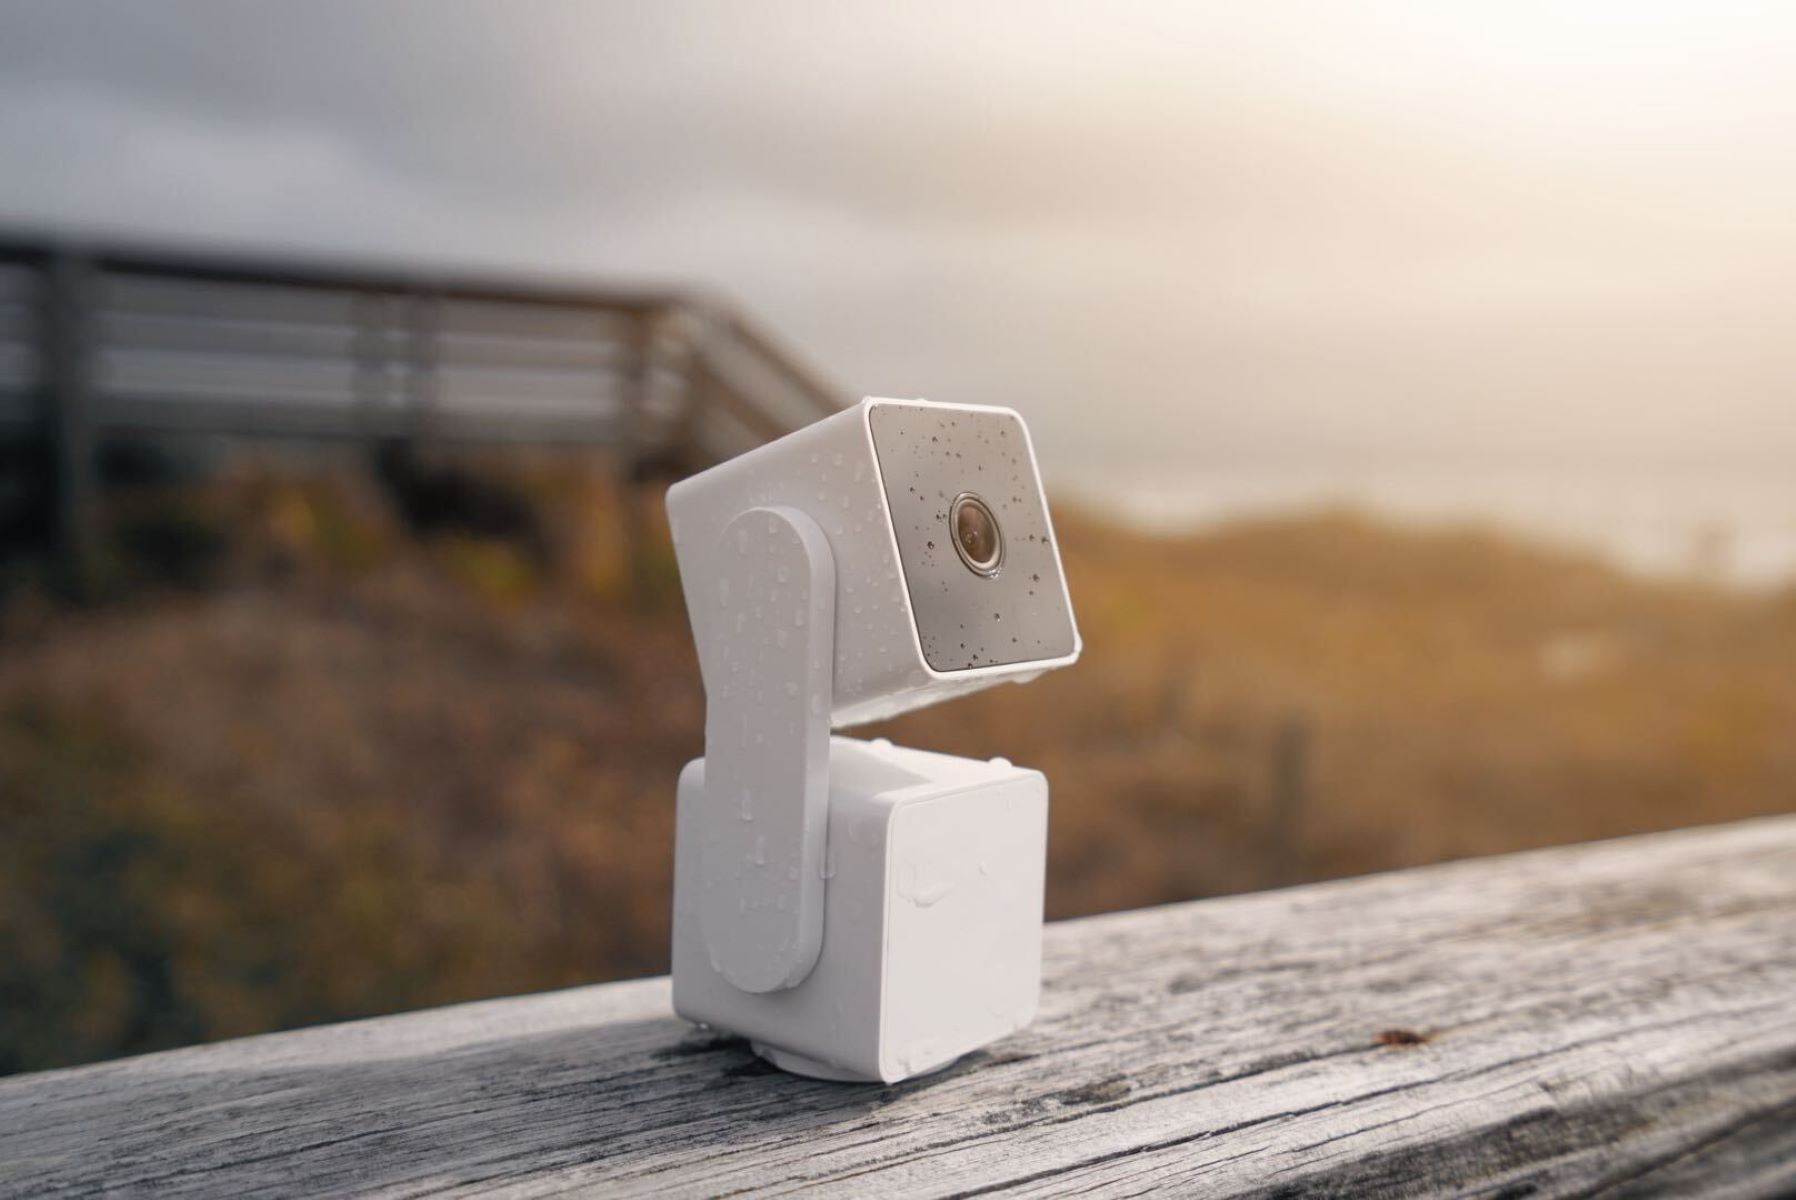
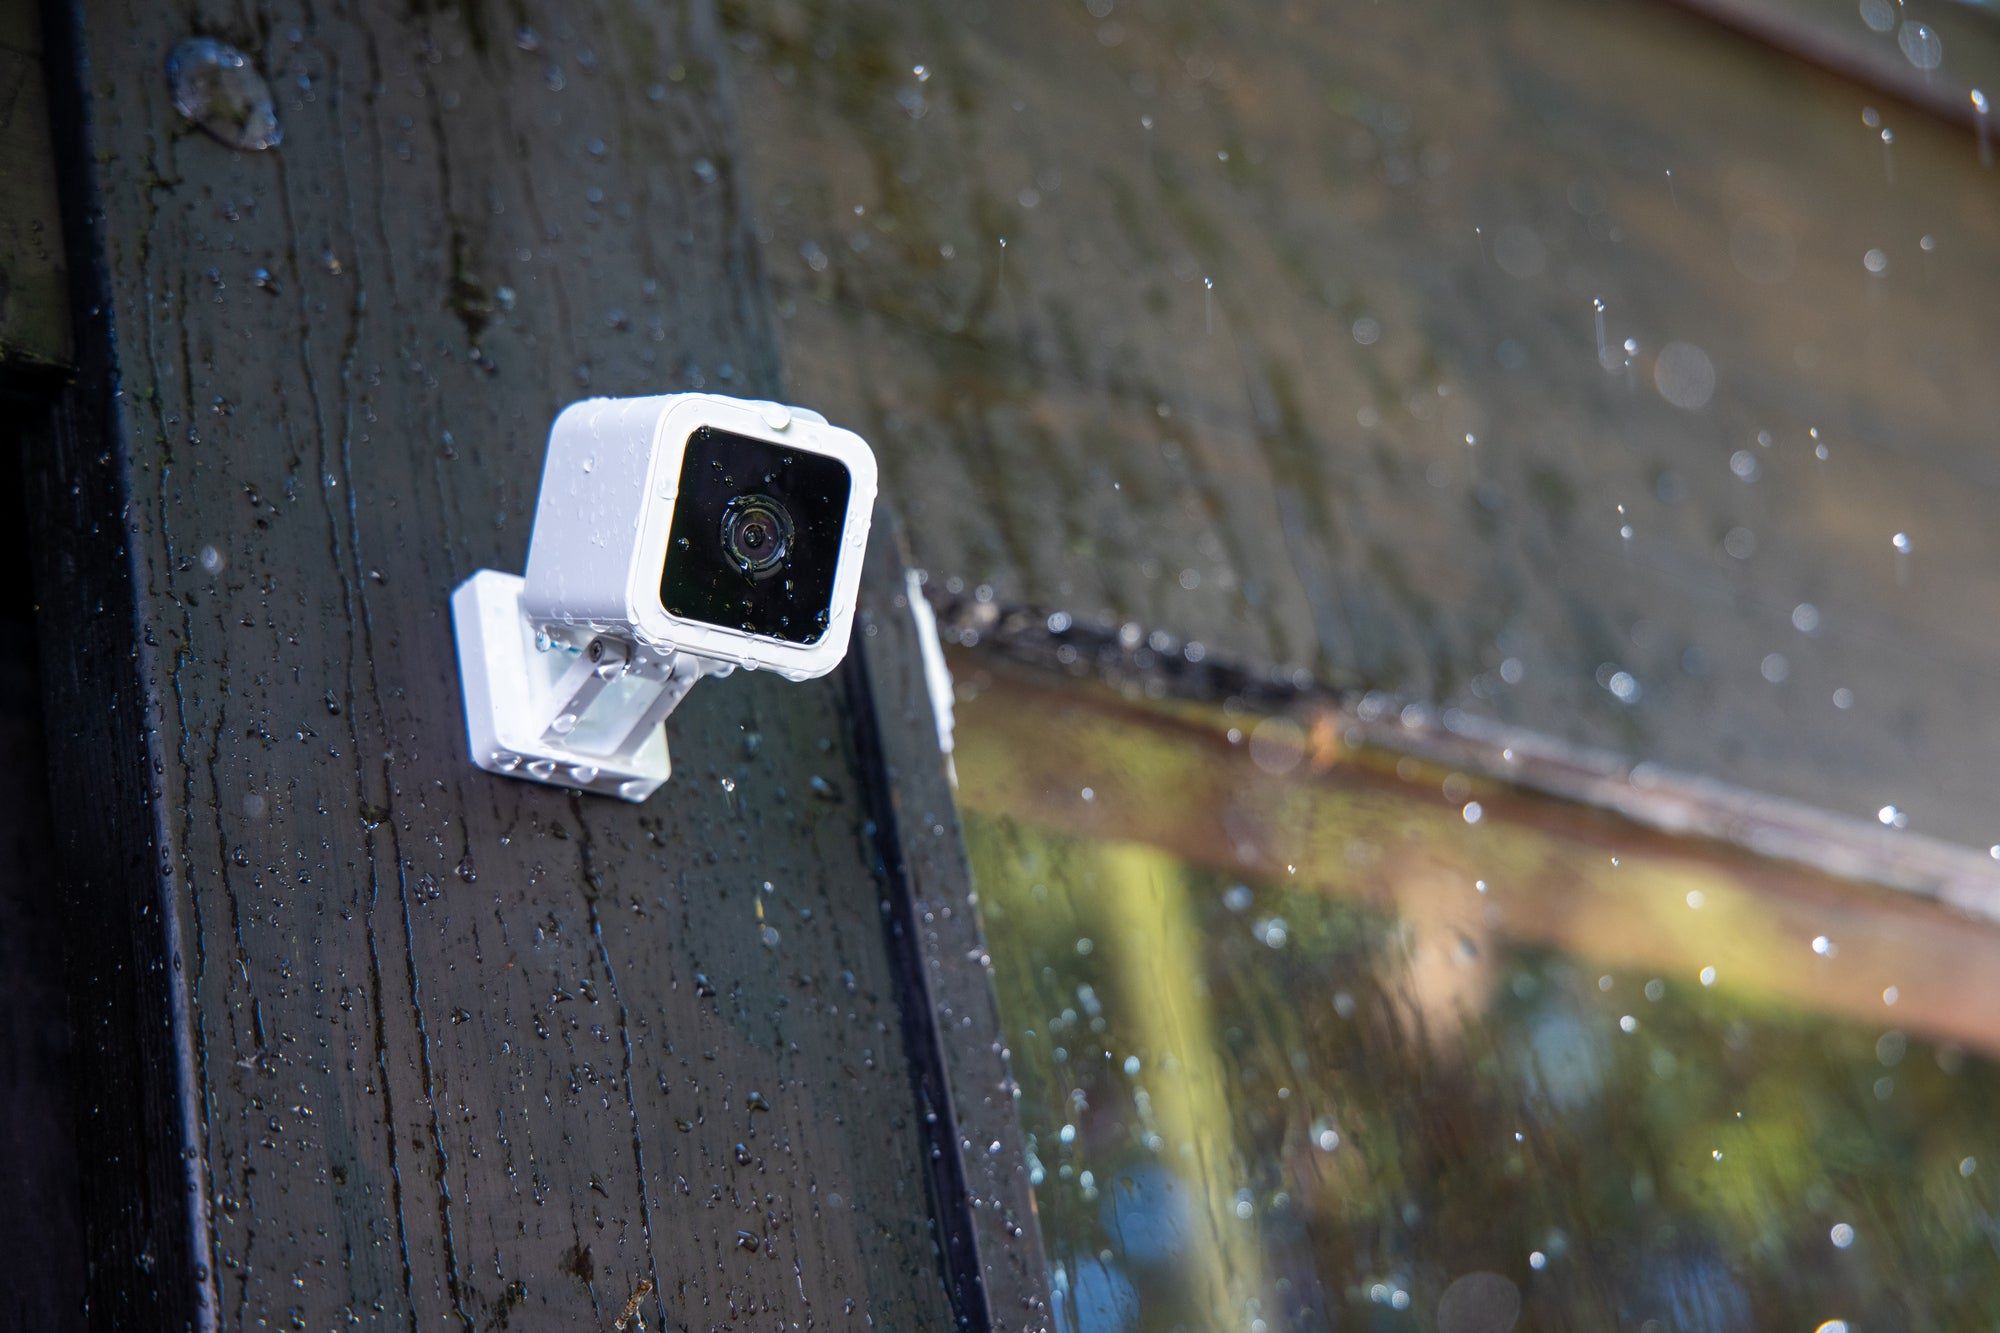
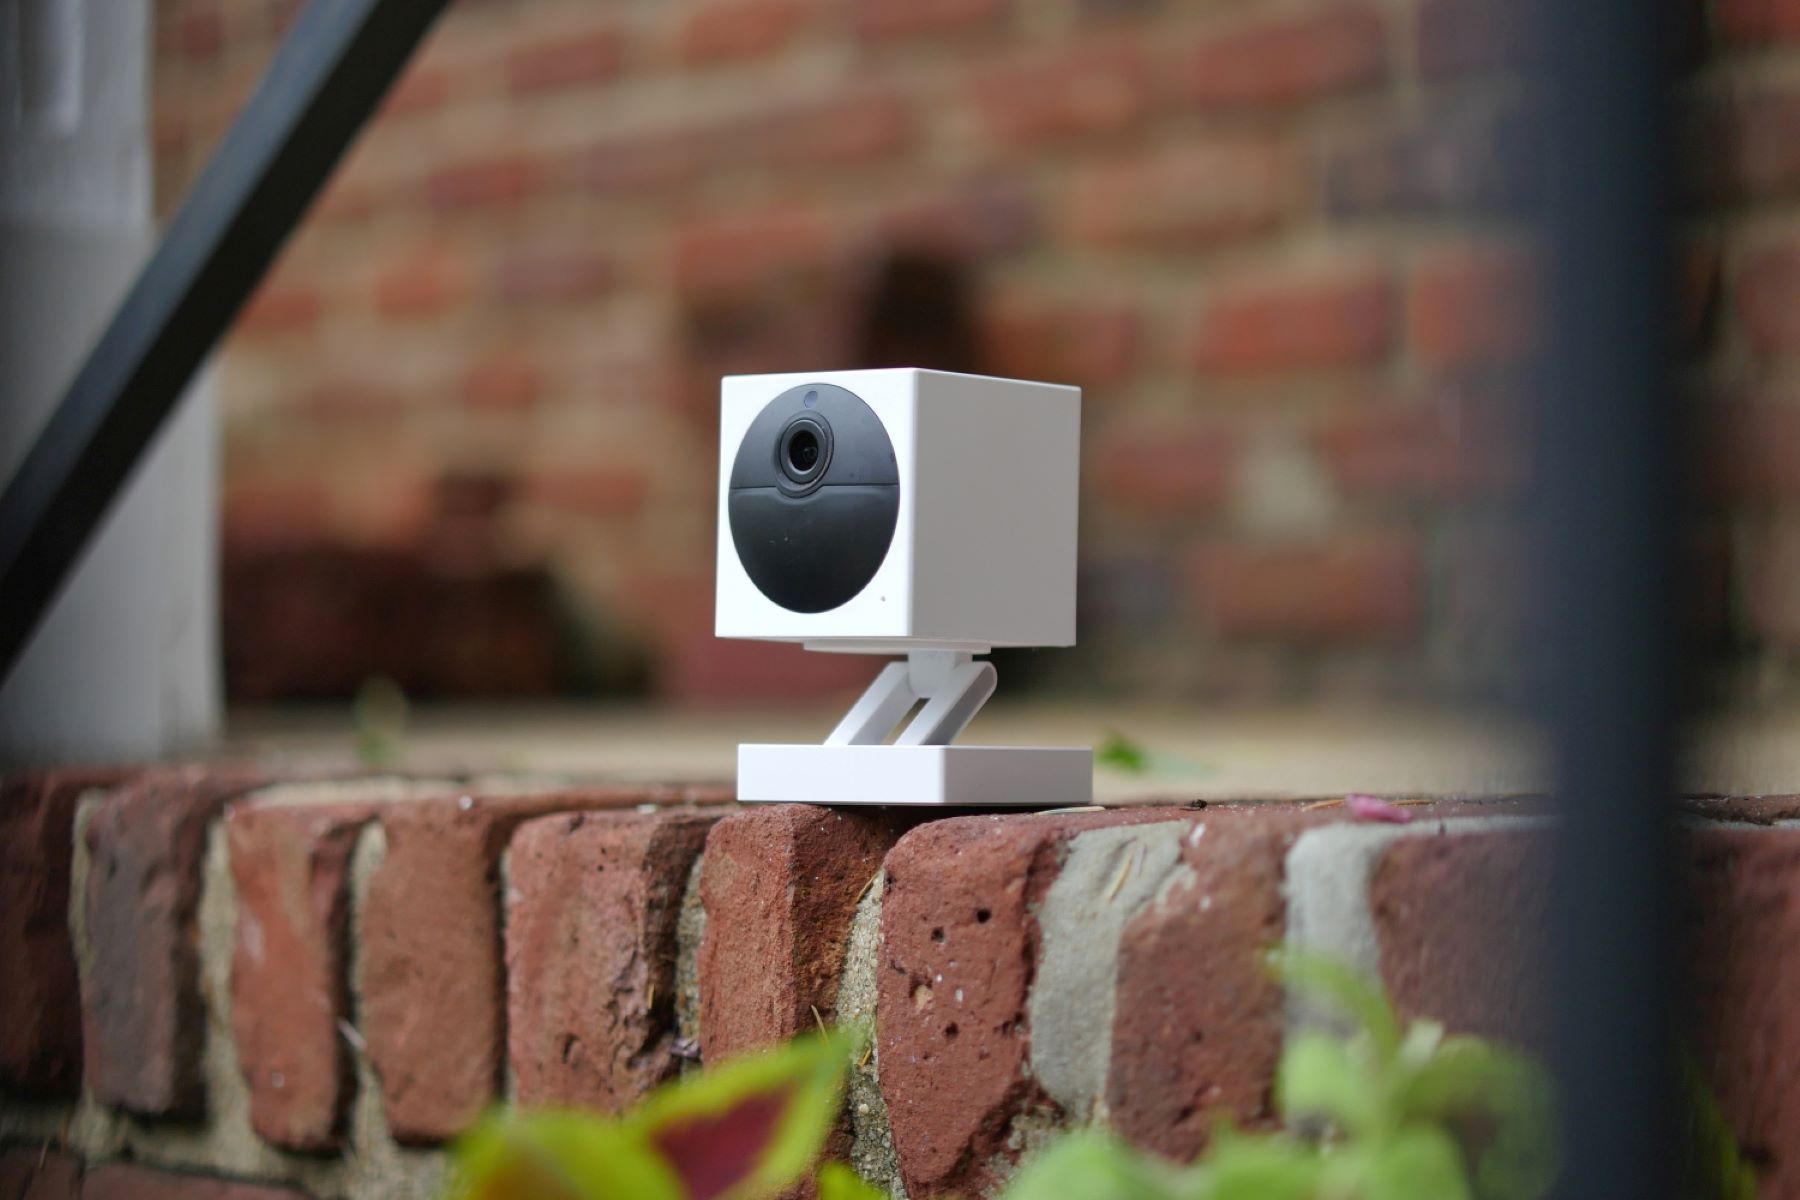
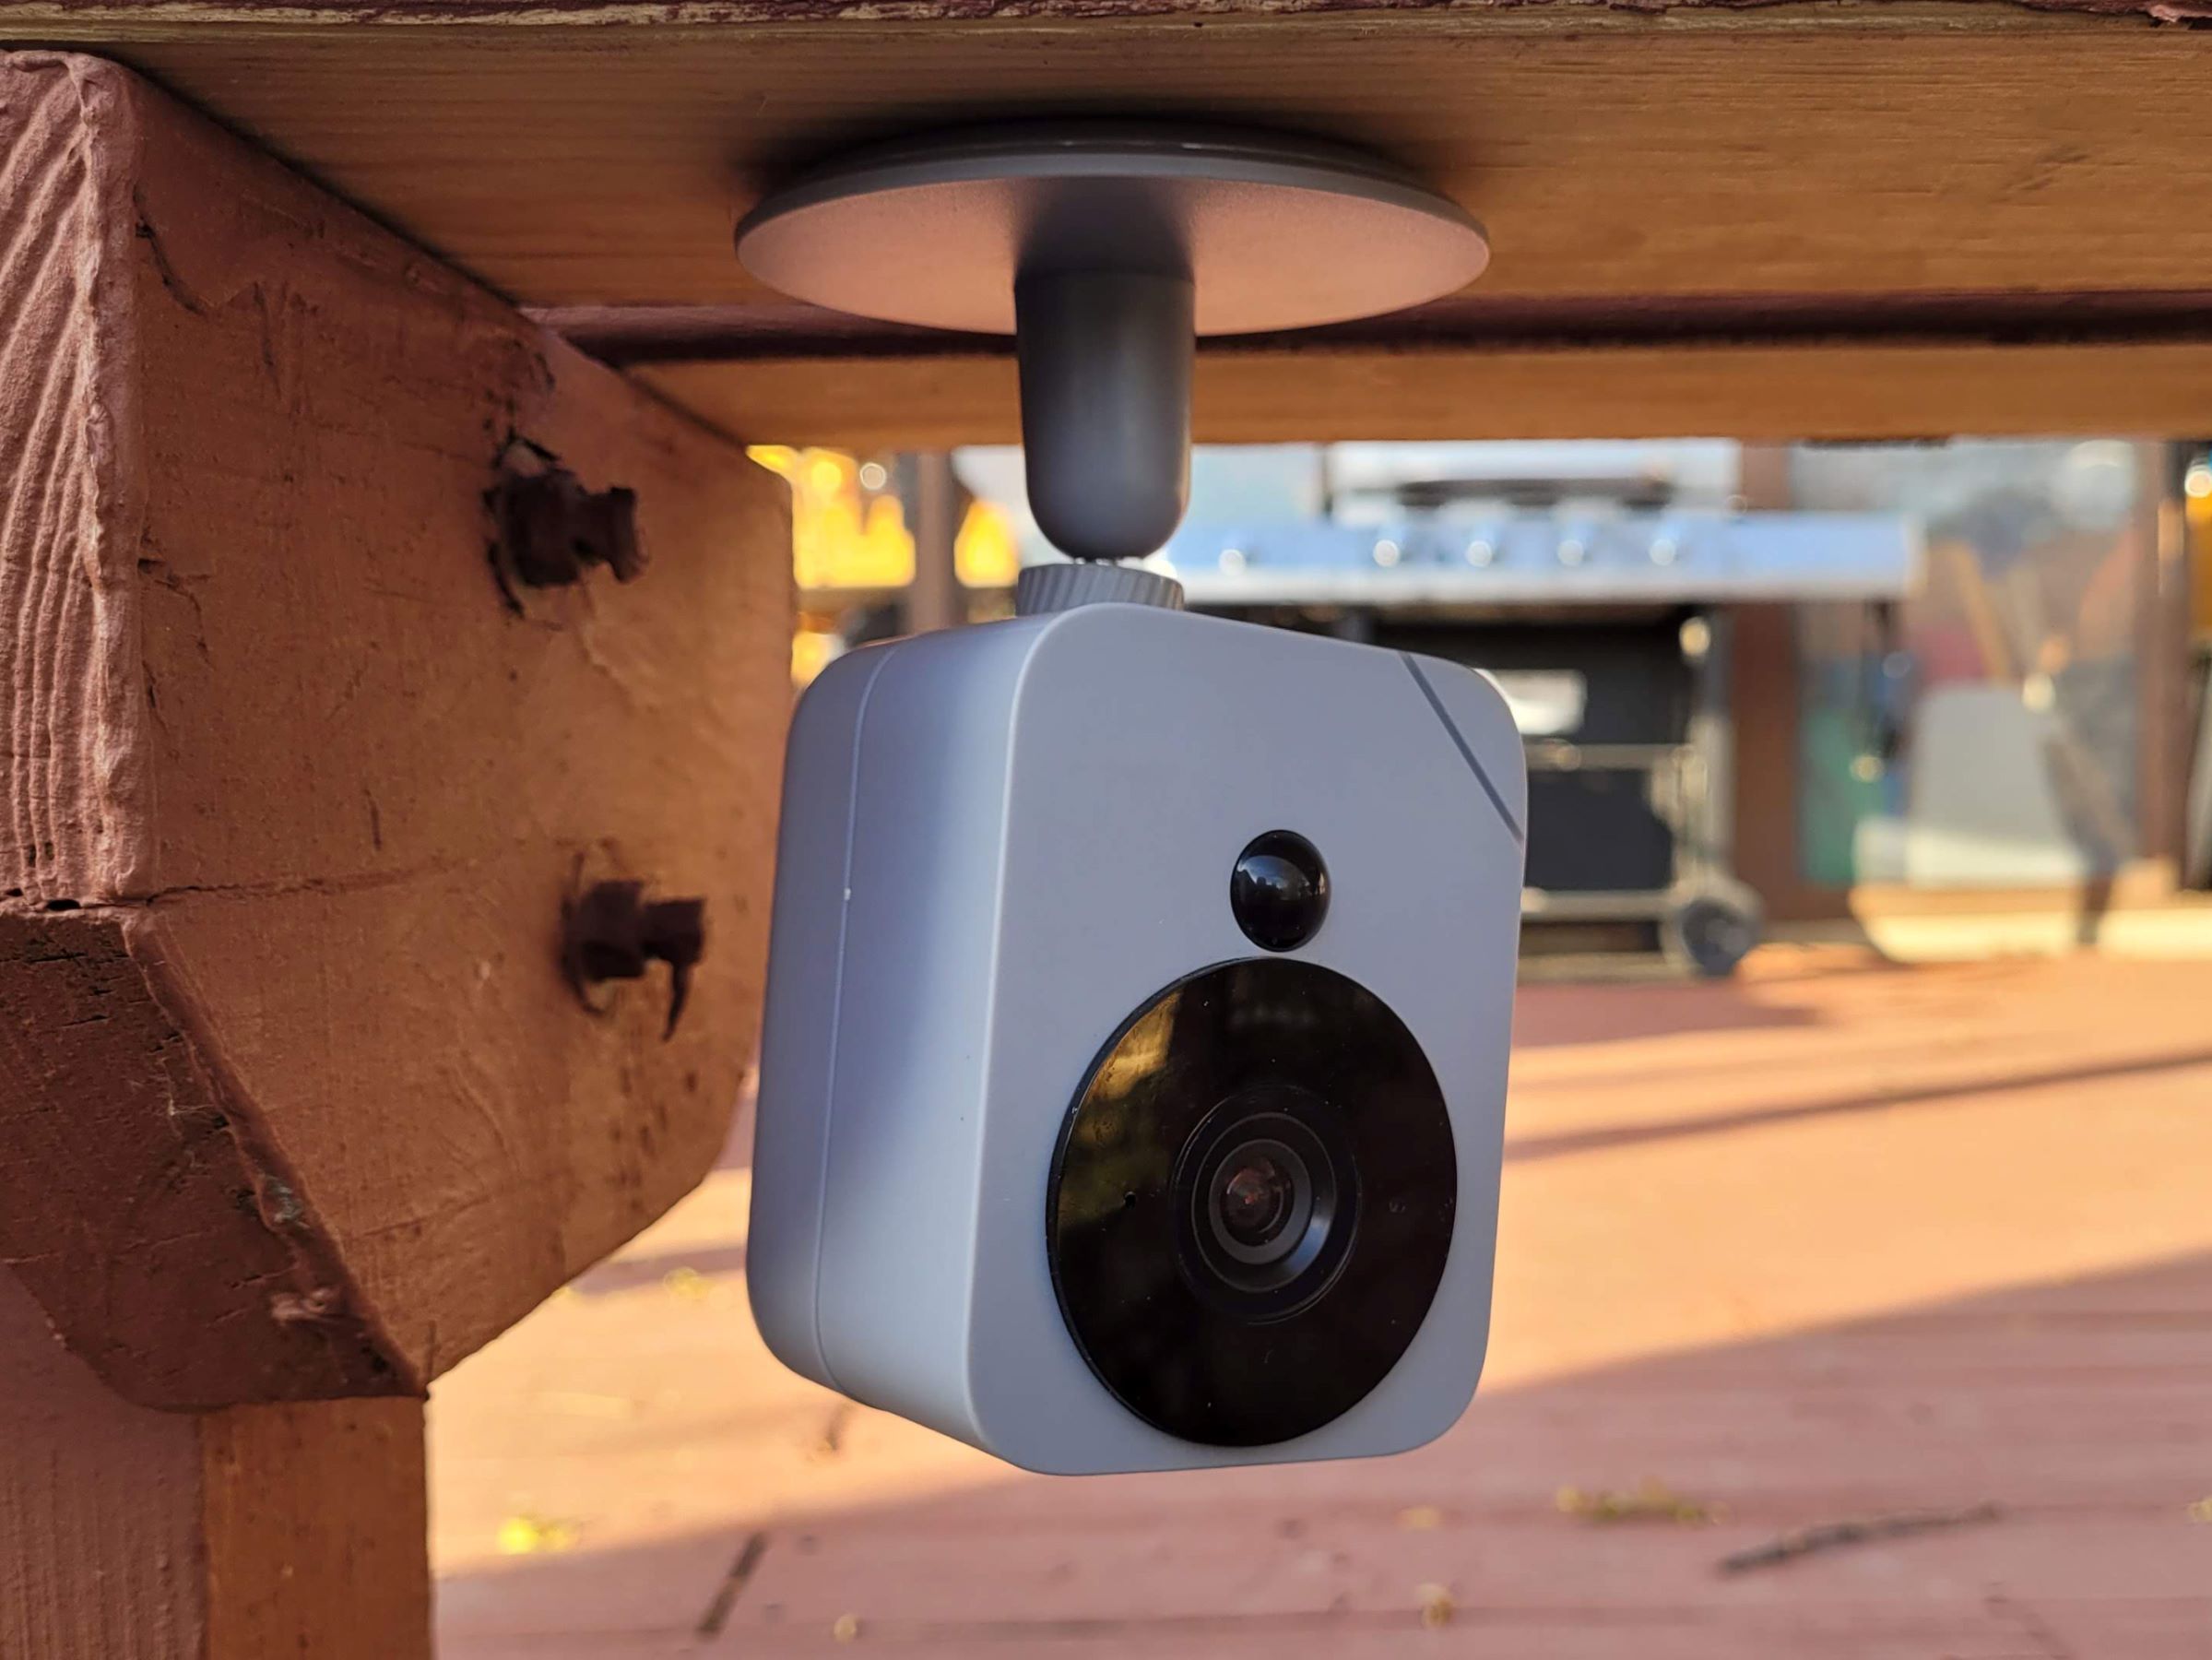
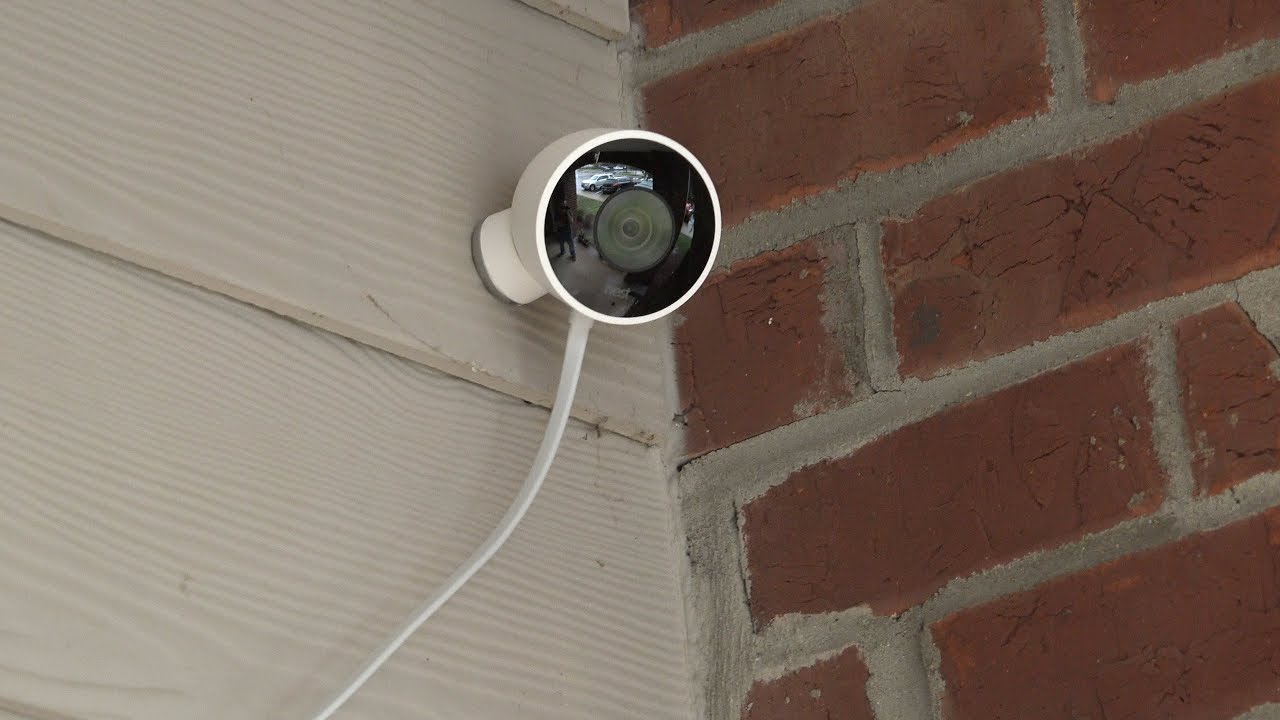
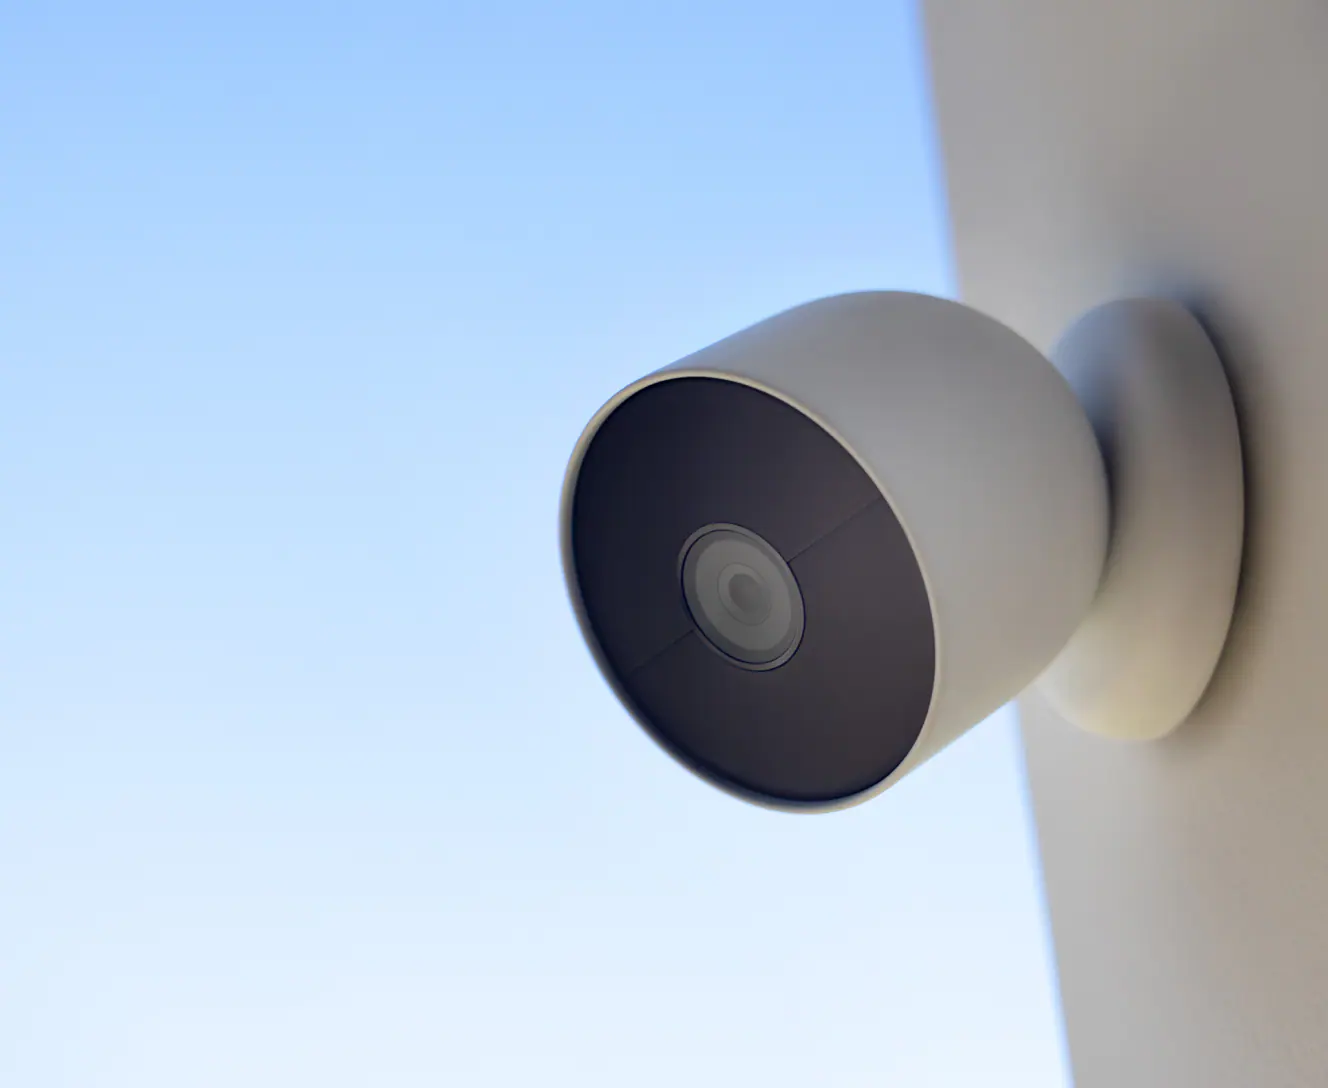
Step 2: Mounting the Camera
Now that you have unboxed the Wyze Outdoor Camera and familiarized yourself with its contents, it’s time to mount the camera in the desired location. Before you begin, consider the following factors:
1. Location: Determine the ideal location to mount the camera. It should have a clear view of the area you want to monitor, such as the front door or backyard. Ensure that the camera is high enough to avoid tampering but not so high that it compromises the quality of the recorded footage.
2. Mounting Surface: Identify a suitable mounting surface for the camera. It should be a sturdy wall, ceiling, or other structure that can support the weight of the camera and withstand outdoor conditions.
3. Angle Adjustment: Consider the angle at which you want to position the camera for optimal coverage. Some cameras offer adjustable brackets or mounts that allow you to easily fine-tune the angle after installation.
To mount the camera, follow these steps:
- Hold the mounting plate against the chosen surface and mark the positions for the screws.
- Using a drill or screwdriver, secure the mounting plate to the surface using the provided screws.
- Attach the camera to the mounting plate by aligning the grooves on the camera base with the corresponding slots on the plate. Slide the camera into place until you hear it click into position.
- Adjust the camera angle, if necessary, by loosening the adjustable bracket or mount and repositioning it to your desired angle.
- Tighten the adjustable bracket or mount to secure the camera in place.
Once the camera is securely mounted, you’re ready to move on to the next step: connecting the camera to power.
Step 3: Connecting to Power
With the Wyze Outdoor Camera securely mounted, it’s time to connect it to a power source for continuous operation. Follow these steps to connect the camera to power:
- Locate the power adapter and USB cable that came with the camera.
- Connect one end of the USB cable to the power adapter.
- Plug the power adapter into a nearby electrical outlet.
- Run the USB cable along the mounting surface, ensuring it is securely positioned and protected from any potential damage.
- Connect the other end of the USB cable to the designated power port on the camera.
Once the camera is connected to power, it will start initializing, indicating that it’s ready for the next step: connecting to your Wi-Fi network.
Note: If you prefer a wire-free setup, you can also consider using a solar panel or a rechargeable battery pack (sold separately) to power your Wyze Outdoor Camera. These options provide flexibility and eliminate the need to connect the camera directly to an electrical outlet.
Now that your camera is powered on, let’s move on to the next step: connecting it to your Wi-Fi network.
Step 4: Connecting to Wi-Fi
Connecting your Wyze Outdoor Camera to your Wi-Fi network is crucial for accessing live video feeds, receiving notifications, and managing the camera settings through the Wyze app. Here’s how you can connect the camera to your Wi-Fi:
- Ensure that your smartphone or tablet is connected to the same Wi-Fi network that you want to link your camera to.
- Open the Wyze app on your device.
- Tap on the “+” icon to add a new device.
- Select “Wyze Outdoor Camera” from the list of available devices.
- Follow the on-screen instructions to put the camera in pairing mode. This usually involves pressing a button on the camera or scanning a QR code.
- The Wyze app will detect the camera in pairing mode and prompt you to enter your Wi-Fi network credentials.
- Enter your Wi-Fi network name (SSID) and password in the app.
- Wait for the camera to establish a connection to your Wi-Fi network. This may take a few moments.
- Once the connection is established, you will receive a notification or see a confirmation within the Wyze app.
Congratulations! Your Wyze Outdoor Camera is now connected to your Wi-Fi network. You can proceed to the next step to set up the Wyze app for seamless camera management and customization.
It’s important to note that your Wyze Outdoor Camera should be within range of your Wi-Fi router during the connection setup process. Ensure that there are no significant obstacles or interference that may weaken the Wi-Fi signal and impact the camera’s performance.
Now that your camera is connected to Wi-Fi, let’s move on to the next step: setting up the Wyze app.
When setting up your Wyze Outdoor Camera, make sure to place it within range of your Wi-Fi signal and use the included mounting kit for secure installation.
Read more: How To Playback On Wyze Outdoor Camera
Step 5: Setting Up the Wyze App
The Wyze app is a powerful tool that allows you to control and customize your Wyze Outdoor Camera. To set up the app and start managing your camera, follow these steps:
- If you haven’t already, download and install the Wyze app from the App Store or Google Play Store.
- Open the Wyze app on your device.
- Create a Wyze account by tapping on “Sign Up” and following the on-screen instructions. If you already have an account, simply sign in.
- Once logged in, the app will prompt you to add a device. Tap on the “+” icon to initiate the setup process.
- Select “Wyze Outdoor Camera” from the list of available devices.
- Make sure that your smartphone or tablet is connected to the same Wi-Fi network that your Wyze Outdoor Camera is connected to.
- Ensure that the camera is powered on and within range of your Wi-Fi router.
The Wyze app will automatically detect the camera and guide you through the remaining setup steps. This usually involves scanning a QR code on the camera or entering a unique identification code. Once the app successfully detects and adds the camera, you will be able to access its live video feed and customize its settings.
As you explore the Wyze app, you’ll discover a range of features and options for managing your Wyze Outdoor Camera. From adjusting motion detection settings to enabling two-way audio communication, the app provides a user-friendly interface for an enhanced surveillance experience.
Now that you have set up the Wyze app, let’s move on to the next step: pairing the camera with the app.
Step 6: Pairing the Camera with the App
After setting up the Wyze app, the next step is to pair your Wyze Outdoor Camera with the app for seamless communication and control. Here’s how you can pair the camera with the app:
- Open the Wyze app on your smartphone or tablet.
- Ensure that your device is connected to the same Wi-Fi network as your Wyze Outdoor Camera.
- In the Wyze app, navigate to the “Devices” tab.
- Tap on the camera you want to pair if you have multiple cameras linked to your account.
- In the camera settings, select the option to pair or connect the camera.
- Follow the on-screen instructions to initiate the pairing process. This may involve pressing a button on the camera or scanning a QR code.
- Once the pairing process is initiated, the app will guide you through the remaining steps to establish the connection between the camera and the app.
- Wait for the camera and the app to establish a secure connection. This may take a few moments.
- Once the camera is successfully paired with the app, you will receive a notification or see a confirmation within the app.
Congratulations! Your Wyze Outdoor Camera is now successfully paired with the app, allowing you to remotely monitor and control the camera from your smartphone or tablet. You can access live video feeds, adjust camera settings, and receive notifications for motion detection and other events.
It’s important to note that the pairing process may vary slightly depending on the specific model of the Wyze Outdoor Camera and the version of the Wyze app you are using. However, the general steps mentioned above should guide you through the pairing process for most setups.
Now that your camera is paired with the app, let’s move on to the next step: customizing camera settings.
Step 7: Customizing Camera Settings
Now that your Wyze Outdoor Camera is set up and paired with the app, it’s time to customize the camera settings to fit your specific needs and preferences. The Wyze app provides a range of options to enhance your camera’s performance and optimize its functionality. Here’s how you can customize your camera settings:
- Open the Wyze app on your smartphone or tablet.
- Navigate to the “Devices” tab.
- Tap on the camera you want to customize.
- In the camera settings, you’ll find a variety of options to customize, including:
- Camera Orientation: Adjust the camera’s rotational angle and flip it vertically if needed.
- Motion Detection: Enable or disable motion detection, adjust the sensitivity level, and set up custom detection zones.
- Notifications: Customize the types of notifications you receive, such as motion alerts or sound detection.
- Video Recording: Configure video recording options, including duration, quality, and scheduled recording.
- Two-Way Audio: Enable or disable the two-way audio feature for communicating with people near the camera.
- Night Vision: Adjust night vision settings, such as auto-switching or manually enabling night vision mode.
- Alert Schedule: Set specific times for motion detection and notifications to be active.
- Share Access: Grant access to other users, allowing them to view and control the camera.
- Explore the various settings and adjust them according to your preferences.
- Make sure to save your changes after customizing the settings.
- Feel free to experiment with different configurations to find the optimal setup for your specific surveillance needs.
By customizing the camera settings, you can tailor your Wyze Outdoor Camera to cater to your unique requirements. Whether you want to fine-tune motion detection sensitivity, receive notifications during specific times, or adjust the camera angle, the Wyze app offers a user-friendly interface for seamless customization.
Now that you have personalized your camera settings, let’s move on to the next step: testing the Wyze Outdoor Camera.
Step 8: Testing the Wyze Outdoor Camera
After setting up and customizing your Wyze Outdoor Camera, it’s important to conduct a thorough test to ensure that the camera is functioning properly and meeting your expectations. Here are some key steps to test your camera:
- Open the Wyze app on your smartphone or tablet.
- Navigate to the “Devices” tab.
- Select the Wyze Outdoor Camera you want to test.
- Tap on the live view option to access the camera’s live video feed. Ensure that you can see a clear image and that the camera’s field of view covers the desired area.
- Walk around the monitored area to test the camera’s motion detection capability. Observe if the camera accurately detects and captures any motion within its range.
- Engage in a two-way audio conversation through the app to test the camera’s audio functionality. Ensure that you can clearly hear and communicate with others near the camera.
- Enable night vision mode, either manually or by testing in a low-light or dark environment. Verify that the camera’s night vision feature provides clear and visible footage.
- Trigger additional features, such as recording, taking snapshots, or configuring specific detection zones, to test their functionality and reliability.
- Check if you are receiving notifications for motion detection, sound detection, or other specified events. Verify that the notifications are prompt and accurate.
- If you have multiple cameras or additional devices integrated with the Wyze app, test their interconnectivity and ensure that they are seamlessly working together.
By conducting a comprehensive test, you can identify any potential issues or areas for improvement. If you encounter any problems during the testing process, refer to the user manual, troubleshoot within the Wyze app, or contact Wyze customer support for further assistance.
Congratulations! You have successfully set up, customized, and tested your Wyze Outdoor Camera. With its advanced features and reliable performance, your camera is now ready to provide you with enhanced home security and surveillance.
Remember to periodically review and adjust your camera settings as needed to ensure its optimal functionality and effectiveness. Regular maintenance, such as cleaning the camera lens and checking the power and Wi-Fi connections, will also contribute to the camera’s longevity and performance.
Enjoy the peace of mind and security that your Wyze Outdoor Camera brings as you keep a watchful eye on your home and surroundings.
Thank you for following this step-by-step guide. Stay safe and secure!
Read more: How To Mount A Wyze Outdoor Camera
Conclusion
Home security and surveillance are paramount in today’s world, and the Wyze Outdoor Camera offers an affordable and reliable solution to protect your property. By following the step-by-step guide provided in this article, you have successfully set up, customized, and tested your Wyze Outdoor Camera, bringing you peace of mind and enhanced security.
From unboxing the camera to mounting it in the ideal location, connecting it to power and Wi-Fi, setting up the Wyze app, pairing the camera, and customizing the settings, you have gained the knowledge and confidence to maximize the functionality of your camera.
By customizing the camera settings, adjusting motion detection sensitivity, configuring notifications, and exploring the various features of the Wyze app, you have personalized your camera to cater to your unique surveillance needs.
Testing the camera’s live view, motion detection, night vision, two-way audio, recording, and notification functionalities were important steps to ensure that your camera is performing optimally and capturing the necessary footage. Regular maintenance and review of the camera settings will ensure its continued effectiveness in protecting your home.
The Wyze Outdoor Camera provides not only a sense of security but also convenience through its seamless integration with the Wyze app. With remote access to live video feeds, customizable options, and easy management, you can effectively monitor your property from anywhere, at any time.
Remember to periodically review and adjust your camera settings as needed, clean the camera lens, and ensure reliable power and Wi-Fi connections for optimal performance. If you encounter any challenges or have specific questions, consult the user manual, troubleshoot within the Wyze app, or reach out to Wyze customer support for assistance.
Thank you for following this comprehensive guide on setting up the Wyze Outdoor Camera. Embrace the power of technology and enjoy the enhanced security and peace of mind that this camera brings to your home. Stay safe and secure!
Frequently Asked Questions about How To Set Up Wyze Outdoor Camera
Was this page helpful?
At Storables.com, we guarantee accurate and reliable information. Our content, validated by Expert Board Contributors, is crafted following stringent Editorial Policies. We're committed to providing you with well-researched, expert-backed insights for all your informational needs.