Home>Home Security and Surveillance>How To Set Up An ADT Outdoor Camera
Home Security and Surveillance
How To Set Up An ADT Outdoor Camera
Modified: October 19, 2024
Learn how to properly set up an ADT outdoor camera for enhanced home security and surveillance. Follow our step-by-step guide for optimal protection.
(Many of the links in this article redirect to a specific reviewed product. Your purchase of these products through affiliate links helps to generate commission for Storables.com, at no extra cost. Learn more)
Introduction
Welcome to the world of home security and surveillance! In this age of technology, protecting our homes and loved ones has become a top priority. One of the most effective ways to secure our homes is by installing outdoor cameras. These cameras not only act as a deterrent to potential burglars but also provide us with peace of mind knowing that our property is being monitored.
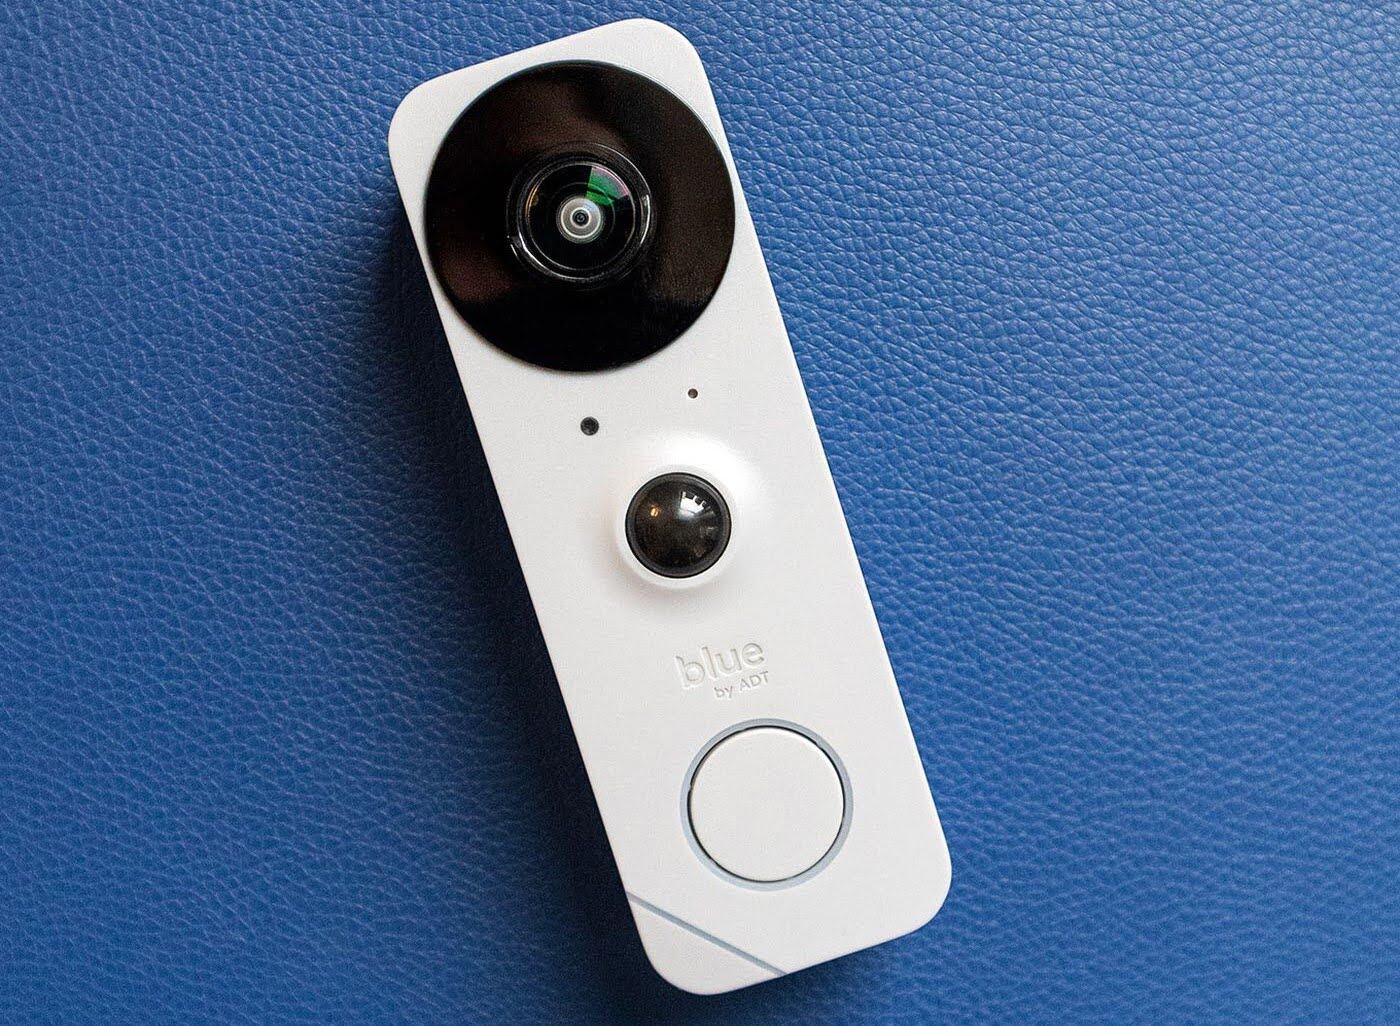
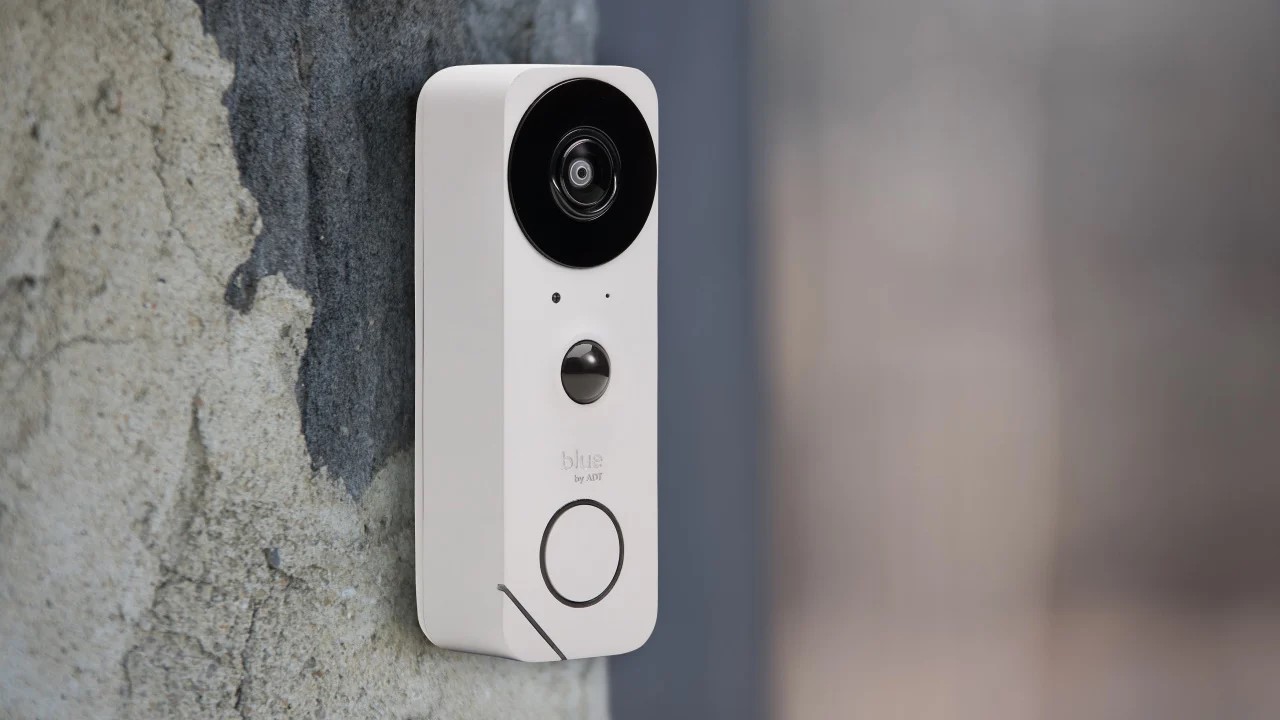
When it comes to outdoor cameras, one brand that stands out is ADT. ADT is a trusted name in the home security industry, known for their high-quality products and cutting-edge technology. In this article, we will walk you through the process of setting up an ADT outdoor camera, from choosing the right location to configuring the camera settings.
Before we dive into the installation process, it’s important to understand the benefits of having an outdoor camera. Firstly, it provides you with a visual record of any suspicious activity happening outside your home. This can be critical evidence in the event of a break-in or vandalism. Additionally, outdoor cameras can act as a deterrence, as potential intruders are less likely to target a home with visible surveillance. Lastly, modern outdoor cameras often have advanced features such as motion detection and night vision, ensuring that you have round-the-clock protection.
Now that we understand the importance of outdoor cameras, let’s move on to the step-by-step process of setting up an ADT outdoor camera. By following these instructions, you’ll have your camera up and running in no time, providing you with the security and peace of mind you deserve.
Key Takeaways:
- Choose the right location for your ADT outdoor camera to ensure clear coverage and effective monitoring. Consider visibility, height, weather protection, and power source for optimal performance.
- Pair your ADT outdoor camera with the ADT Pulse app to access live video feeds, receive alerts, and customize settings for enhanced home security. Test the camera’s functionality to ensure reliable performance.
Read more: How To Set Up Adt Outdoor Camera
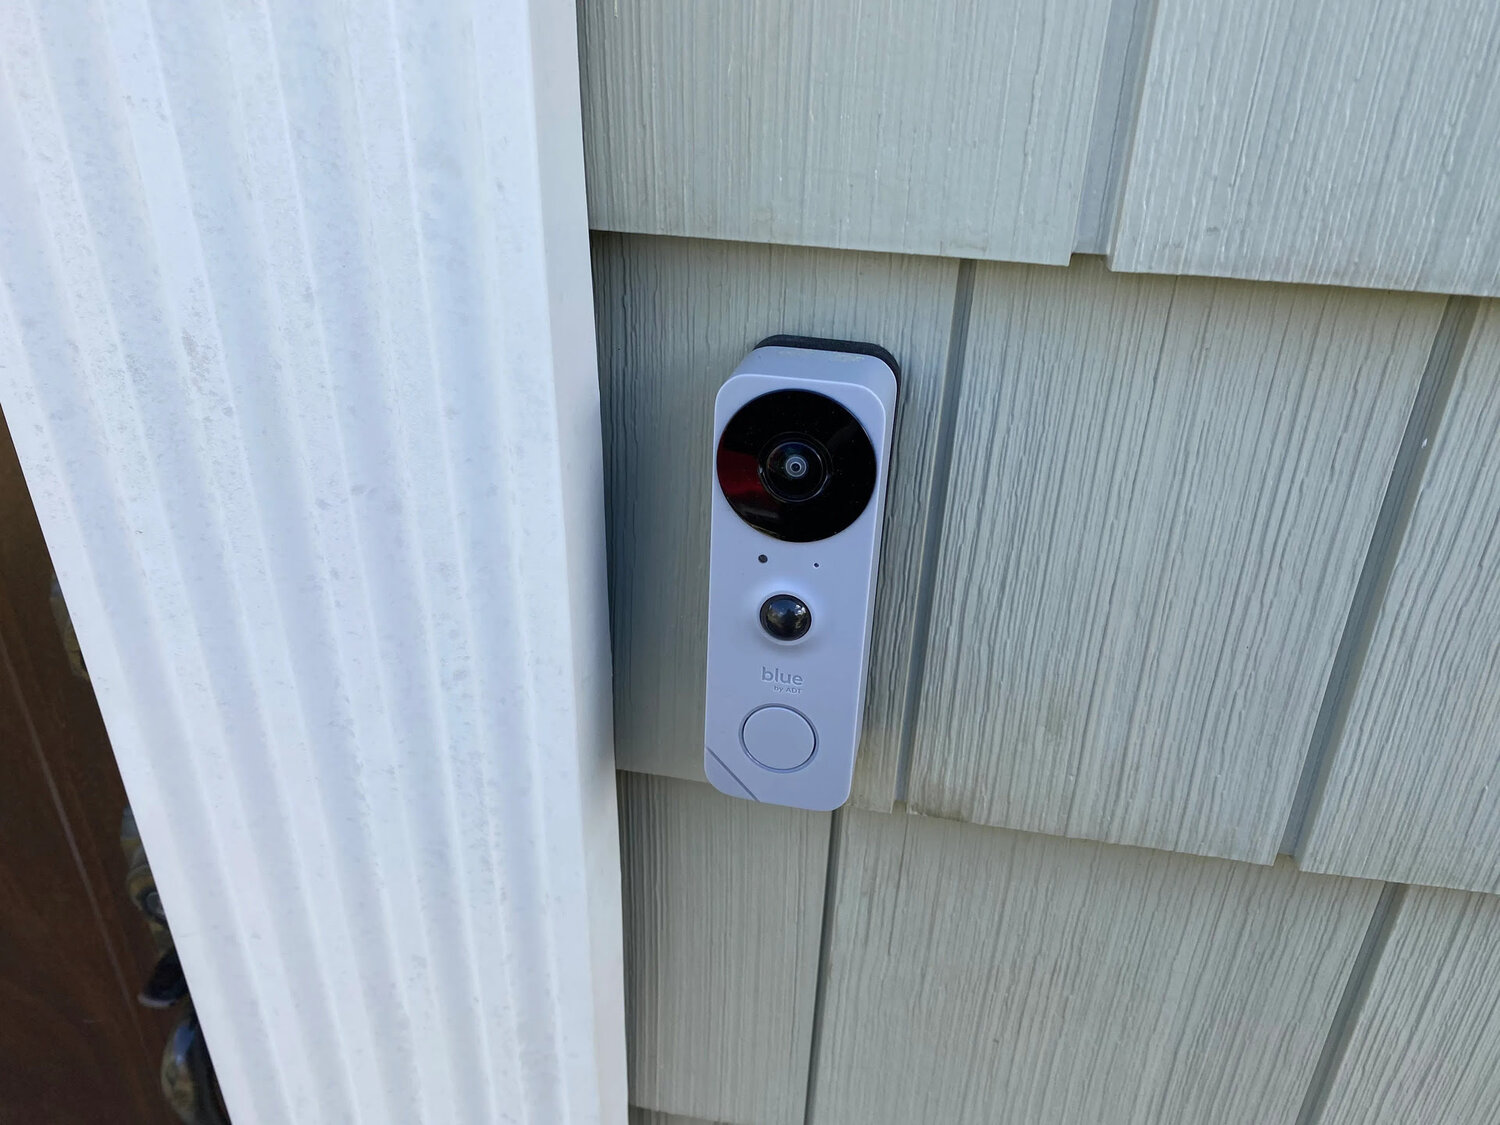
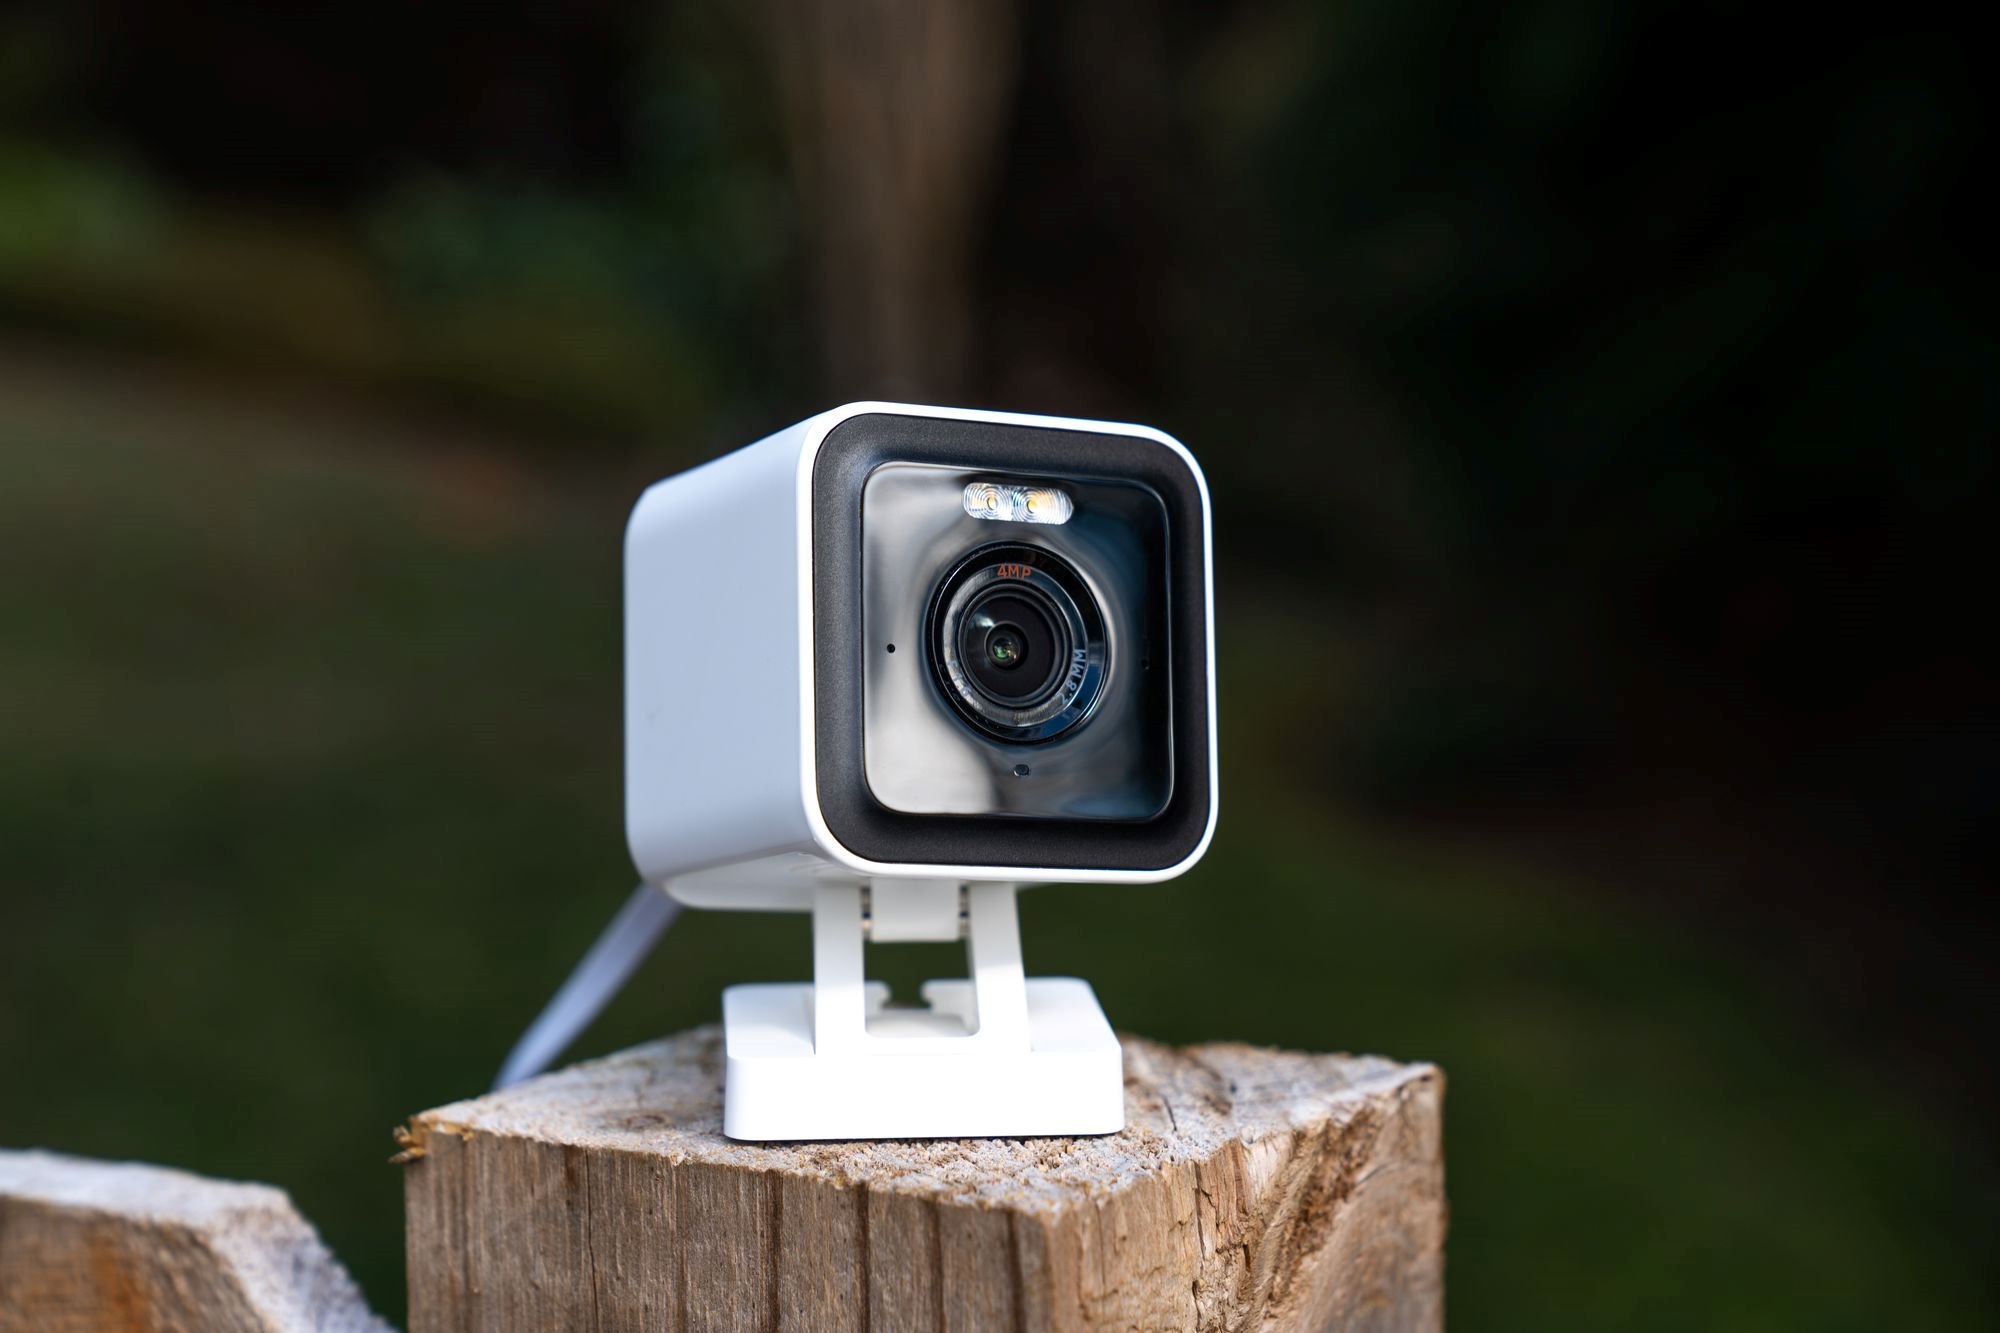
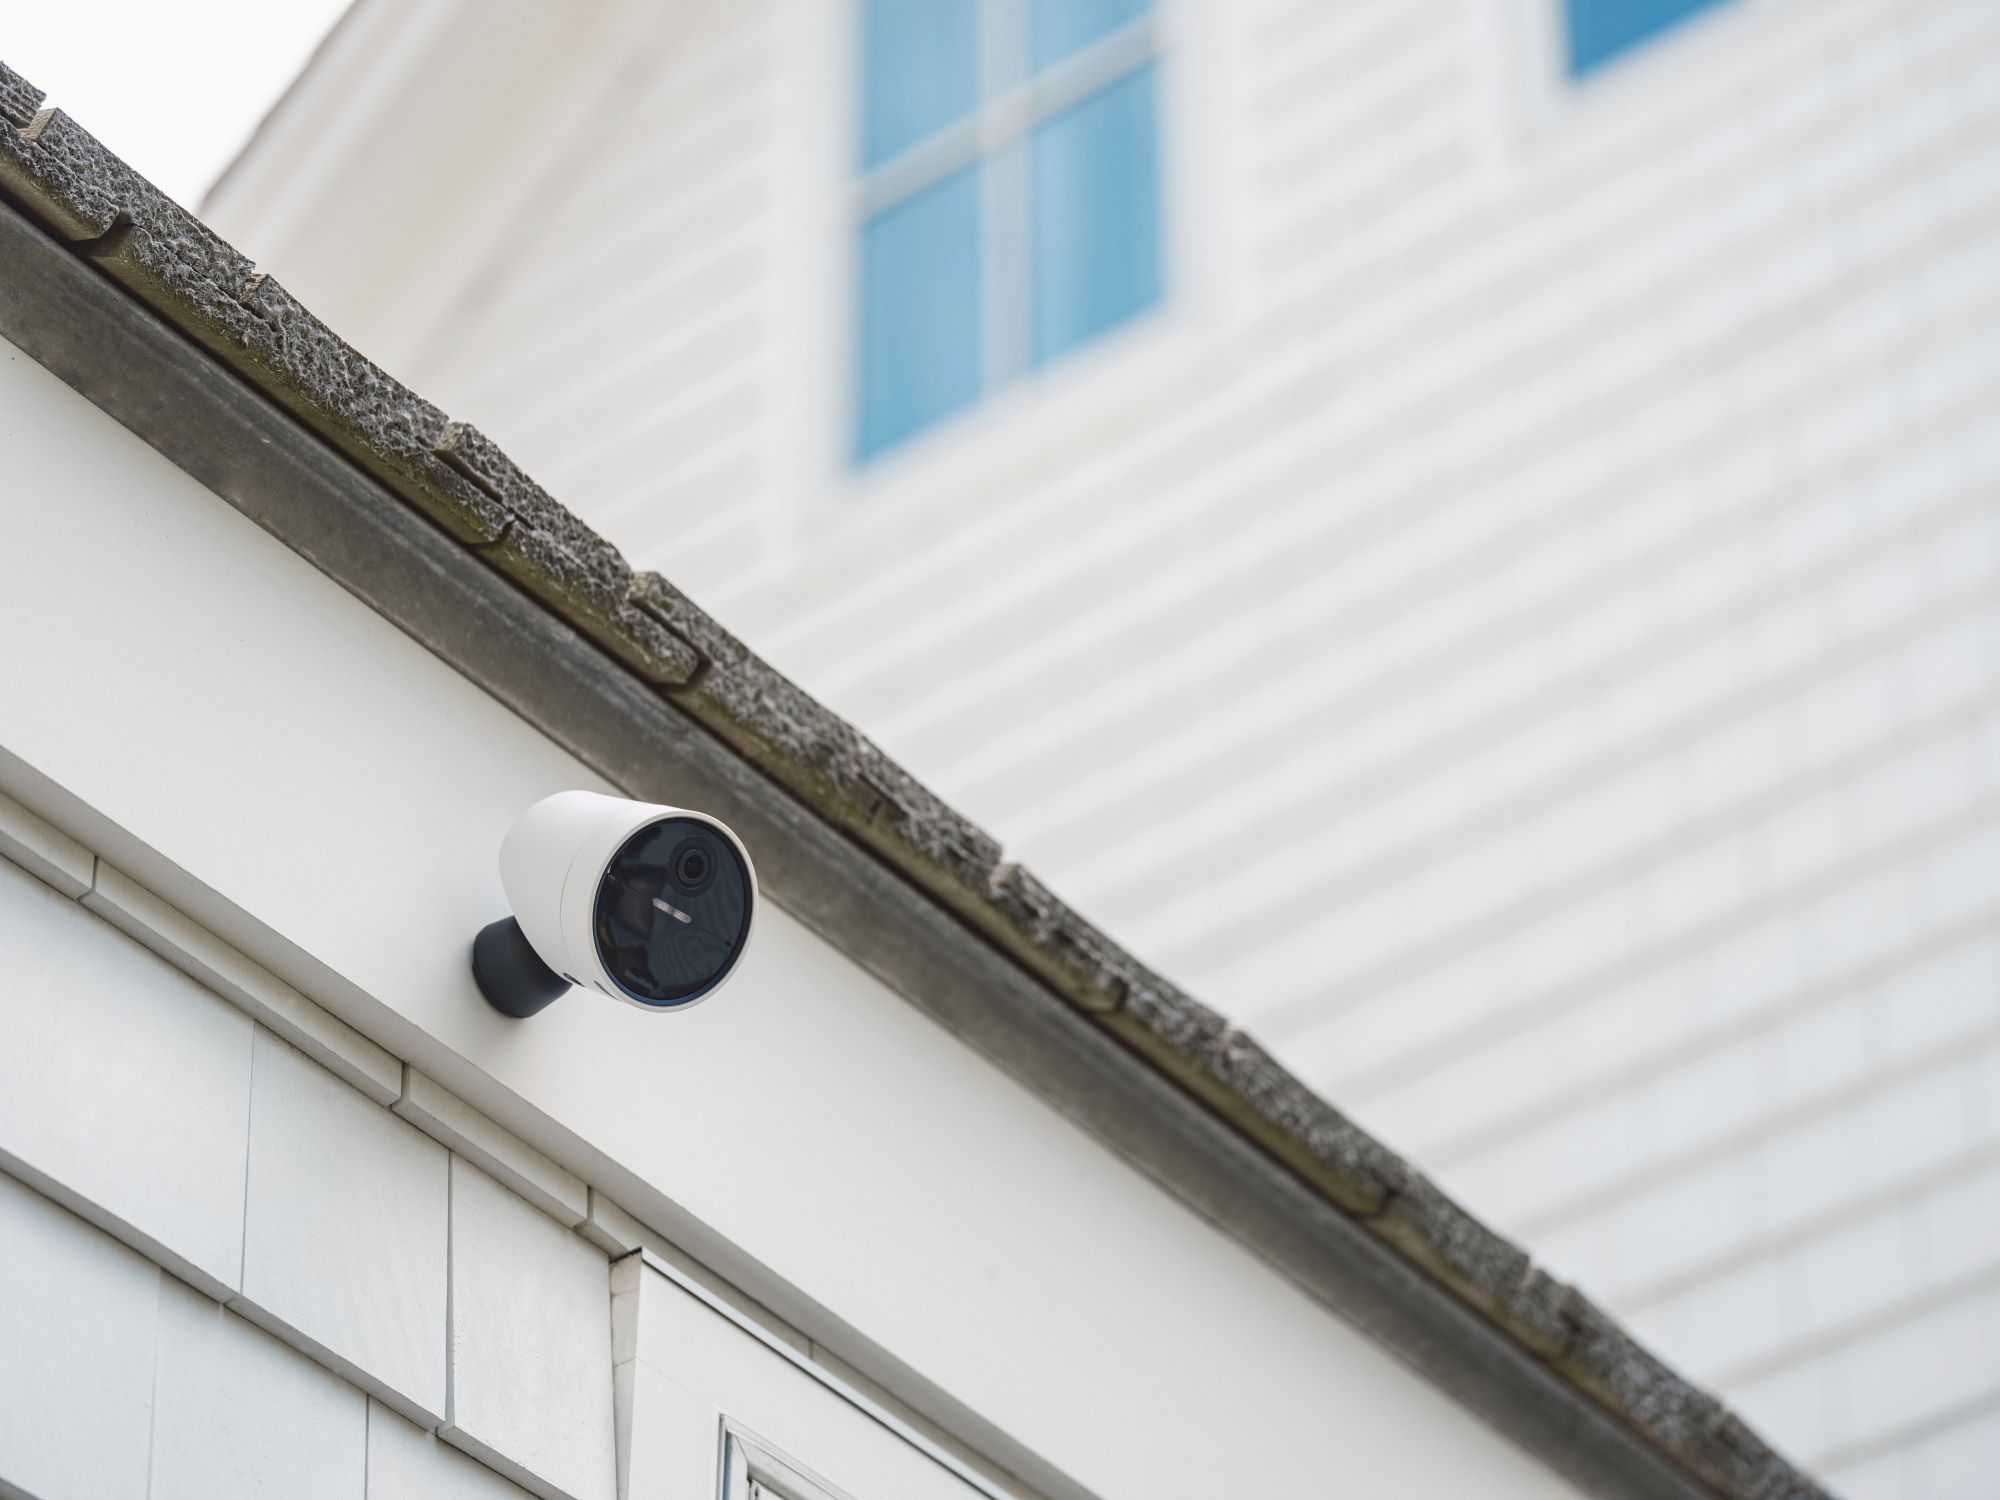
Step 1: Choosing the Right Location
The first step in setting up your ADT outdoor camera is to choose the right location for installation. Choosing the right location is crucial as it determines the effectiveness of your camera in capturing clear footage and monitoring the desired area.
Here are a few things to consider when selecting the location:
- Coverage area: Determine the areas you want to monitor. This could include your front yard, driveway, backyard, or any other specific area of concern. Take note of any blind spots or areas that need extra coverage.
- Visibility: Ensure that the camera has a clear line of sight to the coverage area. Avoid placing the camera in areas obstructed by trees, bushes, or other objects that may impede its view.
- Height and angle: Mount the camera at an appropriate height and angle to capture the best footage. Aim for a height that is out of reach but still allows for a wide field of view. Adjust the camera to face the desired area, taking into consideration any potential obstacles or obstructions.
- Weather protection: If possible, choose a location that provides some form of weather protection for the camera. This could be under the eaves of your house or in a weatherproof housing specifically designed for outdoor cameras.
- Power source: Ensure that the chosen location has access to a reliable power source. Some camera models may require a power outlet nearby, while others may be battery-powered or offer alternative power options.
Once you have identified the ideal location for your ADT outdoor camera, mark the spot and proceed to the next step of the installation process. Remember, the success of your camera’s performance relies heavily on choosing the right location, so take your time and consider all the factors mentioned above.
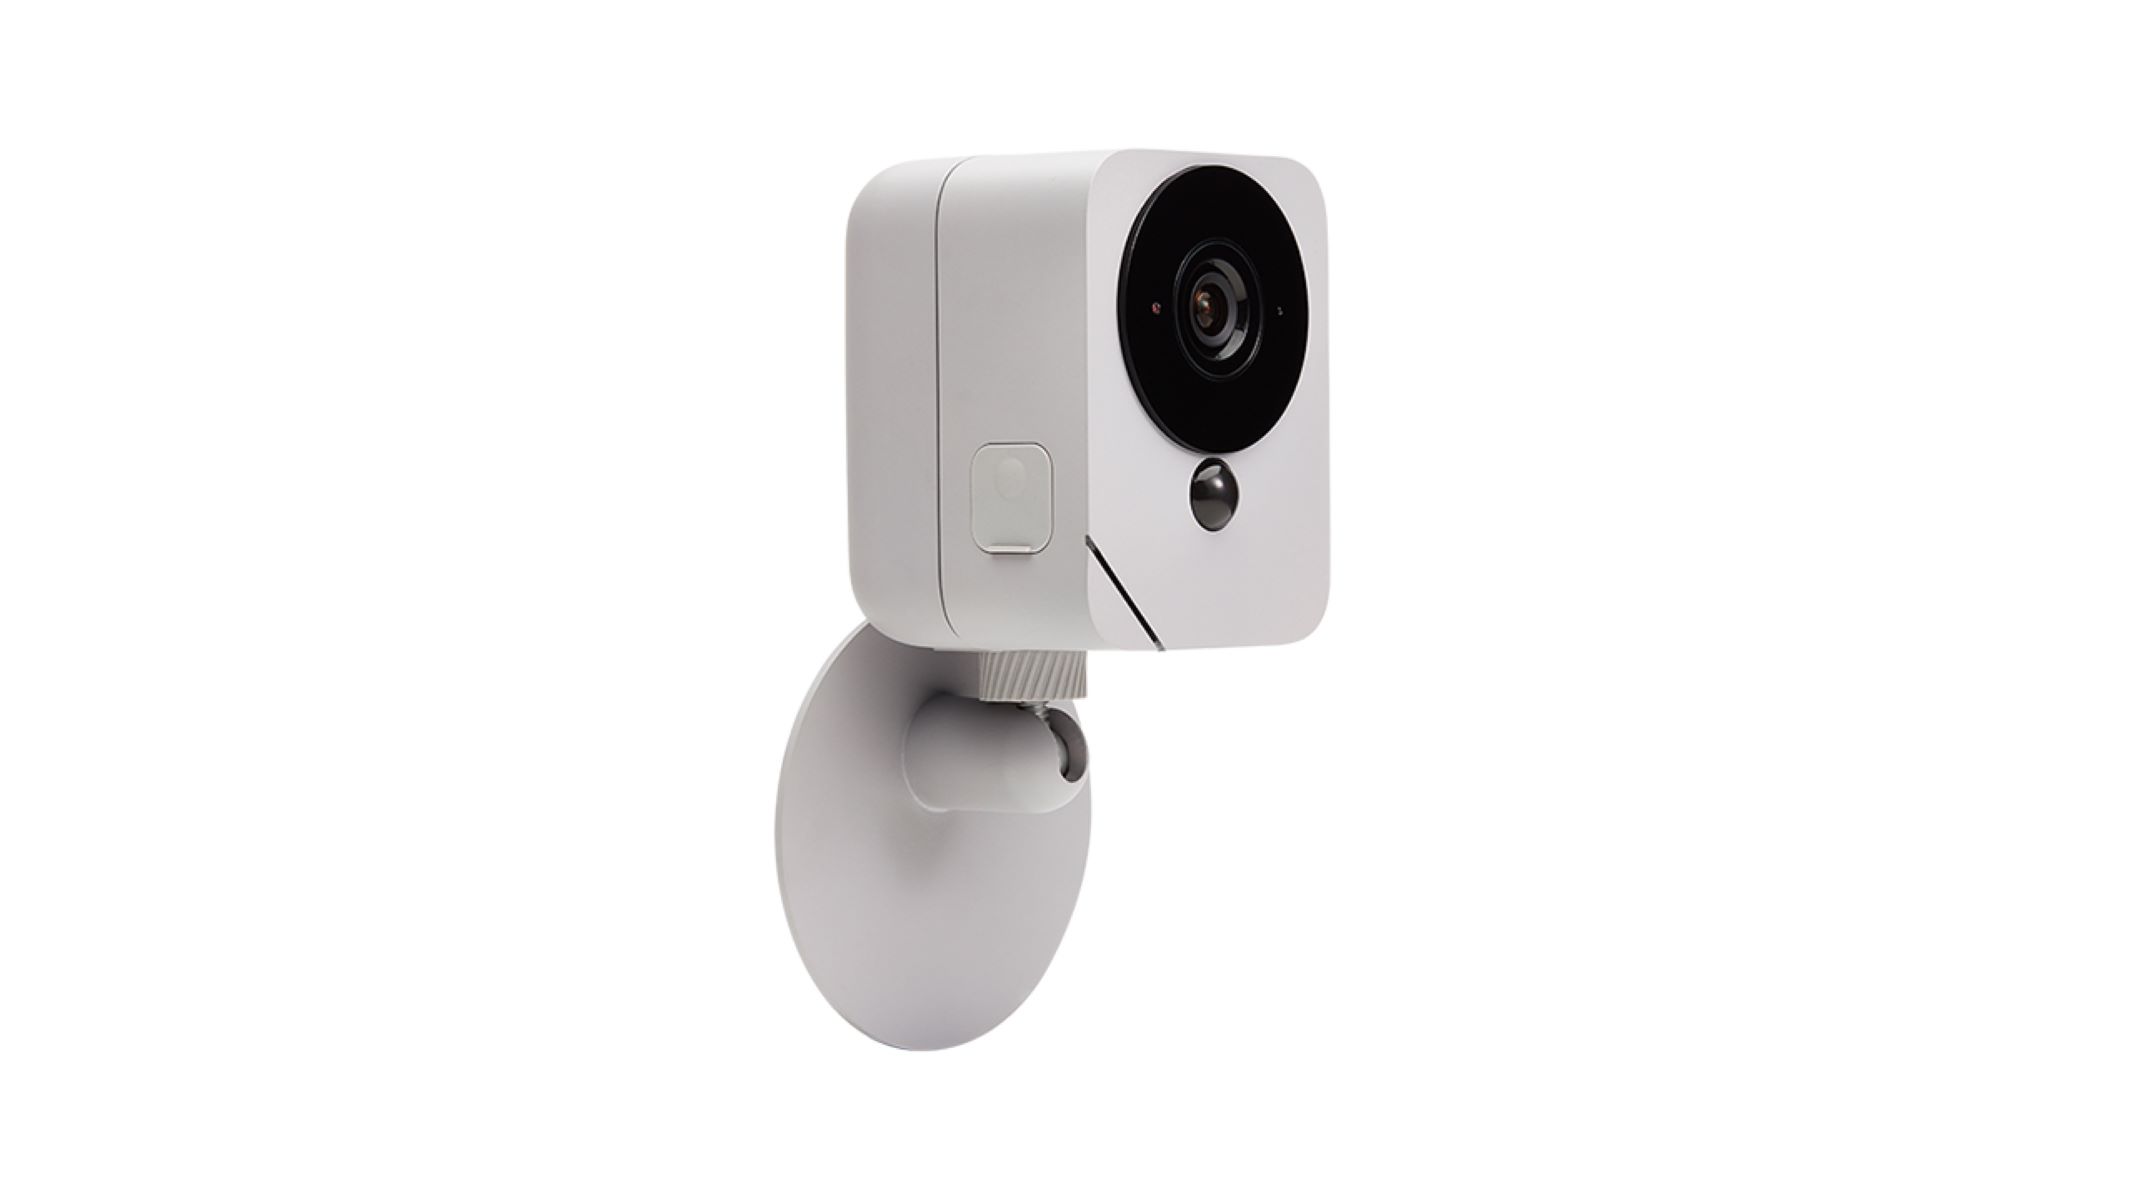
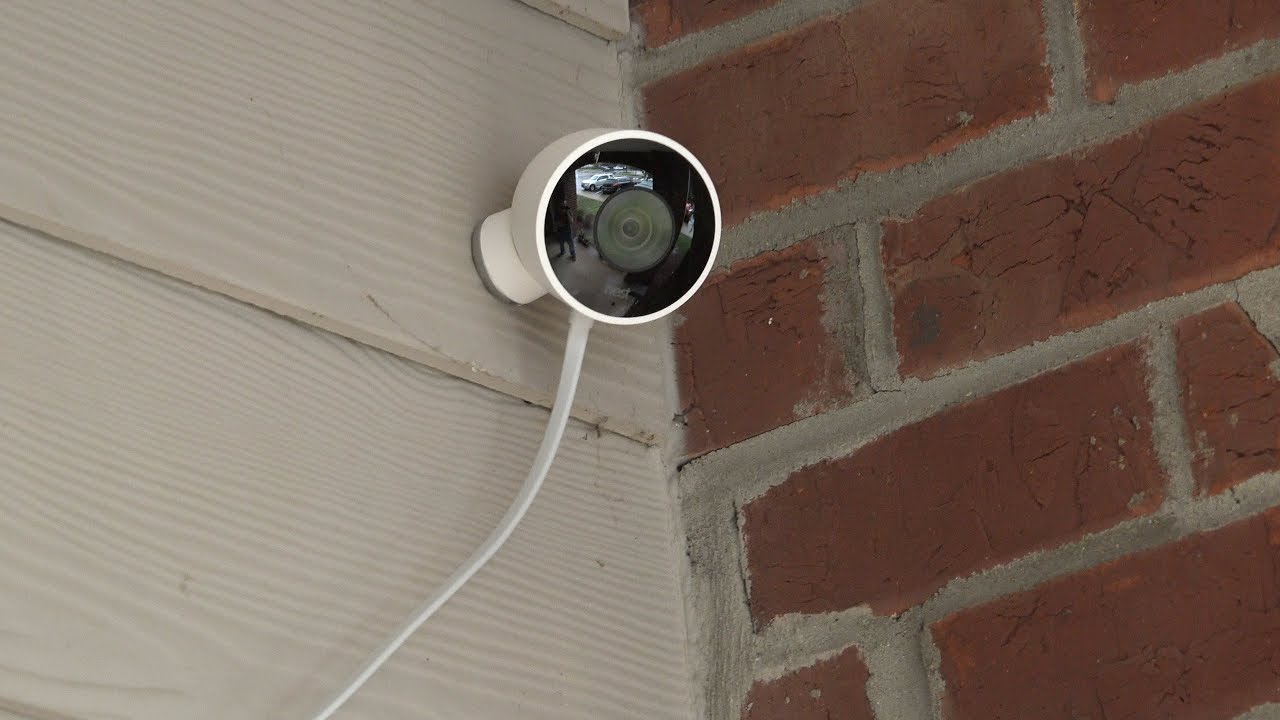
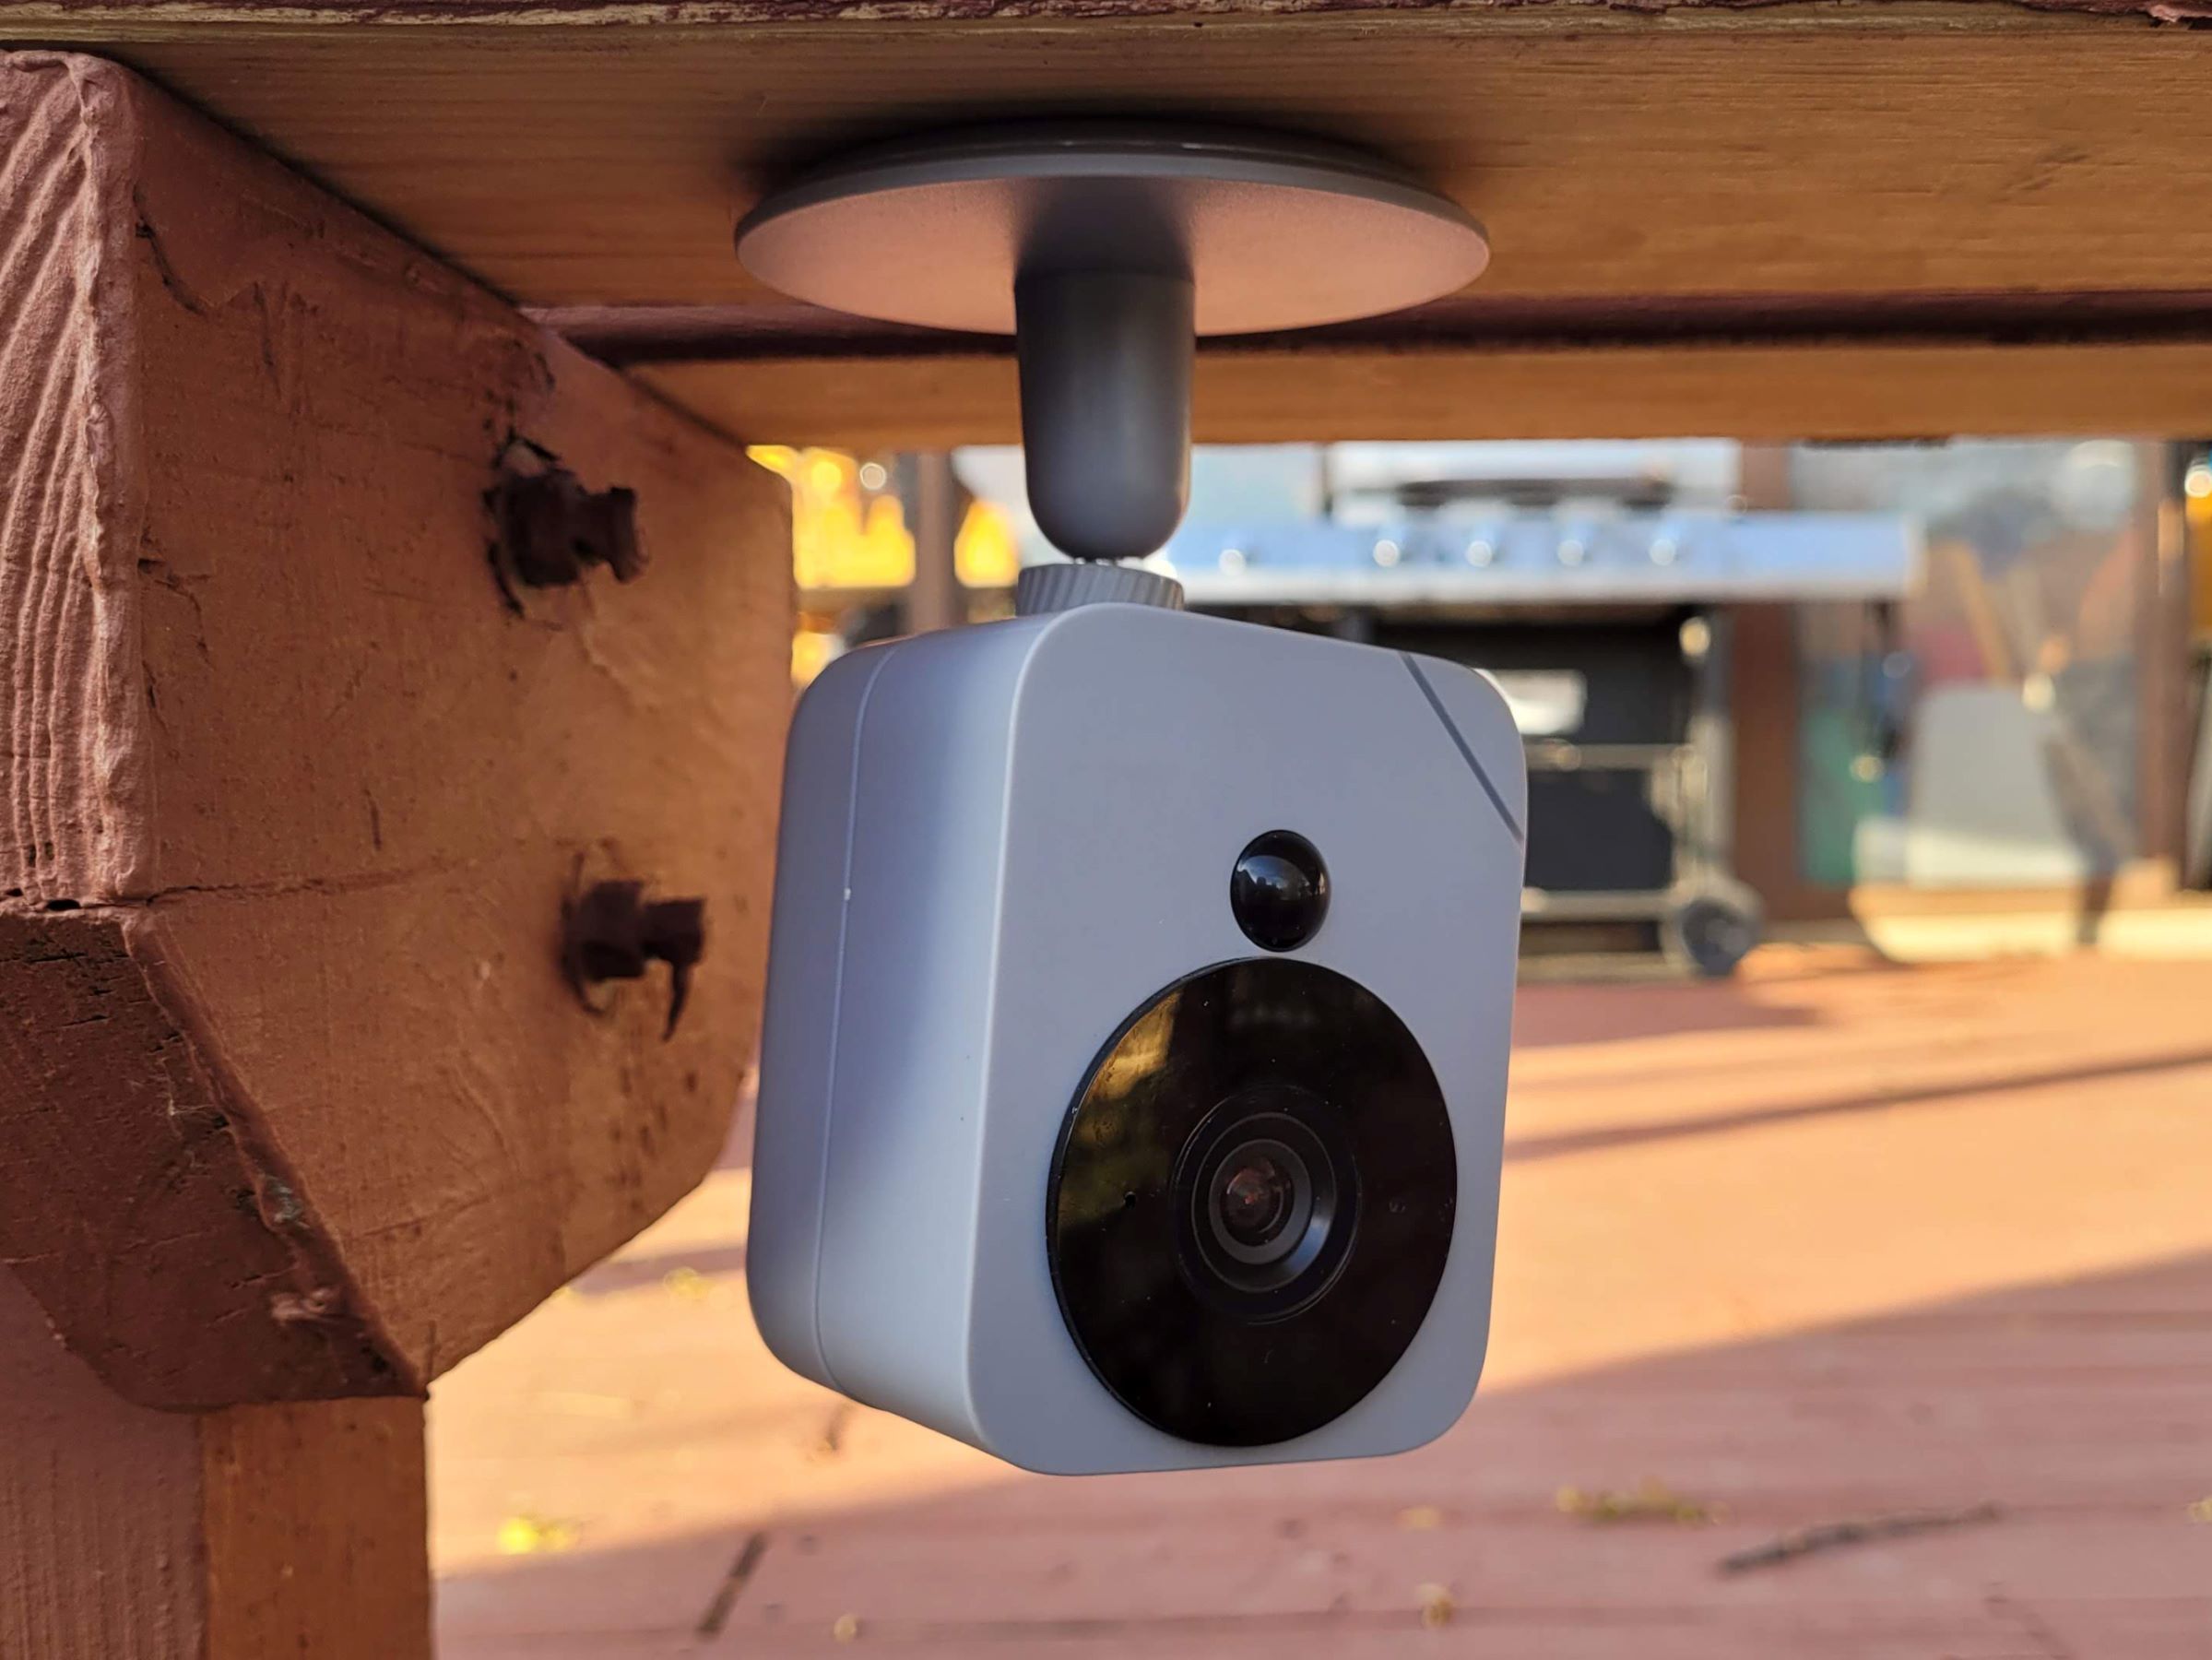
Step 2: Mounting the Camera
Now that you have chosen the perfect location for your ADT outdoor camera, it’s time to mount the camera securely. Proper mounting ensures stability and allows the camera to capture clear and steady footage. Follow these steps to mount your camera:
- Gather the necessary tools: Before you begin, gather the tools needed for the mounting process. This may include a drill, screws, wall anchors, and a screwdriver.
- Prepare the mounting surface: Clean the mounting surface and remove any dirt or debris that could interfere with the camera’s attachment. Ensure that the surface is smooth and suitable for mounting.
- Attach the mounting bracket: Depending on the camera model, you may need to attach a mounting bracket to the back of the camera. Follow the manufacturer’s instructions to securely attach the bracket using the provided screws.
- Mark the drilling points: Hold the camera mount against the wall or surface where you intend to mount it. Use a pencil or marker to mark the drilling points on the surface through the holes in the camera mount.
- Drill holes and insert wall anchors (if necessary): Using a drill, carefully drill holes into the marked points on the surface. If your mounting surface requires it, insert wall anchors into the drilled holes to provide additional stability for the screws.
- Securely mount the camera: Place the camera mount over the drilled holes and align it with the marks. Insert screws through the camera mount and into the drilled holes. Use a screwdriver to tighten the screws, ensuring that the camera mount is securely attached to the surface.
- Attach the camera: Once the camera mount is securely in place, attach the camera to the mount. Depending on the mounting mechanism, this may involve sliding the camera onto the mount or attaching it using screws provided with the camera.
Before moving on to the next step, give the camera a gentle tug to ensure it is securely mounted. It should not wobble or feel loose. If the camera feels unstable, double-check the mounting and make any necessary adjustments to ensure a secure fit.
With the camera properly mounted, you are one step closer to having a fully functioning ADT outdoor camera. Now it’s time to move on to the next step: connecting the power source.
Step 3: Connecting Power Source
Now that your ADT outdoor camera is securely mounted, it’s time to connect it to a power source. The power source will ensure that the camera has a consistent supply of electricity for uninterrupted operation. Follow these steps to connect the power source to your camera:
- Determine the power requirements: Check the specifications of your ADT outdoor camera to determine its power requirements. Some cameras may require a direct power connection, while others may be battery-powered or have alternative power options such as solar panels.
- Locate a nearby power source: Identify the nearest power outlet or power supply that can be used to connect your camera. If your camera requires a direct power connection, ensure that the power outlet is easily accessible and near the camera’s mounting location.
- Choose the appropriate power cable: Depending on the camera model and power requirements, choose the appropriate power cable. Some cameras may come with a specific power cable, while others may have interchangeable cables to accommodate different power sources.
- Connect the power cable: Plug one end of the power cable into the designated power port on the camera. Ensure a secure connection is made. If your camera has a separate power adapter, plug it into the other end of the power cable.
- Connect the power adapter (if applicable): If your camera requires a power adapter, plug it into the power outlet or power supply. Ensure that the power adapter is compatible with the local voltage and follows safety guidelines.
- Test the power connection: Once the power cable and adapter are connected, verify that the camera receives power. Look for LED indicators or other signs of power on the camera. If the camera does not turn on, double-check the power connections and ensure that the power source is working correctly.
It’s important to note that different camera models may have varying power requirements and connection methods. Always refer to the manufacturer’s instructions for your specific ADT outdoor camera to ensure proper power connection.
With the camera now connected to a power source, you have successfully completed the third step of the installation process. The next step involves configuring the Wi-Fi connection for remote access and monitoring. Let’s move on to step 4!
Step 4: Configuring Wi-Fi Connection
Configuring the Wi-Fi connection for your ADT outdoor camera is an essential step in enabling remote access and monitoring capabilities. By connecting your camera to your home’s Wi-Fi network, you can access live video feeds and receive alerts on your smartphone or computer. Follow these steps to configure the Wi-Fi connection:
- Locate the Wi-Fi setup option: Access the camera’s settings or configuration menu either through the camera’s physical interface or the accompanying mobile app. Look for the Wi-Fi setup option or a similar menu that allows you to connect the camera to a wireless network.
- Scan for available networks: Once in the Wi-Fi setup menu, scan for available networks. The camera will display a list of nearby Wi-Fi networks for you to choose from.
- Select your home Wi-Fi network: From the list of available networks, select your home Wi-Fi network. If your network is hidden, you may need to manually enter the network name (SSID) and password.
- Enter the Wi-Fi network password: If your Wi-Fi network is password-protected, enter the network password using the on-screen keypad or any accompanying physical buttons. Take care to enter the password correctly to ensure a successful connection.
- Wait for the camera to connect: After entering the network password, wait for the camera to establish a connection with your home Wi-Fi network. This may take a few moments as the camera communicates with the network and obtains an IP address.
- Verify the Wi-Fi connection: Once the camera is connected to the Wi-Fi network, verify the connection status either through the camera’s interface or the accompanying mobile app. Look for indicators such as a Wi-Fi icon or a notification that confirms the successful connection.
- Test remote access: To ensure that the Wi-Fi connection is working properly, access the camera’s live video feed remotely using the mobile app or a web browser. If the camera’s footage is accessible outside of your home network, it means that the Wi-Fi connection has been successfully configured.
It’s important to note that the Wi-Fi setup process may vary depending on the specific ADT outdoor camera model and accompanying software. Refer to the manufacturer’s instructions for detailed steps tailored to your camera’s configuration.
With the Wi-Fi connection successfully configured, you have completed an important step in enabling remote access and monitoring for your ADT outdoor camera. In the next step, we will cover downloading and setting up the ADT Pulse app on your smartphone or tablet. Let’s proceed to step 5!
When setting up an ADT outdoor camera, make sure to choose a location with a clear view and good lighting. Also, secure the camera tightly to prevent it from being tampered with.
Read more: How To Reset ADT Outdoor Camera
Step 5: Downloading the ADT Pulse App
To fully leverage the features and functionality of your ADT outdoor camera, you need to download and set up the ADT Pulse app. The ADT Pulse app allows you to remotely access and monitor your camera’s live video feeds, receive motion alerts, and control other aspects of your home security system. Follow these steps to download and set up the ADT Pulse app:
- Check compatibility: Ensure that your smartphone or tablet is compatible with the ADT Pulse app. The app is available for both iOS and Android devices. Visit the respective app store for your device and search for “ADT Pulse” to verify compatibility.
- Download the app: Open the app store on your device and search for “ADT Pulse”. Once you locate the app, tap the “Download” or “Install” button to initiate the download. Wait for the app to finish downloading and installing on your device.
- Launch the app: After the installation is complete, locate the ADT Pulse app icon on your device’s home screen or app drawer. Tap the icon to launch the app.
- Log in or create an account: Upon launching the app, you will be prompted to log in to an existing ADT Pulse account or create a new one. If you already have an ADT Pulse account, enter your login credentials. If not, follow the on-screen instructions to create a new account.
- Complete the setup process: Once logged in, the ADT Pulse app will guide you through a setup process to connect the app to your ADT outdoor camera and other devices in your home security system. Follow the on-screen instructions and provide any required information to complete the setup.
- Verify camera registration: After completing the setup process, verify that your ADT outdoor camera has been successfully registered and linked to your ADT Pulse app. You should see the camera listed in the app, along with options to access its live video feed and adjust settings.
The ADT Pulse app is not only limited to accessing your outdoor camera. It provides a central hub for managing and controlling your entire ADT home security system. Take some time to explore the various features and capabilities of the app to maximize the benefits of your ADT outdoor camera.
With the ADT Pulse app downloaded and set up on your device, you are now ready to pair your outdoor camera with the app and start enjoying remote access and monitoring. This will be covered in the next step. Let’s move on to step 6!
Step 6: Pairing the Camera with the App
Now that you have the ADT Pulse app installed on your smartphone or tablet, it’s time to pair your ADT outdoor camera with the app. Pairing the camera allows you to access its live video feeds, receive alerts, and control its settings directly from the app. Follow these steps to pair your camera with the ADT Pulse app:
- Open the ADT Pulse app: Start by opening the ADT Pulse app on your device. Ensure that you are logged in to your ADT Pulse account.
- Access the camera pairing feature: Within the app, locate the menu or settings section that provides camera pairing functionality. This may be labeled as “Add a device” or something similar.
- Prepare the camera for pairing: Follow the camera manufacturer’s instructions to put the camera into pairing mode. This typically involves pressing a button or following a specific sequence of actions. Refer to the camera’s user manual for detailed instructions on how to initiate the pairing process.
- Start the pairing process: Once the camera is in pairing mode, select the appropriate option within the ADT Pulse app to start searching for available cameras to pair with. The app will begin scanning for nearby cameras.
- Select the camera for pairing: Once the app detects your ADT outdoor camera, it will appear in the list of available devices. Select the camera from the list to initiate the pairing process.
- Follow the on-screen instructions: The ADT Pulse app will guide you through the remaining steps to complete the pairing process. Follow the on-screen instructions, which may include entering a specific code or confirming your camera’s serial number.
- Verify successful pairing: Once the pairing process is complete, the ADT Pulse app will display a confirmation message indicating a successful pairing. You should now be able to access the live video feed and control the camera’s settings from within the app.
It’s important to note that the pairing process may vary depending on the specific model of your ADT outdoor camera and the version of the ADT Pulse app you are using. Refer to the camera’s user manual and the app’s documentation for detailed instructions tailored to your specific setup.
With your ADT outdoor camera successfully paired with the ADT Pulse app, you now have full control over your camera’s functionality, all conveniently accessible from your smartphone or tablet. In the next step, we will cover adjusting the camera settings for optimal performance. Let’s proceed to step 7!
Step 7: Adjusting Camera Settings
After pairing your ADT outdoor camera with the ADT Pulse app, it’s time to adjust the camera settings to optimize its performance and meet your specific needs. Adjusting the camera settings allows you to customize features such as video quality, motion detection sensitivity, and recording settings. Follow these steps to adjust the camera settings:
- Open the ADT Pulse app: Launch the ADT Pulse app on your smartphone or tablet. Ensure that you are logged in to your ADT Pulse account.
- Access the camera settings: Within the app, navigate to the camera section or settings menu that allows you to customize the camera settings. Look for options such as “Camera Settings” or “Device Settings”.
- Customize video quality: Adjust the video quality settings to meet your preferences and network bandwidth capabilities. Higher quality settings will result in clearer video but may require more bandwidth and storage space. Lower quality settings can help conserve bandwidth and storage but may sacrifice video clarity.
- Set motion detection sensitivity: If your camera supports motion detection, fine-tune the sensitivity settings to ensure accurate detection and minimize false alerts. Experiment with different sensitivity levels based on your specific environment and monitoring needs.
- Enable or disable notifications: Choose whether you want to receive notifications when motion is detected or other events occur. You can customize the types of notifications you receive, such as push notifications or email alerts, through the app’s notification settings.
- Adjust recording settings: If your camera supports recording capabilities, configure the recording settings according to your preferences. Set the duration and frequency of recording, as well as the storage location for recorded footage.
- Explore additional camera settings: Depending on your camera model and the capabilities of the ADT Pulse app, you may have access to additional camera settings. Explore these options to customize the camera’s behavior, such as adjusting night vision settings, enabling two-way audio, or configuring scheduling for automated recording or monitoring.
- Save and apply the settings: After making desired changes to the camera settings, save the settings within the ADT Pulse app. The app will apply the new settings to the camera, and you can start monitoring and recording based on the customized configuration.
Remember to regularly review and adjust your camera settings as needed to ensure optimal performance and alignment with your changing security requirements.
With the camera settings adjusted to your liking, you are now ready to proceed to the next step: testing the outdoor camera. Let’s move on to step 8!
Step 8: Testing the Outdoor Camera
After setting up and adjusting the camera settings, it’s important to test your ADT outdoor camera to ensure that it is functioning properly and capturing clear footage. Testing the camera allows you to identify any issues or areas that may need adjustment before relying on it for home security. Follow these steps to test your outdoor camera:
- Position yourself in the desired monitoring area: Move to the area that you want your camera to monitor. Ensure that you are within the camera’s field of view.
- Observe the live video feed: Open the ADT Pulse app on your smartphone or tablet and access the live video feed from the outdoor camera. Take a moment to observe the footage and ensure that it is clear, properly focused, and capturing the desired area.
- Check for blind spots: Move around the monitoring area, paying attention to any potential blind spots or areas that may not be fully covered by the camera. Note any areas that may require adjustment or additional cameras for better coverage.
- Test motion detection: Trigger the motion detection feature of your camera by intentionally moving within its detection range. Observe if the camera promptly detects the motion and sends you the appropriate alerts. Adjust the motion sensitivity settings if necessary.
- Check night vision: If your camera has night vision capabilities, test it by conducting the test in low-light or dark conditions. Ensure that the camera provides clear and visible footage during nighttime monitoring.
- Verify remote access: Leave the monitoring area and access the live video feed remotely using the ADT Pulse app. Ensure that you can still view the camera’s footage and control its settings from outside your home network.
- Test any additional features: If your camera has additional features such as two-way audio or recording, test them to ensure they are functioning as expected. Verify that recorded footage is being saved properly and can be accessed through the app.
- Make any necessary adjustments: Based on your testing and observations, make any necessary adjustments to the camera’s position, settings, or additional equipment to optimize its performance. This may involve repositioning the camera, fine-tuning motion detection settings, or purchasing additional cameras for better coverage.
By thoroughly testing your ADT outdoor camera, you can have confidence in its ability to capture clear footage and monitor the desired areas of your home. Regularly repeat the testing process over time to ensure that the camera continues to perform effectively and address any changes in your home security needs.
With the testing complete, you have successfully set up, configured, and tested your ADT outdoor camera. By following this step-by-step guide, you have taken a significant step toward enhancing the security of your home and providing peace of mind for you and your loved ones.
Remember to consult the user manuals and additional resources provided by ADT for specific instructions and guidance tailored to your camera model and the ADT Pulse app.
Best of luck with your ADT outdoor camera setup, and may it bring you a greater sense of security and protection!
Note: Please refer to the user manuals and instructions provided by ADT for specific details and guidance on setting up and configuring your ADT outdoor camera.
Read more: How Much Are ADT Outdoor Cameras
Conclusion
Congratulations on successfully setting up your ADT outdoor camera! By following the step-by-step guide outlined in this article, you have taken an important step towards enhancing the security and surveillance of your home. A well-placed, properly configured outdoor camera can provide invaluable peace of mind by deterring potential intruders and capturing valuable evidence in the event of a security incident.
Throughout the installation process, you learned how to choose the right location for your camera, mount it securely, connect it to a power source, configure the Wi-Fi connection, download the ADT Pulse app, pair the camera with the app, adjust camera settings, and perform comprehensive testing. These steps ensured that your ADT outdoor camera is optimized for performance and ready to protect your home and loved ones.
Remember, setting up an outdoor camera is just the beginning. It’s important to regularly maintain and evaluate your camera’s performance to ensure ongoing effectiveness. Regularly check for any obstructions or issues that may impact the camera’s field of view, update firmware and software when available, and periodically review and adjust camera settings based on your evolving surveillance needs.
In addition to the camera itself, consider integrating your outdoor camera into a comprehensive home security system that includes additional features such as indoor cameras, door and window sensors, and professional monitoring. ADT offers a range of customizable options to provide you with a comprehensive home security solution.
Remember to consult the user manuals and resources provided by ADT for specific instructions and guidance tailored to your camera model and the ADT Pulse app.
With your ADT outdoor camera installed and functioning, you can have greater peace of mind, knowing that your home is protected and that you have an extra layer of security in place. Stay vigilant, stay informed, and enjoy the added security and peace of mind that your ADT outdoor camera brings.
Frequently Asked Questions about How To Set Up An ADT Outdoor Camera
Was this page helpful?
At Storables.com, we guarantee accurate and reliable information. Our content, validated by Expert Board Contributors, is crafted following stringent Editorial Policies. We're committed to providing you with well-researched, expert-backed insights for all your informational needs.