Home>Furniture>Bedroom Furniture>How To Clean A Waterproof Mattress Protector

Bedroom Furniture
How To Clean A Waterproof Mattress Protector
Modified: October 20, 2024
Learn the easiest way to clean your waterproof mattress protector in your bedroom. Keep your bedroom furniture fresh and protected with these simple tips.
(Many of the links in this article redirect to a specific reviewed product. Your purchase of these products through affiliate links helps to generate commission for Storables.com, at no extra cost. Learn more)
Introduction
A waterproof mattress protector is an essential addition to any bedroom. It serves as a barrier between your mattress and any spills, stains, or accidents that may occur. Not only does it prolong the life of your mattress, but it also keeps it clean and hygienic. However, over time, your mattress protector may accumulate dirt, dust, and even stains that need to be cleaned.
Cleaning a waterproof mattress protector is a simple task that can be done at home with just a few supplies. In this article, we will guide you through the step-by-step process of cleaning your mattress protector to ensure that it stays fresh and in excellent condition for years to come.
Before we dive into the cleaning process, let’s talk about why it’s essential to clean your waterproof mattress protector regularly. Like any other bedding item, mattress protectors can harbor dust mites, allergens, and even unpleasant odors if not cleaned properly. Regular cleaning not only helps maintain the hygiene of your mattress but also ensures a comfortable and healthy sleeping environment.
Now that we understand the importance of cleaning, let’s move on to the step-by-step instructions to clean a waterproof mattress protector.
Key Takeaways:
- Keep your waterproof mattress protector clean and fresh by gathering the necessary supplies, spot cleaning stains, and hand washing with a mild detergent and white vinegar solution. Proper drying and reattachment ensure a hygienic and protected sleep surface.
- Regularly cleaning your waterproof mattress protector not only maintains its cleanliness but also contributes to a healthier sleep environment by eliminating dust mites, allergens, and odors. Follow the step-by-step process for a fresh, hygienic, and comfortable mattress for years to come.
Step 1: Gather necessary supplies
Before you begin the cleaning process, gather all the necessary supplies. Having everything on hand will make the process more efficient and ensure that you have everything you need. Here are the supplies you’ll need:
- Mild detergent or laundry soap
- White vinegar
- Bowl or bucket
- Soft bristle brush or sponge
- Warm water
- Clean towels or cloths
- Washing machine (optional)
The type of detergent you use is crucial. Avoid harsh cleaning agents, bleach, or any products that contain bleach, as they can damage the waterproof coating of the mattress protector. Opt for a mild detergent or laundry soap that is gentle on fabrics.
White vinegar is an excellent natural cleaning agent that can help remove stains and odors. It’s safe to use on waterproof mattress protectors and can effectively eliminate any lingering smells.
Ensure you have a bowl or bucket to mix the cleaning solution and a soft bristle brush or sponge to spot clean any stains. Warm water will be needed to create the cleaning solution and rinse the mattress protector.
Lastly, have clean towels or cloths available for drying the mattress protector after washing. If you have a large enough washing machine, you may choose to use it for washing the mattress protector. However, make sure to check the manufacturer’s instructions to ensure it’s safe to do so.
Once you have gathered all the necessary supplies, you’re ready to move on to the next step: removing the mattress protector from the bed.
Step 2: Remove the mattress protector
Before you can start cleaning your waterproof mattress protector, you need to remove it from your bed. Begin by removing any sheets, blankets, or other bedding on top of the mattress protector. It’s essential to have a clear and accessible surface to work with.
Carefully lift the corners of the mattress protector and peel it away from the mattress. If your mattress protector has elastic bands or straps, unfasten them to release the protector from the mattress. Take your time during this process to avoid tearing or damaging the mattress protector.
Once the mattress protector is completely removed, check for any visible stains or spots. Take note of these areas as they will need special attention during the cleaning process.
It’s important to remember that the mattress protector acts as a barrier between your mattress and any spills or accidents. As a result, it may have absorbed some liquid or debris. Shake off the protector gently to remove any loose dirt, dust, or particles that may have collected on its surface.
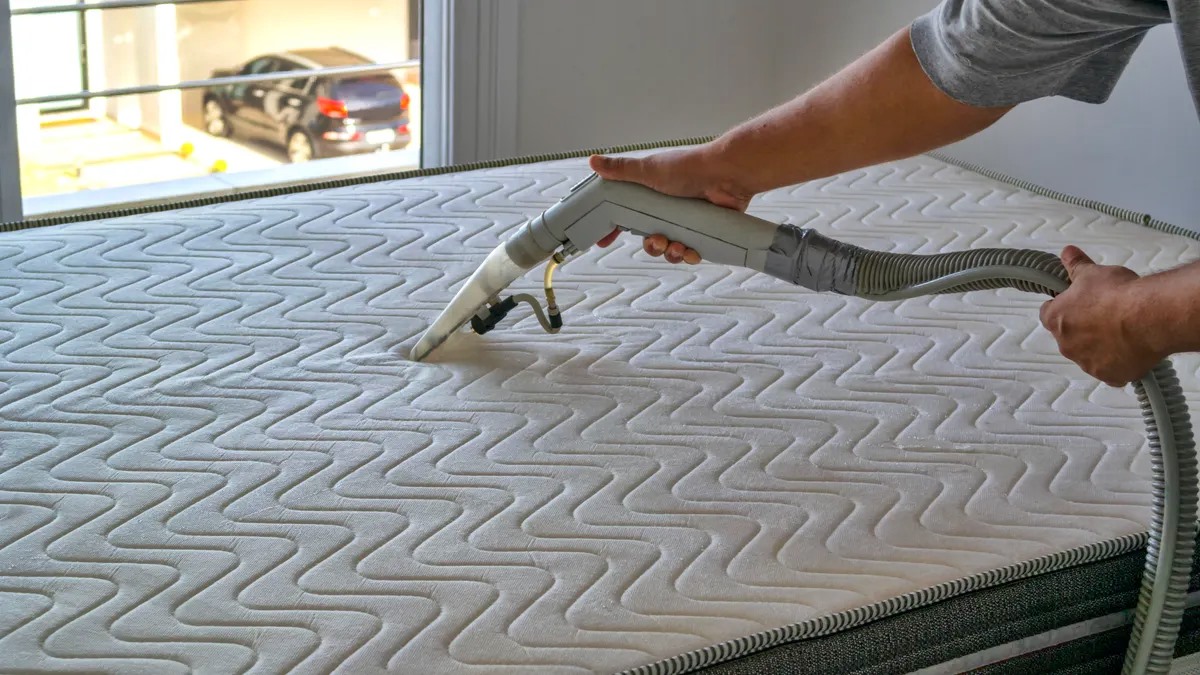
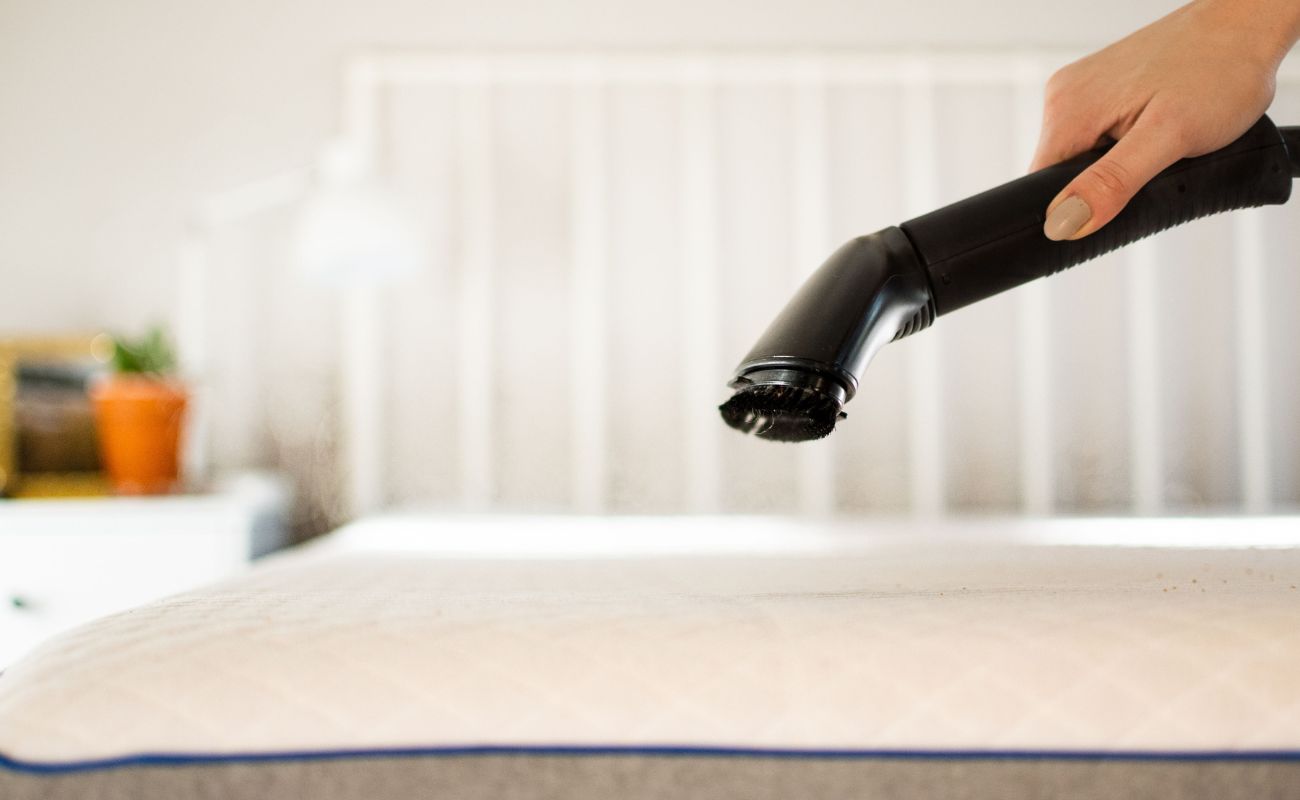
If you notice any loose debris or crumbs, you can use a handheld vacuum or a lint roller to remove them. This step will prepare your mattress protector for the next cleaning stages.
With the mattress protector removed and any loose debris shaken off, you’re now ready for the next step: spot cleaning any stains.
Step 3: Shake off loose debris
Once you have removed the mattress protector from your bed, it is important to shake off any loose debris that may have accumulated on its surface. This step is necessary to ensure that you are working with a clean and debris-free mattress protector before moving on to the cleaning process.
To begin, hold one corner of the mattress protector firmly in one hand. With your other hand, gently shake the mattress protector up and down, allowing any loose dirt, dust, or particles to dislodge from its surface. Continue shaking the mattress protector until you are satisfied that you have removed as much loose debris as possible.
It may be helpful to shake the mattress protector over a sink or a trash can to catch any debris that falls off during the shaking process. This will prevent the debris from spreading around your living area.
If you notice any stubborn particles that do not come off with shaking alone, you can use a soft-bristle brush or a lint roller to gently remove them. Be careful not to apply too much pressure or scrub aggressively, as this may damage the material of the mattress protector.
Remember, the purpose of shaking off loose debris is to create a clean surface for the subsequent cleaning steps. By removing the loose debris, you are ensuring that the cleaning process is more effective and that the mattress protector will be thoroughly cleaned.
Once you have shaken off all the loose debris, you can proceed to the next step: spot cleaning any stains that may be present on the mattress protector.
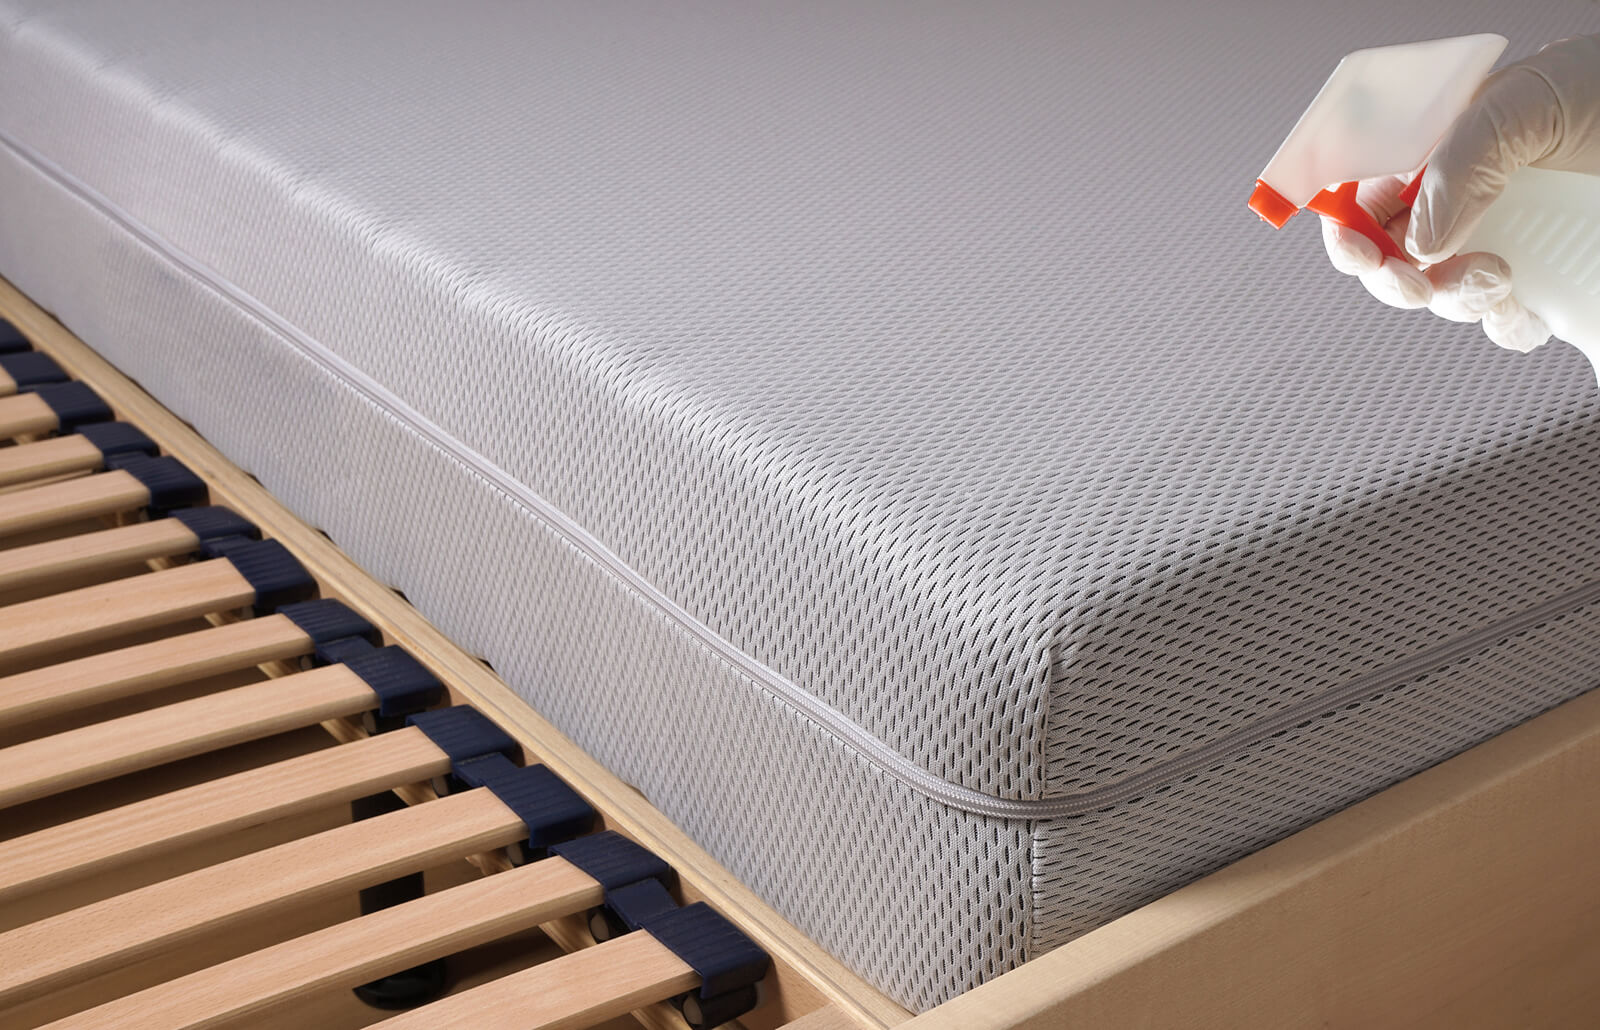
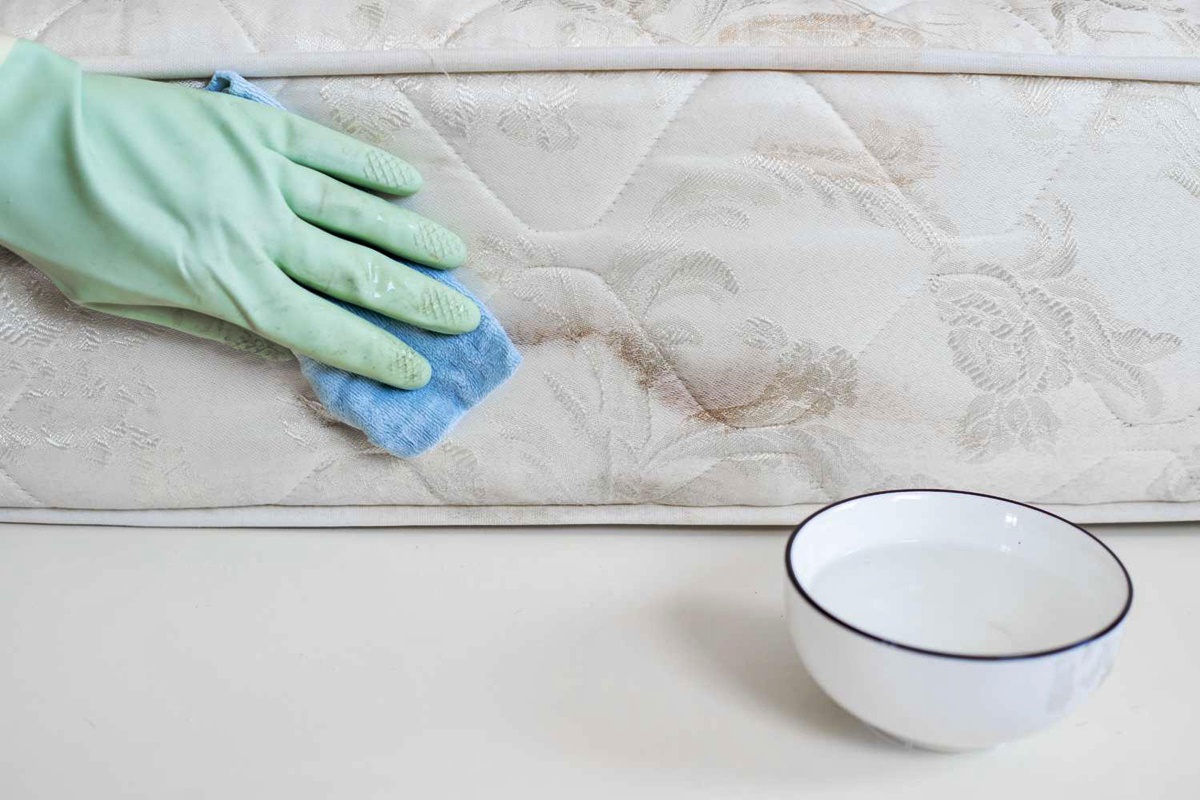
Step 4: Spot clean any stains
After shaking off the loose debris from your mattress protector, it’s time to focus on any visible stains that may be present. Spot cleaning these stains will help ensure that your mattress protector is thoroughly clean and free of any discoloration or blemishes.
Start by identifying the specific areas or stains that require spot cleaning. Look for any spills, food stains, or other marks that may be present on the surface of the mattress protector. Take note of the location and type of stain to choose an appropriate cleaning method.
Before applying any cleaning solution, it’s important to test it in a small, inconspicuous area of the mattress protector to ensure that it does not cause any damage or discoloration. This step is particularly important for colored or delicate mattress protectors.
Once you have selected the cleaning solution, apply a small amount to a clean cloth or sponge. Gently blot the stained area, working from the outside edges towards the center. Avoid rubbing or scrubbing vigorously, as this may spread the stain or damage the fabric of the mattress protector.
If the stain is particularly stubborn, you can use a soft-bristle brush to gently scrub the area in a circular motion. Be cautious and gentle, ensuring that you do not damage the waterproof coating or the fabric of the mattress protector.
Continue to blot or scrub the stain until it starts to lift. It may take a few attempts to completely remove the stain, especially if it has set in. Be patient and persistent with the spot cleaning process.
Once the stain has been effectively removed, move on to the next step: preparing a cleaning solution for the entire mattress protector.
Read more: How To Clean A Latex Mattress
Step 5: Prepare a cleaning solution
Now that you have spot cleaned any stains on your mattress protector, it’s time to prepare a cleaning solution to give the entire protector a thorough clean. This solution will help to remove any remaining dirt, odors, or residue from the surface of the protector.
There are a few different options for preparing a cleaning solution, but one effective and gentle solution involves using a mild detergent or laundry soap and white vinegar. This combination will help to effectively clean the mattress protector while also removing any lingering odors.
Here’s how you can prepare the cleaning solution:
- Fill a bowl or bucket with warm water. The water should be warm, but not hot.
- Add a small amount of mild detergent or laundry soap to the water. Be sure to read the instructions on the detergent bottle for the appropriate amount to use.
- For added freshness and stain-fighting power, add a splash of white vinegar to the water. Vinegar is a natural cleaning agent that can help remove stains and odors.
- Gently swirl the water to mix the detergent and vinegar together.
It’s important to note that while white vinegar is safe to use on most mattress protectors, you should check the care instructions from the manufacturer to ensure that it is suitable for your specific protector.
Once the cleaning solution is prepared, you’re ready to move on to the next step: hand washing the mattress protector.
To clean a waterproof mattress protector, machine wash it with a gentle detergent in warm water. Avoid using bleach or fabric softener, and tumble dry on low heat or air dry to maintain its waterproof properties.
Step 6: Hand wash the mattress protector
With the cleaning solution prepared, it’s time to start hand washing your mattress protector. Hand washing allows for better control and is gentler on the fabric compared to machine washing. Follow these steps to ensure your mattress protector is thoroughly cleaned:
- Fill a bathtub or a large basin with enough warm water to submerge the mattress protector.
- Add the cleaning solution to the water and gently swirl it to mix.
- Place the mattress protector into the water, ensuring that it is fully submerged.
- Using your hands, agitate the water gently to work the cleaning solution into the fabric.
- Focus on stained areas or areas that you have spot cleaned previously, giving them some extra attention.
- Allow the mattress protector to soak in the water for about 15-20 minutes to loosen any dirt or stains.
- After the soaking period, gently rub the fabric together to further remove any dirt or stains.
- At this stage, you can also use a soft-bristle brush or sponge to lightly scrub any remaining stains or stubborn areas.
- Once you are satisfied with the cleanliness of the mattress protector, drain the soapy water from the tub or basin.
- Rinse the mattress protector thoroughly with clean water to remove any soap residue.
It’s important to note that you should avoid wringing or twisting the mattress protector, as this can cause damage to the fabric and the waterproof coating. Instead, gently squeeze out excess water by pressing on the surface.
Now that you have hand washed the mattress protector, it’s time to move on to the next step: rinsing it thoroughly.
Step 7: Rinse thoroughly
After hand washing your mattress protector, it’s essential to rinse it thoroughly to remove any remaining soap residue or cleaning solution. Rinsing ensures that your mattress protector is left clean, fresh, and free from any potential irritants.
Follow these steps to rinse your mattress protector effectively:
- Fill the bathtub or basin with clean, lukewarm water.
- Submerge the mattress protector in the water and gently agitate it to allow the water to penetrate the fabric.
- Press down on the mattress protector to squeeze out any residual soap or cleaning solution.
- Drain the water and refill the bathtub or basin with clean water.
- Repeat the process of submerging and agitating the mattress protector to rinse out any remaining soap.
- Continue rinsing until the water runs clear, indicating that all soap residue has been removed.
It’s important to be thorough during the rinsing process to ensure that all cleaning solution is completely removed. Soap residue left on the mattress protector can attract dirt and cause the fabric to feel stiff or uncomfortable.
Once you’ve rinsed the mattress protector thoroughly, it’s time to move on to the next step: drying it.
Step 8: Dry the mattress protector
After rinsing the mattress protector, it’s time to properly dry it to ensure that it remains in excellent condition. Drying the mattress protector thoroughly will also prevent the growth of mold or mildew.
Follow these steps to dry your mattress protector:
- Gently squeeze out excess water from the mattress protector. Avoid twisting or wringing it, as this can damage the fabric or waterproof coating.
- Place the mattress protector on a clean and dry towel, rolling it up to absorb the remaining moisture. Press down on the rolled-up towel to further remove water from the protector.
- Unroll the towel and transfer the mattress protector to a flat drying rack or an outdoor clothesline. Make sure the drying area is well-ventilated and away from direct sunlight, as exposure to excessive heat can damage the fabric.
- Allow the mattress protector to air dry completely. Depending on the weather conditions and humidity levels, this can take anywhere from a few hours to a full day. Rotate the mattress protector occasionally to ensure even drying.
- If you prefer to use a dryer, place the mattress protector on a low heat setting. Add a few clean towels or dryer balls to help speed up the drying process and prevent the protector from sticking to the dryer drum.
- Avoid using high heat or over-drying, as this can cause shrinkage or damage to the fabric and waterproof coating.
Once the mattress protector is completely dry, you can move on to the final step: reattaching it to your mattress.
It’s important to note that you should always check the care instructions provided by the manufacturer for any specific drying recommendations. Some mattress protectors may have specific guidelines that differ from the general instructions provided above.
Now that your mattress protector is dry and fresh, it’s ready to be reattached to your mattress.
Read more: How To Clean And Deodorize A Mattress
Step 9: Reattach the mattress protector
After your mattress protector is clean and dry, it’s time to reattach it to your mattress. Follow these steps to ensure that the mattress protector is properly secured:
- Start by locating the corners of the mattress protector.
- Align each corner of the protector with the corresponding corner of the mattress.
- If your mattress protector has elastic bands or straps, stretch them over the corners of the mattress to secure the protector in place.
- Smooth out any wrinkles or folds in the protector, ensuring that it lies flat on the surface of the mattress.
- Tug gently on the edges of the protector to ensure a snug fit and to ensure it covers the entire mattress evenly.
- If required, adjust the elastic bands or straps to achieve a secure and tight fit.
Once the mattress protector is properly reattached, you can proceed to make your bed as usual, placing your fitted sheet on top of the protector.
Reattaching the mattress protector is the final step in the cleaning process. By doing so, you can ensure that your mattress is protected against spills, stains, and everyday wear and tear.
Remember to regularly clean your mattress protector to maintain its functionality and prolong its lifespan. Depending on usage and personal preference, it is generally recommended to clean your mattress protector every 1-2 months.
Now that you have reattached your mattress protector and completed the cleaning process, you can enjoy a clean, hygienic, and protected mattress for a restful night’s sleep.
Conclusion
Cleaning your waterproof mattress protector is a simple yet essential task that ensures the longevity and hygiene of both your mattress and your overall sleep environment. By following the step-by-step process outlined in this article, you can effectively clean your mattress protector and maintain its functionality for years to come.
Remember to gather all the necessary supplies before you begin, including mild detergent, white vinegar, a bowl or bucket, a soft bristle brush or sponge, warm water, and clean towels or cloths. Taking the time to shake off any loose debris and spot clean any stains will provide a solid foundation for the cleaning process.
Preparing a cleaning solution using mild detergent or laundry soap and white vinegar will effectively remove dirt, odors, and stains from the mattress protector. Hand washing the mattress protector in this solution ensures gentle and thorough cleaning. Be sure to rinse the protector thoroughly to remove any soap residue.
After rinsing, it’s crucial to dry the mattress protector properly to prevent mold and mildew growth. Gently squeeze out excess water, roll it in a dry towel to absorb moisture, and then air dry it on a flat surface or use a dryer on a low heat setting if preferred.
Finally, reattach the fully dry mattress protector, ensuring a snug fit on your mattress. This step completes the cleaning process, leaving you with a clean and protected sleep surface.
Regularly cleaning your waterproof mattress protector will not only maintain its cleanliness but also contribute to a healthier sleep environment by eliminating dust mites, allergens, and odors. By following these steps and incorporating them into your cleaning routine, you can enjoy a fresh, hygienic, and comfortable mattress for years to come.
Remember to always refer to the care instructions provided by the manufacturer to ensure proper cleaning and maintenance of your specific mattress protector. With proper care, your mattress protector will continue to provide you with the protection and peace of mind you need for a good night’s sleep.
Frequently Asked Questions about How To Clean A Waterproof Mattress Protector
Was this page helpful?
At Storables.com, we guarantee accurate and reliable information. Our content, validated by Expert Board Contributors, is crafted following stringent Editorial Policies. We're committed to providing you with well-researched, expert-backed insights for all your informational needs.