Home>Furniture>Bedroom Furniture>How To Clean A Velour Air Mattress

Bedroom Furniture
How To Clean A Velour Air Mattress
Modified: October 20, 2024
Discover the best method to clean a velour air mattress for your bedroom furniture. Keep your mattress looking fresh and inviting with these simple tips.
(Many of the links in this article redirect to a specific reviewed product. Your purchase of these products through affiliate links helps to generate commission for Storables.com, at no extra cost. Learn more)
Introduction
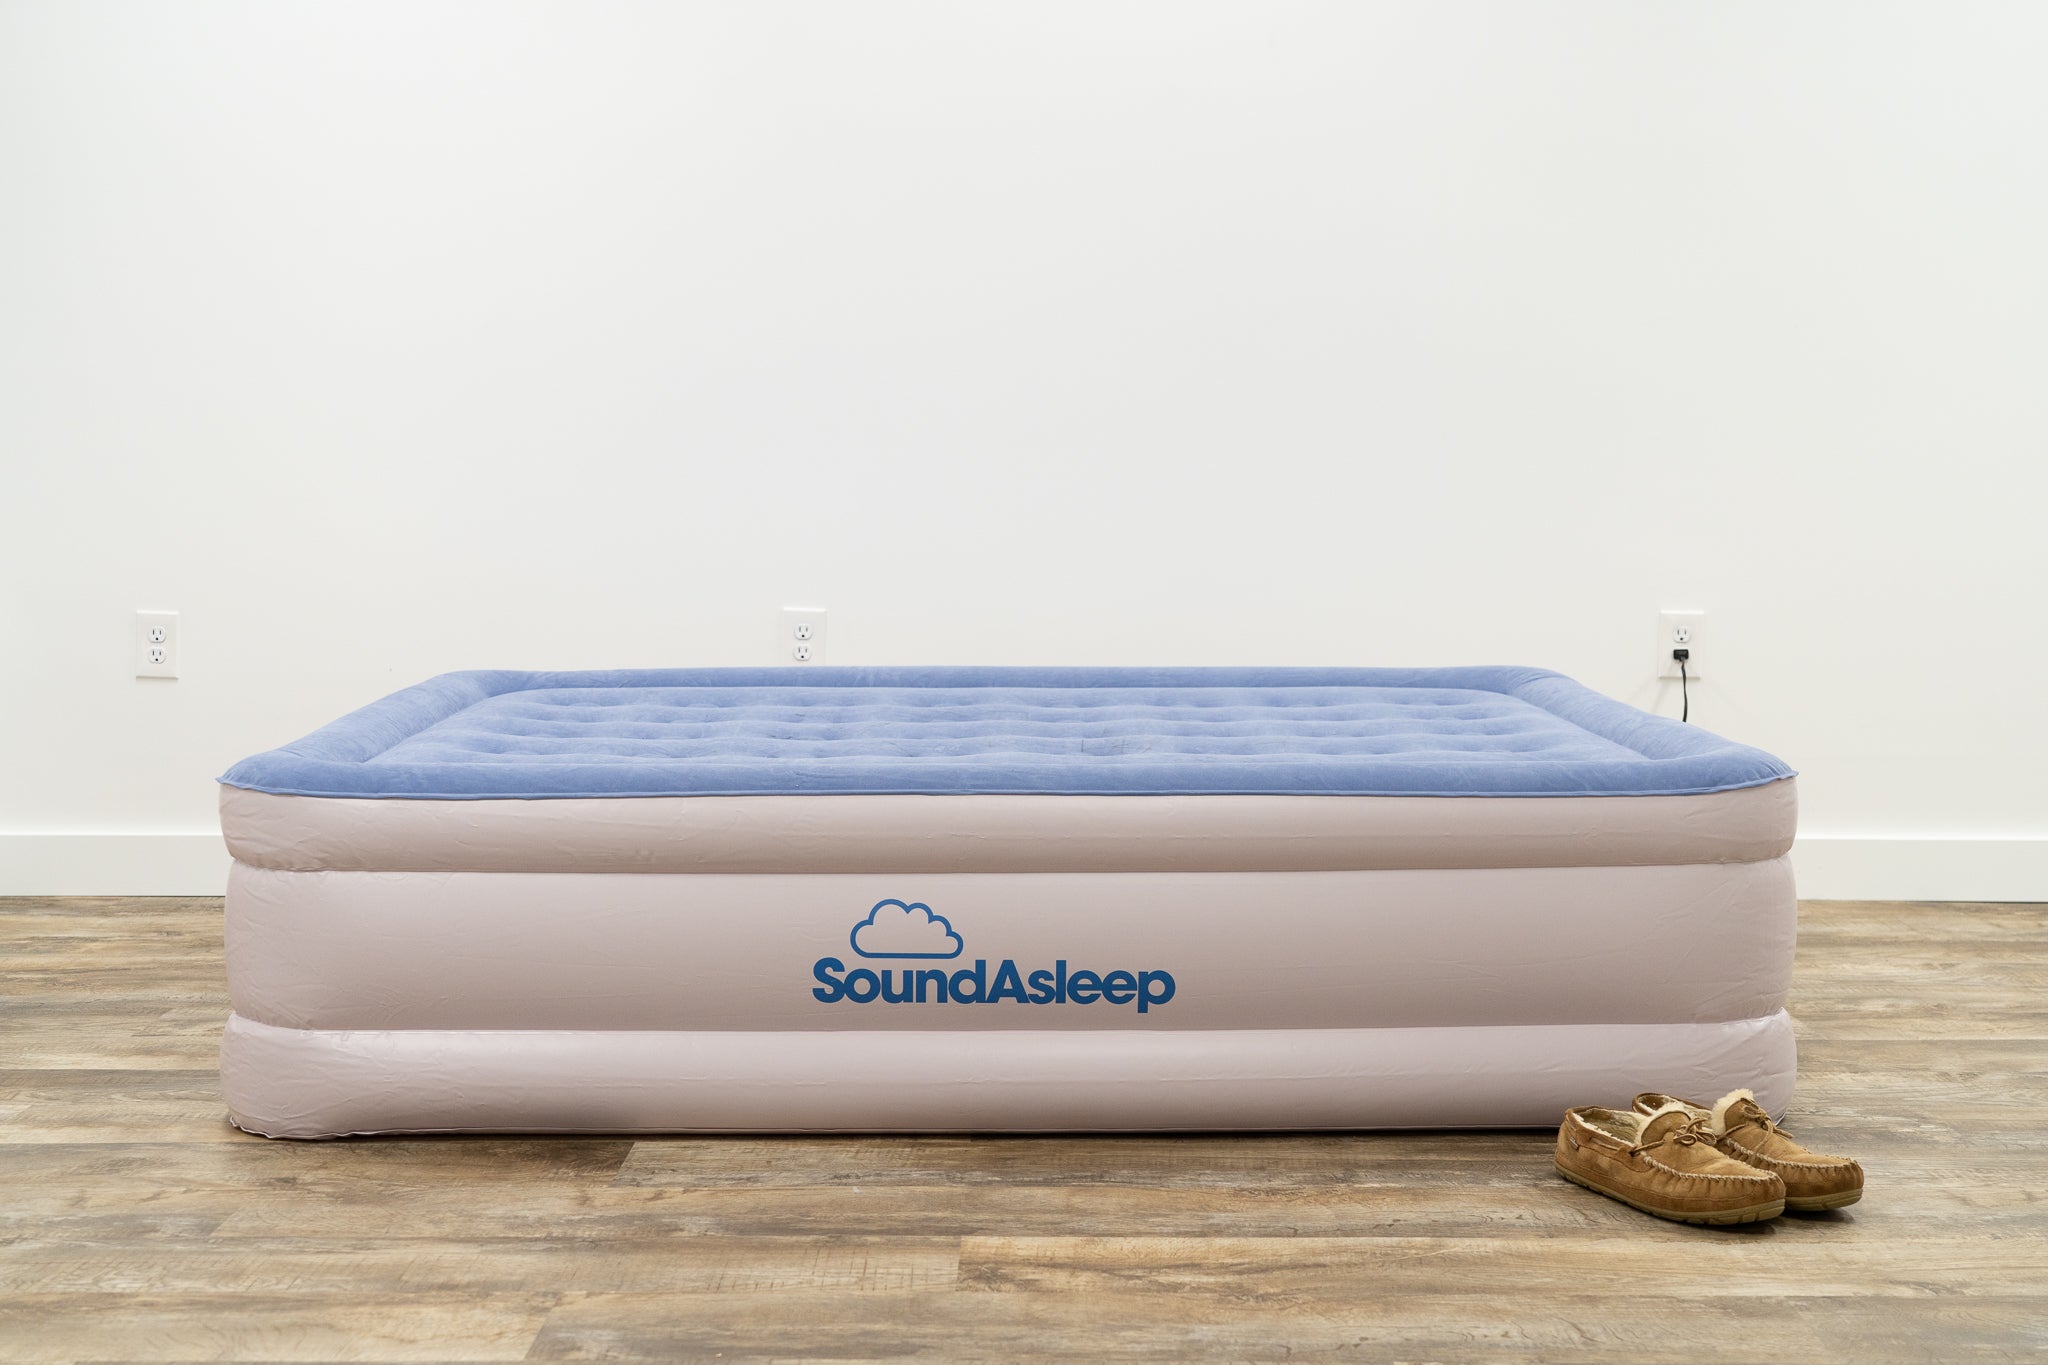
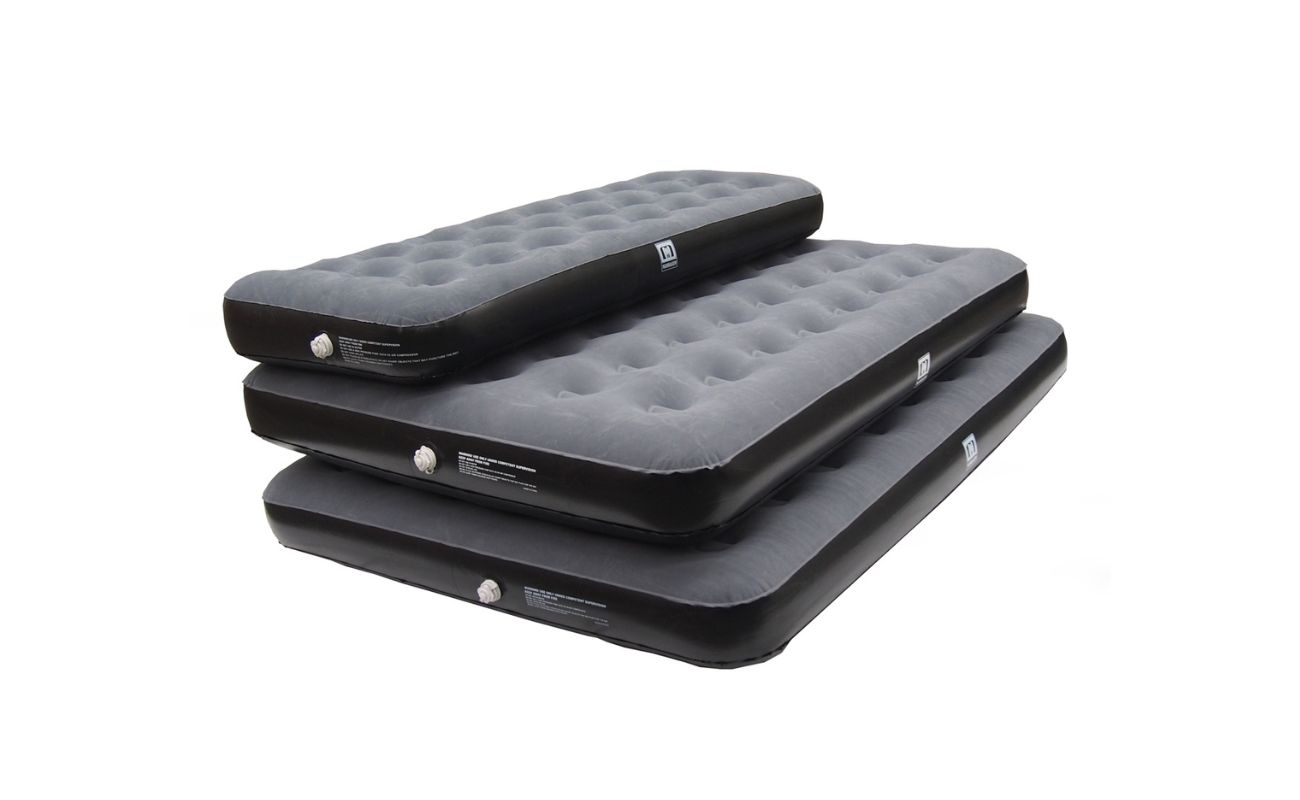
Do you love the soft and luxurious feel of a velour air mattress but find it challenging to keep it clean? Whether you use it for camping trips or as a spare bed for guests, regular cleaning is essential to maintain its comfort and longevity. In this article, we will guide you through a step-by-step process on how to clean a velour air mattress effectively.
Velour is a plush, durable fabric that not only adds a touch of elegance to your bedroom but also provides a comfortable sleeping surface. However, due to its textured surface, it can easily trap dirt, stains, and odors, making regular cleaning a necessity. By following these simple cleaning tips, you can ensure that your velour air mattress remains fresh, hygienic, and ready for a good night’s sleep.
Before we dive into the cleaning process, let’s gather the materials you’ll need to successfully clean your velour air mattress.
Key Takeaways:
- Keep your velour air mattress clean and fresh by following a simple step-by-step cleaning process using gentle materials like mild detergent, vinegar, and baking soda. Enjoy a cozy and inviting sleeping environment with regular maintenance.
- Ensure a restful night’s sleep by effectively cleaning and maintaining your velour air mattress. From vacuuming and stain treatment to deodorizing and drying, follow the step-by-step guide to preserve the comfort and longevity of your mattress.
Read more: How To Clean Pee Off An Air Mattress
Materials Needed
Before you begin cleaning your velour air mattress, gather the following materials:
- Mild detergent or fabric cleaner: Choose a gentle detergent or specifically formulated fabric cleaner that is suitable for velour fabrics. Avoid using harsh chemicals that could damage the material.
- White vinegar: Vinegar is an excellent natural cleaner and deodorizer that can effectively remove stains and odors from your mattress.
- Baking soda: This common household ingredient is great for deodorizing and freshening up your mattress.
- Soft-bristled brush: Opt for a soft-bristled brush to gently scrub away stains and dirt without damaging the velour fabric.
- Clean towels: Keep a few clean towels on hand for blotting and drying the mattress.
- Vacuum cleaner with upholstery attachment: A vacuum cleaner with an upholstery attachment will help you remove loose dirt, dust, and debris from the surface of your mattress.
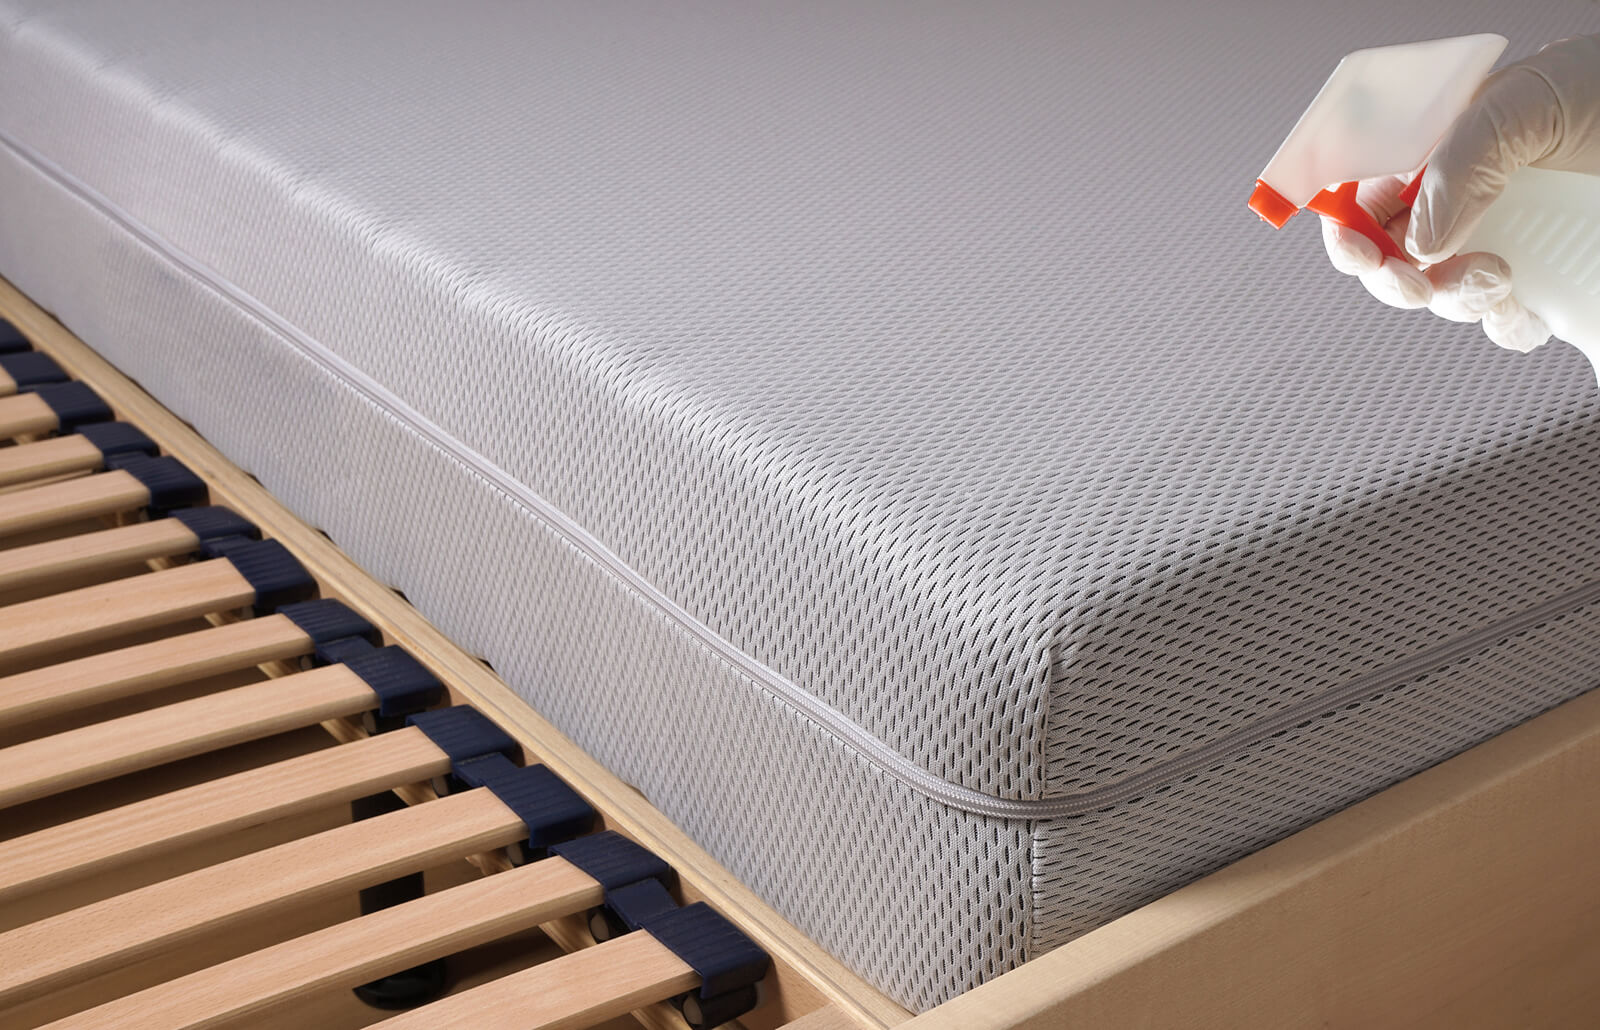
- Water spray bottle: Fill a spray bottle with water, which will be used to dampen the mattress during the cleaning process.
Now that you have gathered all the necessary materials, let’s move on to the step-by-step process of cleaning your velour air mattress.
Step 1: Removing the Sheets and Bedding
The first step in cleaning your velour air mattress is to remove any sheets, blankets, or bedding that may be on it. This will allow you to access the surface of the mattress more easily and ensure a thorough cleaning.
Start by deflating the mattress completely. Release all the air from the mattress according to the manufacturer’s instructions. Once deflated, remove any pillows, sheets, and blankets from the mattress. If there are any removable covers, take them off as well.
Next, shake out any loose debris, such as dust or crumbs, from the mattress. You can do this by gently tapping or patting different areas of the mattress. Use a soft-bristled brush to brush away any remaining dirt or particles.
If your velour air mattress has any visible stains or spills, take note of their locations. This will help you target those areas during the cleaning process. Now that your mattress is free of bedding and debris, it’s time to move on to the next step: vacuuming the mattress.
Step 2: Vacuuming the Mattress
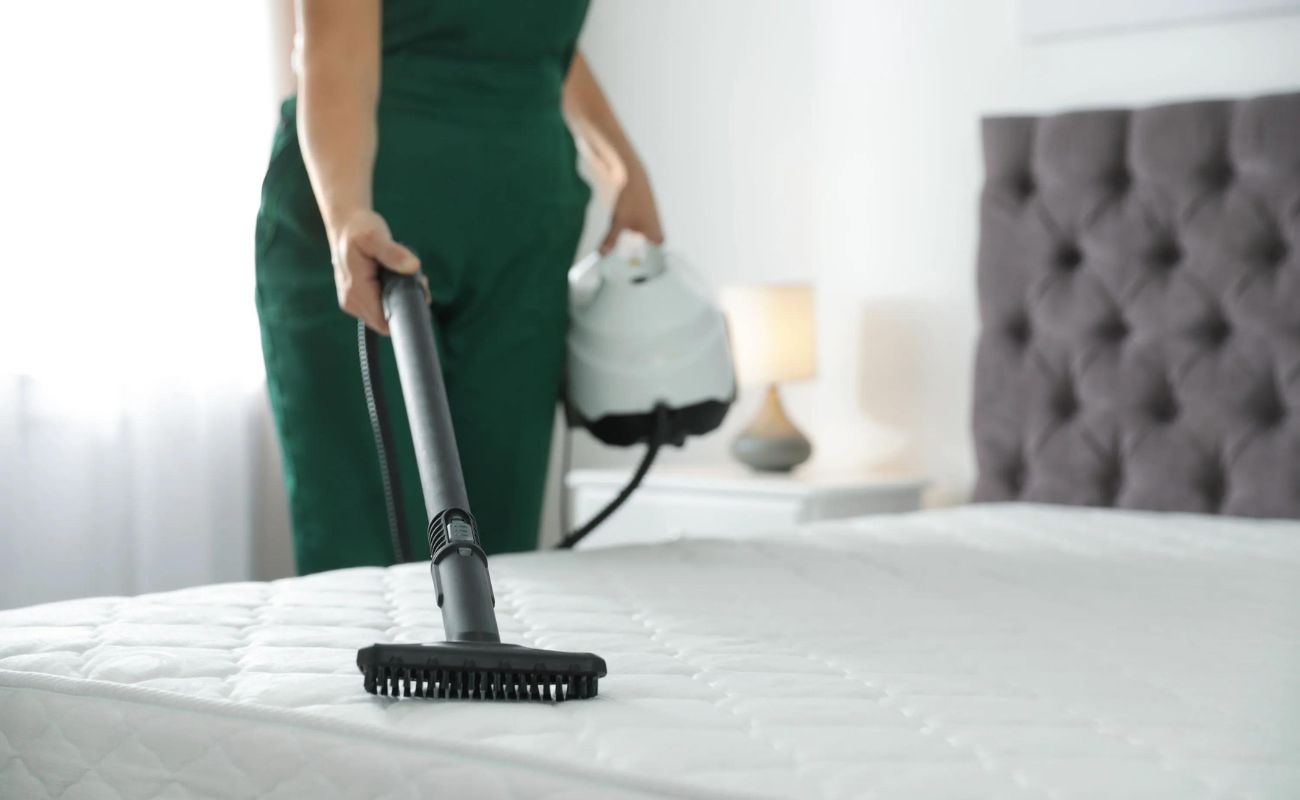
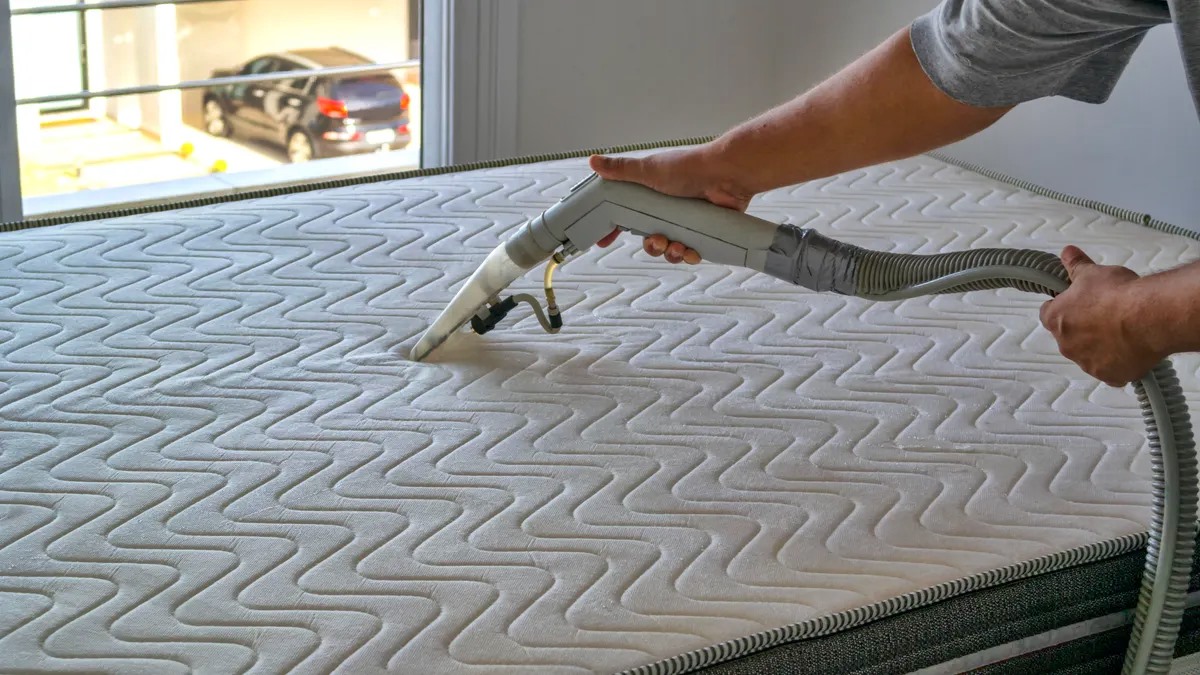
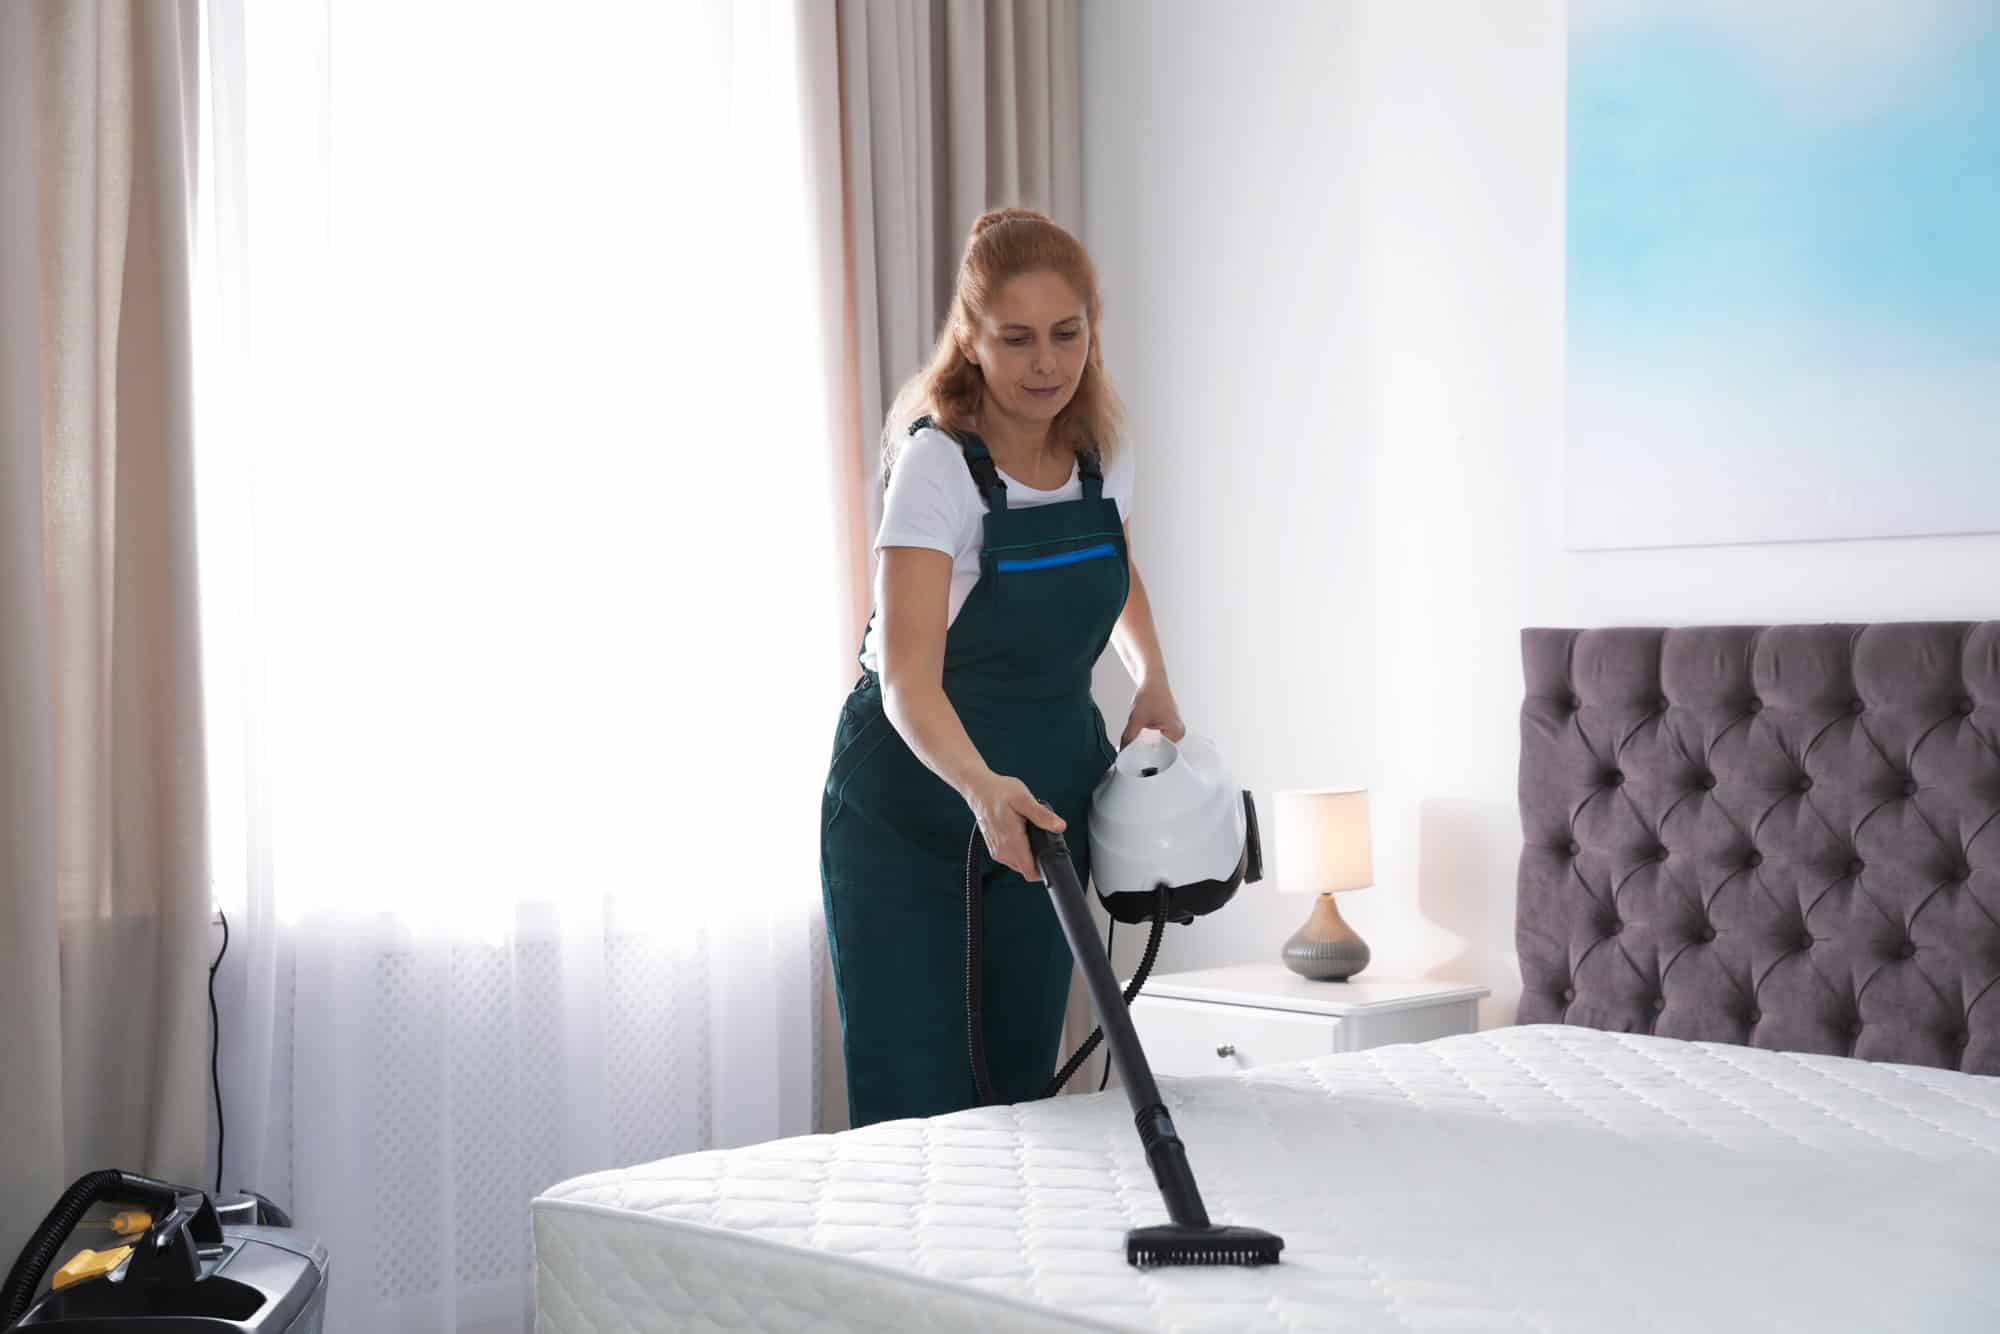
Once you have removed the sheets and bedding from your velour air mattress, it’s time to give it a thorough vacuuming. Vacuuming will help remove any loose dirt, dust, and allergens from the surface of the mattress.
Start by attaching the upholstery attachment to your vacuum cleaner. This attachment is specifically designed for cleaning delicate surfaces like mattresses. Make sure the vacuum cleaner is set to a low suction setting to prevent any damage to the velour fabric.
Begin vacuuming the mattress in a systematic manner, starting from the top and working your way down. Use smooth, overlapping strokes to ensure that you cover the entire surface of the mattress. Pay extra attention to the seams and crevices, as these areas tend to accumulate more dirt and debris.
If you come across any stubborn dirt or pet hair that doesn’t come off easily, you can use a lint roller or a handheld vacuum with a brush attachment to spot-clean those areas.
Continue vacuuming until you are satisfied that you have removed all visible dirt and debris. Vacuuming is an essential step in the cleaning process as it prepares the mattress for the next steps, including stain treatment and deodorization.
Once you have thoroughly vacuumed the mattress, it’s time to move on to the next step: treating stains and spots.
Step 3: Treating Stains and Spots
After vacuuming your velour air mattress, it’s time to address any stains or spots that may be present. Stains can be caused by spills, body oils, or other liquids that have come into contact with the mattress. It’s essential to treat them promptly to prevent them from setting and becoming more difficult to remove.
Before applying any cleaning solutions to the mattress, it’s a good idea to spot-test in an inconspicuous area to ensure that the cleaning solution doesn’t cause any discoloration or damage to the fabric. Once you’re confident in the cleaning solution, follow these steps:
- If the stain is fresh and still wet, blot the area gently with a clean towel or paper towels to absorb as much of the liquid as possible. Avoid rubbing, as this can push the stain deeper into the fabric.
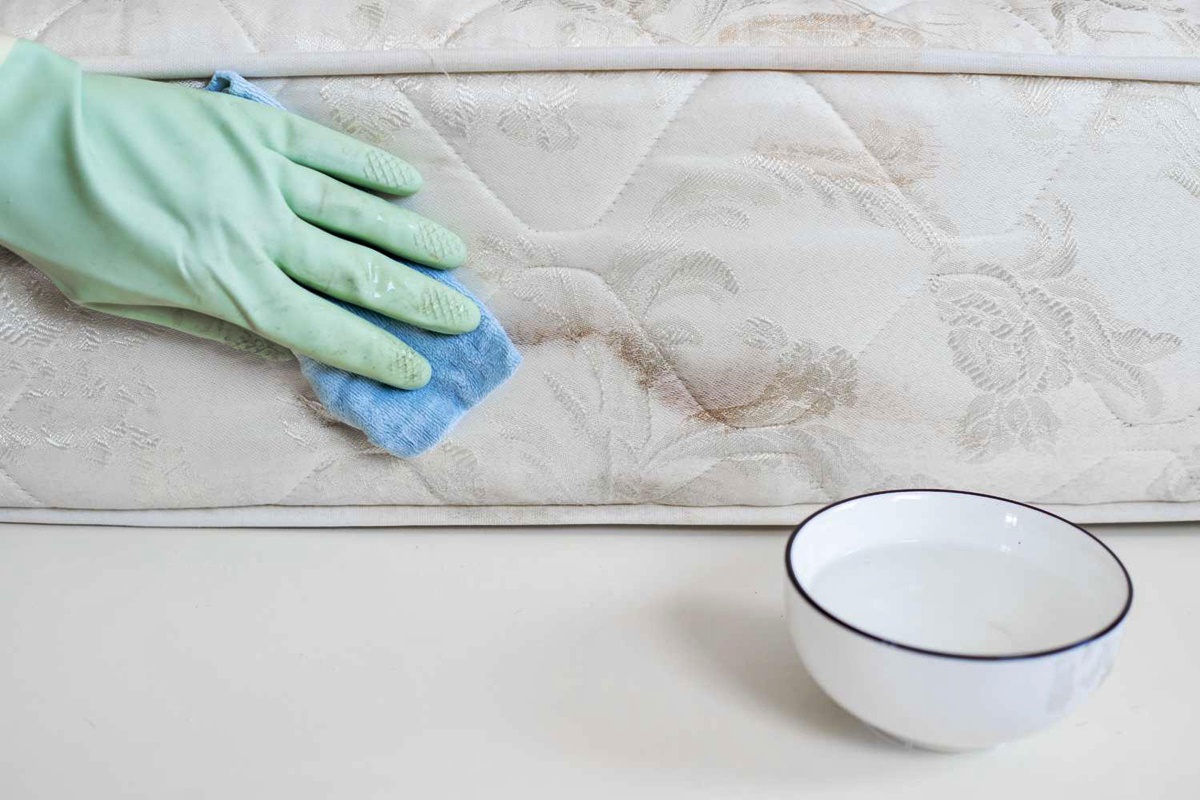
- If the stain has already set or is stubborn, prepare a mild cleaning solution by mixing a few drops of mild detergent or fabric cleaner with water.
- Dampen a clean sponge or cloth with the cleaning solution and gently blot the stained area. Avoid saturating the fabric, as excessive moisture may cause damage.
- Continue blotting until the stain starts to lift. If necessary, you can gently scrub the area using a soft-bristled brush in a circular motion.
- Once the stain is removed, use a damp cloth or sponge soaked in plain water to rinse out any residue from the cleaning solution.
- Blot the treated area with a dry towel to absorb excess moisture.
Repeat this process for each stain or spot on your velour air mattress. It’s important to tackle stains as soon as possible to increase the chances of successful removal.
Now that you have treated any stains or spots, it’s time to move on to the next step: deodorizing the mattress.
Use a mild detergent and warm water to spot clean any stains on your velour air mattress. Gently scrub the affected area with a soft brush or cloth, then allow it to air dry completely before using it again.
Read more: How To Clean A Latex Mattress
Step 4: Deodorizing the Mattress
After treating any stains or spots on your velour air mattress, it’s important to eliminate any unpleasant odors that may have accumulated over time. Deodorizing your mattress will leave it smelling fresh and inviting.
One effective method to deodorize your mattress is by using baking soda. Baking soda is a natural deodorizer that can help absorb and neutralize odors. Follow these steps to deodorize your velour air mattress:
- Sprinkle a generous amount of baking soda evenly over the entire surface of the mattress.
- Gently rub the baking soda into the velour fabric using a soft-bristled brush. This will help the baking soda penetrate the fabric and come into contact with any odors.
- Let the baking soda sit on the mattress for at least 1-2 hours, or overnight if possible. This will give it ample time to work its magic and absorb any lingering odors.
- After the designated time has passed, use a vacuum cleaner with an upholstery attachment to thoroughly vacuum up all the baking soda. Be sure to go over the entire surface of the mattress to remove any residue.
Once you have completed the deodorizing process, your velour air mattress should be free from any unpleasant odors. However, if there are still lingering smells, you can repeat the process or consider using fabric fresheners or sprays specifically designed for mattresses.
Now that your velour air mattress is clean and odor-free, it’s time to move on to the next step: drying the mattress.
Step 5: Drying the Mattress
After cleaning and deodorizing your velour air mattress, it’s important to ensure that it is completely dry before reassembling it. Damp or wet mattresses can develop mold or mildew, which can be harmful to your health and damage the mattress.
Here’s how you can effectively dry your velour air mattress:
- Place the mattress in a well-ventilated area. If possible, choose a spot with good airflow or use a fan to expedite the drying process.
- If the weather permits, you can also consider drying the mattress outdoors in a shaded area. Avoid direct sunlight, as it can fade the velour fabric.
- Prop the mattress up on its side or use a clean towel or cloth to elevate one end of the mattress. This will allow air to circulate more freely, aiding in the drying process.
- Allow the mattress to air dry for at least 24-48 hours. This duration may vary depending on factors such as humidity levels and ventilation. Check the mattress periodically to ensure that it is drying evenly.
- If there are any remaining damp spots or areas, gently blot them with a clean, dry towel to absorb any moisture.
It’s crucial to ensure that your velour air mattress is completely dry before reassembling it and storing it away. Once you’re confident that the mattress is dry, you can move on to the final step: reassembling the bed.
Step 6: Reassembling the Bed
Now that your velour air mattress is clean, fresh, and fully dry, it’s time to put everything back together and make your bed ready for use. Reassembling the bed is a straightforward process, and it’s important to do it correctly to ensure a comfortable and hassle-free sleep experience.
Follow these steps to reassemble your velour air mattress:
- Start by inflating the mattress according to the manufacturer’s instructions. Use a pump or an air compressor to inflate the mattress to your desired firmness.
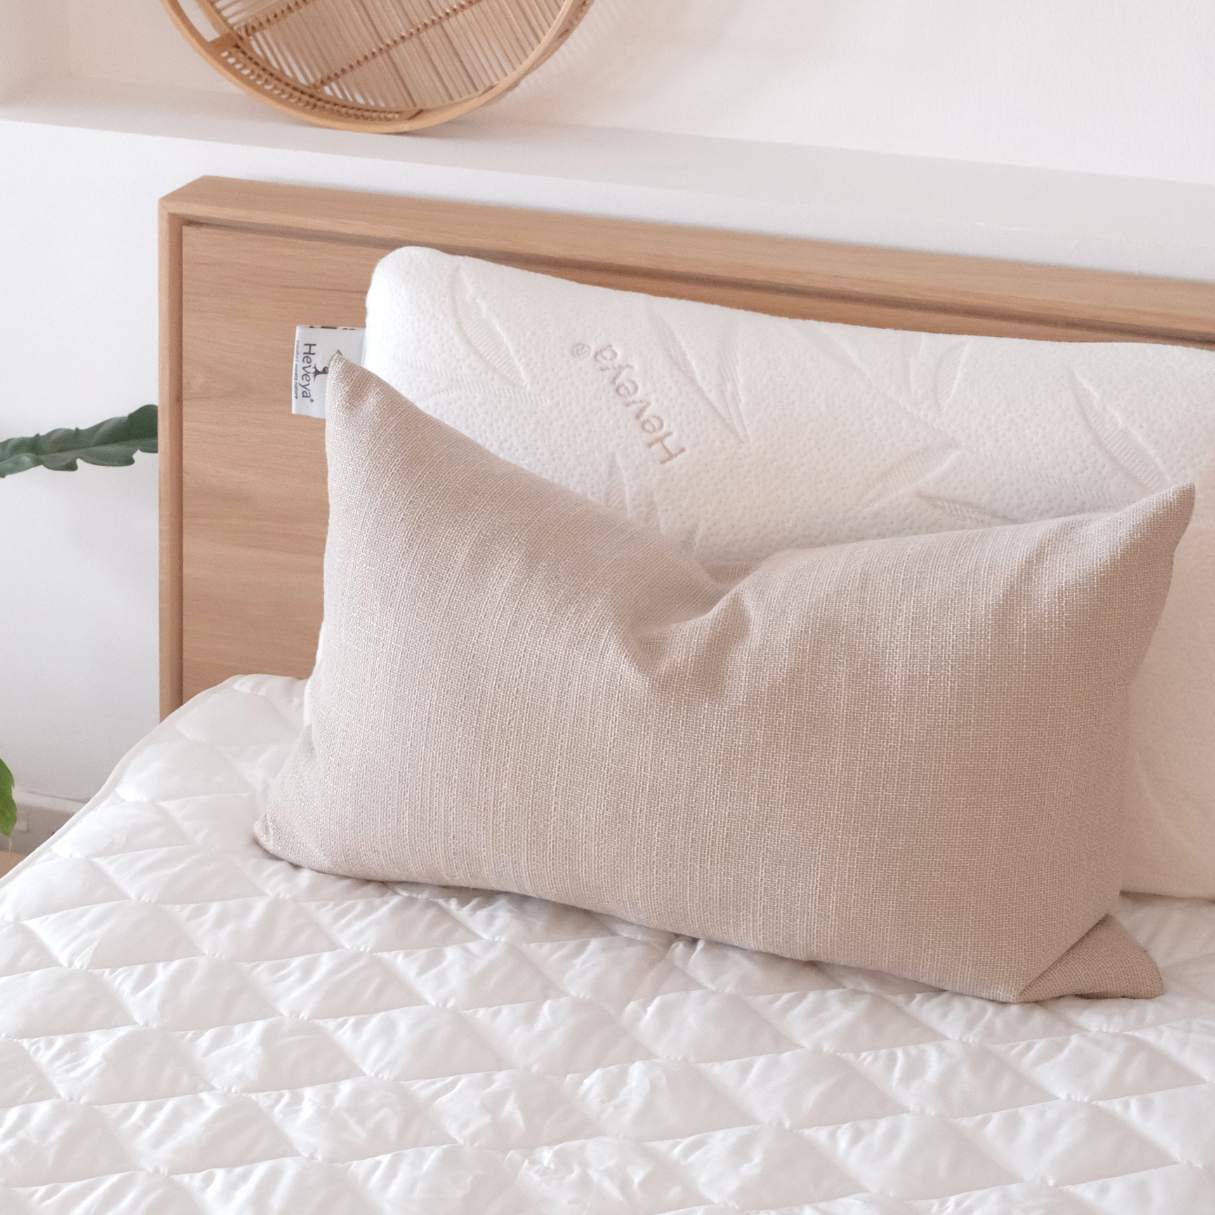
- Once the mattress is properly inflated, place a mattress protector or a fitted sheet over it. A mattress protector will help protect your velour mattress from spills, stains, and allergens.
- Add a flat sheet over the mattress protector, followed by a blanket or a comforter for added warmth and comfort.
- Pillowcases and pillows can be added to complete the bed. Ensure that the pillows are fluffed and positioned comfortably.
- Smooth out any wrinkles or creases in the sheets and bedding to create a neat and inviting appearance.
With the bed reassembled, take a moment to appreciate your freshly cleaned and cozy velour air mattress. It’s now ready to provide you with a comfortable and rejuvenating sleep experience.
Remember to follow the manufacturer’s guidelines for maintaining and storing your velour air mattress when not in use. Regular cleaning, proper storage, and timely repairs will prolong the lifespan of your mattress and ensure that it serves you well for years to come.
By following these step-by-step instructions, you can easily clean and maintain your velour air mattress, keeping it in pristine condition for your enjoyment. Now you can relax and sleep peacefully, knowing that your mattress is clean, fresh, and ready to provide you with restful nights.
We hope you found this guide helpful. Happy sleeping!
Conclusion
Cleaning a velour air mattress doesn’t have to be a daunting task. With the right materials and a step-by-step process, you can easily keep your mattress clean, fresh, and inviting for a restful sleep experience.
Throughout this article, we have outlined each step you need to take to effectively clean your velour air mattress. From removing the sheets and bedding to vacuuming, treating stains, deodorizing, drying, and reassembling the bed, following these steps will help you maintain the cleanliness and longevity of your mattress.
Remember to gather the necessary materials, including mild detergent or fabric cleaner, vinegar, baking soda, a soft-bristled brush, clean towels, a vacuum cleaner with an upholstery attachment, and a water spray bottle. These supplies will help you tackle dirt, stains, and odors effectively.
By following the step-by-step instructions provided, you can remove stains, deodorize the mattress, and ensure that it is thoroughly dried before reassembling it. Taking care of these crucial elements will not only maintain the freshness and cleanliness of your velour air mattress but also improve your sleep quality and overall comfort.
Regular cleaning and maintenance are key to preserving the integrity and lifespan of your mattress. Additionally, it’s essential to follow the manufacturer’s guidelines for storage and maintenance when the mattress is not in use.
We hope this comprehensive guide has been informative and helpful in guiding you through the process of cleaning your velour air mattress. Now you can enjoy a fresh, clean, and cozy sleeping environment that promotes rest and relaxation.
Happy sleeping!
Frequently Asked Questions about How To Clean A Velour Air Mattress
Was this page helpful?
At Storables.com, we guarantee accurate and reliable information. Our content, validated by Expert Board Contributors, is crafted following stringent Editorial Policies. We're committed to providing you with well-researched, expert-backed insights for all your informational needs.
