Home>Furniture>Bedroom Furniture>How To Fix An Air Mattress
Bedroom Furniture
How To Fix An Air Mattress
Modified: April 22, 2024
Looking for a solution to fix your air mattress? Check out our step-by-step guide on how to repair your bedroom furniture and enjoy a good night's sleep again.
(Many of the links in this article redirect to a specific reviewed product. Your purchase of these products through affiliate links helps to generate commission for Storables.com, at no extra cost. Learn more)
Introduction
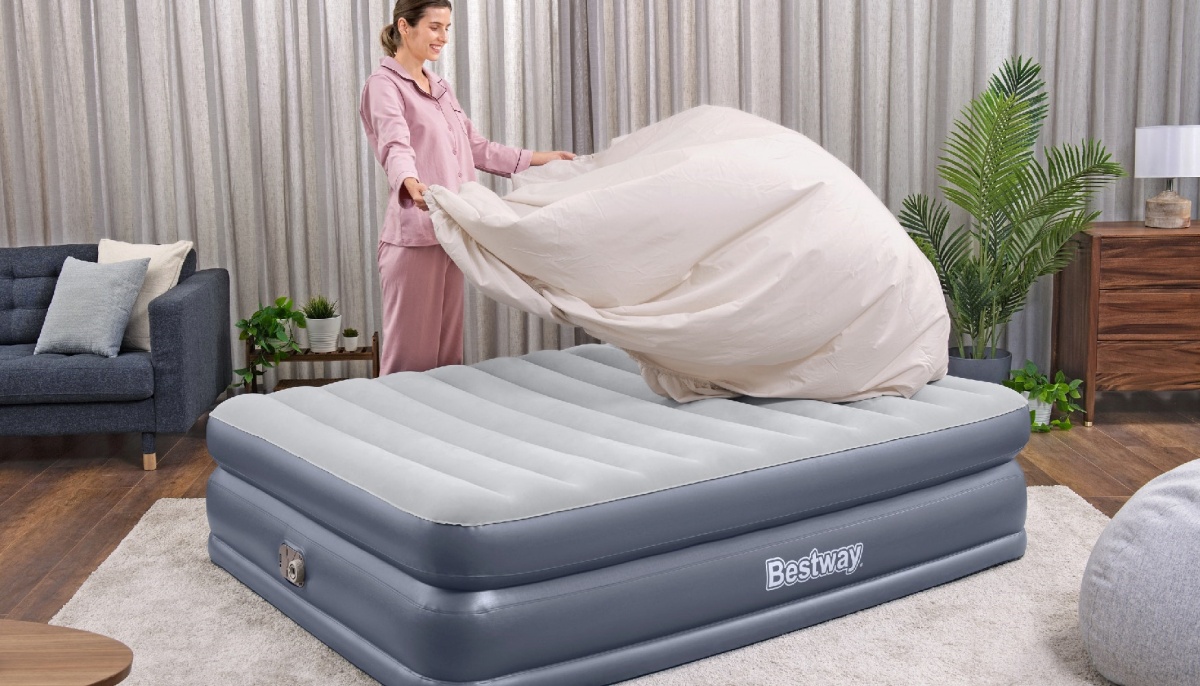
Having a comfortable and sturdy air mattress is essential for a good night’s sleep or accommodating guests. However, even the most high-quality air mattresses can develop punctures or leaks over time. If you’ve found yourself with a deflated air mattress, don’t worry – it’s usually a fixable problem! In this article, we’ll guide you through the process of fixing an air mattress, so you can get it back to optimal condition and enjoy a peaceful night’s sleep once again.
Before we dive into the step-by-step instructions, it’s important to gather the necessary tools and materials. This ensures that you have everything you need to successfully repair your air mattress.
Key Takeaways:
- Don’t toss out your deflated air mattress – with the right tools and know-how, you can easily repair punctures and leaks, restoring comfort and functionality for a peaceful night’s sleep.
- Proper preparation, thorough testing, and reinforcement if necessary are key to successfully repairing an air mattress. With the right approach, you can ensure a reliable and comfortable sleeping surface for your next adventure or guests.
Read more: How To Fix A Divot In A Mattress
Step 1: Gather the necessary tools
Before you begin repairing your air mattress, make sure you have the following tools and materials handy:
- Patch kit: Most air mattresses come with a patch kit that includes adhesive patches specifically designed for repairing leaks. If you don’t have a patch kit, you can purchase one at a local camping supply store or online.
- Clean cloth: You’ll need a clean, dry cloth to wipe down the surface of the mattress.
- Water and soap: A mixture of water and mild soap will be used to clean the area around the puncture.
- Marker or pen: You’ll need a marker or pen to mark the location of the puncture or leak.
- Sandpaper: Sandpaper is used to roughen the surface around the puncture, ensuring better adherence of the patch or adhesive.
- Scissors: You’ll need a pair of scissors to cut the patch to the appropriate size.
- Adhesive: If your air mattress doesn’t come with a patch kit, you can use a strong adhesive that is suitable for repairing vinyl or PVC materials.
- Optional: Air mattress repair tape: If the puncture or leak is large, you may want to consider using air mattress repair tape as an alternative to adhesive patches.
Once you have gathered all the necessary tools and materials, you’re ready to move on to the next step: locating the puncture or leak.
Step 2: Locate the puncture or leak
Once you have your tools and materials ready, the next step is to locate the puncture or leak in your air mattress. Follow these steps to find the source of the problem:
- Inflate the mattress: Start by fully inflating your air mattress. This will make it easier to spot any visible leaks or areas of damage.
- Listen for hissing sounds: Carefully listen for any hissing sounds that would indicate the location of the leak. Pay close attention to seams, valves, and any vulnerable areas.
- Feel for air flow: Run your hand over the surface of the mattress, feeling for any areas where air seems to be escaping. You may notice a slight breeze or a difference in firmness.
- Submerge in water: If you can’t locate the leak by sound or touch, you can try submerging the mattress in water. Fill a bathtub or large container with water and slowly submerge the mattress, watching for bubbles that indicate air escaping.
- Mark the location: Once you’ve identified the puncture or leak, use a marker or pen to mark the exact location. This will make it easier to find when it’s time to repair the mattress.
Remember, it’s important to double-check the area around the puncture. Sometimes, there may be multiple leaks, so make sure to carefully inspect the entire surface of the air mattress.
Now that you’ve successfully located the puncture or leak, it’s time to prepare the mattress surface for repair. Proceed to the next step for further instructions.
Step 3: Prepare the mattress surface
Before applying the patch or adhesive, it’s crucial to properly prepare the surface of the air mattress. This ensures that the repair is effective and long-lasting. Follow these steps to prepare the mattress surface:
- Clean the area: Using a clean cloth dampened with water and mild soap, gently clean the area around the puncture. Make sure to remove any dirt, dust, or debris that may hinder the adhesive’s ability to bond.
- Dry the surface: After cleaning, allow the surface to dry completely. You can use a dry cloth or let it air-dry for a few minutes. This step is crucial, as moisture can prevent the adhesive from properly adhering.
- Roughen the surface: Take a piece of sandpaper and lightly sand the area around the puncture. This roughens the surface and creates a better bonding surface for the patch or adhesive.
- Clean again: After sanding, wipe away any dust or debris created by the sanding process. You want the surface to be clean and smooth before applying the patch or adhesive.
By properly preparing the mattress surface, you’re ensuring that the repair will be more effective. The cleaning and roughening steps improve the bonding strength, increasing the chances of a successful repair.
Now that the surface is prepared, it’s time to move on to the next step: applying the patch or adhesive.
Step 4: Apply the patch or adhesive
With the mattress surface prepared, it’s time to apply the patch or adhesive to repair the puncture or leak in your air mattress. Follow these steps for a successful application:
- Read the instructions: If you’re using a patch kit, carefully read the instructions provided. Each kit may have specific instructions for applying the patches. If you’re using adhesive, ensure that it is suitable for repairing vinyl or PVC materials.
- Cut the patch: If you’re using a patch kit, choose a patch that is slightly larger than the puncture. Cut the patch to an appropriate size, making sure it covers the entire damaged area with a little overlap for better adhesion.
- Apply adhesive: If you’re using adhesive instead of patches, carefully apply a generous amount to the damaged area. Make sure to spread it evenly and cover the entire puncture. Use a spatula or the back of a spoon to smooth it out.
- Place the patch or press the glued surface: If you’re using a patch kit, peel off the backing on the patch and carefully place it over the puncture, pressing firmly. If you’re using adhesive, press the glued surface onto the prepared area of the mattress, applying pressure for a few seconds.
Whichever method you use, it’s important to ensure that the patch or adhesive forms a tight, secure bond with the mattress surface. This helps to prevent further leaks and damage.
Once you’ve applied the patch or adhesive, proceed to the next step: allowing it to dry.
When patching an air mattress, make sure to clean and dry the area thoroughly before applying the patch. This will help the patch adhere better and create a stronger seal.
Read more: How To Fix A Squeaky Mattress
Step 5: Allow the patch or adhesive to dry
After applying the patch or adhesive to your air mattress, it’s crucial to allow it sufficient time to dry and set properly. This ensures a strong bond and increases the chances of a successful repair. Follow these steps for optimal drying:
- Follow manufacturer’s instructions: Whether you’re using a patch or adhesive, it’s important to follow the manufacturer’s instructions for drying time. Some products may require a specific period for the patch or adhesive to fully bond with the mattress surface.
- Avoid disturbing the repair area: Once you’ve applied the patch or adhesive, avoid putting any pressure or weight on the repaired area. This can disrupt the drying process and compromise the effectiveness of the repair.
- Provide ample drying time: Ideally, allow the patch or adhesive to dry and set for at least 24 hours. This extended period ensures a solid bond and minimizes the risk of reoccurrence of the puncture or leak.
During the drying time, it’s important to keep the mattress in a clean and dry environment. Avoid folding or deflating the mattress until the patch or adhesive has completely dried.
Now that you’ve allowed the patch or adhesive to dry, it’s time to move on to the next step: testing the repaired area.
Step 6: Test the repaired area
Once the patch or adhesive has fully dried, it’s important to test the repaired area to ensure that the air mattress is holding properly and there are no more leaks. Follow these steps to test the repair:
- Inflate the mattress: Begin by inflating the air mattress to its full capacity. This will allow for better detection of any remaining leaks.
- Observe for deflation: Keep a close eye on the repaired area as the mattress inflates. Look for any signs of deflation or air escaping. Pay attention to the repaired spot as well as the surrounding area.
- Listen for hissing sounds: Carefully listen for any hissing sounds that would indicate air leakage. If you hear any, locate the source of the leak and repeat the repair process if necessary.
- Perform a pressure test: To further test the repair, apply pressure to the repaired area by sitting or lying on it. Check if the air mattress maintains its inflation and there are no noticeable leaks.
If the repaired area is holding up well and there are no signs of air escaping or deflation, congratulations! Your air mattress is now repaired and ready for use. However, if there are still leaks or issues, you may need to reinforce the repair or consider alternative methods.
Now that you’ve tested the repaired area and ensured its integrity, it’s time to move on to the next step: reinforcing the repair if necessary.
Step 7: Reinforce the repair if necessary
If after testing the repaired area you find that there are still leaks or the air mattress is not holding properly, it may be necessary to reinforce the repair. Follow these steps to strengthen the repaired area:
- Identify the weak points: Carefully inspect the area around the initial repair to determine if there are any additional weak points or leaks. Look for signs of air escaping or any visible damage.
- Reapply adhesive: If you find any new leaks or weak spots, reapply adhesive to those areas following the same process as before. Make sure to clean and prepare the surface, apply the adhesive evenly, and firmly press the patch or glued area onto the mattress.
- Consider additional patches: If the initial patch is not sufficient to cover all the leaks, apply additional patches as needed. Cut the patches to the appropriate size and place them over the remaining leaks, pressing them firmly onto the mattress surface.
- Allow for additional drying time: After reinforcing the repair, allow the patches and adhesive to dry and set for an extended period, following the manufacturer’s instructions. This will ensure a stronger bond and increase the chances of a successful repair.
By reinforcing the repair, you’re addressing any missed leaks or weak areas, improving the overall integrity of your air mattress. This step ensures that your mattress will hold up well and provide you with a comfortable sleeping surface.
Now that you’ve reinforced the repair if necessary, it’s time to move on to the final step: inflating the air mattress and checking for any remaining leaks.
Step 8: Inflate the air mattress and check for leaks
Now that you have completed the repairs and reinforcements, it’s time to fully inflate the air mattress and conduct a thorough check for any remaining leaks. Follow these steps to ensure your mattress is ready for use:
- Inflate the mattress: Start by inflating the air mattress to its full capacity. Use the appropriate pump or method as recommended by the manufacturer.
- Inspect the entire surface: Carefully examine the entire surface of the mattress for any signs of air leakage. Pay close attention to the areas that were repaired or reinforced, as well as the surrounding areas.
- Listen for hissing sounds: While the mattress is inflating, listen for any hissing sounds that indicate air escaping. If you hear any, locate the source of the leak and address it immediately.
- Apply soapy water solution or use a leak detection spray: If you suspect there may still be leaks, you can apply a mixture of soapy water to the mattress’s surface. Look for bubbles forming, which indicate the presence of a leak. Alternatively, you can use a leak detection spray specifically designed for air mattresses.
- Reapply repairs if necessary: If you detect any leaks during the inflation process, mark their location and reapply the appropriate repair method, whether it’s using a patch or adhesive. Ensure the area is clean, prepare the surface, and secure the patch or adhesive to cover the leak.
- Re-test the repaired area: After reapplying any necessary repairs, repeat the inflation and leakage check process. Ensure that the repaired area is holding up well and there are no new leaks.
- Deflate and prepare for use: Once you’re satisfied with the results and the mattress is holding properly without any leaks, deflate it completely. Clean the surface if needed and allow the mattress to dry before storing or using it for sleeping.
By thoroughly inflating your air mattress and checking for leaks, you can ensure that it is in optimal condition for use. Addressing any remaining leaks promptly will provide you with a comfortable and reliable sleeping surface.
Now that you have completed all the necessary steps, your air mattress should be repaired and ready for your next adventure or guests.
Read more: How To Fix An Inflatable Mattress
Conclusion
Repairing an air mattress doesn’t have to be a daunting task. With the right tools, materials, and step-by-step guidance, you can successfully fix punctures and leaks, restoring your air mattress to its former comfort and functionality.
By following the eight steps outlined in this article, you can tackle the repair process with confidence. From gathering the necessary tools to testing for remaining leaks, each step is important in ensuring a thorough and effective repair.
Remember, it’s crucial to properly prepare the mattress surface, apply the patch or adhesive correctly, and allow sufficient drying time for the repair to set. Testing the repaired area and reinforcing if necessary will help you identify and address any remaining leaks.
Once your air mattress is fully repaired and tested, it’s ready to provide you with a comfortable and restful sleeping experience. Whether you’re using it for camping trips, accommodating guests, or simply as an extra bed at home, a properly repaired air mattress ensures a peaceful night’s sleep.
Regular maintenance and care can help prevent future punctures and leaks. Be sure to keep your air mattress clean, store it properly, and inspect it before each use. By implementing these practices, you can prolong the lifespan of your air mattress and minimize the need for repairs in the future.
Now that you have the knowledge and skills to repair an air mattress, you can rest easy knowing that you have the tools to fix any future mishaps. So don’t toss out that deflated mattress – put on your DIY hat and get to work!
Frequently Asked Questions about How To Fix An Air Mattress
Was this page helpful?
At Storables.com, we guarantee accurate and reliable information. Our content, validated by Expert Board Contributors, is crafted following stringent Editorial Policies. We're committed to providing you with well-researched, expert-backed insights for all your informational needs.