Home>Furniture>Bedroom Furniture>How To Fix An Inflatable Mattress

Bedroom Furniture
How To Fix An Inflatable Mattress
Modified: November 1, 2024
Discover how to fix your inflatable mattress with this helpful guide. Get your bedroom furniture back in shape and enjoy a comfortable sleep.
(Many of the links in this article redirect to a specific reviewed product. Your purchase of these products through affiliate links helps to generate commission for Storables.com, at no extra cost. Learn more)
Introduction
Welcome to our comprehensive guide on how to fix an inflatable mattress. There’s nothing worse than waking up in the middle of the night to find your air mattress deflated and your comfort compromised. But fear not! With a little know-how and some basic tools, you can easily patch up any leaks and restore your inflatable mattress to its former glory.
Inflatable mattresses are a popular choice when it comes to temporary bedding solutions. Whether you’re camping, hosting guests, or simply need an extra bed for a sleepover, having a reliable and sturdy air mattress is essential. However, constant use and wear and tear can lead to leaks and punctures, leaving you with a deflated mattress that’s no longer usable.
In this article, we will provide a step-by-step guide on how to fix an inflatable mattress. We’ll walk you through the process of identifying the leak, preparing the mattress for repair, patching the leak, and finally, inflating and testing the mattress to ensure that it’s fully functional. So let’s dive in and get you on your way to a good night’s sleep!
Key Takeaways:
- Easily identify and fix leaks in your inflatable mattress by following a step-by-step process, ensuring a comfortable and reliable sleeping surface for guests or camping trips.
- Properly preparing and patching your inflatable mattress will lead to a long-lasting repair, allowing you to enjoy many restful nights without worrying about air leaks.
Read more: How To Inflate A Self-Inflating Mattress
Step 1: Identify the Leak
The first step in fixing an inflatable mattress is to identify the source of the leak. Here’s how you can go about it:
- Remove any bedding: Start by removing any sheets, blankets, or other bedding from the mattress. This will ensure that you have a clear view of the entire surface.
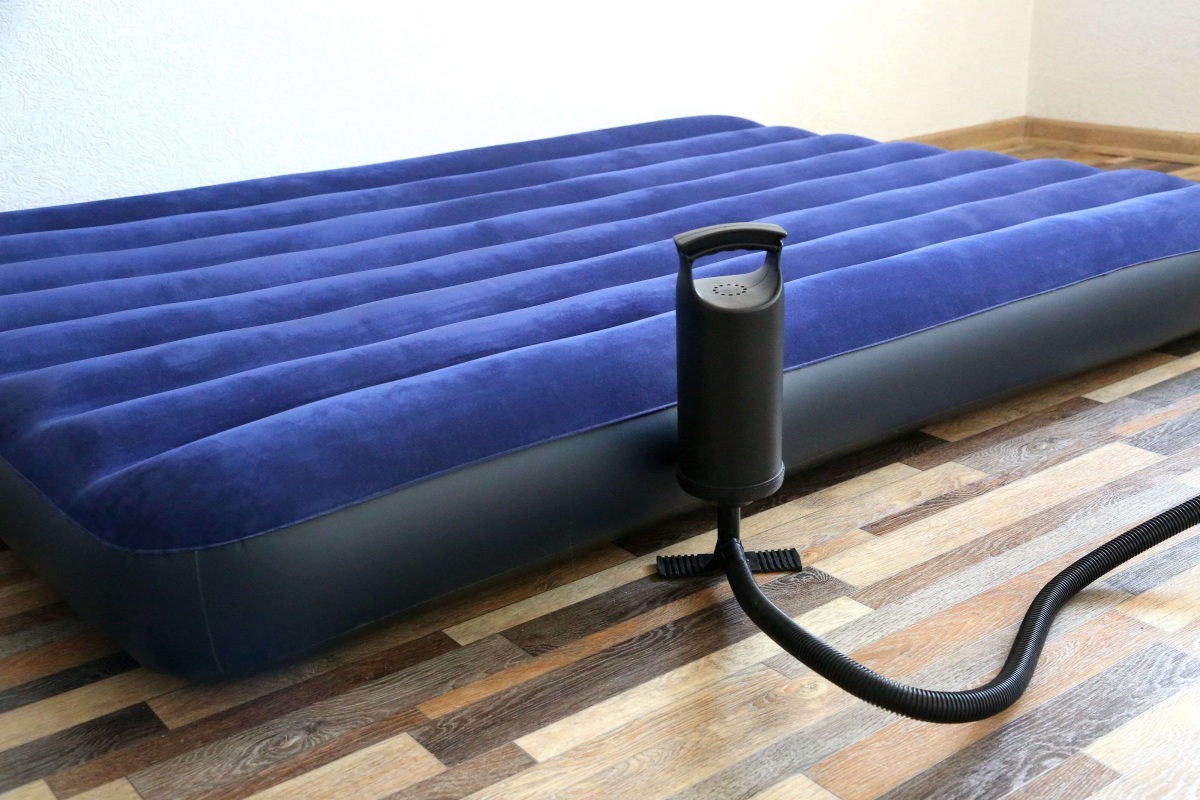
- Inflate the mattress partially: Inflate the mattress partially, leaving it slightly deflated. This will make it easier to detect any escaping air or potential leaks. You can use a manual or electric pump depending on the type of mattress you have.
- Listen for hissing sounds: Hold your ear close to the surface of the mattress and listen for any hissing sounds. These sounds indicate that air is escaping from the mattress and can help you locate the general area of the leak.
- Feel for escaping air: Run your hand gently over the surface of the mattress, paying close attention to any changes in temperature or sensation. If you feel a stream of air or notice a cold spot, it’s a telltale sign of a leak in that particular area.
- Check the valve: Inspect the valve of your inflatable mattress. Sometimes, leaks can occur from a faulty valve. Make sure it is securely closed and not damaged.
- Use soapy water: If you’re unable to locate the leak using the above methods, you can create a mixture of soapy water and apply it to the mattress. Gently brush the solution over the surface and look for any bubbles forming. The escaping air will create bubbles, indicating the location of the leak.
By following these steps, you will be able to identify the source of the leak and have a better understanding of where to focus your repair efforts.
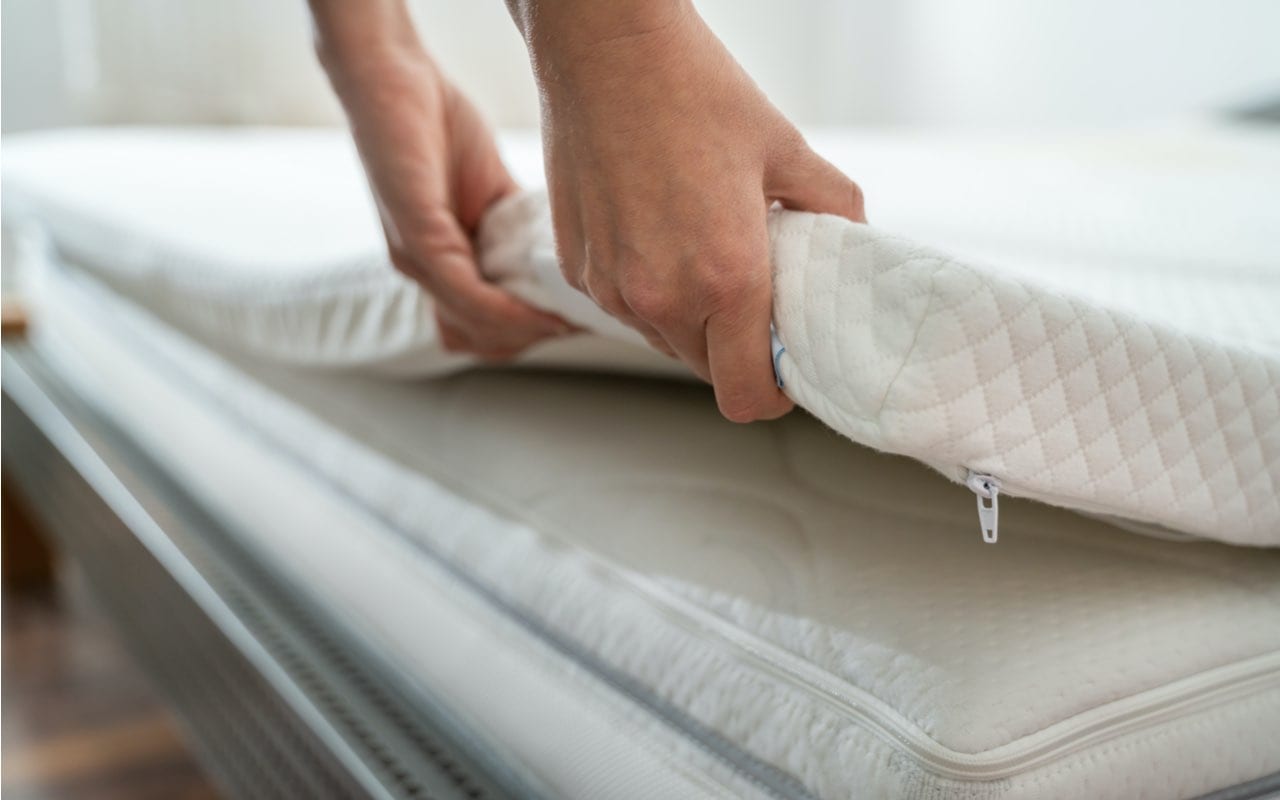
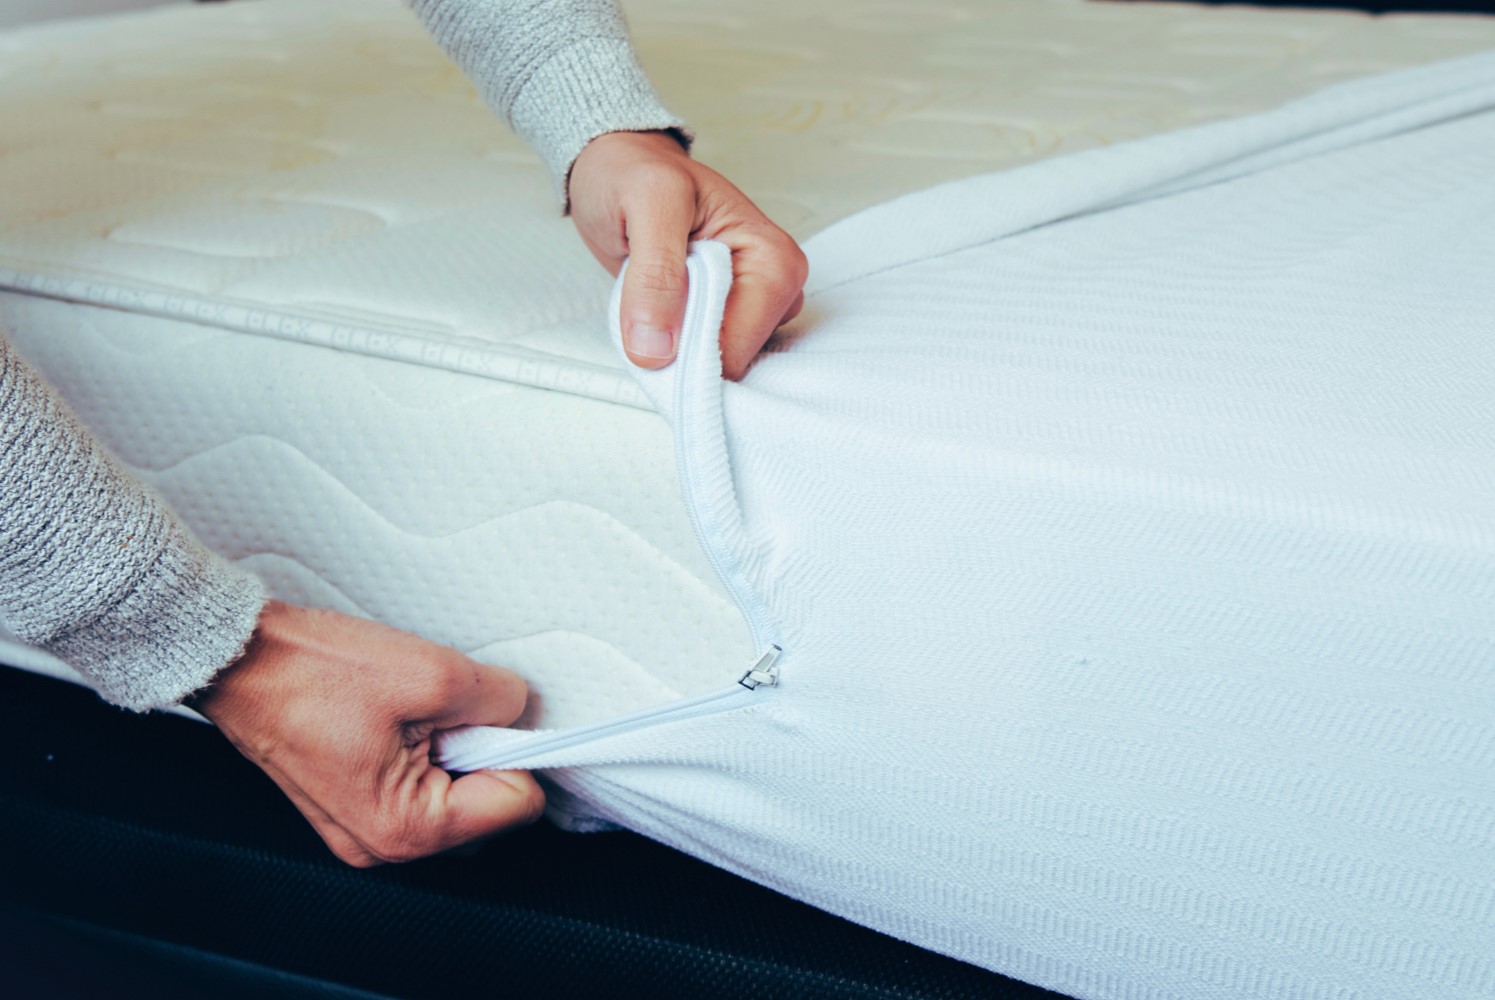
Step 2: Prepare the Mattress
Once you have identified the leak in your inflatable mattress, it’s time to prepare the mattress for the repair process. Here’s what you need to do:
- Deflate the mattress completely: Start by fully deflating the mattress. Use the air valve or pump to release all the air from the mattress. This will ensure that you have a flat and stable surface to work on.
- Clean the area around the leak: Thoroughly clean the area surrounding the leak with a mild detergent and warm water. This will remove any dirt, dust, or debris that may interfere with the repair process. Use a soft cloth or sponge to gently clean the surface and ensure it’s dry before moving on to the next step.
- Trim any loose threads or rough edges: Inspect the area around the leak and trim any loose threads or rough edges. This will help to create a smooth and even surface for the patch to adhere to.
- Gather the necessary tools and materials: Before proceeding with the repair, gather all the tools and materials you will need. This typically includes a patch kit, which usually contains adhesive patches and a patching solution. Follow the instructions provided in the patch kit for the best results.
- Read the instructions: Before applying the patch, carefully read the instructions provided by the manufacturer. Each patch kit may have specific instructions or recommendations for the repair process. Make sure you understand the steps and follow them accordingly.
Preparing the mattress properly is crucial to ensure a successful and long-lasting repair. By taking these steps, you will create an optimal surface for the patch to adhere to and increase the chances of a successful repair.
To fix an inflatable mattress, start by locating the leak using soapy water. Once found, patch it with a repair kit or a piece of vinyl and adhesive. Make sure the area is clean and dry before applying the patch.
Step 3: Patch the Leak
With the mattress prepared, it’s time to patch the leak and restore the integrity of your inflatable mattress. Follow these steps to effectively patch the leak:
- Apply the adhesive: Take an adhesive patch from the patch kit and apply a thin layer of the patching solution to the backside of the patch. Make sure to spread the adhesive evenly.
- Position the patch: Carefully place the adhesive patch over the leak, ensuring that it covers the entire damaged area. Gently press down on the patch to secure it to the mattress surface.
- Press and seal: Firmly press the patch onto the mattress, ensuring that there are no air bubbles trapped underneath. Use your hand or a smooth object to smooth out the patch and ensure a tight seal.
- Allow it to cure: Follow the instructions provided with the patch kit to determine the curing time. It’s typically recommended to let the adhesive cure for several hours or overnight to ensure a strong bond.
- Check for any additional leaks: After the patch has cured, inspect the surrounding area for any additional leaks. This can be done by partially inflating the mattress and repeating the steps outlined in Step 1 to identify any other leaks that may have gone unnoticed initially.
Patching the leak requires precision and patience. It’s important to follow the instructions provided with the patch kit and ensure a secure and airtight seal to prevent any further air loss. Taking the time to properly apply the patch will help to extend the lifespan of your inflatable mattress.
Step 4: Inflate and Test the Mattress
Now that you have patched the leak, it’s time to inflate and test your inflatable mattress to ensure that the repair was successful. Follow these steps to complete the process:
- Close and secure the air valve: Before inflating the mattress, ensure that the air valve is fully closed and secure. This will prevent any air from escaping during the inflation process.
- Inflate the mattress: Use a manual or electric pump to inflate the mattress to your desired level of firmness. Be careful not to overinflate the mattress, as this can put unnecessary strain on the repaired area.
- Inspect for any air leaks: Once the mattress is fully inflated, carefully inspect the repaired area, as well as the rest of the mattress, for any signs of air leaks. Run your hand over the mattress surface, paying close attention to any changes in pressure or temperature.
- Listen and feel for air leaks: Listen for any hissing sounds or feel for any escaping air. If you notice any air leaks, it may indicate that the patch wasn’t applied properly or that there are additional leaks that need to be addressed.
- Reapply the patch if necessary: If you discover any new leaks or if the patch isn’t holding, you may need to reapply the patch following the steps outlined in Step 3. It’s important to resolve any air leaks before using the mattress.
- Enjoy a good night’s sleep: Once you’re satisfied that the mattress is properly inflated and free from leaks, you can confidently enjoy a comfortable night’s sleep or provide a reliable sleeping surface for your guests.
Inflating and testing the mattress is the final step in the repair process. By thoroughly inspecting the mattress and addressing any additional leaks, you can ensure that your inflatable mattress is fully functional and ready to use.
Read more: How To Inflate An Intex Air Mattress
Conclusion
Fixing an inflatable mattress doesn’t have to be a daunting task. With the proper tools, materials, and a step-by-step approach, you can easily patch any leaks and restore your mattress to its original functionality. By following the four steps outlined in this guide, you’ll be well-equipped to tackle any air leaks and enjoy a comfortable night’s sleep once again.
Remember, the key to successfully fixing an inflatable mattress is to accurately identify the source of the leak, properly prepare the mattress, apply the patch with care, and thoroughly test the mattress for any additional leaks. Taking the time to complete each step diligently will ensure a reliable and long-lasting repair.
It’s worth noting that prevention is always better than a cure when it comes to inflatable mattresses. To minimize the risk of future leaks, consider using a mattress protector or placing a soft blanket or sheet between the mattress and any sharp objects or rough surfaces. Additionally, avoid overinflating the mattress, as this can put unnecessary stress on the seams and increase the chances of developing leaks.
By following the guidelines provided in this article, you’ll be well-prepared to fix an inflatable mattress whenever the need arises. Stay proactive and regularly inspect your mattress for any signs of wear and damage. By taking care of your inflatable mattress, you’ll extend its lifespan and ensure many nights of restful sleep.
So go ahead, tackle those leaks, and enjoy the convenience and comfort of your inflatable mattress for years to come!
Frequently Asked Questions about How To Fix An Inflatable Mattress
Was this page helpful?
At Storables.com, we guarantee accurate and reliable information. Our content, validated by Expert Board Contributors, is crafted following stringent Editorial Policies. We're committed to providing you with well-researched, expert-backed insights for all your informational needs.