Home>Furniture>Bedroom Furniture>How To Patch An Air Mattress On The Seam
Bedroom Furniture
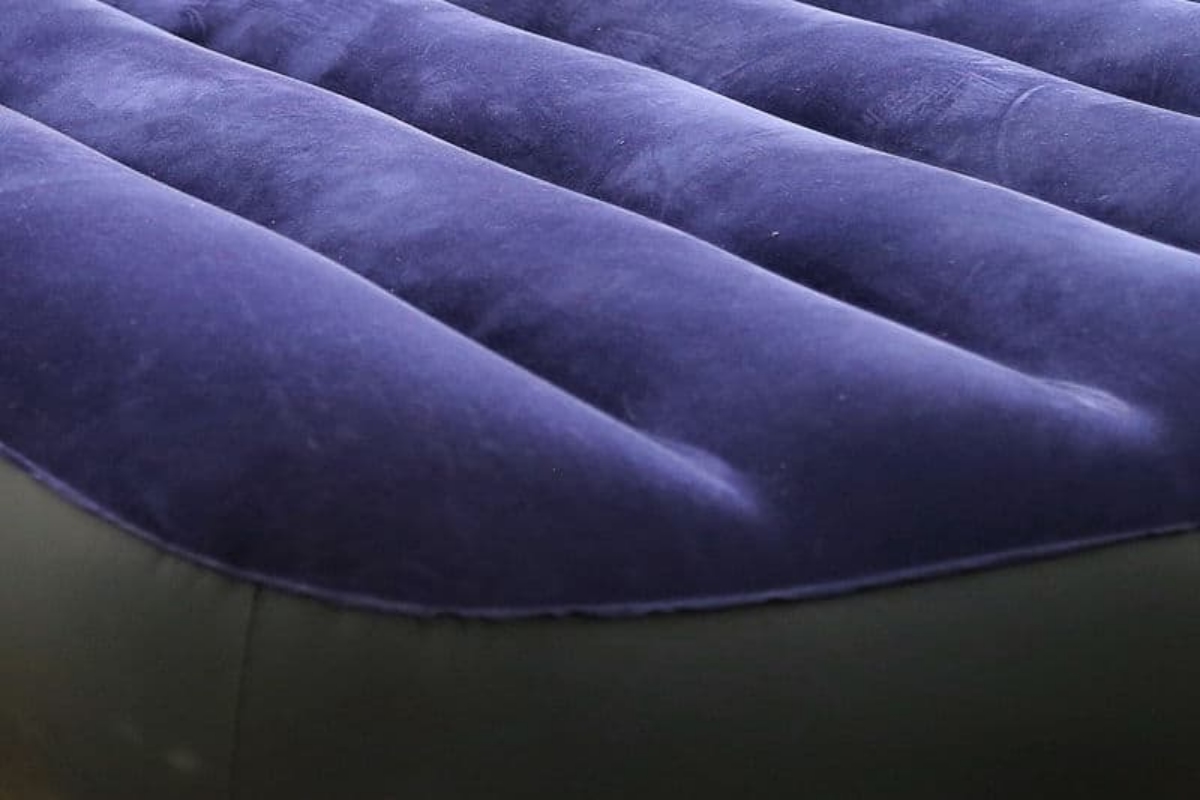
How To Patch An Air Mattress On The Seam
Modified: August 23, 2024
Learn how to patch an air mattress on the seam with our easy-to-follow guide. Discover essential tips and tricks for fixing your bedroom furniture.
(Many of the links in this article redirect to a specific reviewed product. Your purchase of these products through affiliate links helps to generate commission for Storables.com, at no extra cost. Learn more)
Introduction
Having a comfortable and well-maintained bedroom is essential for a good night’s sleep. One crucial element that plays a significant role in ensuring a restful slumber is the quality of your mattress. However, despite investing in a high-end air mattress, there is always a possibility of encountering unexpected leaks or punctures. Fortunately, patching an air mattress on the seam is a simple and effective solution to get it back in pristine condition.
In this article, we will guide you through the step-by-step process of patching an air mattress on the seam. By following these instructions and with the right tools and materials, you can quickly repair your mattress and extend its lifespan.
Key Takeaways:
- Easily patch an air mattress on the seam by identifying the leak, preparing the surface, and applying the patch with the right tools and materials. Regular maintenance ensures a longer mattress lifespan.
- Thoroughly test for leaks after patching an air mattress to ensure a successful repair. Follow additional tips for a more durable and secure patch, maximizing the mattress’s longevity.
Read more: How To Seam Quartz Countertops
Tools and Materials Needed
Before you begin the patching process, it’s essential to gather all the necessary tools and materials to ensure a successful repair. Here’s what you’ll need:
- A patch kit specifically designed for repairing air mattresses. These kits typically include adhesive patches, a patch roller, and a sealing agent.
- A clean cloth or sponge to clean the surface of the mattress.
- Rubbing alcohol or a mild detergent to remove any dirt or debris from the area.
- A pair of scissors to cut the patch to the appropriate size.
- A marker or pen to mark the location of the leak (optional).
- A hairdryer (optional) to dry the surface of the mattress before applying the patch.
Once you have gathered all the necessary tools and materials, you’re ready to move on to the next step: identifying the leak.
Step 1: Identify the Leak
The first step in patching an air mattress on the seam is identifying the location of the leak. This can be done by following these simple steps:
- Inflate the mattress to its full capacity. This will make it easier to locate the leak.
- Carefully listen for any hissing or whistling sounds, which can indicate the general area of the leak.
- If you’re unable to hear any sounds, you can use the soap and water method. Mix a small amount of liquid soap with water in a spray bottle. Spray the mixture over the mattress surface and look for bubbles forming. The bubbles will indicate the precise location of the leak.
- Once you’ve identified the leak, mark it with a pen or marker for easy reference.
Remember to be thorough in this step, as even small leaks can cause significant discomfort during sleep. Once you have successfully identified the leak, you can proceed to the next step: preparing the surface for patching.
Step 2: Prepare the Surface
Once you have identified the leak on your air mattress, it’s crucial to prepare the surface properly before applying the patch. This will ensure a secure and long-lasting repair. Follow these steps to prepare the surface:
- Deflate the mattress completely. This will make it easier to work on the damaged area.
- Using a clean cloth or sponge, gently wipe the surface around the leak. This will remove any dust, dirt, or debris that could interfere with the adhesion of the patch.
- If there are any sticky residues from a previous patch or adhesive, you can use rubbing alcohol or a mild detergent to clean the area thoroughly.
- Dry the surface completely. You can use a clean cloth or even a hairdryer on a low setting to ensure there is no moisture left on the mattress. A dry surface is essential for the patch to adhere properly.
By preparing the surface diligently, you are setting the foundation for a successful repair. Once the surface is clean and dry, you can move on to the next step: applying the patch.
Step 3: Apply the Patch
Now that you have prepared the surface of the air mattress, it’s time to apply the patch. Follow these steps to ensure a proper application:
- Take out an adhesive patch from your patch kit. Make sure the patch is slightly larger than the size of the leak, as this will provide better coverage and adhesion.
- Carefully peel off the backing from the patch, revealing the adhesive side.
- Align the patch over the leak on the seam, ensuring that it fully covers the damaged area.
- Press the patch firmly onto the mattress surface, starting from the center and working your way outwards. Apply even pressure to ensure proper adhesion.
- Use a patch roller or your fingers to smooth out any wrinkles or air bubbles under the patch. This will ensure a flat and seamless repair.
It’s essential to follow the instructions provided with your patch kit for the best results. Some kits may require additional steps or specific techniques for application. Once you have applied the patch, you can proceed to the next step: pressing and sealing.
When patching an air mattress on the seam, make sure to clean the area thoroughly before applying the patch. Use a patch kit specifically designed for air mattresses and follow the instructions carefully for a secure and long-lasting repair.
Read more: How To Apply A Grass Patch
Step 4: Press and Seal
After applying the patch to your air mattress, it’s important to press and seal it properly. This step will help to ensure a tight and secure bond between the patch and the surface of the mattress. Follow these steps to press and seal the patch:
- Using your hands, firmly press down on the patch. Apply steady pressure to ensure good contact between the adhesive and the mattress surface. This will help to create a strong bond.
- If your patch kit includes a sealing agent, apply a thin layer over the edges of the patch. This will provide additional reinforcement and prevent any air or moisture from seeping underneath.
- Allow the patch to dry and set according to the instructions on your patch kit. This may take anywhere from a few minutes to a few hours, depending on the specific product.
During the pressing and sealing process, it’s important to be cautious and gentle to avoid displacing or damaging the patch. Once the patch is properly pressed and sealed, you can proceed to the final step: testing for leaks.
Step 5: Test for Leaks
After patching your air mattress, it’s crucial to test for leaks to ensure that the repair was successful. This step will help you verify the effectiveness of the patch and ensure that your mattress is fully restored. Follow these steps to test for leaks:
- Inflate the mattress to its full capacity.
- Using your hands, gently press and squeeze around the patched area. Pay close attention to the edges of the patch and any nearby seams or stitching.
- Listen for any hissing or whistling sounds that may indicate air escaping from the patched area. If you hear any unusual sounds, it could indicate that the patch did not adhere properly or that there is another leak nearby that needs attention.
- Observe the inflated mattress for any visible signs of leakage, such as bulging or deflating in a specific area. If you notice any changes, it may suggest an ongoing leak that requires further patching or a different repair approach.
If you do not notice any leaks during the testing process, congratulations! Your patching efforts were successful, and your air mattress is ready for use. However, if you do detect any leaks or issues, it’s important to re-evaluate the patch and consider reapplying it or exploring alternative solutions.
Remember, properly maintaining your air mattress and promptly addressing any leaks will help prolong its overall lifespan and ensure continued comfort and support during sleep.
Additional Tips and Considerations
When patching an air mattress on the seam, it’s essential to keep in mind the following additional tips and considerations for a successful repair:
- Always follow the instructions provided with your patch kit. Each patch kit may have specific guidelines and recommended techniques for optimal results.
- Ensure that the surface of the mattress is clean and dry before applying the patch. Any moisture or debris can hinder the effectiveness of the adhesive.
- If your patch kit includes a patch roller, make use of it to smooth out any wrinkles or air bubbles under the patch. This will create a more seamless and secure seal.
- Consider using multiple patches for larger or more significant leaks. Overlapping patches can provide additional reinforcement and increase the chances of a successful repair.
- Regularly inspect your air mattress for any signs of wear and tear or potential leakage. Catching and addressing small issues early can help prevent bigger problems down the line.
- Keep a portable air pump or repair kit on hand when camping or traveling with an air mattress. This will allow you to address any unexpected leaks promptly.
- If you are unsure about the effectiveness of the repair or if you encounter persistent leaks, reach out to the manufacturer or a professional repair service for guidance.
By following these additional tips and considerations, you can ensure a more successful and durable repair for your air mattress.
Conclusion
Patching an air mattress on the seam is a straightforward process that can help restore the functionality and comfort of your mattress. By following the steps outlined in this guide and using the necessary tools and materials, you can effectively repair leaks and prolong the lifespan of your air mattress.
Remember to thoroughly identify the location of the leak, prepare the surface properly, apply the patch carefully, and press and seal it securely. Testing for leaks after the repair is crucial to ensure its effectiveness. By taking these steps and considering the additional tips provided, you can achieve a successful repair and enjoy a restful night’s sleep once again.
It’s important to regularly inspect your air mattress for any signs of wear and tear and address any leaks promptly. Regular maintenance and timely repairs will help maximize the durability and longevity of your mattress.
With these simple steps and a little effort, you can easily patch an air mattress on the seam and continue to enjoy the benefits of a comfortable and well-maintained bedroom.
Frequently Asked Questions about How To Patch An Air Mattress On The Seam
Was this page helpful?
At Storables.com, we guarantee accurate and reliable information. Our content, validated by Expert Board Contributors, is crafted following stringent Editorial Policies. We're committed to providing you with well-researched, expert-backed insights for all your informational needs.