Home>Furniture>Bedroom Furniture>How To Inflate Ozark Trail Air Mattress
Bedroom Furniture
How To Inflate Ozark Trail Air Mattress
Modified: August 17, 2024
Discover the best tips and techniques for inflating your Ozark Trail air mattress and get a good night's sleep in your bedroom with our expert bedroom furniture recommendations.
(Many of the links in this article redirect to a specific reviewed product. Your purchase of these products through affiliate links helps to generate commission for Storables.com, at no extra cost. Learn more)
Introduction
Welcome to the ultimate guide on how to inflate your Ozark Trail air mattress! Whether you’re going camping, hosting guests, or simply need an extra bed for your home, an air mattress is a convenient and comfortable solution. Ozark Trail, known for its high-quality outdoor gear, offers a wide range of air mattresses that are durable and easy to use.
Inflating an air mattress may seem straightforward, but it’s important to follow the correct steps to ensure proper inflation and achieve the desired level of firmness. In this guide, we will walk you through each step of the inflation process, from gathering the necessary materials to securing the inflation valve. By following these instructions, you’ll be well-equipped to inflate your Ozark Trail air mattress and enjoy a good night’s sleep.
Before we dive into the details, make sure you have your air mattress and the necessary materials ready. This includes an air pump, preferably one that is compatible with your Ozark Trail air mattress, and a power source. Once you have everything prepared, let’s get started!
Key Takeaways:
- Ensure a smooth inflation process by gathering the right materials, locating the inflation valve, and attaching the pump securely. Adjust firmness, check for leaks, and secure the valve for a restful sleep experience.
- Achieve optimal comfort by inflating your Ozark Trail air mattress with care. Test firmness, adjust as needed, and secure the valve for a cozy and hassle-free sleeping experience.
Read more: How To Inflate An Intex Air Mattress
Step 1: Gather the necessary materials
Before inflating your Ozark Trail air mattress, gather all the necessary materials to ensure a smooth and efficient process. Here’s what you’ll need:
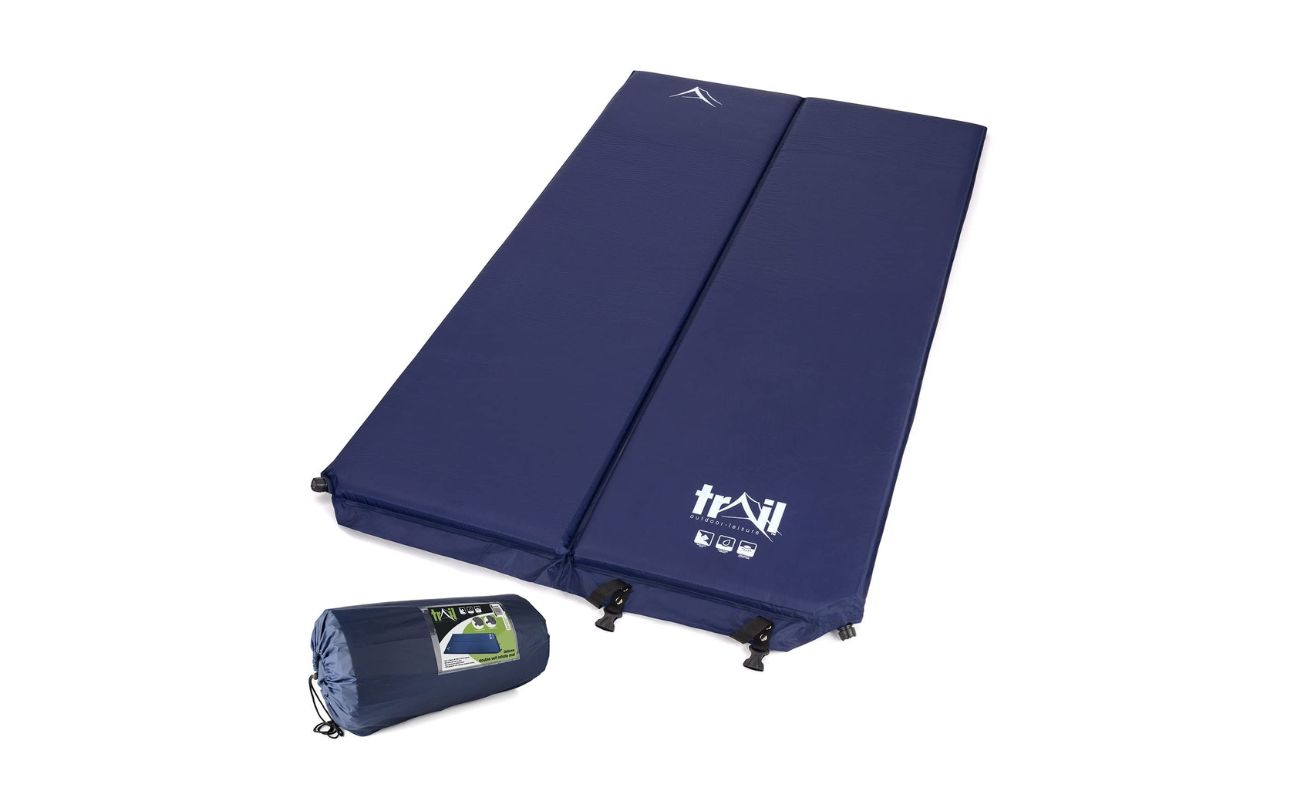
- An Ozark Trail air mattress
- An air pump compatible with your mattress
- A power source for the air pump
- A spacious and clean area to set up the mattress
Take some time to inspect your air pump and confirm that it is compatible with your specific Ozark Trail mattress model. If you’re unsure, consult the manufacturer’s instructions or reach out to customer support for guidance.
Ensure that the power source you have is capable of providing sufficient power to inflate the mattress. Ideally, use a power outlet located close to the area where you plan to set up the mattress to avoid any unnecessary tugging or stretching of the power cord.
Once you have gathered these materials, you’re ready to proceed to the next step.
Step 2: Locate the inflation valve
Now that you have all the necessary materials, the next step is to locate the inflation valve on your Ozark Trail air mattress. The inflation valve is where you will attach the air pump to inflate the mattress.
Look for the valve on the side or bottom of the mattress. It is usually a small opening with a cap or stopper that can be removed to allow air to enter the mattress. The valve is designed to ensure a tight seal when closed, preventing any air from escaping once the mattress is inflated.
To locate the inflation valve, carefully examine the surface of the mattress in a well-lit area. You may find it helpful to refer to the instruction manual that came with your mattress, as it may provide a specific location or feature a diagram for easy identification.
Ozark Trail air mattresses typically have user-friendly valves that are easy to spot and access. Once you have located the inflation valve, make sure it is free from any debris or obstructions. A clean valve ensures a proper seal and prevents any air leaks during the inflation process.
With the inflation valve identified and ready, you’re now prepared to proceed to the next step and attach the air pump to your Ozark Trail air mattress.
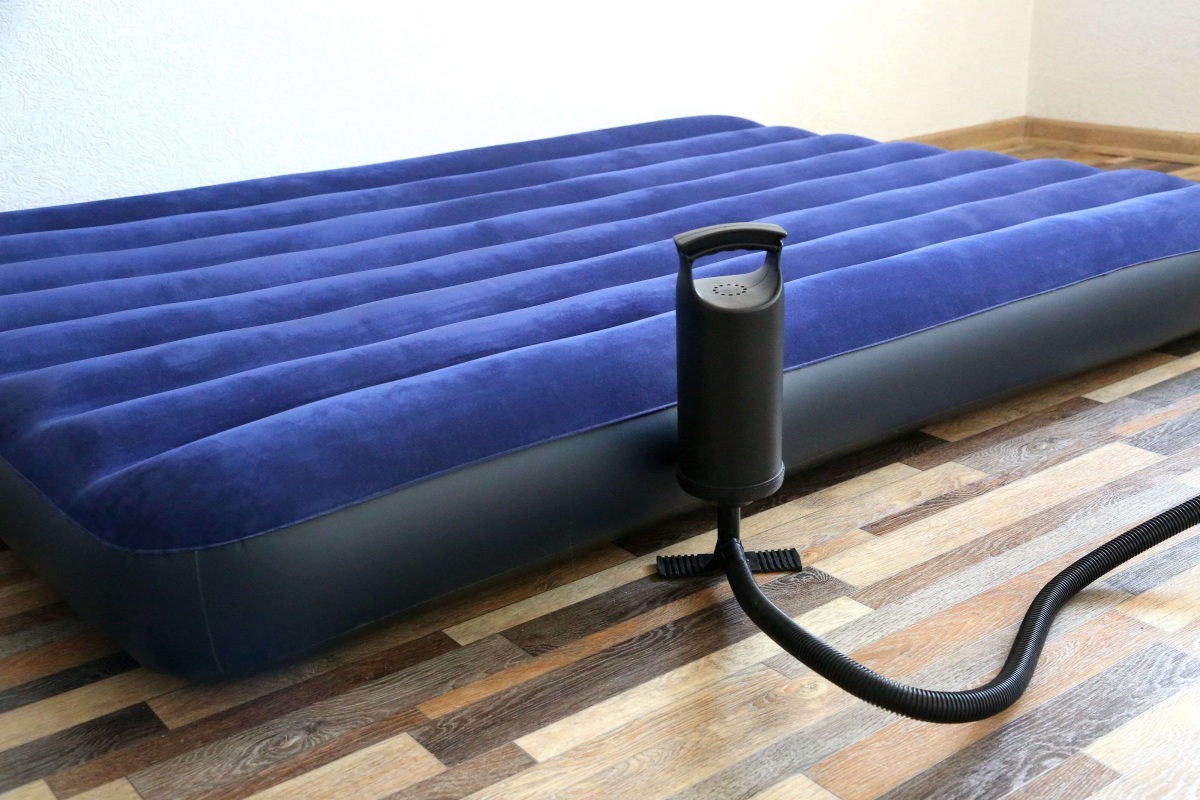
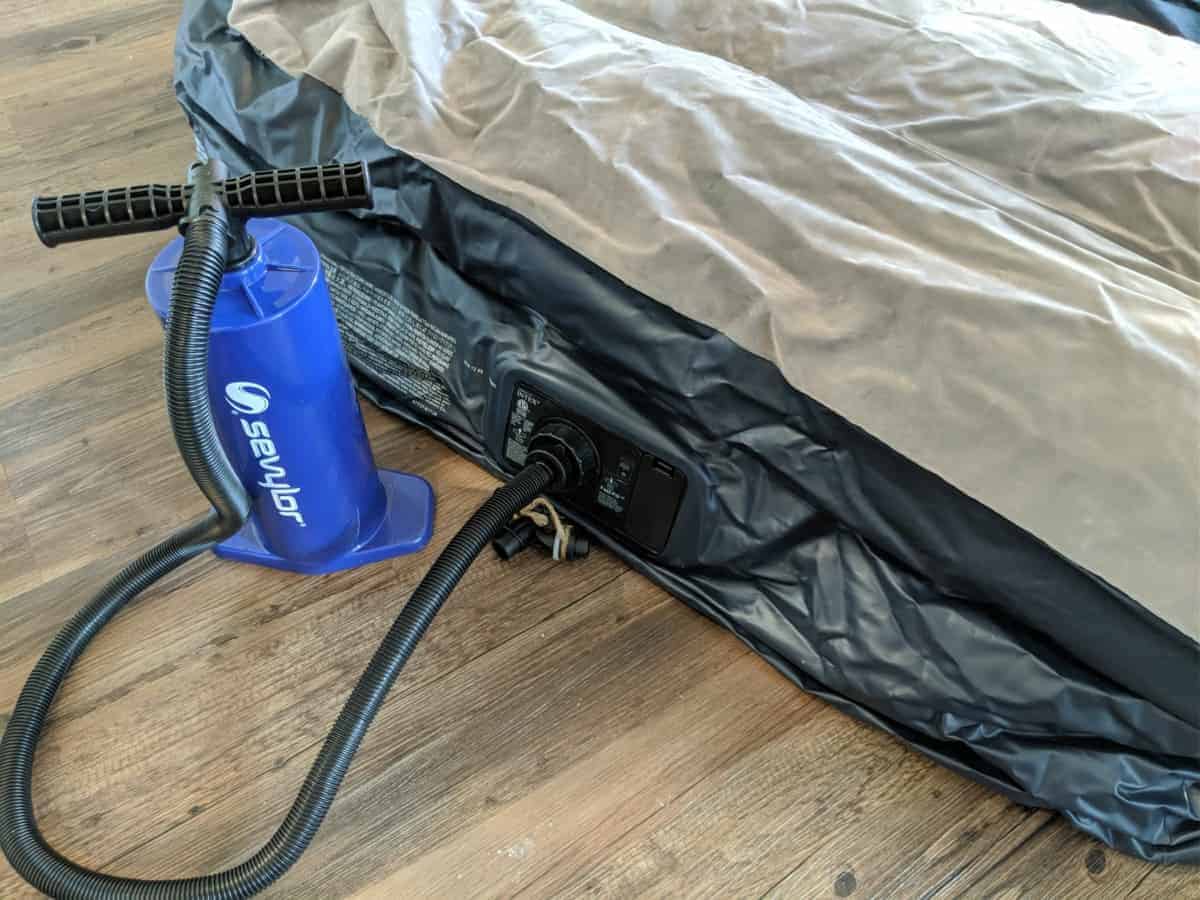
Step 3: Attach the pump to the mattress
Now that you have located the inflation valve on your Ozark Trail air mattress, it’s time to attach the air pump. Properly attaching the pump ensures a secure connection and allows for efficient inflation.
First, ensure that your air pump is in good working condition and that it is compatible with your specific Ozark Trail air mattress model. If you’re unsure, refer to the instruction manual or contact customer support for clarification.
Next, take the end of the pump’s nozzle or hose and insert it into the inflation valve. Depending on the air pump you have, there may be different types of attachments or nozzles available. Choose the one that best fits the inflation valve on your mattress.
Once the nozzle is inserted into the valve, ensure a tight connection. This will prevent any air from escaping and allow for efficient inflation. Check for any signs of air leakage around the connection point, and, if necessary, adjust or tighten the attachment to create a secure seal.
If your air pump has multiple settings or modes, choose the appropriate setting for inflating your Ozark Trail air mattress. Some pumps have a specific option for inflating air mattresses, which can help to maintain the optimal pressure and prevent overinflation.
With the pump securely attached to the mattress and the proper settings selected, you’re now ready to move on to Step 4: inflating the air mattress.
When inflating an Ozark Trail air mattress, make sure to use the correct size of pump or nozzle to ensure a tight seal. This will help to inflate the mattress efficiently and prevent any air leaks.
Step 4: Inflate the air mattress
Now that you have attached the air pump to your Ozark Trail air mattress, it’s time to inflate it. Follow these steps to ensure a successful and comfortable inflation:
- Turn on the air pump: Plug in the pump to a power source and switch it on. The pump will begin to generate airflow.
- Monitor the inflation: As the pump is running, keep an eye on the mattress as it begins to inflate. You will see it gradually fill with air and expand in size.
- Adjust the firmness: To achieve the desired level of firmness, you may need to adjust the air flow. Some air pumps have adjustable settings that allow you to control the rate at which the mattress inflates. Pay attention to the manufacturer’s recommendations for optimum firmness.
- Rotate and distribute air: While inflating, rotate the mattress occasionally to ensure that the air is distributed evenly. This will help prevent any lumps or unevenness in the mattress once it is fully inflated.
- Continue inflating until desired firmness is reached: Inflate the mattress until you reach your desired level of firmness. Keep in mind that overinflating can put excess strain on the seams and reduce the overall comfort of the mattress.
It’s important to note that the time it takes to fully inflate the mattress will vary depending on the size and type of your Ozark Trail air mattress, as well as the power and capacity of your air pump. Be patient and allow the mattress to inflate completely before moving on to the next step.
Once you have achieved the desired firmness, you can proceed to the next step and check the firmness of the mattress.
Read more: How To Inflate A Bestway Air Mattress
Step 5: Check the firmness and adjust if necessary
After inflating your Ozark Trail air mattress, it’s important to check the firmness and make any necessary adjustments. Follow these steps to ensure your mattress provides optimal comfort:
- Press down on the mattress: Apply gentle pressure with your hand or body weight to different areas of the mattress to assess the firmness. The mattress should feel supportive and evenly balanced.
- Adjust the air level: If the mattress feels too firm, you can slightly release some of the air by carefully removing the nozzle or attachment from the inflation valve. Press the valve to release air until you reach the desired level of firmness. If the mattress feels too soft or lacks support, you can use the air pump to add more air and increase the firmness.
- Test for stability: Sit or lie down on the mattress to test its stability. It should provide a sturdy and comfortable surface without excessive sinking or wobbling.
- Check for air leaks: Inspect the inflation valve and all seams for any signs of air leakage. If you notice any leaks, reattach the pump and add more air to the mattress. If the leaks persist, check for any visible damage or contact customer support for assistance.
Remember, finding the perfect level of firmness is subjective and may vary depending on individual preferences. Take the time to adjust and fine-tune the air level to your liking before moving on to the final step.
Once you’re satisfied with the firmness, it’s time to secure the inflation valve to ensure a proper seal and maintain the desired level of inflation.
Step 6: Secure the inflation valve
Now that you have checked the firmness of your Ozark Trail air mattress and made any necessary adjustments, it’s important to secure the inflation valve to ensure a proper seal. Follow these steps to securely close the valve:
- Remove the pump attachment: Carefully detach the pump nozzle or attachment from the inflation valve, ensuring not to disrupt the air pressure inside the mattress.
- Clean and dry the valve: Wipe the inflation valve with a clean, dry cloth to remove any moisture or debris. This will help prevent potential damage to the valve and maintain its effectiveness over time.
- Replace the valve cap or stopper: If your Ozark Trail air mattress came with a cap or stopper for the inflation valve, insert it back into the valve opening. Make sure it fits snugly and creates a tight seal to prevent any air from escaping.
- Double-check the seal: Press down on the valve cap or stopper to ensure it is secure and creates a proper seal. Gently run your hand along the edges of the valve to verify that there are no gaps or leaks.
Securing the inflation valve properly is crucial for maintaining the desired level of inflation. A tight seal will prevent any air from escaping overnight and ensure that your mattress remains firm and supportive for an extended period of time.
Once you have secured the inflation valve, your Ozark Trail air mattress is ready to be enjoyed! Whether it’s for a camping trip, accommodating guests, or providing added comfort at home, your fully inflated and secure mattress will provide a cozy and restful experience.
Remember to store your air mattress in a clean and dry place when not in use. This will help prolong its lifespan and prevent any damage or deterioration.
With these easy-to-follow steps, you’ll be able to inflate and enjoy your Ozark Trail air mattress hassle-free. Happy sleeping!
Conclusion
Congratulations! You have successfully learned how to inflate your Ozark Trail air mattress. By following the step-by-step instructions in this guide, you are now equipped with the knowledge and techniques to ensure a comfortable and effortless inflation process.
Remember to start by gathering all the necessary materials, including your Ozark Trail air mattress, an air pump compatible with your mattress, and a power source. Locate the inflation valve on your mattress and attach the pump securely. Inflate the mattress to your desired level of firmness, making adjustments as needed.
Once the mattress is inflated, check for the optimal firmness, adjust if necessary, and test for stability and air leaks. Finally, secure the inflation valve to maintain the desired level of inflation and ensure a tight seal.
Having a properly inflated Ozark Trail air mattress is not only crucial for a good night’s sleep but also for your overall comfort and well-being. A well-inflated mattress provides proper support, minimizes pressure points, and ensures a restful sleep experience.
Remember to always refer to the instruction manual provided with your specific Ozark Trail air mattress for any additional guidelines or manufacturer recommendations. Additionally, if you encounter any difficulties or have questions during the inflation process, don’t hesitate to reach out to customer support for assistance.
Now, you’re ready to embark on your outdoor adventures, accommodate guests with ease, or enjoy extra comfort in your home with your fully inflated Ozark Trail air mattress. Sweet dreams and happy inflating!
Now that you've mastered inflating your Ozark Trail air mattress, why stop there? Enhance your sleep experience by checking out our latest guide on superior air mattresses. Whether upgrading your current setup or seeking extra comfort for guests, this guide details options that promise restful nights. Don't miss out on finding the perfect sleep solution that fits your needs.
Frequently Asked Questions about How To Inflate Ozark Trail Air Mattress
Was this page helpful?
At Storables.com, we guarantee accurate and reliable information. Our content, validated by Expert Board Contributors, is crafted following stringent Editorial Policies. We're committed to providing you with well-researched, expert-backed insights for all your informational needs.