Home>Furniture>Bedroom Furniture>How To Get Fleas Out Of A Bed
Bedroom Furniture
How To Get Fleas Out Of A Bed
Modified: October 21, 2024
Learn effective ways to remove fleas from your bed and maintain a pest-free bedroom with our expert tips and advice on bedroom-furniture.
(Many of the links in this article redirect to a specific reviewed product. Your purchase of these products through affiliate links helps to generate commission for Storables.com, at no extra cost. Learn more)
Introduction
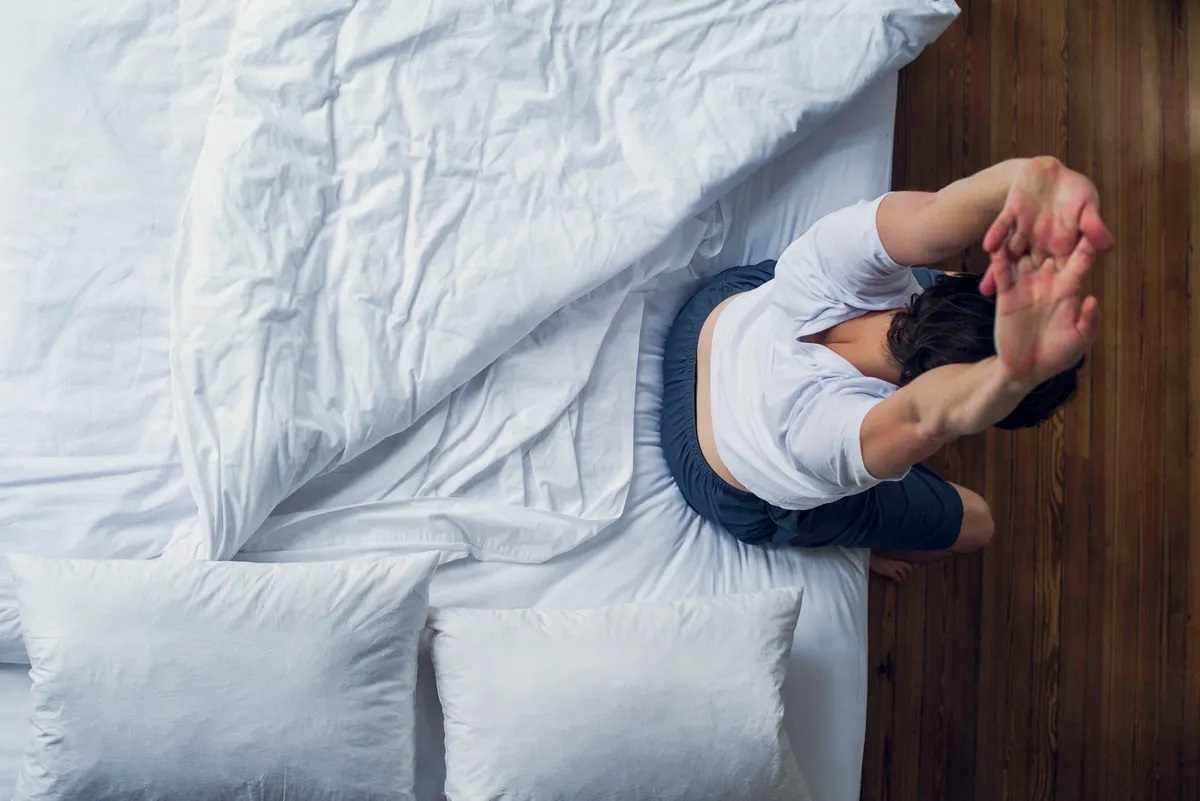
Welcome to our comprehensive guide on how to effectively get rid of fleas from your bed. Discovering fleas in your bed can be a distressing experience, as these tiny pests can disrupt your sleep and cause irritating bites. But fear not! With the right knowledge and proper treatments, you can successfully eliminate fleas from your bed and create a clean and comfortable sleeping environment.
Before we dive into the step-by-step process of removing fleas from your bed, let’s first understand what fleas are and how they end up in your sleeping space.
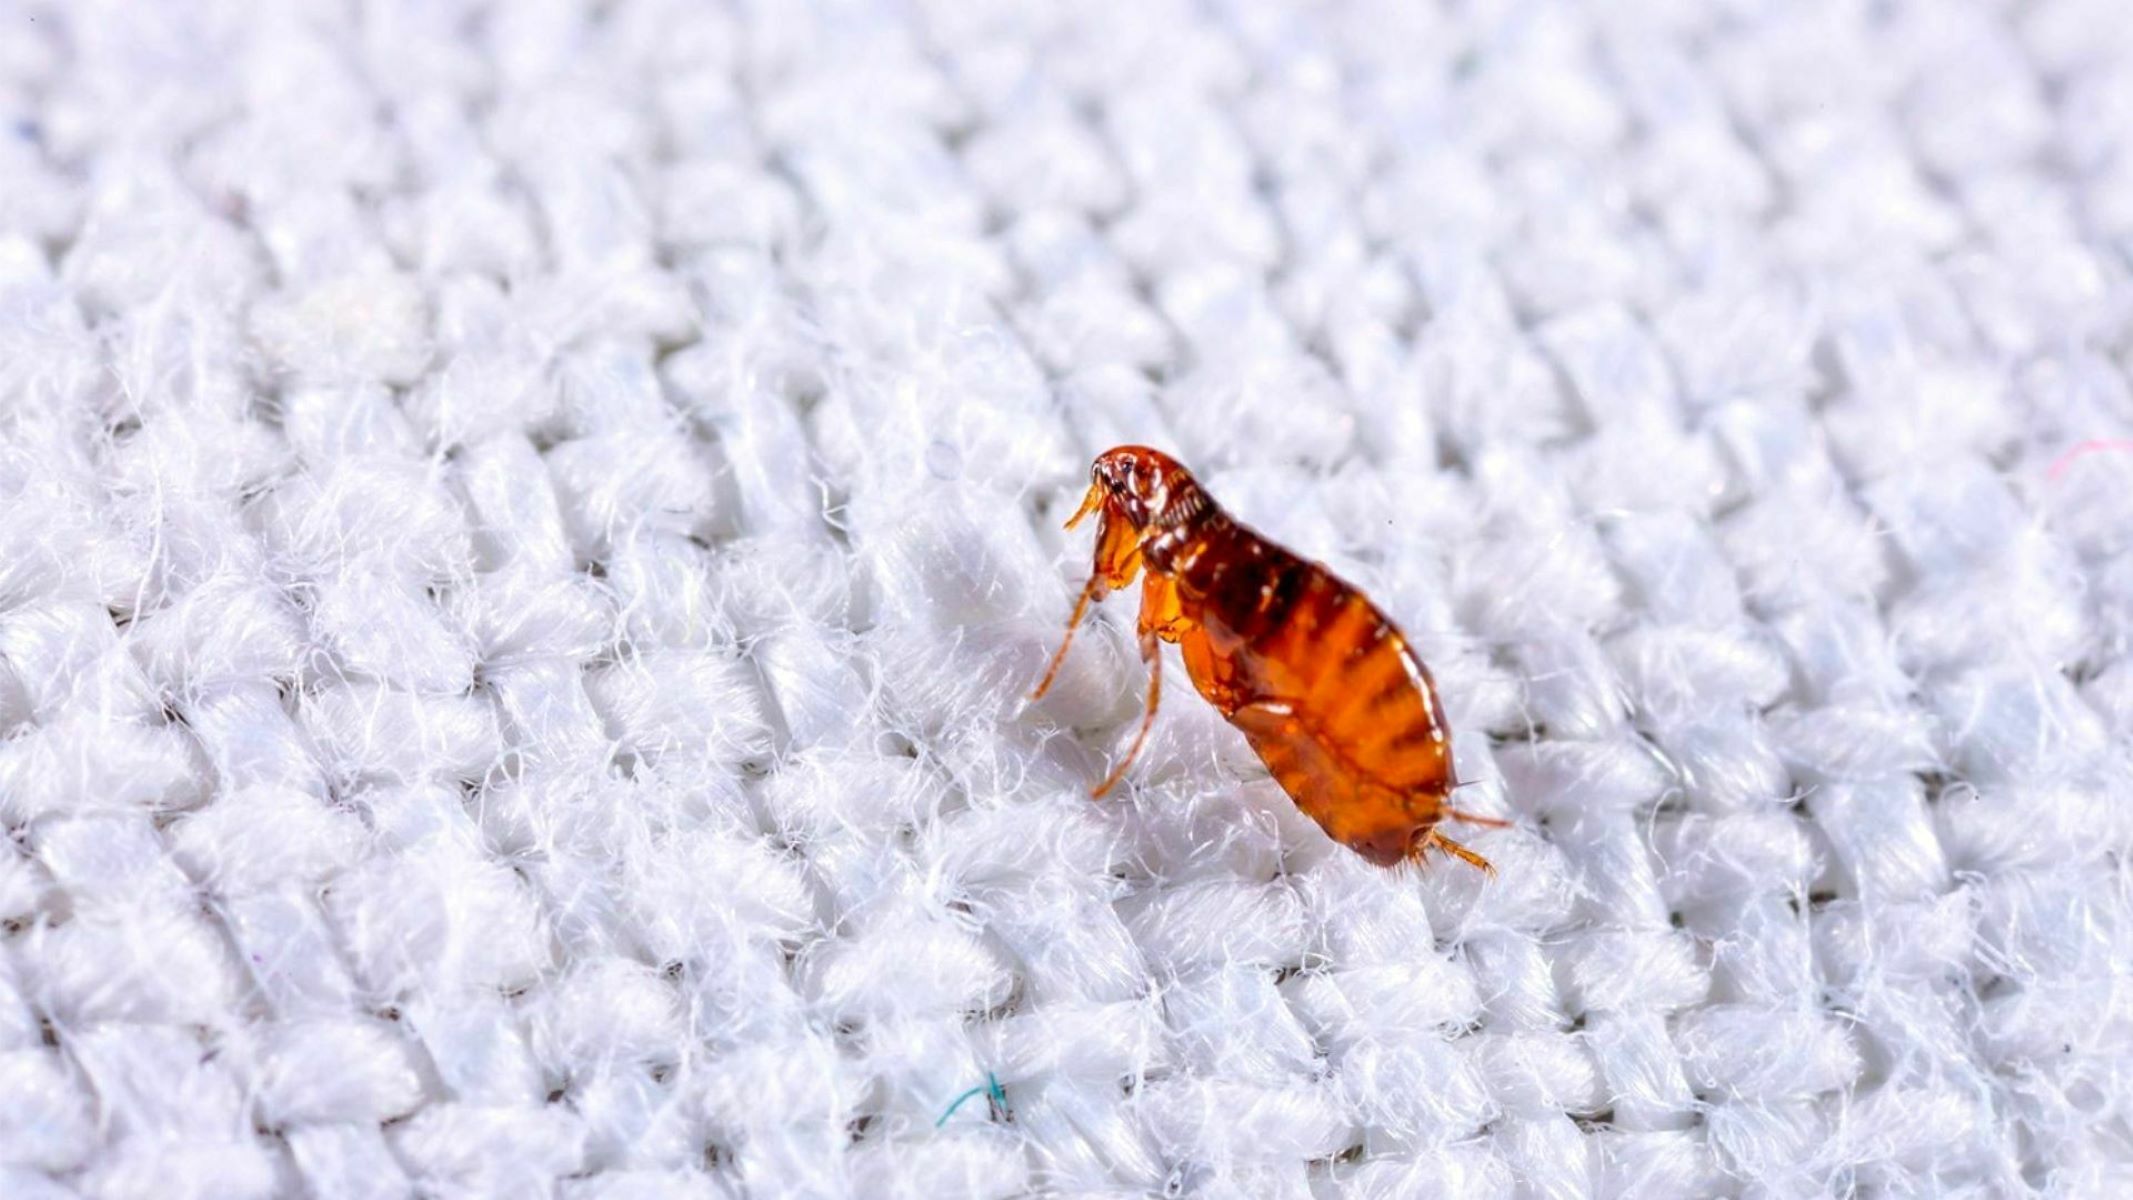
Fleas are small, wingless insects that feed on the blood of warm-blooded animals, including humans. They are notorious for their jumping abilities and can easily move from one host to another. Fleas typically infest pets, such as dogs and cats, but can also find their way into your home and eventually make their way into your bed.
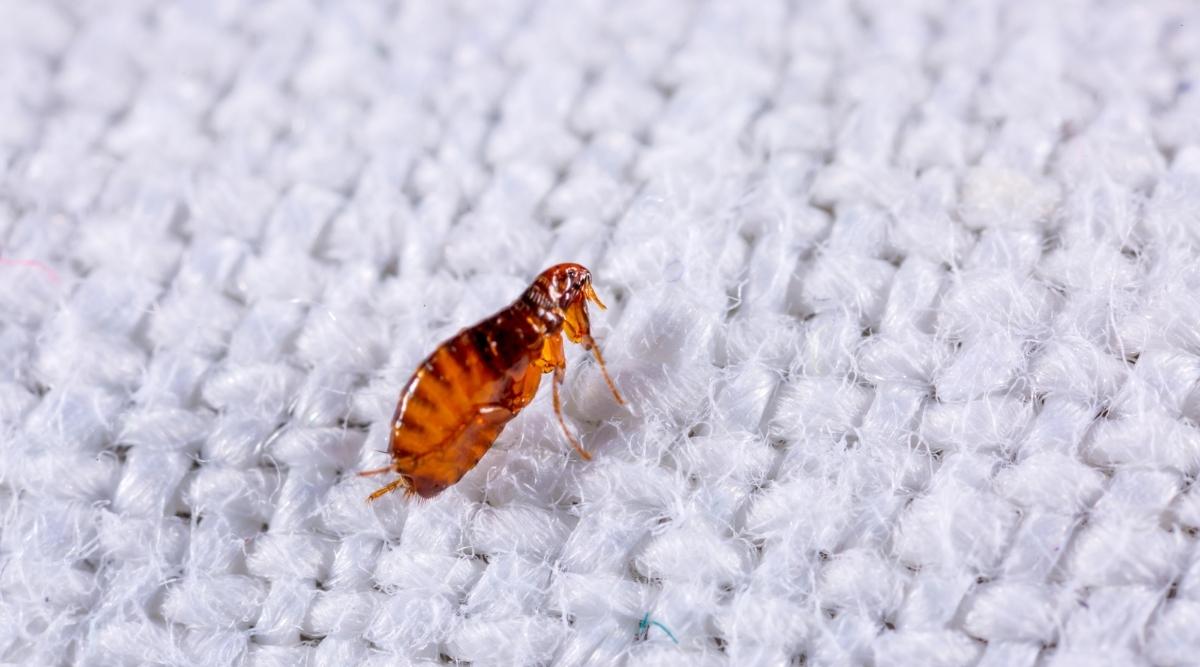
Identifying fleas in your bed is crucial to initiate the appropriate treatment. These pesky creatures are about the size of a sesame seed and have a reddish-brown color. They are incredibly fast and agile, making it difficult to catch them with bare hands.
Now that you have a basic understanding of fleas, let’s move on to the next section and learn how to identify if your bed is infested with these tiny intruders.
Key Takeaways:
- Say goodbye to pesky fleas in your bed by vacuuming, washing bedding, steam cleaning, and using flea sprays or natural remedies. Prevent future infestations with regular cleaning and pet care.
- Understanding fleas’ life cycle and habits is crucial for effective eradication. Combine vacuuming, washing, steam cleaning, and preventive measures to keep your bed flea-free.
Read more: How To Get Rid Of Fleas On Carpet
Understanding Fleas
Before we delve into the process of getting rid of fleas from your bed, it’s essential to have a deeper understanding of these pesky pests. By learning about their life cycle and habits, you’ll be better equipped to tackle the infestation.
Fleas are small, wingless insects that feed on the blood of mammals and birds. The most common type of flea is the cat flea (Ctenocephalides felis), which is often found on cats, dogs, and other furry animals. These fleas can also bite humans and cause discomfort and irritation.
Understanding the life cycle of a flea is crucial to effectively eradicate them from your bed. A flea’s life cycle consists of four stages:
- Egg: Adult fleas lay their eggs on a host, usually a pet or wildlife. These eggs are tiny and hardly visible to the naked eye. They can easily fall off the host and land in various areas, including your bed.
- Larvae: Flea eggs hatch into larvae within a few days. The larvae are tiny, worm-like creatures that avoid light and thrive in dark, humid environments. They feed on organic matter, such as flea feces, skin cells, and other debris found in your bed.
- Pupa: After feeding and growing, the larvae spin a cocoon and enter the pupal stage. The pupa is protected within a sticky outer casing, making it difficult to eliminate. Fleas in the pupal stage can remain dormant for weeks or months.
- Adult: As favorable conditions arise, adult fleas emerge from their cocoons. They are seeking a blood meal to survive and reproduce. Adult fleas can jump onto passing hosts, including pets or humans, and quickly infest their surroundings, including your bed.
Fleas are resilient pests that can survive for several weeks to months without a blood meal. They are prolific breeders, with female fleas capable of laying up to 50 eggs per day. This rapid reproduction cycle makes it essential to act promptly when you discover fleas in your bed.
Now that you have a better understanding of fleas, let’s move on to the next section and learn how to identify if your bed is infested.
Identifying Fleas in a Bed
Identifying fleas in your bed is the first step in tackling a flea infestation. While fleas are small and can be challenging to spot, there are several signs that can indicate their presence in your sleeping space.
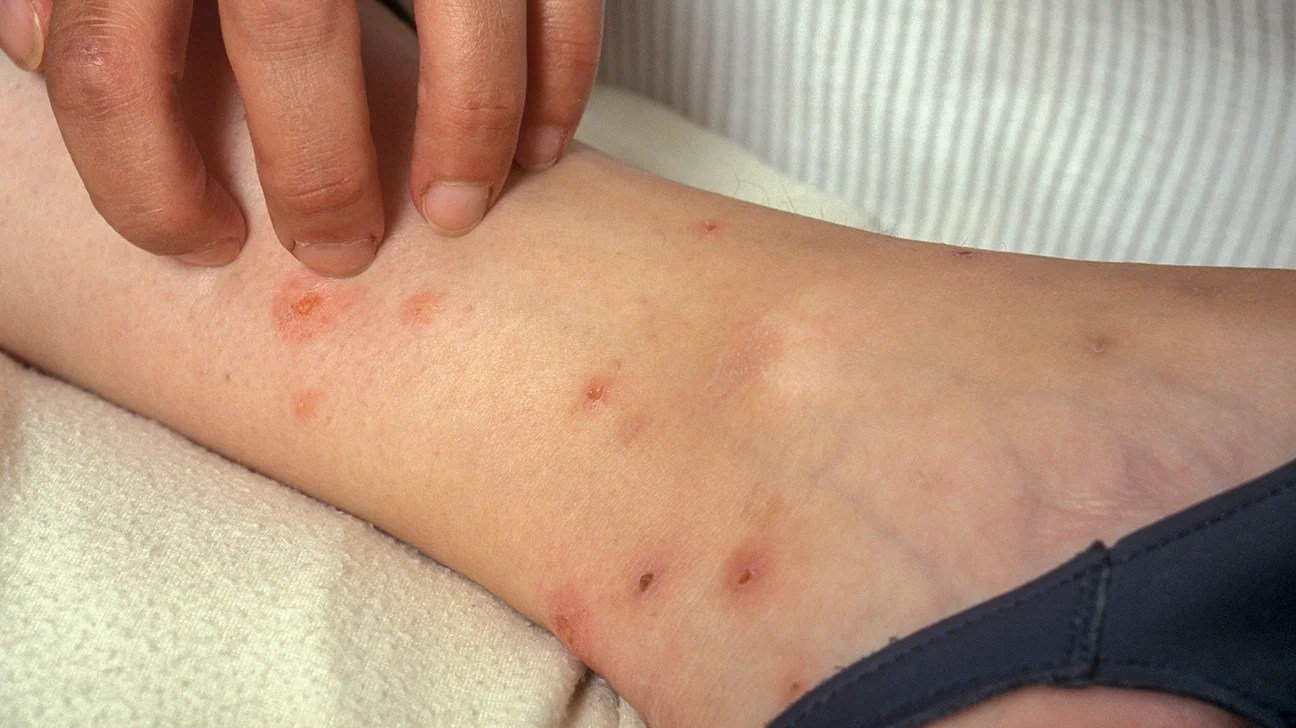
1. Bites and Itching: Flea bites often appear as small, red bumps with a halo around them. They are usually grouped in clusters or lines. If you wake up with itchy bites that are in a pattern, it could be an indication of flea activity in your bed.
2. Flea Dirt: Fleas leave behind their fecal matter, often referred to as flea dirt. Flea dirt looks like tiny black specks (similar to pepper) and can be found on your bedding or in the crevices of your mattress.
3. Flea Eggs and Larvae: Flea eggs are small, oval-shaped white or translucent specks. They are difficult to see with the naked eye but may be visible upon close examination of your bedding or mattress. Flea larvae, on the other hand, are tiny, worm-like creatures that are usually white or off-white in color.
4. Jumping Fleas: If you notice small, jumping insects on your bed or in the surrounding areas, it’s a clear sign of a flea infestation. Fleas are agile and can jump several inches high, allowing them to move quickly from one host to another.
5. Pets Scratching: If you have pets that spend time on your bed, watch for excessive scratching or grooming. Pets are often the carriers of fleas, and their scratching can be a sign of flea activity in your bed.
6. Visible Adult Fleas: In some cases, you may actually see the adult fleas crawling on your bed. This typically happens when the infestation is severe or when you disturb their hiding spots.
If you observe any of these signs, it’s essential to take immediate action to eliminate the fleas from your bed. The following sections will provide you with a step-by-step guide on how to prepare for flea treatment and effectively remove fleas from your bed.
Preparation for Flea Treatment
Before you begin the process of treating your bed for fleas, it’s important to make the necessary preparations to ensure the most effective results. These preparations will help create an environment that maximizes the impact of the treatments and minimizes the chances of reinfestation.
1. Clear the Bed: Remove all bedding, including sheets, pillowcases, blankets, and mattress covers. Place them in a sealed bag to prevent any flea eggs or adult fleas from escaping and infesting other areas of your home.
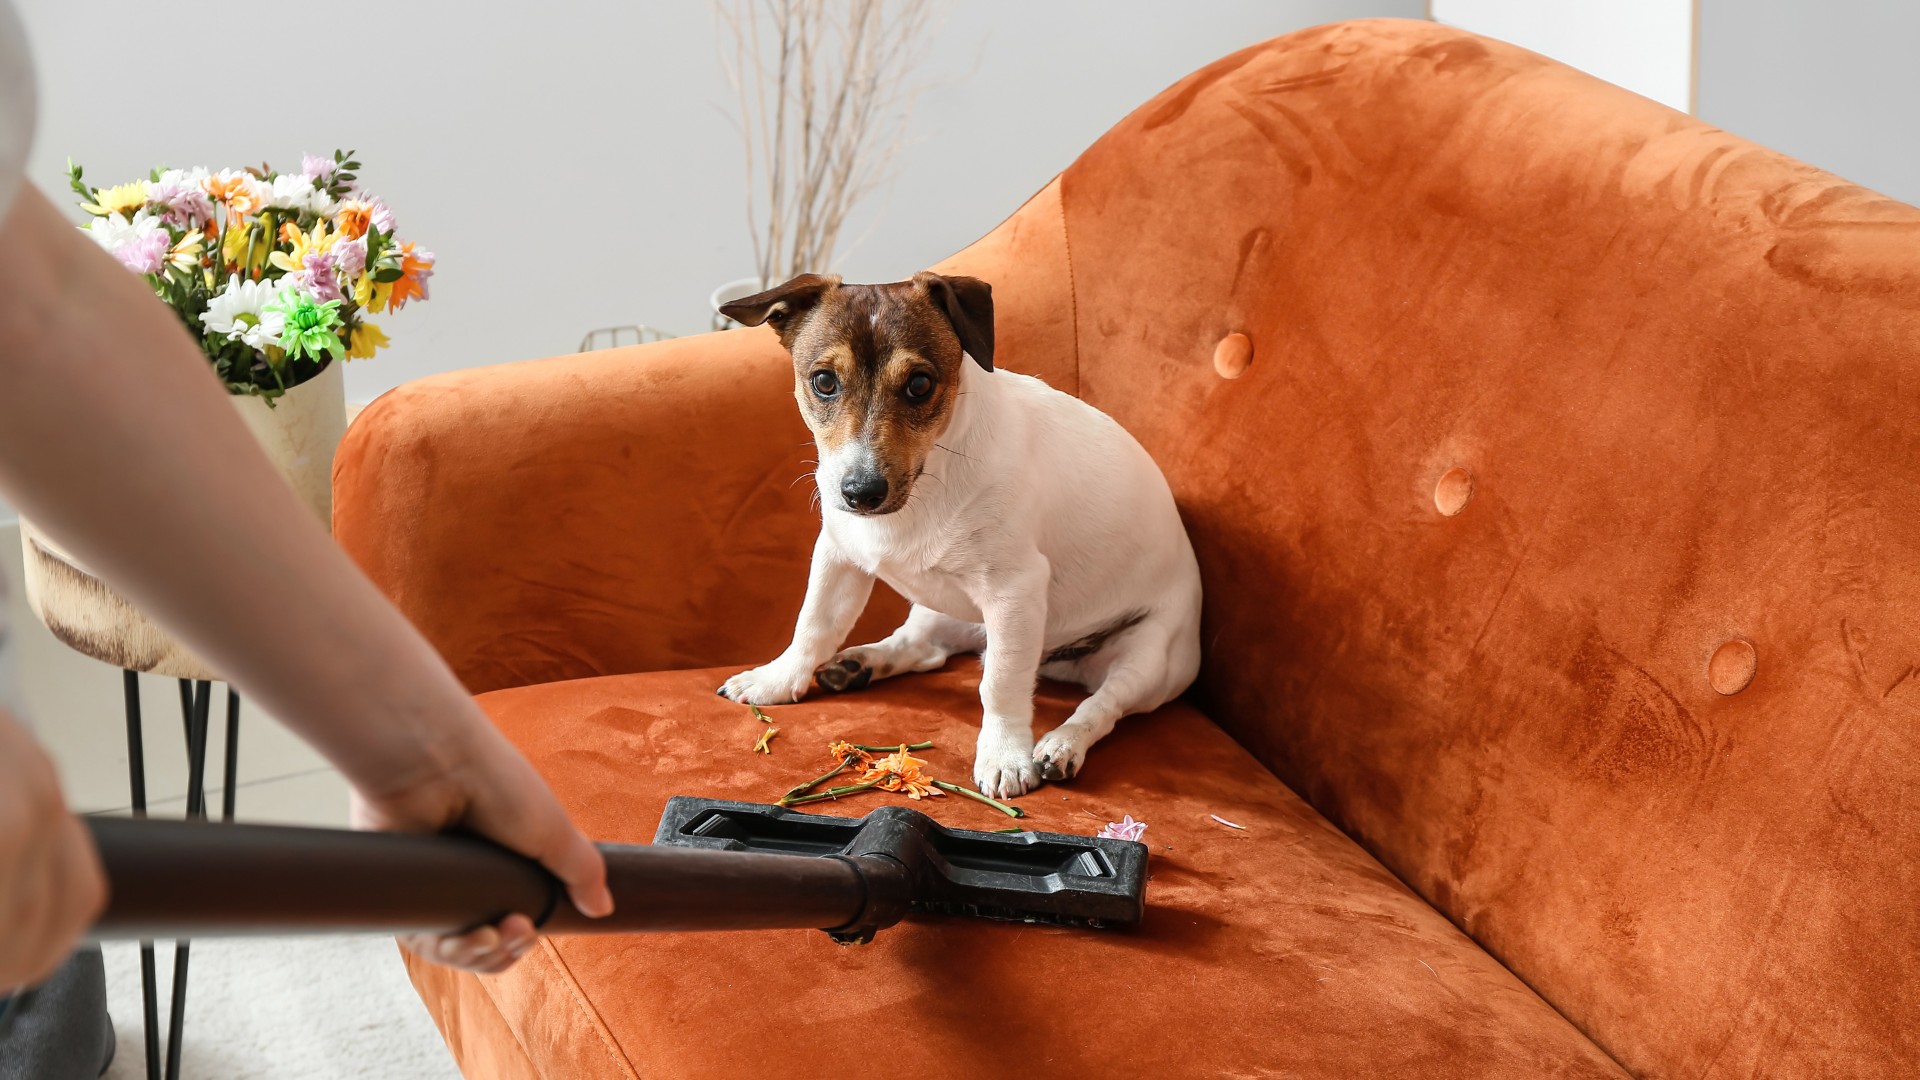
2. Vacuum the Surrounding Area: Use a powerful vacuum cleaner to thoroughly vacuum the area around the bed, including the floor, carpet, and any upholstered furniture. Fleas and their eggs can easily fall off the bed and hide in these areas, so it’s crucial to remove as many as possible before treating the bed.
3. Dispose of Vacuum Bag or Empty Canister: After vacuuming, immediately dispose of the vacuum bag or empty the canister outside of your home. This prevents any captured fleas from reinfesting your living space.
4. Declutter the Room: Remove any unnecessary items from the room that may serve as hiding spots for fleas, such as piles of clothes, toys, or cluttered areas. By reducing the number of potential flea habitats, you make it easier to target the infestation.
5. Seal Cracks and Crevices: Inspect the room for any cracks, crevices, or gaps in the walls, floors, or baseboards. Seal these openings with caulk or other suitable materials to prevent fleas from hiding or laying eggs in these areas.
6. Protect Yourself: Fleas can bite humans and cause irritation, so it’s essential to take protective measures. Wear long sleeves, pants, and gloves while handling infested bedding or treating the bed to minimize the chances of getting bitten.
By following these preparation steps, you create an environment that is primed for effective flea treatment. Now that you’ve completed the necessary preparations, you’re ready to move on to the next steps of vacuuming the bed and removing fleas from your bedding and linens.
Vacuuming the Bed
One of the key steps in eliminating fleas from your bed is thorough vacuuming. Vacuuming not only helps to remove adult fleas, but it also helps to remove flea eggs, larvae, and pupae that may be hiding in the fibers of your mattress, pillows, and other bedding.
Follow these steps to effectively vacuum your bed:
- Remove the Mattress: If your mattress is not one that can be easily vacuumed, remove it from the bed frame and prop it up against a wall.
- Attach the Crevice Tool: Use the crevice tool attachment on your vacuum cleaner. This narrow attachment helps you access tight spaces and crevices where fleas may be hiding.
- Vacuum the Mattress: Starting at the top of the mattress, slowly move the crevice tool along the seams, edges, and tufts of the mattress. Pay extra attention to the areas where your body comes into direct contact with the mattress.
- Vacuum the Box Spring: If your bed has a box spring, vacuum it thoroughly, focusing on the corners and edges where fleas may hide.
- Vacuum the Pillows: Vacuum both sides of your pillows, paying close attention to the seams and edges.
- Vacuum the Bed Frame: Next, vacuum the bed frame, including the headboard, footboard, and any other areas where fleas may be present.
- Dispose of the Vacuum Bag or Empty Canister: After vacuuming, immediately dispose of the vacuum bag or empty the canister outside of your home to prevent any captured fleas from reinfesting your living space.
It’s important to note that vacuuming alone may not eliminate all fleas, especially if the infestation is severe. However, it significantly reduces the population and removes both adult fleas and their eggs, which can disrupt the flea life cycle.
Now that you’ve vacuumed your bed, it’s time to move on to washing your bedding and linens to further eliminate fleas and their eggs.
Read more: How To Get Out Of Bed In The Morning
Washing Bedding and Linens
In order to effectively get rid of fleas in your bed, it’s crucial to wash all bedding and linens that have come into contact with the infested area. This includes sheets, pillowcases, blankets, mattress covers, and any other washable fabrics that are part of your bedding ensemble.
Follow these steps to properly wash your bedding and linens:
- Sort and Separate: Sort your bedding and linens based on color and fabric type. This will help prevent any color bleeding or damage to delicate fabrics.
- Pre-Treat Stains: Inspect your bedding and linens for any visible stains or spots. Pre-treat these areas with a stain remover or detergent to ensure they are properly cleaned.
- Use Hot Water: Set your washing machine to the highest water temperature recommended for the fabric. Hot water helps kill fleas, their eggs, and larvae effectively.
- Add Detergent: Add your preferred laundry detergent to the washing machine according to the manufacturer’s instructions. Make sure to choose a detergent that is effective against fleas and capable of removing any lingering odors.
- Wash in Small Loads: To ensure thorough cleaning, wash your bedding and linens in small loads, allowing enough space for the items to move freely and get properly cleaned.
- Extra Rinse Cycle: Consider running an extra rinse cycle to ensure any soap residues are completely washed away. This is especially important if you or your family members have sensitivities or allergies.
- Dry Thoroughly: After washing, dry your bedding and linens on the highest heat setting recommended for the fabric. The heat will help kill any remaining fleas or eggs. Make sure that everything is completely dry before returning it to your bed.
- Store Clean Items: Once dry, store your clean bedding and linens in a sealed plastic bag or container until your bed is ready for use again. This prevents any reinfestation from occurring.
By washing your bedding and linens, you eliminate any fleas, their eggs, and larvae that may have hitchhiked on these fabrics. This step is crucial in breaking the flea life cycle and ensuring a flea-free sleeping environment.
After washing your bedding and linens, it’s time to address the mattress itself. The next step involves steam cleaning to eliminate any remaining fleas or eggs that may be lurking in the mattress fibers.
Wash all bedding, including the mattress cover, in hot water. Vacuum the mattress and surrounding area thoroughly, then use a flea spray or powder specifically designed for beds. Repeat the process regularly until the fleas are gone.
Steam Cleaning the Mattress
Steam cleaning is an effective method to eliminate fleas and their eggs from your mattress. The high temperature of the steam helps to kill fleas at all stages of their life cycle, including eggs, larvae, and adult fleas.
Follow these steps to properly steam clean your mattress:
- Prepare the Steam Cleaner: Fill the steam cleaner with water according to the manufacturer’s instructions. Ensure that the machine is in good working condition and the attachments are clean.
- Remove Bedding: Strip the bed of all bedding and linens, ensuring that the mattress is completely exposed and ready for steam cleaning.
- Test on a Hidden Area: Before steam cleaning the entire mattress, test the steam cleaner on a small, inconspicuous area to ensure that it does not cause any damage or discoloration to the fabric.
- Steam Clean the Mattress: Starting from the top of the mattress, slowly move the steam cleaner across the surface in a back and forth motion. Pay extra attention to the seams, corners, and edges of the mattress where fleas and eggs may be hiding.
- Steam the Sides and Bottom: Repeat the steam cleaning process on the sides and bottom of the mattress, ensuring that every surface is treated with steam.
- Allow Time to Dry: After steam cleaning, allow the mattress to thoroughly air dry. Ensure proper ventilation in the room to expedite the drying process.
- Protect the Mattress: Once the mattress is completely dry, consider using a mattress cover or protector. This extra layer of protection can help prevent future infestations and keep your mattress clean.
Steam cleaning your mattress helps to kill any remaining fleas, eggs, and larvae that may have survived the vacuuming and washing processes. It’s important to note that steam cleaning alone may not eliminate all fleas in severe infestations, so it’s recommended to combine steam cleaning with other treatment methods for optimal results.
Now that you’ve steam cleaned your mattress, it’s time to explore additional treatment options to address any lingering fleas in your bed and prevent future infestations.
Using Flea Sprays or Powders
Flea sprays or powders can be effective in targeting and eliminating fleas that may still be present in your bed or surrounding areas. These products contain insecticides that specifically target fleas and can help to control the infestation. Here’s how to use flea sprays or powders:
- Choose the Right Product: Select a flea spray or powder that is specifically formulated for indoor use and safe for use on bedding and furniture. Read the label carefully to ensure that it is suitable for your needs.
- Prepare the Room: Remove all bedding, pillows, and other fabrics from the bed and surrounding area. Open windows and allow for proper ventilation while applying the product.
- Follow Safety Guidelines: Wear gloves, a mask, and protective eyewear to avoid direct contact with the product. Follow the safety guidelines provided by the manufacturer to protect yourself and others in the household.
- Apply the Product: Read and follow the instructions on the product label for application. Generally, you will spray or sprinkle the product evenly over the mattress, paying close attention to seams, edges, and any areas where fleas are likely to hide.
- Treat Other Areas: In addition to the mattress, apply the flea spray or powder to the bed frame, headboard, baseboards, and any other areas where you suspect fleas may be present.
- Allow Time to Dry: Give the product enough time to dry completely before returning bedding or other items to the treated area. This ensures that the product can work effectively without staining or damaging fabrics.
- Repeat as Necessary: Depending on the severity of the infestation, you may need to repeat the application of flea spray or powder according to the recommended intervals. Follow the instructions on the product label for proper reapplication.
- Monitor the Results: Keep an eye out for any signs of continued flea activity. If you notice persistent fleas, consult with a professional pest control service for further assistance and guidance.
It’s important to note that while flea sprays and powders can be effective in killing fleas, they may not fully address the root cause of the infestation. It’s crucial to also treat any pets for fleas, thoroughly clean your home, and implement preventive measures to avoid future infestations.
Now that you’ve learned about using flea sprays or powders, let’s explore natural remedies that can be used as alternatives or in conjunction with chemical treatments.
Using Natural Remedies
If you prefer to take a more natural approach to eliminating fleas from your bed, there are several home remedies and natural products that can help repel and control these pesky pests. While these natural remedies may not be as potent as chemical treatments, they can still be effective, especially in mild flea infestations. Here are some natural remedies to consider:
- Diatomaceous Earth: Diatomaceous earth is a powdery substance composed of fossilized remains of tiny organisms. Sprinkle food-grade diatomaceous earth around your mattress, paying attention to areas where fleas are likely to hide. The diatomaceous earth is abrasive to fleas and dehydrates them, ultimately killing them.
- Baking Soda: Baking soda is known for its deodorizing properties and can help eliminate odors associated with fleas. Sprinkle baking soda over your mattress and let it sit for a few hours before vacuuming it up. This can help absorb moisture and discourage flea infestation.
- Lemon Spray: Create a homemade lemon spray by boiling sliced lemons in water for several minutes. Let the solution cool, then transfer it to a spray bottle. Spray the lemon solution lightly on your mattress and bedding, as the scent can repel fleas. However, be cautious when using acidic lemon juice on delicate fabrics.
- Lavender Oil: Fleas dislike the smell of lavender, so using lavender oil can help repel them. Dilute a few drops of lavender oil in water and spray it around your bed and room. You can also add a few drops of lavender oil to your laundry when washing your bedding to help deter fleas.
- Salt: Salt acts as a natural desiccant, dehydrating fleas and causing them to die. Sprinkle table salt or sea salt on your mattress and let it sit for a few days. Vacuum thoroughly afterward to remove the salt and dead fleas. Remember to perform a patch test in an inconspicuous area to ensure that the salt does not damage or stain your mattress.
While natural remedies can be effective to some extent, it’s important to note that they may not eliminate a severe flea infestation entirely. For moderate to severe infestations, it’s recommended to combine natural remedies with other treatment methods, such as vacuuming, washing bedding, and using chemical products if necessary.
As with any treatment method, it’s crucial to monitor the results and take proactive measures to prevent future flea infestations. Regular vacuuming, maintaining cleanliness, and treating pets for fleas can all help reduce the risk of future infestations.
Now that you’re familiar with natural remedies, let’s discuss preventive measures to keep your bed and sleeping area flea-free.
Read more: How To Get Stains Out Of A Bed
Preventing Future Flea Infestations
Once you’ve successfully eliminated fleas from your bed, it’s important to take preventive measures to avoid future infestations. By implementing these preventive measures, you can help maintain a flea-free environment and ensure a peaceful and comfortable sleep. Here’s what you can do:
- Treat Your Pets: Since pets are commonly the source of fleas, it’s crucial to regularly treat your pets with flea prevention products recommended by your veterinarian. This helps to prevent fleas from infesting your home and bed.
- Vacuum Regularly: Regular vacuuming not only removes dirt and debris but also helps to eliminate any stray fleas or eggs that may find their way onto your floors or bedding. Vacuum your bed, carpets, and furniture frequently, paying attention to areas where pets often rest.
- Wash Bedding Frequently: Wash your bedding, including sheets, pillowcases, and blankets, on a regular basis. Using hot water can help kill any lingering fleas or eggs that may be present. Dry bedding in the dryer on a high heat setting to further eliminate fleas.
- Use Bedding Protection: Consider using mattress covers, pillow protectors, and bed bug-proof encasements to create a physical barrier against fleas. These covers can help prevent fleas from infesting your mattress and make it easier to spot and eliminate any potential infestations.
- Keep Your Sleeping Area Clean: Regularly dust, sweep, and mop your bedroom to remove any potential hiding spots for fleas and their eggs. Pay attention to areas around your bed, baseboards, and corners where fleas may hide.
- Inspect Secondhand Furniture: If you bring secondhand furniture into your home or bedroom, thoroughly inspect it for any signs of fleas or infestation. This includes examining crevices, upholstery, and seams. Treating the furniture with flea sprays or powders before use can provide an added layer of protection.
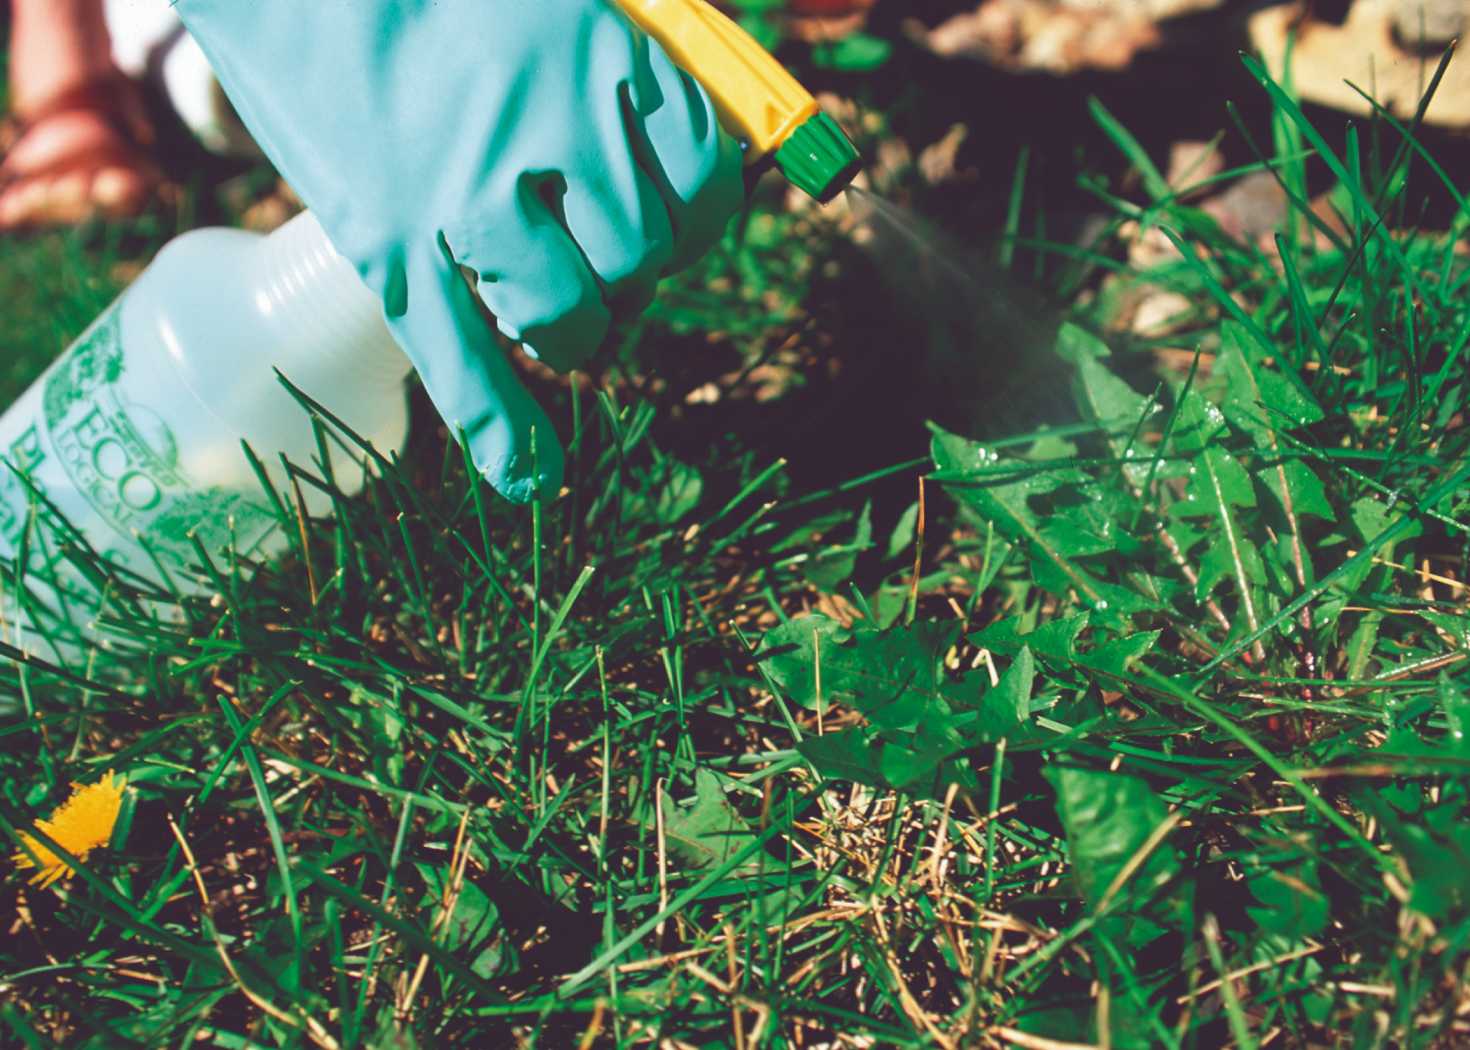
- Keep Outdoor Fleas Away: Minimize the chances of outdoor fleas finding their way into your home by maintaining a well-groomed yard. Trim bushes and shrubs, regularly mow the lawn, and treat your outdoor area with flea repellents if necessary.
- Consider Professional Pest Control: If you have recurrent or severe flea infestations, it may be best to seek professional help from a pest control service. They can provide targeted treatments and advice to effectively eliminate fleas and prevent future infestations.
By following these preventive measures, you can significantly reduce the risk of future flea infestations in your bed and home. Consistency and vigilance are key to maintaining a flea-free sleeping space for you and your family.
Now that you are equipped with the knowledge and strategies to prevent future infestations, you can enjoy a clean and flea-free bed. Remember to stay proactive and address any signs of fleas promptly to prevent them from turning into a full-blown infestation.
With these steps, you are well on your way to creating a cozy and pest-free environment for a restful night’s sleep!
Conclusion
Dealing with fleas in your bed can be a frustrating and uncomfortable experience. However, with the right knowledge and proper treatment methods, you can effectively eliminate these pests and create a clean and peaceful sleeping environment.
In this comprehensive guide, we have explored various steps to help you get rid of fleas from your bed. We started by understanding the nature of fleas and how they infest your sleeping space. We then discussed how to identify the presence of fleas in your bed and the importance of preparation before flea treatment.
We walked you through the process of vacuuming your bed to remove fleas, eggs, and larvae. We also emphasized the importance of washing all bedding and linens to eliminate any flea remnants. Additionally, we covered the method of steam cleaning your mattress to ensure thorough eradication of fleas in its fibers.
We then explored the use of flea sprays or powders, as well as natural remedies to repel and control fleas in your bed. While chemicals can be effective, we highlighted natural alternatives that can be used in conjunction with or as alternatives to chemical treatments.
Lastly, we discussed preventive measures to help prevent future flea infestations. By treating your pets regularly, maintaining cleanliness, and being proactive in protecting your sleeping area, you can significantly reduce the risk of future flea problems.
Remember, fleas can be persistent, and it may take multiple approaches and diligent efforts to completely eliminate them. If the infestation persists or worsens, it’s important to seek professional help from a pest control service.
By following the steps and tips outlined in this guide, you can regain control over your bed and enjoy a peaceful, flea-free sleep. Take action, be proactive, and say goodbye to those pesky fleas for good!
Frequently Asked Questions about How To Get Fleas Out Of A Bed
Was this page helpful?
At Storables.com, we guarantee accurate and reliable information. Our content, validated by Expert Board Contributors, is crafted following stringent Editorial Policies. We're committed to providing you with well-researched, expert-backed insights for all your informational needs.