Home>Gardening & Outdoor>Landscaping Ideas>How To Clean Out A Garden Bed
Landscaping Ideas
How To Clean Out A Garden Bed
Modified: February 27, 2024
Learn effective landscaping ideas for cleaning out garden beds and creating a fresh, vibrant outdoor space. Discover expert tips and techniques for a successful garden makeover.
(Many of the links in this article redirect to a specific reviewed product. Your purchase of these products through affiliate links helps to generate commission for Storables.com, at no extra cost. Learn more)
Introduction
When it comes to maintaining a vibrant and healthy garden, cleaning out the garden bed is an essential task that sets the stage for successful growth and flourishing plants. Over time, garden beds can become overrun with weeds, debris, and compacted soil, hindering the optimal growth of your beloved plants. By following a few simple steps, you can revitalize your garden bed and create an ideal environment for your plants to thrive.
Cleaning out a garden bed is not just about tidying up the space; it's about creating a nurturing environment for your plants to flourish. This process involves removing weeds, clearing debris, loosening the soil, adding nutrient-rich compost, and mulching the bed. Each step plays a crucial role in preparing the garden bed for new plantings or rejuvenating existing ones.
As you embark on this journey to clean out your garden bed, envision the transformation that will take place. Picture the vibrant blooms, the lush foliage, and the bountiful harvest that will result from your efforts. By investing time and care into this process, you are laying the groundwork for a thriving garden that will bring joy and beauty to your outdoor space.
So, roll up your sleeves, grab your gardening tools, and let's dive into the step-by-step process of cleaning out a garden bed. With a little dedication and a touch of green-thumb magic, you'll soon have a garden bed that's ready to support the growth of your favorite plants.
Key Takeaways:
- Clearing out a garden bed involves removing weeds, clearing debris, loosening the soil, adding compost, and mulching. This creates a nurturing environment for plants to thrive and bloom.
- By investing time and care into cleaning out a garden bed, you’re laying the groundwork for a thriving garden that will bring joy and beauty to your outdoor space.
Read more: How To Keep A Dog Out Of A Garden Bed
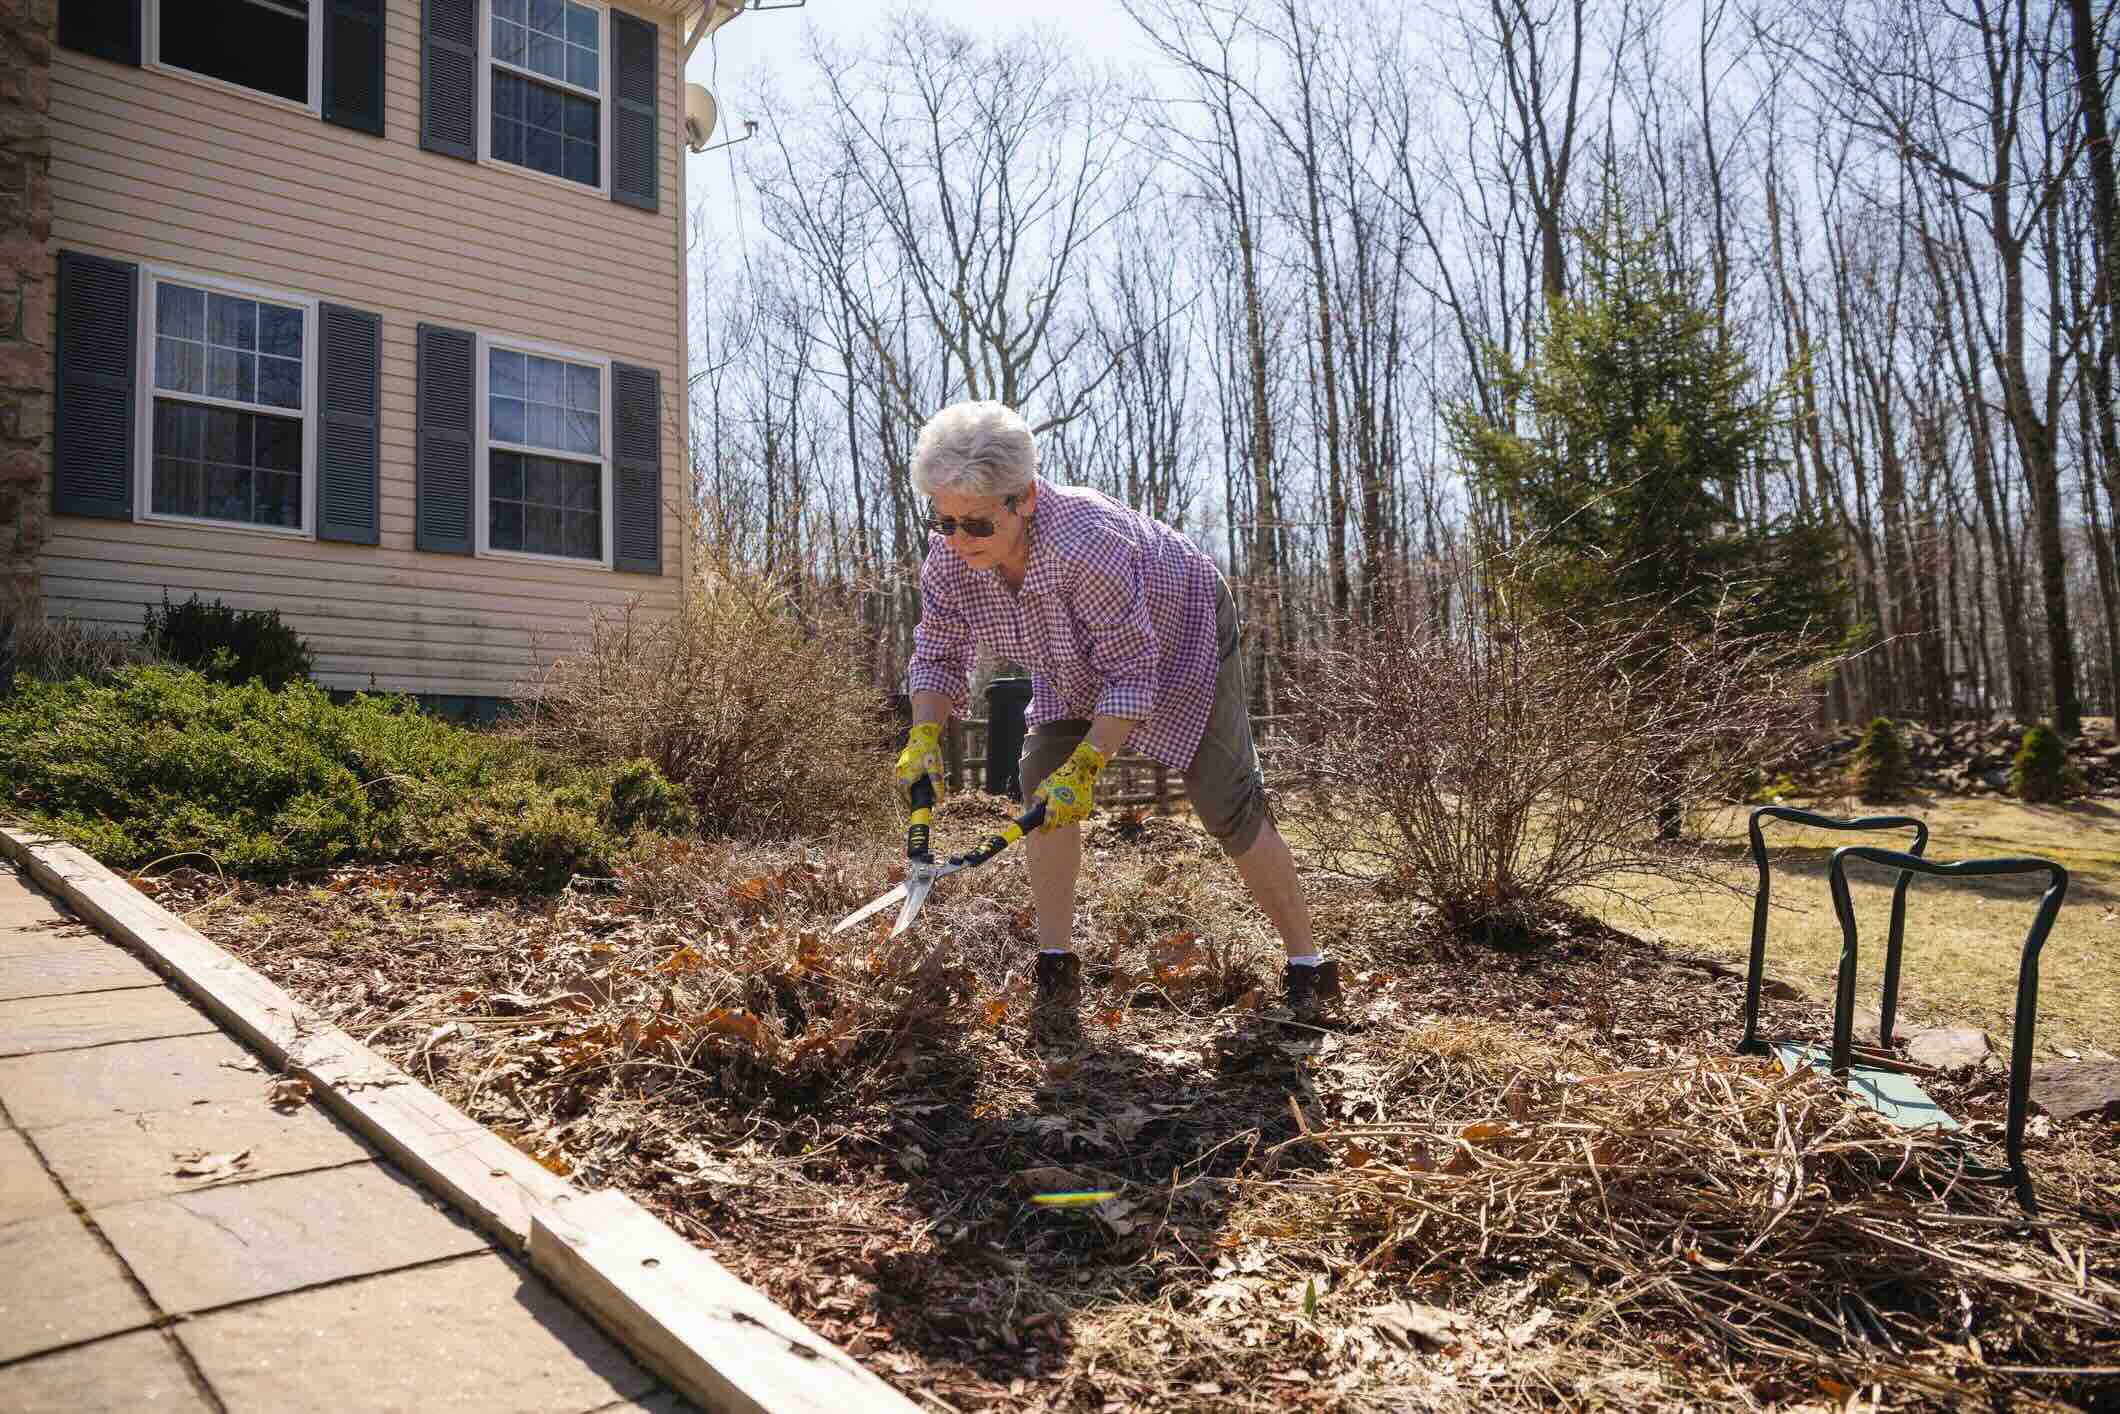
Step 1: Remove Weeds
Weeds are the unwelcome guests in any garden bed, competing with your plants for essential nutrients, water, and sunlight. Removing weeds is the crucial first step in cleaning out a garden bed and creating an optimal environment for your plants to thrive.
To begin, arm yourself with a sturdy pair of gardening gloves and a hand trowel. Approach the task with a keen eye, carefully identifying and targeting the weeds that have taken root in the garden bed. It's important to grasp the weeds as close to the soil as possible to ensure that you remove the entire plant, including the roots.
As you work your way through the garden bed, take the time to inspect the soil and identify any persistent weeds that may have deep or extensive root systems. These tenacious intruders may require a bit of extra effort to uproot completely. A hand weeder or garden fork can be invaluable tools for tackling stubborn weeds, allowing you to loosen the soil and extract the roots with precision.
While removing the weeds, it's essential to exercise caution and avoid disturbing the surrounding soil and desirable plants. By taking a methodical and deliberate approach, you can effectively clear the garden bed of weeds while minimizing disruption to the existing plantings.
Once the weeds have been removed, take a moment to admire the clean, weed-free expanse of soil that now awaits the next steps in the garden bed revitalization process. With the weeds banished, your plants will have the opportunity to flourish without the stifling competition from these invasive interlopers.
By diligently removing weeds from your garden bed, you are not only enhancing the visual appeal of the space but also creating a healthier and more hospitable environment for your plants. This proactive measure sets the stage for the subsequent steps in the cleaning process, ensuring that your garden bed is primed for the infusion of nourishment and care that will support robust plant growth.
As you proceed to the next phase of cleaning out the garden bed, take pride in the accomplishment of banishing the weeds and look forward to the transformation that awaits as you continue to rejuvenate and prepare the space for the upcoming planting season.
Step 2: Clear Debris
After successfully removing the weeds, the next crucial step in cleaning out a garden bed is to clear away any accumulated debris. Debris such as fallen leaves, twigs, and other organic matter can hinder the healthy growth of plants and create an unsightly appearance in the garden bed. By diligently clearing the debris, you are not only enhancing the aesthetic appeal of the space but also creating a clean canvas for your plants to thrive.
Begin the debris-clearing process by gently raking through the garden bed, being mindful not to disturb the soil excessively. As you work, take the opportunity to inspect the debris closely, identifying any remnants of weeds or invasive plants that may have been missed during the initial weeding process. By meticulously combing through the debris, you can ensure that the garden bed is thoroughly cleared of any potential obstacles to your plants' growth.
In addition to organic debris, it's important to also remove any inorganic materials that may have found their way into the garden bed, such as plastic wrappers, stray pieces of metal, or other non-biodegradable items. These foreign objects not only detract from the natural beauty of the garden bed but can also pose a hazard to plants and wildlife. By meticulously clearing the space of both organic and inorganic debris, you are creating a safe and nurturing environment for your plants to thrive.
As you work through the garden bed, take a moment to appreciate the transformation taking place. With each handful of debris cleared away, you are uncovering the potential of the space, setting the stage for a vibrant and flourishing garden bed. The act of clearing debris is not just a physical task; it's a symbolic gesture of renewal and preparation, signaling the garden bed's readiness to embrace new life and growth.
Once the debris has been cleared, take a step back and admire the clean, unobstructed expanse of soil that now awaits the next phase of revitalization. The garden bed is now a blank canvas, primed and ready to receive the nourishment and care that will support the thriving growth of your plants. With the debris cleared, the garden bed is poised to become a haven of natural beauty and vitality, a testament to your dedication and stewardship of the land.
As you proceed to the subsequent steps in the garden bed cleaning process, carry with you the satisfaction of having cleared away the debris, knowing that you have created an optimal environment for your plants to flourish. The diligent effort invested in this step will lay the groundwork for the garden bed's transformation into a vibrant and bountiful oasis of greenery and life.
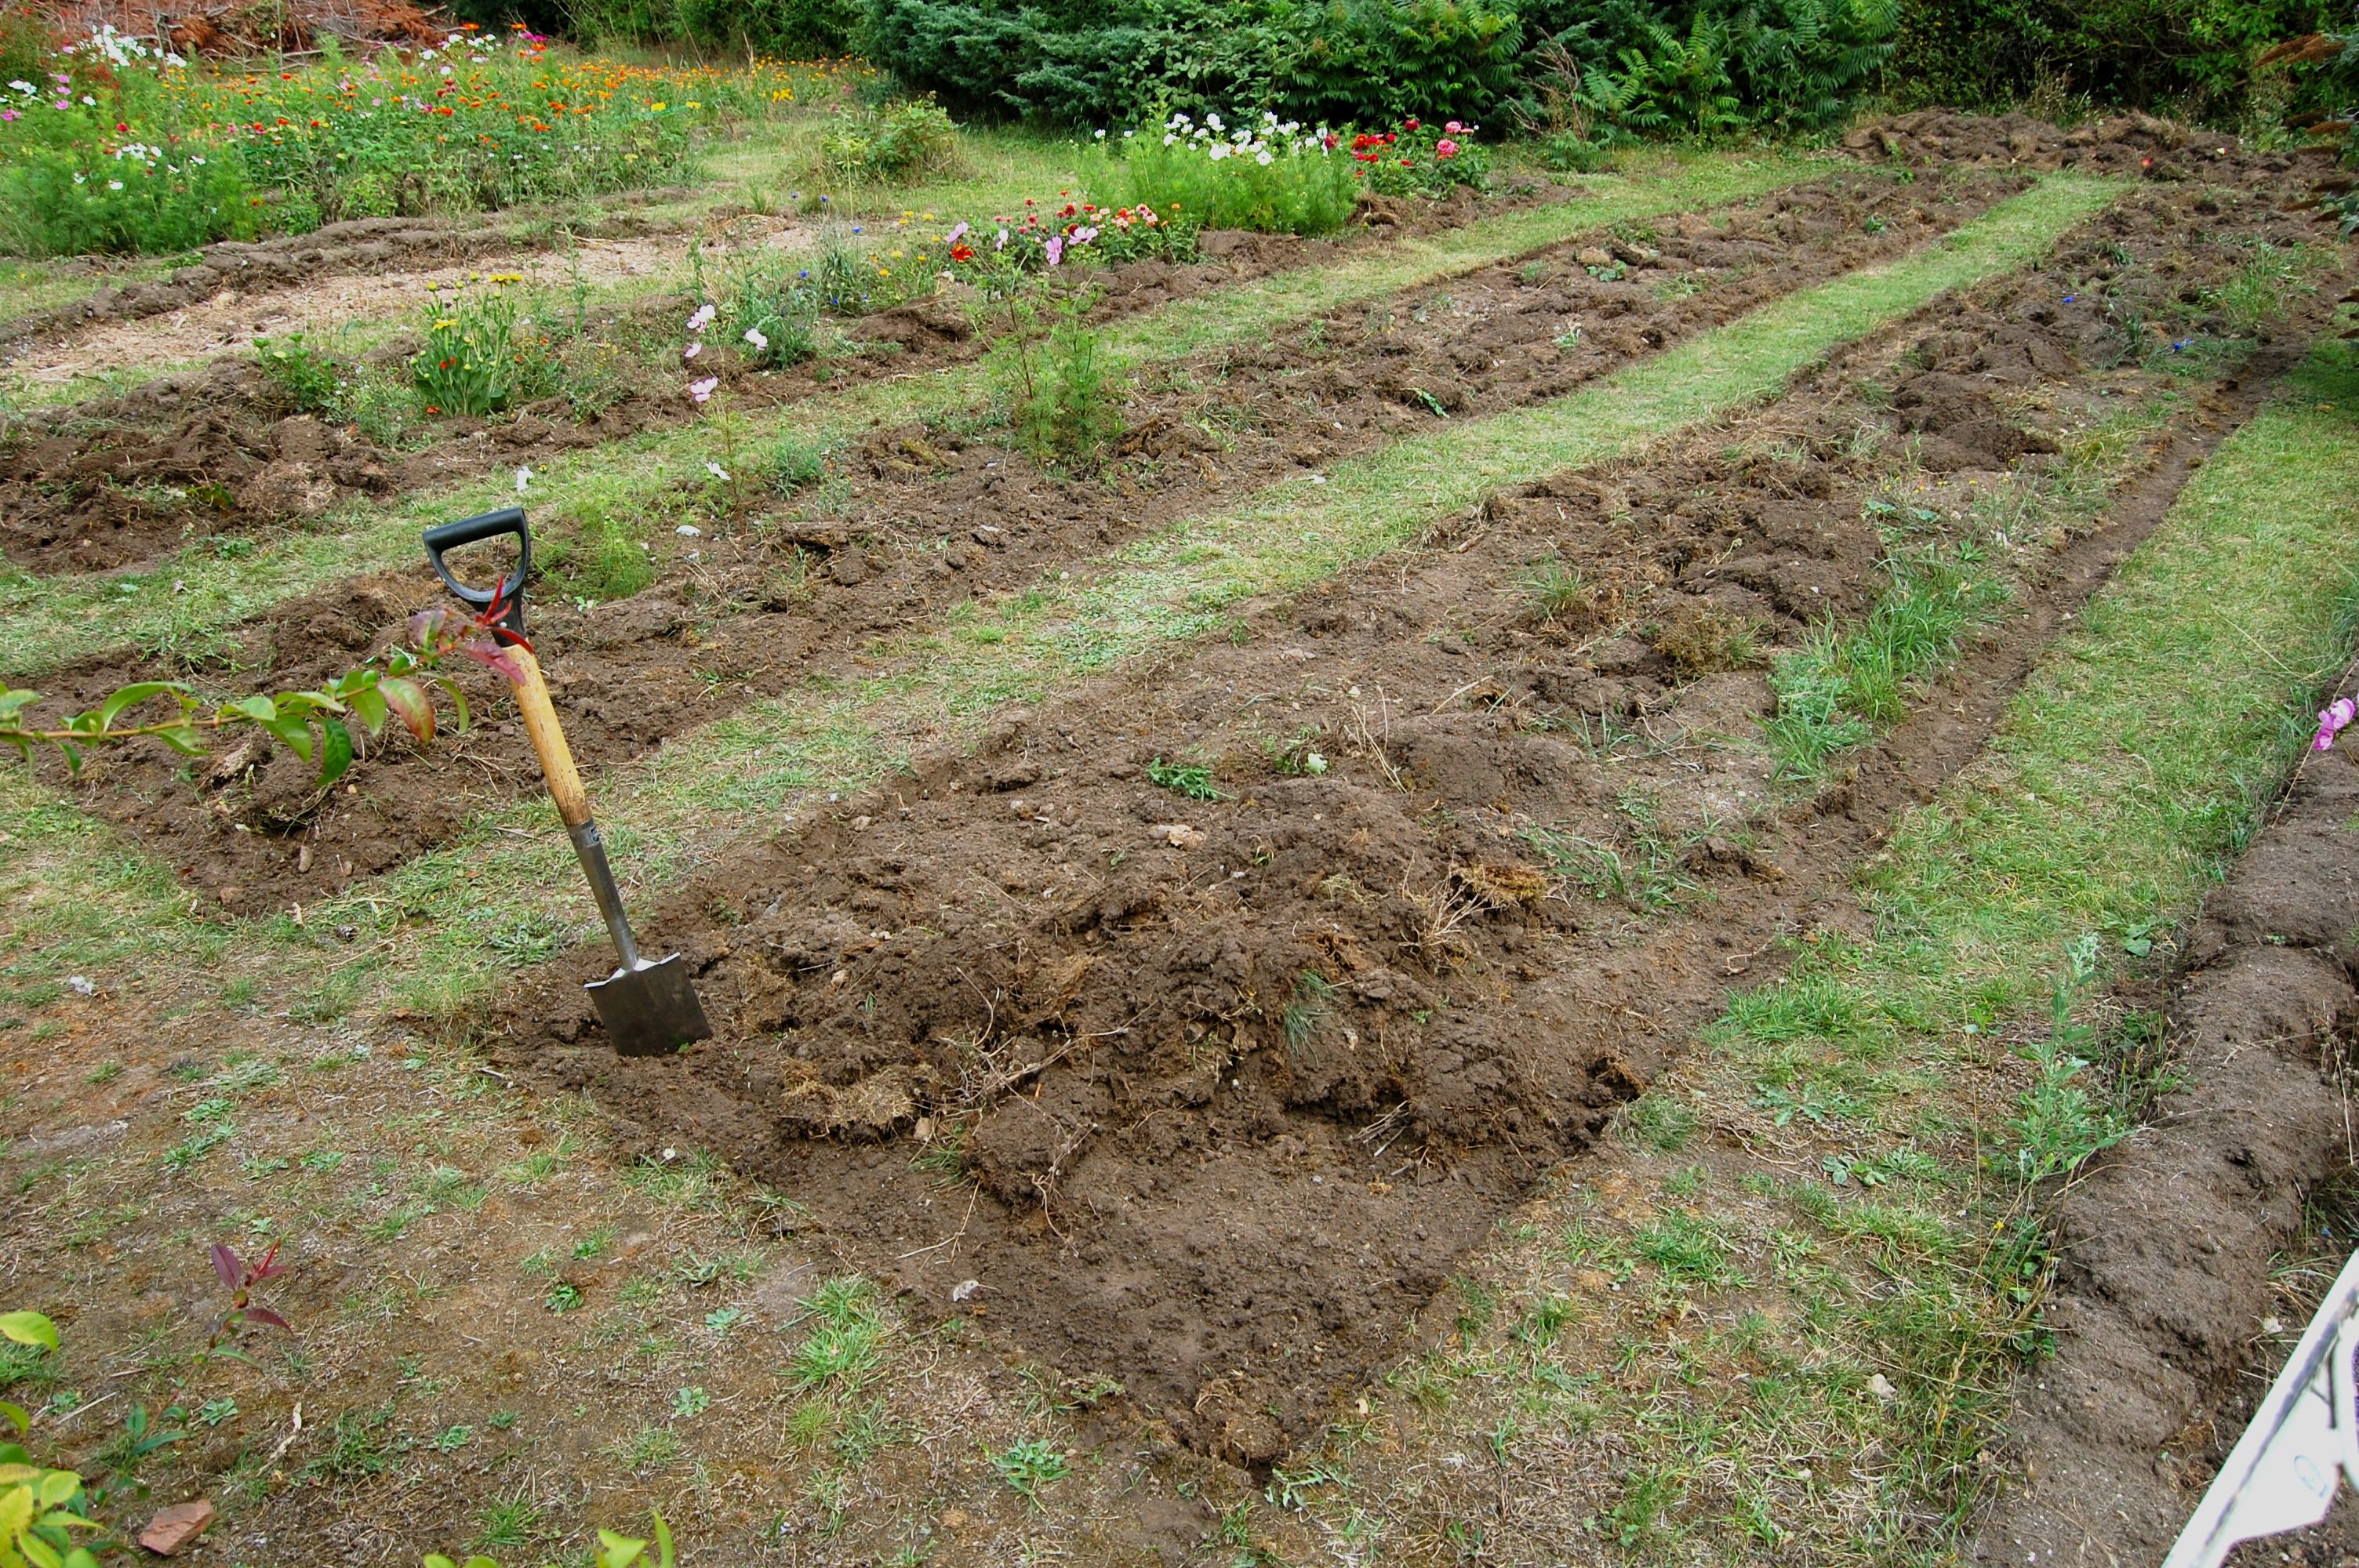
Step 3: Loosen Soil
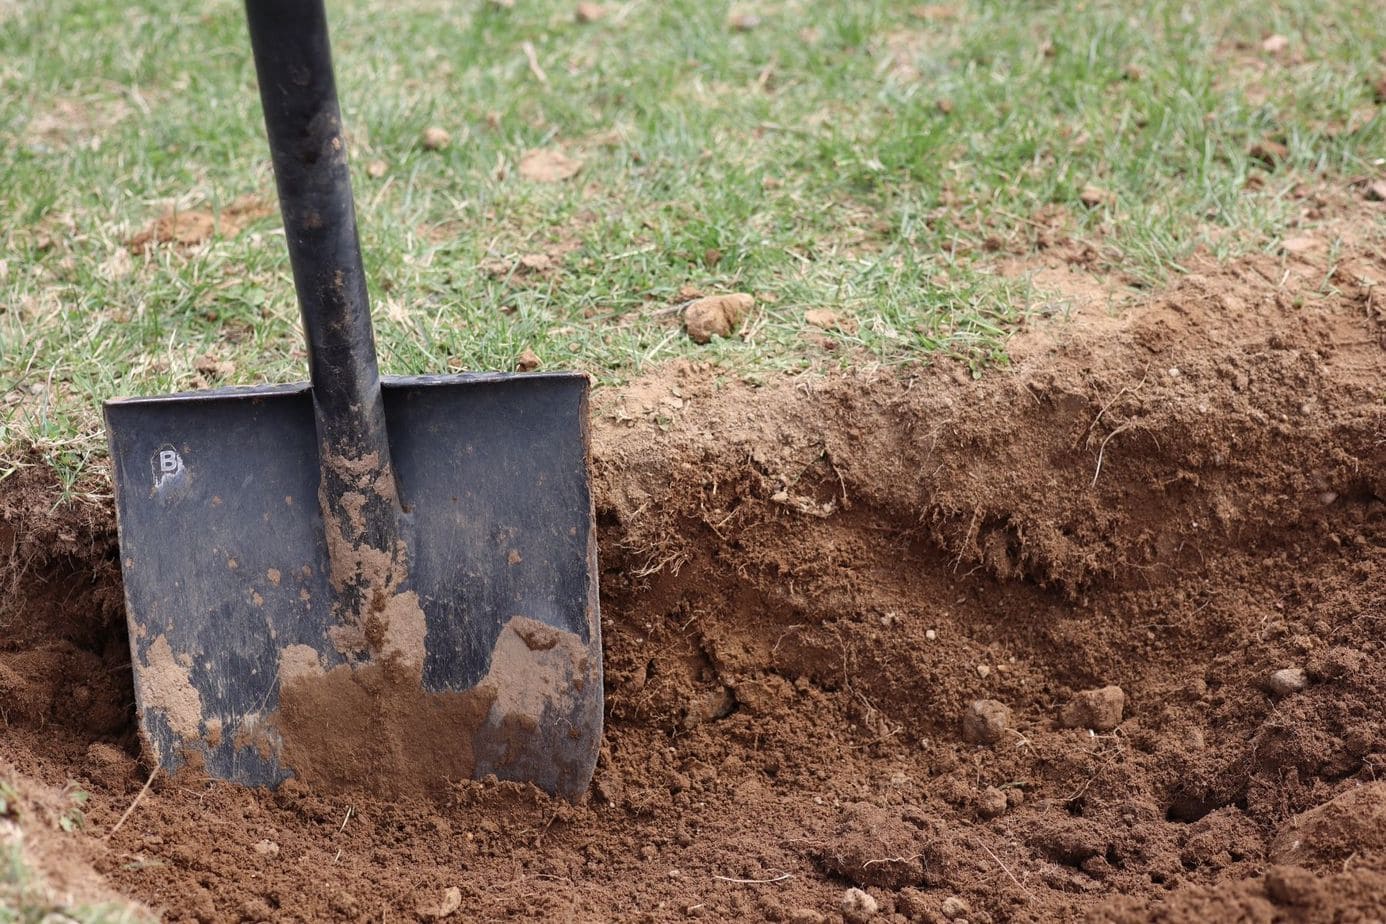
Loosening the soil in a garden bed is a pivotal step in creating an environment that fosters healthy plant growth. Over time, soil can become compacted, hindering the circulation of air, water, and nutrients essential for the well-being of plants. By loosening the soil, you are revitalizing its structure, promoting better drainage, and facilitating root penetration, setting the stage for robust plant development.
To begin the process of loosening the soil, arm yourself with a sturdy garden fork or a hand cultivator. Approach the task with a gentle and deliberate touch, aiming to aerate the soil without causing excessive disruption to its composition. Starting at one end of the garden bed, carefully insert the garden fork into the soil to a depth of a few inches, then gently rock it back and forth to create fissures and break up compacted areas. Work your way methodically across the entire garden bed, ensuring that the soil is loosened uniformly.
As you work, take note of the texture and composition of the soil. Observe how the earthy fragrance rises with each gentle disturbance, signaling the awakening of the soil from its compacted state. By loosening the soil, you are not only improving its physical structure but also invigorating its vitality, preparing it to embrace the forthcoming infusion of nutrients and organic matter.
In addition to aerating the soil, this process presents an opportunity to assess its moisture content and overall health. Take note of any areas that may be excessively dry or waterlogged, as these observations will guide your subsequent actions in nurturing the garden bed. By engaging with the soil at this intimate level, you are attuning yourself to its needs and laying the groundwork for a harmonious relationship between the earth and the plants it will support.
As you complete the task of loosening the soil, take a moment to appreciate the transformation taking place beneath the surface. The once compacted and unyielding earth is now receptive and open, poised to embrace the forthcoming enhancements that will nurture and sustain your plants. With the soil loosened, the garden bed is now a canvas of potential, ready to receive the enriching elements that will fuel the growth and vitality of the plantings to come.
With the soil loosened, you have set the stage for the next phase of the garden bed revitalization process, laying a foundation of optimal soil structure and aeration that will support the flourishing growth of your plants. As you proceed to the subsequent steps, carry with you the satisfaction of having tended to the very essence of the garden bed, knowing that your efforts will yield a bountiful and thriving oasis of greenery and life.
Before cleaning out a garden bed, make sure to remove any dead plants, weeds, and debris. Use a garden fork to loosen the soil and remove any roots. Consider adding compost to improve soil quality before planting new flowers or vegetables.
Step 4: Add Compost
Adding compost to the garden bed is a transformative act that infuses the soil with vital nutrients, enriching its composition and creating an optimal environment for plant growth. Compost, often referred to as "black gold" by avid gardeners, is a rich and organic amendment that serves as a powerhouse of nourishment for the soil and the plants it sustains.
To begin the process of adding compost, gather a generous quantity of well-aged compost, ideally sourced from a reputable supplier or produced through your own composting efforts. With a shovel or garden fork in hand, distribute the compost evenly across the surface of the garden bed, aiming for a layer of approximately 2 to 3 inches in depth. As you work, visualize the compost as a nourishing blanket that will envelop the soil, infusing it with life-giving sustenance.
As the compost is integrated into the soil, envision the intricate web of life within it, teeming with beneficial microorganisms, earthworms, and other soil-dwelling allies. These unseen inhabitants play a vital role in the decomposition and transformation of organic matter, enriching the soil and fostering a dynamic ecosystem that supports plant health and vitality.
As the compost melds with the soil, take note of its earthy aroma and dark, crumbly texture, evidence of its nutrient density and organic richness. The compost acts as a reservoir of essential elements such as nitrogen, phosphorus, potassium, and a myriad of micronutrients, providing a balanced and holistic nourishment that will fortify your plants from root to leaf.
In addition to its nutrient content, compost enhances the soil's structure and water retention capacity, promoting a balanced and well-draining environment that is conducive to healthy root development. This improved soil structure also fosters aeration and microbial activity, creating a thriving habitat for the intricate web of life that sustains the garden bed's ecological balance.
As the compost becomes integrated into the soil, take a moment to appreciate the symbiotic relationship unfolding beneath the surface. The union of compost and soil is a harmonious marriage, a merging of organic energies that will fuel the growth and vitality of the plants to come. With the addition of compost, the garden bed is now imbued with the potential for abundant and flourishing plant life, a testament to the nurturing care invested in its rejuvenation.
With the compost added, you have enriched the garden bed with a wealth of organic nourishment, setting the stage for a thriving and bountiful oasis of greenery and life. As you proceed to the subsequent steps, carry with you the satisfaction of having nourished the very essence of the garden bed, knowing that your efforts will yield a vibrant and flourishing tapestry of plant growth.
Read more: How To Get Ants Out Of Your Garden Bed
Step 5: Mulch the Bed
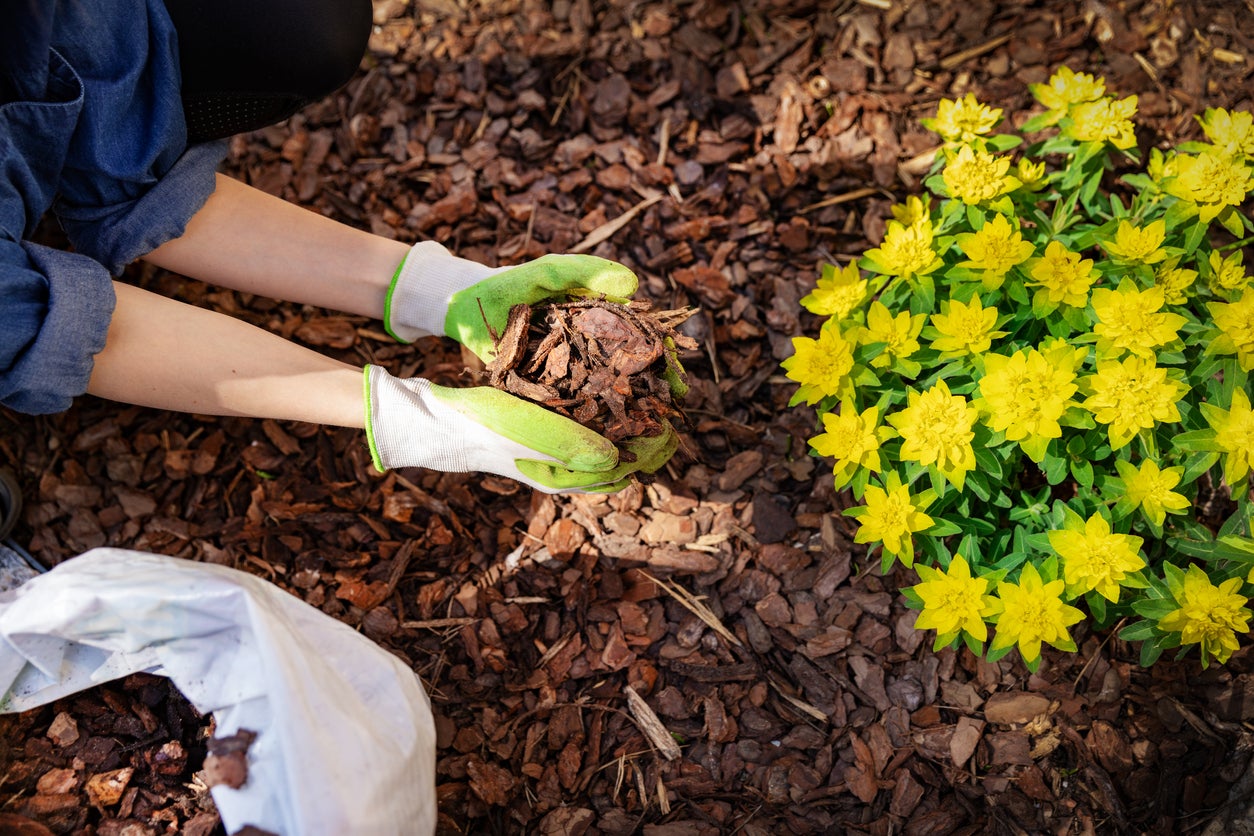
Mulching the garden bed is the final touch in the process of rejuvenating and preparing the soil for the growth of healthy and vibrant plants. Mulch serves as a protective blanket, shielding the soil from the harsh elements while providing a host of benefits that contribute to the overall well-being of the garden bed.
To begin the mulching process, gather a generous quantity of organic mulching material such as shredded bark, straw, or composted leaves. With a sense of purpose and care, spread a layer of mulch evenly across the surface of the garden bed, aiming for a thickness of approximately 2 to 3 inches. As the mulch settles, envision it as a comforting embrace that will safeguard the soil and nurture the plants that will soon call this space home.
As the mulch blankets the soil, take note of its insulating effect, shielding the earth from temperature extremes and helping to maintain a stable and hospitable environment for the roots of your plants. The mulch acts as a barrier against the erosive forces of wind and water, preventing soil compaction and minimizing the risk of nutrient leaching, thus preserving the integrity of the garden bed.
In addition to its protective qualities, mulch plays a vital role in conserving soil moisture, reducing water evaporation, and minimizing the need for frequent irrigation. This moisture-retentive characteristic is especially beneficial during dry spells, providing a buffer that sustains the plants and promotes healthy root development, ensuring their resilience and vitality.
As the mulch integrates with the soil, observe its gradual decomposition, contributing organic matter to the earth and enriching its composition. This natural process enhances the soil's fertility, fostering a thriving ecosystem of beneficial microorganisms and earthworms that work in harmony to support the health and vigor of the garden bed.
With the mulch in place, take a moment to appreciate the transformation that has taken place. The garden bed is now adorned with a protective and nurturing layer that will sustain and fortify the plants as they take root and flourish. The mulch serves as a testament to your dedication to creating an optimal environment for plant growth, a gesture of care and stewardship that will yield a bountiful and vibrant garden bed.
As the mulching process concludes, carry with you the satisfaction of having completed the final step in preparing the garden bed for the upcoming season of growth. With the soil enriched, protected, and nurtured, the garden bed stands ready to embrace the new life that will soon grace its fertile expanse.
Conclusion
As the final step in the process of cleaning out a garden bed, the culmination of your efforts is a testament to your dedication to creating an optimal environment for plant growth. Each meticulous task, from removing weeds to mulching the bed, has contributed to the transformation of the garden bed into a vibrant and nurturing space primed for the flourishing growth of your beloved plants.
The act of cleaning out a garden bed extends beyond the physical tasks; it embodies a commitment to stewardship and care for the natural world. By tending to the soil, removing obstacles, and enriching the earth, you have established a foundation for a thriving ecosystem that will support the vitality and beauty of your garden.
As you stand back and survey the garden bed, envision the potential that now resides within its rejuvenated expanse. The soil, once compacted and overrun with weeds, now teems with life-giving nutrients and the promise of abundant growth. The removal of debris and the addition of compost and mulch have created a protective and nurturing environment, shielding the soil and sustaining the plants that will soon call this space home.
The journey of cleaning out a garden bed is a labor of love, an investment in the natural harmony and beauty that will unfold within its borders. It is a testament to the transformative power of care and attention, a celebration of the interconnectedness between the earth and the life it sustains.
As you conclude this process, take a moment to reflect on the journey you have undertaken. The garden bed, once neglected and overrun, now stands as a testament to your dedication and vision. It is a canvas of potential, ready to embrace the new life that will soon grace its fertile expanse.
With the garden bed now prepared and revitalized, you have set the stage for a season of growth, beauty, and abundance. The plants that will take root in this rejuvenated space will flourish under your attentive stewardship, a testament to the transformative power of care and dedication.
As you look ahead to the vibrant blooms, lush foliage, and bountiful harvest that will grace the garden bed, take pride in the role you have played in nurturing this thriving ecosystem. Your efforts in cleaning out the garden bed have not only revitalized the space but have also sown the seeds for a future of natural beauty and vitality.
With the garden bed now poised for the next chapter in its journey, take a moment to savor the satisfaction of having tended to the very essence of the earth. The rejuvenated garden bed stands as a living testament to the transformative power of care, a testament to the enduring beauty and resilience of the natural world.
Frequently Asked Questions about How To Clean Out A Garden Bed
Was this page helpful?
At Storables.com, we guarantee accurate and reliable information. Our content, validated by Expert Board Contributors, is crafted following stringent Editorial Policies. We're committed to providing you with well-researched, expert-backed insights for all your informational needs.


0 thoughts on “How To Clean Out A Garden Bed”