Home>Furniture>Bedroom Furniture>How To Make A King Size Bed
Bedroom Furniture
How To Make A King Size Bed
Modified: November 1, 2024
Learn how to create a luxurious bedroom with a king size bed. Upgrade your bedroom furniture with our easy-to-follow tips and transform your sleep space.
(Many of the links in this article redirect to a specific reviewed product. Your purchase of these products through affiliate links helps to generate commission for Storables.com, at no extra cost. Learn more)
Introduction
Welcome to the ultimate guide on how to make a king size bed! A king size bed is not only a luxurious addition to your bedroom, but it also provides ample space for a comfortable night’s sleep. Creating your own king size bed can be a rewarding and cost-effective project that allows you to customize the design and craftsmanship. Whether you are a seasoned DIY enthusiast or a beginner looking for a fun and challenging project, this step-by-step guide will walk you through the process of constructing your very own king size bed.
Before we dive into the details, let’s talk about the benefits of building your own bed. First and foremost, making a king size bed allows you to create a piece of furniture that perfectly fits your needs and style. You can choose the type of wood, the finish, and even add unique features such as built-in storage or an upholstered headboard. Additionally, building your own bed can save you money compared to buying a ready-made one from a store. Plus, the sense of accomplishment and pride that comes from creating something with your own hands is truly something special.
In this guide, we will cover each step of the process, from gathering the necessary materials to the final touches and maintenance tips. You don’t need to be a professional carpenter or have access to a fully-equipped workshop – with some basic tools and a bit of patience, you can create a beautiful and sturdy king size bed right in your own home.
So, if you’re ready to embark on this DIY adventure, let’s get started with step one: gathering the necessary materials!
Key Takeaways:
- Building a king size bed allows for customization of materials, design, and finishing, creating a personalized and cost-effective piece of bedroom furniture perfectly suited to individual style and needs.
- Proper maintenance practices, such as regular cleaning, checking for wear and tear, and tightening loose hardware, are essential for ensuring the longevity and top condition of a handcrafted king size bed.
Read more: What Size Of Throw Pillows For A King Bed
Step 1: Gather the necessary materials
Before you begin constructing your king size bed, it’s important to gather all the materials you’ll need. Having everything on hand will ensure a smooth and uninterrupted building process. Here’s a list of the materials you’ll need:
- 1. Plywood: You’ll need a piece of plywood that is the exact size of your king size mattress. Make sure the plywood is of high quality to provide a stable and sturdy base for your bed.
- 2. Lumber: Depending on the design of your bed frame, you’ll need enough lumber to create the frame, support slats, and the headboard and footboard. Choose a durable and aesthetically pleasing wood, such as oak or pine.
- 3. Screws and nails: You’ll need a variety of screws and nails to assemble the bed frame and attach the headboard and footboard. Make sure to choose the appropriate type and length based on the thickness of the wood.
- 4. Wood glue: Wood glue will help reinforce the joints and ensure the bed frame is secure and stable.
- 5. Sandpaper: Sandpaper with different grits (such as 80, 120, and 220) will be needed to smooth out the rough edges and prepare the wood for finishing.
- 6. Finishing materials: Depending on your desired look, you may want to apply a finish to your bed frame. This can include wood stain, paint, or varnish. Choose a finish that suits your style and protects the wood.
- 7. Mattress support system: You’ll need either a box spring or a set of mattress support slats to provide a comfortable and supportive surface for your mattress.
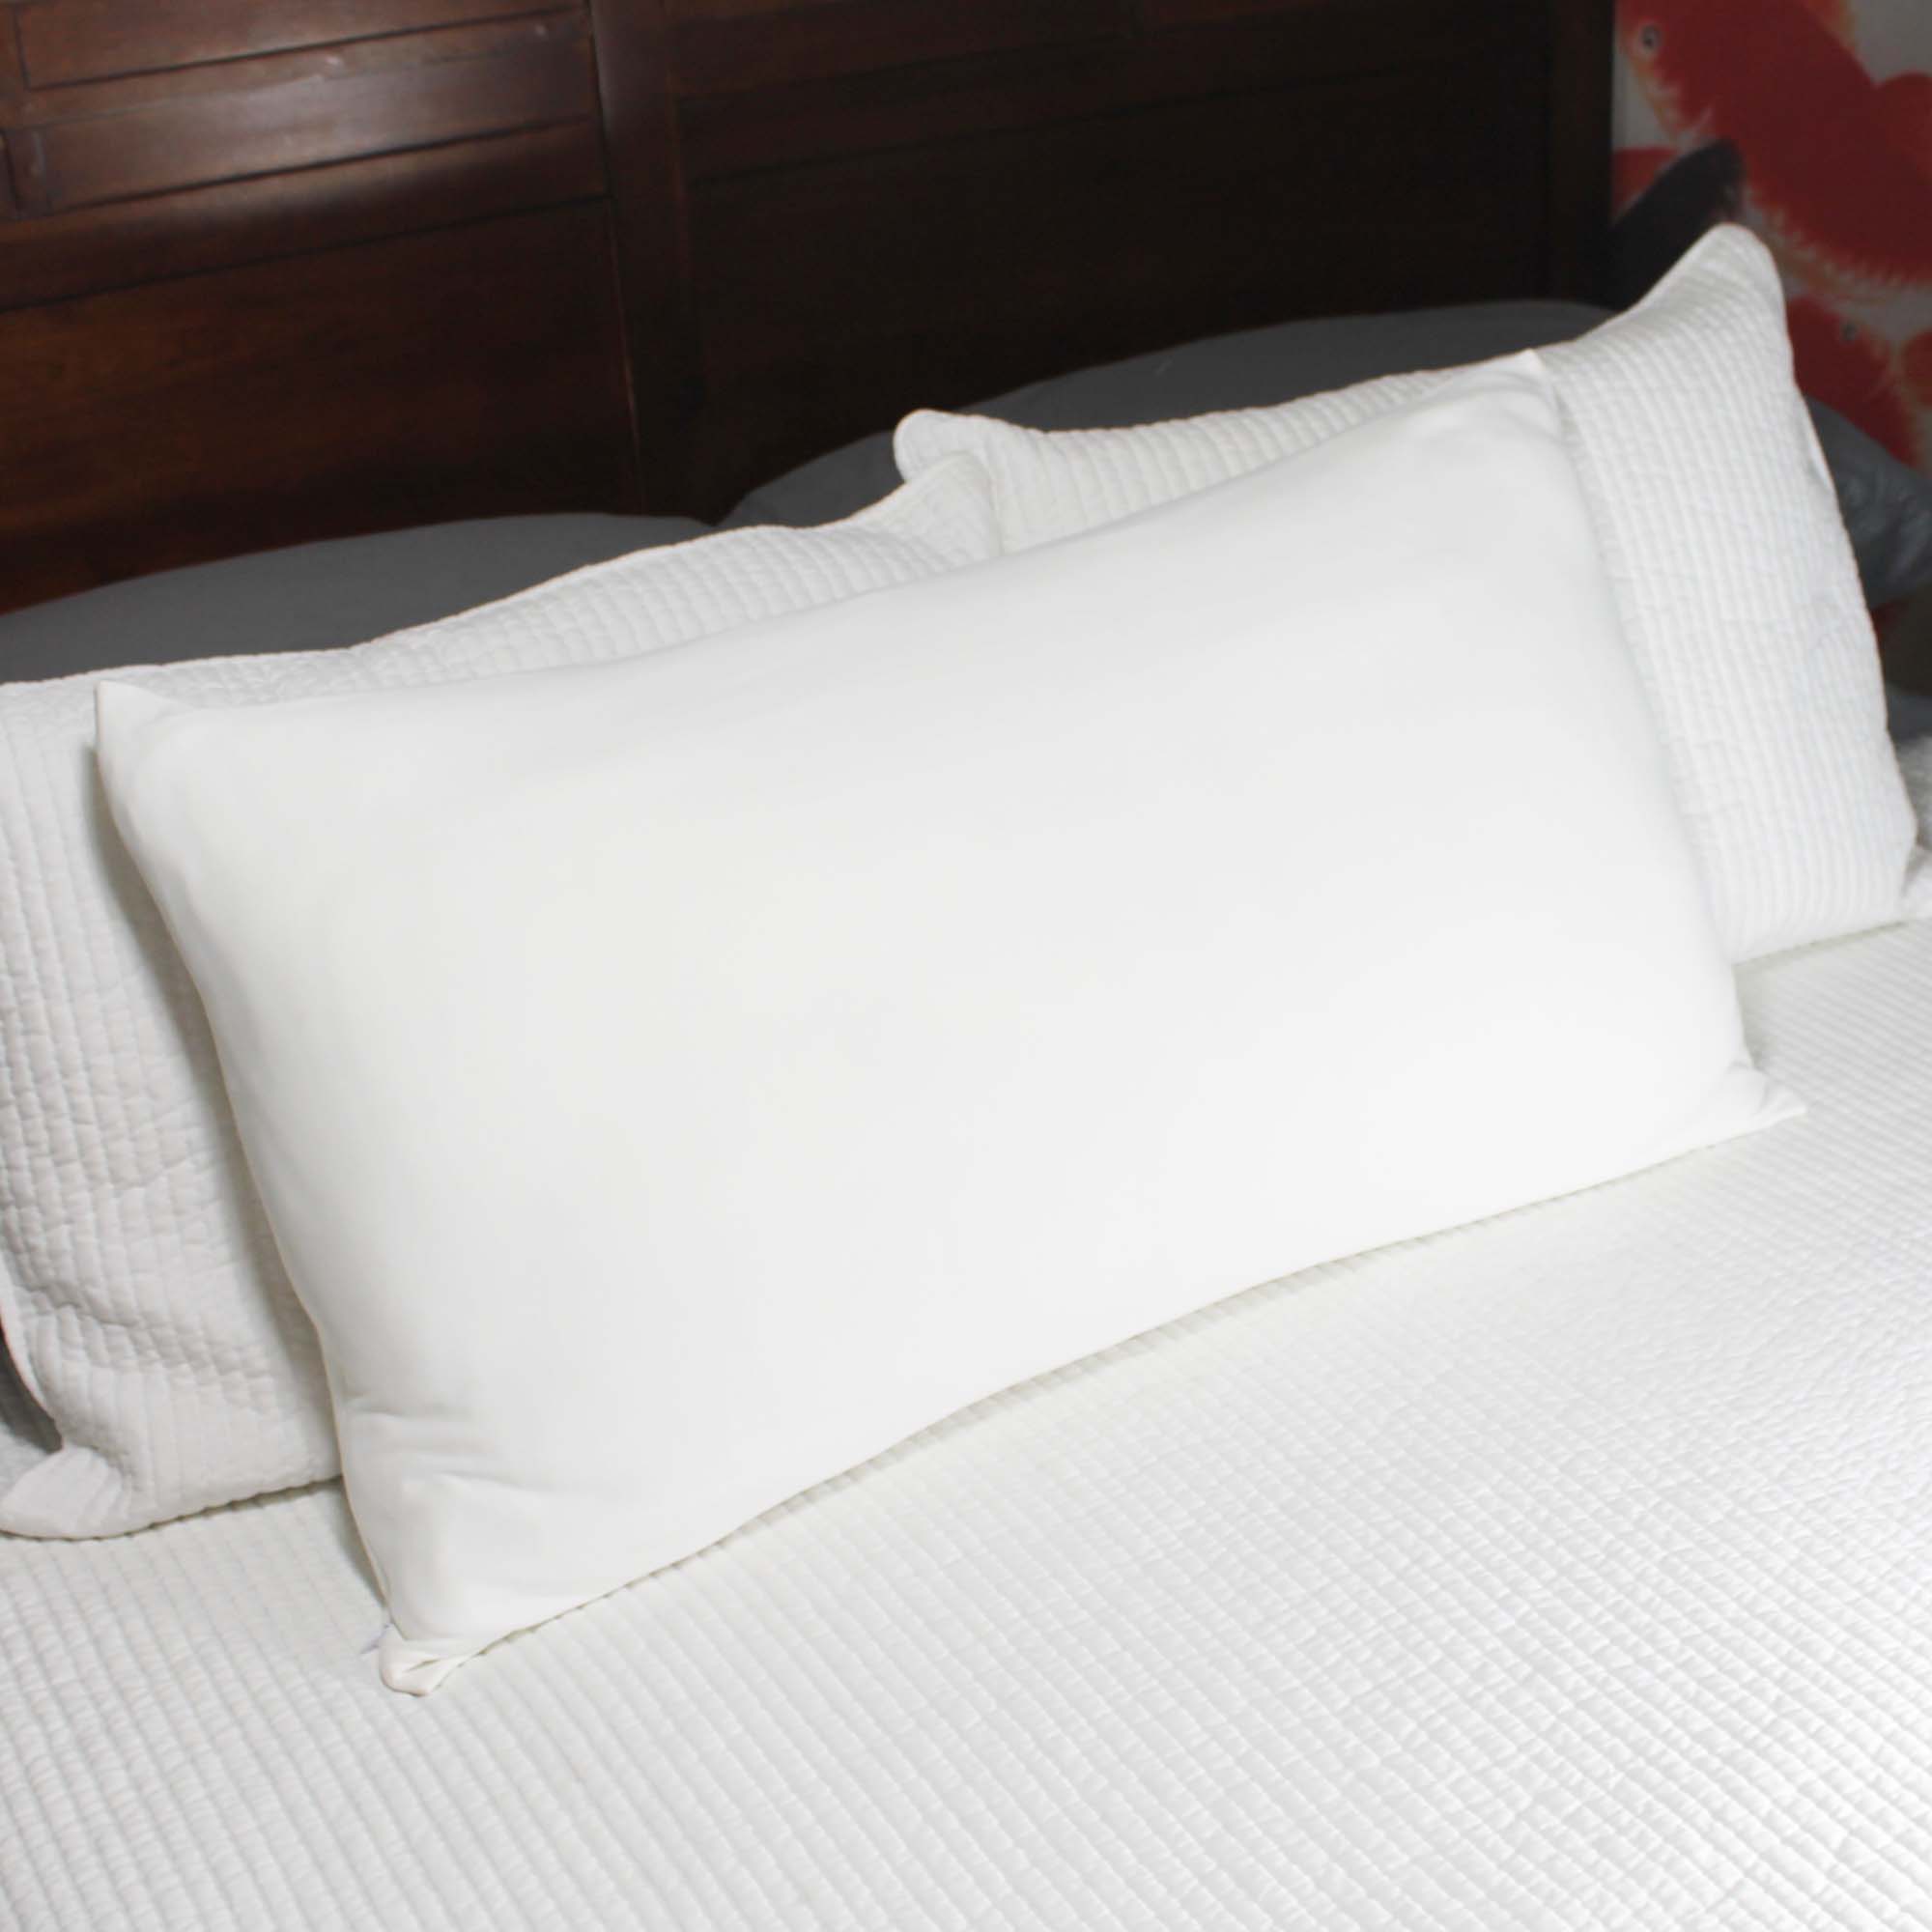
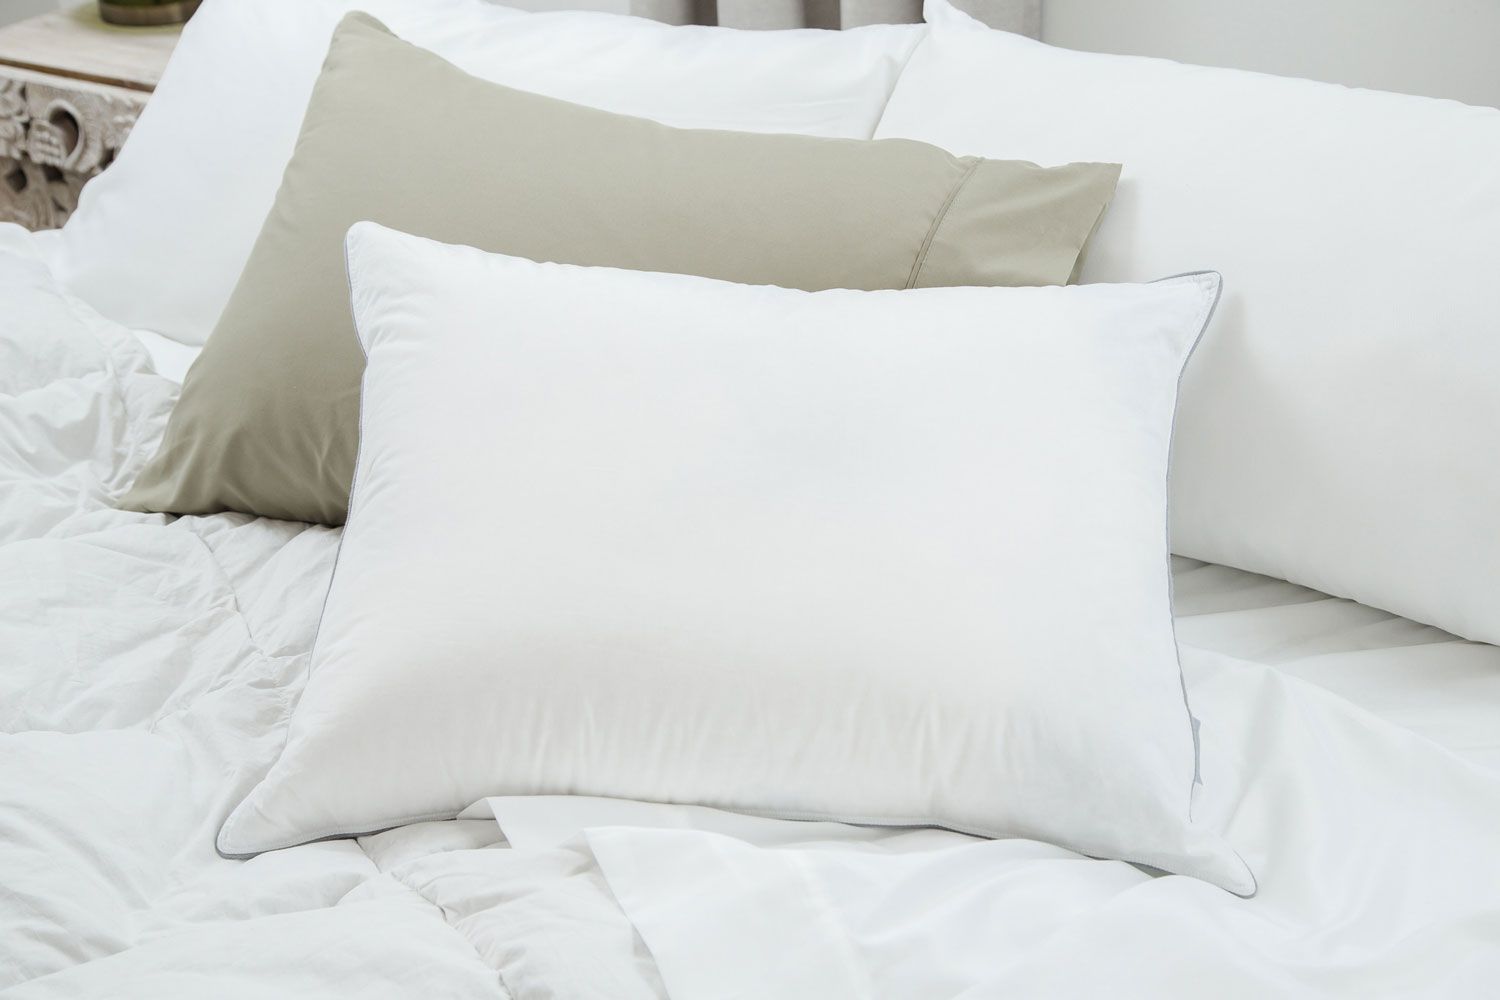
- 8. Bedding and pillows: Don’t forget to gather your choice of bedding, pillows, and a cozy mattress topper to complete the look and comfort of your king size bed.
Once you have gathered all the necessary materials, you’ll be ready to move on to the next step: measuring and cutting the plywood. Remember to double-check your measurements and ensure all the materials are of high quality to create a bed that is sturdy, comfortable, and built to last.
Step 2: Measure and cut the plywood
Now that you have collected all the necessary materials, it’s time to move on to the next step: measuring and cutting the plywood. The plywood will serve as the base of your king size bed, providing stability and support for the mattress. Follow these steps to ensure accurate measurements and precise cuts:
- Measure the dimensions of your mattress: Start by measuring the length and width of your king size mattress. These measurements will determine the size of the plywood you need to cut.
- Mark the plywood: Using a pencil and a straight edge or a measuring tape, mark the dimensions of the mattress onto the plywood. Ensure that your measurements are accurate and the lines are straight.
- Cut the plywood: Using a circular saw or a table saw, carefully cut along the marked lines to create the plywood base. Take your time and use proper safety precautions when operating the saw.
- Sand the edges: Once the plywood is cut, use sandpaper to smooth out any rough edges or splinters. This will create a clean and professional-looking finish.
By accurately measuring and cutting the plywood, you will create a solid foundation for your king size bed. Remember, precision is key to ensure that the plywood fits snugly within the bed frame and provides optimal support for the mattress. With this step completed, you can now proceed to the next stage: assembling the bed frame.
Step 3: Assemble the bed frame
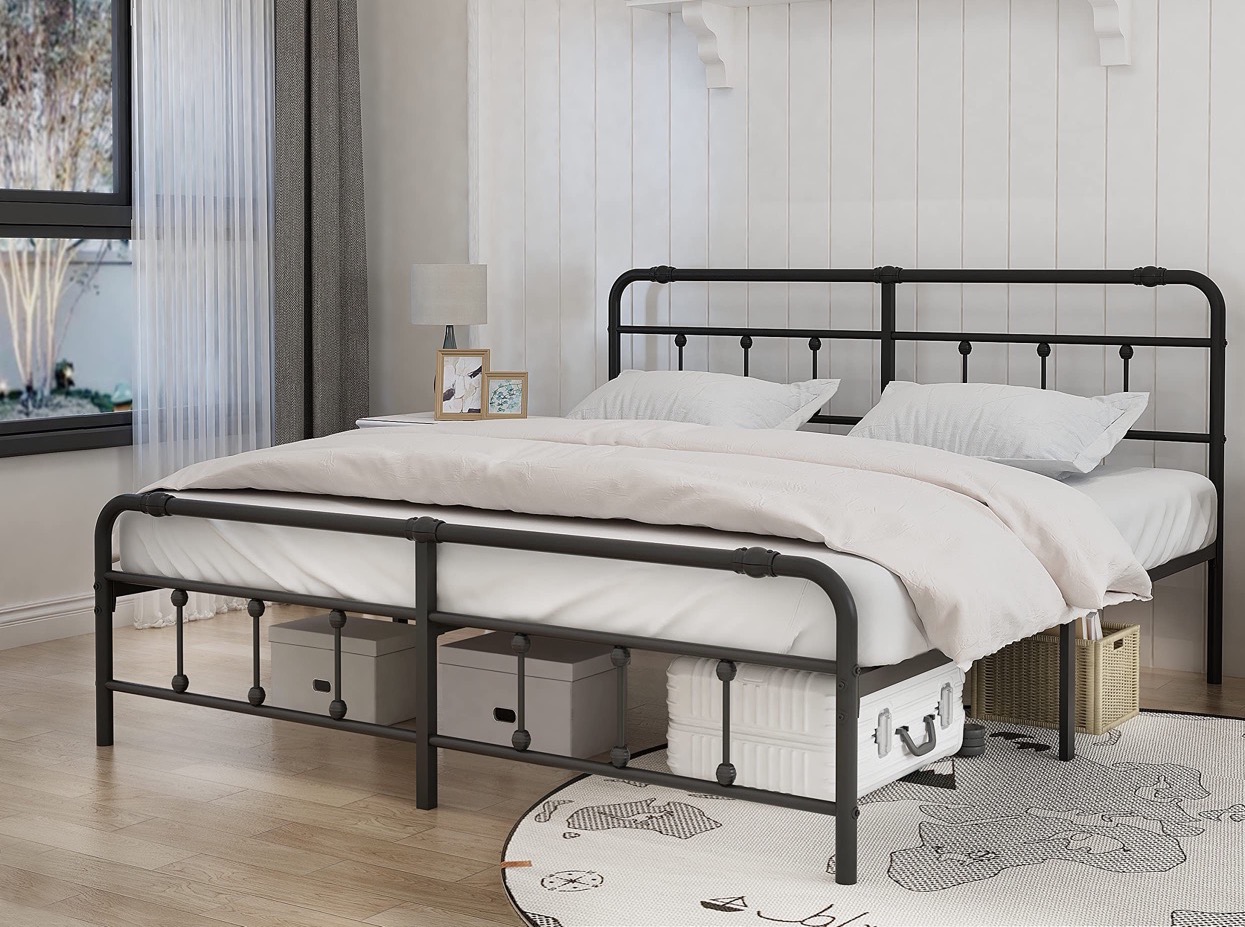
With the plywood base cut and ready, it’s time to move on to the exciting part: assembling the bed frame. The bed frame serves as the structural support for your king size bed, ensuring stability and durability. Follow these steps to assemble the bed frame:
- Lay out the lumber: Start by laying out the lumber pieces according to the design of your bed frame. Ensure that you have all the necessary components, such as side rails, cross beams, and support legs.
- Pre-drill holes: Use a drill and a drill bit slightly smaller than the diameter of your screws to pre-drill holes in the lumber pieces. This will prevent splitting and make it easier to drive the screws in later.
- Assemble the frame: Begin by attaching the side rails to the headboard and footboard using screws and wood glue. Make sure the corners are squared and the joints are tight. Then, attach the cross beams to the side rails, securing them with screws.
- Add support legs: If your bed frame design includes support legs in the center, attach them to the cross beams for added stability. Make sure they are aligned properly and securely fastened.
- Double-check for stability: Once the bed frame is assembled, give it a gentle shake to ensure it feels sturdy and secure. If there is any wobbling or movement, reinforce the joints with additional screws or bracing.
Remember, the quality and strength of your bed frame will determine the overall stability and longevity of your king size bed. Take your time during assembly to ensure the joints are well-connected and the frame is solid. With the bed frame successfully assembled, you can move on to the next step: attaching the headboard and footboard.
Step 4: Attach the headboard and footboard
Now that the bed frame is assembled, it’s time to add the finishing touches by attaching the headboard and footboard. The headboard and footboard not only enhance the aesthetic appeal of your king size bed but also provide additional support and stability. Here’s how to attach them:
- Position the headboard and footboard: Place the headboard and footboard in their respective positions at the top and bottom of the bed frame. Ensure they are aligned properly and centered.
- Pre-drill holes: Using a drill and a drill bit slightly smaller than the diameter of your screws, pre-drill holes in the bed frame where the headboard and footboard will be attached. This will prevent splitting when driving in the screws.
- Attach the headboard: With the pre-drilled holes, align the headboard with the holes and secure it to the bed frame using screws. Make sure the headboard is flush against the bed frame and tightly secured.
- Attach the footboard: Repeat the same process for attaching the footboard, ensuring it aligns properly and is securely fastened to the bed frame.
- Double-check for stability: Once the headboard and footboard are attached, give the whole bed a gentle shake to check for any excessive movement. If needed, reinforce the connections with additional screws or brackets.
Attaching the headboard and footboard will give your king size bed a complete and polished look. Ensure they are securely fastened to the bed frame to avoid any potential wobbling or instability. With this step completed, you’re now ready to move on to step five: securing the mattress support slats.
Read more: What Size Is A California King Bed Frame
Step 5: Secure the mattress support slats
With the bed frame and headboard and footboard in place, it’s time to secure the mattress support slats. The slats provide a sturdy and even surface for the mattress to rest on, ensuring optimal comfort and support. Follow these steps to secure the mattress support slats:
- Measure and cut the slats: Determine the number of slats you’ll need based on the size of your bed frame. Measure and cut the slats to the appropriate length, making sure they fit snugly between the side rails.
- Evenly space the slats: Start by placing one slat near the headboard, ensuring it is properly aligned and centered. Then, evenly space out the remaining slats, leaving an even gap between each one. This will help distribute the weight of the mattress evenly.
- Secure the slats: Use screws or nails to secure the slats to the bed frame. Make sure they are firmly attached and there are no gaps or loose slats. You can also use L-shaped brackets for added support at the ends of each slat.
- Additional support for slats: To provide extra reinforcement, you can add a center support beam or additional support legs under the slats. This will help prevent any sagging or flexing of the mattress support system.
By securing the mattress support slats properly, you’ll ensure that your king size mattress is supported evenly and prevents any sagging or discomfort. Take your time to ensure the slats are aligned and securely fastened to the bed frame. With this step completed, you can move on to step six: sanding and finishing the bed frame.
When making a king size bed, start by placing the fitted sheet on the mattress, followed by the flat sheet and then the comforter. Tuck in the sides for a neat and tidy look.
Step 6: Sand and finish the bed frame
Now that the structural elements of your king size bed are complete, it’s time to give the bed frame a smooth and polished finish. Sanding and finishing the bed frame not only enhances its appearance but also protects the wood from wear and tear. Follow these steps to ensure a beautiful and long-lasting finish:
- Sand the bed frame: Start by using coarse-grit sandpaper (around 80 or 100 grit) to remove any rough surfaces, bumps, or imperfections. Sand in the direction of the wood grain to achieve an even finish. Gradually switch to finer-grit sandpaper (120 and 220 grit) for a smoother surface.
- Remove dust: After sanding, use a clean cloth or a vacuum cleaner to remove any dust or debris from the bed frame. This will ensure a clean and smooth surface for the finishing process.
- Apply wood stain or paint: If you prefer the natural beauty of the wood, you can apply a wood stain to enhance the grain and color. Alternatively, you can choose to paint the bed frame to match your bedroom decor. Apply the stain or paint with even strokes, following the manufacturer’s instructions, and allow it to dry completely.
- Protect with a clear coat: To protect the wood and give the bed frame a professional finish, apply a clear coat such as varnish or polyurethane. Brush on the clear coat in long, even strokes, allowing each coat to dry before applying the next. This will provide durability and make the bed frame resistant to scratches and damage.
- Let it cure: Once the finishing is complete, allow the bed frame to cure for the recommended time. This will ensure that the paint or stain is fully dried and hardened before placing the mattress on the bed.
Sanding and finishing the bed frame not only enhances its appearance but also protects the wood, ensuring its longevity. Take your time during this step to achieve a smooth and flawless finish. With the bed frame beautifully sanded and finished, you’re ready for the next step: assembling the king size mattress.
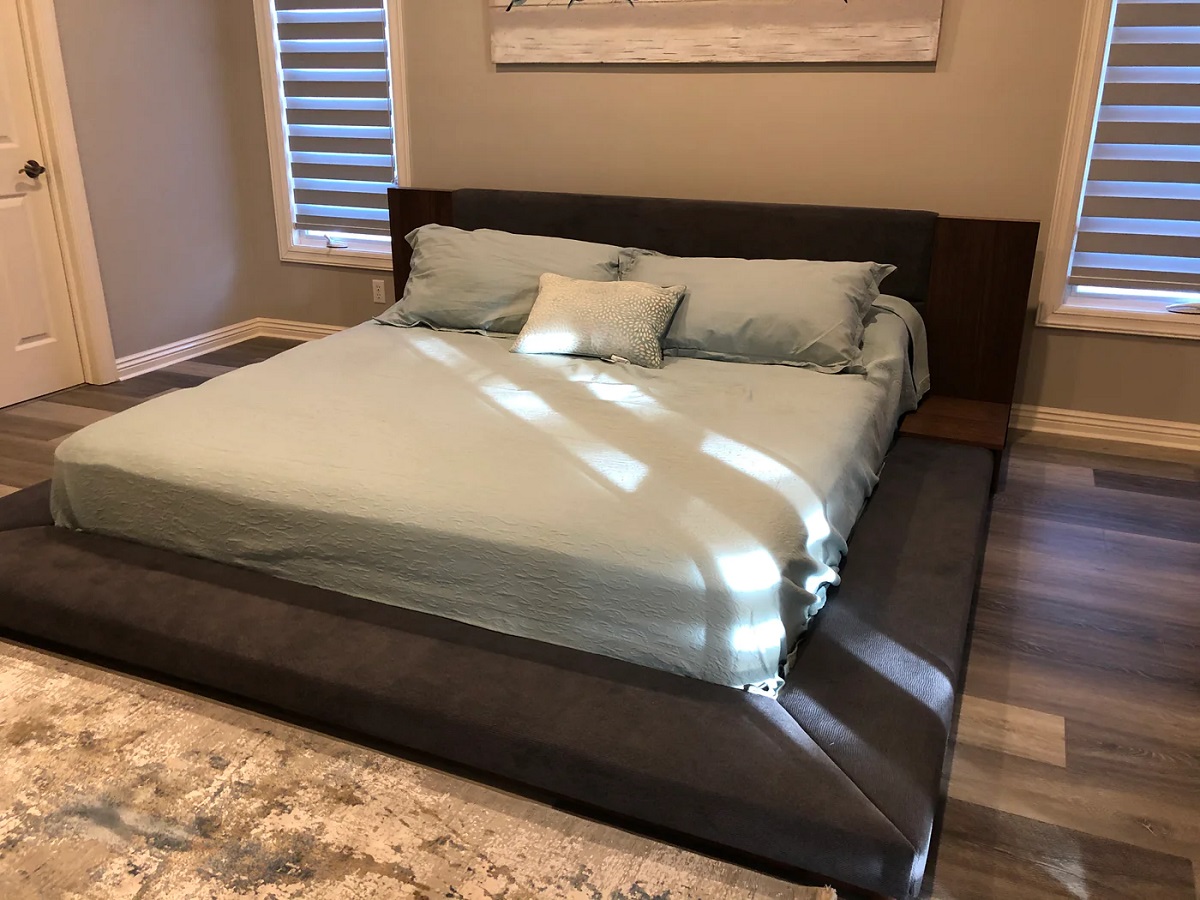
Step 7: Assemble the king size mattress
With the bed frame complete and the finishing touches applied, it’s time to assemble the king size mattress. The mattress is the key component of your bed, providing comfort and support for a restful night’s sleep. Here’s how to assemble your king size mattress:
- Prepare the mattress foundation: Ensure that the mattress support slats or box spring are properly in place on the bed frame. If you’re using a box spring, position it on the slats or directly on the bed frame.
- Align the mattress: Carefully position the king size mattress on top of the foundation, making sure it is centered and aligned with the bed frame.
- Adjust if necessary: Take a step back and assess the placement of the mattress. Ensure that there is an even overhang on all sides and that it is positioned symmetrically on the bed frame.
- Secure the mattress: If desired, you can use straps or safety clips to secure the mattress to the bed frame. This will prevent any shifting or movement during use.
Assembling the king size mattress is a straightforward process, but it’s important to take care when positioning and aligning it on the bed frame. Properly securing the mattress will provide added stability and ensure a comfortable sleeping experience. With the mattress assembled and in place, you’re ready to move on to step eight: dressing the bed with bedding and pillows.
Step 8: Dress the bed with bedding and pillows
Now that your king size bed is complete and the mattress is assembled, it’s time to add the finishing touches by dressing the bed with bedding and pillows. This step will not only enhance the overall look of your bed but also add comfort and coziness to your sleeping space. Follow these steps to achieve a beautifully made bed:
- Start with a mattress protector: Before adding any bedding, place a mattress protector on your king size mattress. This will help protect the mattress from spills, stains, and allergens.
- Add a fitted sheet: Place a fitted sheet over the mattress, ensuring that it fits snugly and securely. Smooth out any wrinkles or creases for a neat and comfortable sleeping surface.
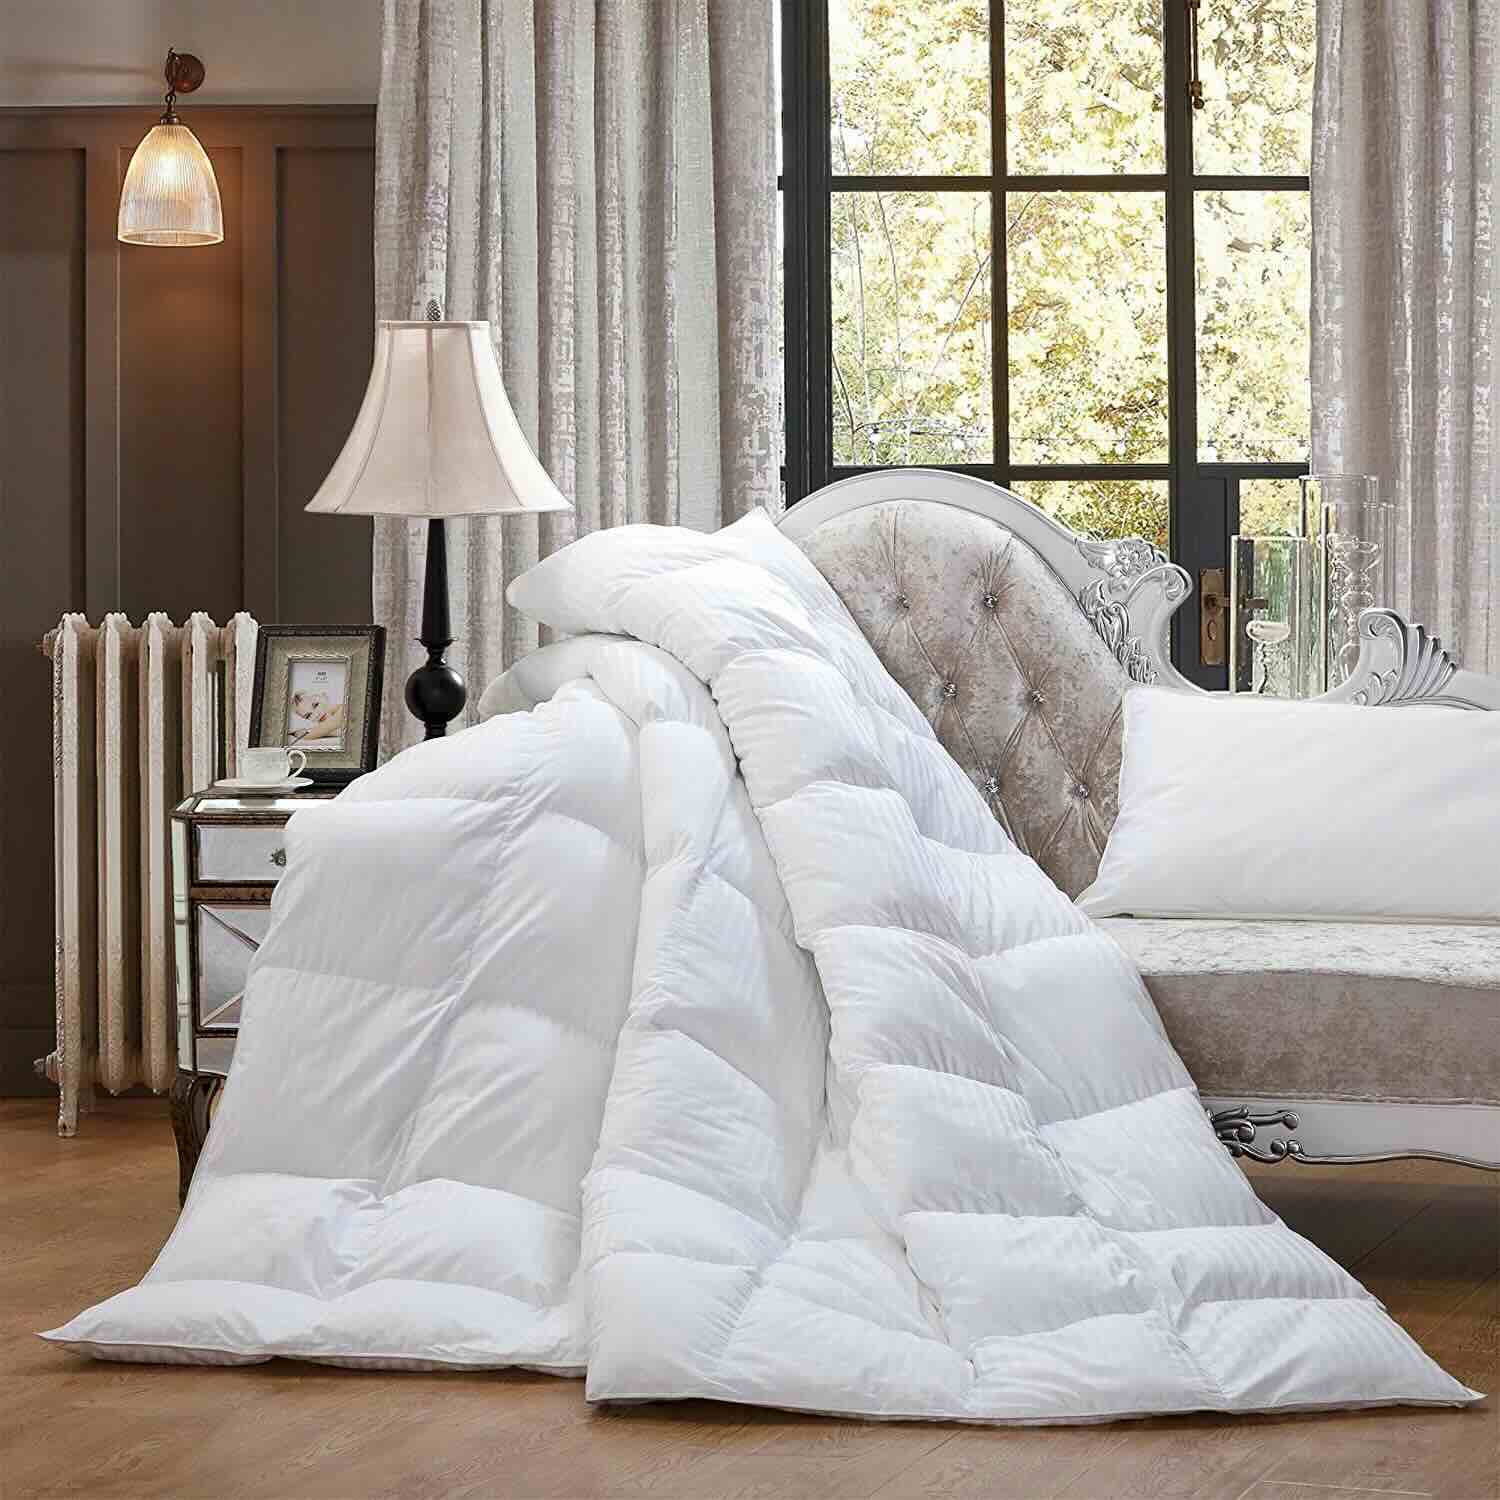
- Add a flat sheet or a duvet: Depending on your preference, add a flat sheet for a classic look or a duvet for extra warmth and comfort. Make sure the sheet or duvet is evenly spread across the bed, reaching the edges and corners.
Properly dressing your king size bed with bedding and pillows will create an inviting and comfortable sleeping space. Experiment with different colors, textures, and patterns to reflect your personal style and create a relaxing ambiance. Now that your bed is beautifully dressed, you’re one step closer to enjoying a restful night’s sleep.
Read more: What Size Rug Under King Bed
Step 9: Final touches and maintenance tips
Congratulations on completing the construction and dressing of your king size bed! Before you begin to enjoy your new sleeping haven, there are a few final touches and maintenance tips to keep in mind:
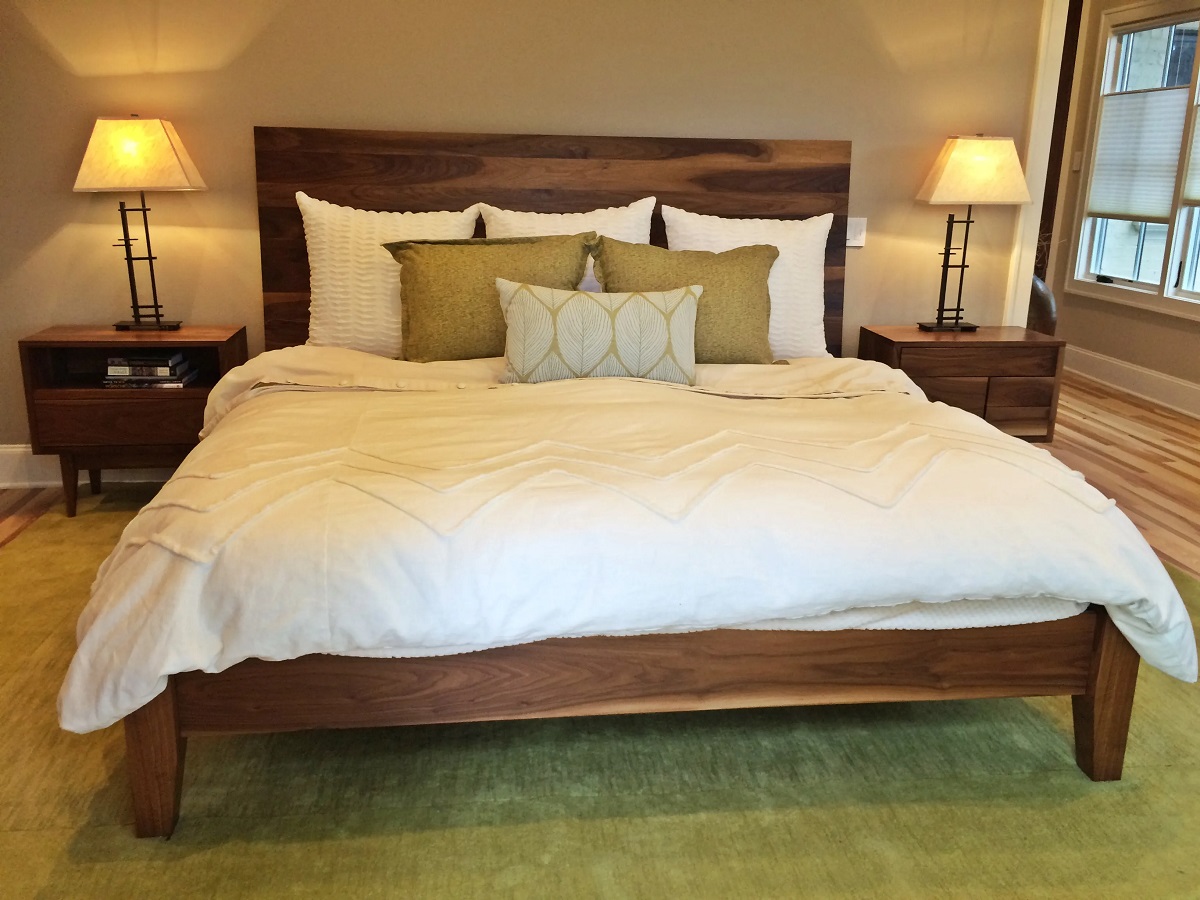
- Arrange bedside tables: Place bedside tables on either side of the bed to provide a convenient surface for essentials such as lamps, books, or alarm clocks. This will add functionality and symmetry to your bedroom furniture setup.
By paying attention to these final touches and following proper maintenance practices, you can ensure that your king size bed remains in excellent condition for years to come. Enjoy the comfort and relaxation that your beautifully crafted bed provides and sleep soundly!
Now that you’ve completed all the steps and have a fully assembled and dressed king size bed, you can take pride in the fact that you’ve created a functional and stylish piece of furniture. Enjoy a restful night’s sleep on your handcrafted bed and savor the satisfaction of a job well done!
Conclusion
Congratulations on successfully completing the journey of creating your very own king size bed! By following this comprehensive guide, you have not only saved money but also created a personalized and high-quality piece of bedroom furniture. Building a king size bed allows you to customize every aspect, from the materials used to the finishing touches, making it perfectly suited to your style and needs.
Throughout the process, you have learned valuable skills such as measuring, cutting, assembling, and finishing. You have created a sturdy bed frame, secured the mattress support, and dressed the bed with beautiful bedding and pillows. The end result is a comfortable and visually appealing sleeping space that you can be proud of.
Remember, the journey doesn’t stop here. It’s essential to follow proper maintenance practices to ensure the longevity of your bed. Regular cleaning, checking for wear and tear, and tightening any loose hardware will keep your bed in top shape for years to come.
As you enjoy the comfort and beauty of your king size bed, take a moment to appreciate the accomplishment of building it yourself. The sense of fulfillment and pride that comes from creating something by hand is truly priceless.
Thank you for joining us on this DIY adventure. We hope this guide has not only provided you with the knowledge and skills to build a king size bed but also inspired your creativity and love for crafting. Sleep well and enjoy the fruits of your labor!
Frequently Asked Questions about How To Make A King Size Bed
Was this page helpful?
At Storables.com, we guarantee accurate and reliable information. Our content, validated by Expert Board Contributors, is crafted following stringent Editorial Policies. We're committed to providing you with well-researched, expert-backed insights for all your informational needs.