Home>Furniture>Bedroom Furniture>How To Decorate A Metal Bed Frame

Bedroom Furniture
How To Decorate A Metal Bed Frame
Modified: October 20, 2024
Discover the best tips and ideas on how to decorate a metal bed frame for your bedroom. Find the perfect bedroom furniture pieces to complement the metal bed frame and create a stylish and cozy space.
(Many of the links in this article redirect to a specific reviewed product. Your purchase of these products through affiliate links helps to generate commission for Storables.com, at no extra cost. Learn more)
Introduction
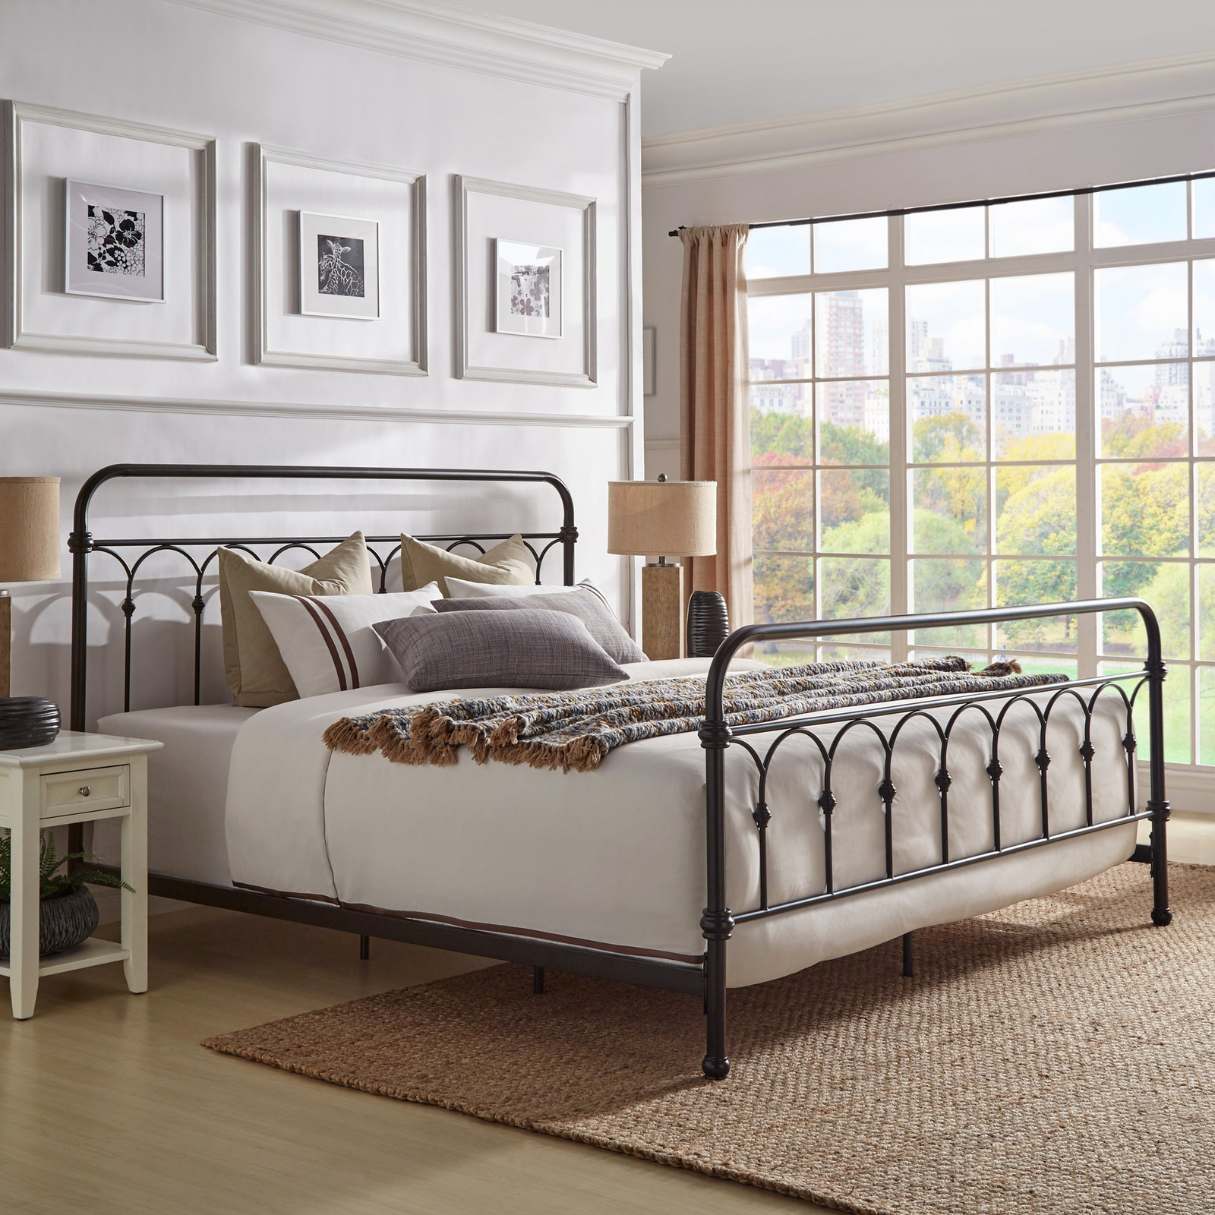
When it comes to bedroom furniture, the bed is often the centerpiece of the room. A metal bed frame can add a touch of elegance and sophistication to any bedroom decor. However, just having a metal bed frame in your bedroom is not enough to create a stylish and inviting space. To truly elevate the look of your metal bed frame, you need to know how to decorate it.
In this article, we will guide you through the process of decorating a metal bed frame to transform your bedroom into a cozy sanctuary. From cleaning and maintenance tips to choosing the right bedding, incorporating decorative pillows, and styling with accessories, we will cover all the essential steps to help you create a stunning and personalized bedroom design.
So, let’s dive in and discover how to decorate a metal bed frame to make your bedroom a place of comfort and style.
Key Takeaways:
- Elevate your bedroom decor by cleaning your metal bed frame, choosing the right bedding, adding a headboard, and incorporating decorative pillows to create a cozy and stylish sanctuary.
- Personalize your bedroom with wall art, a cohesive color scheme, textured throws and blankets, stylish nightstands and lighting, and meaningful accessories to reflect your unique style and create a welcoming ambiance.
Read more: How To Disassemble A Metal Bed Frame
Step 1: Cleaning the Metal Bed Frame
Before you start decorating your metal bed frame, it’s important to ensure that it is clean and free from dust and debris. Cleaning your bed frame not only helps maintain its appearance but also prolongs its lifespan.
Here’s how you can clean your metal bed frame:
- Remove the bedding: Start by stripping your bed of all the bedding, including the sheets, pillows, and mattress topper. This will allow you to access the entire bed frame and clean it thoroughly.
- Vacuum or dust: Use a vacuum cleaner or a soft brush attachment to remove any dust or dirt particles from the metal bed frame. Pay attention to the joints, crevices, and corners of the frame where dirt tends to accumulate.
- Wipe with a damp cloth: Dampen a clean cloth with warm water and mild soap. Gently wipe down the metal bed frame, focusing on areas that require extra cleaning. Avoid using harsh chemicals or abrasive cleaners, as they can damage the metal finish.
- Dry thoroughly: After cleaning, make sure to dry the bed frame thoroughly to prevent moisture buildup. You can use a clean, dry cloth or let it air dry naturally. Ensure that the bed frame is completely dry before proceeding to the next step.
By regularly cleaning your metal bed frame, you’ll not only maintain its aesthetic appeal but also create a clean and hygienic sleeping environment.
Step 2: Choosing the Right Bedding
When it comes to decorating a metal bed frame, choosing the right bedding is crucial. The bedding you select will set the tone for the entire bedroom decor and greatly impact the overall look and feel of the space.
Here are some factors to consider when choosing bedding for your metal bed frame:
- Comfort: Opt for bedding that is not only visually appealing but also comfortable. Look for high-quality materials such as cotton, linen, or bamboo that provide breathability and a soft feel.
- Color and pattern: Consider the color scheme and design of your bedroom when selecting bedding. For a cohesive look, choose bedding that complements the overall color palette. You can go for solid colors or experiment with patterns and textures to add visual interest.
- Pillows and pillowcases: Pillows play a significant role in both comfort and aesthetics. Choose pillows that provide adequate support for a good night’s sleep. Additionally, select pillowcases that match or coordinate with your bedding to create a cohesive look.
- Fitted sheet and mattress protector: Ensure that you have a well-fitted sheet that covers your mattress properly. Consider using a mattress protector to keep your mattress clean and extend its lifespan.
- Throws and blankets: Enhance the cozy factor of your metal bed frame by adding throws and blankets. Choose materials and colors that complement your bedding to create layers and add texture to your bed.
Remember to regularly launder your bedding to keep it fresh and clean. By carefully selecting bedding that suits your style and preferences, you can enhance the overall aesthetic appeal and comfort of your metal bed frame.
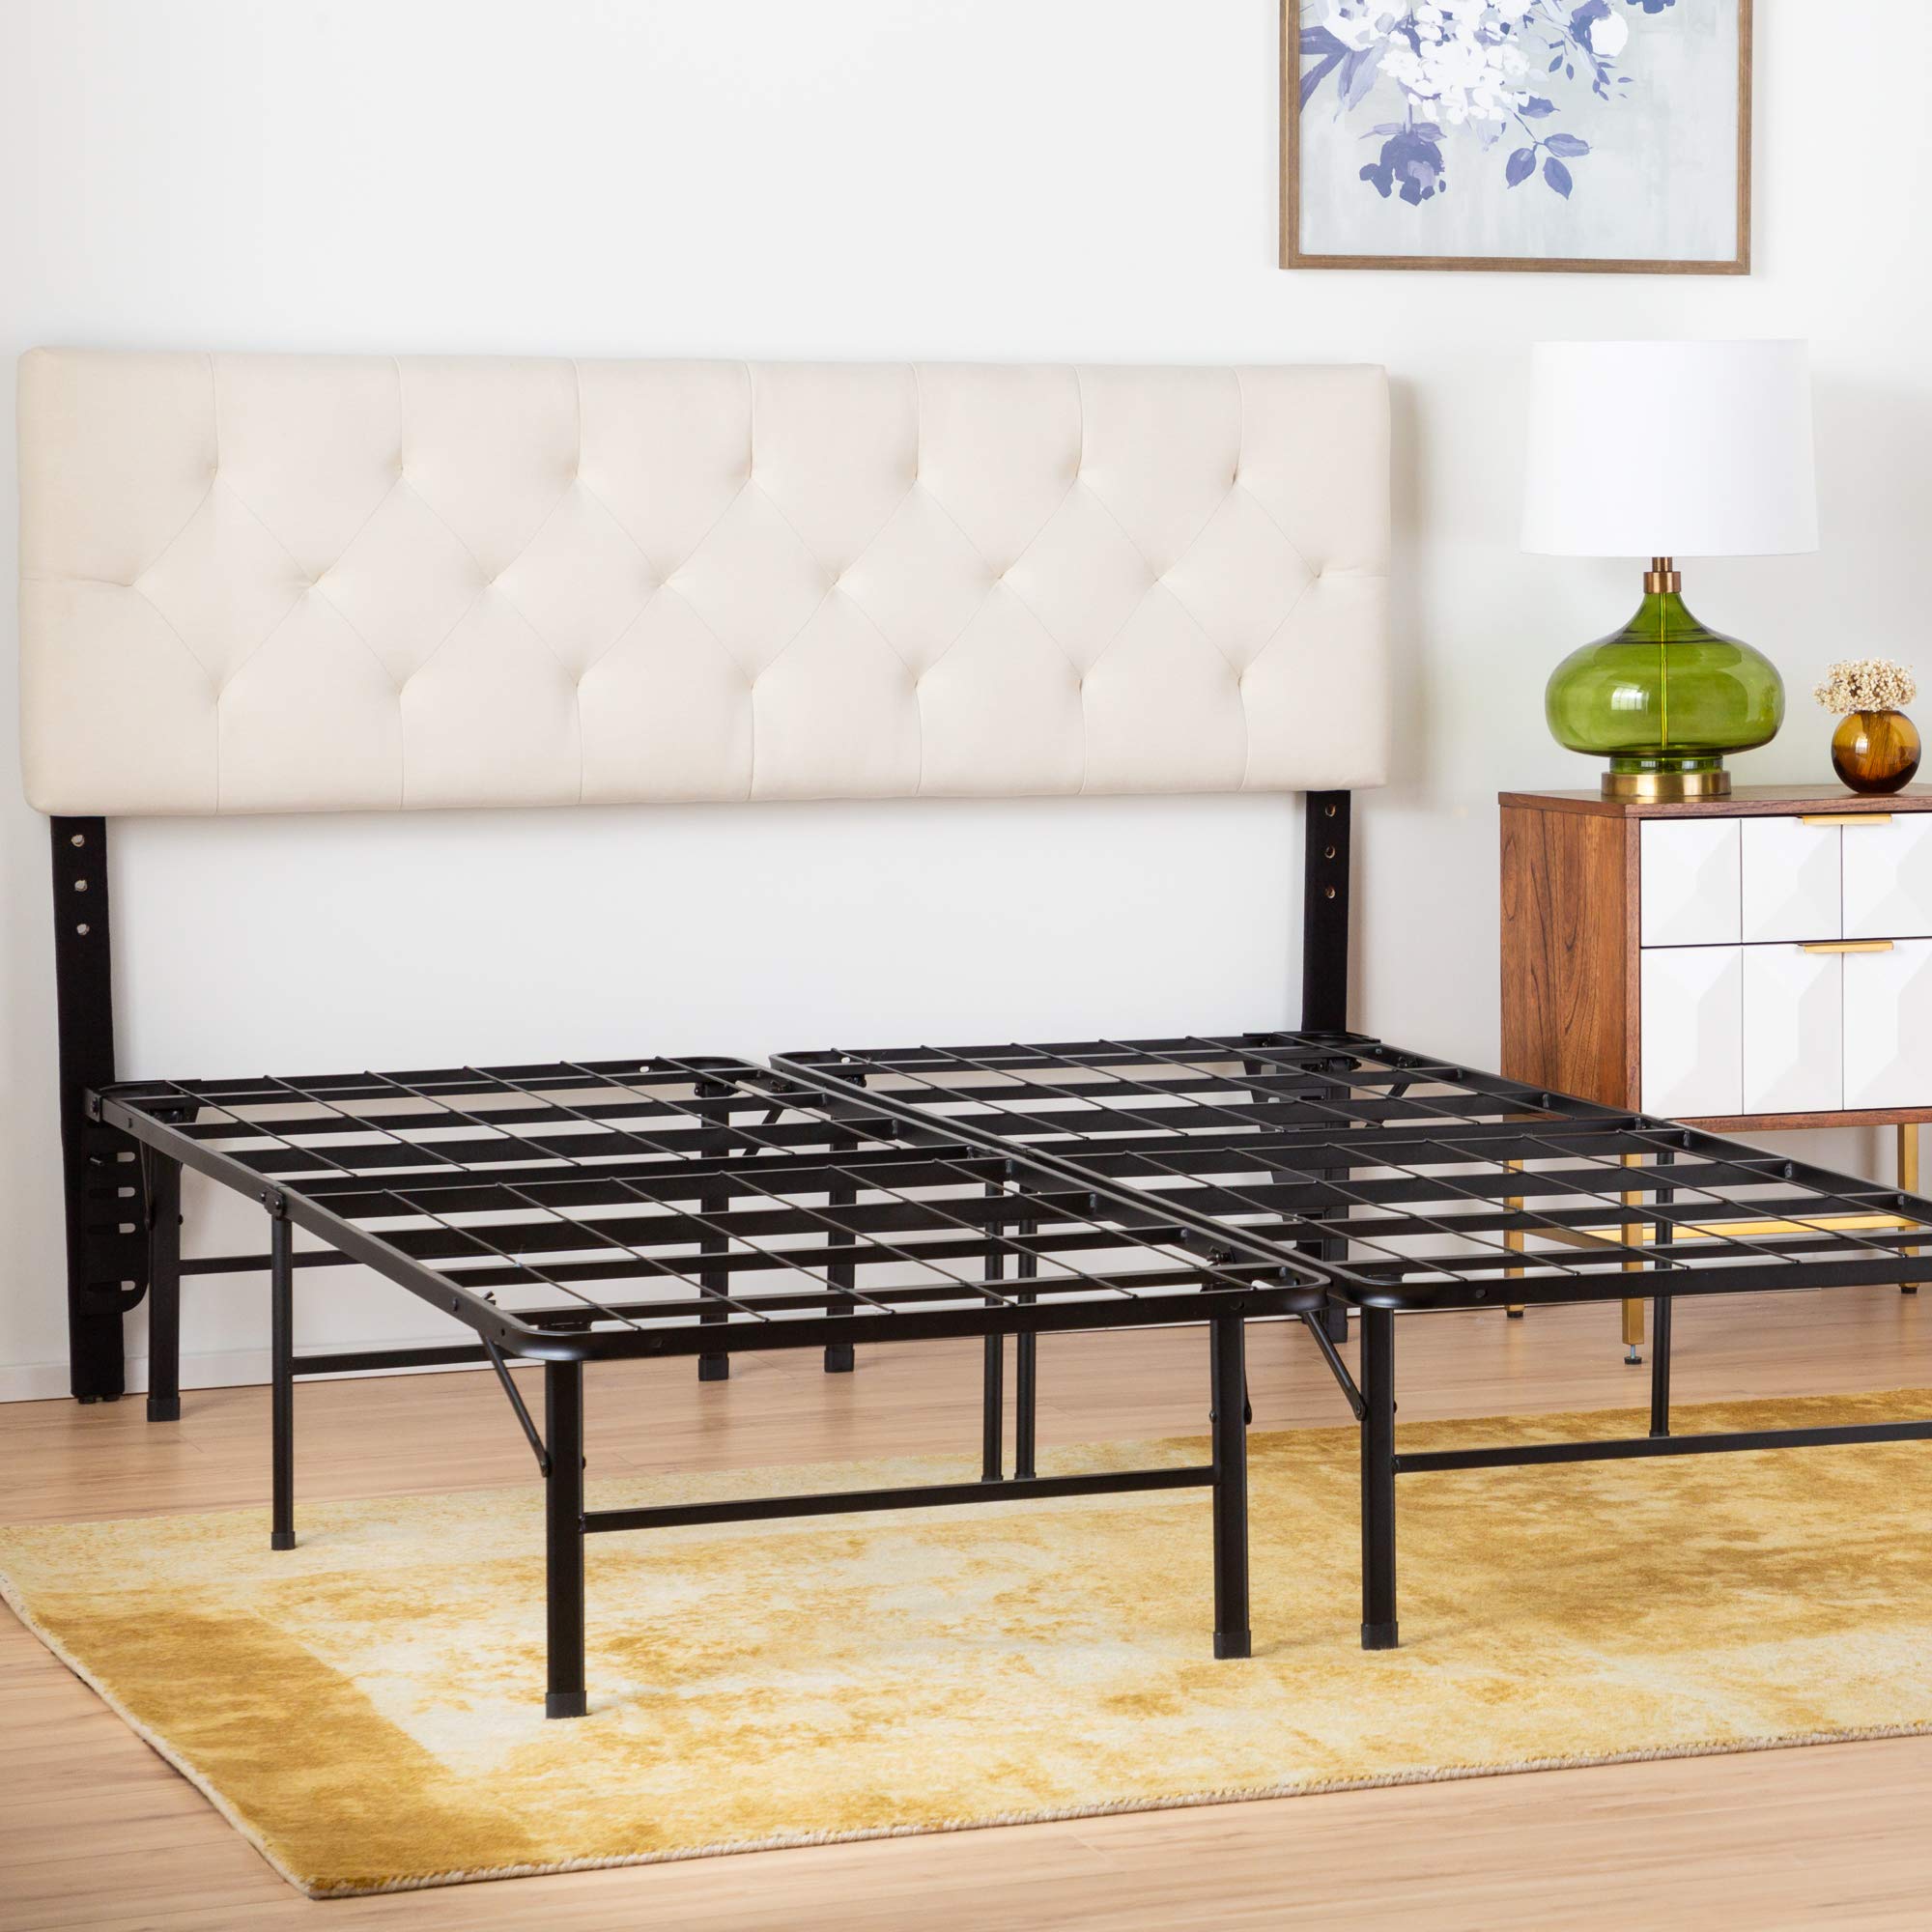
Step 3: Adding a Headboard
One of the key elements in decorating a metal bed frame is adding a headboard. A headboard not only serves as a focal point but also provides functional and aesthetic benefits to your bedroom.
Here are some ideas for adding a headboard to your metal bed frame:
- Upholstered headboard: An upholstered headboard can add a touch of luxury and comfort to your bed. Choose a fabric that complements your bedroom decor and select a style that suits your preference, such as tufted, padded, or sleek designs.
- Wooden headboard: Wood is a versatile material that can add warmth and natural beauty to your metal bed frame. You can opt for a solid wood headboard or choose a wood veneer or laminate for a more affordable option. Select a style and finish that matches your bedroom aesthetic.
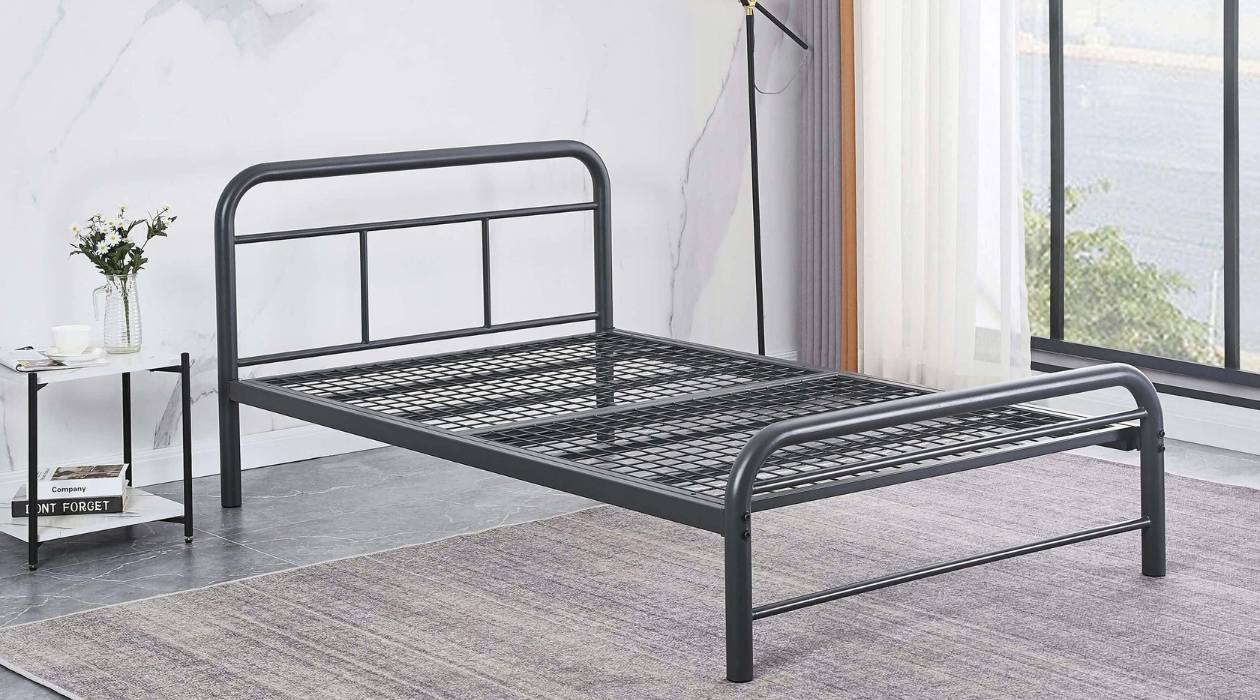
- Metal headboard: If you want to accentuate the metal theme of your bed frame, consider adding a metal headboard. Choose a design that complements the style of your bed frame, whether it’s intricate scrollwork or minimalist metal slats.
- DIY headboard: Get creative and make your own headboard to add a personal touch to your metal bed frame. You can repurpose old doors, use reclaimed wood, or even create a fabric-covered headboard. Let your imagination run wild and customize it to suit your style.
Adding a headboard not only enhances the aesthetic appeal of your metal bed frame but also provides additional support for sitting up in bed and lends an inviting atmosphere to your bedroom.
Before attaching the headboard to your bed frame, make sure to carefully follow the manufacturer’s instructions or consult a professional if needed. Ensure that the headboard is securely attached to provide stability and safety.
Step 4: Incorporating Decorative Pillows
Decorative pillows are a wonderful way to add personality, texture, and color to your metal bed frame. They can instantly elevate your bedroom decor and make your bed look inviting and cozy.
Here are some tips for incorporating decorative pillows into your metal bed frame decoration:
- Choose a variety of sizes: Opt for pillows in different sizes to create visual interest and layers on your bed. Mix and match standard-size pillows with larger Euro or king-size pillows for a luxurious look.
- Experiment with patterns and textures: Play with a mix of patterns and textures when selecting decorative pillows. You can choose floral prints, geometric designs, or even opt for pillows with sequins, tassels, or embroidery to add a touch of glamour and personality.
- Coordinate with your bedding: Consider the colors and patterns of your bedding when choosing decorative pillows. Select pillows that complement or accentuate the colors in your bedding for a cohesive and harmonious look.
- Arrange pillows in layers: Arrange your decorative pillows in layers to create depth and dimension. Start with your sleeping pillows at the back, followed by Euro or king-size pillows, and then add smaller decorative pillows in front. This layering technique adds visual interest and creates a plush and luxurious look.
- Don’t overcrowd: While decorative pillows can enhance the look of your metal bed frame, be mindful not to overcrowd it. Keep the number of decorative pillows reasonable, so you have enough space to comfortably sleep and move around in bed.
Remember to fluff and arrange your pillows daily to maintain their shape and keep your bed looking fresh and inviting.
Incorporating decorative pillows into your bed frame decoration allows you to infuse your personal style and create a cozy and visually pleasing atmosphere in your bedroom.
Read more: How To Assemble A Metal Bed Frame
Step 5: Hanging Wall Art Above the Bed
One of the most impactful ways to enhance the decor of your metal bed frame is by hanging wall art above it. Wall art adds a focal point and can tie together the overall design of your bedroom. Whether you prefer bold and vibrant artwork or serene and soothing pieces, there are various options to choose from.
Here are some tips for hanging wall art above your metal bed frame:
- Consider the size and proportion: When selecting wall art, consider the size and proportion of your metal bed frame. The artwork should be proportionate to the size of the wall and the bed frame. Too small artwork can get lost, while oversized pieces may overwhelm the space.
- Choose the right placement: Decide on the placement of your wall art based on the layout of your bedroom. Generally, the center of the artwork should be at eye level when you’re standing or sitting on the bed. If you have a tall headboard, hang the artwork slightly higher to account for the extra height.
- Create a gallery wall: Instead of hanging a single piece of artwork, you can create a gallery wall above your bed. Mix and match different-sized frames, artwork, and photographs to add visual interest and personalize the space.
- Coordinate with the bedroom theme: Choose wall art that complements the overall theme and color scheme of your bedroom. Consider the style of your metal bed frame and select artwork that enhances the aesthetic appeal of the room.
- Balance with other elements: Ensure that the wall art balances other elements in the room, such as the headboard, bedding, and furniture. The artwork should harmonize with the overall design and not overshadow other decorative pieces.
Wall art above the bed can create a focal point, add visual interest, and reflect your personal style. Whether it’s a painting, a framed photograph, or a collection of art prints, hanging the right wall art above your metal bed frame can truly elevate the overall look and ambiance of your bedroom.
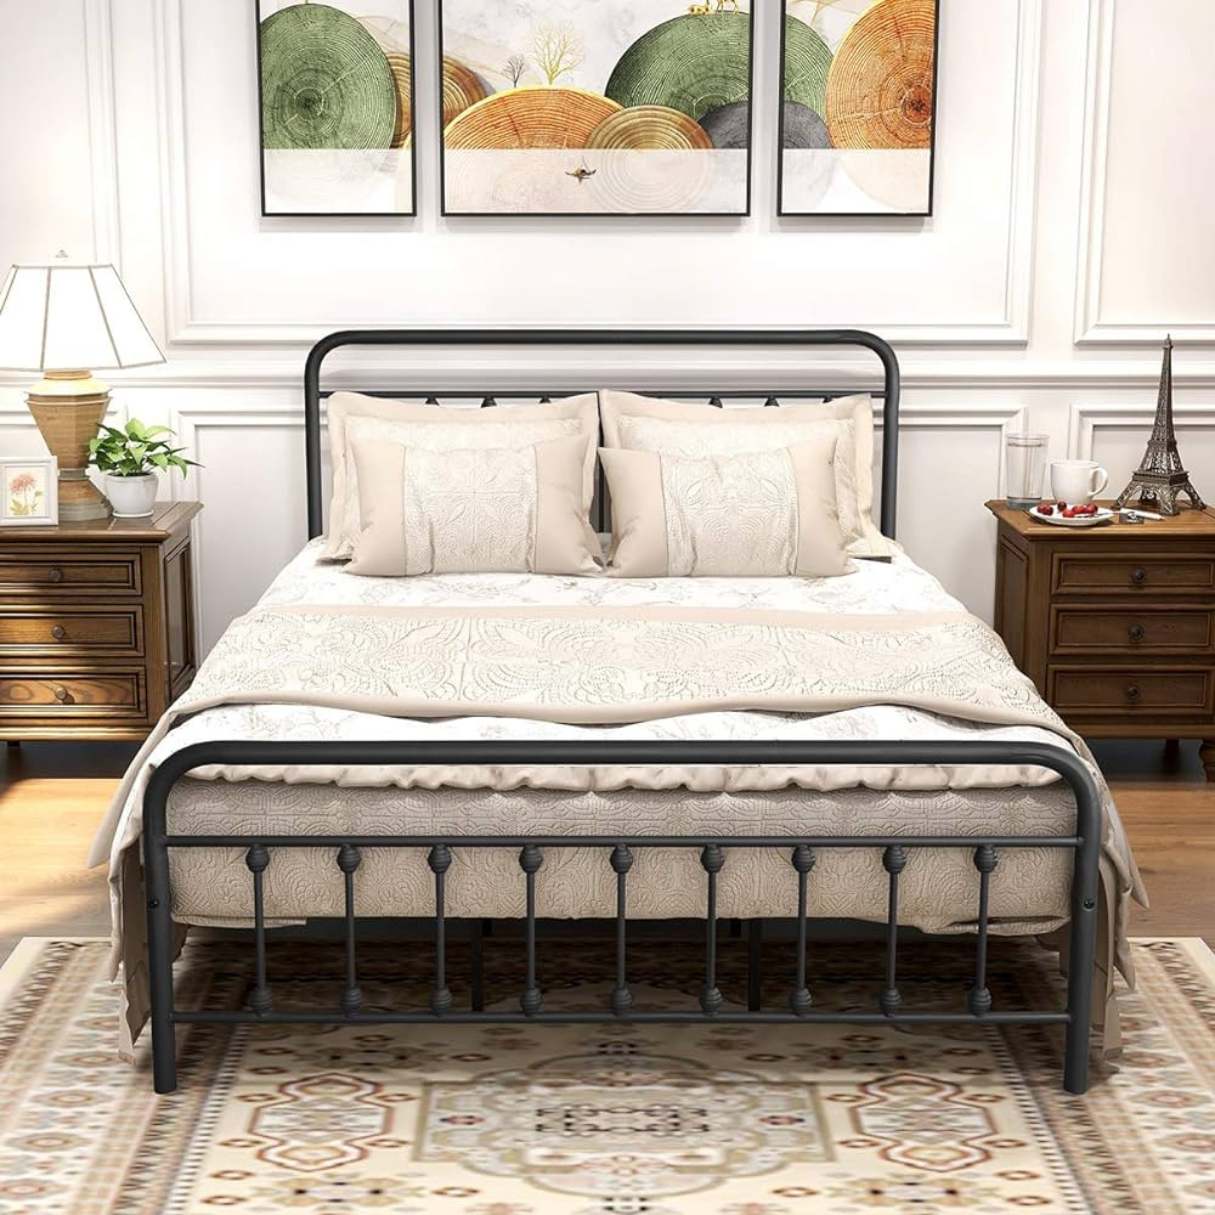
Consider using a mix of textures and materials in your bedding and decor to soften the look of a metal bed frame. Add a cozy throw blanket, plush pillows, and a decorative rug to create a warm and inviting atmosphere.
Step 6: Choosing a Color Scheme
Choosing the right color scheme is crucial in creating a cohesive and visually appealing look for your metal bed frame and the entire bedroom. A well-thought-out color scheme can create a harmonious and inviting atmosphere that reflects your style and personality.
Here are some factors to consider when choosing a color scheme for your metal bed frame:
- Consider the existing decor: Look at the colors and style of your bedroom furniture, including the metal bed frame, as well as any existing decor elements. Opt for a color scheme that complements these existing pieces for a cohesive and coordinated look.
- Decide on a color palette: Determine the main colors you want to incorporate into your bedroom design. You can choose a monochromatic palette, where different shades of a single color are used, or go for complementary colors that are opposite each other on the color wheel for a dynamic look.
- Consider the mood: Think about the mood you want to create in your bedroom. Soft, neutral tones can create a calming and serene ambiance, while bold and vibrant colors can inject energy and excitement into the space. Consider how different colors evoke different emotions and choose accordingly.
- Add pops of color: While it’s important to have a cohesive color scheme, don’t be afraid to incorporate pops of color for visual interest. You can do this through accent pillows, throw blankets, or even a colorful statement piece of furniture.
- Think about the finish: Consider the finish of your metal bed frame and how it complements the chosen color scheme. For example, a brushed silver finish may work well with cool-toned colors, while a brass or gold finish can pair nicely with warmer tones.
Remember, the color scheme you choose for your metal bed frame should reflect your personal style and create a comfortable and visually appealing space that you enjoy spending time in.
Once you have decided on your color scheme, you can incorporate it into your bedding, wall color, curtains, and other decorative elements to create a cohesive and inviting look in your bedroom.
Step 7: Adding Texture with Throws and Blankets
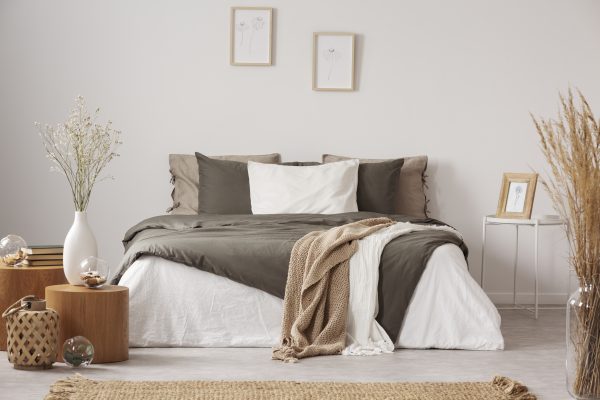
Adding texture to your metal bed frame is an excellent way to create visual interest and make your bedroom decor more inviting. Throws and blankets not only provide warmth and comfort but also add layers and texture to your bed, making it feel cozy and luxurious.
Here are some tips for incorporating throws and blankets to add texture to your metal bed frame:
- Choose different textures: Opt for throws and blankets in a variety of textures to create depth and interest. Consider materials like chunky knits, faux fur, velvet, or woven fabric to add tactile appeal to your bed.
- Play with patterns and colors: Experiment with different patterns and colors to add visual interest. You can go for a solid-colored throw to complement your bedding or choose a patterned one to add a pop of excitement. Mix and match patterns and colors to create a personalized and dynamic look.
- Layer with different sizes: Layering is the key to creating plushness and dimension on your bed. Start by laying a larger throw or blanket on the bed as a base, and then add smaller throws or blankets in different textures and colors on top. The layering effect adds depth and visual appeal.
- Drape strategically: Play with different draping techniques to achieve the desired effect. You can drape a throw blanket over the end of the bed for a casual and effortless look or fold it neatly at the foot of the bed for a more polished appearance. You can also drape a smaller blanket over the corner of the bed for added texture and style.
- Consider the season: Switch out your throws and blankets to match the season. Choose lightweight and breathable fabrics for the warmer months and opt for thicker and warmer materials during colder seasons. This not only adds to the visual appeal but also ensures practicality and comfort.
By incorporating throws and blankets of different textures, patterns, and colors, you can create a visually rich and inviting look for your metal bed frame. Don’t be afraid to mix and match, and have fun exploring different combinations to find the perfect balance of texture and style.
Step 8: Styling with Nightstands and Lighting
When it comes to decorating a metal bed frame, don’t forget about the important elements of nightstands and lighting. Styling these components properly can enhance the overall look and functionality of your bedroom.
Here are some tips for styling your nightstands and lighting with your metal bed frame:
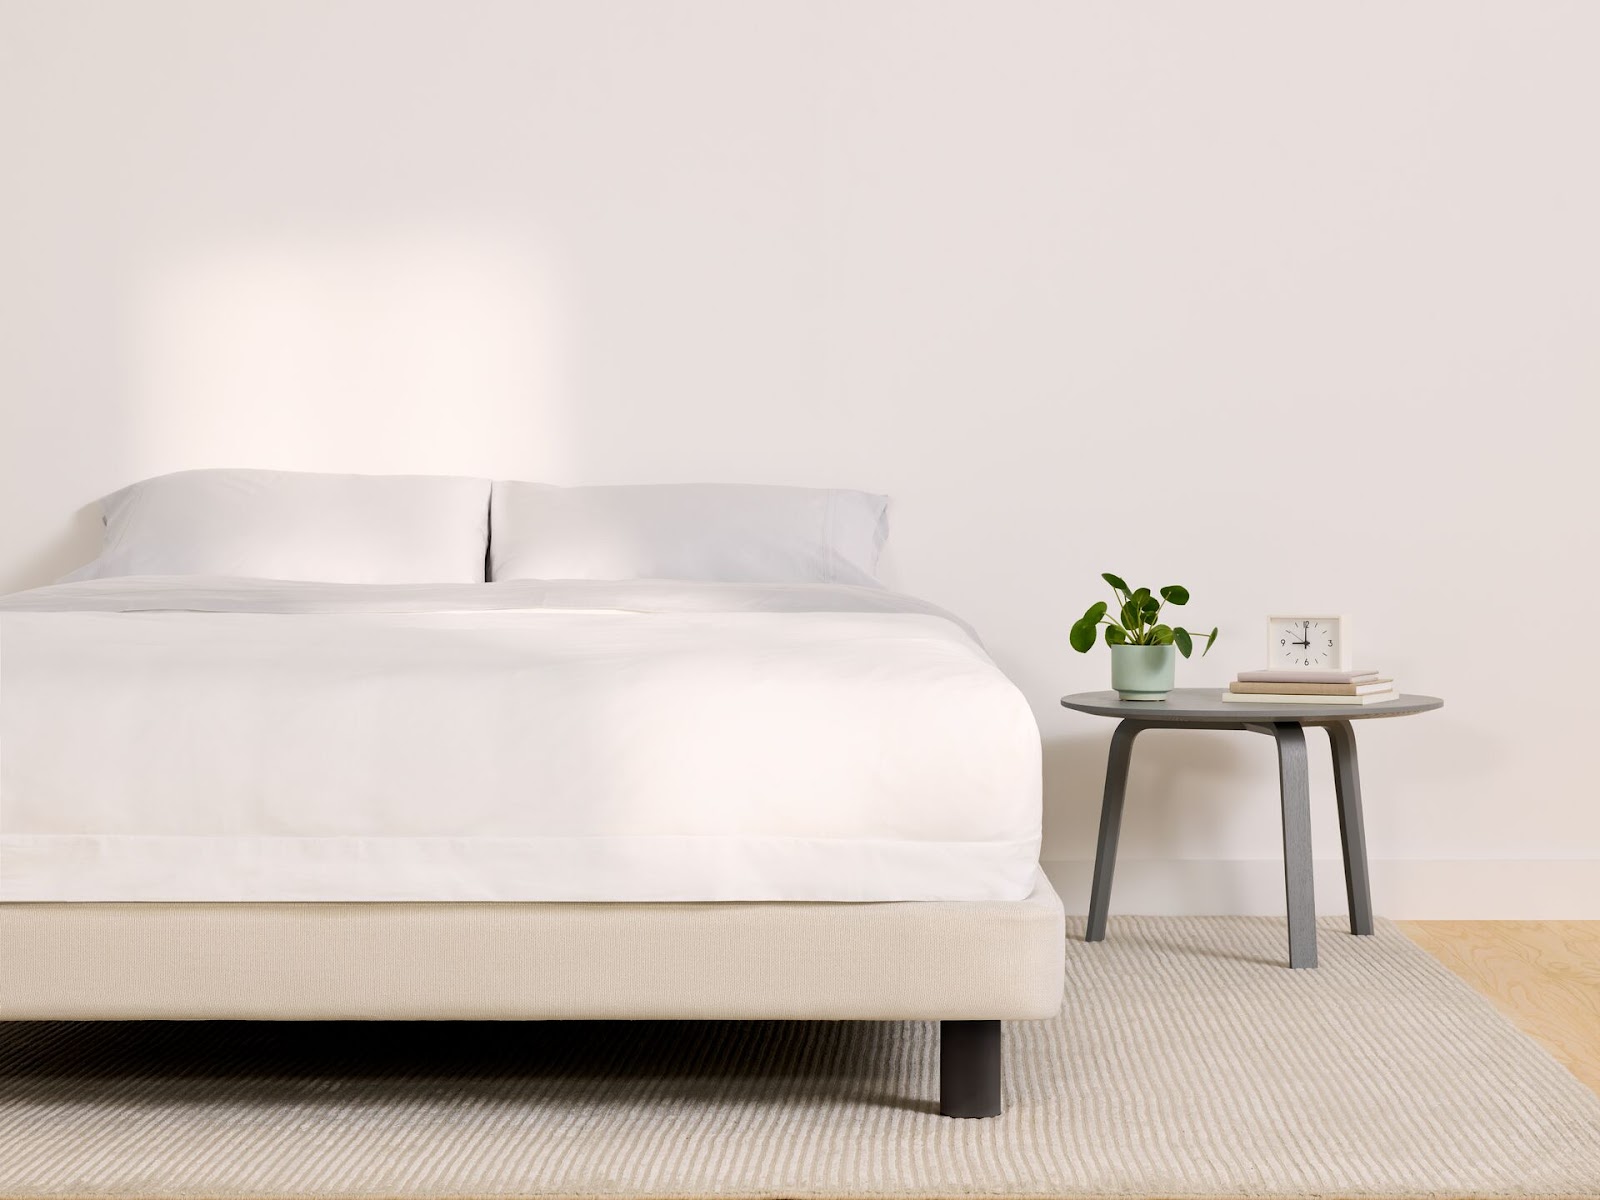
- Choose complementary nightstands: Select nightstands that coordinate with the style and finish of your metal bed frame. Consider the size and storage capabilities of the nightstands to ensure they meet your needs.
- Balance with lamps: Place table lamps on your nightstands to provide both functional and ambient lighting. Choose lamps that complement the style of your metal bed frame and match the overall aesthetic of the room. Consider the height of the lamps in relation to your bed frame, ensuring they are not too tall or short.
- Think about placement: Position your nightstands on both sides of the bed for a balanced and symmetrical look. Make sure they are easily accessible and have enough space for essentials like a lamp, alarm clock, or books.
- Accessorize with decor: Add decorative elements to your nightstands to enhance their visual appeal. Consider items such as a small vase of fresh flowers, a decorative tray to corral smaller items, or a framed photo. Be mindful not to overcrowd the nightstands, keeping them functional and visually pleasing.
- Consider wall sconces: If space is limited on your nightstands or you prefer a sleeker look, consider wall sconces as an alternative to table lamps. Wall sconces can provide both task lighting for reading and a stylish accent to your metal bed frame.
- Layer the lighting: Incorporate different types of lighting to create a layered and comfortable ambiance in your bedroom. Combine the bedside table lamps or wall sconces with overhead lighting or a floor lamp to achieve the desired mood.
By carefully styling your nightstands and lighting, you can not only enhance the functionality of your bedroom but also create a visually pleasing and harmonious look that complements your metal bed frame.
Read more: How To Paint A Metal Bed Frame
Step 9: Personalizing with Accessories
Personalizing your metal bed frame with accessories is the final touch in creating a bedroom that truly reflects your style and personality. Accessories add the finishing details that make a space feel uniquely yours and can elevate the overall aesthetic appeal of your bedroom.
Here are some tips for personalizing your metal bed frame with accessories:
- Add decorative pillows and cushions: As mentioned earlier, decorative pillows can add style, texture, and color to your bed frame. Consider selecting pillows that feature patterns, colors, or motifs that resonate with your personal taste and overall bedroom decor.
- Showcase meaningful artwork or photographs: Hang artwork or display photographs above your bed frame that hold special meaning to you. This could be a favorite painting, a collection of family photos, or even artwork that you have created yourself.
- Introduce a rug: Place a rug underneath your metal bed frame to add warmth, texture, and a cozy feel to the space. Choose a rug that complements the color scheme and style of your bedroom, and ensure it is sized appropriately to fit the area around the bed.
- Display decorative objects: Use your nightstands or shelves near the bed frame to showcase decorative objects that hold sentimental value or express your interests. This could include trinkets, figurines, or small sculptures that reflect your personality and add a personalized touch to the overall decor.
- Consider window treatments: Window treatments, such as curtains or blinds, can add both functionality and style to your bedroom. Choose window coverings that enhance the overall theme and color scheme of the room while providing privacy and light control.
- Bring in plants or greenery: Adding some greenery or plants to your bedroom can breathe life into the space. Select low-maintenance plants that thrive in indoor environments and place them strategically near your metal bed frame to create a calming and natural ambiance.
By personalizing your metal bed frame with accessories, you infuse your unique style and create a space that reflects your individuality. These finishing touches add personality, warmth, and interest to your bedroom, making it a personal retreat that you can truly call your own.
Conclusion
Decorating a metal bed frame can transform your bedroom into a stylish and inviting sanctuary. By following the steps outlined in this article, you can create a personalized and aesthetically pleasing space that showcases your unique style and personality.
From cleaning the metal bed frame to choosing the right bedding, incorporating decorative pillows, hanging wall art, selecting a color scheme, adding texture with throws and blankets, styling with nightstands and lighting, and personalizing with accessories, each step plays an essential role in creating a cohesive and visually appealing bedroom design.
Remember to maintain the cleanliness of your metal bed frame, regularly launder your bedding, and fluff and arrange your pillows to keep them fresh and inviting. Pay attention to the placement and symmetry of your nightstands and lighting, and experiment with different textures, colors, and styles to add personality and visual interest to your bed frame.
Your metal bed frame should not only be functional but also a reflection of your style and taste. By incorporating these steps into your decorating process, you can create a space that not only provides comfort and relaxation but also captures your unique flair and creates a welcoming ambiance.
So, get ready to transform your metal bed frame into a stunning focal point in your bedroom. Start by cleaning it, choosing the right bedding, adding a headboard, incorporating decorative pillows, hanging wall art, selecting a color scheme, adding texture with throws and blankets, styling with nightstands and lighting, and finally, personalizing with accessories. With these steps, you’ll create a dreamy and inviting bedroom that you’ll love coming home to.
Now that you've got some great ideas on sprucing up your metal bed frame, why not check out our latest selections of stylish bedroom centerpieces? For those considering a new bed frame, our curated list of stylish metal bed frames offers plenty of inspiration. And if you're feeling crafty, don't miss our creative piece on effortless DIY bed frame projects, perfect for adding a personal touch to your bedroom without much hassle. Get ready to transform your sleeping area into a haven of comfort and style!
Frequently Asked Questions about How To Decorate A Metal Bed Frame
Was this page helpful?
At Storables.com, we guarantee accurate and reliable information. Our content, validated by Expert Board Contributors, is crafted following stringent Editorial Policies. We're committed to providing you with well-researched, expert-backed insights for all your informational needs.


0 thoughts on “How To Decorate A Metal Bed Frame”