Home>Furniture>Bedroom Furniture>How To Paint A Metal Bed Frame
Bedroom Furniture
How To Paint A Metal Bed Frame
Modified: January 23, 2024
Learn how to transform your bedroom with a step-by-step guide on painting a metal bed frame. Revamp your bedroom furniture to create a stylish and modern look.
(Many of the links in this article redirect to a specific reviewed product. Your purchase of these products through affiliate links helps to generate commission for Storables.com, at no extra cost. Learn more)
Introduction
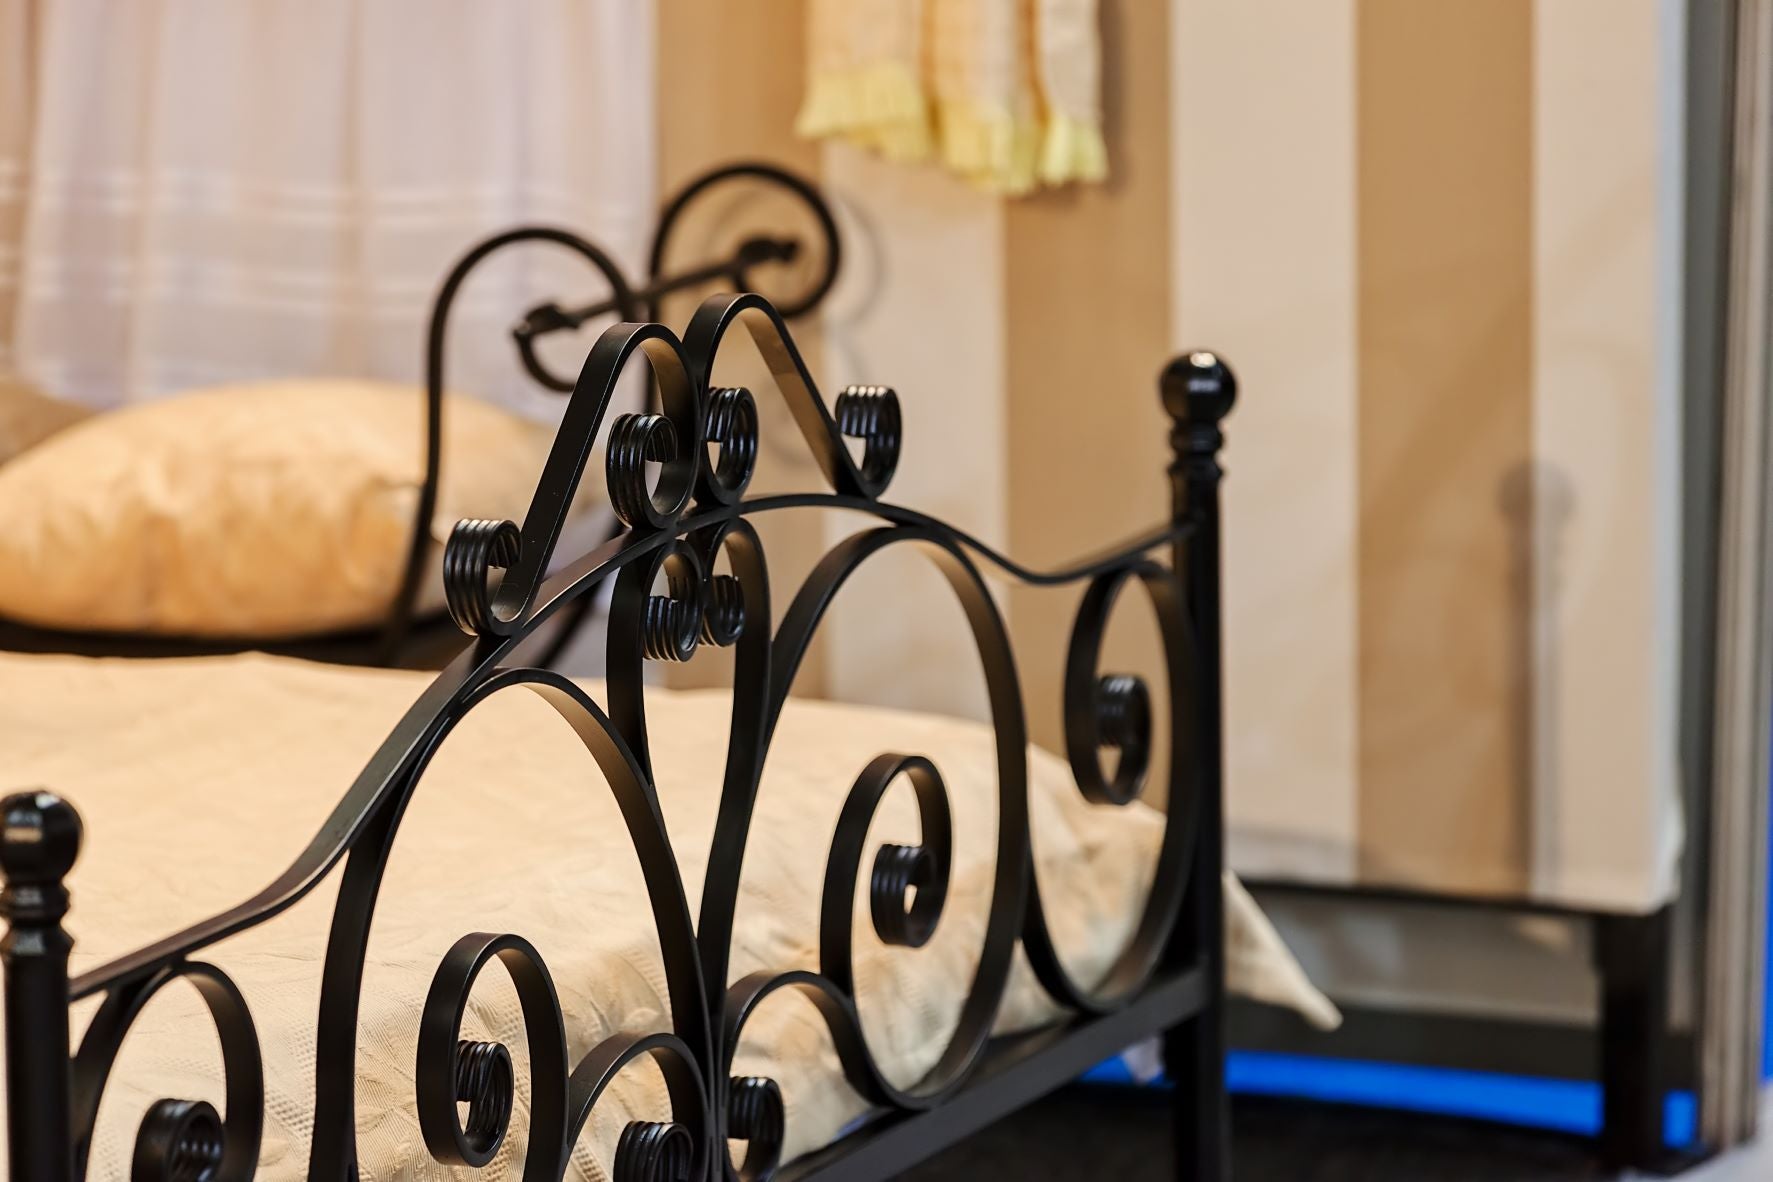
Welcome to our comprehensive guide on how to paint a metal bed frame. Are you looking to give your bedroom a fresh new look? Painting your metal bed frame can be a cost-effective way to transform the entire ambiance of your sleeping space. Whether you want to cover up an old finish, match your bed frame to your bedroom decor, or simply revitalize its appearance, painting a metal bed frame is a relatively simple and rewarding DIY project.
In this article, we will walk you through the step-by-step process of preparing and painting a metal bed frame to achieve a professional-looking finish. So, grab your paintbrushes and let’s get started!
Note: Before you begin, it is important to choose the right type of paint suitable for metal surfaces. Look for spray paints or enamel-based paints specifically designed for metal to ensure long-lasting results.
Disclaimer: Always follow the manufacturer’s instructions on the paint can for best results and safety precautions.
Key Takeaways:
- Transform your bedroom with a DIY metal bed frame painting project. Follow the step-by-step guide for a professional finish and a cost-effective way to revitalize your sleeping space.
- Choosing the right paint, thorough preparation, and patience are key to achieving a flawless and long-lasting finish for your metal bed frame. Enjoy the refreshed ambiance of your revamped bedroom retreat!
Read more: How To Disassemble A Metal Bed Frame
Preparing the Metal Bed Frame
Before you start painting your metal bed frame, it’s crucial to prepare the surface properly. This will ensure optimal paint adhesion and durability. Follow these steps to prepare your metal bed frame:
- Remove any bedding and accessories: Strip off the mattress, bedding, and any decorative items from your bed frame. This will give you clear access to the entire surface.
- Dismantle the bed frame if possible: If your bed frame can be easily disassembled, it’s recommended to take it apart. This will make the painting process much easier and allow you to reach all the nooks and crannies.
- Clean the frame: Use a mild detergent or metal cleaner and a sponge or soft cloth to remove any dirt, dust, or grease from the surface of the bed frame. Ensure that all areas, especially joints and corners, are thoroughly cleaned. This will help the paint adhere better and result in a smoother finish.
- Inspect for damages: Examine your bed frame for any dents, scratches, or rust spots. If you find any, use sandpaper or a wire brush to smooth out the affected areas. Make sure to remove any loose paint or rust before moving on.
By taking the time to properly prepare your metal bed frame, you will set the foundation for a successful and long-lasting paint job. This step is crucial in achieving a smooth and professional finish. Once your bed frame is clean and damage-free, you can proceed to the next step: sanding the metal surface.
Sanding the Metal Surface
After cleaning your metal bed frame, the next step is to sand the surface. Sanding will help roughen up the metal and create a textured surface for better paint adhesion. Follow these steps for sanding your metal bed frame:
- Select the right sandpaper: Choose a medium-grit sandpaper, such as 120-150 grit, for the initial sanding. This will effectively remove any remaining paint, rust, or imperfections on the surface. You can switch to a finer grit sandpaper, such as 220 grit, for a smoother finish later on.
- Sand in the direction of the grain: It’s important to sand along the grain of the metal rather than in circular motions. This will prevent scratches and ensure a more uniform surface. If your bed frame has intricate designs or hard-to-reach areas, you can use a sanding sponge or sanding block to maneuver more easily.
- Apply even pressure: Apply consistent pressure while sanding, but avoid pressing too hard, as this can damage the metal or create uneven patches. Let the sandpaper do the work, and keep a light touch.
- Remove dust and debris: After sanding, wipe down the bed frame with a slightly damp cloth to remove any sanding residue, dust, or debris. Make sure the surface is completely clean before moving on to the next step.
Sanding the metal surface is crucial for promoting better paint adhesion and ensuring a smooth and even finish. Take your time with this step to achieve the best results. Now that your bed frame is properly sanded, it’s time to move on to cleaning it again before applying primer.
Cleaning the Frame
Once you have sanded your metal bed frame, it’s important to clean the surface again before applying primer. This step ensures that the frame is free from any lingering dust, debris, or oils that could impact the paint’s adhesion. Here’s how to clean your bed frame:
- Use a mild detergent: Fill a bucket with warm water and add a few drops of mild dish soap or a gentle all-purpose cleaner. Avoid using harsh chemicals or abrasive cleaners that could damage the metal.
- Dip a sponge or cloth: Submerge a sponge or soft cloth into the soapy water and wring out any excess moisture. You want the sponge or cloth to be damp, not dripping wet.
- Wipe down the frame: Starting from the top of the bed frame, gently wipe down the entire surface using the damp sponge or cloth. Pay close attention to any areas that may have accumulated dirt or grime during the sanding process.
- Rinse with clean water: Once you have removed all the dirt and residue, rinse the sponge or cloth with clean water and go over the bed frame again to remove any remaining soap residue.
- Dry the frame: Finally, use a clean, dry cloth to thoroughly dry the bed frame. Moisture can interfere with paint adhesion, so it’s important to ensure the frame is completely dry before applying primer.
Cleaning the metal bed frame before applying primer helps to create a clean and impurities-free surface for the paint to adhere to. Once the frame is dry, you can move on to the next step: applying primer.
Applying Primer
Priming your metal bed frame is a crucial step in the painting process. Primer creates a smooth and even base that helps the paint adhere better and ensures a longer-lasting finish. Here’s how to apply primer to your bed frame:
- Choose the right primer: Look for a primer specifically designed for metal surfaces. If your bed frame has any rust spots or stains, consider using a rust-inhibiting primer to prevent future rust formation.
- Protect the surrounding area: Cover the floor or any nearby furniture with drop cloths or old sheets to protect them from primer overspray. Open windows or doors to ensure proper ventilation during the painting process.
- Shake the primer can: Shake the primer can vigorously for a minute or two to ensure that the primer is well-mixed and ready to use.
- Apply the primer: Hold the can of primer about 8-12 inches away from the bed frame surface. Begin spraying with smooth, even strokes, moving from one end of the frame to the other. Aim for a thin and even layer of primer, avoiding any heavy buildup or drips.
- Allow the primer to dry: Read the manufacturer’s instructions on the primer can for the recommended drying time. Typically, it takes around 1-2 hours for the primer to dry completely. Make sure the frame is placed in a well-ventilated and dust-free area while it dries.
Priming the metal bed frame prepares the surface for the final paint application. It helps to ensure that the paint adheres well, provides better coverage, and promotes a longer-lasting finish. Once the primer is dry, you are ready to move on to the exciting part: painting your metal bed frame!
When painting a metal bed frame, make sure to clean the surface thoroughly with a degreaser to remove any dirt or oil. Use a high-quality metal primer before applying the paint to ensure better adhesion and durability.
Read more: How To Decorate A Metal Bed Frame
Painting the Metal Bed Frame
Now that your metal bed frame is prepped and primed, it’s time to add color and personality by painting it. Follow these steps to achieve a flawless finish:
- Choose your paint: Select a high-quality paint specifically formulated for metal surfaces. Spray paint is a popular choice as it provides even coverage and a smooth finish. Consider using a paint with a built-in primer for added convenience.
- Protect the surrounding area: Cover the floor and any nearby furniture with drop cloths or old sheets to avoid paint spills or overspray. Open windows or doors for proper ventilation during the painting process.
- Shake the paint can: Shake the paint can thoroughly for a few minutes to ensure the paint is well-mixed and ready to use. Follow the manufacturer’s instructions for any specific shaking recommendations.
- Start painting: Hold the can of paint approximately 8-12 inches away from the bed frame surface. Begin painting in smooth, even strokes, moving from one end to the other. Aim for thin and consistent coats, rather than one heavy application. This will help prevent drips and ensure a professional-looking finish.
- Apply multiple coats: Depending on the color and coverage you desire, you may need to apply multiple coats of paint. Allow each coat to dry before applying the next one. Make sure to read the paint can for recommended drying times between coats.
- Vary the paint direction: To achieve an even finish, paint each coat in a different direction. For example, if you applied the first coat vertically, apply the second coat horizontally. This will help eliminate any streaks or brush marks and create a smoother overall appearance.
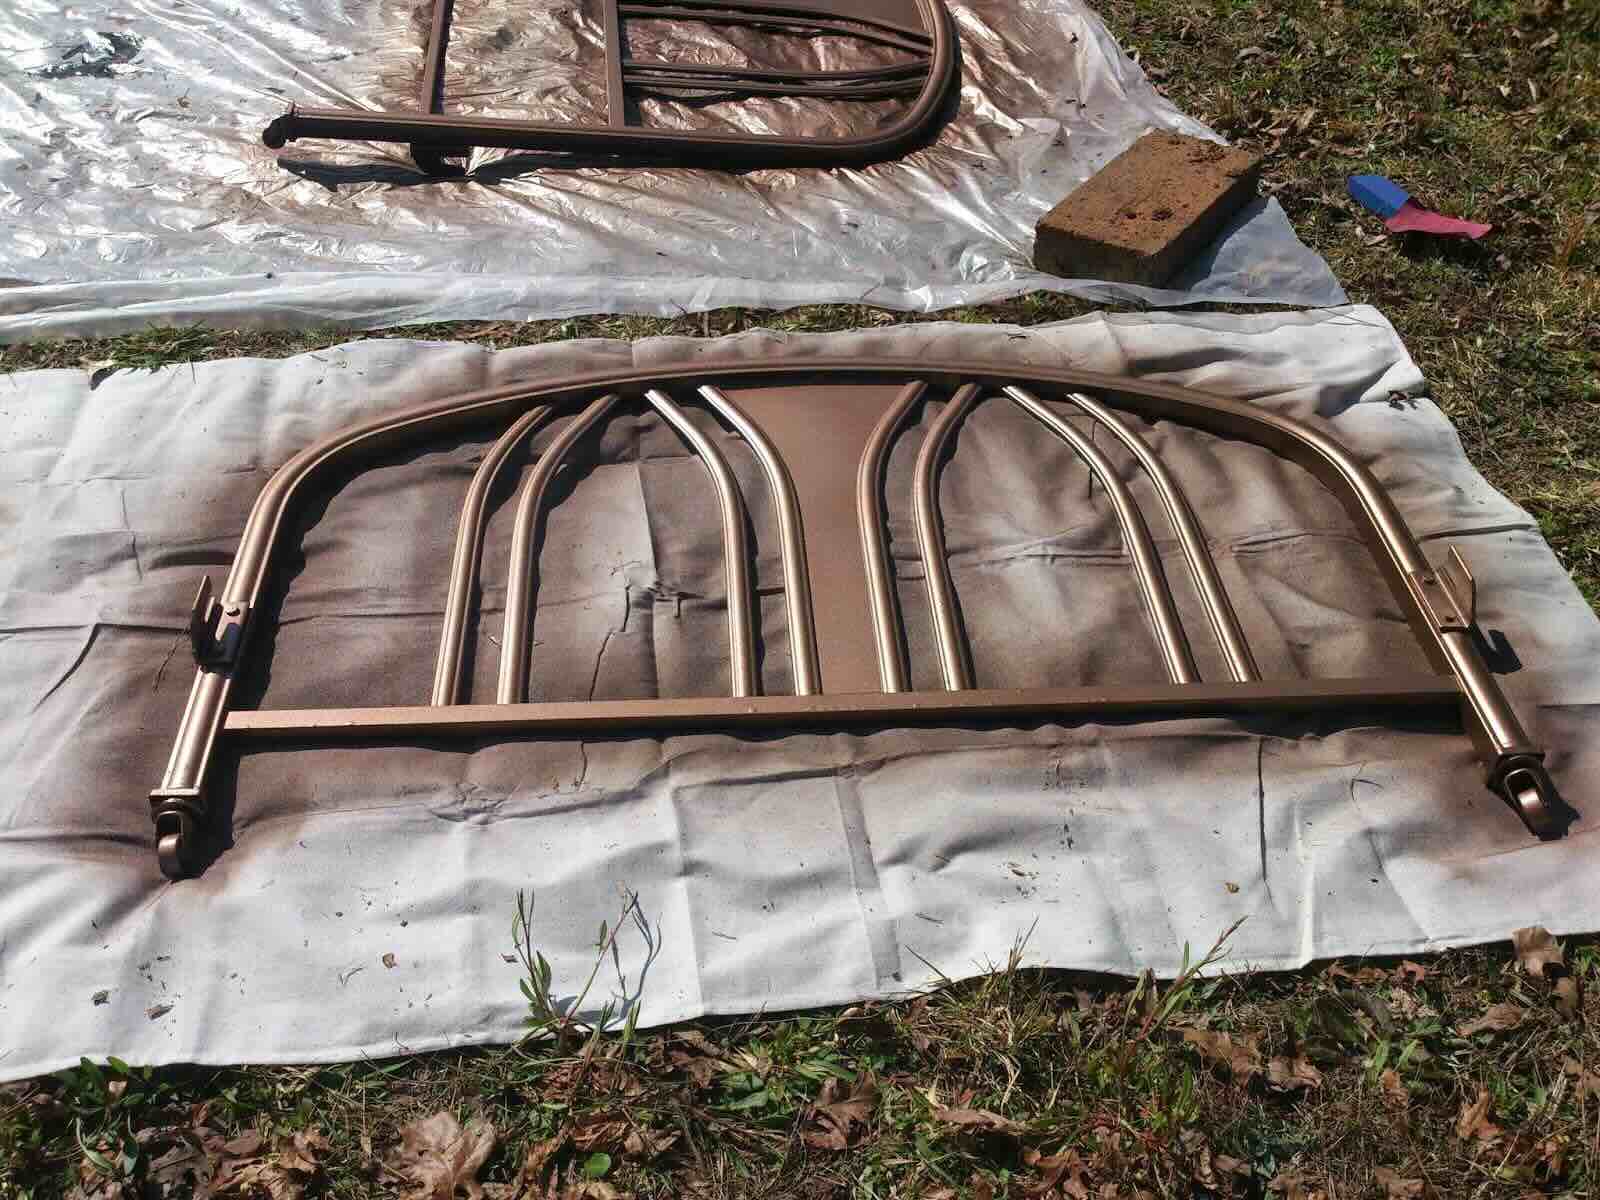
Remember to paint all sides of the bed frame, including hidden areas and intricate details, for a thorough and professional finish. Once you have achieved the desired color and coverage, it’s time to let the paint dry completely before reassembling the bed frame.
Applying Multiple Coats
To achieve a smooth and consistent finish, it’s often necessary to apply multiple coats of paint to your metal bed frame. This step ensures full coverage and enhances the durability of the paint job. Follow these tips for applying multiple coats:
- Allow the first coat to dry: Before applying additional coats, wait for the first coat of paint to dry completely. Read the manufacturer’s instructions on the paint can for recommended drying times. This typically ranges from 1-2 hours.
- Inspect the first coat: Once the first coat is dry, examine the surface for any areas that may have thin or uneven coverage. Look for any spots where the metal is still visible or where the underlying primer is showing through.
- Apply the second coat: If necessary, apply the second coat of paint following the same painting techniques as before. This coat will help to even out the color and provide more depth to the finish. Remember to maintain consistency with the direction of your strokes.
- Assess coverage after each coat: After each additional coat, inspect the frame for any remaining thin or uneven spots. If needed, continue applying coats until you achieve the desired coverage and a uniform appearance.
- Consider drying time between coats: Depending on the type and brand of paint, you may need to wait for each coat to dry before applying the next one. Follow the recommendations on the paint can to ensure proper drying time and to avoid smudging or disturbing the previous coat.
- Continue until satisfied: Keep applying coats of paint until you are satisfied with the color and coverage of your metal bed frame. The number of coats needed can vary depending on factors such as paint opacity, desired color intensity, and the condition of the metal surface.
By applying multiple coats of paint, you will achieve a more vibrant and long-lasting finish for your metal bed frame. Take the time to assess and touch up any areas that require additional coverage, ensuring a beautiful end result.
Allowing the Paint to Dry
After applying the final coat of paint to your metal bed frame, it’s crucial to allow the paint to dry completely. Proper drying time ensures that the paint adheres well and hardens to provide a durable finish. Here’s what you need to know about allowing the paint to dry:
- Refer to the paint can instructions: Different types of paint may have varying drying times. Read the manufacturer’s instructions on the paint can for the recommended drying time. This is typically between 24-48 hours.
- Create a drying area: Find a well-ventilated space where you can place the painted bed frame to dry. Avoid areas with high humidity as it can prolong the drying process. Ideally, the space should be dust-free and away from any potential contact or disturbances.
- Be patient and avoid touching the surface: It’s important to resist the temptation to touch or handle the painted bed frame until it is fully dry. Touching the surface prematurely can leave fingerprints or smudges and may affect the quality of the finish.
- Ensure optimal airflow: If possible, set up fans or open windows to promote good air circulation around the drying bed frame. This helps to speed up the drying process and ensures a more uniform finish.
- Consider the climate: The drying time may vary depending on the temperature and humidity levels of the environment. If you live in a humid climate or it’s winter, the paint might take longer to dry. Plan accordingly and give it ample time to cure.
- Double-check before reassembling: Before reassembling the bed frame or placing any bedding on it, ensure that the paint is completely dry and cured. Check for any tackiness or softness in the painted surface. If it feels dry and hard to the touch, it’s safe to proceed.
Allowing the paint to dry thoroughly is crucial for achieving a durable and flawless finish on your metal bed frame. Exercise patience during this step, and you’ll be rewarded with a beautifully transformed piece of furniture ready for reassembly.
Reassembling the Bed Frame
Once the paint on your metal bed frame has dried and cured completely, it’s time to reassemble the bed frame and prepare your bedroom for a fresh new look. Follow these steps to safely and efficiently reassemble your bed frame:
- Gather all the bed frame components: Ensure that you have all the necessary parts and hardware for reassembling the bed frame. Double-check that nothing is missing or damaged.
- Follow the manufacturer’s instructions: If your bed frame came with assembly instructions, refer to them to guide you through the reassembly process. If not, carefully examine how the pieces fit together, using your memory or reference photos if needed.
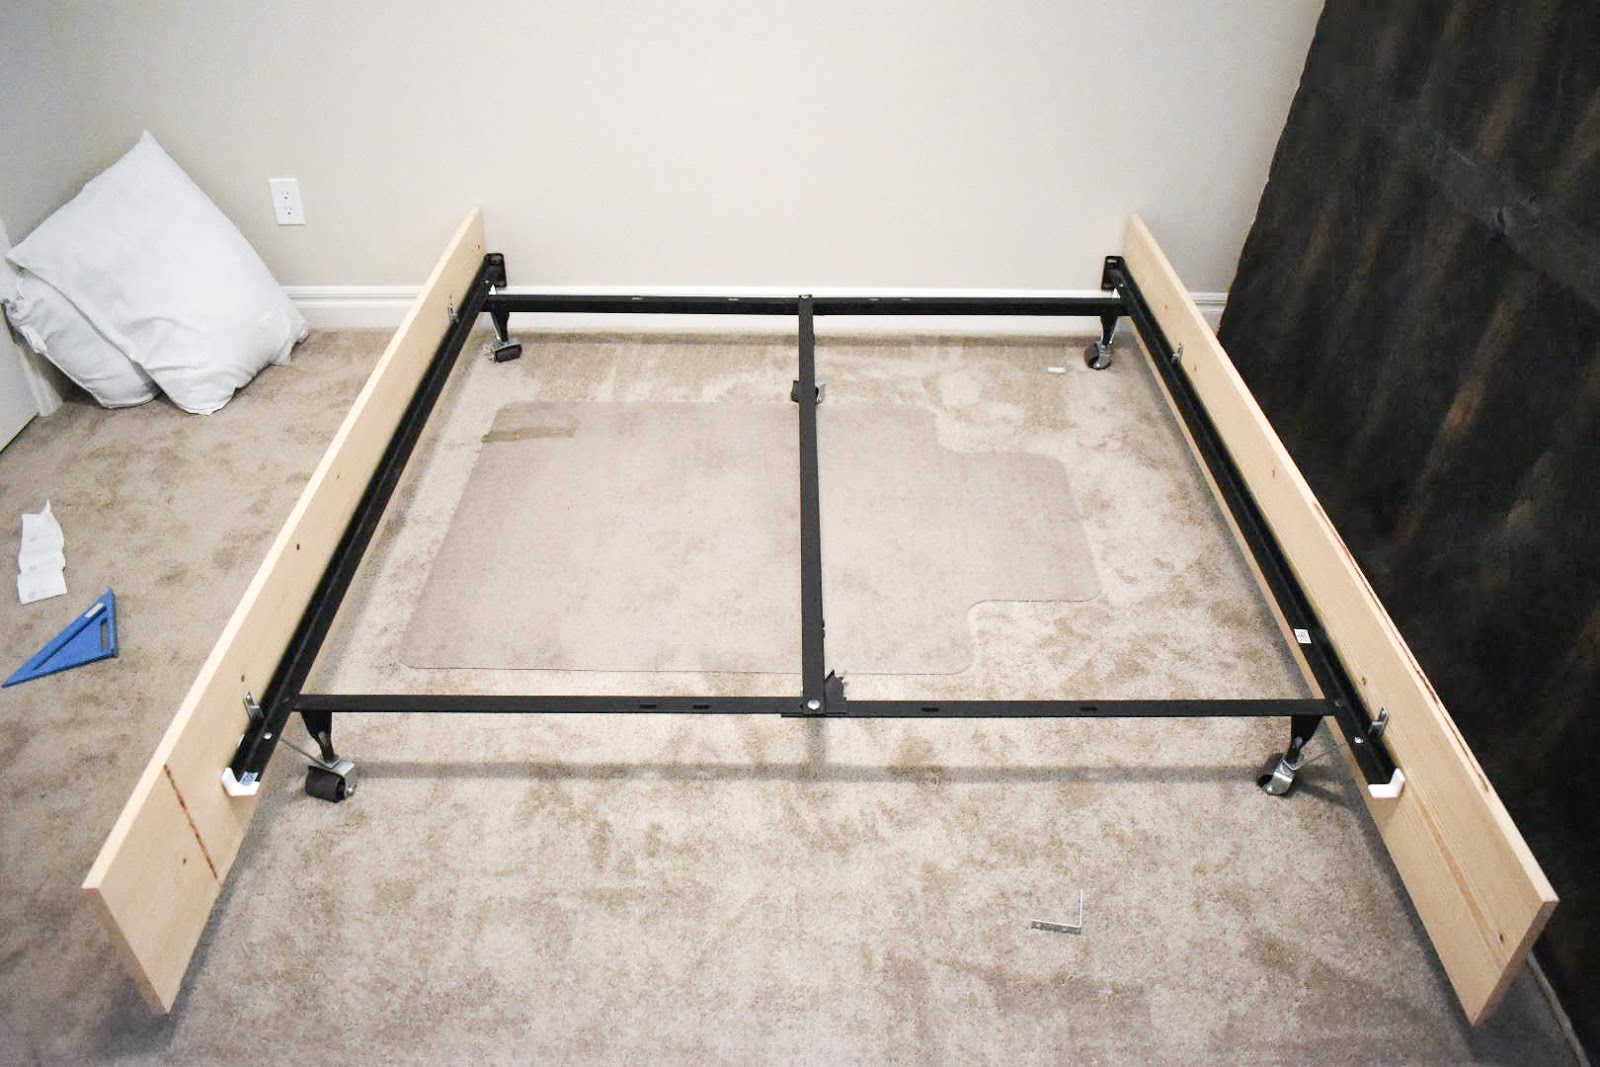
- Start with the base and support structures: Begin by assembling the base and support structures of the bed frame. Secure them properly using the provided screws, bolts, or connectors. Follow the recommended tightening instructions to ensure stability.
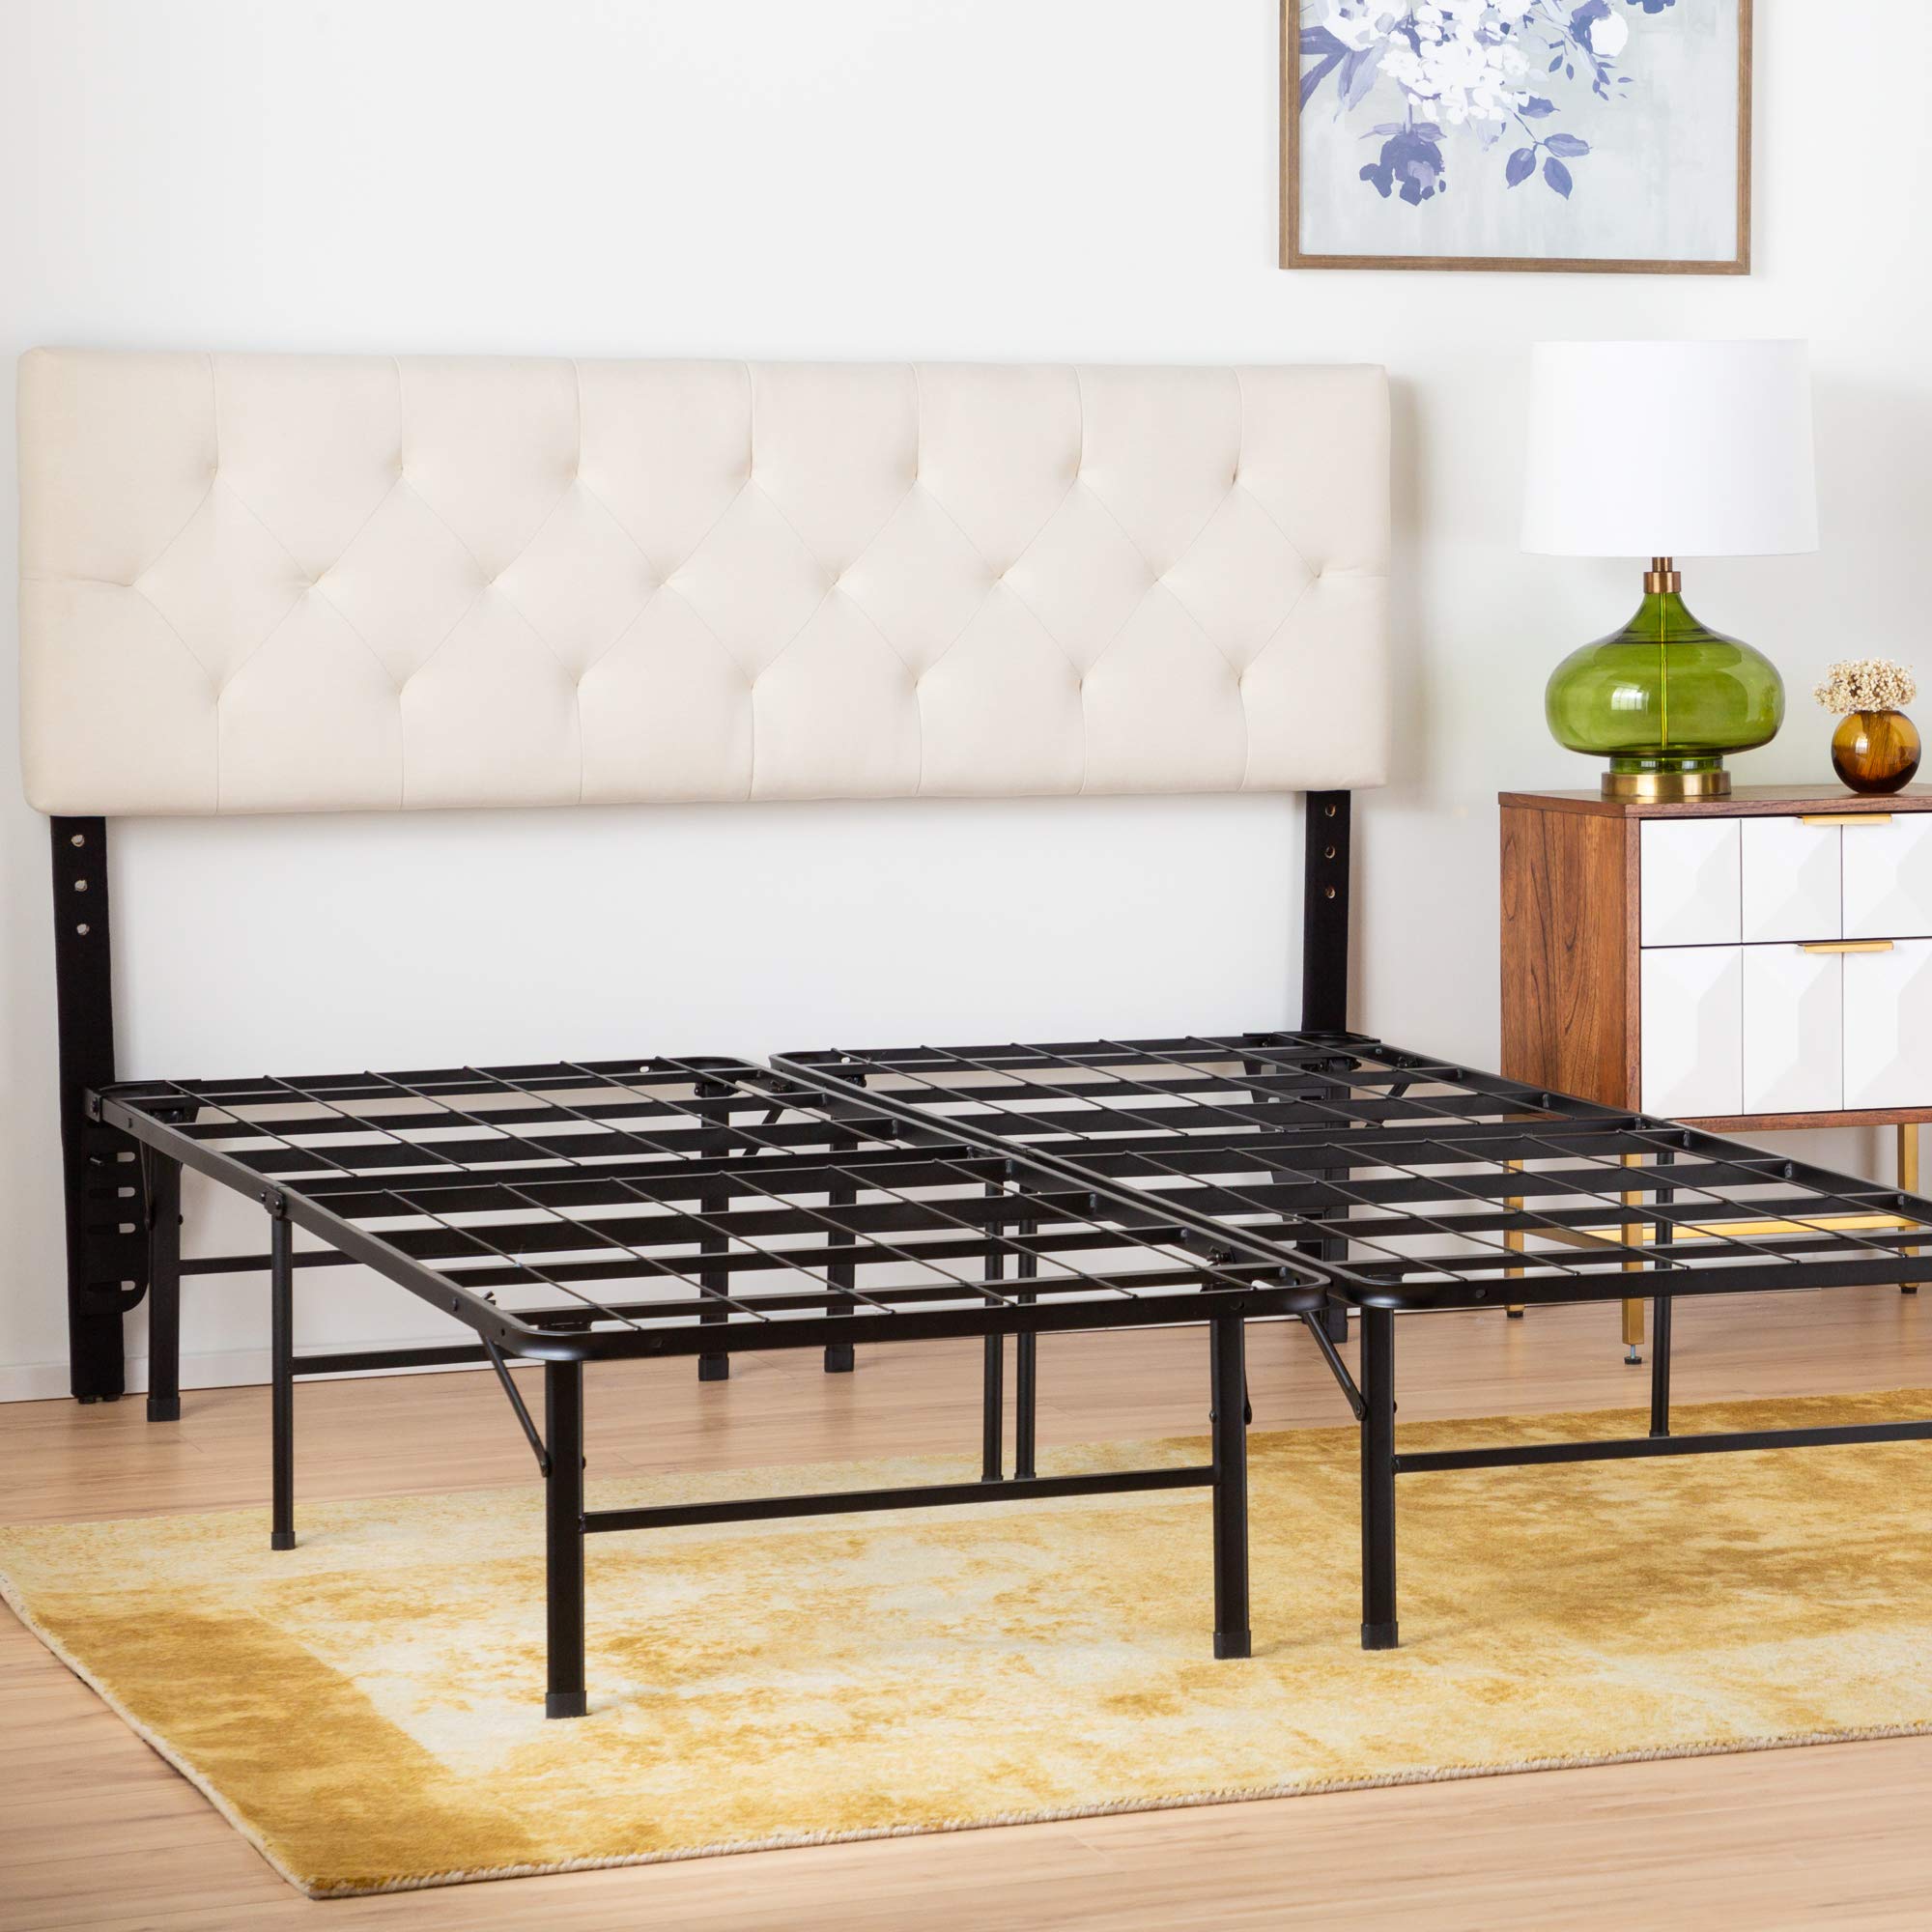
- Add the side rails and headboard/footboard: Attach the side rails to the base and then attach the headboard and footboard, if applicable. Use the appropriate hardware and follow the instructions carefully to properly secure these elements.
- Tighten all connections: Once all the components are in place, ensure that all connections are tightened securely. Check for any wobbling or loose parts and make any necessary adjustments to ensure a sturdy and stable bed frame.
- Place the mattress and bedding: Once the bed frame is fully assembled, place your mattress on top and add your preferred bedding to complete the transformation. Add pillows, blankets, and any decorative elements to create a cozy and inviting sleeping space.
Reassembling your bed frame is an exciting final step that brings the process full circle. Take your time during this process to ensure that each component is securely attached and correctly aligned. Once completed, step back and admire your newly painted and reassembled bed frame, ready to provide a refreshed look for your bedroom.
Read more: How To Assemble A Metal Bed Frame
Conclusion
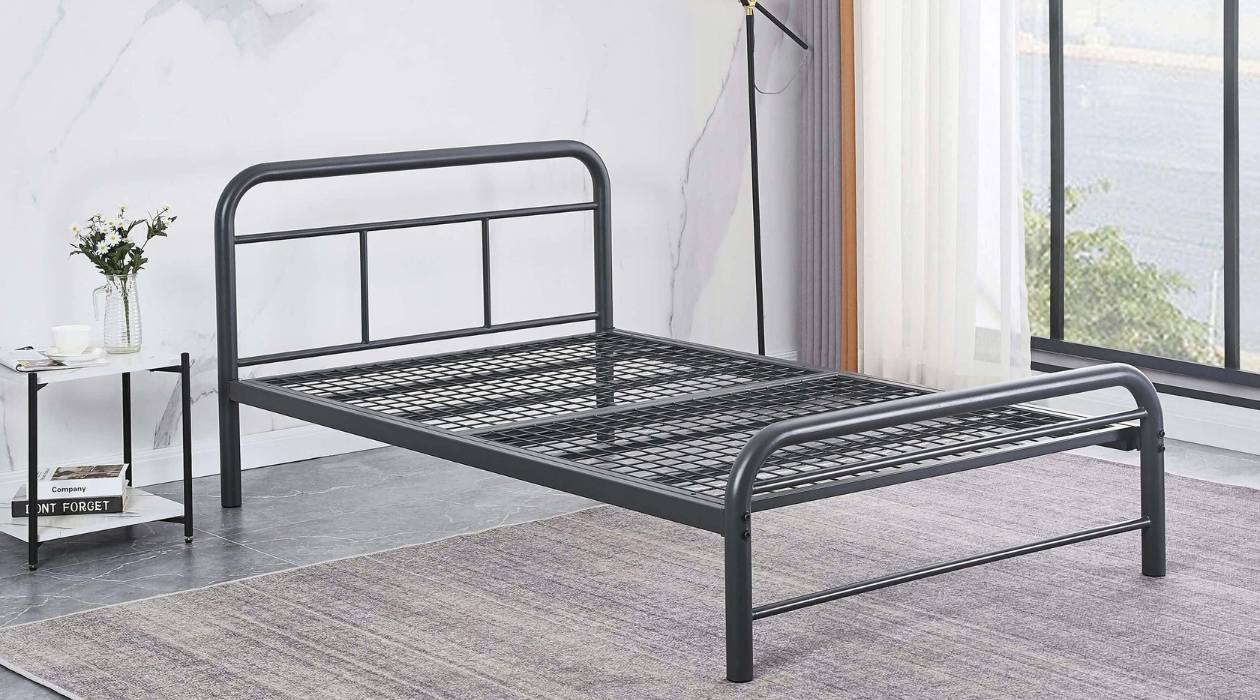
Congratulations on successfully painting and reassembling your metal bed frame! By following the step-by-step process outlined in this guide, you have transformed your bed frame into a stunning piece that adds personality and style to your bedroom.
From preparing the metal surface to applying primer, multiple coats of paint, and allowing for proper drying time, each step was essential in achieving a professional-looking finish. Taking the time to clean, sand, and prime the bed frame ensured optimal paint adhesion and durability.
Remember, selecting the right type of paint for metal surfaces is crucial for a long-lasting result. Look for high-quality spray paints or enamel-based paints designed specifically for metal, guaranteeing a beautiful finish that will withstand the test of time.
Throughout the process, make sure to follow the manufacturer’s instructions for drying times, ventilation requirements, and safety precautions. Properly ventilating the area, protecting surrounding surfaces, and allowing each coat of paint to dry fully are key to achieving a flawless finish.
With your newly painted bed frame reassembled, your bedroom now boasts a refreshed and personalized aesthetic. Whether you went for a bold and vibrant color or a classic and understated look, your bed frame is a standout piece that positively impacts the overall ambiance of your sleeping space.
Remember, maintaining the beauty of your newly painted bed frame requires proper care. Avoid using harsh chemicals or abrasive cleaners that could damage the paint surface. Instead, use a soft cloth or sponge with mild soap and water to clean the frame as needed.
Now, it’s time to enjoy your revamped bedroom retreat! Curl up in your cozy bed, surrounded by the soothing colors and fresh energy of your newly painted metal bed frame. Let it be an inspiration for future DIY projects and a reflection of your personal style and creativity. Sleep tight and wake up to the beauty you’ve created!
Frequently Asked Questions about How To Paint A Metal Bed Frame
Was this page helpful?
At Storables.com, we guarantee accurate and reliable information. Our content, validated by Expert Board Contributors, is crafted following stringent Editorial Policies. We're committed to providing you with well-researched, expert-backed insights for all your informational needs.


0 thoughts on “How To Paint A Metal Bed Frame”