Articles
How To Put Gutters On A Flat Roof
Modified: October 18, 2024
Learn how to install gutters on a flat roof with our comprehensive articles. Discover expert tips and step-by-step guides for seamless gutter installation.
(Many of the links in this article redirect to a specific reviewed product. Your purchase of these products through affiliate links helps to generate commission for Storables.com, at no extra cost. Learn more)
Introduction
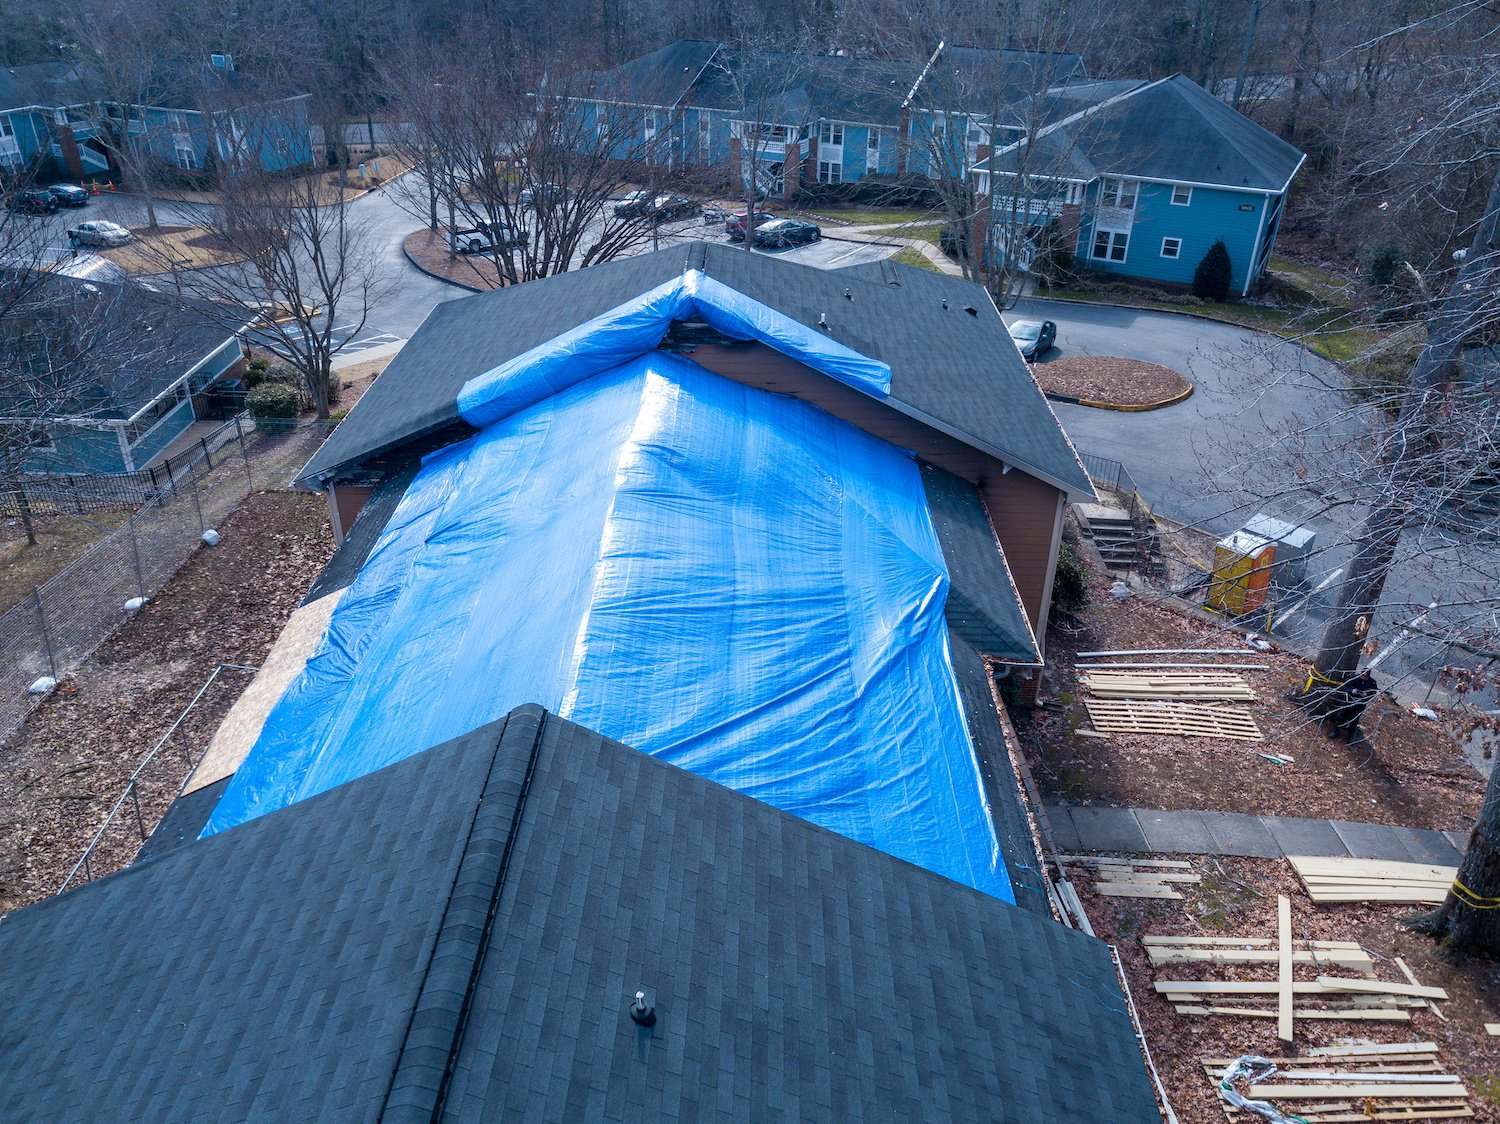
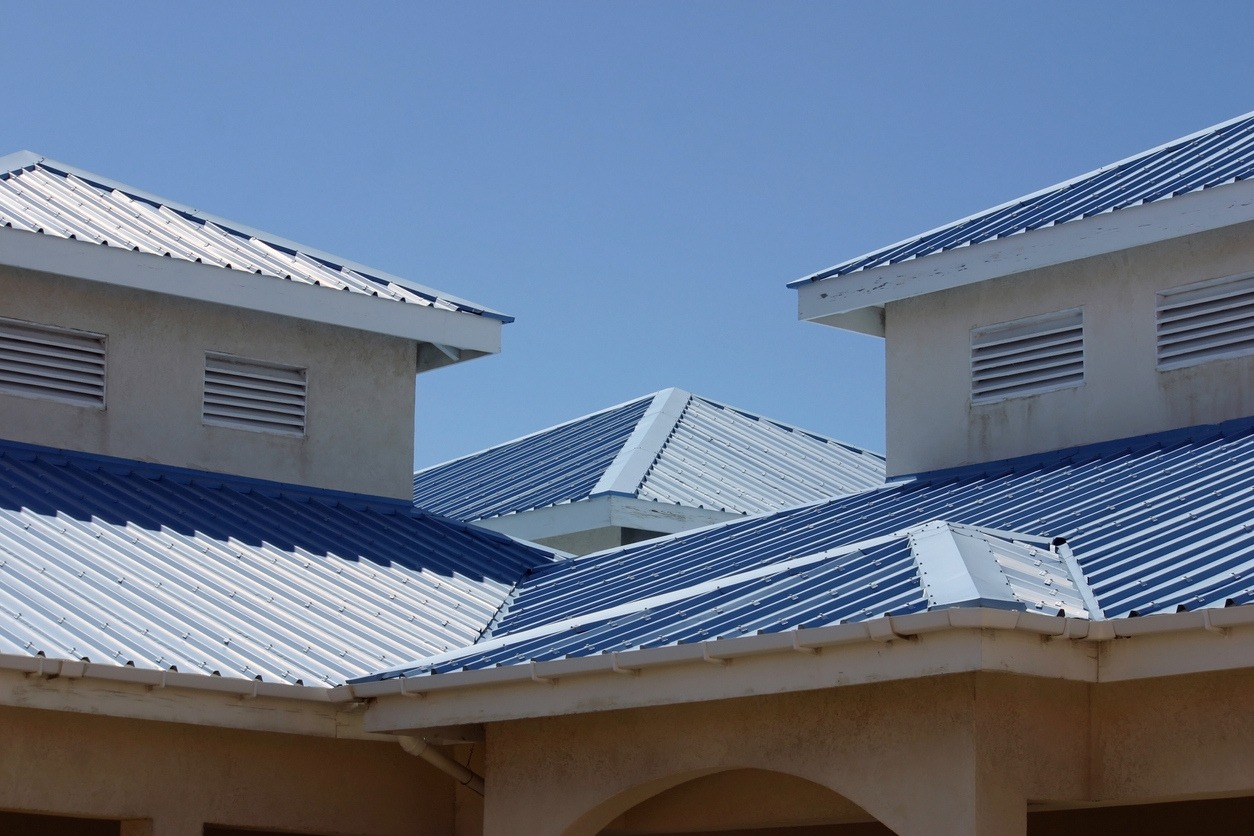
Welcome to our comprehensive guide on how to put gutters on a flat roof. If you have a flat roof, you understand the challenges that can come with it when it comes to proper drainage. Installing gutters on a flat roof is crucial to prevent water damage and protect the integrity of your structure.
Gutters play a vital role in directing rainwater away from the roof and foundation of your building. Without gutters, rainwater can accumulate on the roof, leading to leaks, structural damage, and even foundation issues. By installing gutters on your flat roof, you can effectively manage rainwater and ensure the longevity of your roof and building.
In this guide, we will walk you through the step-by-step process of installing gutters on a flat roof. We will cover the necessary materials, measurements, and techniques needed to successfully complete the project. Whether you are a seasoned DIY enthusiast or a beginner looking to take on a home improvement project, this guide will provide you with the knowledge and guidance you need.
Before we dive into the details, it is important to note that safety should always be your top priority when working on any roofing project. Make sure to take necessary precautions, such as using reliable safety equipment, working with a partner, and being aware of your surroundings.
Now, let’s get started on installing gutters on your flat roof and safeguarding your property from water damage!
Key Takeaways:
- Proper gutter installation on a flat roof is essential for preventing water damage and maintaining the structural integrity of your property. Follow the step-by-step guide, prioritize safety, and invest in quality materials for long-lasting protection.
- Regular maintenance and testing of your gutter system are crucial for ensuring effective drainage and preventing potential water-related issues. Keep your gutters clear of debris, inspect for leaks, and make necessary adjustments to maintain optimal performance.
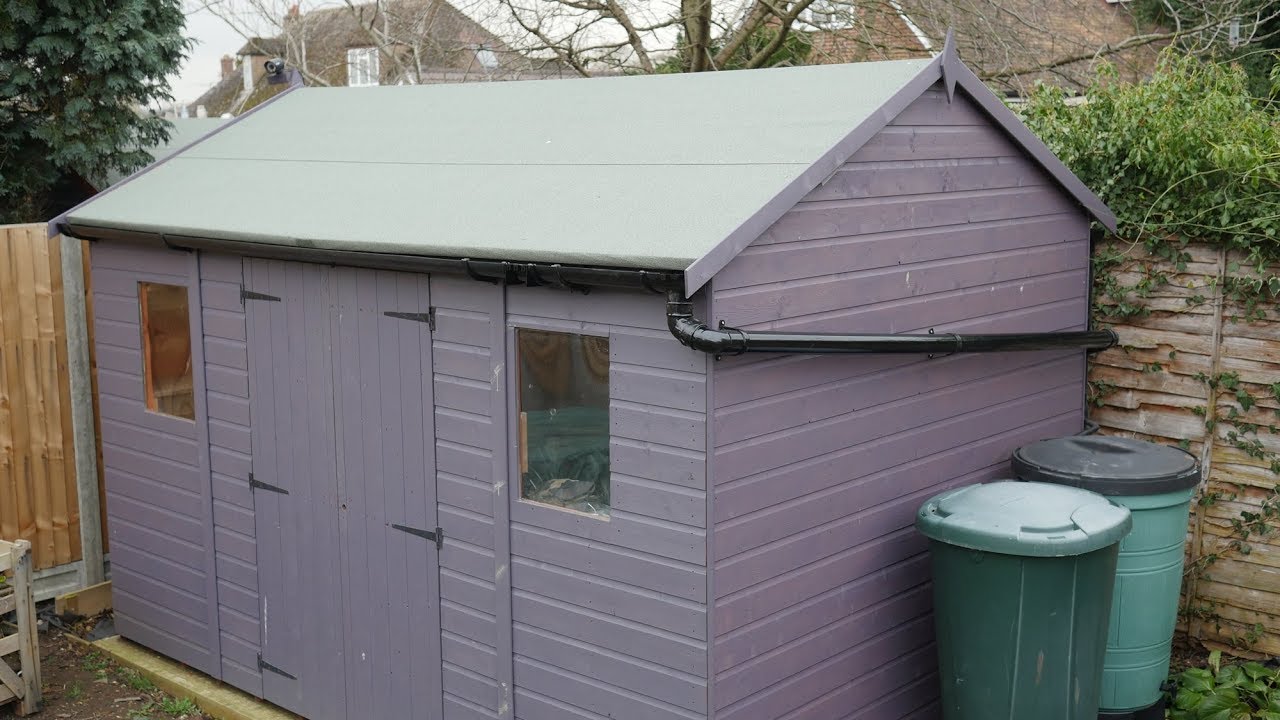
Read more: How To Roof A Flat Roof Shed
Materials Needed
Before you begin the installation process, it is important to gather all the necessary materials and tools. Here is a list of the items you will need:
- Gutter sections
- Mounting brackets
- Downspouts
- Gutter hangers
- Gutter screws
- Gutter sealant
- Gutter end caps
- Gutter elbows
- Measuring tape
- Chalk line
- Hacksaw or reciprocating saw
- Drill
- Level
- Ladder or scaffolding
- Safety equipment (gloves, goggles)
Ensure that you have all the materials on hand before starting the installation process. This will help streamline the process and minimize any delays.
It is also important to choose high-quality materials that are suitable for your specific flat roof. Consider the size and capacity of the gutter sections, as well as the durability of the mounting brackets and screws. Investing in quality materials will ensure the effectiveness and longevity of your gutter system.
Once you have gathered all the necessary materials, you are ready to move on to the next step: measuring and marking the roof.
Step 1: Measure and Mark the Roof
The first step in installing gutters on a flat roof is measuring and marking the roof to determine the proper placement of the gutter sections. This step is essential for ensuring an accurate and effective installation.
To measure the roof, start by measuring the length of each side where the gutters will be installed. Use a measuring tape and record the measurements. Additionally, measure the distance from the edge of the roof to the point where you want the downspouts to be located.
Once you have the measurements, use a chalk line to mark the location of the gutter sections on the roof. Start at one end and extend the chalk line to the opposite end, ensuring it is straight and level. This line will serve as a guide for installing the gutter brackets.
When marking the roof, consider the slope and ensure that the gutter sections are slightly sloped towards the downspouts to allow for proper drainage. A slight tilt of about 1/4 inch per 10 feet is generally recommended.
Take note of any obstacles or obstructions on the roof that may affect the placement of the gutter sections, such as chimneys or vents. Adjust your markings accordingly to avoid any interference.
Remember to take safety precautions while working on the roof. Use a sturdy ladder or scaffolding and ensure that you have proper footing and balance. If working at heights makes you uncomfortable, it is advisable to hire a professional for this step.
Once you have measured and marked the roof, you are ready to move on to the next step: installing the mounting brackets.
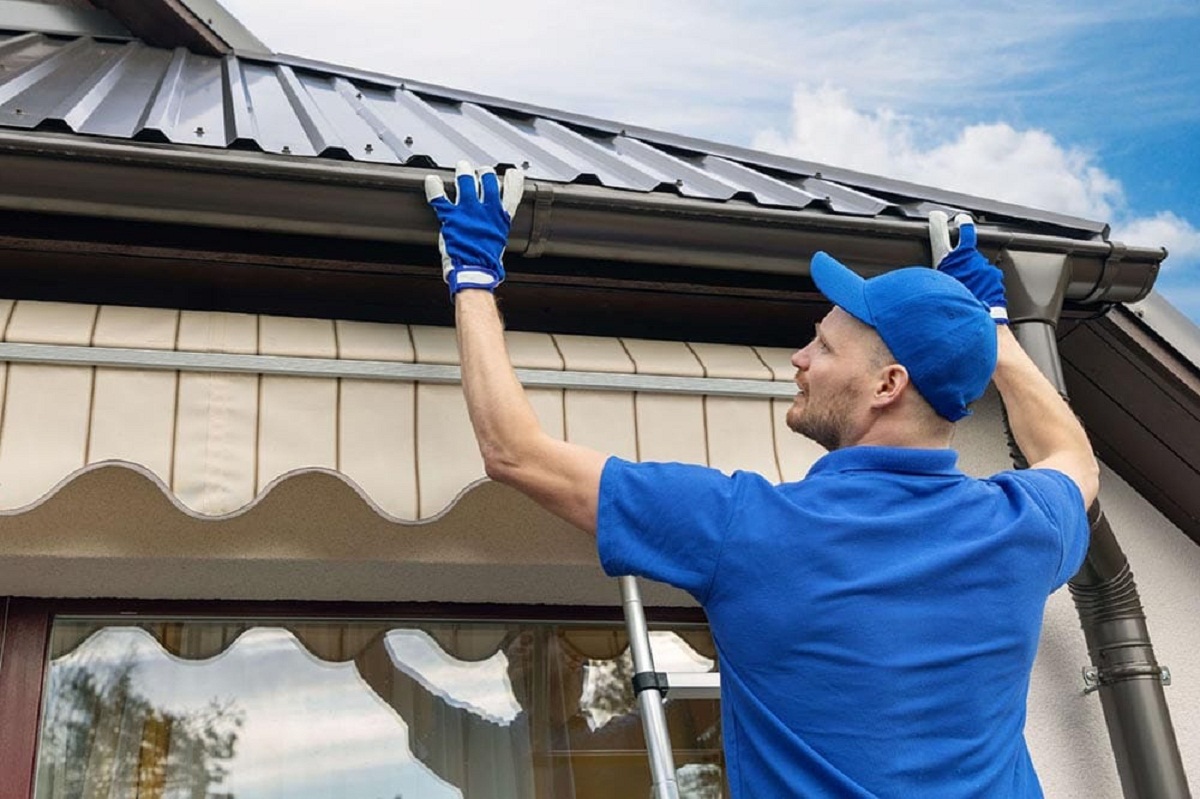
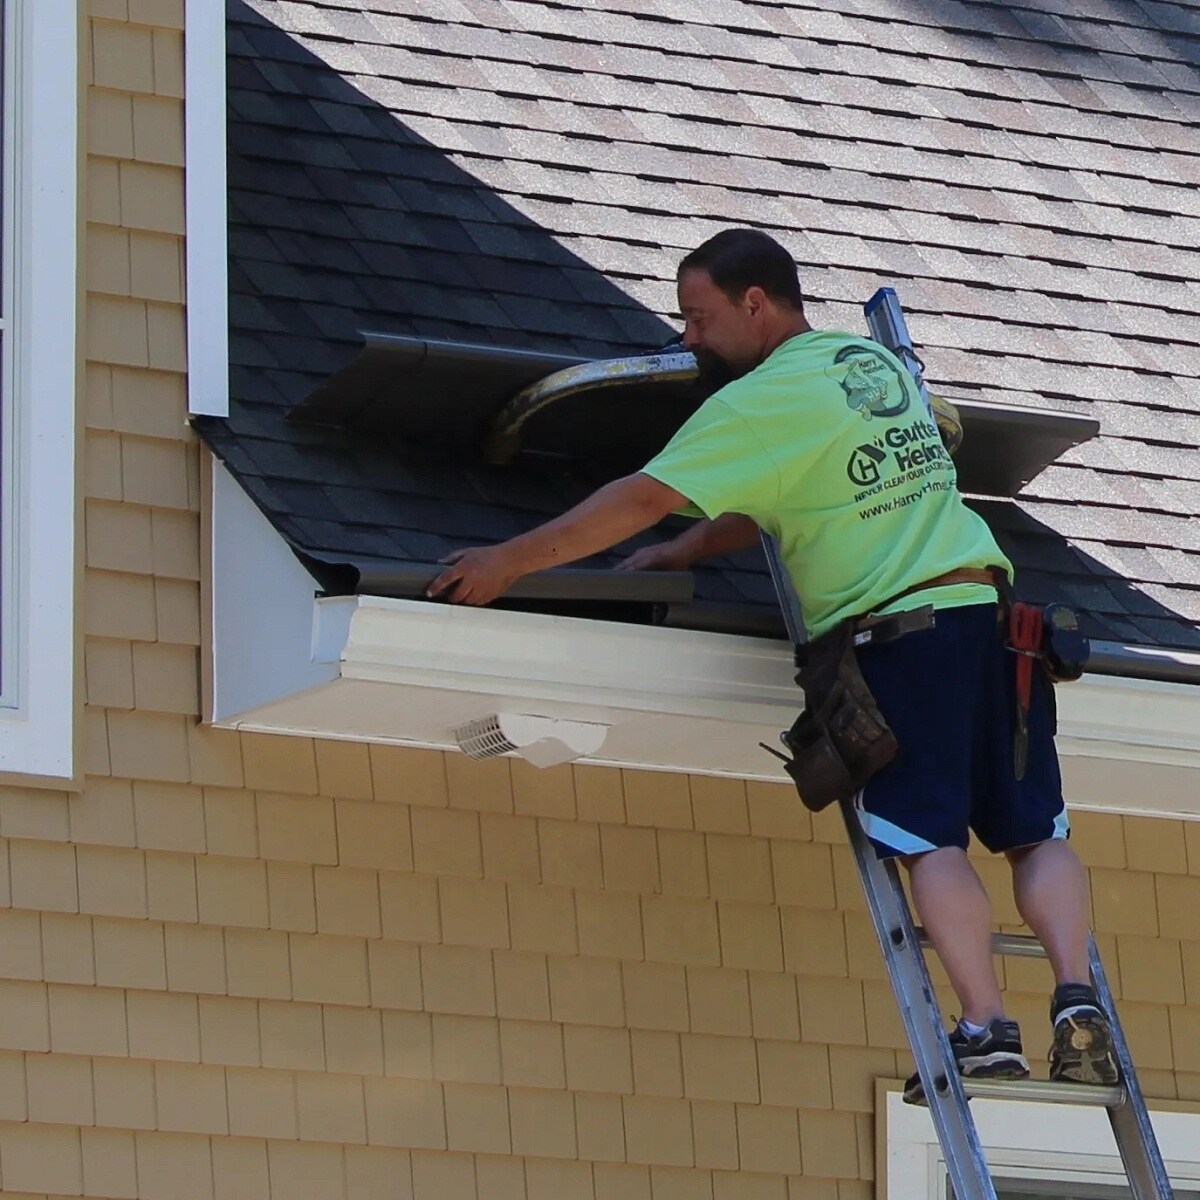
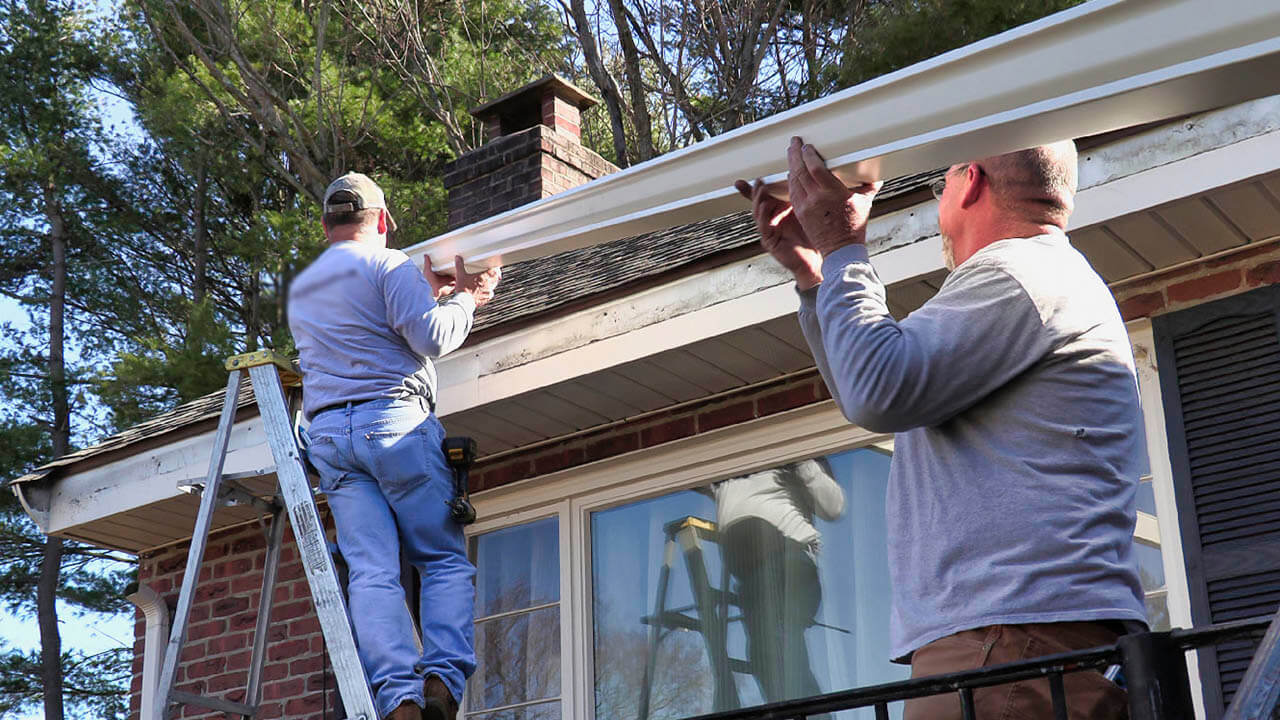
Step 2: Install the Mounting Brackets
With the roof measured and marked, it’s time to install the mounting brackets. These brackets will provide support and stability to the gutter sections, ensuring they are securely attached to the roof.
Start by placing the first mounting bracket at one end of the marked line, following the manufacturer’s instructions. Use a drill to secure it in place using the provided screws or nails. Make sure the bracket is level and aligned with the marked line.
Continue installing the rest of the mounting brackets along the marked line, spacing them evenly according to the manufacturer’s recommendations. It’s important to ensure that the brackets are level and aligned, as this will impact the performance of the gutter system.
If you encounter any obstacles, such as vents or chimneys, make necessary adjustments to the placement of the brackets to avoid obstruction.
For additional support and stability, it may be necessary to install gutter hangers at regular intervals between the mounting brackets. These hangers will help support the weight of the gutter sections and prevent sagging.
Once all the mounting brackets and hangers are installed, double-check their alignment and stability. Make any necessary adjustments before moving on to the next step.
With the mounting brackets securely in place, you are now ready to proceed to the next step: attaching the gutters to the mounting brackets.
When installing gutters on a flat roof, make sure to use a slight slope to allow for proper drainage. Use a level to ensure the gutters are installed with the correct pitch.
Step 3: Attach the Gutters to the Mounting Brackets
Now that the mounting brackets are securely installed, it’s time to attach the gutter sections to them. This step will bring your gutter system one step closer to completion.
Start by placing the first gutter section at one end of the mounting brackets. Ensure that it is properly aligned and level. Use gutter screws or nails to secure the gutter to each mounting bracket, following the manufacturer’s instructions. Make sure to position the screws or nails on the inside lip of the gutter to prevent water leakage.
Continue attaching the rest of the gutter sections in the same manner, ensuring they are properly aligned with each other and tightly secured to the mounting brackets. Use a level to ensure that the gutter sections have a slight slope towards the downspouts for proper water drainage.
Take extra care to seal any joints or connections between the gutter sections using gutter sealant. This will prevent any water leakage and ensure a watertight system.
If necessary, you may need to cut the gutter sections to fit the measurements of your roof. Use a hacksaw or reciprocating saw to make accurate cuts, following the manufacturer’s guidelines.
Once all the gutter sections are securely attached to the mounting brackets, take a step back and inspect your work. Ensure that the gutters are level, aligned, and properly sloped for effective water flow towards the downspouts.
With the gutters securely in place, it’s time to move on to the next step: securing the downspouts.
Read more: How To Replace A Flat Roof
Step 4: Secure the Downspouts
Securing the downspouts is the next crucial step in installing gutters on a flat roof. The downspouts are responsible for directing the water collected by the gutters away from the building’s foundation.
Start by measuring and marking the desired location for the downspouts. Typically, this is at the corners or along the length of the gutter system. Ensure that the downspouts are placed in areas where water can easily flow away from the building.
Once you have determined the location, attach the downspout brackets to the wall using screws or nails. Make sure to follow the manufacturer’s guidelines for proper installation.
Next, connect the downspouts to the gutter system. Use gutter screws or nails to secure the downspouts to the gutter outlets. Ensure a tight and secure fit to prevent any water leakage.
If needed, cut the downspouts to the appropriate length using a hacksaw or reciprocating saw. Be sure to make clean and precise cuts to ensure a proper fit.
As an additional precaution, consider installing splash blocks or extensions at the bottom of the downspouts. These will help direct the water even further away from the building’s foundation, preventing any potential water damage.
Once the downspouts are securely attached and in place, take a moment to inspect your work. Ensure that the downspouts are aligned properly and that water will flow freely through them.
With the downspouts secured, it’s time to move on to the final step: testing the gutters for proper drainage.
Step 5: Test the Gutters for Proper Drainage
After installing the gutters and securing the downspouts, it’s important to test the system to ensure proper drainage. This final step will ensure that your gutter installation is effective in diverting water away from your flat roof.
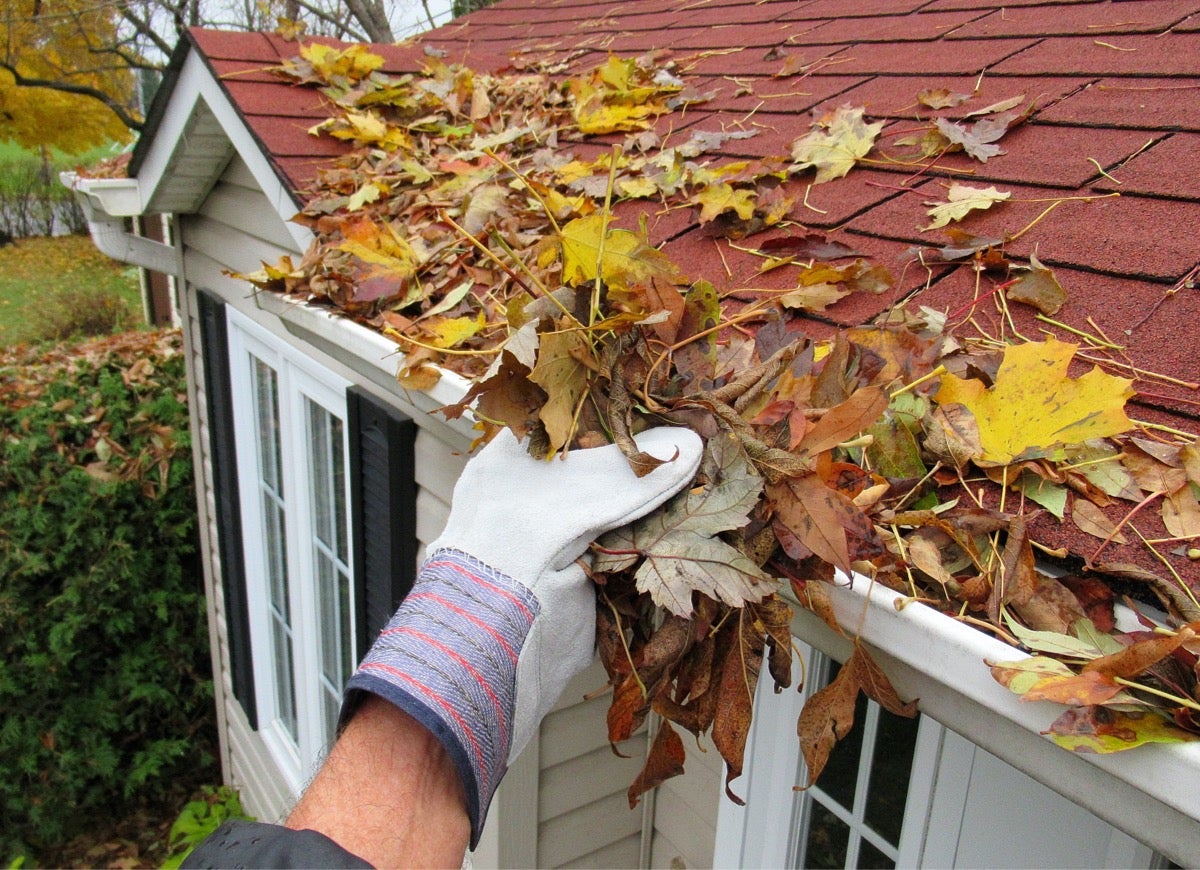
Begin by inspecting the entire gutter system for any debris, such as leaves, twigs, or dirt. Use a scoop or your hands to remove any clogs or blockages that may hinder the flow of water.
Once the gutters are clear of obstructions, use a hose or a bucket of water to simulate rainfall. Pour water into the gutters and observe how it flows through the system.
Check for any leaks, drips, or overflow occurring along the gutter sections or the downspouts. If there are any issues, make the necessary adjustments or repairs. This may involve tightening screws, resealing joints, or adjusting the slope of the gutter sections.
Watch for proper water flow through the downspouts and ensure that water is being directed away from the building’s foundation. The downspouts should deposit the water at least 6-10 feet away from the house to prevent any potential water damage.
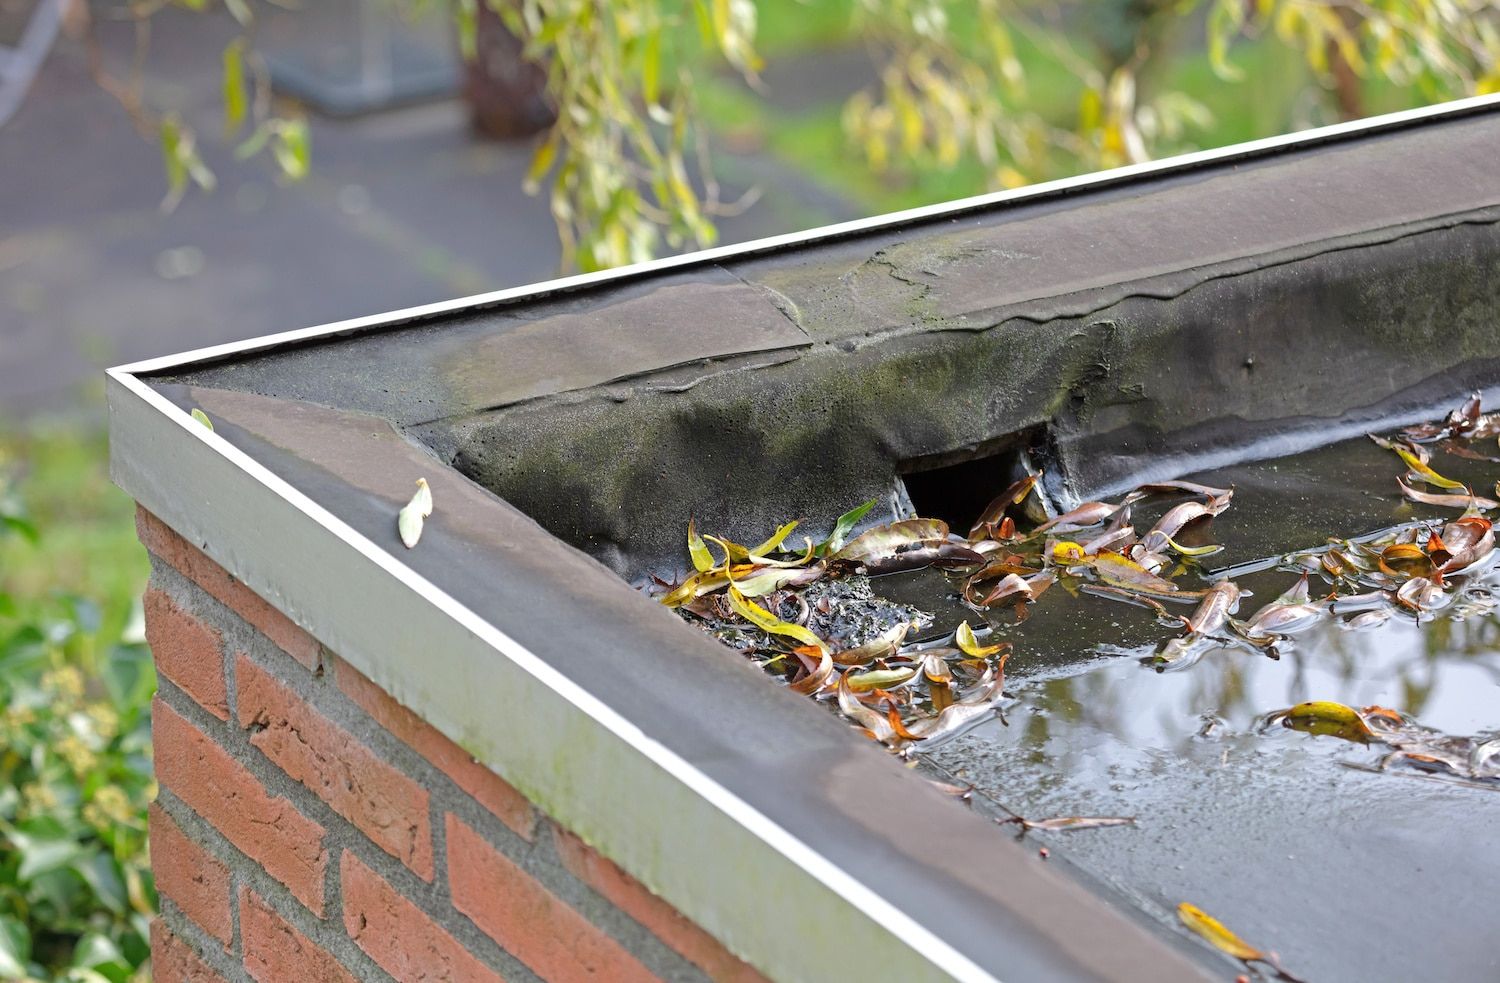
If you notice any pooling water or inadequate drainage, consider adjusting the slope of the gutter sections or adding additional downspouts or extensions to improve the system’s efficiency.
Continue testing the gutters during different weather conditions to ensure they can handle heavy rainfall. Make any necessary adjustments or improvements to ensure that your gutter system is functioning effectively.
Regular maintenance of your gutters, such as cleaning them periodically and inspecting for any damages, is essential to ensure their optimal performance over time. This will help prevent any potential water damage and prolong the lifespan of your gutter system.
With the gutters thoroughly tested and working correctly, you can now enjoy the benefits of a well-functioning gutter system on your flat roof. Proper drainage will help protect your roof, foundation, and overall structure from water damage and prolong its lifespan.
Congratulations on successfully installing gutters on your flat roof! You have taken an important step in maintaining the integrity of your property and safeguarding it from water-related issues.
Remember to keep up with regular maintenance and inspections to ensure the continued effectiveness of your gutter system. With proper care, your gutters will provide long-lasting protection for your flat roof.
Thank you for following this guide, and we hope it has been helpful in your gutter installation journey. Happy home improvement!
Conclusion
Installing gutters on a flat roof is a crucial step in protecting your property from water damage and maintaining its structural integrity. A well-functioning gutter system effectively directs rainwater away from the roof and foundation, preventing leaks, structural issues, and foundation damage.
In this comprehensive guide, we have covered the step-by-step process of installing gutters on a flat roof. From measuring and marking the roof to securing the downspouts, each step was outlined to help you successfully complete the installation.
Remember to prioritize safety throughout the installation process. Use proper safety equipment, work with a partner if necessary, and be aware of your surroundings. If you are uncomfortable working at heights or with roofing projects, consider hiring a professional to assist you.
Investing in high-quality materials and following the manufacturer’s instructions will ensure the longevity and effectiveness of your gutter system. Regular maintenance and inspections are also essential to keep your gutters in optimal condition and prevent any issues from arising.
By following this guide, you have taken an important step in protecting your flat roof and preserving the longevity of your property. Properly installed and maintained gutters will provide you with peace of mind, knowing that your investment is well-protected against water damage.
Thank you for choosing this guide as your resource. We hope it has provided you with valuable information and guidance for your gutter installation project. Happy home improvement, and may your gutters serve your flat roof effectively for years to come!
Frequently Asked Questions about How To Put Gutters On A Flat Roof
Was this page helpful?
At Storables.com, we guarantee accurate and reliable information. Our content, validated by Expert Board Contributors, is crafted following stringent Editorial Policies. We're committed to providing you with well-researched, expert-backed insights for all your informational needs.


0 thoughts on “How To Put Gutters On A Flat Roof”