Furniture
How To Make A White Dresser Look Distressed
Modified: October 22, 2024
Learn how to transform a plain white dresser into a beautifully distressed piece of furniture. Step-by-step instructions and expert tips included!
(Many of the links in this article redirect to a specific reviewed product. Your purchase of these products through affiliate links helps to generate commission for Storables.com, at no extra cost. Learn more)
Introduction
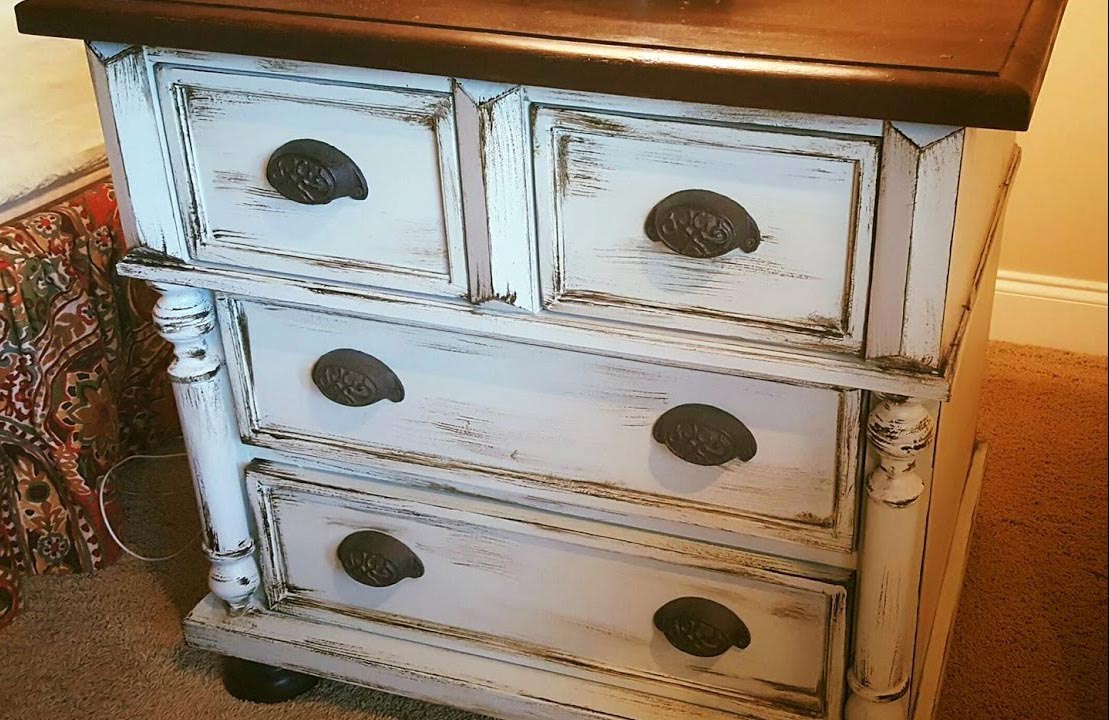
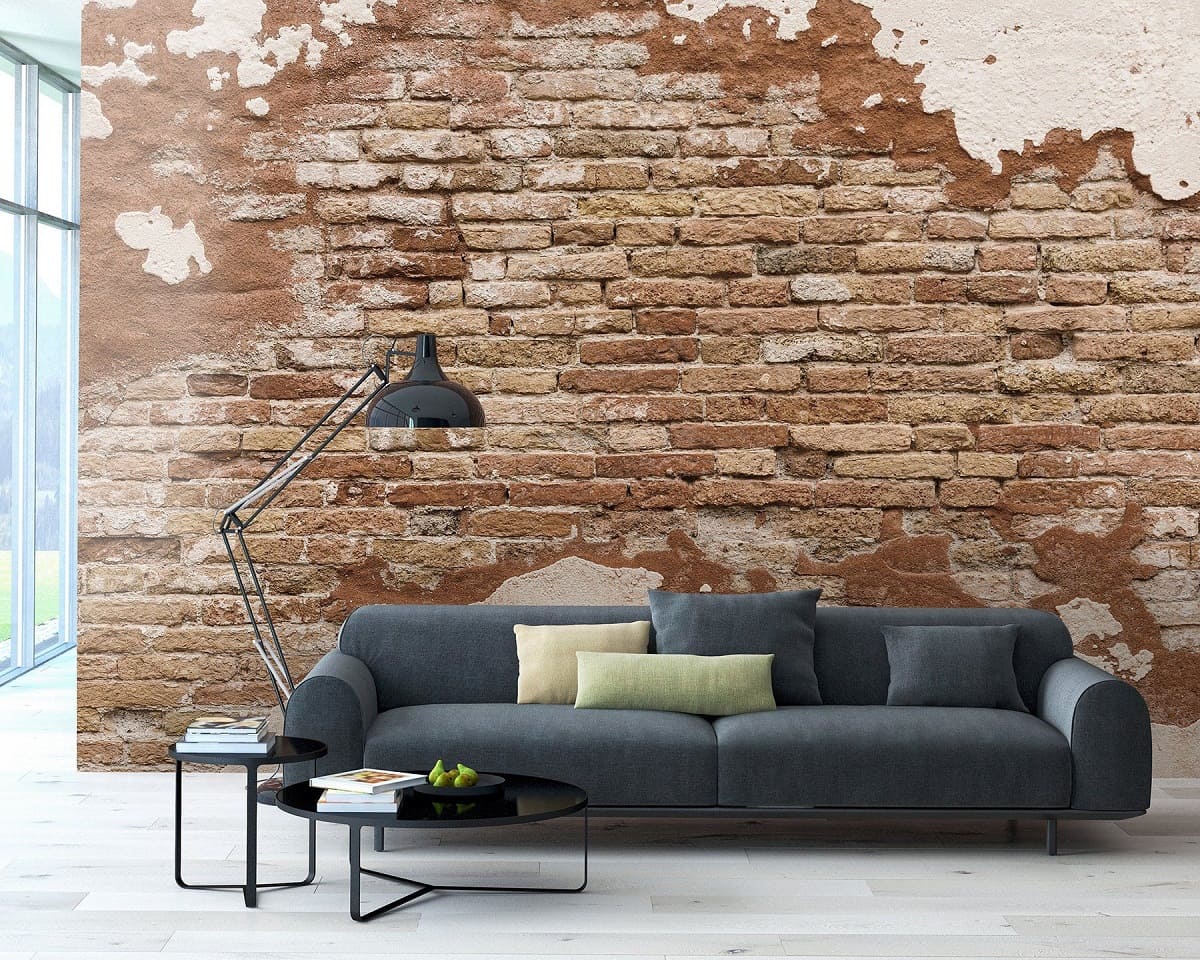
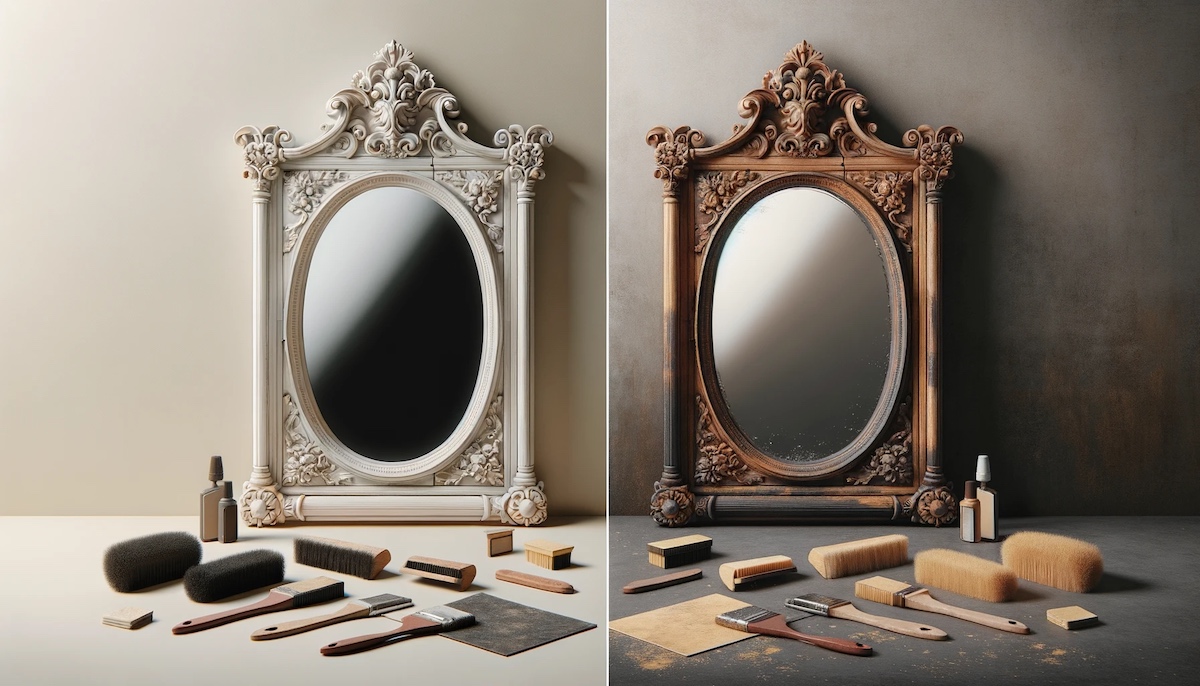
When it comes to furniture, the distressed look has become increasingly popular. It adds character, charm, and a hint of vintage appeal to any piece. One particular furniture item that can benefit from a distressed finish is a white dresser. By giving it a weathered and worn appearance, you can transform a plain white dresser into a statement piece that adds a touch of rustic elegance to your space.
Creating a distressed look on a white dresser may seem like a complex task, but with the right techniques and materials, it can be a fun and rewarding DIY project. In this article, we will guide you through the process step by step, ensuring that your white dresser turns out beautifully distressed.
Before we get started, it’s important to gather all the materials you will need for this project. Here is a quick rundown of the essentials:
- Sandpaper (both coarse and fine grit)
- Primer
- Chalk paint (in a complementary color)
- Paintbrushes
- Clear topcoat or wax
- Lint-free cloth
- Optional: Distressing tools (such as a hammer, chain, or sanding block)
Key Takeaways:
- Transform a plain white dresser into a charming, vintage-inspired statement piece by distressing it with simple DIY techniques and materials like sandpaper, chalk paint, and a clear topcoat.
- Distressing a white dresser not only adds character and charm but also allows you to showcase your creativity and personal style, creating a visually appealing and unique piece of furniture.
Read more: How To Make A Dresser Look Mid-Century
Materials Needed
Before we dive into the step-by-step process of distressing a white dresser, make sure you have the following materials on hand:
- Sandpaper: To achieve a distressed look, you’ll need both coarse and fine-grit sandpaper. The coarse-grit sandpaper (around 80-100 grit) will help remove the existing finish, while the fine-grit sandpaper (around 220-240 grit) will provide a smooth surface for painting.
- Primer: A quality primer will create a solid base for the paint to adhere to. Look for a primer that is specifically designed for use on furniture surfaces.
- Chalk paint: Chalk paint is great for achieving a distressed look because it dries quickly and has a matte finish. Choose a color that complements your decor and personal style.
- Paintbrushes: Opt for high-quality brushes that are suitable for painting furniture. A wide brush will work well for large surfaces, while a smaller brush will come in handy for detailed areas.
- Clear topcoat or wax: To protect the finish and give it a polished look, apply a clear topcoat or wax. This will also help to seal the paint and make the dresser more durable.
- Lint-free cloth: Keep a lint-free cloth on hand for wiping away dust and excess paint.
- Optional: Distressing tools: If you want to enhance the distressed look, consider using distressing tools such as a hammer, chain, or sanding block. These tools can create unique textures and wear patterns.
Having these materials readily available will ensure a smoother and more efficient process when distressing your white dresser. So gather all the supplies, set up a well-ventilated workspace, and let’s get started!
Step 1: Prepare the Dresser
Before beginning the distressing process, it’s important to properly prepare the white dresser. Here’s what you need to do:
- Remove all hardware: Start by taking off all the knobs, handles, and any other hardware from the dresser. This step will make it easier to sand, paint, and distress the dresser without any obstructions.
- Clean the dresser: Thoroughly clean the dresser to remove any dirt, dust, or grime. Use a gentle cleaner or a mixture of mild soap and water, and wipe down the surfaces with a clean cloth. This will provide a clean canvas for the distressing process and ensure that the paint properly adheres to the dresser.
- Fill any holes or imperfections: Inspect the dresser for any noticeable holes, scratches, or dents. Fill these imperfections with a suitable wood filler or putty, and allow it to dry completely. Once dry, lightly sand the patched areas until they are smooth and level with the rest of the surface.
- Protect the surrounding area: Cover the floor or work surface with a drop cloth or old sheets to protect it from any paint or sanding debris. You may also want to use painter’s tape to tape off any areas of the dresser that you want to keep unpainted or undistressed.
By completing these steps, you will ensure that the dresser is clean, smooth, and ready to undergo the distressing process. Taking the time to properly prepare the dresser will result in a more professional-looking finish and a longer-lasting distressed effect.
Step 2: Sand the Surface
Once you have prepared the dresser, it’s time to begin the sanding process. Sanding the surface will help to remove any existing finish, smooth out imperfections, and create a suitable base for the paint to adhere to. Follow these steps:
- Start with coarse-grit sandpaper: Begin by using the coarse-grit sandpaper (around 80-100 grit) to sand the entire surface of the dresser. Sand in the direction of the wood grain, applying even pressure. This will help to remove the existing finish and create a rougher texture.
- Focus on the edges and details: Pay extra attention to the edges and details of the dresser, as these areas are typically the first to show wear and tear. Be careful not to over-sand, as you want to create a distressed look rather than completely strip the wood.
- Switch to fine-grit sandpaper: After sanding with the coarse-grit sandpaper, switch to a finer-grit sandpaper (around 220-240 grit). This will help to smooth out the surface and remove any roughness left by the coarse-grit sandpaper. Sand lightly and evenly across the entire surface for a consistent finish.
- Remove sanding dust: Once you have finished sanding, use a clean, lint-free cloth or a tack cloth to wipe away any sanding dust. This will ensure that the surface is clean and ready for the next steps in the distressing process.
Sanding the surface of the dresser is essential for achieving a smooth and well-prepared base for the distressing and painting. It helps to create the perfect canvas for the distressed look and allows the paint to adhere properly. So take your time with this step and ensure that the surface is properly sanded before moving on to the next step.
Step 3: Apply a Base Coat
After sanding the dresser, it’s time to apply a base coat of primer. The primer will help the paint adhere better to the surface and create a more durable finish. Follow these steps to apply the base coat:
- Choose a suitable primer: Select a primer that is specifically designed for use on furniture surfaces. Look for a primer that is compatible with the type of paint you will be using.
- Prepare the primer: Stir the primer thoroughly to ensure it is well mixed. If necessary, thin the primer according to the manufacturer’s instructions for a smooth application.
- Apply the primer: Use a high-quality paintbrush to apply an even coat of primer to the entire surface of the dresser. Work in small sections and in the direction of the wood grain for a consistent finish. Allow the primer to dry completely before moving on to the next step.
- Sand the primed surface (optional): If desired, lightly sand the primed surface with fine-grit sandpaper to achieve an even smoother finish. This step is not essential but can help to create a more polished base for the distressed look.
- Remove sanding dust: Once again, use a clean, lint-free cloth or a tack cloth to wipe away any sanding dust from the primed surface. This will ensure that the surface is clean and ready for the next steps in the distressing and painting process.
Applying a base coat of primer is crucial for achieving a professional-looking distressed finish. It provides a solid foundation for the paint and improves its adhesion to the surface. By following these steps and properly priming the dresser, you will be one step closer to a beautifully distressed white dresser!
Step 4: Apply a Layer of Chalk Paint
Now that you have prepared the dresser and applied the base coat, it’s time to give it a fresh coat of chalk paint. Chalk paint is perfect for achieving a distressed look due to its quick-drying nature and matte finish. Follow these steps to apply the chalk paint:
- Choose your desired chalk paint color: Select a chalk paint color that complements your decor and personal style. Popular choices for a distressed look include muted pastels, vintage whites, and earthy tones.
- Prepare the paint: Stir the chalk paint thoroughly to ensure it is well mixed. If desired, you can also dilute the paint slightly with water for a more subtle distressed effect.
- Apply the first coat of chalk paint: Using a high-quality paintbrush, apply an even coat of chalk paint to the entire surface of the dresser. Paint in the direction of the wood grain and avoid applying a thick layer of paint. Allow the first coat to dry completely before moving on to the next step.
- Apply additional coats (optional): Depending on the coverage and desired finish, you may choose to apply additional coats of chalk paint. Allow each coat to dry completely before applying the next one, following the same technique of thin, even strokes.
- Sand the painted surface (optional): If you want to achieve a more distressed look, lightly sand the painted surface after it has completely dried. Focus on areas that would naturally show wear, such as edges, corners, and raised details. Sanding will expose the base coat and create a worn appearance.
- Remove sanding dust: Once again, use a clean, lint-free cloth or a tack cloth to wipe away any sanding dust from the painted surface. This will ensure that the surface is clean and ready for the next steps in the distressing process.
Applying a layer of chalk paint is where you start to see the transformation of the white dresser into a beautifully distressed piece of furniture. Take your time with this step and ensure that the paint is applied evenly for the best results. By following these steps, you’re well on your way to achieving that desired distressed look!
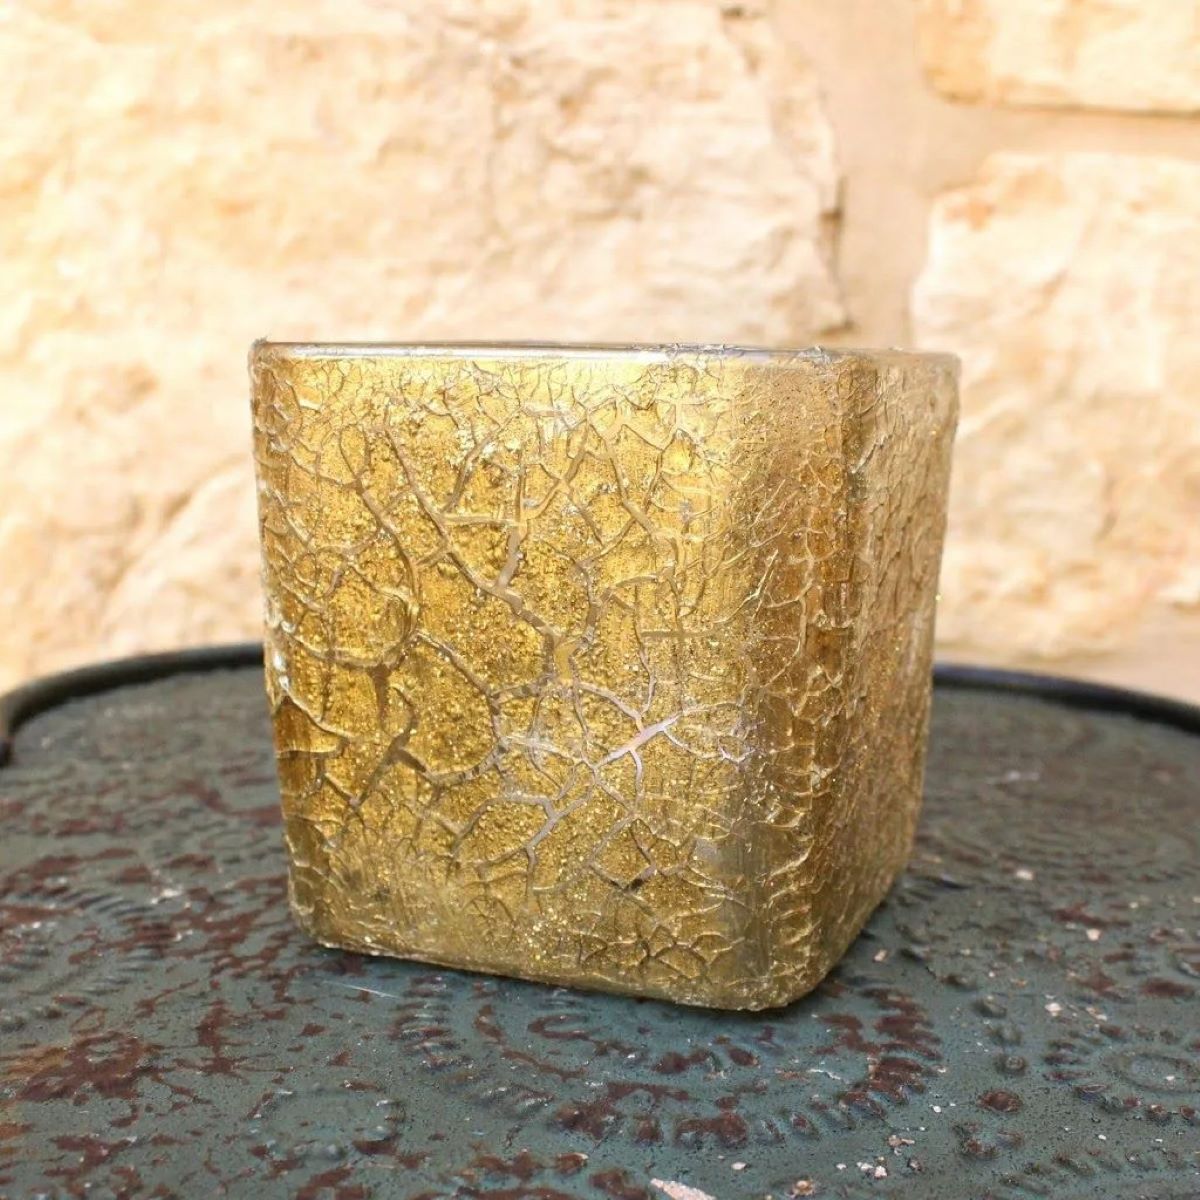
Sand the edges and corners of the dresser to create a worn look. Use a hammer or chain to create small dents and dings. Apply a coat of white paint, then lightly sand again for a distressed finish.
Step 5: Distress the Edges
Distressing the edges of the dresser is a key step in achieving an authentic and rustic distressed look. By strategically wearing away the paint and exposing the underlying layers, you can add character and depth to your piece. Follow these steps to distress the edges:
- Choose your distressing tools: There are several methods and tools you can use to distress the edges of your dresser. Some popular options include sandpaper, a hammer, a chain, or a sanding block. Experiment with different tools to achieve the desired level of distressing.
- Focus on natural wear areas: Identify the areas of the dresser where natural wear would occur over time, such as corners, edges, and raised details. These are the spots that will show the most wear and tear and add a touch of authenticity to the distressed look.
- Distress with sandpaper: Rub the sandpaper back and forth along the edges and corners of the dresser to remove some of the paint and reveal the base coat or wood beneath. Sand lightly and gradually build up the distressing until you achieve the desired effect. Focus on areas that would naturally experience more rubbing or friction.
- Distress with other tools: Experiment with using a hammer to create dents or a chain to create small scratches. Gently tap the hammer or lightly drag the chain along the edges to simulate natural wear. You can also use a sanding block to create uneven wear patterns by sanding in random directions.
- Step back and assess: As you distress the edges, step back and assess the overall look. You want to achieve a balanced and natural distressed appearance, so take your time and adjust the level of distressing as needed.
Remember that distressing is a personal preference, and there are no strict rules. Play around with different techniques and tools to achieve the desired level of wear and tear. The goal is to create a naturally aged look that adds character and charm to your white dresser.
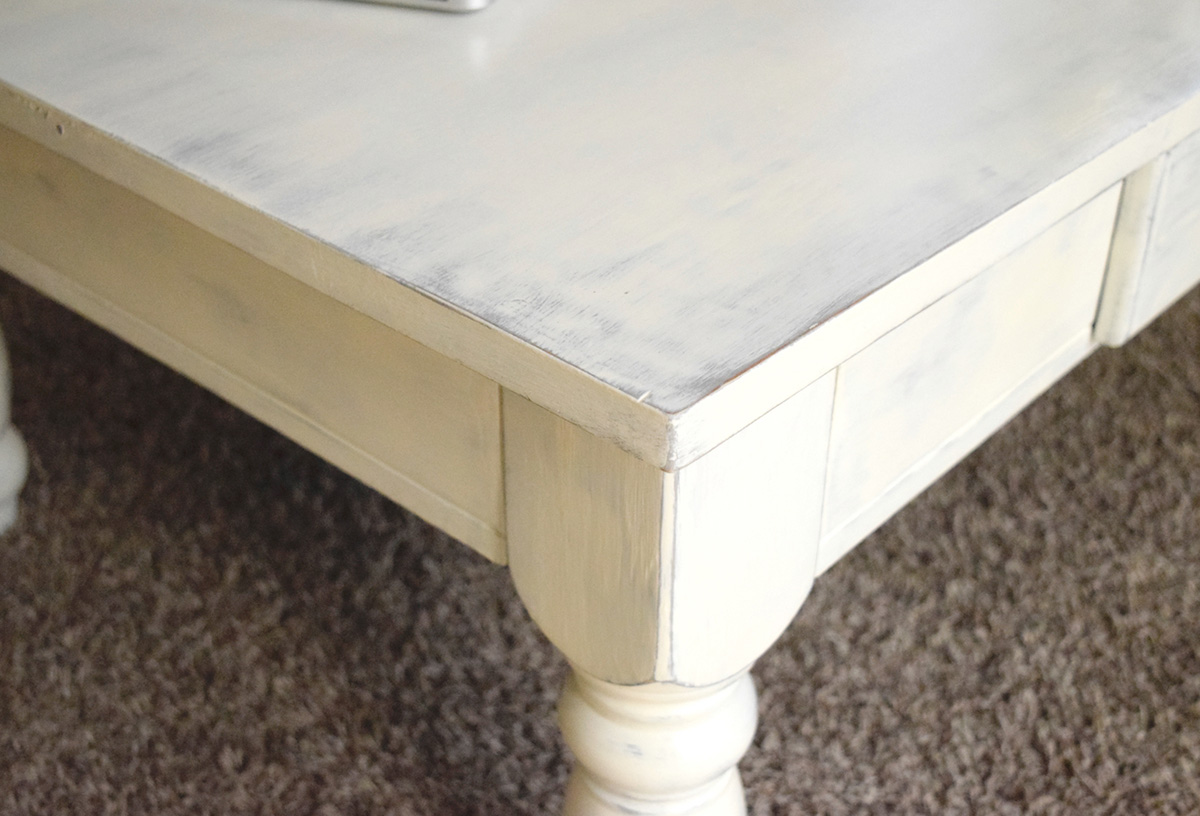
Step 6: Sand the Surface Again
After distressing the edges of your dresser, it’s time to sand the surface once again. This step helps to smooth out any rough areas created during the distressing process and prepares the surface for the next steps. Follow these steps to sand the surface again:
- Use fine-grit sandpaper: Switch to a fine-grit sandpaper (around 220-240 grit) and lightly sand the entire surface of the dresser. This will help to even out the texture and create a smooth finish.
- Pay attention to the distressed areas: While sanding, pay extra attention to the distressed areas to ensure they blend well with the rest of the dresser’s surface. Be gentle when sanding the distressed edges to maintain their worn appearance.
- Sand in the direction of the wood grain: Just like in the previous sanding steps, sand in the direction of the wood grain to achieve a consistent and polished finish. Apply even pressure and avoid sanding too forcefully, as you don’t want to remove too much of the paint or distressing that you have created.
- Remove sanding dust: Once you have finished sanding, use a clean, lint-free cloth or a tack cloth to wipe away any sanding dust from the surface of the dresser. This will ensure that the surface is clean and ready for the next steps in the distressing process.
Sanding the surface again after distressing and before applying the final coat of protection is important for achieving a smooth and professional-looking finish. Take your time with this step to ensure that the surface is properly sanded and free of any debris or imperfections. This will help to enhance the overall appearance and longevity of your distressed white dresser.
Step 7: Apply a Clear Topcoat
After sanding the surface once again, it’s time to apply a clear topcoat to protect the distressed finish and give the dresser a polished look. The topcoat will also make the surface more durable and resistant to wear and tear. Follow these steps to apply a clear topcoat:
- Choose a suitable topcoat: Select a clear topcoat that is specifically designed for use on painted furniture. Look for a product that provides a protective barrier and is compatible with the type of paint you have used.
- Prepare the topcoat: Stir the topcoat thoroughly to ensure it is well-mixed and ready for application. Read the manufacturer’s instructions for any specific preparation steps or dilution requirements.
- Apply the topcoat: Using a high-quality paintbrush or foam brush, apply a thin and even layer of the clear topcoat to the entire surface of the dresser. Work in small sections and avoid applying the topcoat too thickly, as it may result in a cloudy or uneven finish. Allow the first coat to dry completely before applying additional coats if desired.
- Lightly sand between coats (optional): If you choose to apply multiple coats of topcoat, lightly sand the surface between each coat using fine-grit sandpaper. This will help to create a smoother finish and ensure better adhesion between the layers.
- Allow the final coat to cure: Once you have applied the desired number of topcoat layers, allow the final coat to cure according to the manufacturer’s instructions. This will ensure that the distressed finish is properly protected and the dresser is ready for use.
Applying a clear topcoat is an essential step to preserve and enhance the distressed finish on your white dresser. It provides a protective seal, adds a subtle sheen, and increases the longevity of the piece. Take your time with this step and follow the manufacturer’s instructions to achieve the best results.
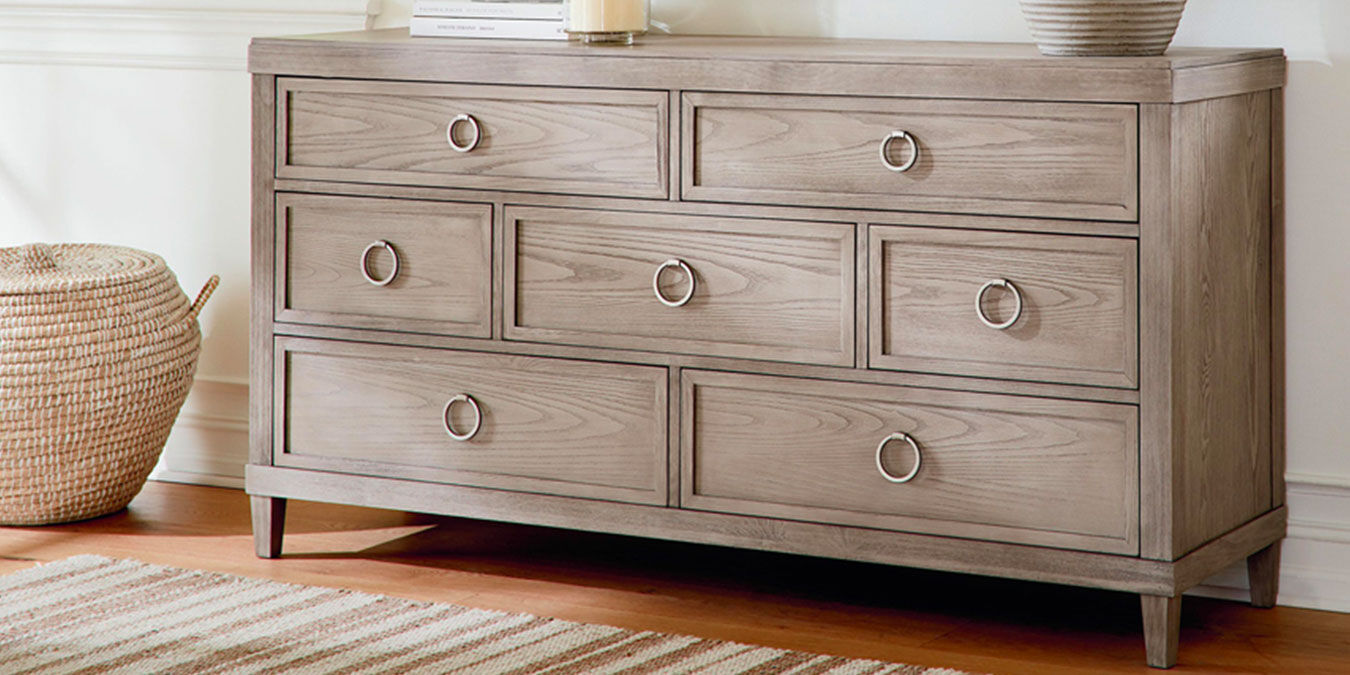
Read also: 9 Amazing White Dresser for 2025
Step 8: Add Final Touches
Now that you have distressed, painted, and protected your white dresser, it’s time to add the final touches to complete the look. These final touches will help enhance the overall aesthetic and give your distressed dresser a polished and cohesive appearance. Follow these steps to add the final touches:
- Reattach the hardware: Once the paint and topcoat have fully cured, reattach the knobs, handles, or other hardware that you removed in the beginning. Make sure to choose hardware that complements the distressed look and style of your dresser.
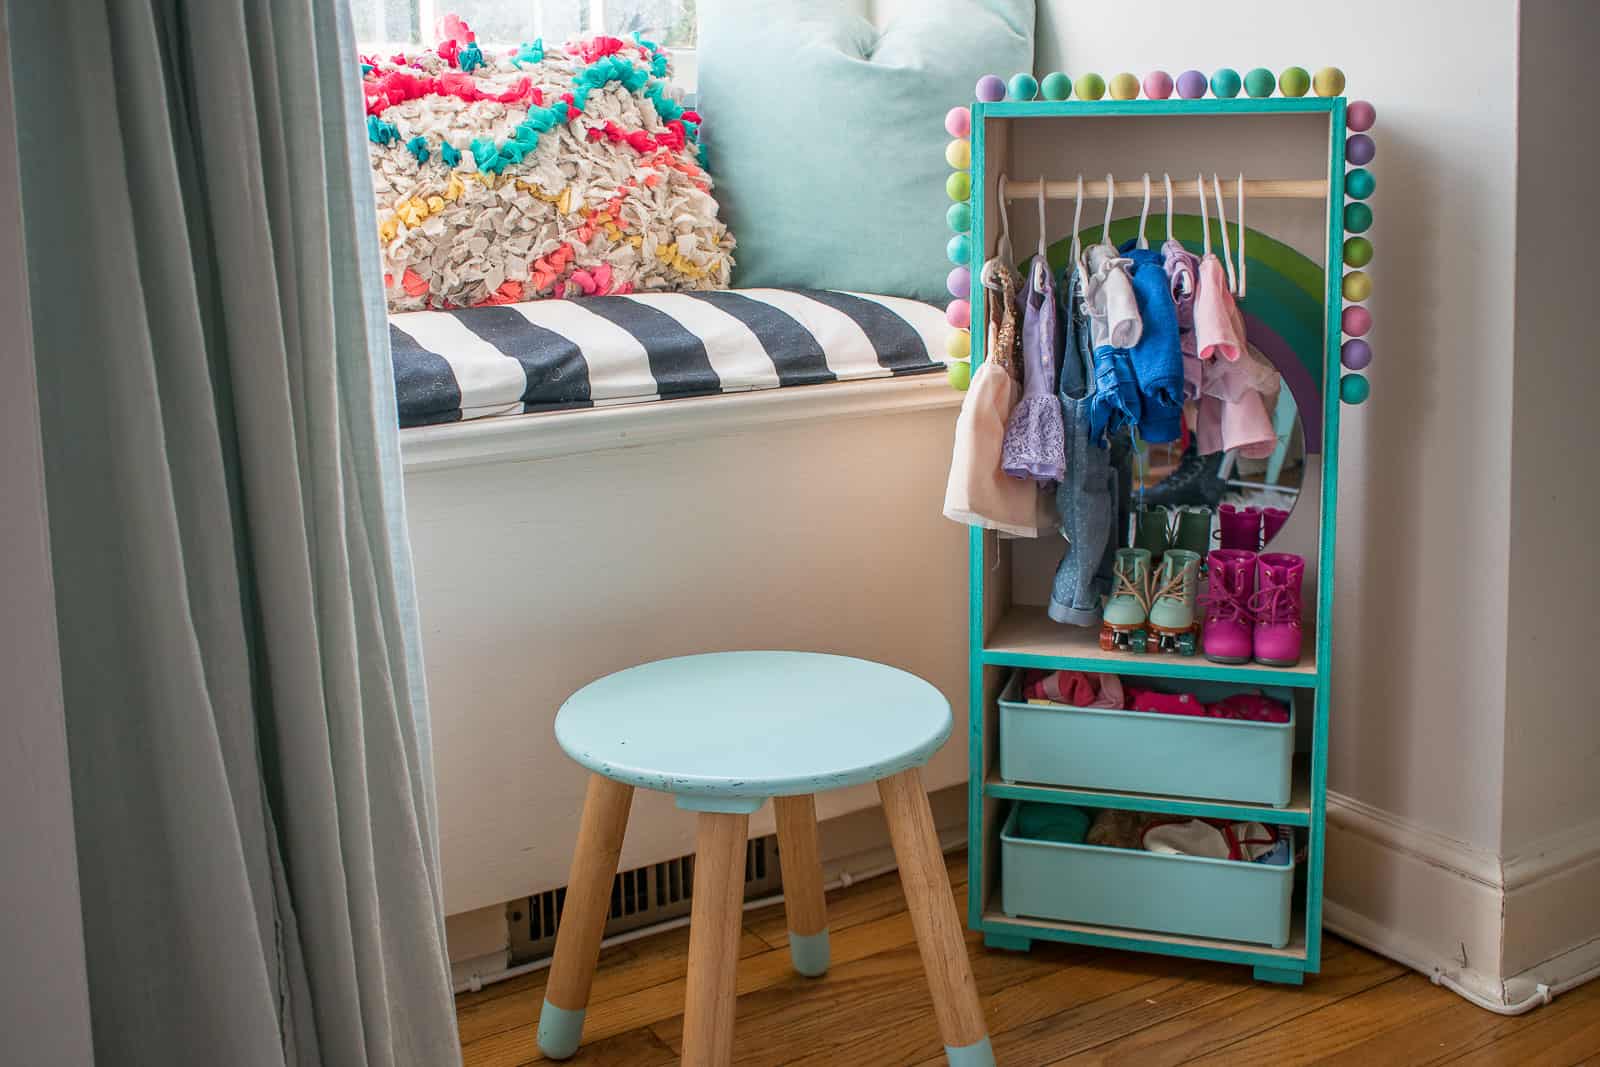
- Consider decorative accents: To further enhance the distressed look, consider adding decorative accents such as vintage-inspired drawer liners, ornate keyhole covers, or metal corner brackets. These small details can add an extra layer of charm and uniqueness to your dresser.
- Add decorative elements: Decorate the top of the dresser with items that complement your style and the overall theme of the room. This could include a stylish lamp, a vase of fresh flowers, or a collection of vintage trinkets. Be mindful not to overcrowd the space, allowing the distressed dresser to remain the focal point.
- Style with accessories: Complete the look by styling the dresser with carefully curated accessories. Consider placing a mirror or artwork above the dresser, adding a decorative tray to hold jewelry or small items, or incorporating a statement piece, such as a vintage clock or a bouquet of dried flowers.
- Step back and admire: Once you have added the final touches, step back and take a moment to admire your handiwork. The distressed white dresser now exudes character and charm, seamlessly blending in with your decor while adding a unique touch to the space.
Remember to let your personal style guide you when adding the final touches to your distressed white dresser. Have fun experimenting with different decorative elements and accessories to make it truly reflect your taste and personality. Now, sit back and enjoy your beautifully transformed piece of furniture!
Conclusion
Distressing a white dresser is a rewarding DIY project that allows you to create a unique and charming piece of furniture. By following the step-by-step process outlined in this article, you can achieve a beautifully distressed look that adds character and style to your space. Here’s a quick recap of the steps:
- Prepare the dresser by removing hardware and cleaning the surface.
- Sand the surface to create a suitable base for the paint.
- Apply a base coat of primer to improve paint adhesion.
- Apply a layer of chalk paint in your desired color.
- Distress the edges to create a worn and aged appearance.
- Sand the surface again to smooth out imperfections.
- Apply a clear topcoat to protect the distressed finish.
- Add final touches, such as reattaching hardware and styling the dresser.
Throughout the process, remember to take your time, experiment with distressing techniques, and let your creativity guide you. The end result will be a stunning distressed white dresser that adds a touch of rustic elegance to any room.
Whether you’re repurposing an old dresser or giving a new one a vintage-inspired look, the distressed finish adds a visually appealing element to the piece. Not only does it create a sense of history and character, but it also allows you to showcase your creativity and personal style.
So, why settle for a plain white dresser when you can transform it into a distressed masterpiece? Start gathering your materials, set up your workspace, and embark on this fun and rewarding DIY project. Get ready to enjoy the beauty and uniqueness of your newly distressed white dresser!
Frequently Asked Questions about How To Make A White Dresser Look Distressed
Was this page helpful?
At Storables.com, we guarantee accurate and reliable information. Our content, validated by Expert Board Contributors, is crafted following stringent Editorial Policies. We're committed to providing you with well-researched, expert-backed insights for all your informational needs.


0 thoughts on “How To Make A White Dresser Look Distressed”