
Furniture
How To Fill Dresser Drawer Holes
Modified: February 25, 2024
Learn how to easily fill holes in your dresser drawers with this step-by-step guide. Enhance the look of your furniture and restore its functionality!
(Many of the links in this article redirect to a specific reviewed product. Your purchase of these products through affiliate links helps to generate commission for Storables.com, at no extra cost. Learn more)
Introduction
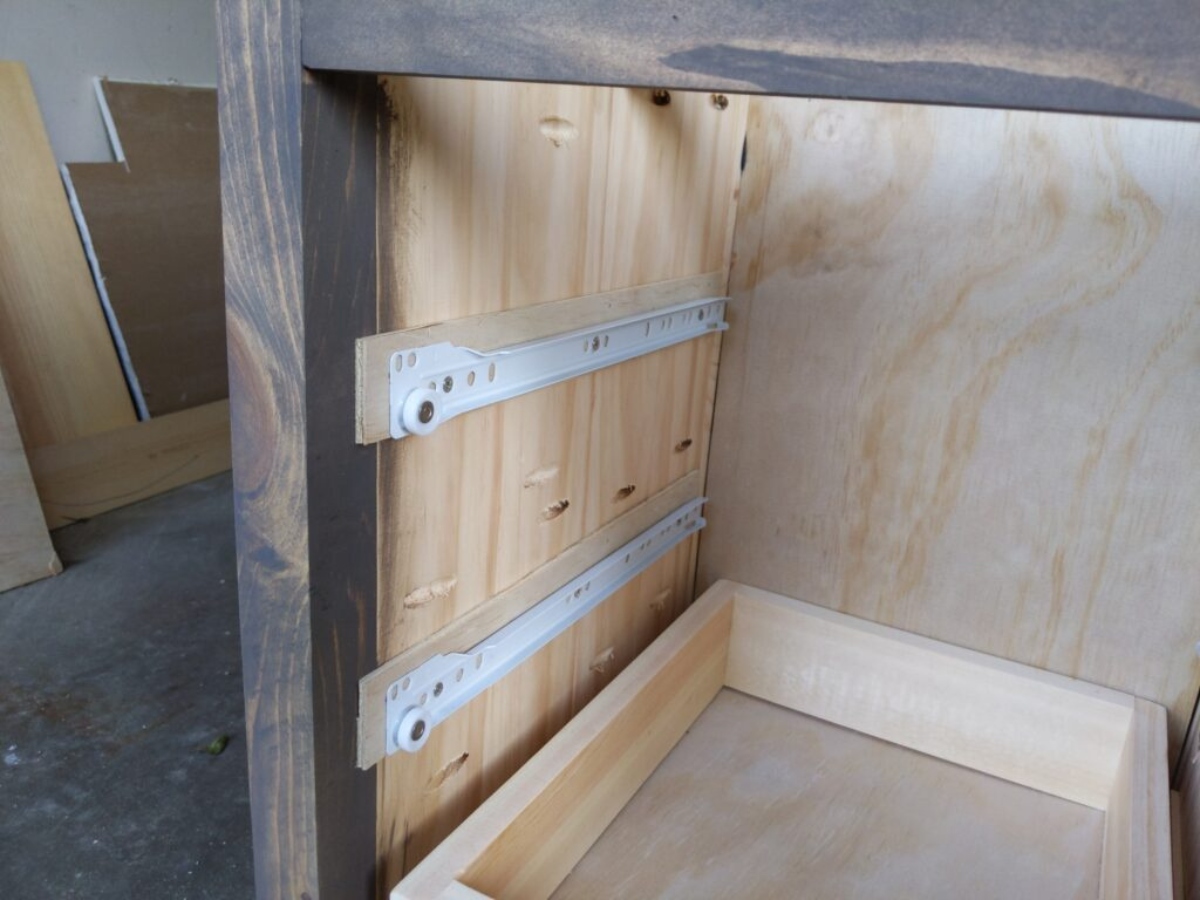
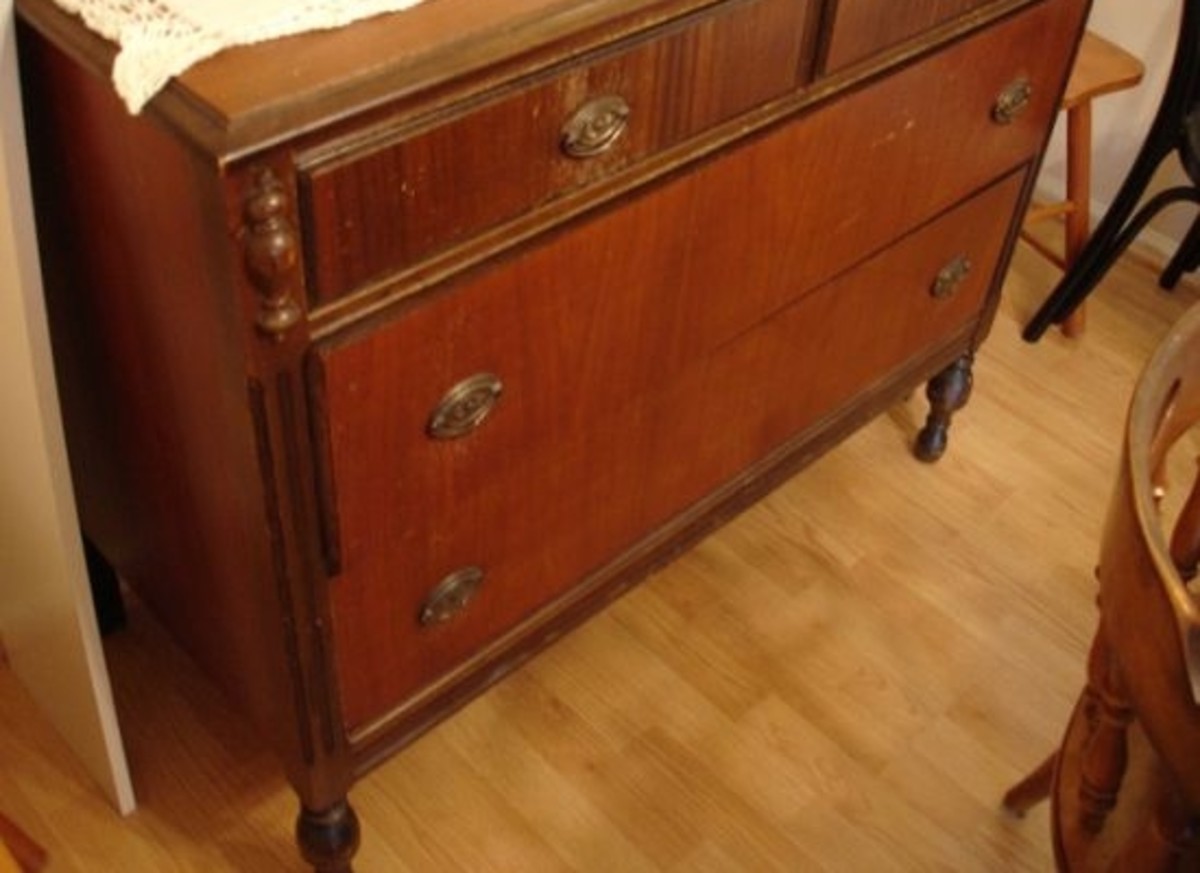
When it comes to furniture, it can be frustrating to discover unsightly holes in the drawers of your favorite dresser. These holes may be caused by wear and tear over time, accidental damage, or even the removal of old hardware. However, there is no need to worry, as filling these holes is a straightforward process that can be done in a few simple steps.
In this guide, we will provide you with a comprehensive tutorial on how to fill dresser drawer holes effectively. By following these steps, you can restore the appearance of your furniture and ensure that your dresser remains functional and visually appealing.
Before we begin, it’s important to note that the techniques discussed in this guide are suitable for filling small to medium-sized holes in wooden dresser drawers. For larger holes or more extensive repairs, it may be best to consult a professional or consider replacing the drawer entirely.
Now, let’s gather the necessary tools and materials before we get started!
Key Takeaways:
- Easily restore your dresser’s beauty and functionality by following simple steps to fill drawer holes with wood filler, sanding, and adding finishing touches.
- Assess damage, gather supplies, prepare the surface, fill holes, sand, and add finishing touches to revitalize your dresser with a seamless and natural-looking repair.
Read more: How To Fill Hole In Driveway
Tools and Materials Needed
Before you start filling the dresser drawer holes, make sure you have the following tools and materials on hand:
- Wood filler: Choose a high-quality wood filler that matches the color and grain of your dresser.
- Putty knife: A putty knife will be used to apply and smooth out the wood filler.
- Sandpaper: You will need sandpaper with different grits to smooth the surface of the filled holes.
- Wood stain or paint: If necessary, have the matching wood stain or paint ready to touch up the filled areas.
- Clean cloth: Use a clean cloth to wipe away any excess wood filler or debris.
- Protective gloves: It is always a good idea to protect your hands from any potential harm or irritation.
- Protective eyewear: Safety should be a priority, so wear protective eyewear to shield your eyes from any flying debris.
It’s important to have all the necessary tools and materials in place before you begin the process to ensure a smooth and efficient repair.
Now that you have everything you need, let’s move on to the first step: assessing the damage.
Step 1: Assess the Damage
The first step in the process of filling dresser drawer holes is to closely examine the extent of the damage. Take a close look at the holes to determine their size, depth, and any surrounding damage or imperfections.
If the holes are small and superficial, they can often be filled easily. However, if the holes are large or there is significant damage, it may be necessary to consider alternative options, such as replacing the drawer entirely.
It’s also important to assess the type of wood used in your dresser. Different types of wood have different characteristics and may require specific techniques or materials for filling the holes effectively.
Once you have thoroughly inspected the damage, you can proceed to the next step: gathering the necessary supplies.
Step 2: Gather Necessary Supplies
After assessing the damage, it’s time to gather all the necessary tools and materials before you start filling the dresser drawer holes.
First and foremost, you will need wood filler. Choose a high-quality wood filler that matches the color and grain of your dresser. This will ensure a seamless and natural-looking repair.
Next, you’ll need a putty knife, which will be used to apply and smooth out the wood filler. A putty knife with a flexible blade is recommended for easy application and manipulation of the filler.
In addition, gather sandpaper with different grits to prepare the surface and smooth the filled holes. Start with a coarse grit to remove any rough edges or excess filler, and gradually move to finer grits to achieve a smooth and polished finish.
Depending on the condition of your dresser and the extent of the repairs, you may also need matching wood stain or paint to touch up the filled areas. Having the right color and finish on hand will help blend the repair seamlessly with the rest of the drawer.
Lastly, don’t forget to wear protective gloves to keep your hands safe and clean throughout the process. Additionally, use protective eyewear to shield your eyes from any potential debris.
With all the necessary supplies gathered, you’re ready to move on to the next step: preparing the drawer holes.
Step 3: Preparing the Drawer Holes
Before you begin filling the dresser drawer holes, it’s essential to properly prepare the surface to ensure a strong and lasting repair.
Start by cleaning the holes and the surrounding area with a clean cloth. Remove any dust, debris, or loose particles to create a clean and smooth surface for the wood filler.
If the holes have any loose or protruding splinters, carefully trim them using a small chisel or sandpaper. This will help create a flat and even base for the wood filler.
Next, use a putty knife to apply the wood filler to the holes. Take a small amount of filler and press it firmly into the holes, ensuring it is slightly raised above the surface of the drawer. The excess filler can be easily removed and smoothed later in the process.
Make sure to work quickly but carefully, as some wood fillers may dry rapidly. Follow the instructions provided by the manufacturer to ensure proper application and drying time.
Allow the wood filler to dry completely before moving on to the next step. This may take several hours or overnight, depending on the type of filler used. Avoid applying excessive pressure or disturbing the filled holes during the drying process.
Once the wood filler is completely dry, you’re ready to move on to the next step: filling the holes.
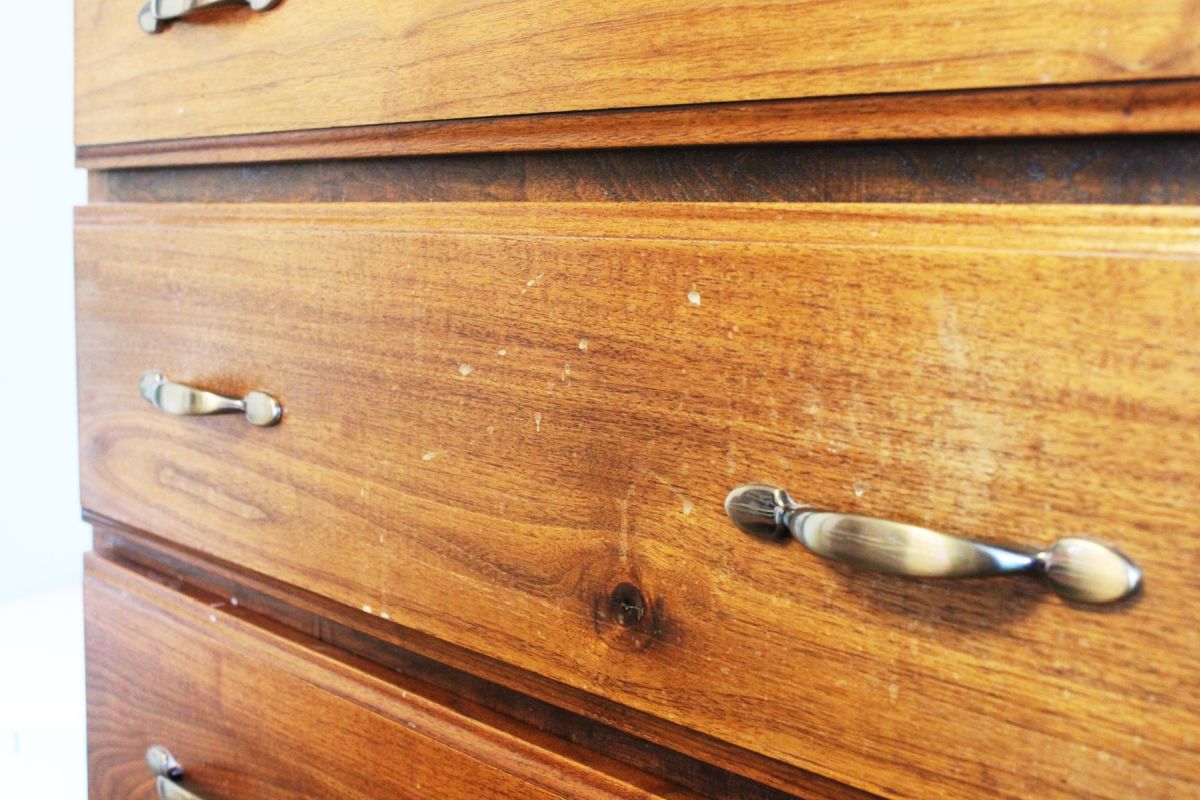
Use wood filler to fill in the holes in dresser drawers. Apply the filler, let it dry, then sand it smooth. This will give the drawers a seamless look.
Read more: How To Fill Hole In Cabinet
Step 4: Filling the Holes
Now that the wood filler has dried, it’s time to fill the dresser drawer holes to create a seamless and natural-looking repair.
Start by using a putty knife to scrape off any excess filler that may have protruded above the surface of the drawer. Gently scrape the area in a back-and-forth motion until the filler is flush with the surrounding wood.
Next, take a small amount of wood filler on the edge of the putty knife and apply it directly to the holes. Press the filler firmly into the holes, ensuring that they are completely filled and level with the surrounding wood surface.
If necessary, apply additional layers of filler to ensure a strong and durable repair. Allow each layer of filler to dry completely before adding another layer. Be sure to follow the manufacturer’s instructions for drying time.
While applying the filler, try to match the texture and grain pattern of the surrounding wood as closely as possible. This will help the filled holes blend seamlessly with the rest of the drawer.
Once the holes are filled to your satisfaction, smooth out the surface of the filled areas using a putty knife or sandpaper. Gently sand the areas in a circular motion, gradually blending the filler with the surrounding wood.
Remember to be patient and take your time during this step to achieve a smooth and flawless finish.
With the holes filled and the surface smoothed, it’s time to move on to the next step: sanding the surface.
Step 5: Sanding the Surface
Now that the filled holes are smooth, it’s time to sand the surface of the dresser drawer to create a seamless and polished finish.
Start by selecting a sandpaper with a medium grit, such as 120 or 150. Gently sand the filled areas in a circular motion, blending them with the surrounding wood. This will help to level the surface and remove any slight imperfections.
As you sand, be mindful not to sand too aggressively, as this can damage the surrounding wood or remove too much of the filler. Take your time and use light pressure, periodically checking the progress to ensure you achieve a smooth and even surface.
Once you are satisfied with the smoothness of the filled areas, switch to a finer grit sandpaper, such as 220 or 320. Sand the entire surface of the drawer, paying attention to the filled holes, to further refine the finish and remove any remaining roughness.
While sanding, remember to keep the surface clean and periodically wipe away any dust or debris with a clean cloth. This will allow you to see the progress and ensure a smooth and polished final result.
After sanding, wipe down the entire surface of the drawer with a damp cloth to remove any lingering dust particles. This will prepare the surface for any touch-ups or finishing touches that may be needed.
With the surface smooth and sanding complete, it’s time for the final step: adding the finishing touches.
Step 6: Finishing Touches
Now that you’ve filled and sanded the dresser drawer holes, it’s time to add the finishing touches to complete the repair and ensure a seamless integration with the rest of the drawer.
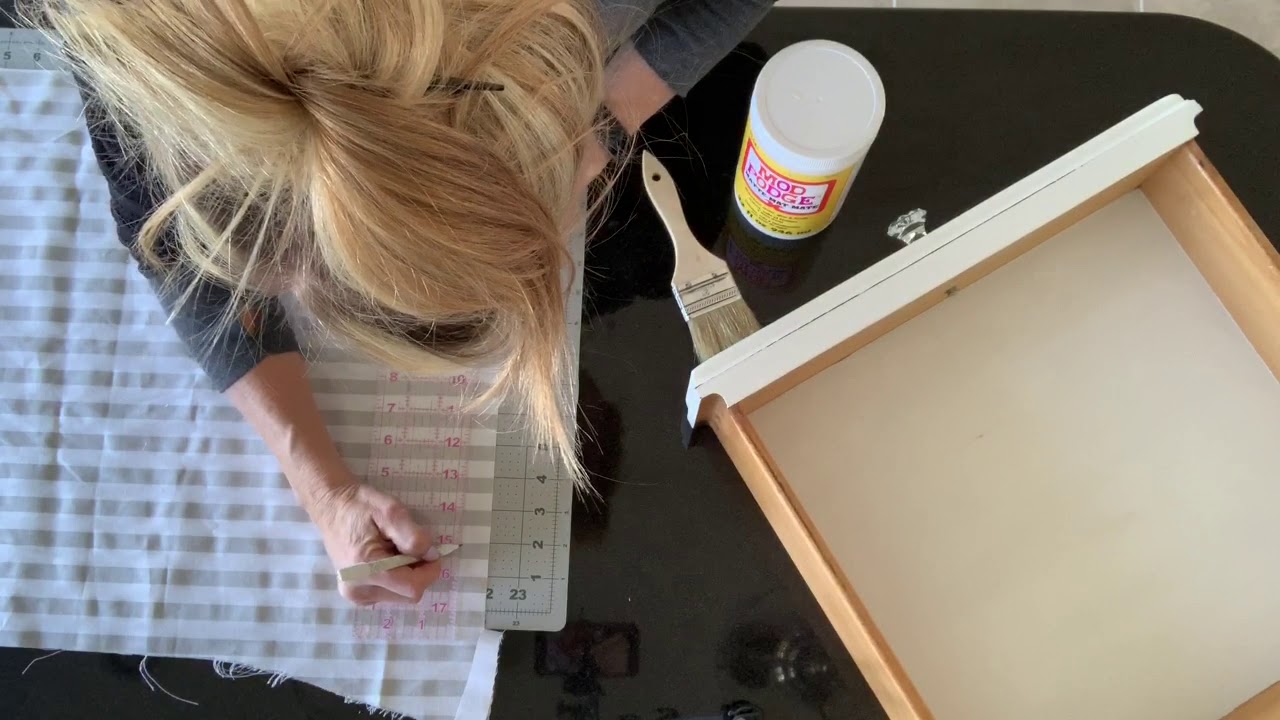
If the filled holes stand out from the rest of the wood, you may need to touch up the surface with matching wood stain or paint. Use a small brush or applicator to carefully apply the stain or paint, following the grain of the wood. Allow it to dry according to the manufacturer’s instructions.
After the touch-up has dried, inspect the repaired areas to ensure they blend seamlessly with the surrounding wood. If necessary, repeat the touch-up process until the filled holes are indistinguishable from the rest of the drawer surface.
Once you are satisfied with the appearance of the repaired areas, gently wipe down the entire surface of the dresser drawer with a clean cloth to remove any dust or residue.
If desired, you can apply a protective coat of furniture wax or varnish to further enhance the durability and appearance of the repaired drawer. Follow the instructions on the product and allow it to fully dry before using the dresser.
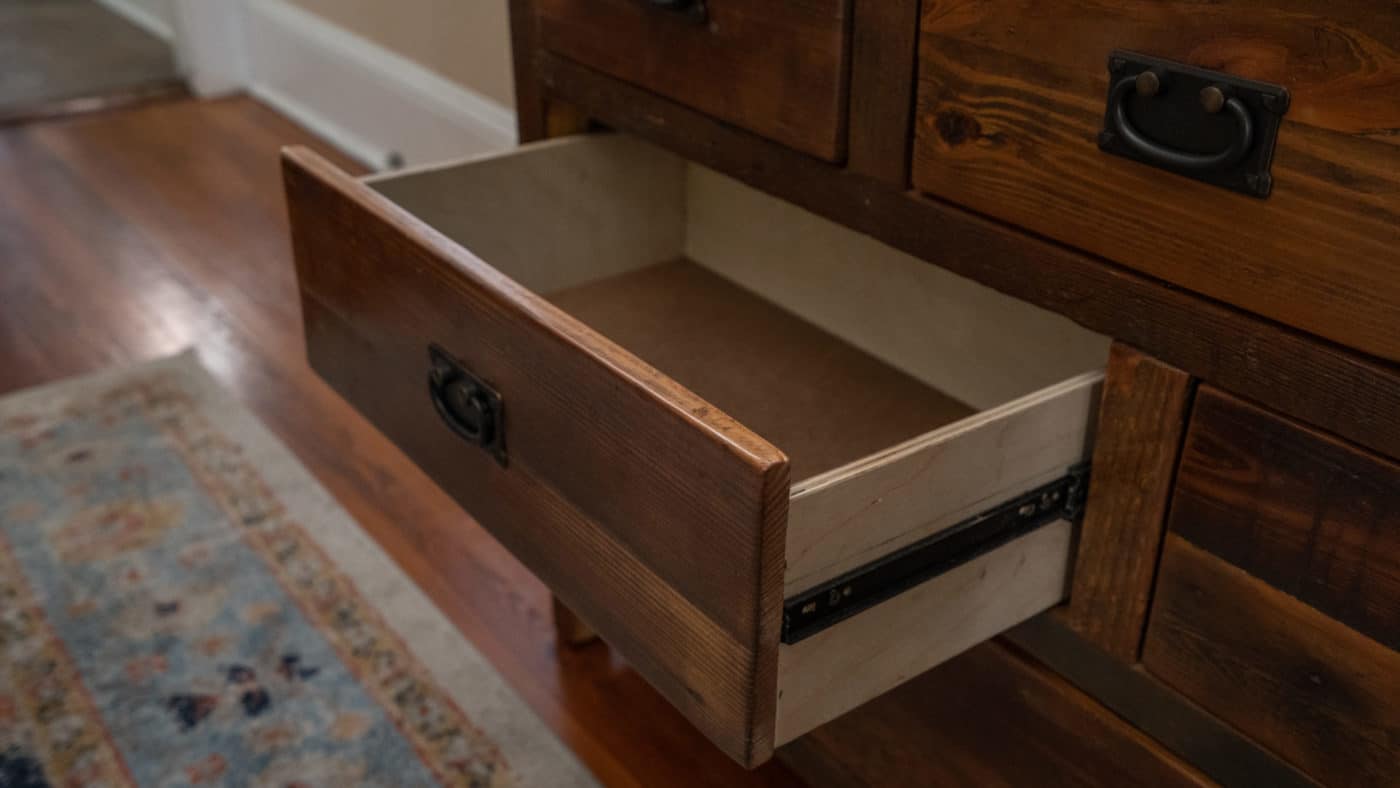
Finally, step back and admire your handiwork. You have successfully filled and repaired the holes in your dresser drawer, restoring its functionality and beauty.
Remember, while these steps provide a general guideline for filling dresser drawer holes, it’s important to consider the specific condition and materials of your furniture. Don’t hesitate to adjust the process as needed to ensure the best results for your unique situation.
With a little patience and the right tools, you can revitalize your dresser and extend its lifespan for years to come.
Thank you for following this comprehensive guide. We hope you found it helpful and informative. Happy repairing!
Conclusion
Repairing dresser drawer holes may seem like a daunting task, but with the right tools and techniques, it can be easily accomplished. By following the step-by-step guide outlined in this article, you can effectively fill the holes in your dresser drawer and restore its functionality and aesthetic appeal.
Remember to assess the damage, gather the necessary supplies, and prepare the surface before filling the holes with wood filler. Take your time to ensure a seamless and natural-looking repair. After filling the holes, sand the surface to create a smooth and polished finish.
Adding the finishing touches, such as matching wood stain or paint, can further enhance the appearance of the repaired areas. Don’t forget to protect your repairs with a coat of furniture wax or varnish for added durability.
With a little patience and attention to detail, you can transform your damaged dresser drawer into a beautiful and functional piece of furniture. Not only will this repair help extend the lifespan of your dresser, but it will also give you a sense of fulfillment and satisfaction.
Remember, if you’re unsure about the extent of the damage or feel overwhelmed by the repair process, it’s always best to consult a professional or consider replacing the drawer entirely.
Thank you for reading this comprehensive guide on how to fill dresser drawer holes. We hope it has provided you with the knowledge and confidence to tackle this repair project. Happy repairing!
Frequently Asked Questions about How To Fill Dresser Drawer Holes
Was this page helpful?
At Storables.com, we guarantee accurate and reliable information. Our content, validated by Expert Board Contributors, is crafted following stringent Editorial Policies. We're committed to providing you with well-researched, expert-backed insights for all your informational needs.


0 thoughts on “How To Fill Dresser Drawer Holes”