Furniture
How To Make A Dresser Drawers
Modified: February 25, 2024
Learn how to make dresser drawers for your furniture projects. Our step-by-step guide will help you create functional and stylish storage solutions.
(Many of the links in this article redirect to a specific reviewed product. Your purchase of these products through affiliate links helps to generate commission for Storables.com, at no extra cost. Learn more)
Introduction
Welcome to our guide on how to make a dresser with drawers! A dresser is an essential piece of furniture in any bedroom or living space, providing storage and organization for clothing, accessories, and other items. While you can purchase a ready-made dresser from a store, there’s something special about crafting your own.
In this article, we will take you through the step-by-step process of building a dresser with drawers. Whether you’re a seasoned woodworking enthusiast or a beginner looking to take on a new project, we’ve got you covered. With some basic materials, tools, and a little bit of patience, you’ll have a beautiful handmade dresser that you can proudly display in your home.
Before we dive into the construction process, let’s go over the materials you will need for this project.
Key Takeaways:
- Building a dresser with drawers is a fulfilling project that allows you to create a functional and personalized piece of furniture for your home, reflecting your craftsmanship and style.
- By following the step-by-step process and using high-quality materials, you can craft a handmade dresser with drawers that not only provides storage but also becomes a centerpiece in your room, showcasing your creativity and woodworking skills.
Materials Needed
Before you start building your dresser with drawers, it’s important to gather all the necessary materials. Here’s a list of items you’ll need:
- Wood boards (preferably hardwood) for the frame and drawers
- Drawer slides
- Screws
- Wood glue
- Wood stain or paint
- Paintbrush
- Sandpaper
- Measuring tape
- Saw (circular saw or table saw)
- Drill
- Clamps
- Screwdriver
It’s important to choose high-quality wood for your dresser. Hardwood such as oak, cherry, or maple will provide durability and a beautiful finish. You can purchase the wood from a local home improvement store or a specialty lumberyard.
When selecting your drawer slides, make sure to choose ones that are compatible with the size and weight of your drawers. It’s best to opt for full-extension slides for easy access to the entire drawer. You can find drawer slides at hardware stores or online.
Additionally, you’ll need screws that are appropriate for your wood thickness. Wood glue will be used to reinforce joints and provide extra strength to your dresser.
Lastly, choose a wood stain or paint of your preference to give your dresser a finished look. Consider the overall style and color scheme of your room when selecting the stain or paint color.
Now that you have all the necessary materials, let’s move on to the step-by-step process of making a dresser with drawers!
Step 1: Measure and Cut the Wood
The first step in building a dresser with drawers is to measure and cut the wood pieces for the frame. This will form the structure of the dresser and provide support for the drawers.
Start by deciding on the dimensions of your dresser. Consider the available space in your room and the amount of storage you need. Once you have determined the overall size, use a measuring tape to measure and mark the dimensions on your wood boards.
Using a saw, such as a circular saw or a table saw, carefully cut the wood boards according to your measurements. Make sure to follow the markings precisely to ensure accurate cuts. It’s a good idea to double-check the dimensions before cutting to avoid any mistakes.
After cutting the main pieces for the frame, you can also cut additional pieces to create dividers or shelves within the dresser, depending on your design and storage needs.
Remember to wear safety goggles and gloves while operating the saw, and always use caution when handling sharp tools.
Once all the wood pieces are cut, lay them out on a flat surface to ensure they fit together properly. Make any necessary adjustments to the size or shape of the pieces before moving on to the next step.
With the wood pieces cut and ready, you’re now ready to move on to the next step: assembling the frame of the dresser.
Step 2: Assemble the Frame
Now that you have cut the wood pieces for the frame of your dresser, it’s time to assemble them together. This step will bring your dresser one step closer to completion.
Start by laying out the main pieces of the frame on a flat surface. Take note of the orientation and arrangement of the pieces to ensure proper alignment. Use clamps to hold the pieces together temporarily, making it easier to secure them.
Before joining the wood pieces, it’s a good idea to pre-drill holes to prevent splitting. Use a drill bit that matches the diameter of your screws. Position the holes slightly away from the edges to maintain the structural integrity of the wood.
Once the holes are drilled, apply wood glue along the edges of the pieces that will be joined together. This will add strength and stability to your dresser. Carefully align the pieces and then insert the screws through the pre-drilled holes. Use a screwdriver or drill to secure the screws tightly.
Repeat these steps for each corner and joint of the dresser frame. As you go along, use a level to check that the frame is straight and square. Adjust if necessary.
If you have added dividers or shelves within the dresser, attach them in the same way, using wood glue and screws to secure them to the frame.
Once all the pieces are securely attached, remove any excess glue that may have squeezed out. Wipe it away with a damp cloth before it dries.
Allow the frame to dry completely before moving on to the next step. This will ensure that the dresser is sturdy and ready for the next stage of construction.
Now that the frame of your dresser is assembled, it’s time to move on to the next step: attaching the drawer slides.
When making dresser drawers, ensure that all pieces are cut accurately to the correct measurements to ensure a proper fit and smooth operation. Use a square to ensure all corners are perfectly aligned for a professional finish.
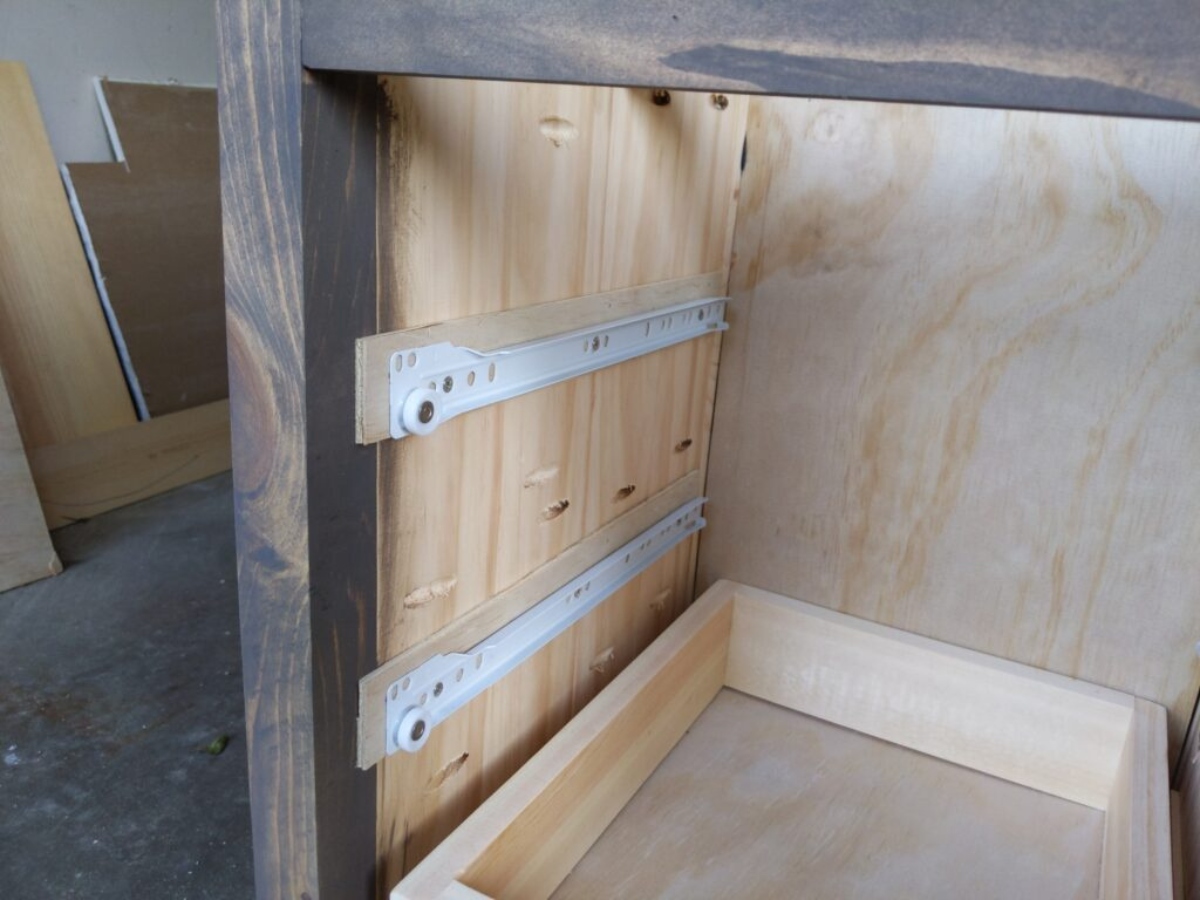
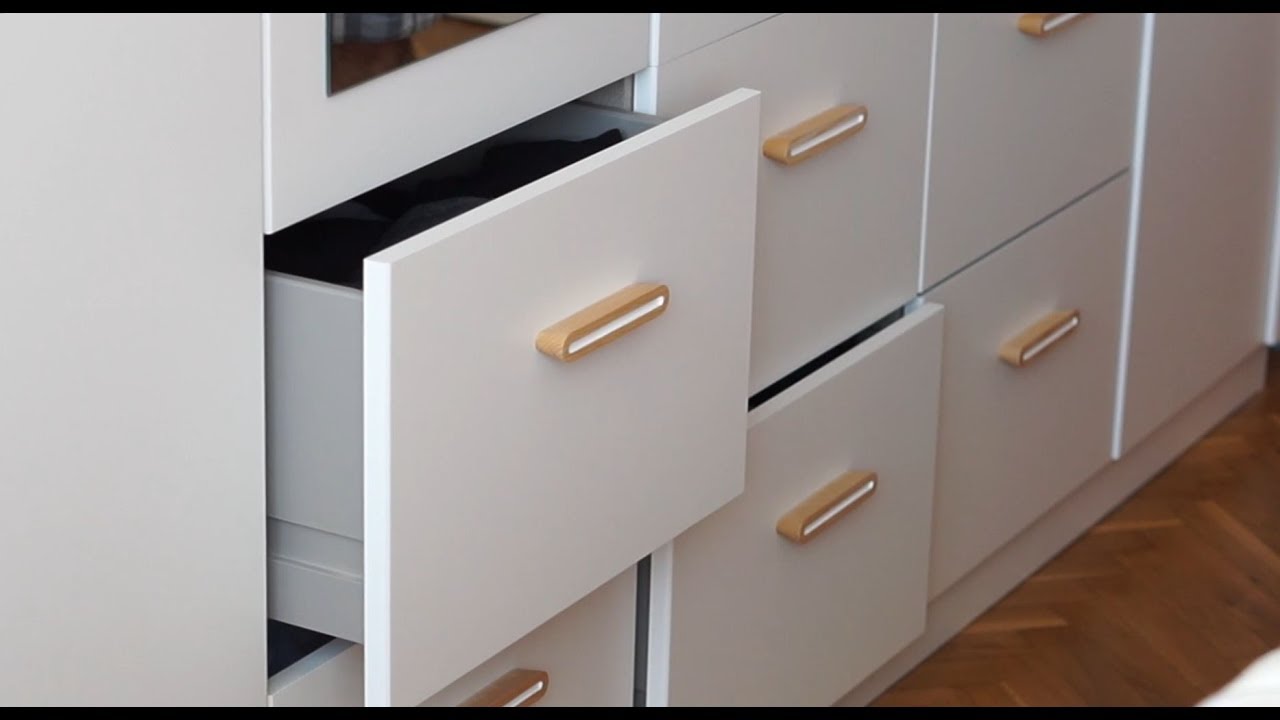
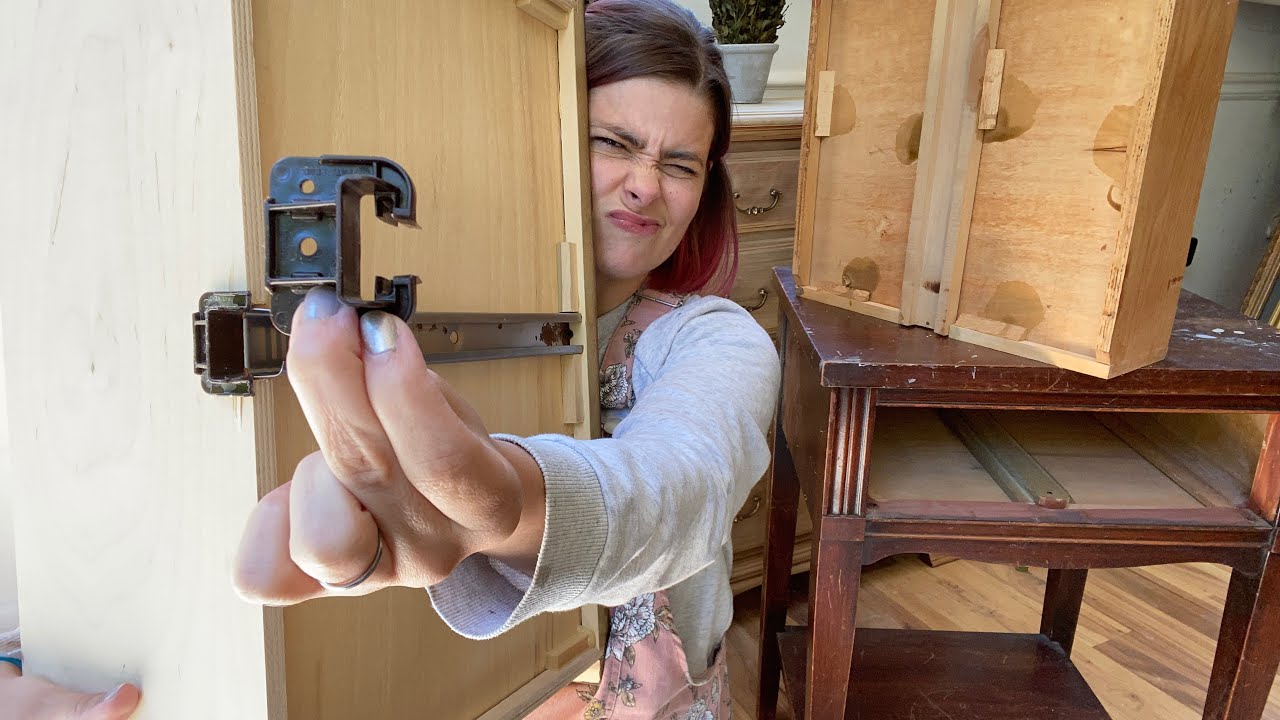
Step 3: Attach the Drawer Slides
Attaching the drawer slides is an important step in building a dresser with drawers. The slides will allow the drawers to open and close smoothly and securely. Follow these steps to properly install the drawer slides.
Start by determining the placement of your drawers within the dresser frame. Measure and mark the positions where you want the slides to be attached. Consider the size of your drawers and the desired spacing between them.
When positioning the slides, make sure they are level and centered on the drawer openings. Use a measuring tape or ruler to ensure accuracy.
Next, align the drawer slides with the markings you made on the frame. Attach the slides to the frame using screws. Make sure the slides are securely fastened and aligned properly.
Once the slides are attached to the frame, it’s time to install the corresponding part of the slides on the drawers themselves. You will typically have two sets of slides for each drawer – one on each side.
Measure and mark the positions for the slides on the sides of the drawers. Make sure the slides are aligned with the ones installed on the frame.
Using screws, attach the slides to the sides of the drawers. Make sure the slides are securely fastened to ensure smooth movement of the drawers.
After attaching the slides to both the frame and the drawers, test the movement of the drawers. They should slide in and out smoothly without any obstructions. Make any necessary adjustments if the drawers are not sliding properly.
Repeat these steps for each drawer in your dresser. Once all the slides are installed and the drawers move smoothly, you’re ready to move on to the next step: building the drawers.
Attaching the drawer slides may seem like a small detail, but it’s a crucial part of constructing a functional and durable dresser. Take your time to ensure that the slides are properly aligned and securely fastened. This will make a significant difference in the overall functionality and longevity of your dresser.
Read more: How Deep Are Dresser Drawers
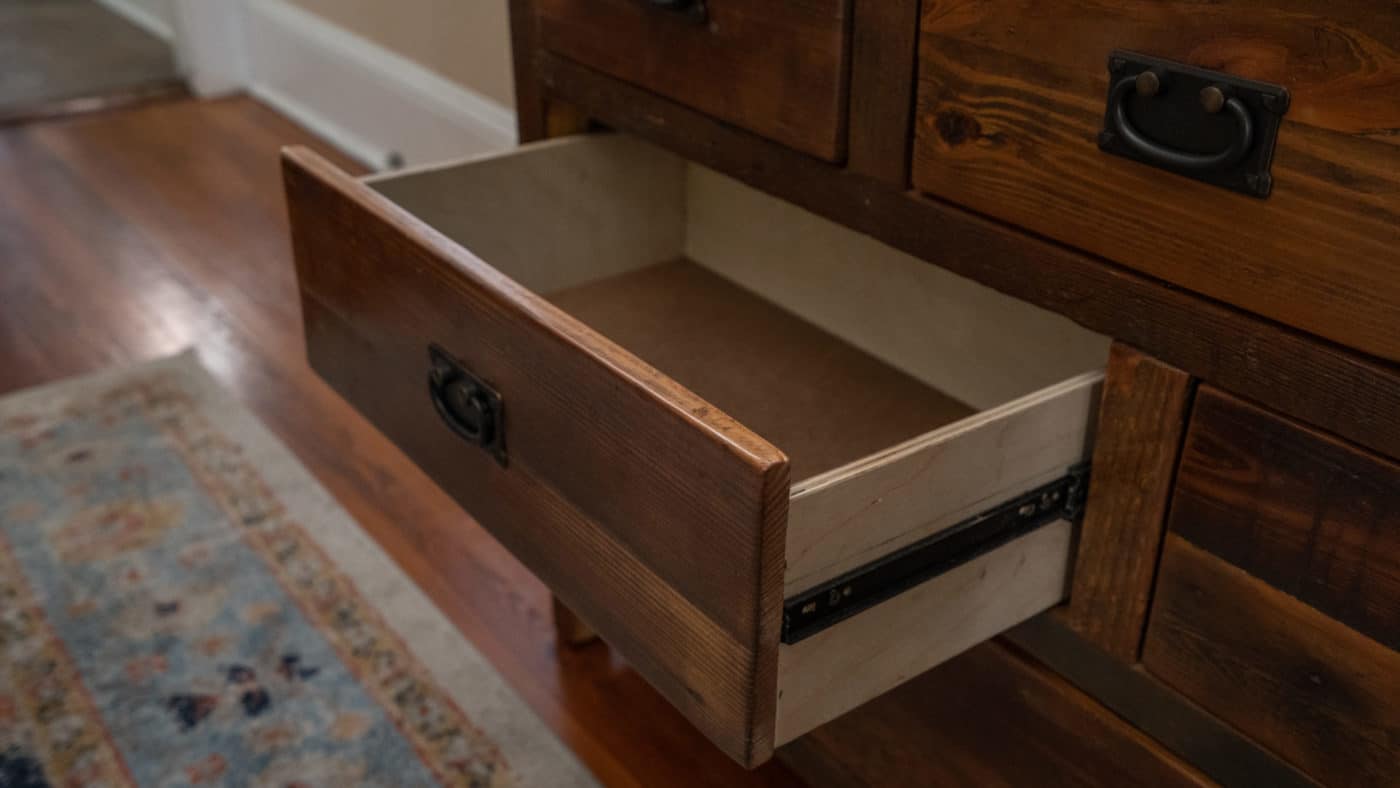
Step 4: Build the Drawers
Building the drawers is a key step in completing your dresser construction. The drawers will provide the storage space for your belongings and add the finishing touch to your project. Follow these steps to build sturdy and functional drawers.
Start by measuring the openings of the drawer slides on the dresser frame. This will give you the dimensions for the width and height of your drawers. Ensure that you account for the clearance needed for the slides when determining the dimensions.
Next, cut the wood boards for the front, back, and sides of the drawers according to your measurements. It’s important to make precise cuts to ensure a snug fit within the dresser frame.
Once the pieces are cut, use a router or dado blade to create grooves or rabbets along the edges of the drawer pieces. These grooves will hold the bottom panel of the drawer.
Measure and cut the bottom panel of the drawers. Make sure it fits securely within the grooves you created.
Apply wood glue to the edges of the drawer pieces. Assemble the pieces together, ensuring that the corners are square and the joints are tight.
Secure the corners of the drawers with screws or nails. Use clamps to hold the pieces together until the glue dries.
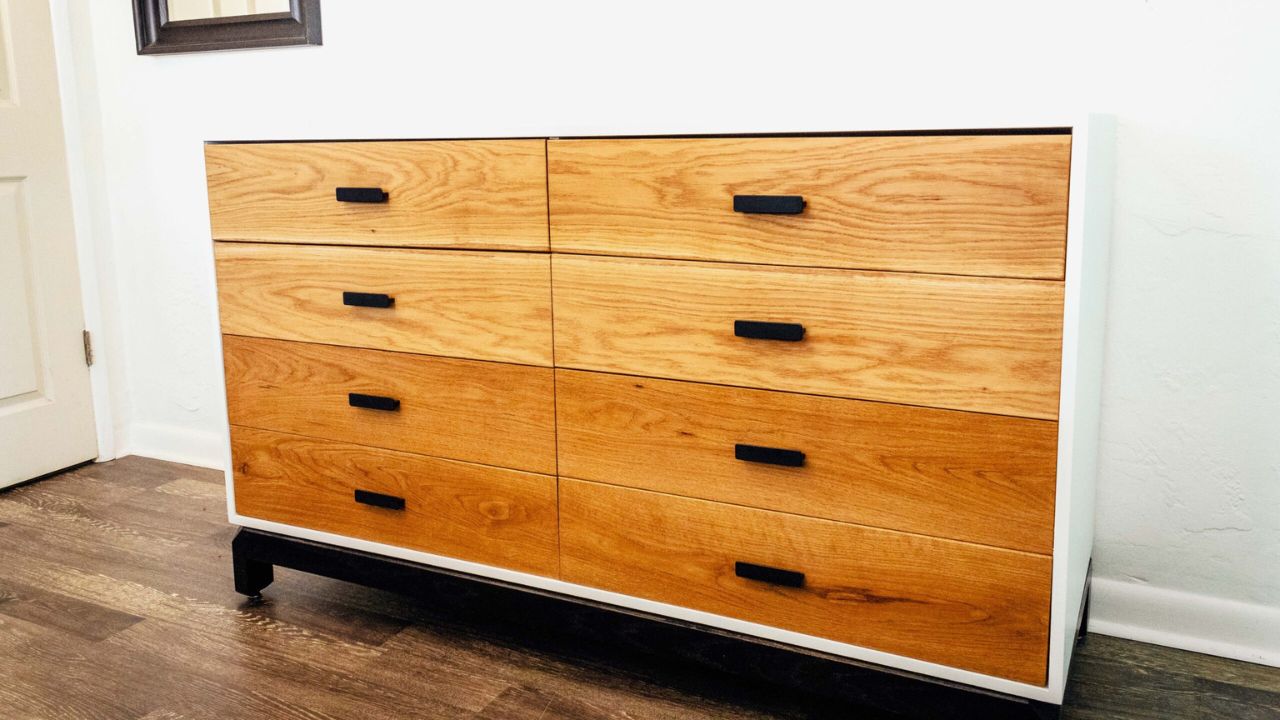
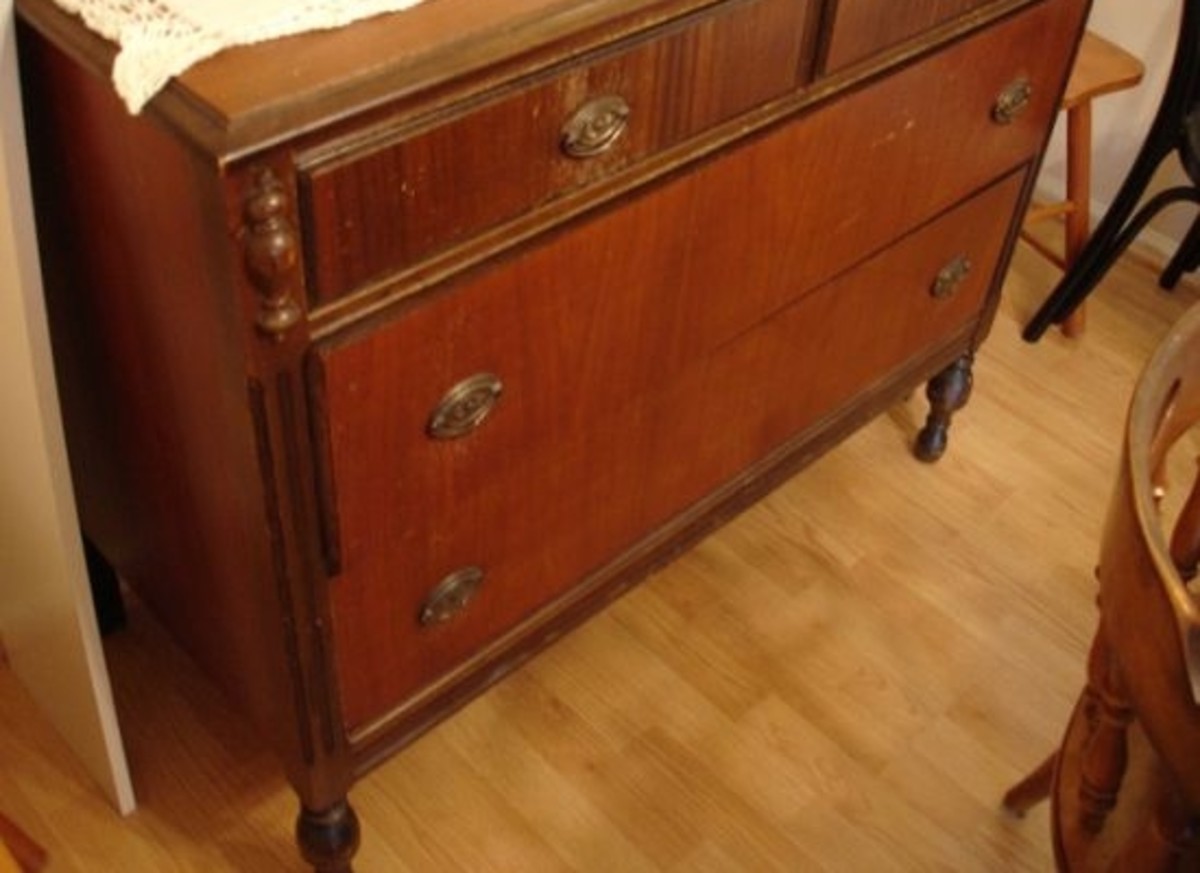
After the glue has dried, attach the drawer pulls or knobs to the front of the drawers. This will not only add a decorative touch but also provide a convenient way to open and close the drawers.
With the drawers built, test their fit within the dresser frame. They should slide smoothly on the drawer slides. Make any necessary adjustments to ensure a proper fit.
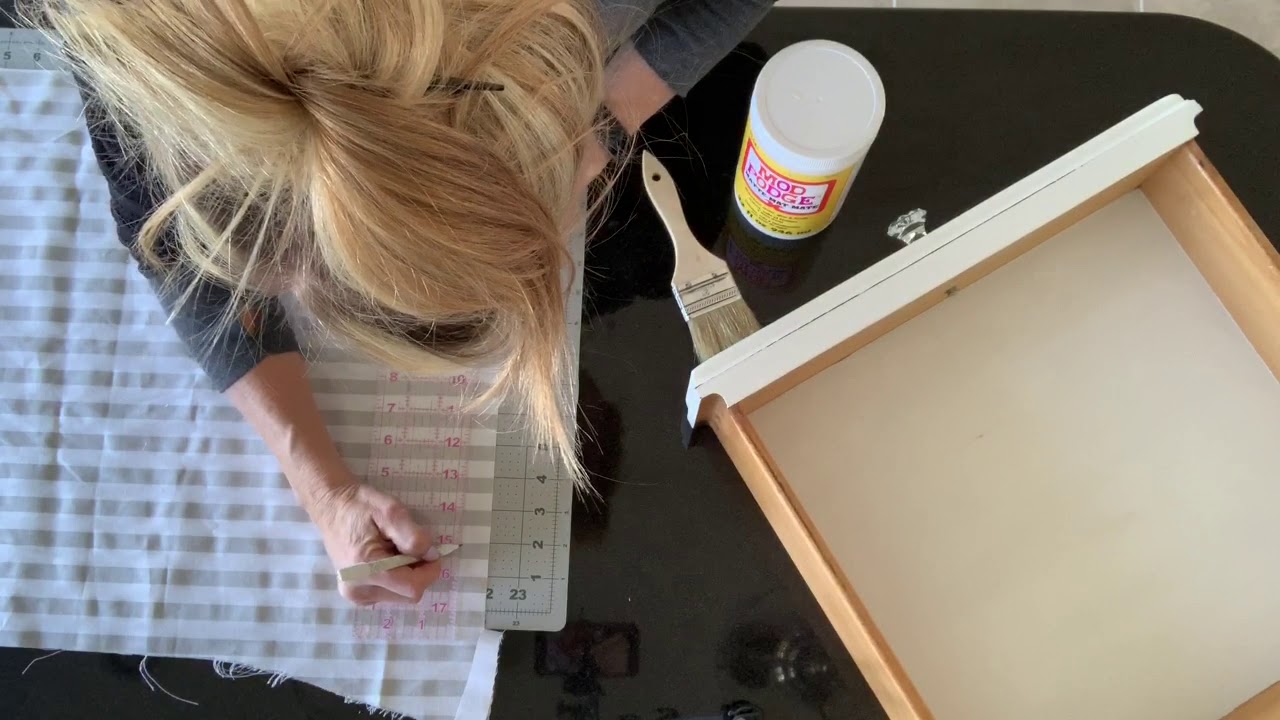
Once you’re satisfied with the fit and functionality of the drawers, sand the surfaces of the drawers to smooth out any rough edges or imperfections. Apply a stain or paint of your choice to enhance the appearance and protect the wood.
Allow the finish to dry completely before inserting the drawers into the dresser frame.
Congratulations! You have now built the drawers for your dresser. The next step will involve adding the finishing touches to complete your dresser project.
Step 5: Finishing Touches
Now that the main construction of your dresser with drawers is complete, it’s time to add the finishing touches that will elevate the appearance and functionality of your project.
Start by sanding the entire dresser, including the frame and the drawers. This will ensure a smooth and even surface for applying the finish. Use fine-grit sandpaper to remove any rough spots or imperfections.
After sanding, wipe down the dresser with a clean, damp cloth to remove any dust or debris. This will prepare the surface for the finish that will be applied.
If you prefer a natural look, you can choose to apply a clear varnish or polyurethane to protect the wood and bring out its natural beauty. Apply the finish according to the manufacturer’s instructions, using a paintbrush or a foam applicator. Allow the finish to dry completely before moving on to the next step.
If you want to add a pop of color or personalize your dresser, you can choose to paint it instead. Select a paint color that complements your existing decor or matches your personal style. Apply multiple coats of paint, allowing each coat to dry before applying the next. Once the paint is dry, you can further customize your dresser by adding decorative elements such as stencils or decals.
Once the finish is completely dry, you can attach any additional hardware, such as decorative trim or corner brackets, to enhance the overall appearance of your dresser.
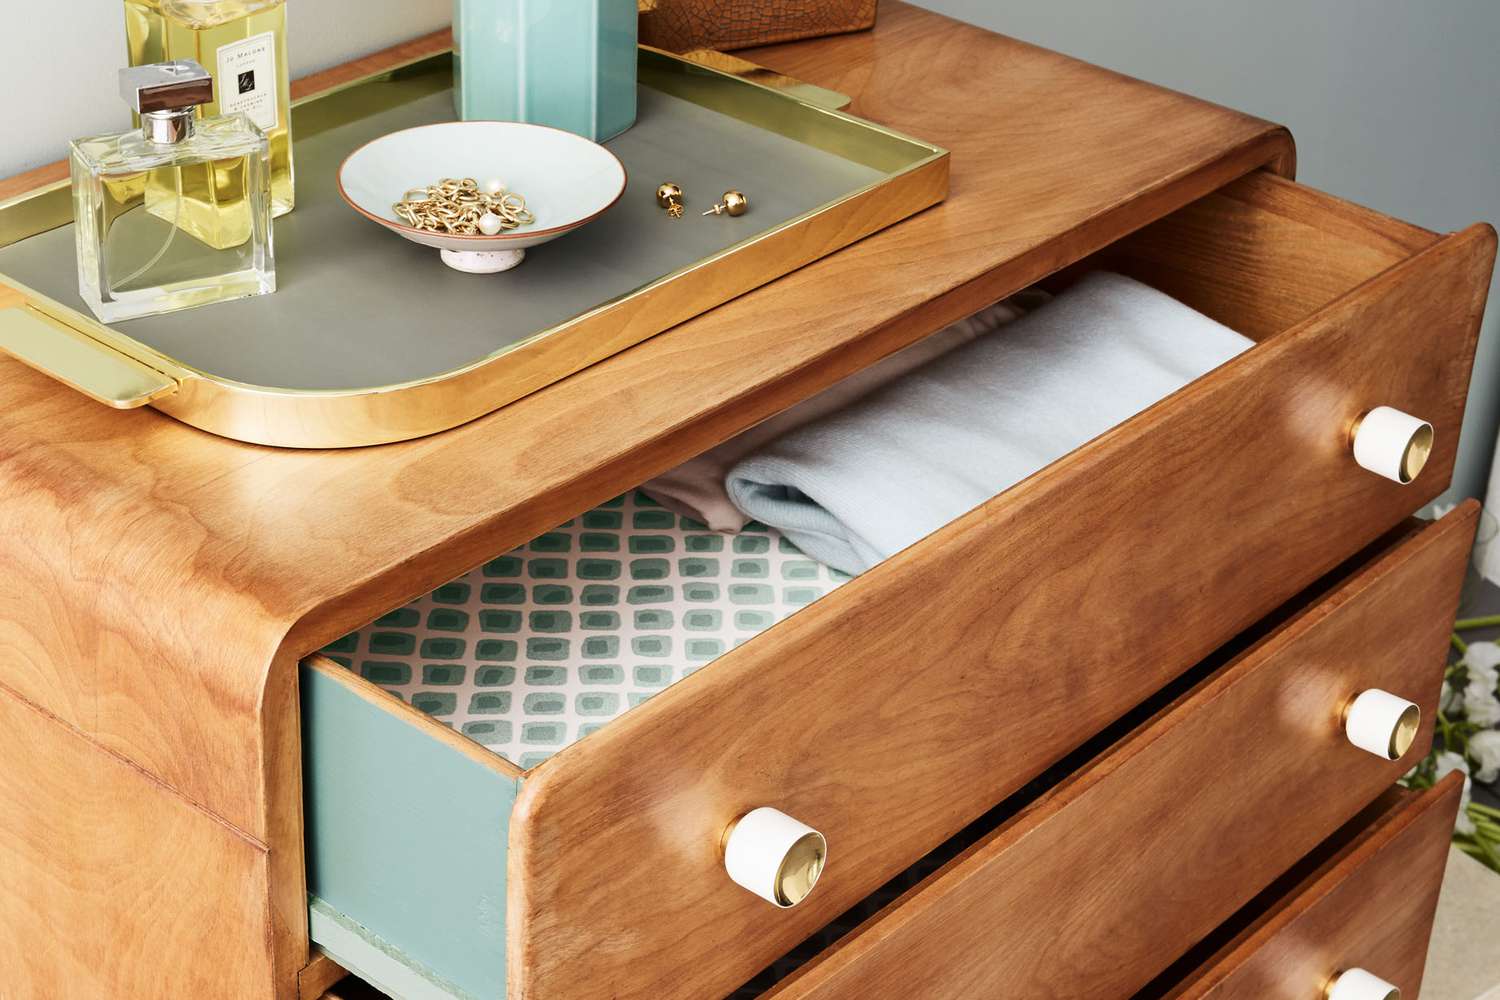
Lastly, take the time to organize your belongings within the drawers. You can use dividers or organizers to keep items separate and easily accessible. Consider lining the drawers with felt or fabric to protect delicate items or add a luxurious touch.
With the finishing touches complete, step back and admire your handcrafted dresser with drawers. You’ve put in the time and effort to build a piece of furniture that is not only functional but also reflects your personal style and creativity.
Remember to maintain your dresser by periodically cleaning and dusting it to keep it looking its best. You can also touch up the finish if needed to maintain its longevity and beauty.
Now that you know how to make a dresser with drawers, feel free to experiment with different designs and materials to customize future projects. The possibilities are endless, and you can continue to refine your woodworking skills with each new endeavor.
Congratulations on completing your dresser with drawers! Enjoy the satisfaction of using and showcasing a piece of furniture that you built with your own hands.
Conclusion
Building a dresser with drawers is a rewarding and fulfilling project that allows you to create a functional and beautiful piece of furniture for your home. By following the steps outlined in this guide and using your creativity, you can craft a dresser that perfectly fits your needs and style.
Throughout the construction process, we covered the importance of measuring and cutting the wood accurately for the frame, assembling the pieces securely, attaching the drawer slides for smooth movement, building sturdy and functional drawers, and adding the finishing touches to enhance the appearance and functionality of your dresser.
Remember, safety should always be a priority when working with tools and equipment. Wear protective gear and exercise caution while operating saws, drills, and other tools.
By choosing high-quality materials and paying attention to detail, your handmade dresser with drawers will not only provide storage but also become a centerpiece in your room, showcasing your craftsmanship and personal style.
Don’t be afraid to experiment with different designs, finishes, and hardware to make your dresser truly unique. Consider the existing decor of your space and let your creativity shine through.
Lastly, building a dresser with drawers is not just a one-time project – it’s a skill that you can continue to develop and refine over time. With each new project, you’ll gain more experience and confidence in your woodworking abilities.
So, roll up your sleeves, gather your materials, and start building your very own dresser with drawers. Embrace the joy of creating something with your own hands, and enjoy the satisfaction of having a functional and beautiful piece of furniture that will be a cherished part of your home for years to come.
Frequently Asked Questions about How To Make A Dresser Drawers
Was this page helpful?
At Storables.com, we guarantee accurate and reliable information. Our content, validated by Expert Board Contributors, is crafted following stringent Editorial Policies. We're committed to providing you with well-researched, expert-backed insights for all your informational needs.


0 thoughts on “How To Make A Dresser Drawers”