Home>Furniture>Living Room Furniture>How To Fluff Cushions
Living Room Furniture
How To Fluff Cushions
Modified: March 16, 2024
Learn how to fluff cushions and make your living room furniture look brand new with our step-by-step guide. Enhance the comfort and aesthetics of your space effortlessly.
(Many of the links in this article redirect to a specific reviewed product. Your purchase of these products through affiliate links helps to generate commission for Storables.com, at no extra cost. Learn more)
Introduction
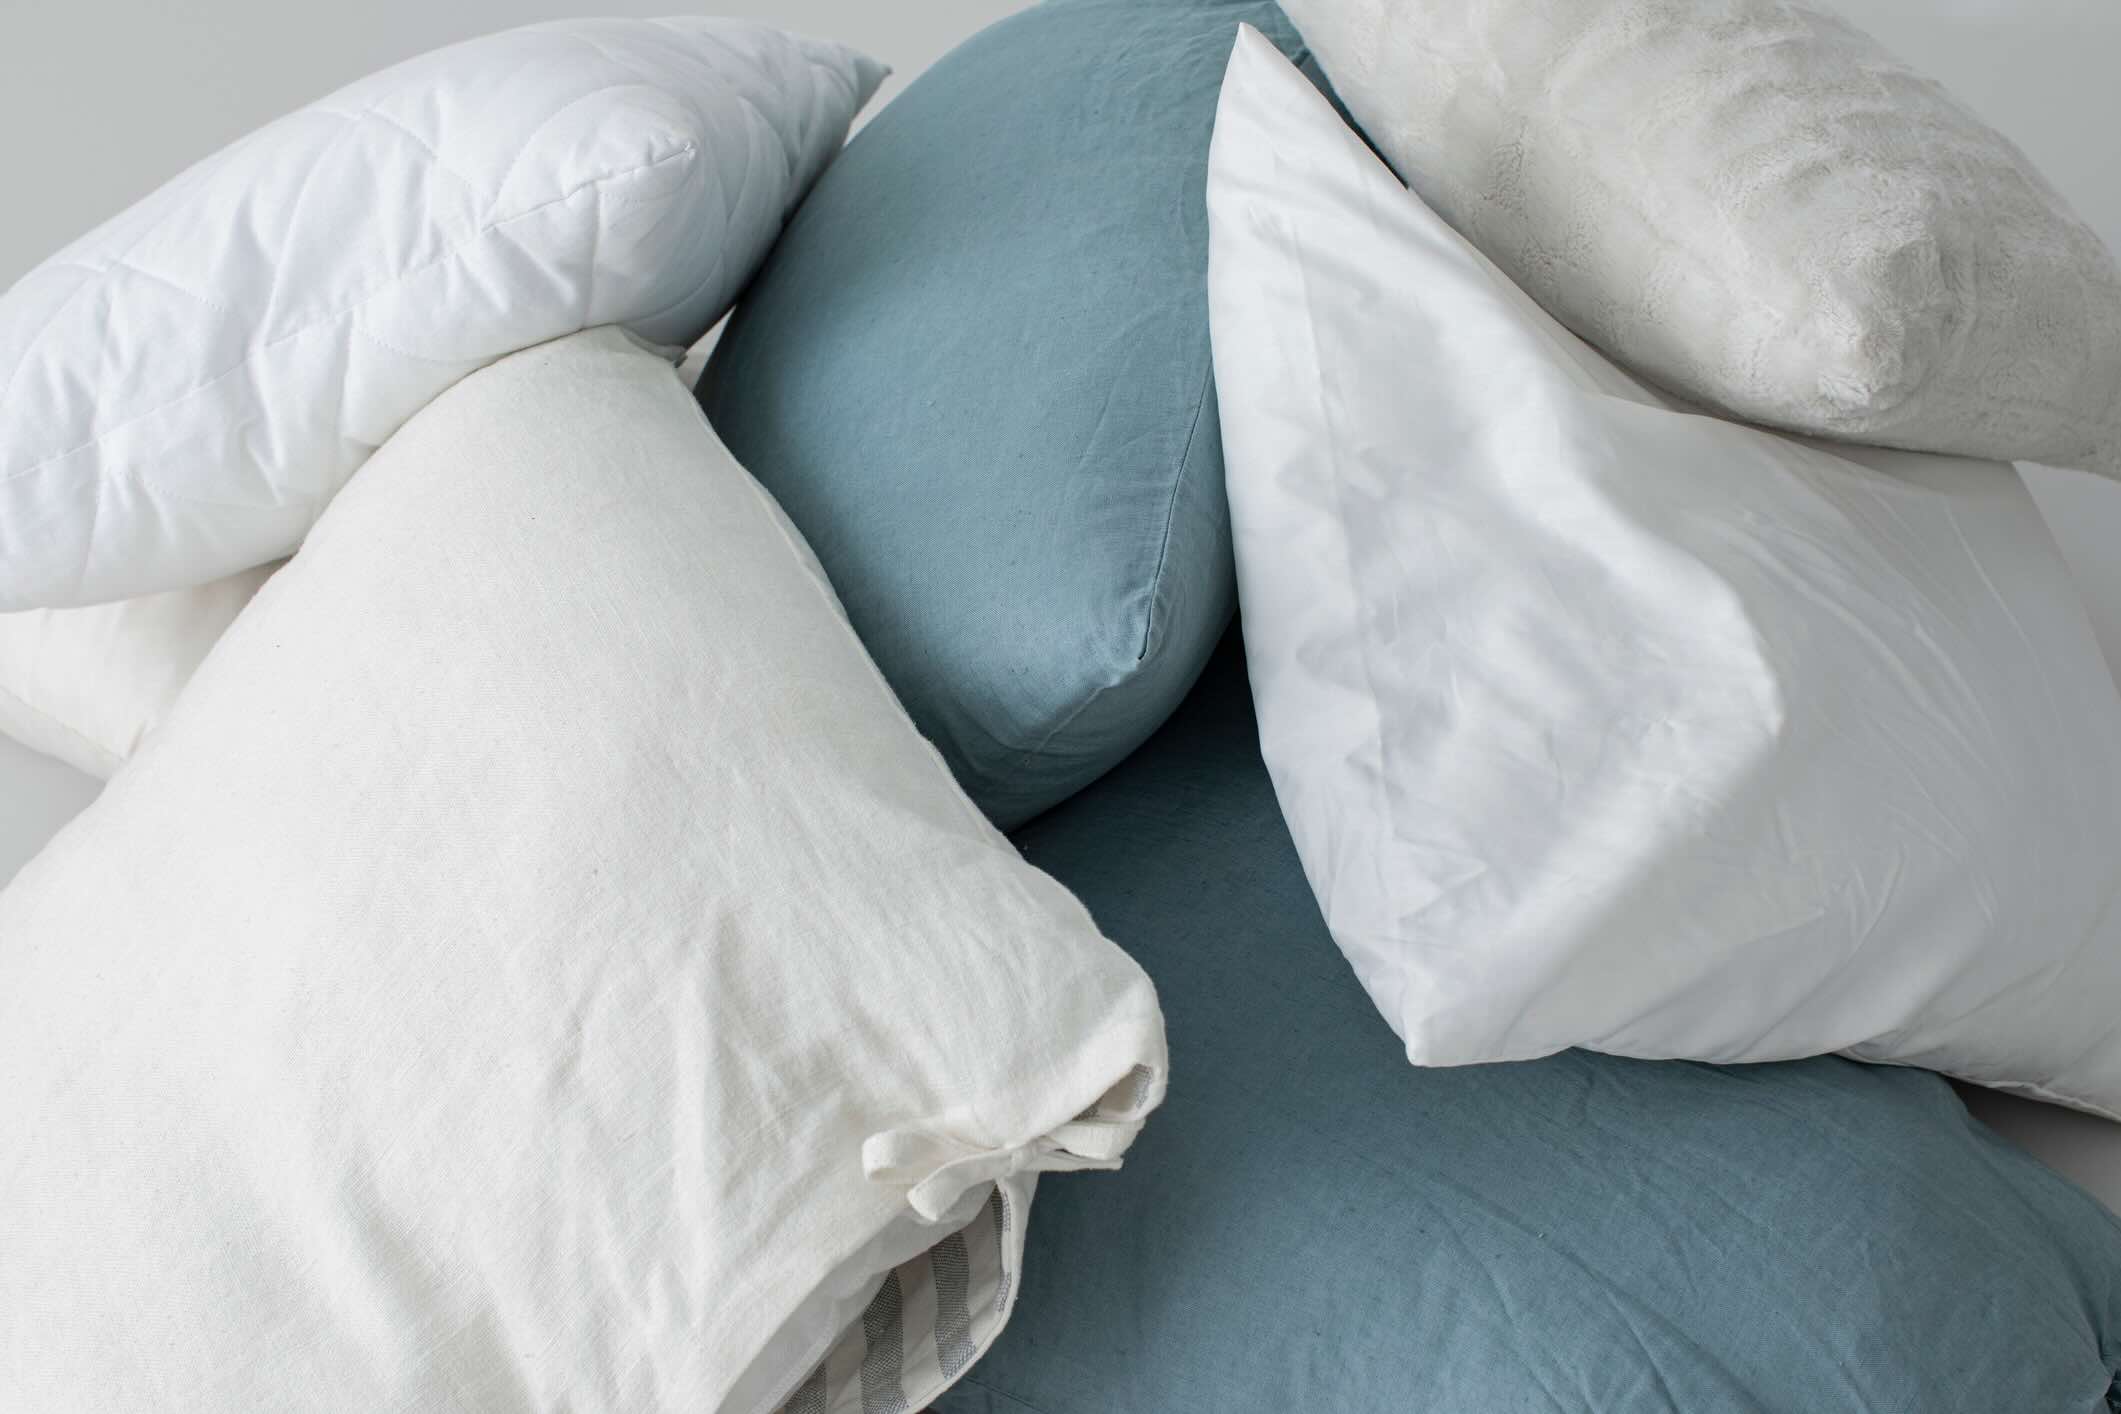
Welcome to the ultimate guide on how to fluff cushions! If you’ve noticed that your living room furniture cushions have become flat and lifeless, don’t worry – it’s a common problem that can be easily solved. Fluffing your cushions not only restores their shape and comfort but also rejuvenates the overall appearance of your furniture.
Over time, continuous use can cause cushions to lose their plushness and resilience. Factors like weight, pressure, and gravity can compress the cushion fillings, resulting in a flattened and uninviting appearance. However, with a few simple techniques and supplies, you can revive your cushions and bring back their cozy, fluffy feel.
In this article, we will guide you through the step-by-step process of fluffing cushions. We’ll cover everything from removing cushion covers to properly caring for your cushions afterwards. So let’s dive in and get those cushions back to their full glory!
Key Takeaways:
- Revive your flat cushions by shaking, fluffing, and beating them to restore their plumpness and coziness. Regular maintenance keeps your living room furniture looking and feeling its best.
- Fluffing cushions is an easy way to bring new life to your living room furniture. Follow the simple steps to maintain comfort and visual appeal for a cozy and inviting space.
Read more: How To Fluff Up Couch Cushions
Supplies Needed
Before you begin fluffing your cushions, it’s important to gather a few supplies to ensure a successful outcome. Here are the items you’ll need:
- Large Space: Find a spacious area where you can lay out and work with your cushions comfortably.
- Gloves: It’s a good idea to wear gloves to protect your hands while handling the cushions.
- Vacuum Cleaner: A vacuum cleaner with a brush attachment will come in handy for cleaning the cushions.
- Pillow Inserts or Batting: Depending on the condition of your cushions, you might need additional pillow inserts or batting to replace worn-out filling.
- Plastic Bags: Have some plastic bags on hand to store and keep the cushion covers clean.
- Broom or Stick: A broom or a stick can be used to beat and smack the cushions, helping to loosen the fillings inside.
Once you have gathered these supplies, you’re ready to start fluffing your cushions and bringing them back to life. Let’s move on to the step-by-step process of cushion fluffing.
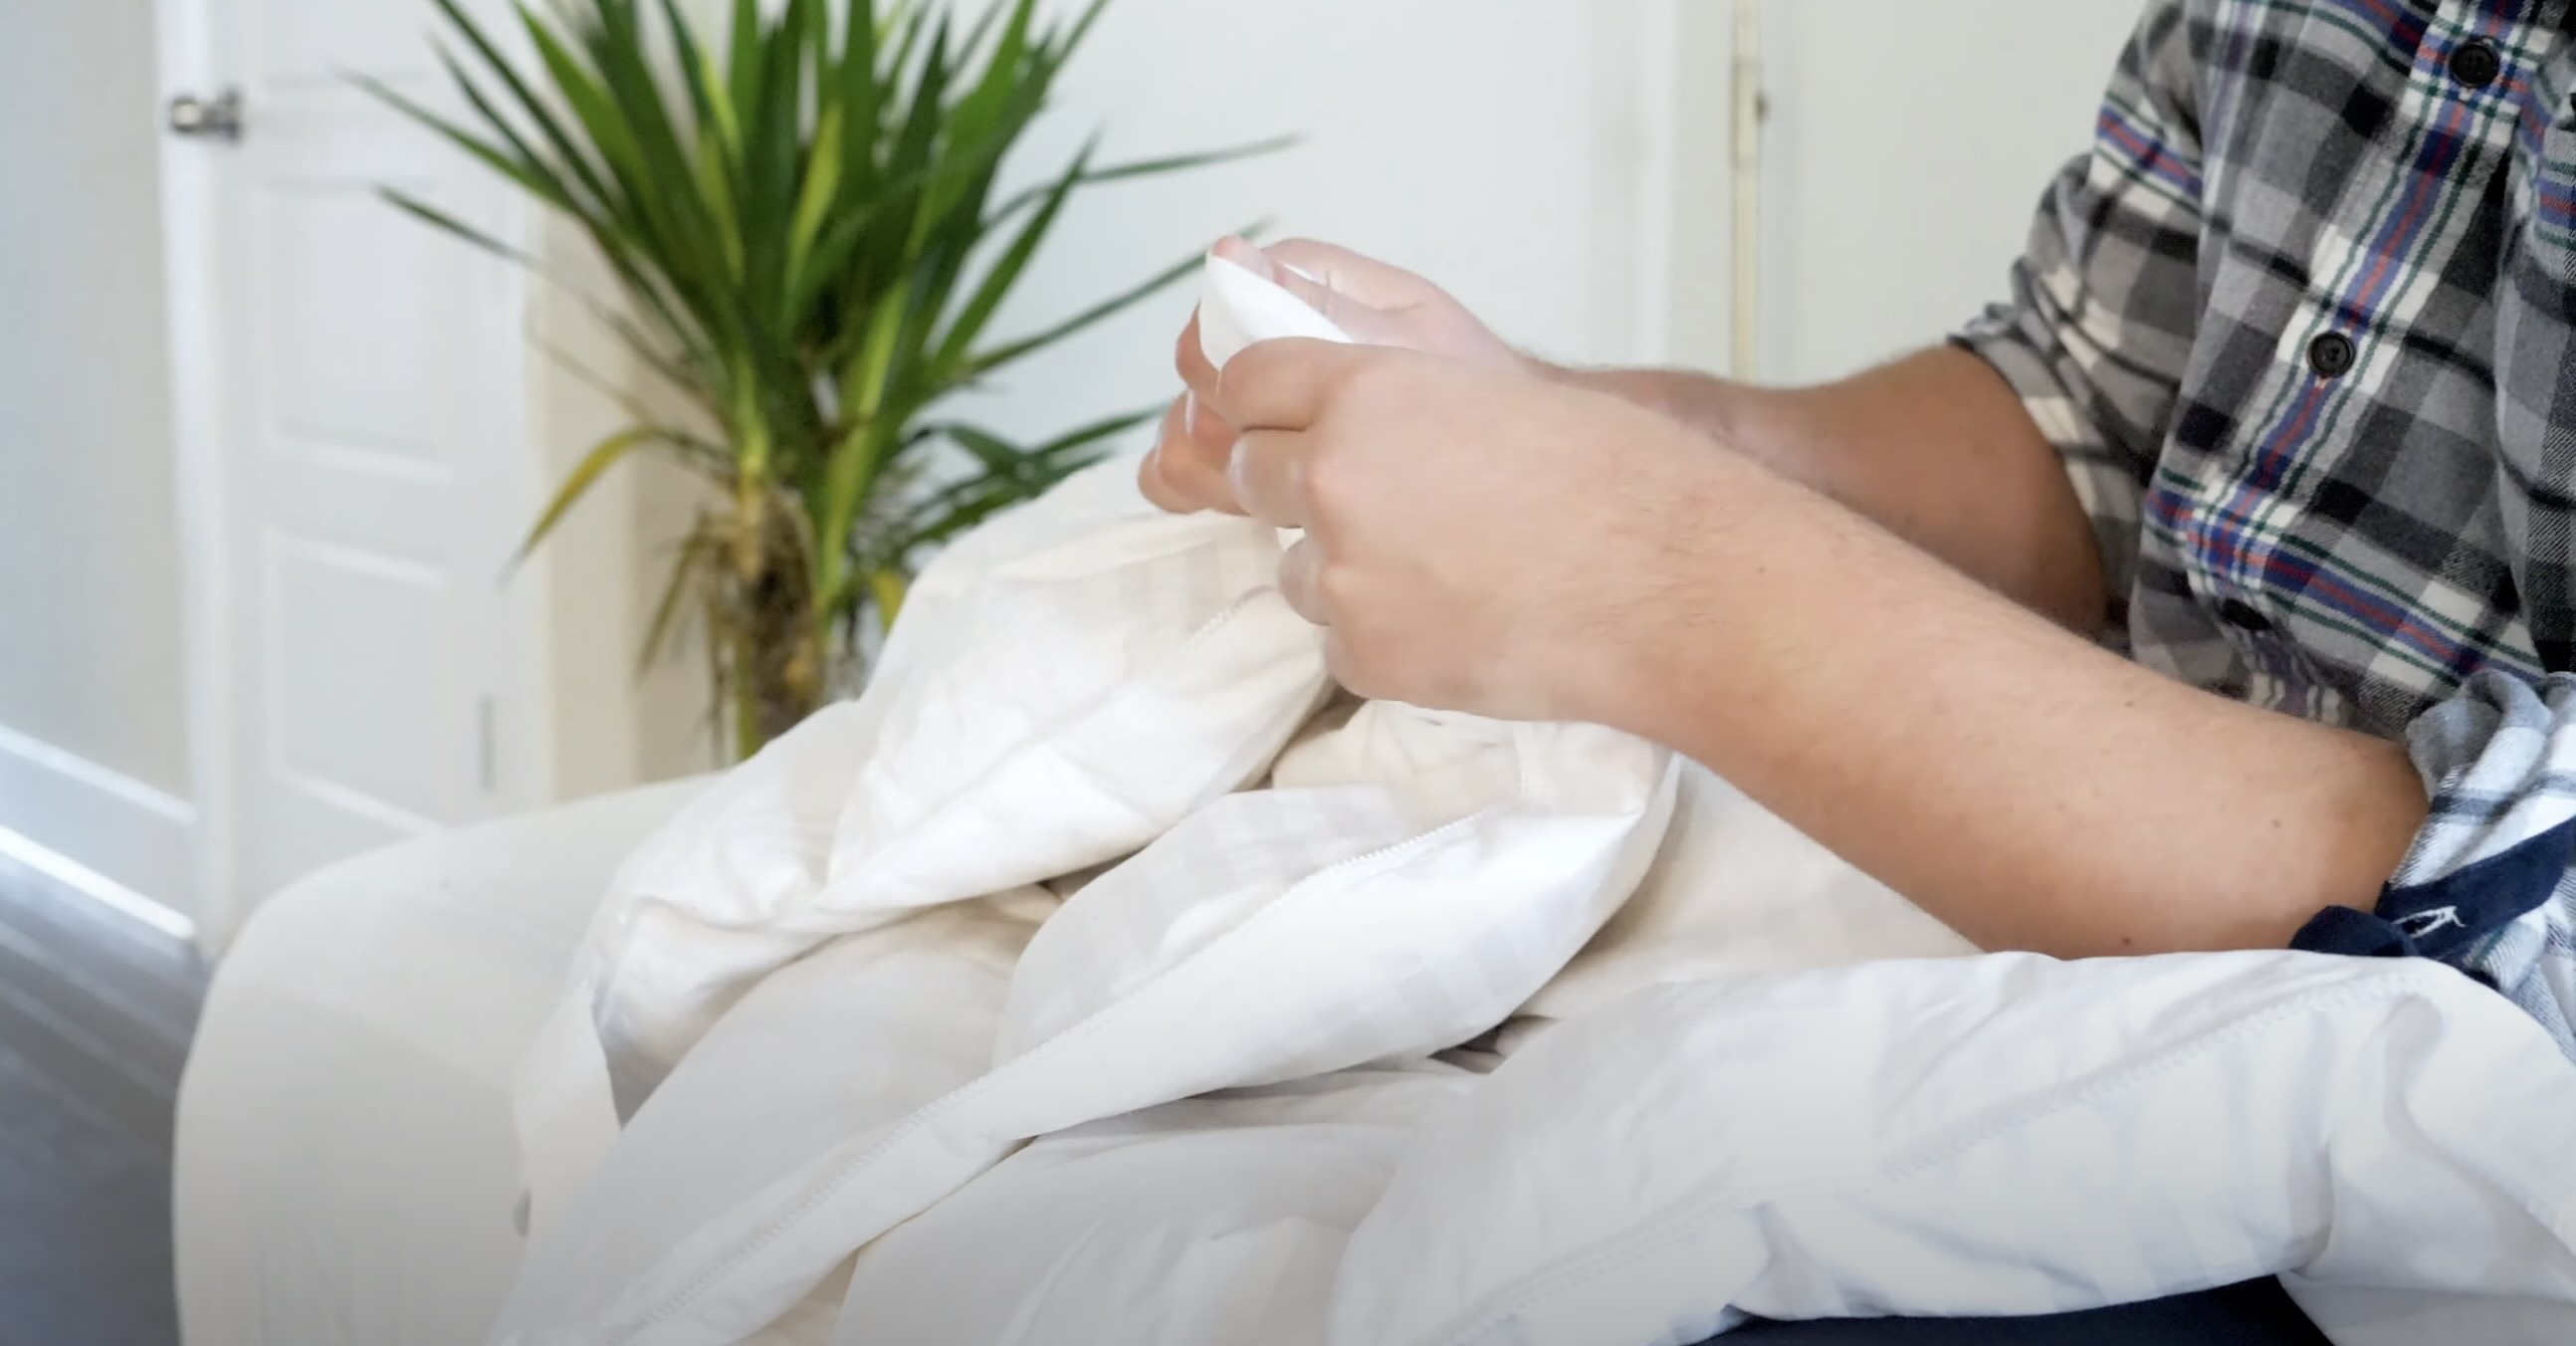
Step 1: Remove Cushion Covers
The first step in fluffing your cushions is to remove the cushion covers. Most cushion covers have a zipper or Velcro closure, making them easily removable. Follow these steps:
- Identify the zipper or Velcro closure on the cushion cover.
- Unzip or unfasten the closure to open the cover.
- Gently remove the cushion cover, being careful not to snag or tear it.
Once the cushion cover is removed, you’ll have direct access to the cushion filling. This will make it easier to fluff and reshape the cushion.
If your cushions don’t have removable covers, you can skip this step and proceed to the next one. However, keep in mind that removing the cover allows for better cleaning and fluffing of the cushion contents.
Now that you’ve successfully removed the cushion covers, you’re ready to move on to the next step of the fluffing process. Let’s discover how to shake and fluff the pillows in Step 2.
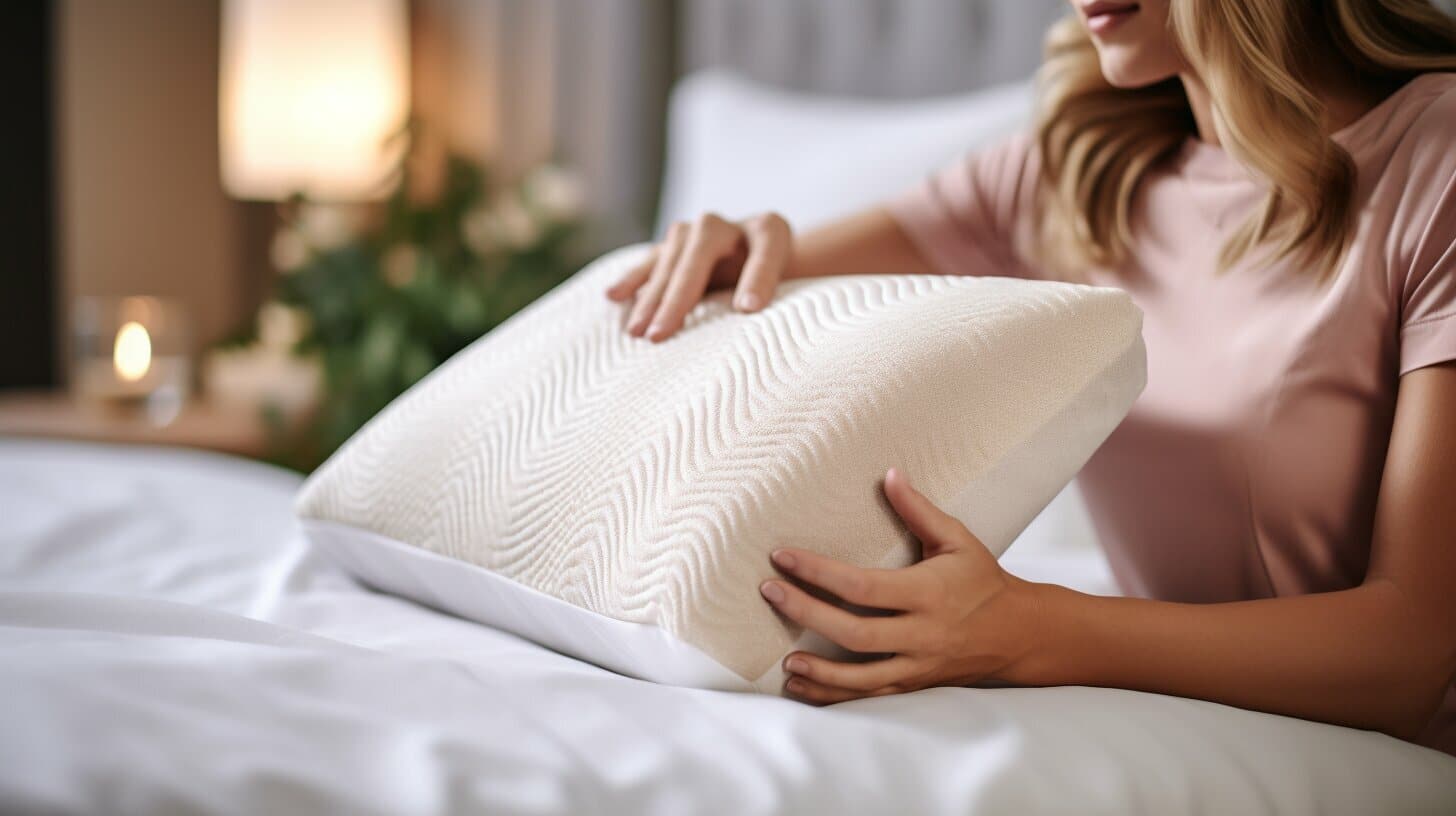
Step 2: Shake and Fluff Pillows
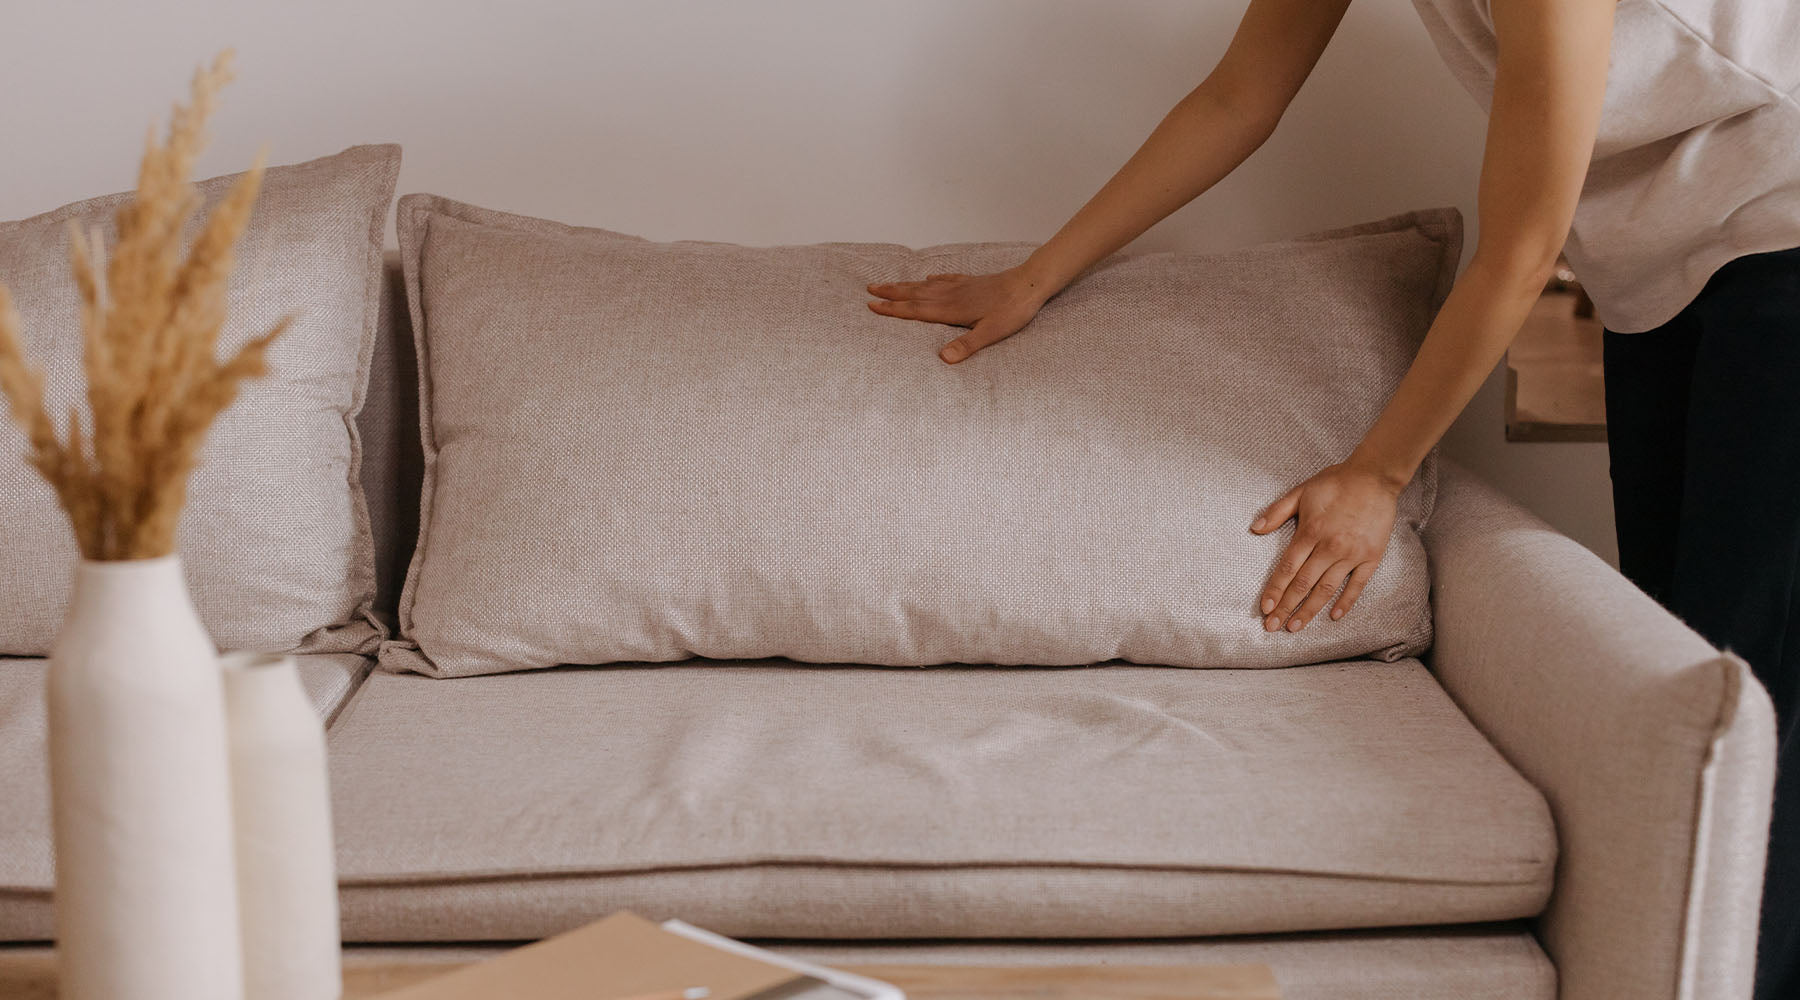
Now that you have removed the cushion covers, it’s time to shake and fluff the pillows. This step helps redistribute the fillings, loosen any clumps, and restore the plumpness of the cushions. Follow these steps:
- Take the cushion in your hands and hold it firmly.
- Give the cushion a good shake to loosen the fillings. This will help redistribute them evenly.
- Next, use your hands to gently knead and squeeze the cushion all over. This motion helps break up any clumps and fluff up the fillings.
- If you notice any particularly flat areas, focus on kneading and fluffing them more vigorously to restore their shape.
Repeat the shaking and fluffing process for each cushion individually, ensuring that you pay attention to all sides and corners. This will ensure that all areas of the cushion receive equal attention.
By shaking and fluffing the pillows, you are giving new life to the cushion fillings and enhancing their overall loft and comfort. Once you are satisfied with the fluffiness of the cushions, it’s time to move on to the next step: beating and smacking the cushions.
To fluff cushions, simply give them a good punch and karate chop from all sides. This will help redistribute the filling and plump up the cushions.
Step 3: Beat and Smack Cushions
Now that you’ve shaken and fluffed the pillows, it’s time to take it up a notch by beating and smacking the cushions. This might sound a bit unconventional, but trust us, it’s an effective technique to further loosen and redistribute the fillings. Here’s how to do it:
- Lay the cushions flat on a clean surface, preferably outdoors or in a well-ventilated area.
- Take a broom or stick and gently beat the cushions all over. This action helps dislodge any remaining clumps and allows the fillings to expand.
- Rotate the cushions as you beat them to ensure that all sides receive equal treatment.
- If you prefer a more vigorous method, you can try smacking the cushions against a hard surface. However, do this with caution and avoid damaging the cushions or the furniture.
The goal of beating and smacking the cushions is to further release any trapped air and fluff up the fillings. This will make the cushions more comfortable and visually appealing.
Once you’ve given the cushions a good beating and smacking, it’s time to move on to the next step: vacuuming the cushions. Let’s see how to do it in Step 4.
Read more: How To Fluff A Mattress
Step 4: Vacuum Cushions
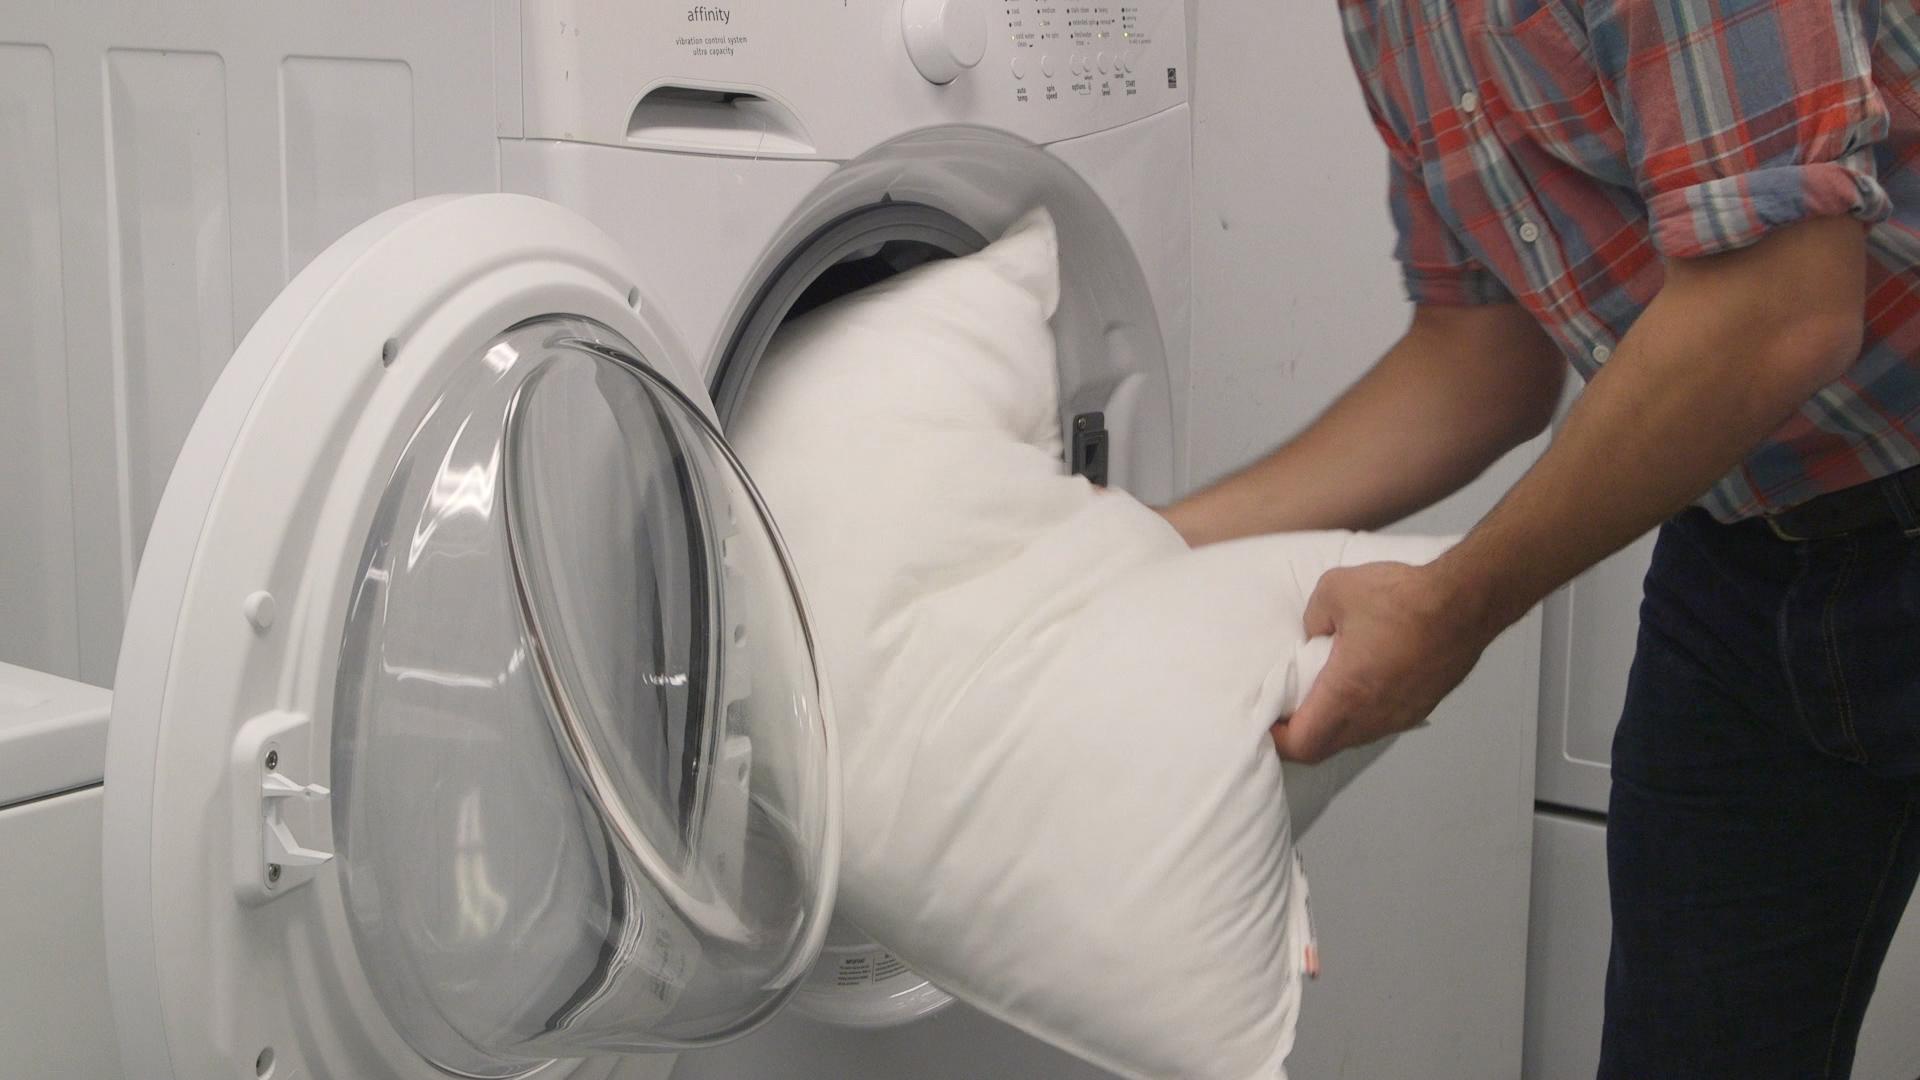
After you’ve shaken, fluffed, and beaten the cushions, it’s time to give them a thorough vacuuming. This step helps remove any dirt, dust, or debris that may have accumulated within the cushions. Here’s how to properly vacuum your cushions:
- Attach the brush attachment to your vacuum cleaner.
- Starting at one corner of the cushion, gently run the brush attachment over the surface. Use long, sweeping motions to cover the entire cushion.
- Pay extra attention to the seams and crevices of the cushions, as these areas tend to accumulate more debris.
- If your cushions have removable covers, take the opportunity to vacuum both the cushions and the inside of the covers for a thorough clean.
- Repeat the vacuuming process for each cushion, ensuring that you remove as much dirt and dust as possible.
Vacuuming your cushions not only helps keep them clean but also fluffs up the fillings even further. It removes any trapped particles that might weigh down the cushions, improving their overall appearance and comfort.
Once you’ve finished vacuuming, it’s time to move on to the final step: replacing the cushion covers. Let’s explore how to do it in Step 5.
Step 5: Replace Cushion Covers
Now that you’ve fluffed, beaten, and vacuumed your cushions, it’s time to complete the process by replacing the cushion covers. Follow these steps to ensure a clean and snug fit:
- Take the freshly fluffed cushion and hold it above the cushion cover opening.
- Guide the cushion back into the cover, making sure it is aligned correctly.
- Gently push and manipulate the cushion to fill out the cover completely. Smooth out any wrinkles or folds along the way.
- Once the cushion is fully enclosed in the cover, zip up or fasten the closure securely.
- Give the cushion a gentle shake to ensure it is settled and positioned properly inside the cover.
Once you’ve replaced the cushion covers for all your cushions, take a step back and admire the fresh and fluffed appearance of your living room furniture. The cushions should now feel plump, inviting, and ready for you to enjoy.
Remember to regularly repeat this cushion fluffing process every few months to maintain the shape and comfort of your cushions. It will help extend the lifespan of your furniture and keep it looking and feeling its best.
Congratulations! You have successfully learned how to fluff your cushions and bring new life to your living room furniture. Enjoy the enhanced comfort and aesthetic appeal that come with well-fluffed cushions.
Thank you for reading our comprehensive guide. We hope it has been helpful in revitalizing your living room furniture. Happy cushion fluffing!
Conclusion
Fluffing your cushions is a simple yet effective way to revive the comfort and appearance of your living room furniture. By following the step-by-step process outlined in this guide, you can easily restore the plumpness and coziness of your cushions.
Remember, removing the cushion covers, shaking and fluffing the pillows, beating and smacking the cushions, vacuuming, and replacing the covers are all vital steps in the cushion fluffing process. Each step plays a key role in rejuvenating the cushions and ensuring their long-term comfort and durability.
Regularly fluffing your cushions not only enhances their visual appeal but also maintains their shape and support over time. It’s a simple yet effective way to prolong the life of your living room furniture and keep it looking and feeling its best.
We hope this comprehensive guide has equipped you with the knowledge and techniques needed to successfully fluff your cushions. Remember to take your time, be gentle with the cushions, and enjoy the process. Your cozy and inviting living room awaits!
Thank you for reading, and happy cushion fluffing!
Frequently Asked Questions about How To Fluff Cushions
Was this page helpful?
At Storables.com, we guarantee accurate and reliable information. Our content, validated by Expert Board Contributors, is crafted following stringent Editorial Policies. We're committed to providing you with well-researched, expert-backed insights for all your informational needs.

0 thoughts on “How To Fluff Cushions”