Home>Furniture>Living Room Furniture>How To Cover Cushions

Living Room Furniture
How To Cover Cushions
Modified: March 16, 2024
Learn how to cover cushions in a simple and cost-effective way. Enhance the look of your living room furniture with these easy DIY tips and tricks.
(Many of the links in this article redirect to a specific reviewed product. Your purchase of these products through affiliate links helps to generate commission for Storables.com, at no extra cost. Learn more)
Introduction
Welcome to our comprehensive guide on how to cover cushions! Whether you’re looking to refresh your living room furniture or simply want to protect your cushions, this article will provide you with all the information you need to tackle this fun and rewarding DIY project. By following the steps outlined below, you can easily transform the look of your cushions to match your decor or give them a fresh new lease on life.
Covering cushions is a great way to add a personal touch to your living space. It allows you to choose from a wide range of fabrics, patterns, and colors to create a custom look that complements your existing furniture. Additionally, covering your cushions provides an easy and cost-effective way to maintain their quality and prolong their lifespan.
In this guide, we will walk you through the process of choosing the right fabric for your cushions, measuring and cutting the fabric, sewing the cushion cover, adding closure options, and adding those finishing touches that will make your cushions truly unique. So, let’s dive in and discover everything you need to know to cover cushions like a pro!
Key Takeaways:
- Choose the right fabric for your cushion covers based on style, durability, comfort, and color. Consider upholstery-grade fabrics for long-lasting results and always request fabric swatches before making a final decision.
- When covering cushions, precise measurements and accurate cutting are essential for a professional look. Take your time and double-check your measurements before cutting the fabric. Remember, patience and attention to detail are key!
Read more: How To Cover Couch Cushions With Fabric
Choosing the Right Fabric
When it comes to covering your cushions, the first step is to choose the right fabric. Consider the style and durability of the fabric to ensure it suits your needs. Here are a few factors to keep in mind:
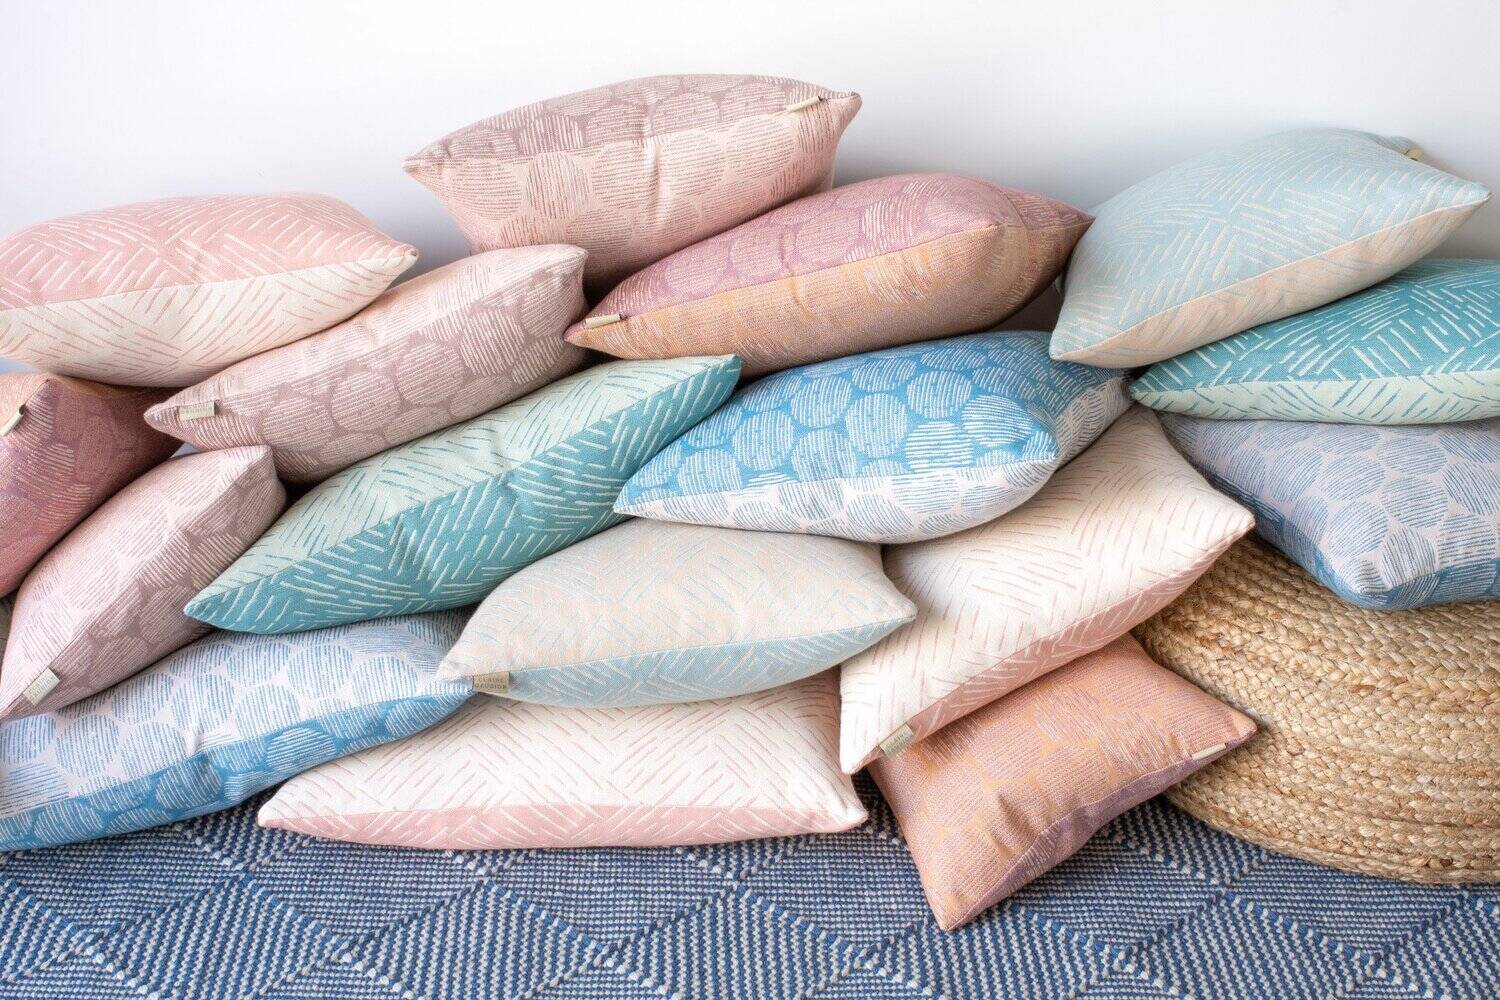
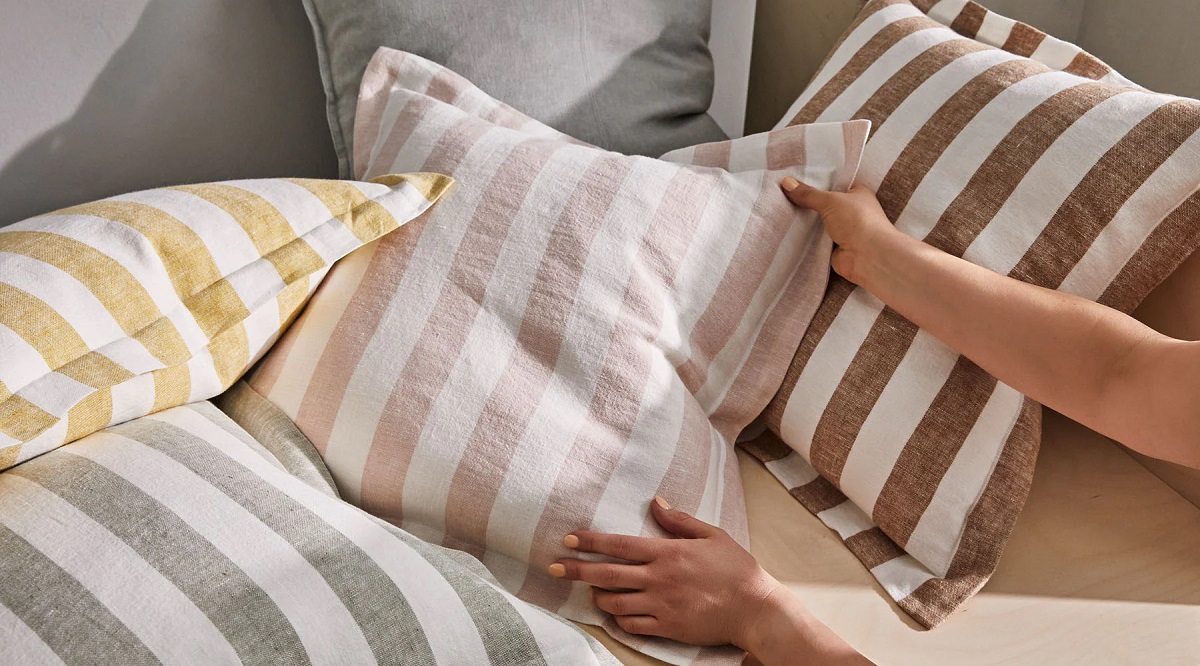
- Style: Think about the overall aesthetic of your space. Do you prefer a traditional, modern, or eclectic look? Look for fabrics that align with the style you want to achieve. For a classic and timeless feel, consider solid colors or subtle patterns. If you’re going for a bolder and more vibrant look, experiment with bold prints or textures.
- Durability: How frequently will the cushions be used? If you have high-traffic areas, it’s important to choose a fabric that can withstand frequent use and potential spills. Look for materials that are stain-resistant and easy to clean, such as microfiber or outdoor fabric.
- Comfort: If comfort is a priority, opt for soft and cozy fabrics like cotton or velvet. These materials provide a comfortable and inviting feel, perfect for lounging and relaxation.
- Color: Consider the color scheme of your room and how the fabric will coordinate with the existing furniture and decor. You can either choose a fabric that matches or complements the colors in your space, depending on your preference.
It’s also important to consider the construction and weight of the fabric. Upholstery-grade fabrics are typically the best choice for cushion covers, as they are designed to withstand wear and tear. Fabrics with a higher thread count and tighter weave tend to be more durable and long-lasting.
Before making a final decision, it’s always a good idea to request fabric swatches or samples. This will allow you to see and feel the fabric firsthand, ensuring it meets your expectations in terms of color, texture, and quality.
Once you have chosen the perfect fabric for your cushions, it’s time to move on to the next step – measuring and cutting the fabric.
Measuring the Cushions
Accurate measurements are essential when it comes to covering your cushions. Taking precise measurements ensures that your fabric will fit snugly and look professional. Here’s a step-by-step guide on how to measure your cushions:
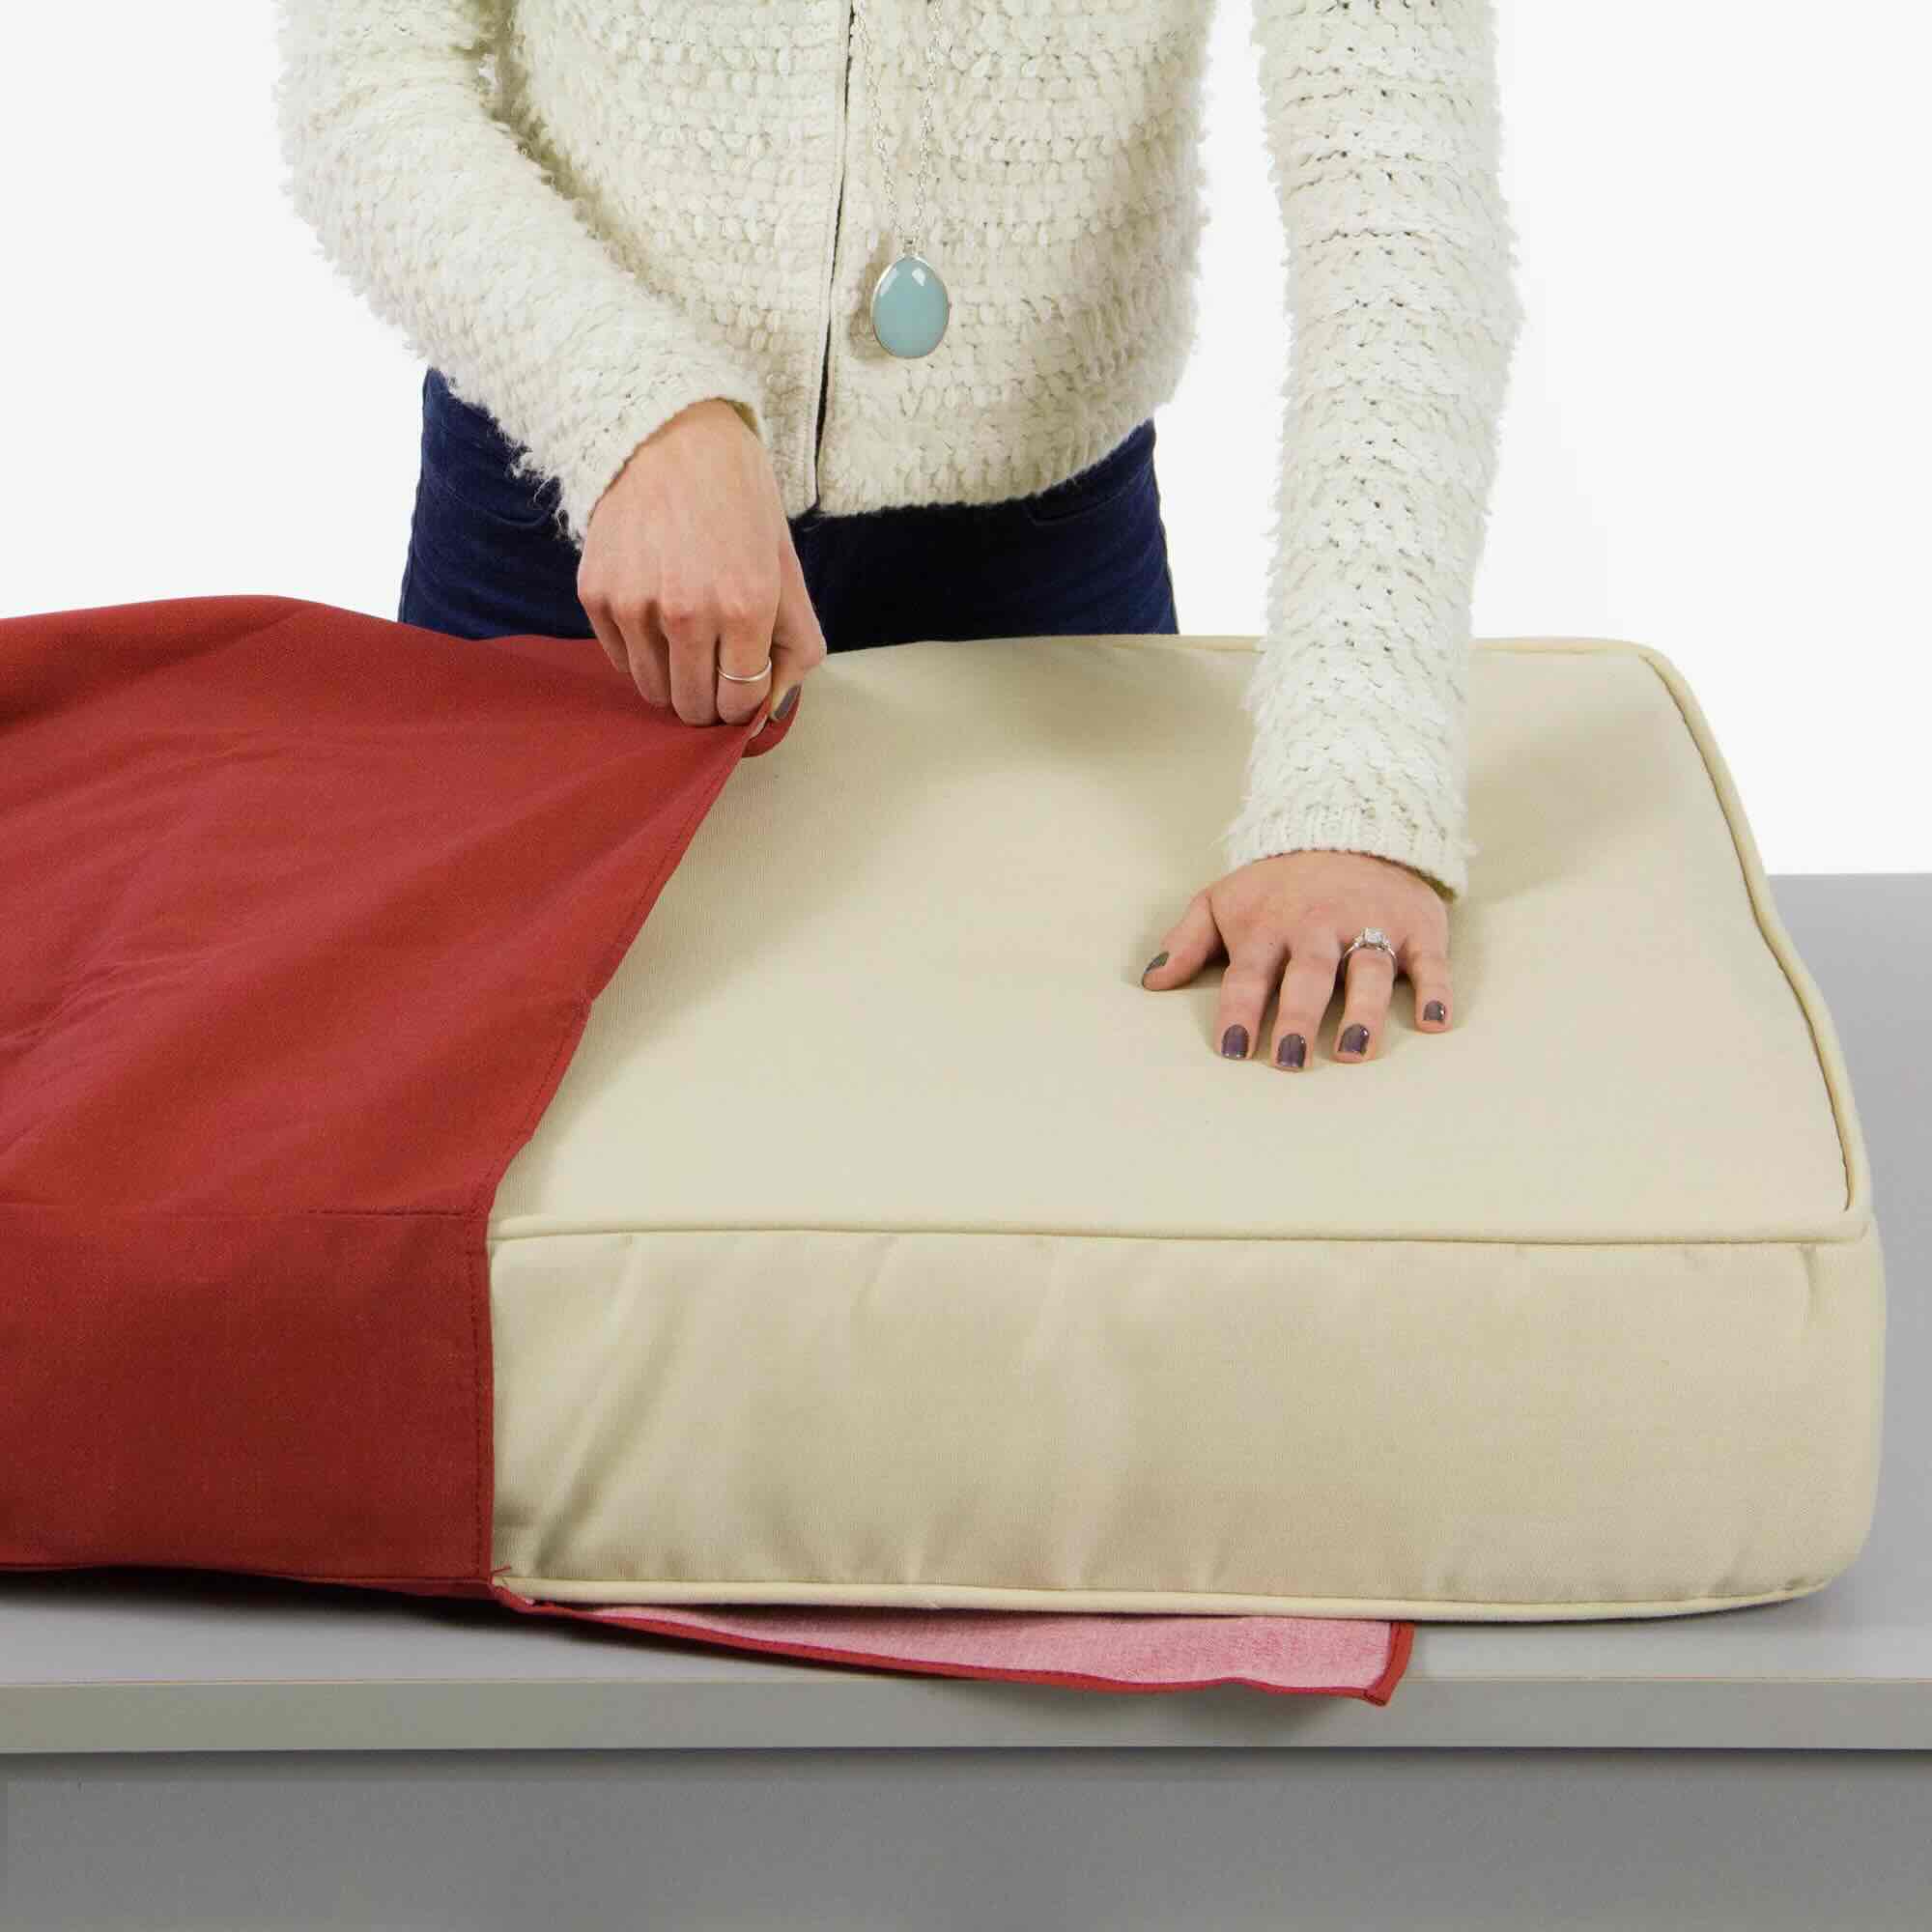
- Remove the cushion cover: Start by removing the existing cushion cover if there is one. This will expose the cushion itself and allow you to get accurate measurements.
- Measure the width: Using a tape measure, measure the width of the cushion from seam to seam. Make sure to measure across the widest part of the cushion for an accurate measurement.
- Measure the length: Next, measure the length of the cushion from the top edge to the bottom edge. Again, measure along the longest part of the cushion to ensure accuracy.
- Measure the depth: Measure the depth of the cushion by measuring from the front to the back. This will determine how much fabric you need to cover the sides of the cushion.
- Add seam allowance: To allow for hemming and sewing, add an extra inch to each measurement. This will give you a margin of error and ensure a snug fit.
It’s important to note that if you have cushions of different sizes, you’ll need to measure each one individually. Avoid assuming that all cushions are the same size, as this can lead to ill-fitting covers.
Once you have all the measurements, record them and double-check for accuracy. It’s always a good idea to measure twice to be sure. With the measurements in hand, you can move on to the next step – cutting the fabric.
Cutting the Fabric
Now that you have accurate measurements of your cushions, it’s time to cut the fabric. Here’s a step-by-step guide on how to cut the fabric for your cushion covers:
- Gather your materials: Make sure you have all the necessary materials ready, including your chosen fabric, scissors, pins, and a fabric marker or chalk.
- Prepare the fabric: Lay your fabric on a flat surface with the right side facing down. Smooth out any wrinkles or creases to ensure an even cut.
- Transfer measurements: Take your measurements from the previous step and transfer them onto the fabric using a fabric marker or chalk. Use a ruler or straight edge to help create straight lines.
- Add seam allowance: As you mark the measurements, be sure to add the seam allowance that you determined earlier. This will ensure that your covers are the right size and allow room for sewing.
- Cutting the fabric: Carefully cut along the marked lines to create the fabric pieces for each cushion. Use sharp fabric scissors to ensure clean and precise cuts.
Take your time during this step and double-check your measurements before cutting. It’s always better to be cautious and make sure everything is accurate than to risk cutting the fabric improperly.
Once you have cut all the fabric pieces for your cushions, set them aside and prepare for the next step – sewing the cushion covers. Exciting times lie ahead as you bring your vision to life!
When covering cushions, make sure to measure the dimensions of the cushion and add 1 inch for seam allowance. Use a durable fabric and consider adding a zipper for easy removal and washing.
Sewing the Cushion Cover
Now that you have your fabric pieces cut, it’s time to start sewing your cushion covers. This step-by-step guide will help you navigate through the sewing process:
- Prepare your sewing machine: Set up your sewing machine with the appropriate thread and needle for your fabric. Refer to your sewing machine’s manual for specific instructions.
- Pin the fabric pieces: Take one fabric piece for the front of the cushion and align it with the corresponding back piece, ensuring that the right sides are facing each other. Use pins to secure the fabric in place, placing them along the edges.
- Sew the sides: Starting at one corner, sew along the sides of the fabric using a straight stitch. Remember to backstitch at the beginning and end of each seam to secure the stitches. Continue sewing until you reach the opposite corner, leaving the bottom edge open.
- Trim excess fabric: Trim any excess fabric along the sewn edges, leaving a small seam allowance. This will help reduce bulkiness and ensure a neater finish.
- Tuck in the corners: To create clean and crisp corners, gently pull apart the sewn edges and pinch the fabric at each corner. Fold the fabric inward to form a diagonal line, creating a triangle shape. Use pins to hold the corner in place.
- Sew the corners: Sew along the folded line at each corner using a straight stitch. This step will secure the corners and create a professional look for your cushion covers.
- Turn the cover right side out: Carefully turn the cover right side out by pulling it through the opening at the bottom. Use your fingers or a blunt tool to push out the corners and edges for a smooth finish.
- Insert the cushion: Slide your cushion into the cover through the opening at the bottom. Make sure it fits snugly and adjust if necessary.
- Hand stitch the bottom edge: To close the opening, use a needle and thread to hand stitch the bottom edge of the cushion cover. Make small and discreet stitches to secure the fabric and create an invisible closure.
With the sewing process complete, you’ve successfully created your cushion covers! Take a moment to admire your handiwork and get ready to add closure options to your covers in the next step.
Read more: How To Sew Patio Cushion Covers
Adding Closure Options
Adding closure options to your cushion covers not only adds functionality but also adds a stylish finishing touch to your DIY project. There are several closure options you can choose from, depending on your preference and sewing skills:
- Envelope Closure: This is one of the easiest closure options and requires minimal sewing. Simply overlap the back fabric pieces of your cushion cover, leaving an opening for inserting and removing the cushion. The overlapping fabric creates a flap that keeps the cushion securely in place.
- Zipper Closure: A zipper closure provides a smooth and clean look while making it easy to remove the cushion cover for cleaning or replacement. Sew a zipper along one of the edges of the cushion cover, ensuring that it is long enough to span the opening.
- Button Closure: If you’re looking for a decorative closure, buttons can be a great option. Sew buttonholes on one fabric piece and attach corresponding buttons on the other piece. This closure adds a touch of elegance and can be customized with different button styles.
- Tie Closure: For a charming and rustic look, consider adding ties to secure your cushion covers. Attach fabric ties on one side of the cover and corresponding loops or buttons on the opposite side. This closure option allows for easy removal and adds a whimsical touch.
When choosing your closure option, consider the practicality and aesthetics that align with your style. Additionally, make sure to place your closure at a convenient location, such as the bottom or side of the cushion cover, for easy access.
Once you have decided on your closure option, carefully sew it onto your cushion cover according to the instructions provided with the chosen closure method. Take your time to ensure that the closure is secure and visually appealing.
With the closure options added, your cushion covers are nearly complete! The only thing left to do is add those finishing touches to make your cushions truly stand out.
Finishing Touches
Now that your cushion covers are taking shape, it’s time to add those final touches that will enhance their appearance and make them truly special. Here are a few finishing touches to consider:
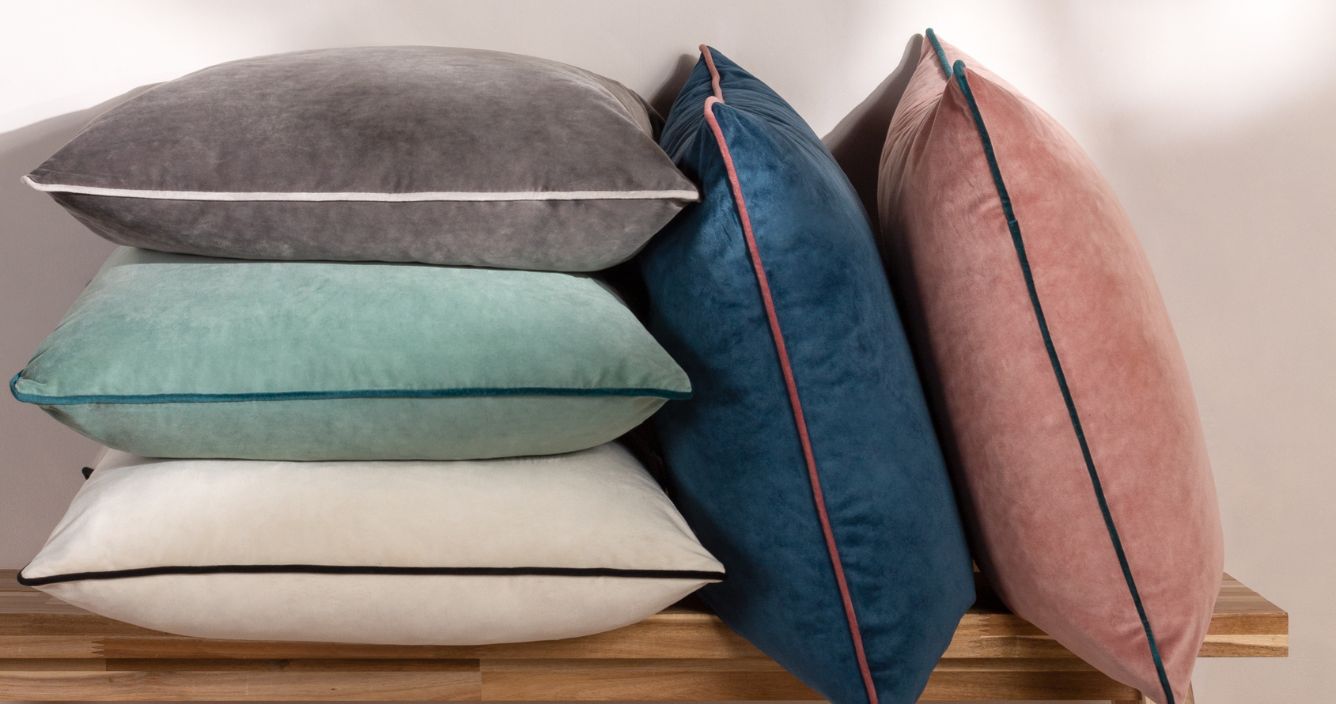
- Piping or Trim: Adding piping or trim to your cushion covers can give them a polished and professional look. You can choose a contrasting color or pattern to make it stand out, or opt for a more subtle tone-on-tone effect. Sew the piping or trim along the edges of your cushion cover.
- Decorative Embellishments: If you want to add some extra flair to your cushions, consider adding decorative embellishments such as buttons, beads, or embroidery. These small details can make a big impact and can be a fun way to personalize your cushion covers.
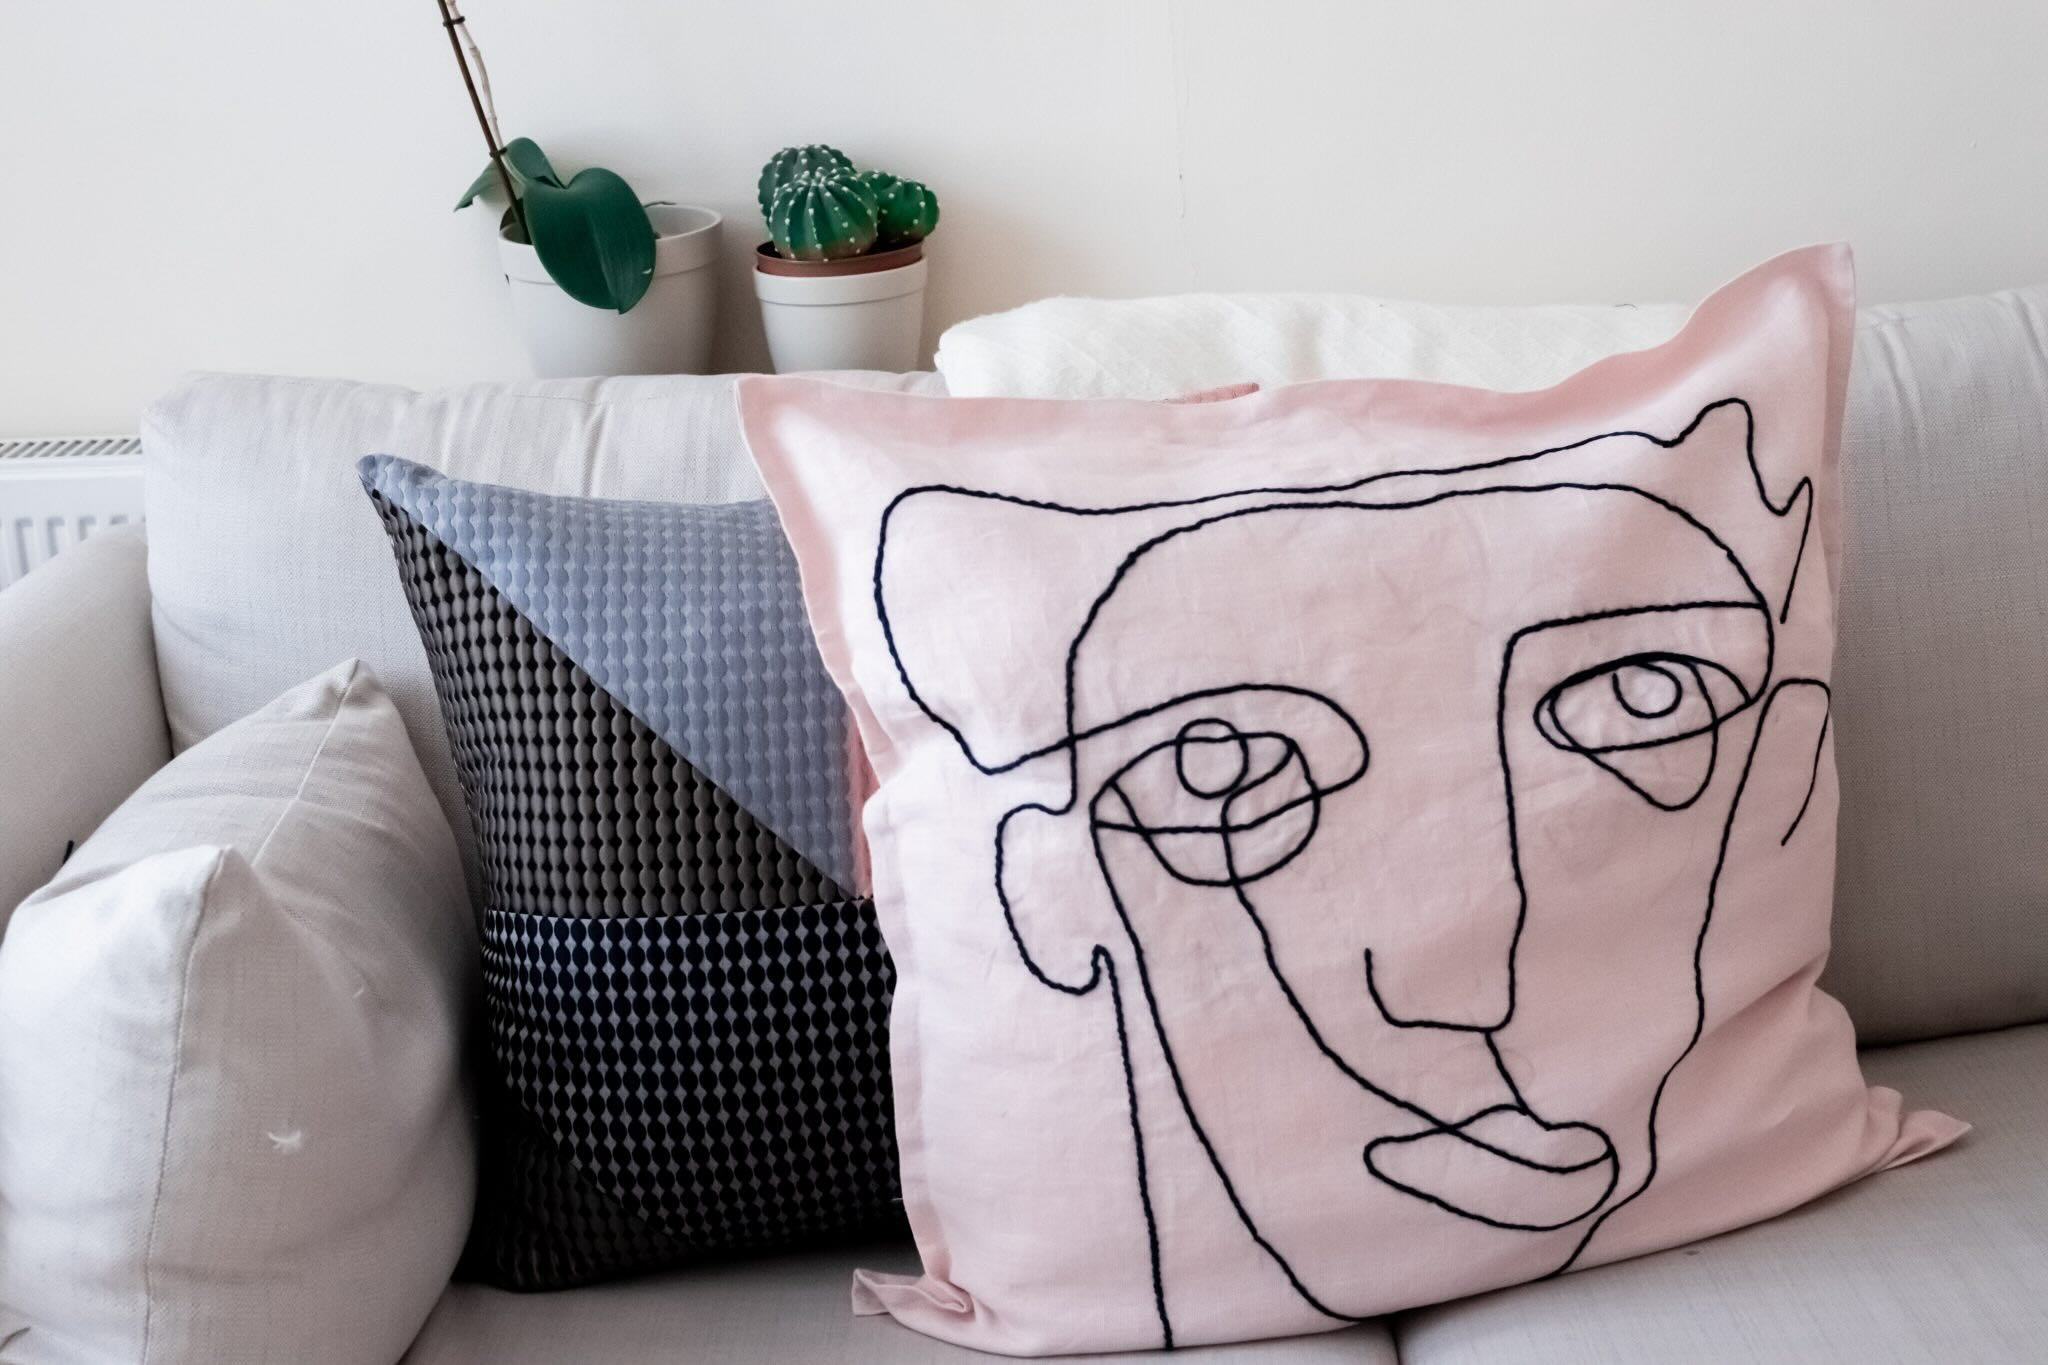
- Monogram or Applique: Adding a monogram or an applique to your cushion covers can add a unique and personalized touch. You can use fabric paint, iron-on patches, or embroidery to create your desired design. This is a great way to showcase your creativity or add a personal touch to a gift.
- Contrasting Fabrics: If you’re feeling adventurous, consider using contrasting fabrics for different parts of your cushion cover. For example, you can use a solid color for the main body of the cover and a patterned fabric for the backing or trim. This adds visual interest and can create a more dynamic and eye-catching design.
- Care Labels: Adding care labels to your cushion covers is a practical and thoughtful touch. Include instructions on how to properly care for the fabric and maintain its quality, such as washing instructions and recommended cleaning methods.
Remember, these finishing touches are optional and depend on your personal style and preferences. Take the time to consider what will make your cushion covers truly unique and reflective of your personal taste.
Once you have added the finishing touches, step back and admire your beautiful cushion covers. The hard work and attention to detail have paid off, and you now have stunning cushions that will enhance the comfort and aesthetics of your living space.
Congratulations on completing your cushion cover project! Whether you chose to cover your cushions for a quick refresh or to protect and prolong their lifespan, you can enjoy the satisfaction of a job well done.
Now, it’s time to sit back, relax, and enjoy your newly covered cushions in all their splendor!
Conclusion
Covering cushions is a creative and practical way to transform your living room furniture and give it a fresh new look. By choosing the right fabric, measuring and cutting with precision, sewing with care, and adding the perfect closure options and finishing touches, you can create custom cushion covers that reflect your personal style and enhance the overall aesthetic of your space.
Throughout this comprehensive guide, we’ve provided you with step-by-step instructions and tips to make the process of covering cushions as seamless as possible. From selecting the ideal fabric to adding those final decorative touches, you’ve learned valuable techniques that will help you achieve professional results.
Remember, the key to successful cushion cover projects is patience, attention to detail, and a willingness to experiment and let your creativity shine. Enjoy the journey of transforming your cushions into unique pieces that reflect your personal style and preferences.
Now that you have all the knowledge and confidence to take on this DIY project, it’s time to gather your materials, choose your fabrics, and let your creativity flow. Get ready to breathe new life into your living room by covering your cushions and creating a space that is both comfortable and visually appealing.
With your newly covered cushions, you’ll have a personalized and inviting space where you can relax, unwind, and create lasting memories. So, say goodbye to plain and worn-out cushions, and hello to a stylish and refreshed living room that reflects your unique taste and personality.
Happy cushion covering!
Frequently Asked Questions about How To Cover Cushions
Was this page helpful?
At Storables.com, we guarantee accurate and reliable information. Our content, validated by Expert Board Contributors, is crafted following stringent Editorial Policies. We're committed to providing you with well-researched, expert-backed insights for all your informational needs.


0 thoughts on “How To Cover Cushions”