Home>Furniture>Outdoor Furniture>How To Fix Rusted Patio Furniture
Outdoor Furniture
How To Fix Rusted Patio Furniture
Modified: August 28, 2024
Learn how to easily restore your rusted outdoor furniture with our step-by-step guide. Reclaim the beauty of your patio with these effective tips and techniques.
(Many of the links in this article redirect to a specific reviewed product. Your purchase of these products through affiliate links helps to generate commission for Storables.com, at no extra cost. Learn more)
Introduction
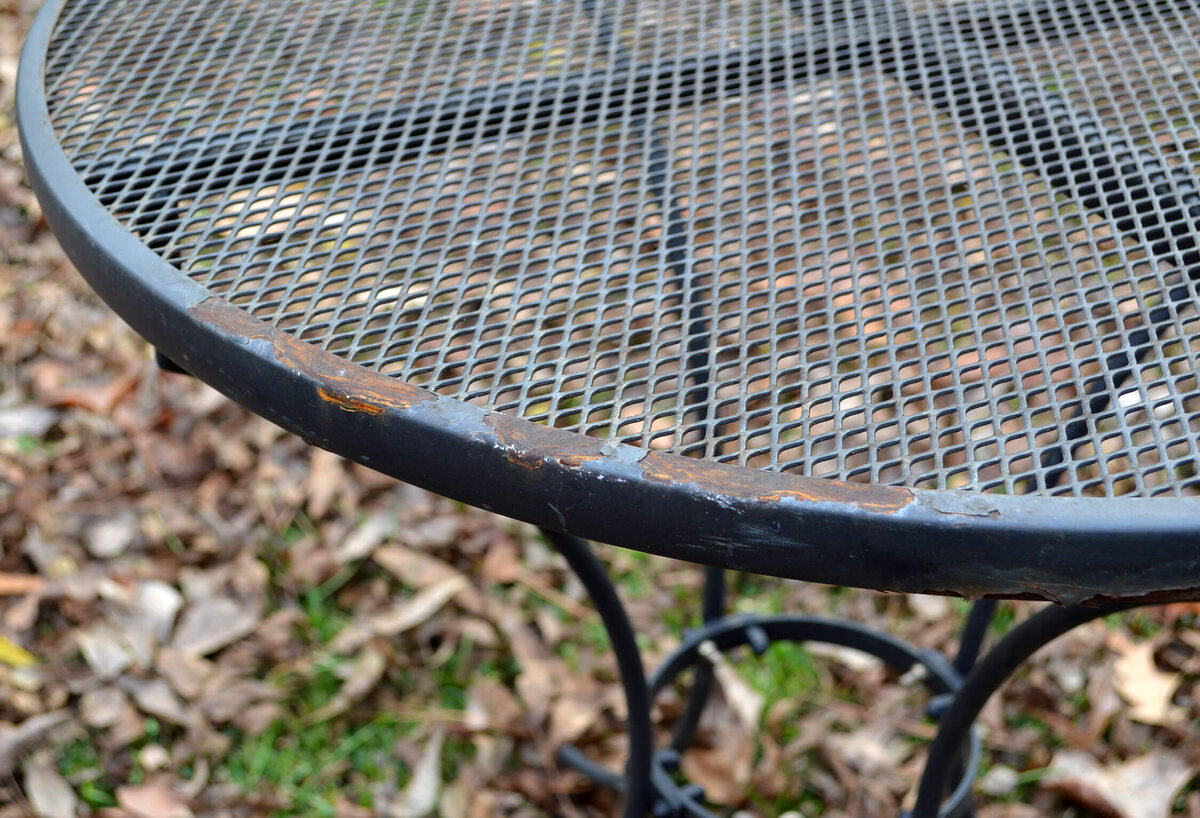
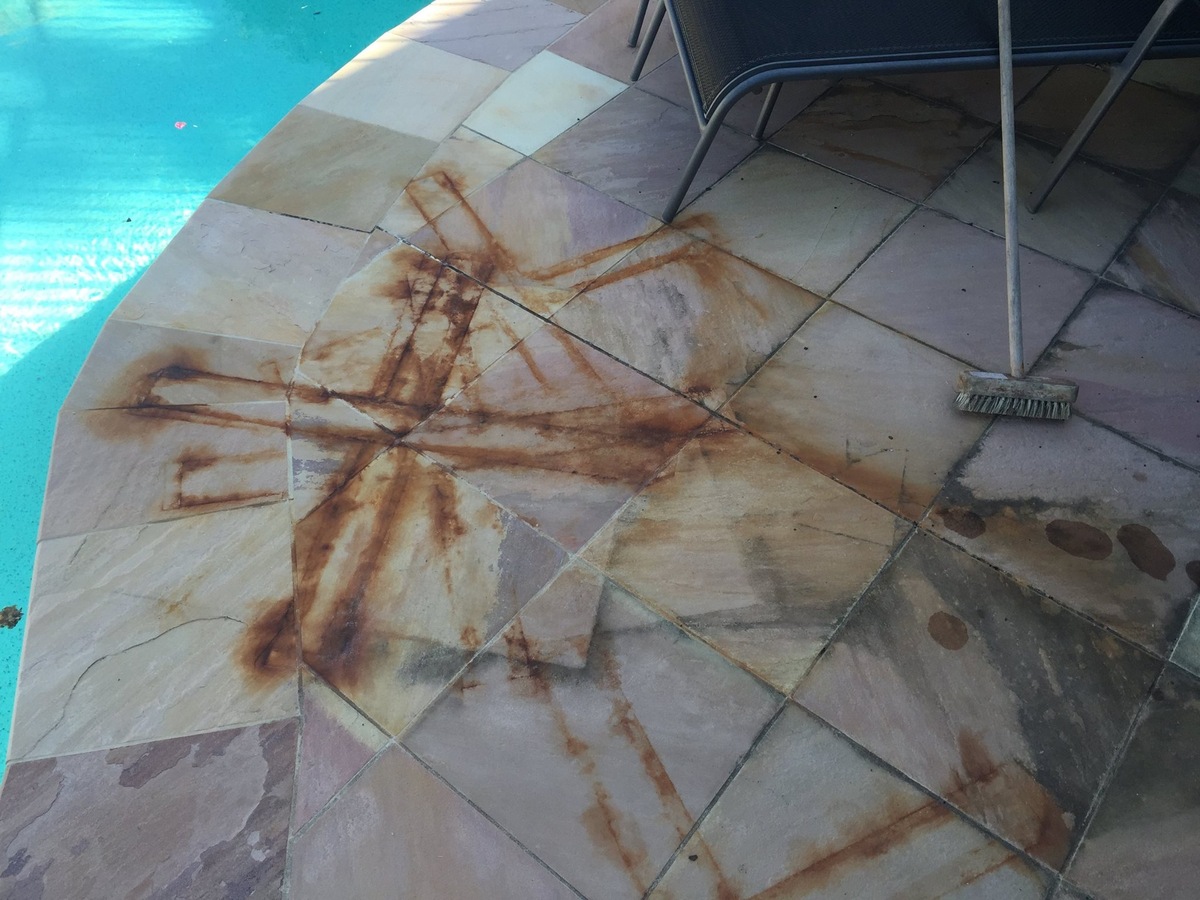
Welcome to this comprehensive guide on how to fix rusted patio furniture. If you are a proud owner of outdoor furniture, you know how important it is to keep it in good condition. Over time, exposure to natural elements like rain, humidity, and UV radiation can cause rust to develop on metal furniture, compromising its aesthetics and structural integrity.
But fear not! With the right tools, materials, and a bit of elbow grease, you can restore your rusted patio furniture to its former glory. This guide will take you through a step-by-step process to assess the extent of rust, prepare the work area, clean the surface, remove the rust, sand the furniture, apply primer, paint or finish, and seal the furniture to prevent future rusting.
Before diving into the process, it’s worth mentioning that prevention is better than cure. Regular maintenance and protective measures can significantly prolong the lifespan of your patio furniture. However, if rust has already made its appearance, don’t worry – this guide will help you turn things around.
Now, without further ado, let’s get started with assessing the extent of rust on your patio furniture.
Key Takeaways:
- Restoring rusted patio furniture is achievable with the right tools and materials. Assess, clean, remove rust, apply primer, paint, and seal to bring back its former glory.
- Regular maintenance, such as cleaning, protection from the elements, and addressing rust promptly, is essential to prolong the lifespan of restored patio furniture.
Read more: How To Repair Rusted Patio Furniture
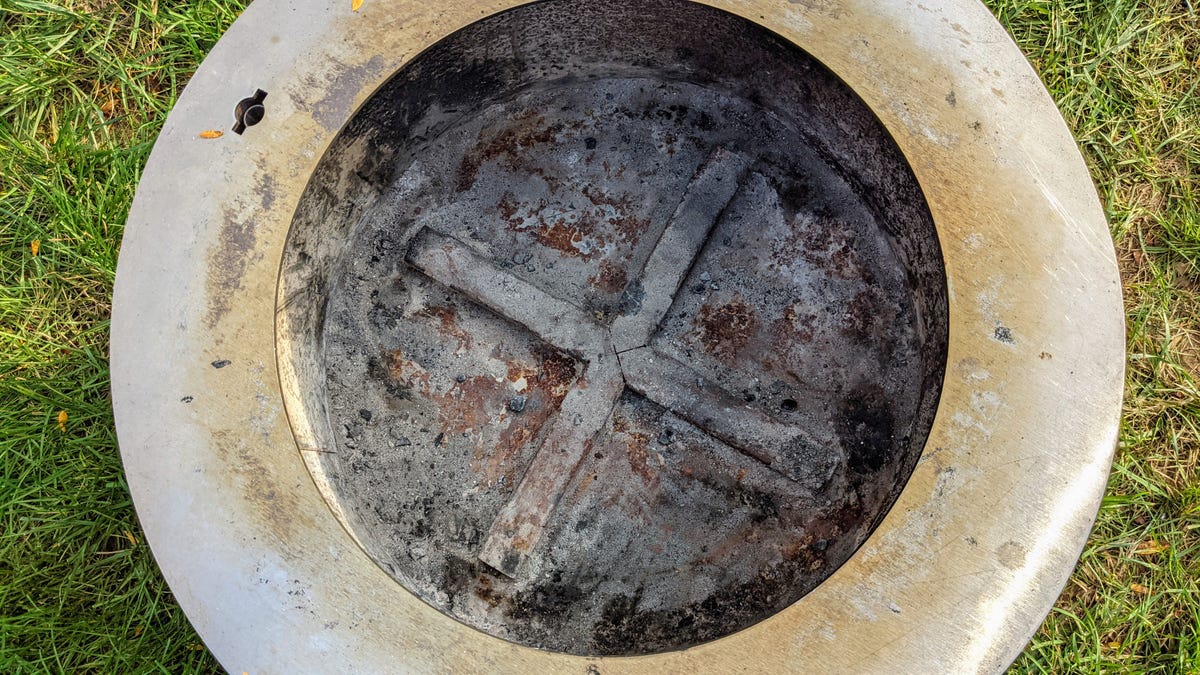
Step 1: Assessing the Extent of Rust
Before you begin the restoration process, it’s essential to assess the extent of rust on your patio furniture. This will help determine the level of restoration required and the materials needed to fix the problem.
Start by inspecting the furniture thoroughly. Look for any signs of rust, such as discoloration, flaking paint, or areas that appear corroded. Pay close attention to joints, corners, and areas exposed to moisture, as these are more prone to rusting.
Use a wire brush or sandpaper to gently scrape away the rust from the affected areas. This will give you a better understanding of how deep the rust has penetrated the surface of the furniture. If the rust is superficial and only affects the outer layer, you might be able to restore the furniture without extensive repair work. However, if the rust has caused significant damage, you may need to consider more robust restoration methods.
Take note of the size and location of the rusted areas. This will help you determine the amount of primer, paint, or finish you will need during the restoration process. It’s important to be thorough in your assessment to ensure you have all the necessary materials and tools on hand.
Keep in mind that if the rusted area is too extensive or the structural integrity of the furniture is compromised, it might be more cost-effective to consider replacing the affected parts or the entire piece. Assessing the extent of rust will help you make an informed decision about whether it’s worth restoring or replacing the furniture.
Once you have assessed the extent of rust on your patio furniture, you’re ready to move on to the next step: preparing the work area.
Step 2: Preparing the Work Area
Now that you have assessed the extent of rust on your patio furniture, it’s time to prepare the work area before starting the restoration process. Proper preparation ensures a clean and organized space, allowing you to work efficiently and effectively.
First, choose an outdoor area with good ventilation for the restoration process. Working outdoors reduces the risk of inhaling fumes and provides ample space for maneuvering the furniture. If working indoors is your only option, make sure to open windows or use fans to improve ventilation.
Next, gather all the necessary tools and materials you will need for the restoration. This may include a wire brush or sandpaper for rust removal, cleaning solution, primer, paint or finish, paintbrushes or spray cans, a drop cloth or plastic sheets to protect the surrounding area, and gloves and safety goggles for protection.
Before starting any work, cover the ground and nearby surfaces with a drop cloth or plastic sheets to protect them from dust, debris, and potential spills. This will make clean-up easier once the restoration is complete.
It’s also advisable to remove any cushions, fabric, or other non-metal parts of the furniture that could be damaged during the restoration process. If possible, disassemble the furniture to access all areas affected by rust. This will allow for a more thorough restoration.
Lastly, ensure that the furniture is clean and free from any loose dirt or debris. This can be done by using a mild soap and water solution or a specialized metal cleaner. Remember to dry the furniture thoroughly before moving on to the next step.
By properly preparing the work area, you’ll create a safe environment, protect surrounding surfaces, and ensure that the restoration process goes smoothly. Now that everything is in order, you’re ready to move on to the next step: cleaning the rusty surface.
Step 3: Cleaning the Rusty Surface
Now that you have prepared the work area, it’s time to clean the rusty surface of your patio furniture. Cleaning is a crucial step in the restoration process, as it removes dirt, grime, and any loose particles that can hinder the effectiveness of the rust removal methods.
Start by using a wire brush or sandpaper to gently scrub the rusty areas. This will help remove loose rust flakes, old paint, and other debris. Be careful not to apply too much pressure, as you don’t want to damage the underlying metal surface.
After scrubbing the surface, rinse the furniture with water to wash away the loosened rust particles and any residue from the wire brush or sandpaper. If necessary, use a mild soap or specialized metal cleaner to aid in the cleaning process. Make sure to follow the manufacturer’s instructions when using cleaning solutions.
Once the furniture is clean, thoroughly dry it with a clean cloth or allow it to air dry. Moisture can contribute to the formation of new rust, so it’s crucial to ensure the furniture is completely dry before proceeding to the next step.
If you notice stubborn rust stains that are resistant to scrubbing, you can try using a rust remover solution. Apply the rust remover according to the manufacturer’s instructions and allow it to sit on the affected areas for the recommended time. Then, scrub with a wire brush or sandpaper and rinse off the solution with water.
Remember, the goal of this step is to prepare the surface for rust removal. By cleaning the rusty surface, you’re creating a clean canvas for the next steps of the restoration process. Once the surface is clean and dry, you’re ready to tackle the rust removal process in the next step.
Step 4: Removing the Rust
With the surface clean and dry, it’s time to remove the rust from your patio furniture. There are several methods you can use to effectively eliminate rust, depending on the severity and type of rust present.
One common method is to use a rust converter or rust dissolver. These products work by chemically converting the rust into a stable compound that can be easily removed. Follow the instructions provided by the manufacturer for application and waiting times. After the designated time, use a wire brush or sandpaper to brush away the loosened rust.
Another option is to use a homemade rust remover solution. One popular mixture is a combination of vinegar and baking soda. Create a paste by mixing equal parts vinegar and baking soda, and apply it to the rusted areas. Let it sit for a few hours or overnight, then scrub the surface with a wire brush or sandpaper. Rinse with water to remove any residue.
If the rust is particularly stubborn, you may need to resort to mechanical methods such as sandblasting or grinding. These methods require specialized equipment, so it’s advisable to seek professional assistance if you’re unfamiliar with the process.
Regardless of the method you choose, it’s important to wear protective gloves and goggles to prevent any contact with the rust remover, chemicals, or debris.
After removing the rust, thoroughly rinse the furniture with water to eliminate any traces of the rust remover or debris. Make sure to dry the furniture completely before proceeding to the next step.
Removing the rust is a crucial step in restoring the appearance and structural integrity of your patio furniture. By following the appropriate rust removal method, you’re one step closer to achieving a rust-free surface. Now, let’s move on to the next step: sanding the furniture.
Read more: How To Clean Rust Off Patio Furniture
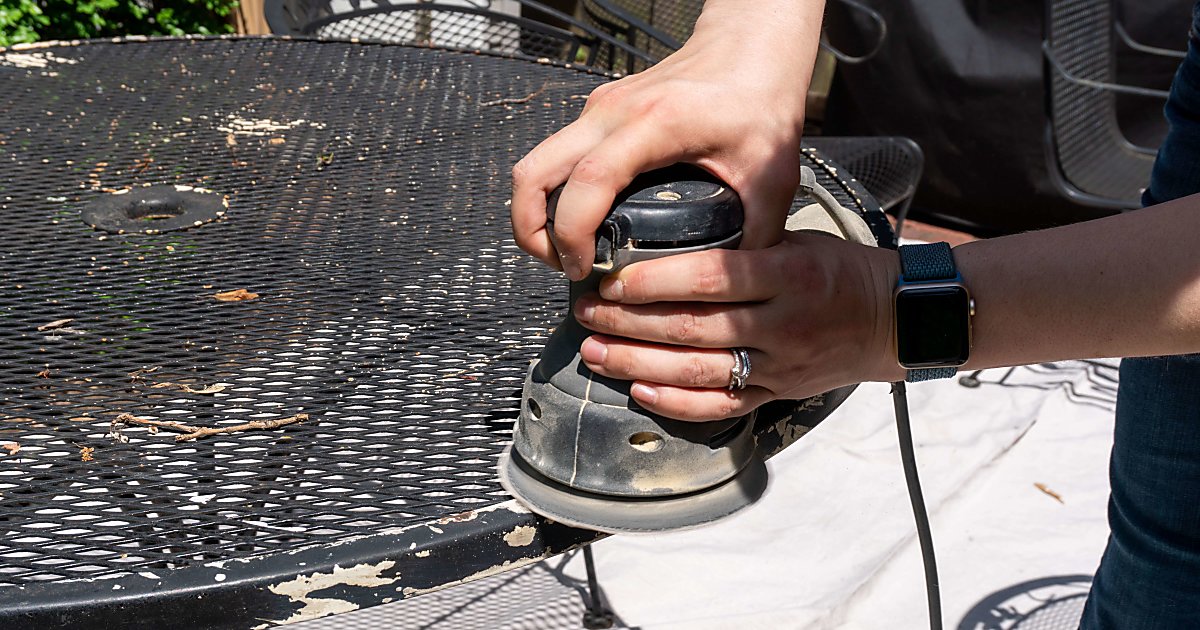
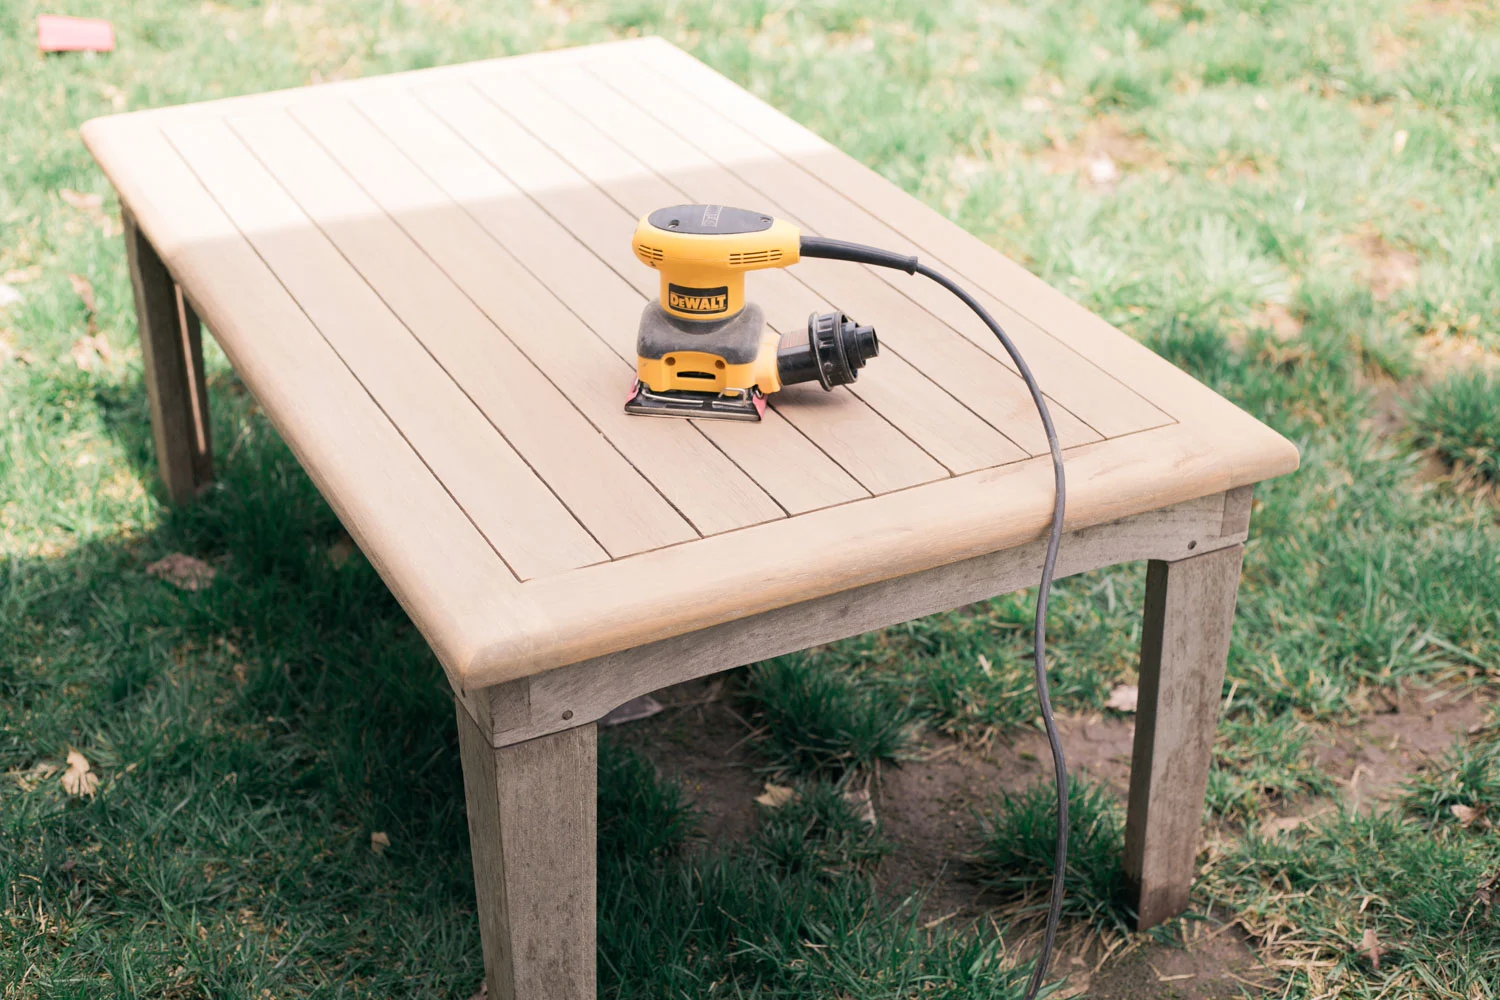
Step 5: Sanding the Furniture
After successfully removing the rust, the next step in restoring your patio furniture is sanding. Sanding helps to smooth the surface, remove any remaining rust particles, and create a clean, even canvas for the primer and paint or finish.
Start by selecting the appropriate grit sandpaper for the job. For initial sanding, a medium grit sandpaper, such as 80-120 grit, works well. If you’re dealing with stubborn rust or rough spots, you may need to start with a coarser grit and gradually move to a finer one for a smoother finish.
Begin sanding the furniture using long, even strokes in the direction of the grain. This helps to prevent any scratches or unevenness on the surface. Focus on the areas where rust was present or where the paint has peeled off, but ensure that you sand the entire surface for a uniform finish.
During the sanding process, periodically check the surface for any remaining rust or rough spots. If needed, switch to a finer grit sandpaper and continue sanding until the surface is smooth and free from imperfections.
Remember to take breaks and frequently inspect the furniture to ensure you’re achieving the desired results. Sanding can be a time-consuming process, especially for larger or intricately designed pieces. Patience and attention to detail are key to achieving a professional-looking finish.
Once you have sanded the furniture to your satisfaction, wipe it down with a clean cloth to remove any dust or debris. This will ensure a clean surface for the next step: applying primer.
Sanding is an essential step in restoring your patio furniture, as it helps create a smooth and appealing surface. By taking the time to sand properly, you’ll ensure a solid foundation for the primer and paint or finish, resulting in a beautiful and long-lasting restoration.
To fix rusted patio furniture, start by removing the rust with a wire brush or sandpaper. Then, apply a rust-inhibiting primer and a rust-resistant paint to protect the metal from future corrosion.
Step 6: Applying Primer
With the furniture sanded and the surface prepared, it’s time to apply primer. Primer not only enhances the adhesion of the paint or finish but also provides an added layer of protection against rust.
Before you begin, ensure that the furniture is clean and free from any dust or debris. Use a clean cloth or a tack cloth to remove any remaining particles.
Choose a high-quality metal primer that is specifically designed for outdoor use. Look for a primer that offers rust-inhibiting properties and is compatible with the type of paint or finish you plan to apply. Follow the manufacturer’s instructions for proper application and drying times.
Start by applying the primer evenly over the entire surface of the furniture. Use a paintbrush or a paint sprayer for larger pieces to ensure an even and smooth application. Pay special attention to areas where rust was present or where the surface was heavily sanded.
Allow the primer to dry completely according to the manufacturer’s instructions. This typically takes several hours, but it’s crucial to ensure that the primer is fully dry before moving on to the next step.
After the initial coat of primer has dried, inspect the furniture for any missed spots or uneven coverage. If necessary, apply a second coat of primer to achieve a solid and uniform base. Multiple thin coats are often better than a single thick coat, as they provide better overall coverage.
Once the final coat of primer has dried, lightly sand the furniture using a fine grit sandpaper. This step helps to smooth any roughness or imperfections on the surface, ensuring a flawless finish for the paint or finish.
After sanding, use a clean cloth to wipe away any dust or debris. Your furniture is now ready for the next step: applying paint or finish.
Applying primer is an essential step in the restoration process, as it creates a durable and stable foundation for the paint or finish. By taking the time to apply primer correctly, you’ll ensure a long-lasting and professional-looking restoration of your patio furniture.
Step 7: Applying Paint or Finish
After the primer has dried and your patio furniture is properly prepped, it’s time to apply the paint or finish. This step will not only restore the aesthetics of your furniture but also provide an extra layer of protection against the elements.
First, select a high-quality paint or finish that is specifically designed for outdoor use. Look for a product that offers durability, weather resistance, and UV protection to ensure the longevity of your restored furniture.
Before you begin applying the paint or finish, stir it well to ensure an even consistency. If using paint, consider using a paintbrush or a paint sprayer for better coverage and a smoother finish. If using a finish, a foam brush or rag can work well for an even application.
Start by applying a thin and even coat of paint or finish to the furniture. Work in small sections, carefully covering the entire surface. Pay special attention to any intricate details or hard-to-reach areas.
Allow the first coat to dry completely according to the manufacturer’s instructions. This typically takes several hours, but it’s important to ensure that the paint or finish is fully dry before applying subsequent coats.
After the first coat has dried, lightly sand the surface with a fine grit sandpaper. This step helps to smooth out any imperfections or brush strokes, ensuring a professional and polished finish. Remember to wipe away any dust or debris with a clean cloth after sanding.
Apply additional coats of paint or finish as needed, allowing each coat to dry fully before proceeding. Multiple thin coats are often better than a single thick coat, as they provide better coverage and a more durable finish.
Once you have achieved the desired level of coverage and finish, allow the final coat to dry completely. This may take a couple of days, depending on the product and environmental conditions.
After the paint or finish has dried, inspect the furniture for any touch-ups or areas that may need additional attention. Make any necessary adjustments and allow the touch-ups to dry completely.
With the paint or finish applied and dry, your patio furniture has been beautifully restored. However, to ensure long-lasting protection, it’s important to move on to the final step: sealing the furniture.
Applying paint or finish not only revitalizes your patio furniture but also provides essential protection against the elements. By following the proper application technique, you’ll achieve a stunning and durable finish that will withstand outdoor conditions for years to come.
Step 8: Sealing the Furniture
Sealing your restored patio furniture is a crucial step in protecting it from the elements and extending its lifespan. Sealing creates a barrier that helps prevent moisture, UV damage, and other environmental factors from affecting the surface of the furniture.
There are several options for sealing outdoor furniture, depending on the material and finish you have chosen:
- Clear Sealant: If you prefer to maintain the natural look of your furniture or have opted for a transparent finish, consider using a clear sealant specifically designed for outdoor use. Choose a product that offers UV protection and water resistance. Apply the sealant according to the manufacturer’s instructions using a clean brush or roller, ensuring even coverage.
- Outdoor Varnish: For painted furniture or a more traditional finish, an outdoor varnish can provide excellent protection. Choose a high-quality, UV-resistant outdoor varnish and apply it in thin, even coats, following the manufacturer’s instructions. Sand between each coat for a smooth finish.
- Outdoor Spray-on Sealant: If you prefer a quick and easy sealing method, consider using an outdoor spray-on sealant. These products are typically designed for a variety of outdoor surfaces, including metal, wood, and plastic. Ensure proper ventilation and follow the instructions on the can for best results.
Regardless of the sealing method you choose, it’s important to apply the sealant in a well-ventilated area and follow the recommended drying times. Multiple thin coats are often more effective than one thick coat, as they help ensure thorough coverage and better protection.
After sealing your furniture, allow it to dry completely according to the manufacturer’s instructions. This usually takes several hours or even a day, depending on the product and environmental conditions.
Once the furniture is dry, inspect the surface for any missed spots or uneven coating. Make any necessary touch-ups before placing the furniture back in its designated outdoor area.
Sealing your restored patio furniture provides a vital layer of protection, helping to maintain its appearance and durability over time. By choosing a suitable sealant and applying it correctly, you’ll ensure that your furniture remains beautiful and functional for years to come.
Read more: How To Keep Patio Furniture From Rusting
Step 9: Regular Maintenance Tips
Regular maintenance is crucial to preserving the beauty and longevity of your newly restored patio furniture. By incorporating these maintenance habits into your routine, you’ll be able to keep your furniture in top condition:
- Clean Regularly: Regularly clean your patio furniture to prevent dirt, pollen, and other debris from accumulating. Use a mild soap and water solution or a specialized cleaner, depending on the material of your furniture. Rinse thoroughly and dry completely after cleaning.
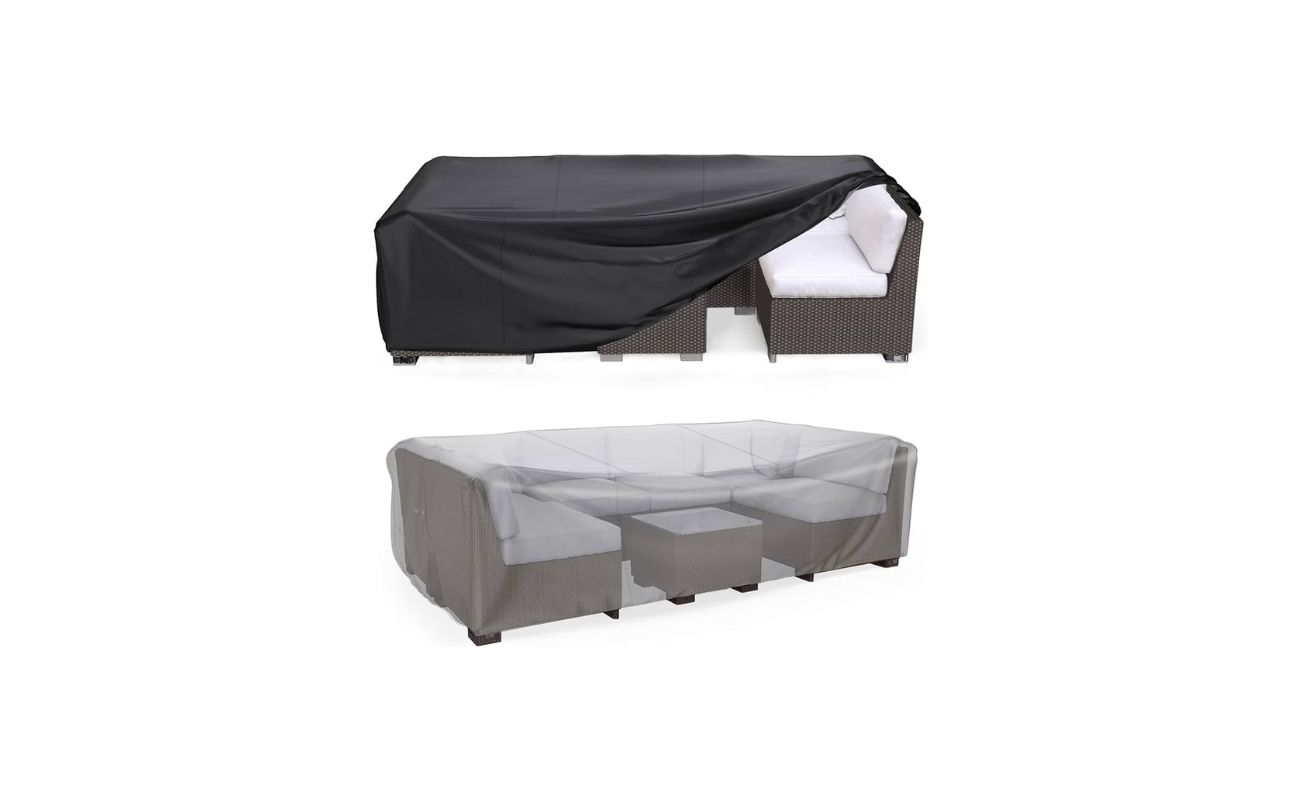
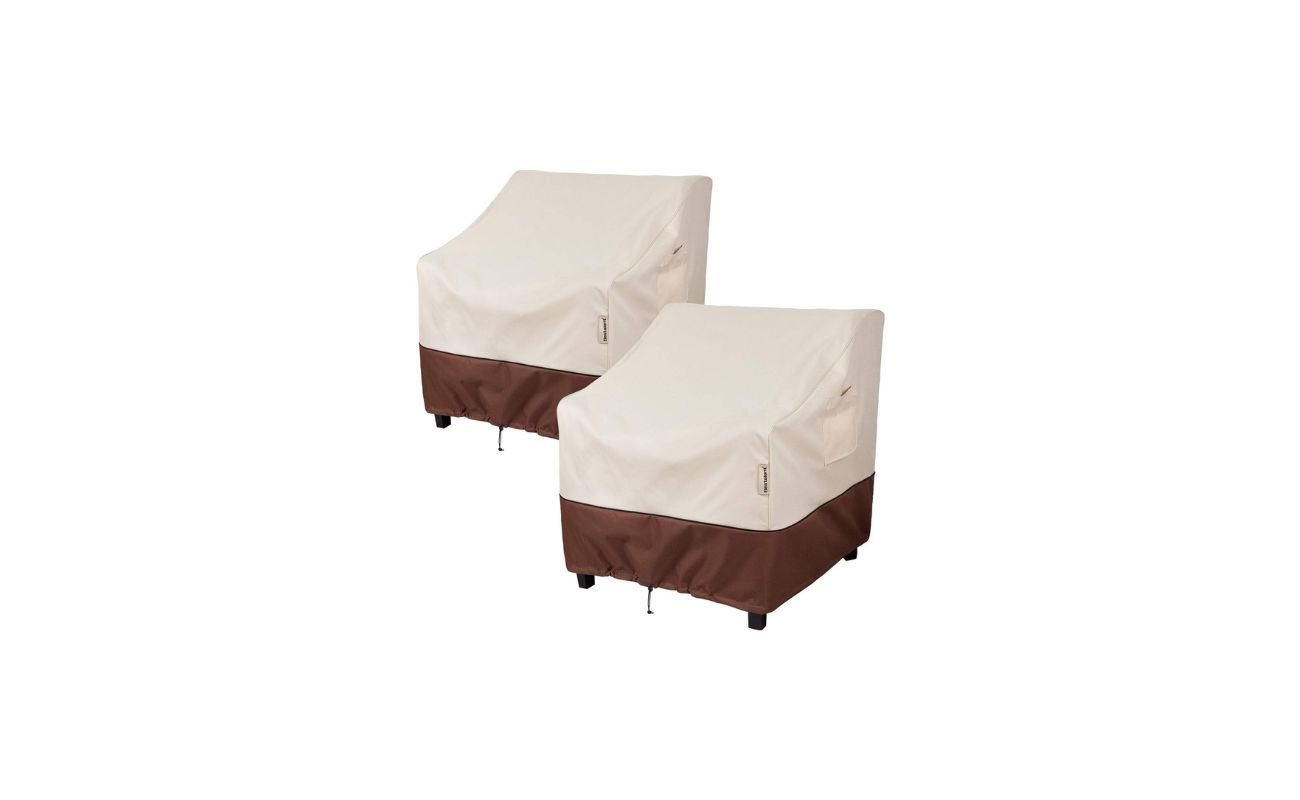
- Protect from the Elements: Whenever possible, protect your furniture from extreme weather conditions. Use covers or store the furniture indoors during harsh winters or prolonged periods of rain or intense sunlight. This will help prolong its lifespan and reduce the risk of rust or sun damage.
- Avoid Harsh Chemicals: When cleaning your furniture, avoid using harsh chemicals or abrasive cleaning agents. These can damage the finish or material of the furniture. Stick to mild solutions and non-abrasive cleaning tools to ensure the longevity of your furniture.
- Inspect for Damage: Regularly inspect your furniture for any signs of damage, such as rust, peeling paint, or loose joints. Catching and addressing these issues early can prevent further damage and the need for extensive repairs down the line.
- Periodic Repainting or Refinishing: Depending on the wear and tear, you may need to periodically repaint or refinish your patio furniture. This will help maintain its appearance and protection. Follow the same steps outlined in this guide for the repainting or refinishing process.
- Keep Cushions and Fabric Clean: If your patio furniture has cushions or fabric components, make sure to keep them clean as well. Follow the manufacturer’s instructions for cleaning and maintenance to prevent stains and keep them looking their best.
- Address Rust Immediately: If you notice any signs of rust, address it promptly to prevent further damage. Use a wire brush or sandpaper to remove the rust, touch up the affected area with paint or finish, and seal it to provide added protection.
By incorporating these regular maintenance tips into your routine, you’ll be able to enjoy your beautifully restored patio furniture for years to come. Remember, a little maintenance goes a long way in maintaining its appearance and durability.
Conclusion
Congratulations on successfully restoring your rusted patio furniture! By following the step-by-step guide outlined in this article, you have revived your outdoor pieces, bringing them back to their former glory.
From assessing the extent of rust to applying paint or finish and sealing the furniture, each step played a crucial role in achieving a professional and long-lasting restoration. By dedicating the time and effort to restore your furniture, you have ensured its continued beauty and functionality for years to come.
Remember, regular maintenance is key to preserving the quality of your restored furniture. Follow the maintenance tips provided in this guide to keep it looking its best and protect it from the elements. By incorporating these habits into your routine, you’ll extend the lifespan of your patio furniture and enjoy its benefits for even longer.
Whether you’re hosting outdoor gatherings, lounging on your patio, or simply taking in the fresh air, your newly restored furniture will enhance your outdoor experience and create an inviting space for relaxation and enjoyment.
We hope this comprehensive guide has empowered you to take on the task of restoring your rusted patio furniture. Enjoy the fruits of your labor and savor the satisfaction of turning something worn and weathered into a beautiful centerpiece for your outdoor living space.
Now, go out and enjoy your revitalized patio furniture to the fullest!
Frequently Asked Questions about How To Fix Rusted Patio Furniture
Was this page helpful?
At Storables.com, we guarantee accurate and reliable information. Our content, validated by Expert Board Contributors, is crafted following stringent Editorial Policies. We're committed to providing you with well-researched, expert-backed insights for all your informational needs.

0 thoughts on “How To Fix Rusted Patio Furniture”